
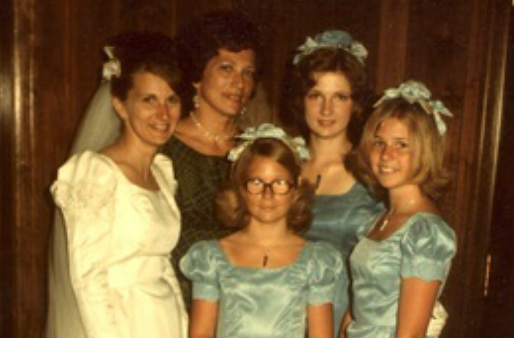
This photo was taken at my sister's wedding. I was the maid of honor (in the back next to my mother) and my 2 younger sisters were junior bride's maids. The reason I'm sharing this photo with you, is because we all have the next flower I'm going to show you on our heads.
I was 19 years old at the time and my grandmother taught me how to make this flower (view A). She and I made all the head pieces. It's called the Diablo Rose because it was created by one of the teachers who taught in the Apparel Design Program at Diablo Valley College that my mother attended.
I was 19 years old at the time and my grandmother taught me how to make this flower (view A). She and I made all the head pieces. It's called the Diablo Rose because it was created by one of the teachers who taught in the Apparel Design Program at Diablo Valley College that my mother attended.
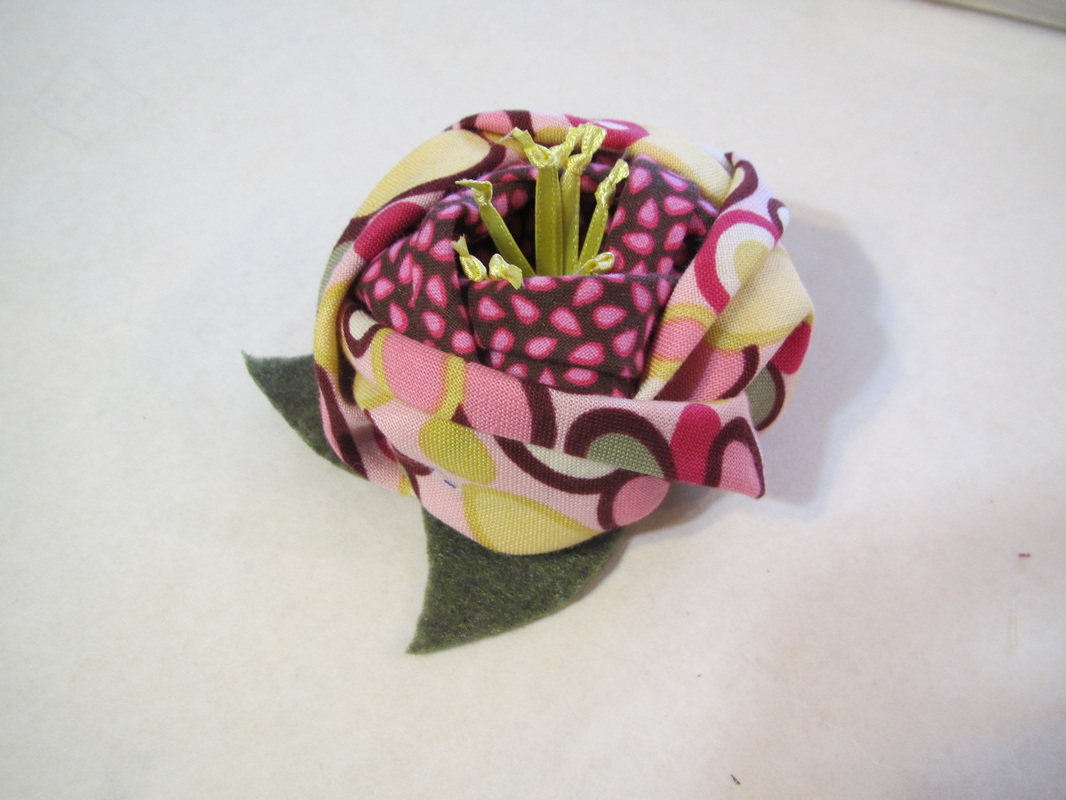
As you can see the flowers for my sister's wedding were made from satin and organdy and the sample I made for this pattern is made of quilting prints. So ... it works well with many fabrics. I wonder what it would look like in wool?
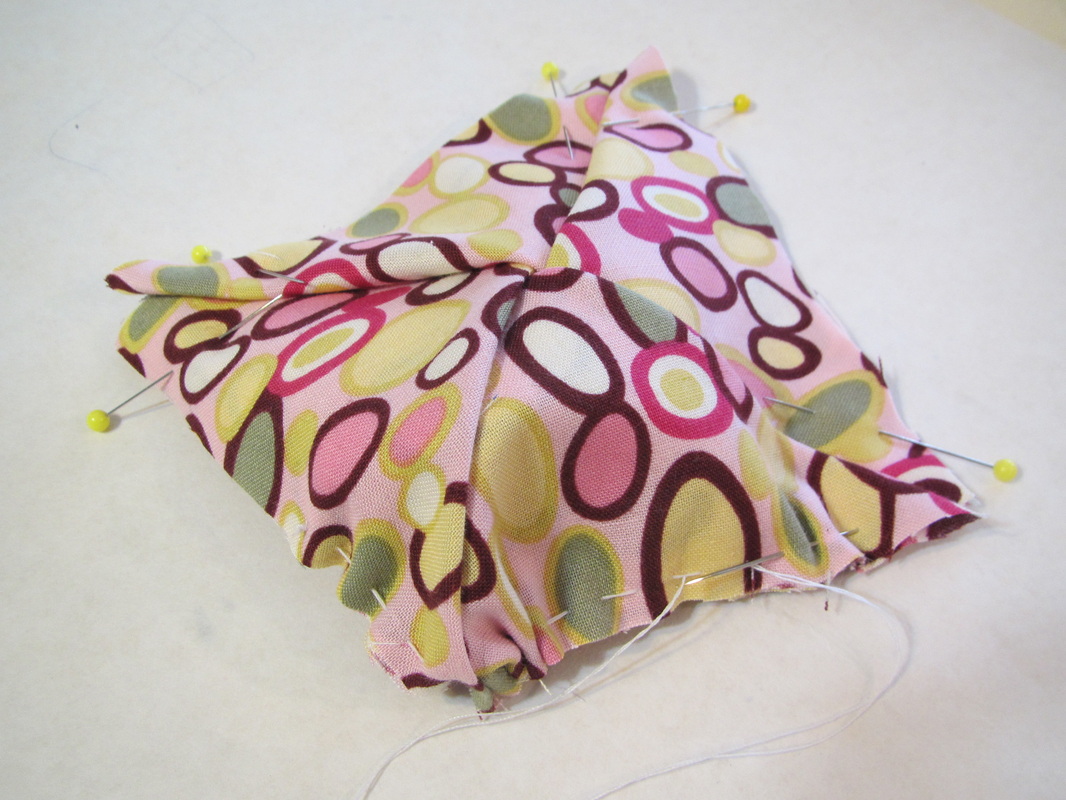
This is another flower that I recommend hand gathering.
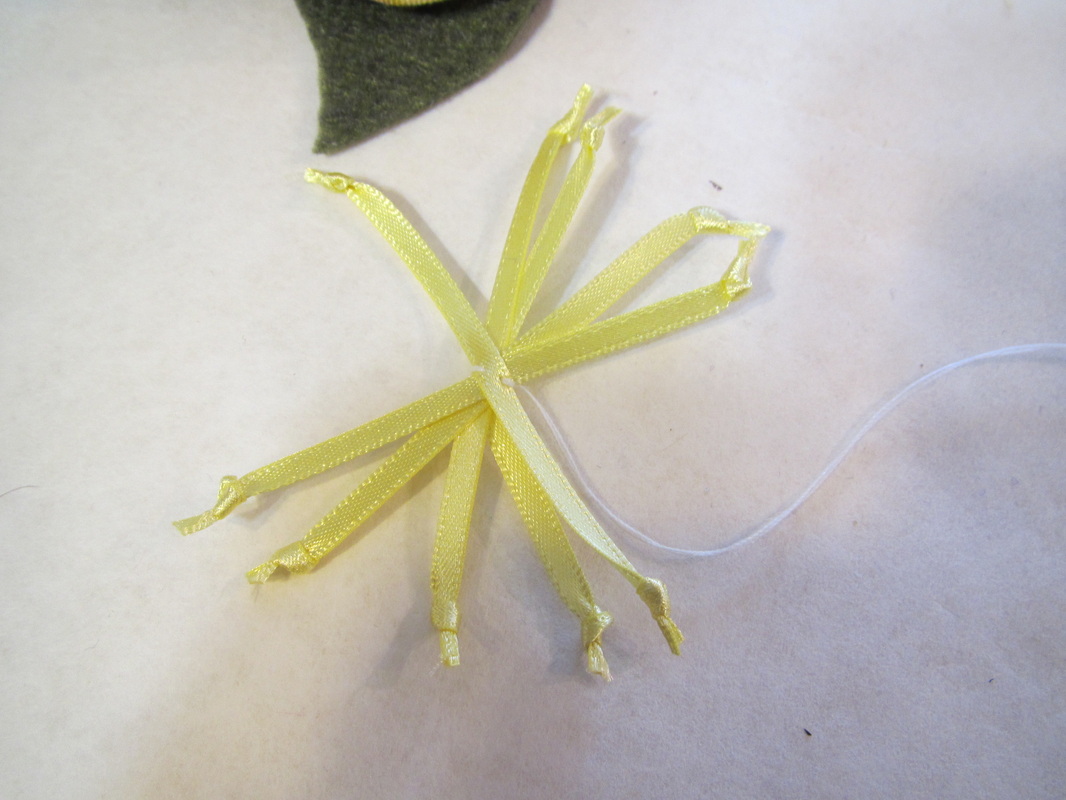
The stamen are made from a cluster of pieces of 1/8" ribbon with knots.
| 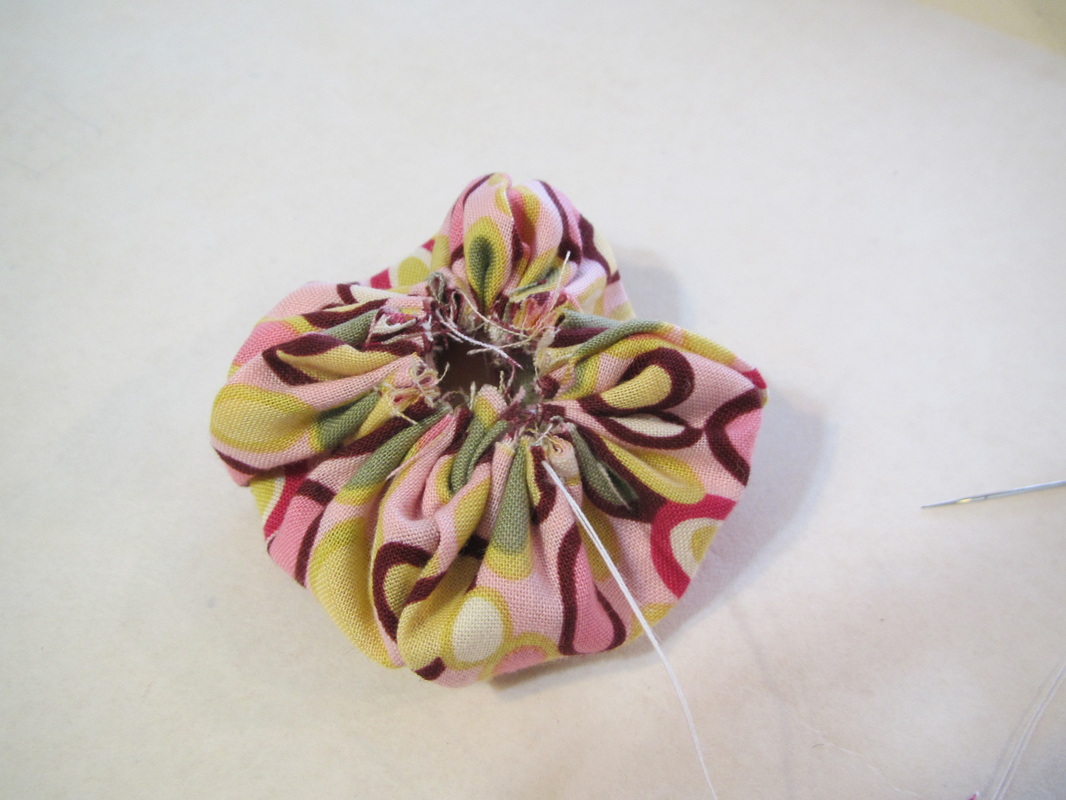
The bottom gets pulled in really tight.
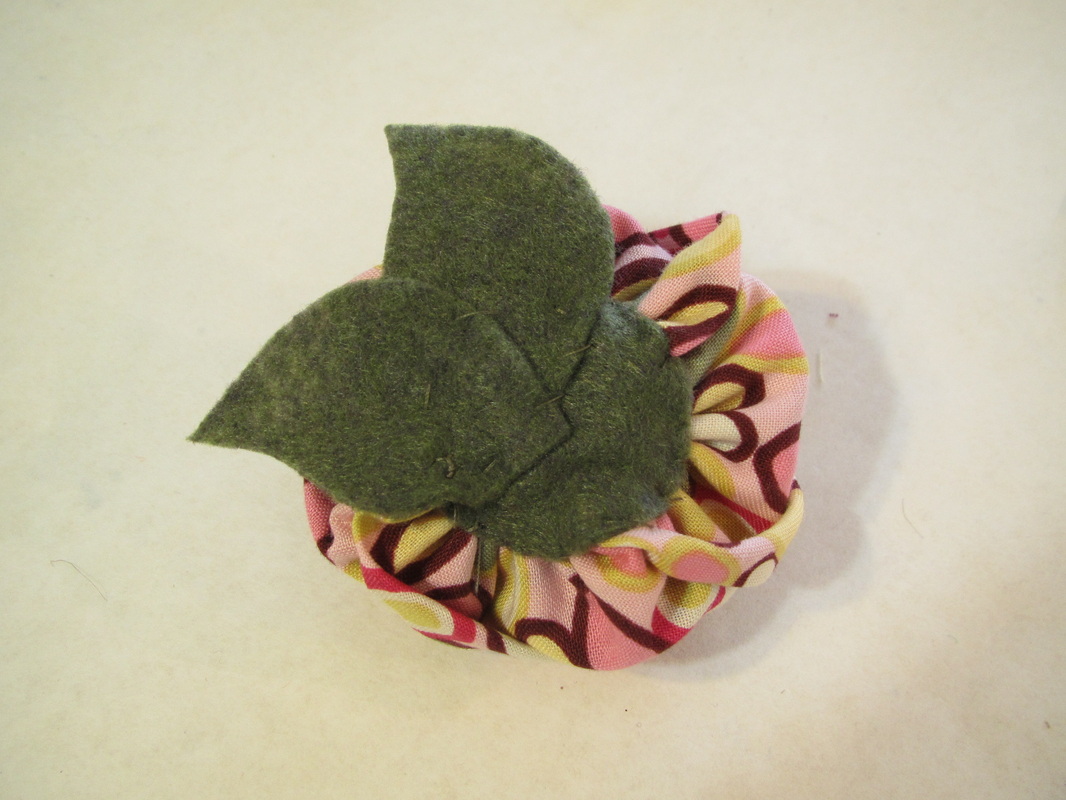
This is how I tacked the leaves on the bottom.
|
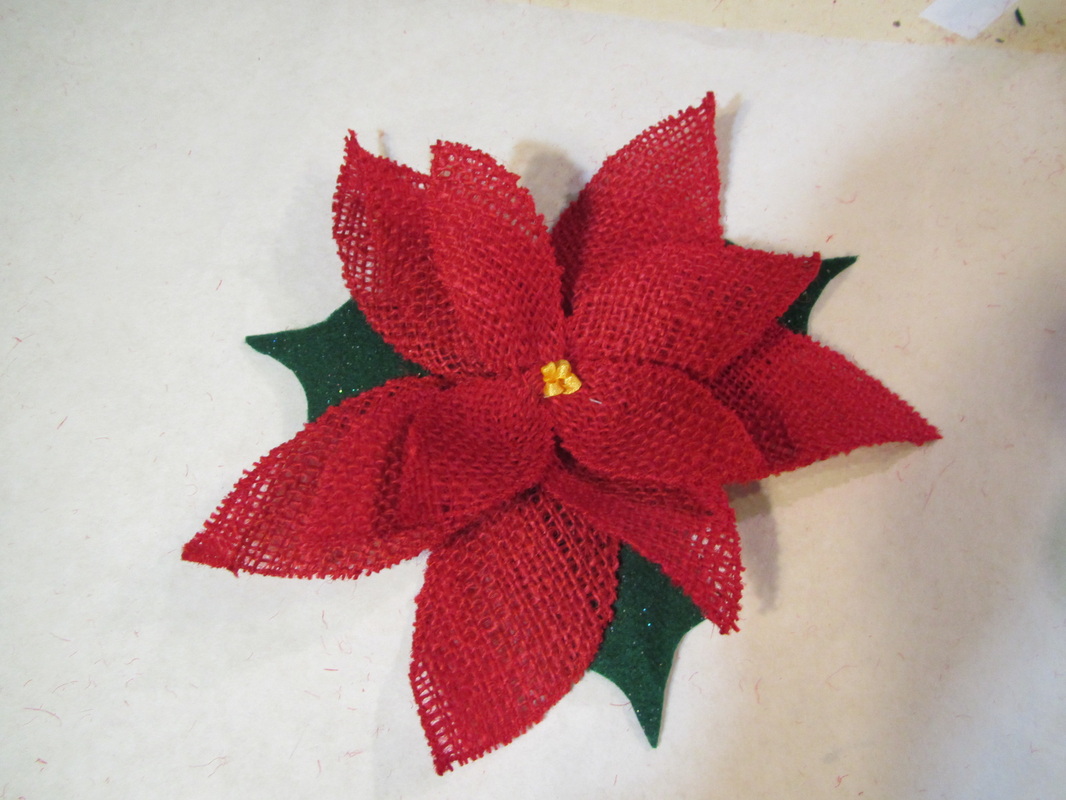
I think this poinsettia (view F) is going to be part of my Christmas decorations this year. It's easy and will brighten up my holiday decorations, won't wilt and can be used for many years.
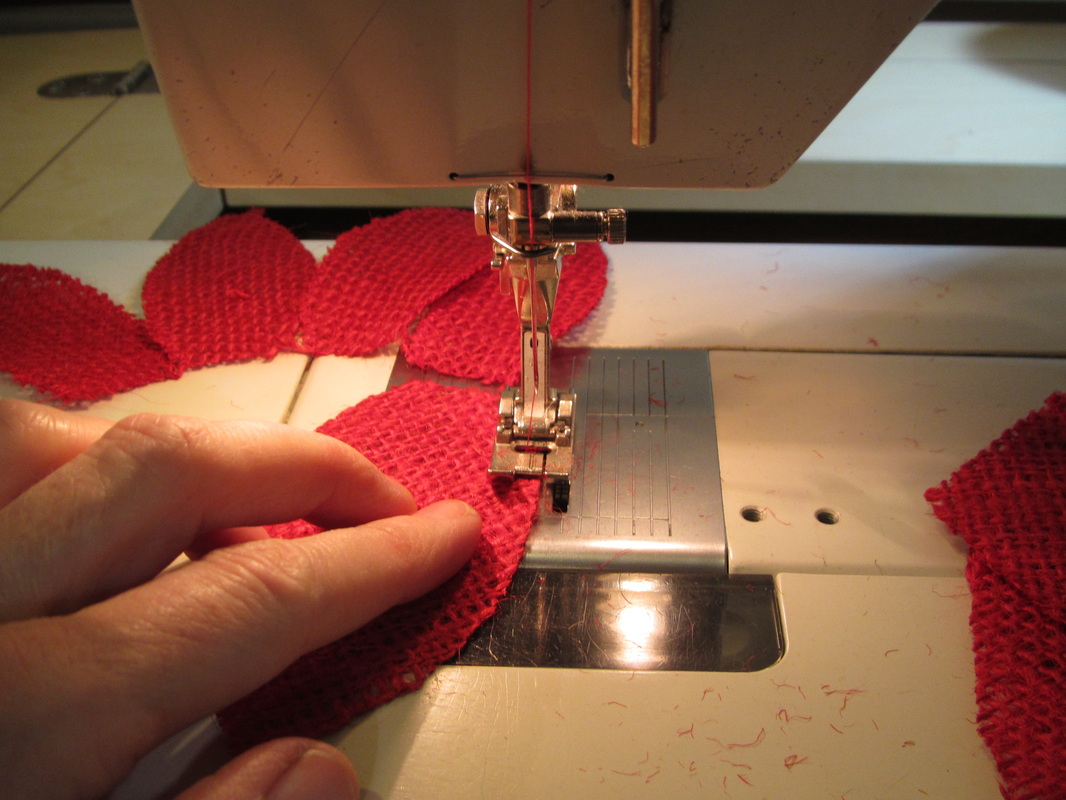
The burlap needs to have the edges zig zagged first.
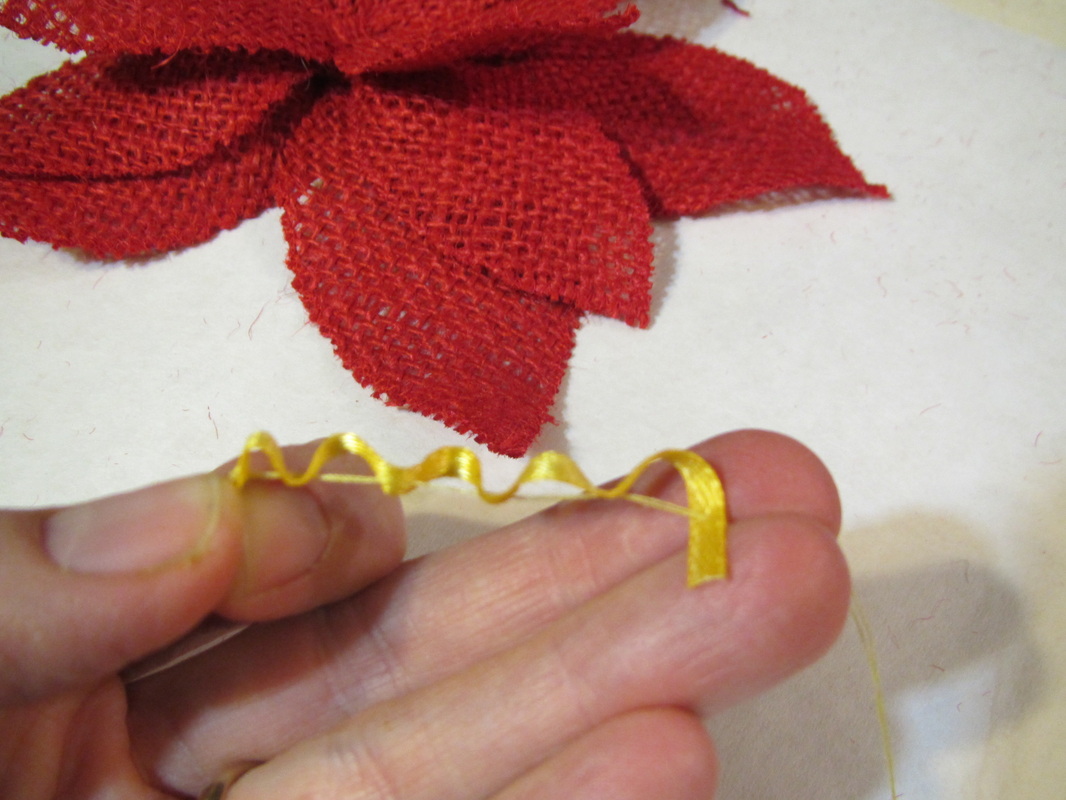
This is how I prepare the ribbon for the center of the flower.
| 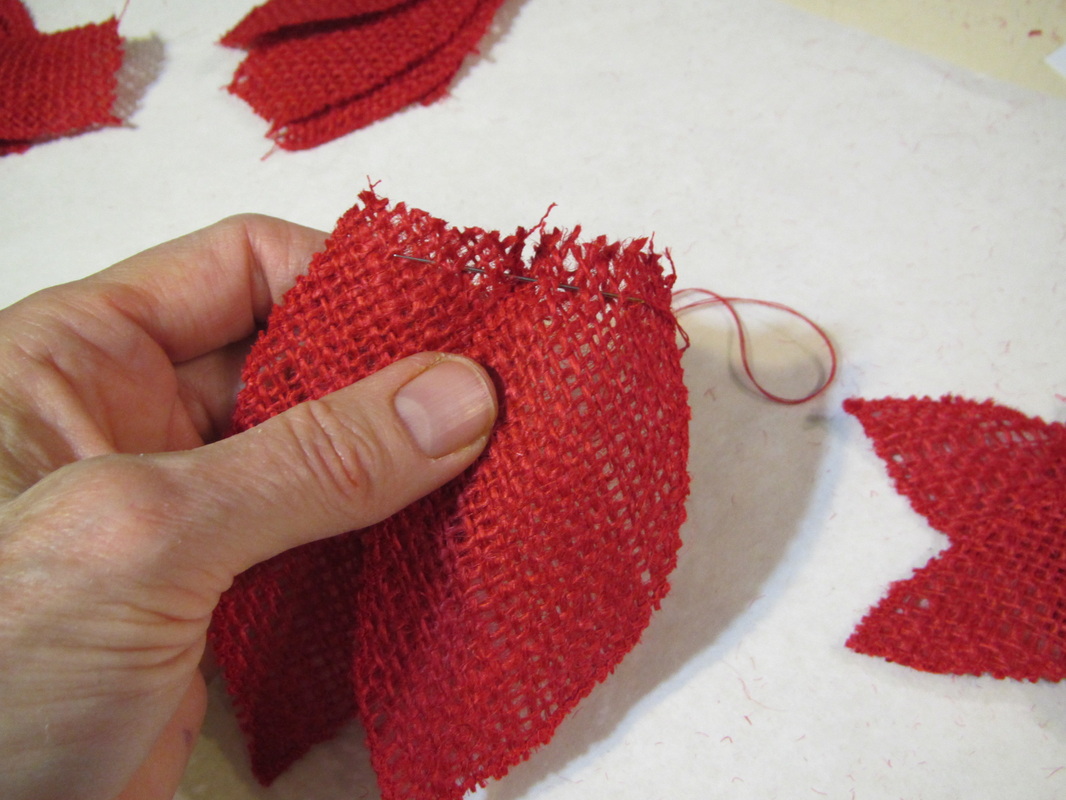
Hand gather the petals carefully, because the burlap wants to fall apart.
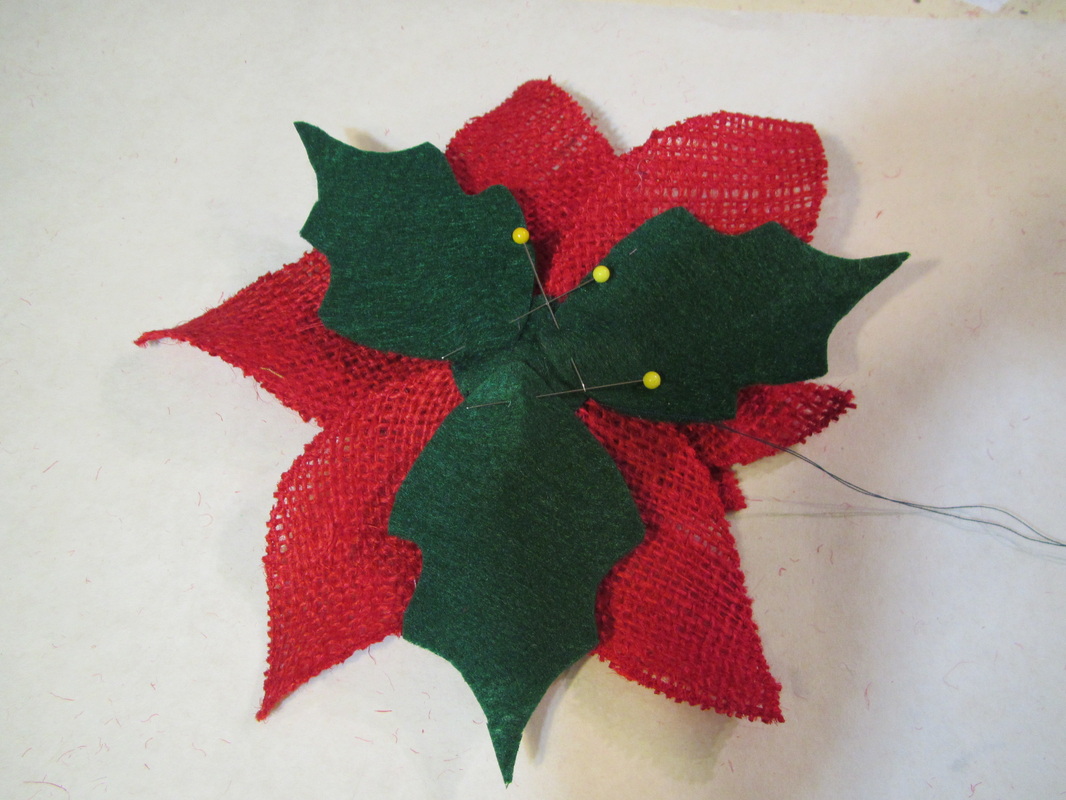
And this is how I positioned the leaves on the bottom.
|
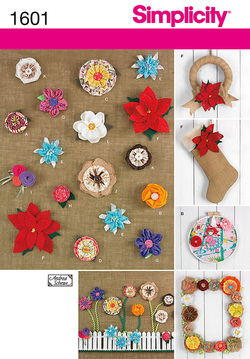
So, I have shown you how I made all the flowers in this new pattern.
Over the summer there will be a couple guest bloggers who will show what they've done with this pattern.
Next week back to my assorted projects and a thrift store pirate!
Over the summer there will be a couple guest bloggers who will show what they've done with this pattern.
Next week back to my assorted projects and a thrift store pirate!
 RSS Feed