
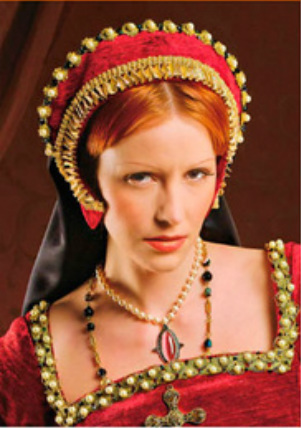
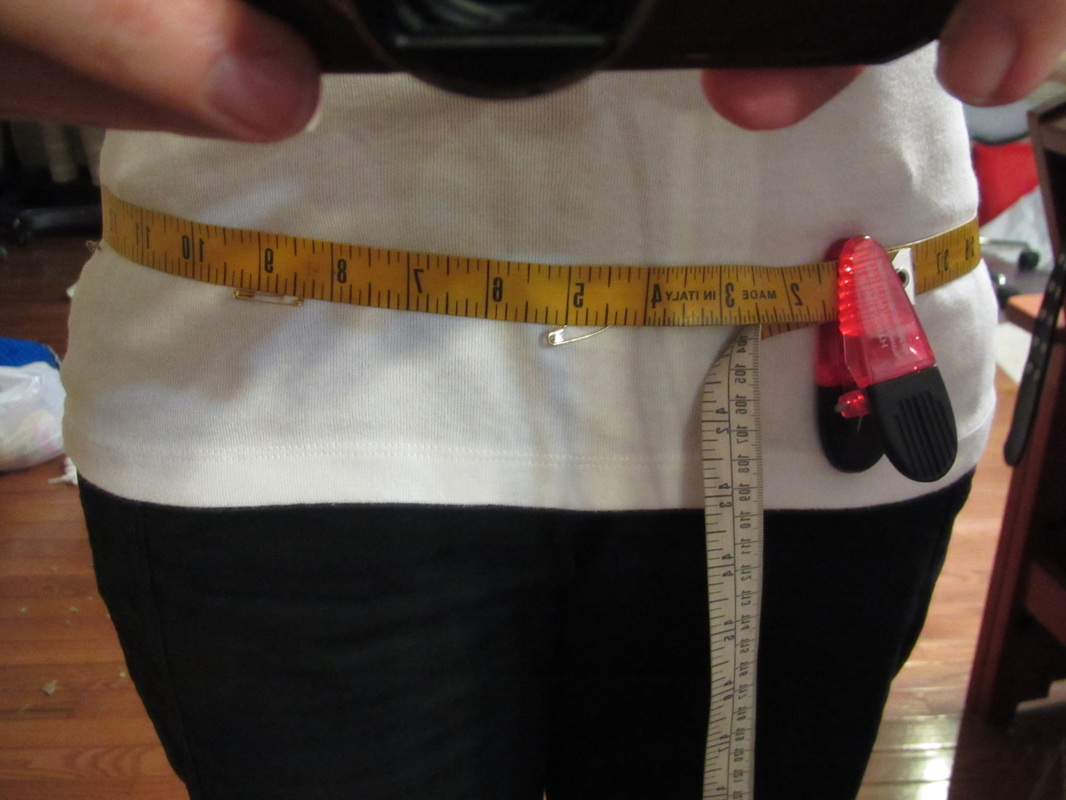
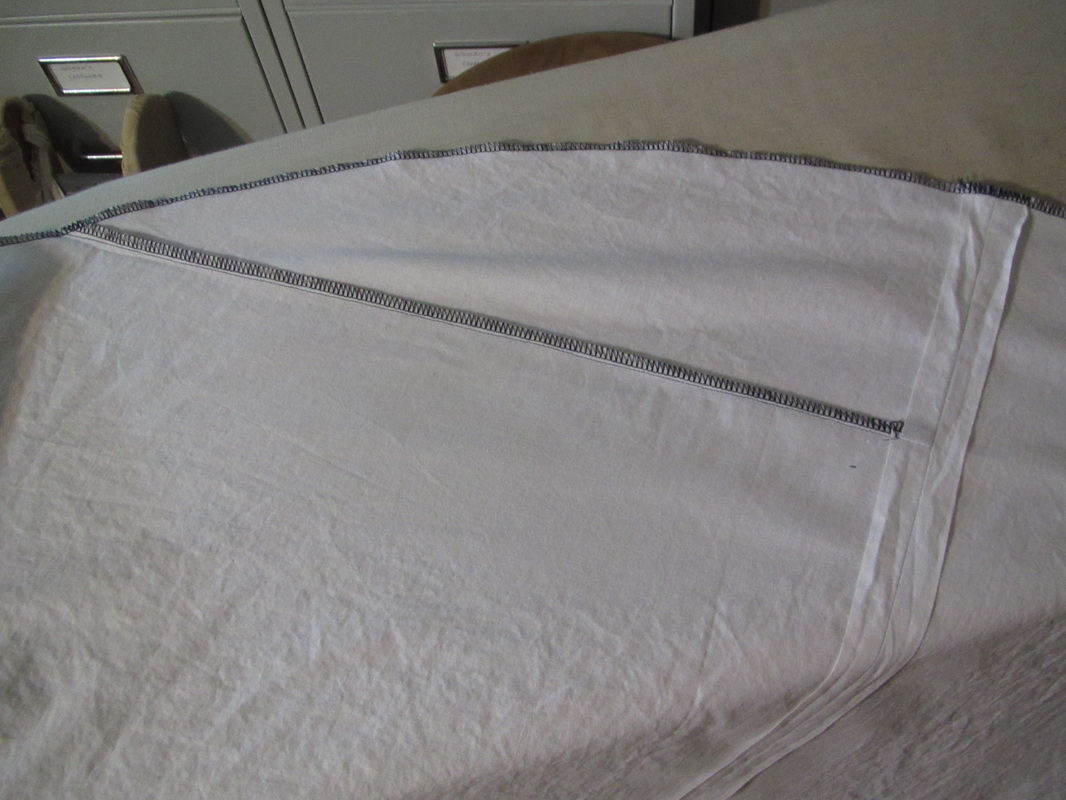
Yesterday I showed photos of the samples I made for the Tudor gown and underpinnings. Today I will show you all the photos I took while making this hood. I got most of these hat making techniques from the book "From the Neck Up" by Denise Dreher, one of the books I think any serious costume maker should have.
Anyway ... here are my photos.
Please note, these are not complete instructions.
Anyway ... here are my photos.
Please note, these are not complete instructions.
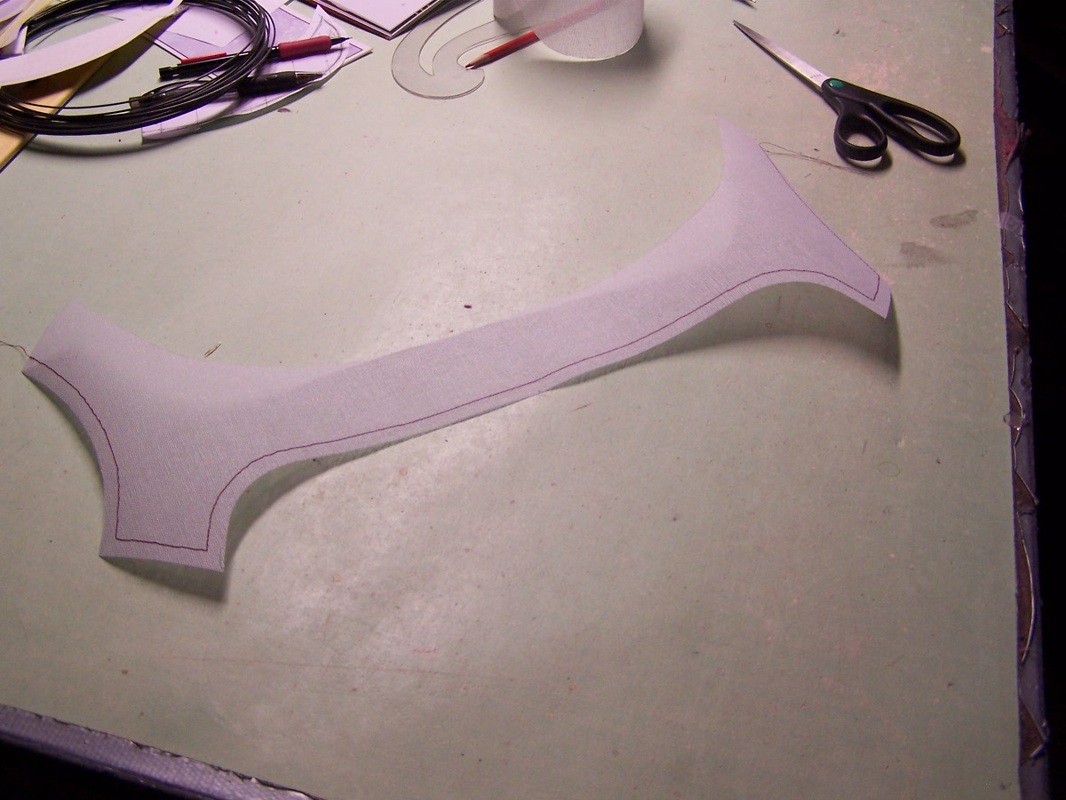
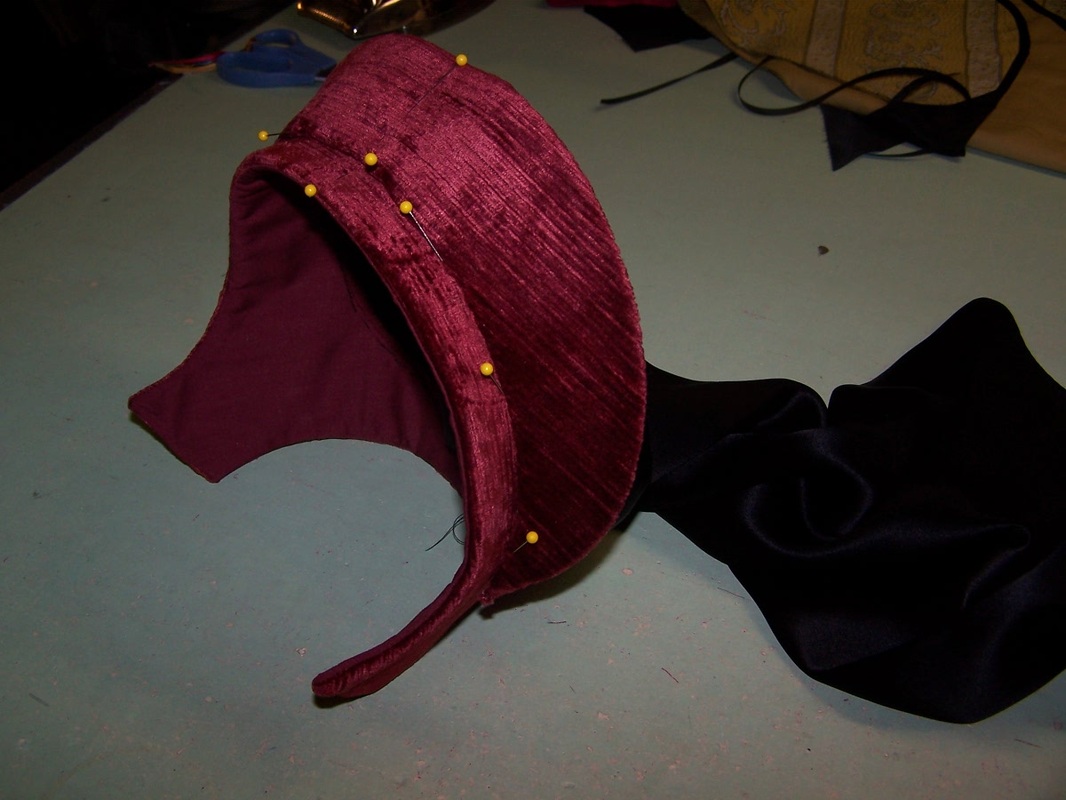
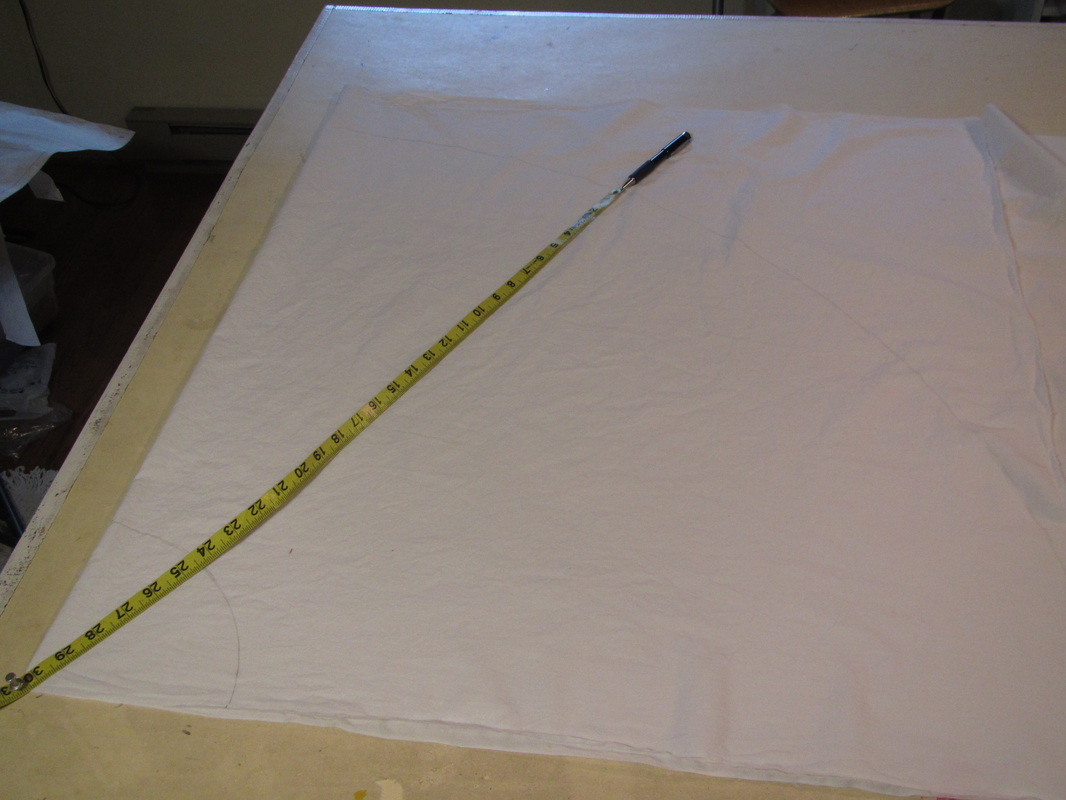
#1 Stay stitch around buckram layer of the main piece called the hood base interfacing.
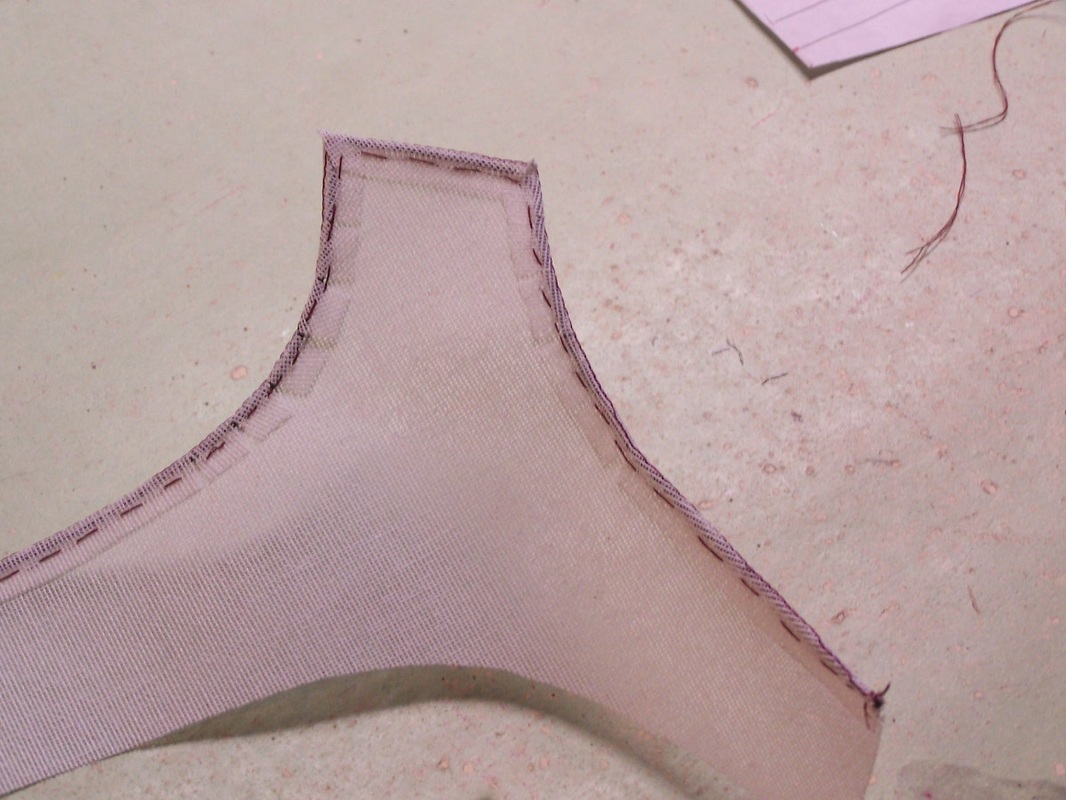
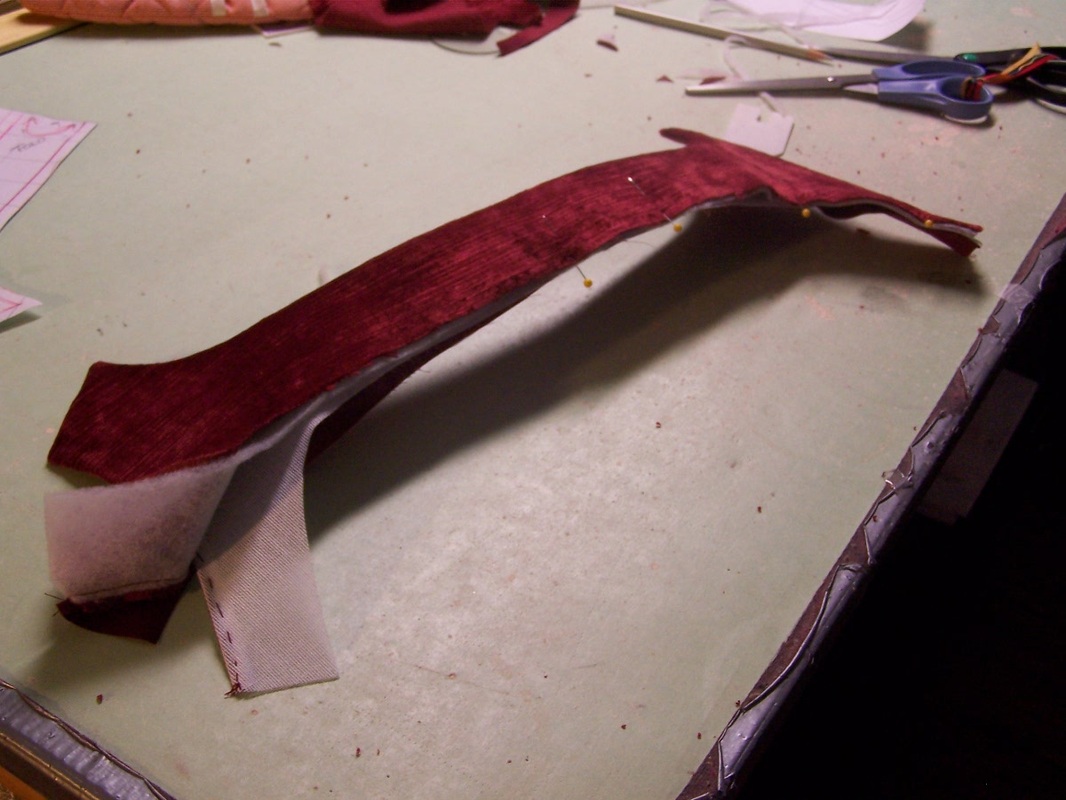
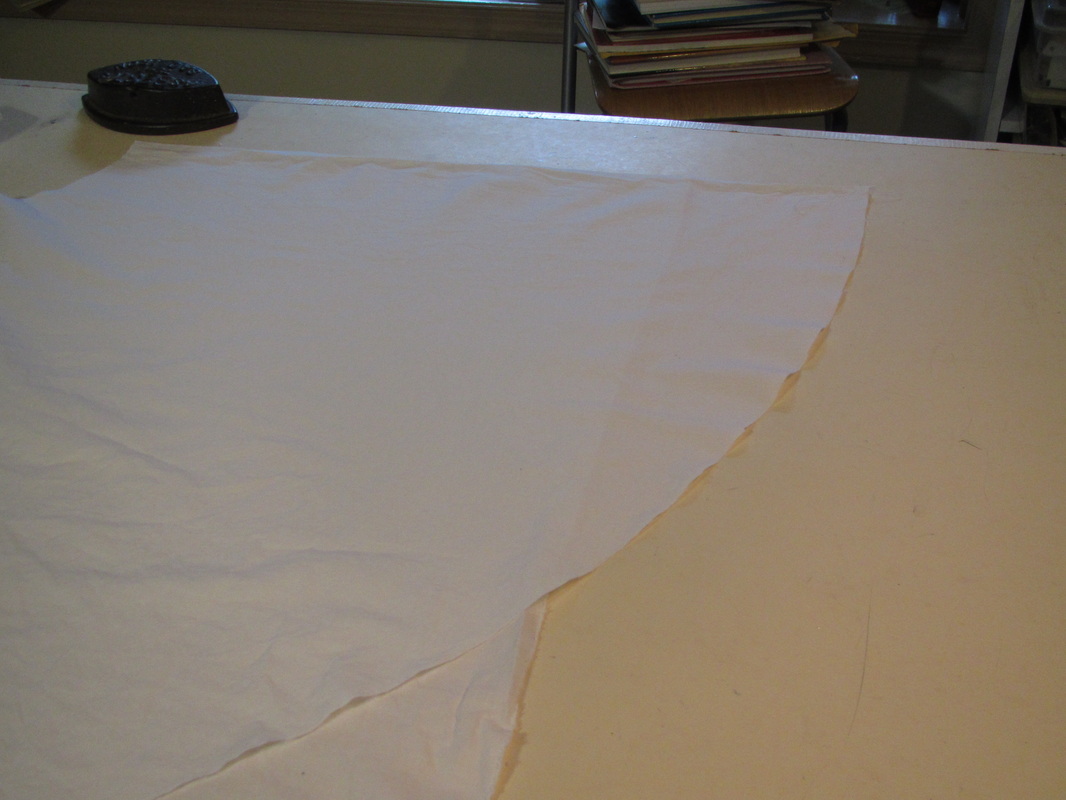
#3 Fold the buckram over the wire and baste. Pressing with steam will make the buckram stitch to itself, which will hold things in place while you baste.

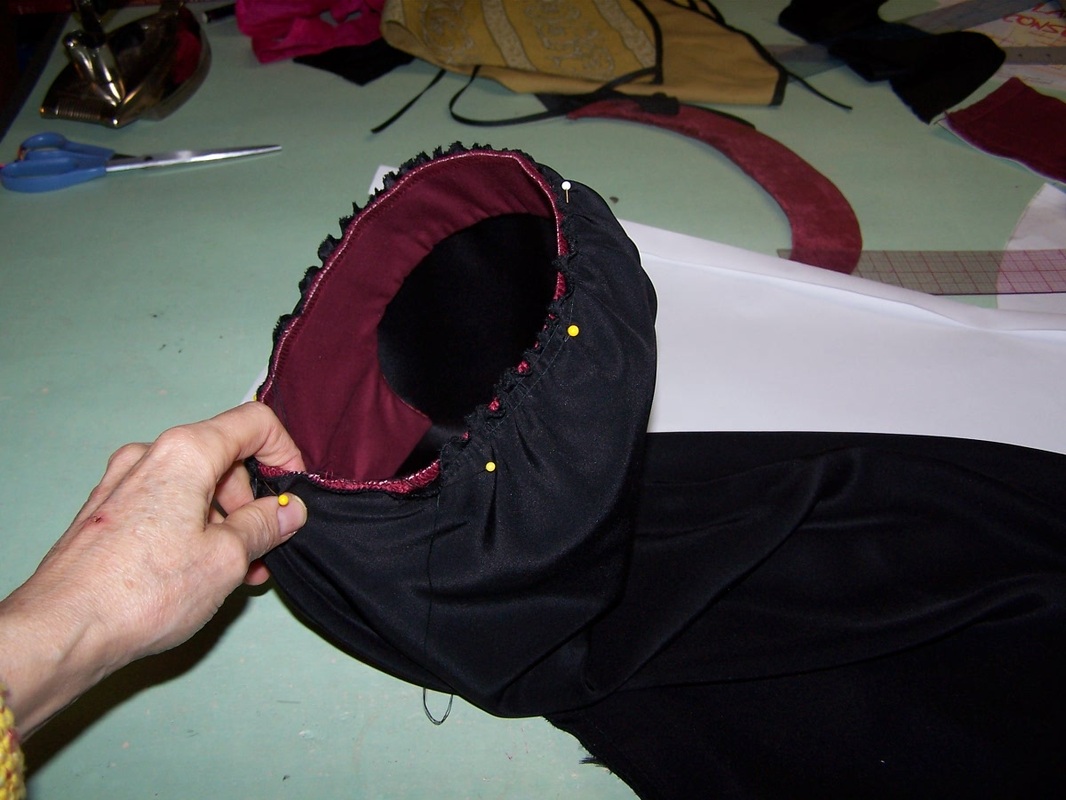
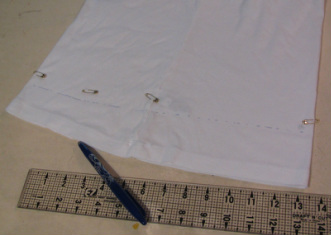
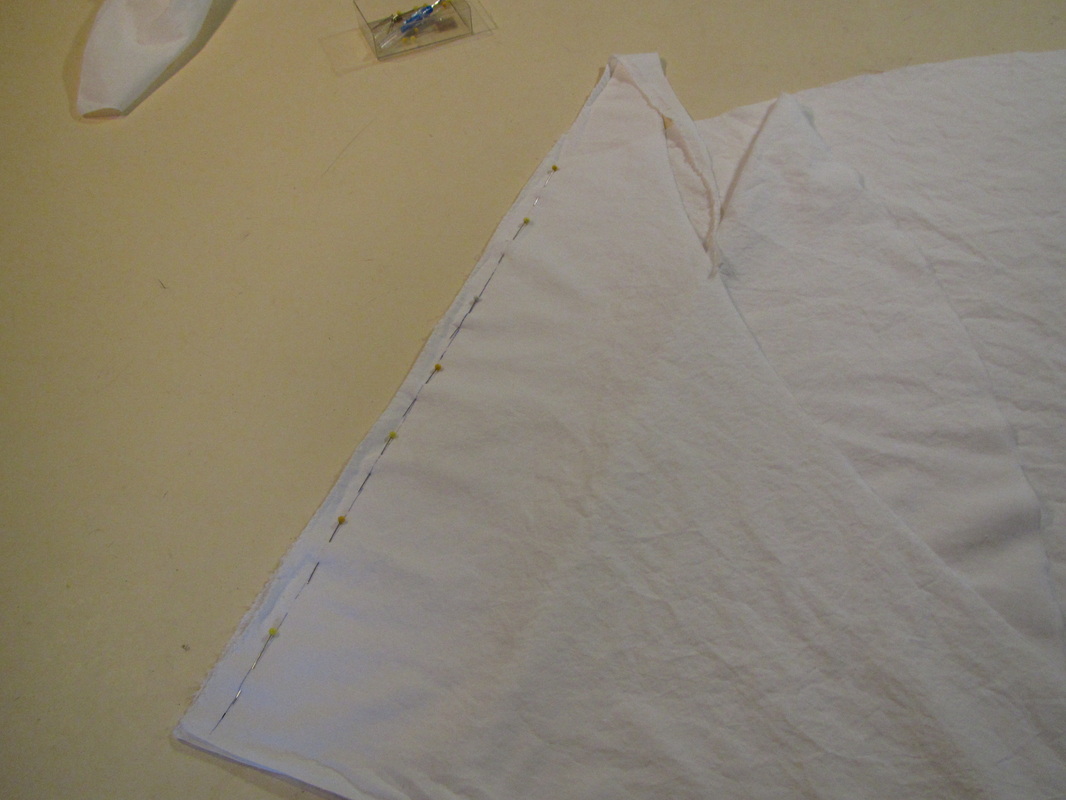
#5 Pin the back edges together to fit. There is a large overlap to fit any head size.
#7 Prepare the veil, adjust the gathers at the top to fit and sew it, inside out, to the hood base.
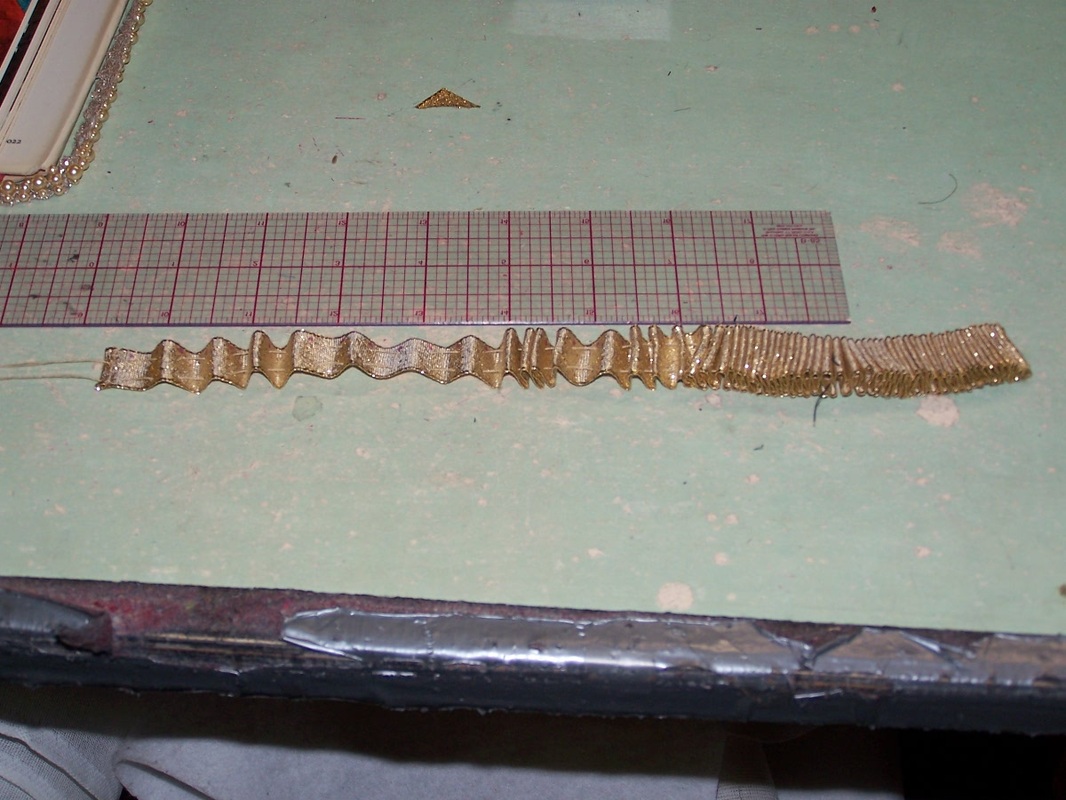
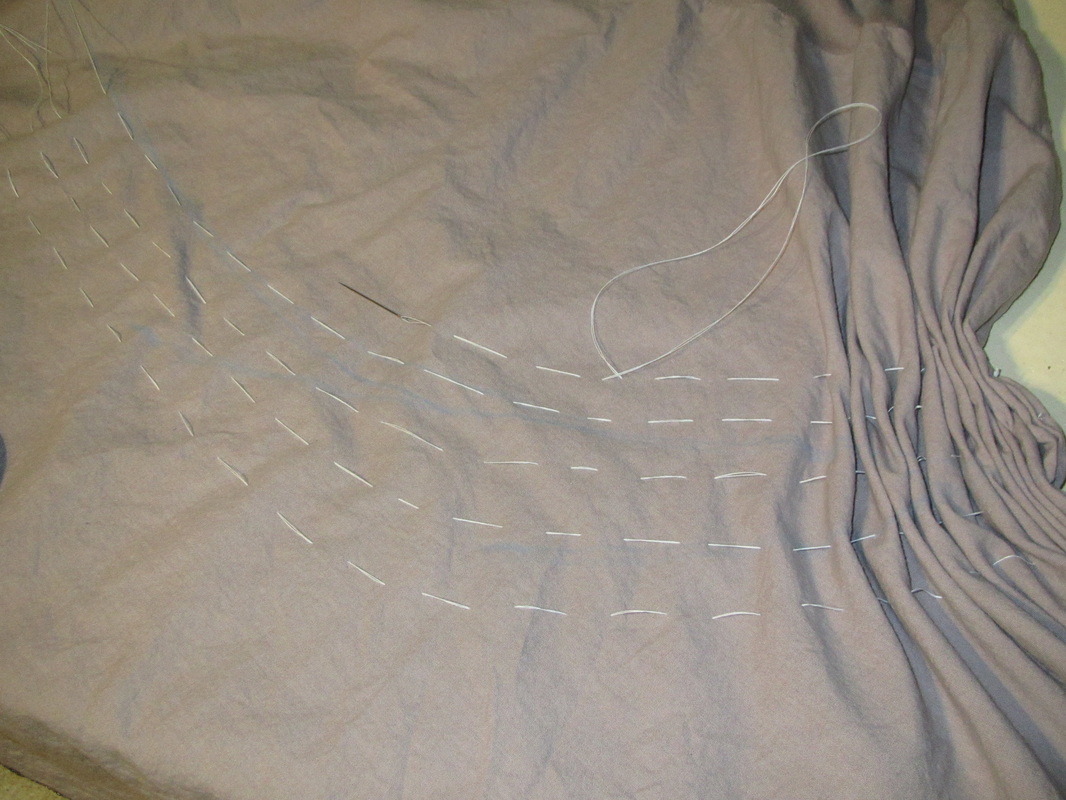
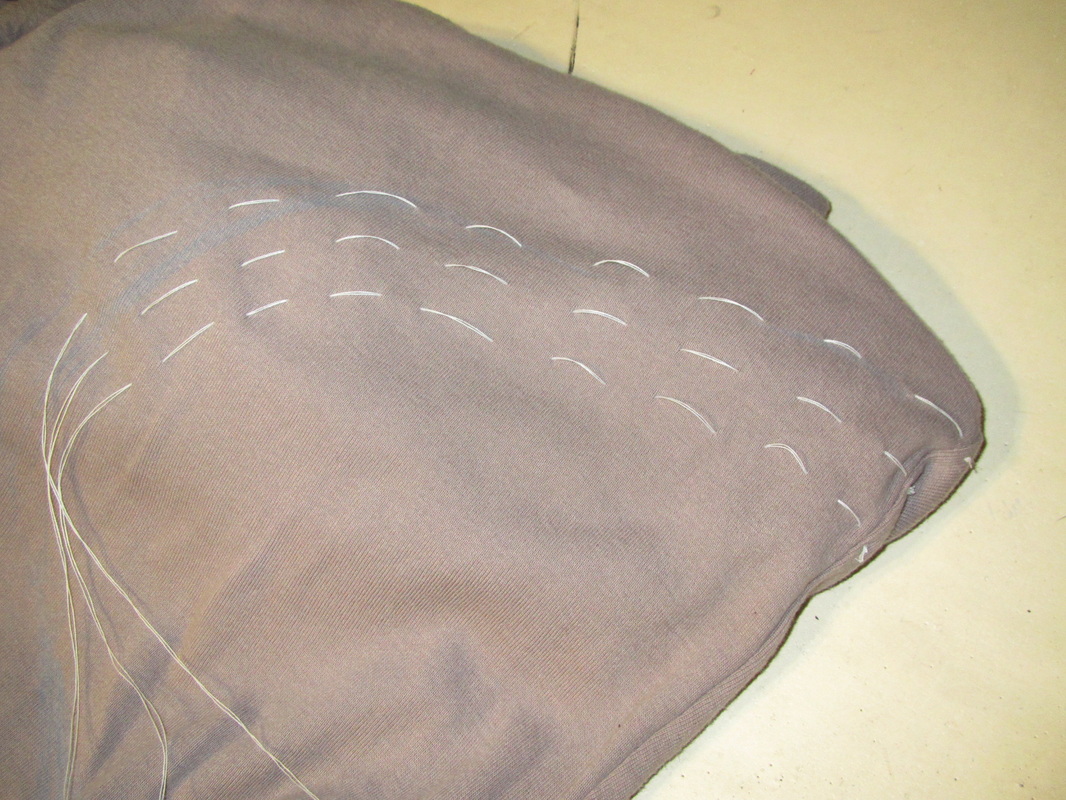
#9 Here is the gold ribbon, pleated up with parallel rows of hand gathers ready to go on the hood along with the other trim and lots of pearls.
| 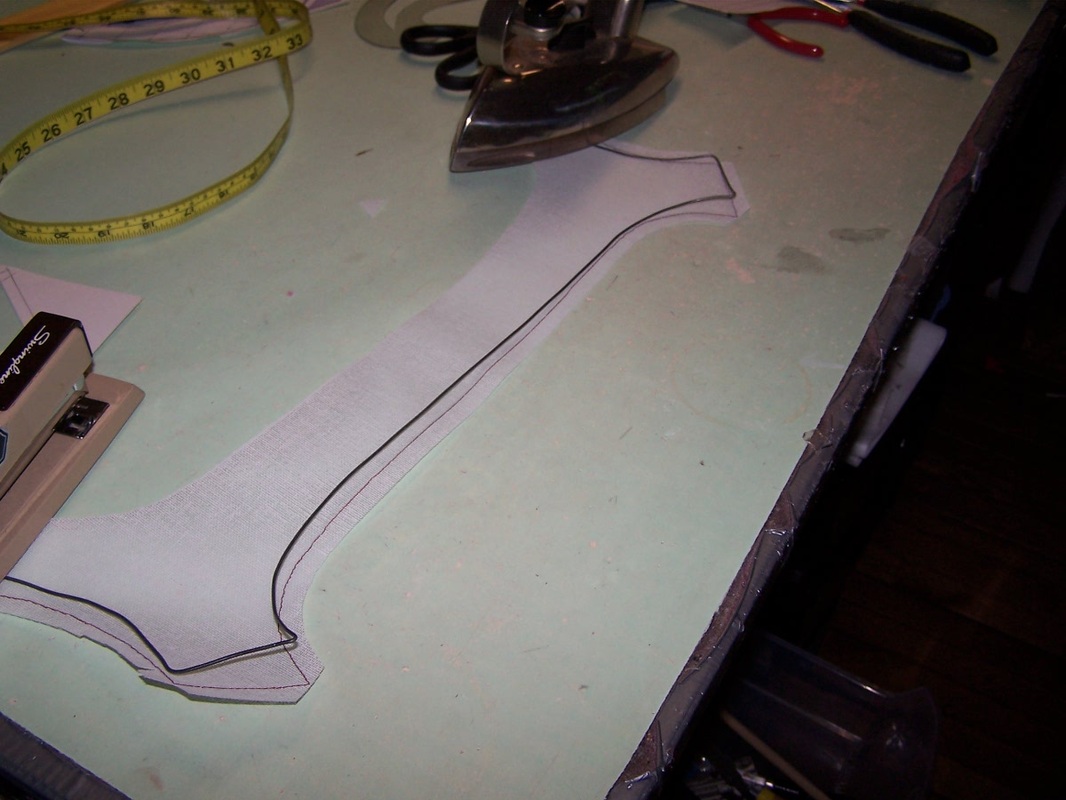
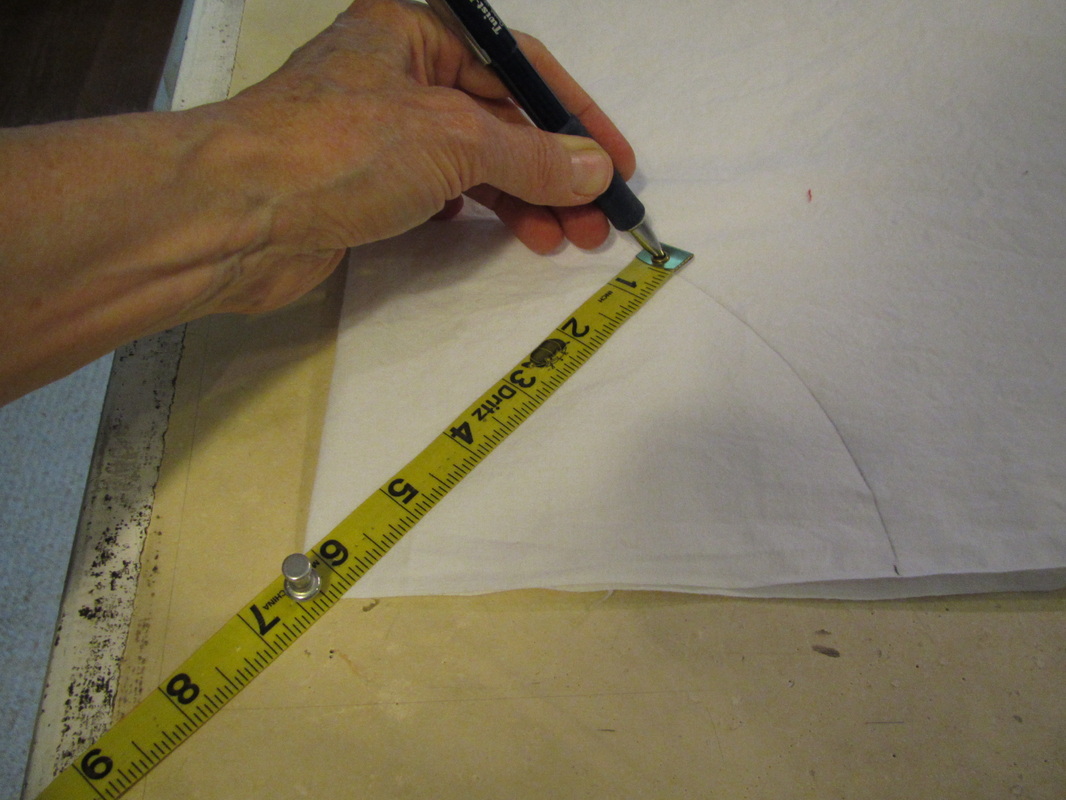
#2 Bend wire to the shape that will fit just inside that stay stitch line.
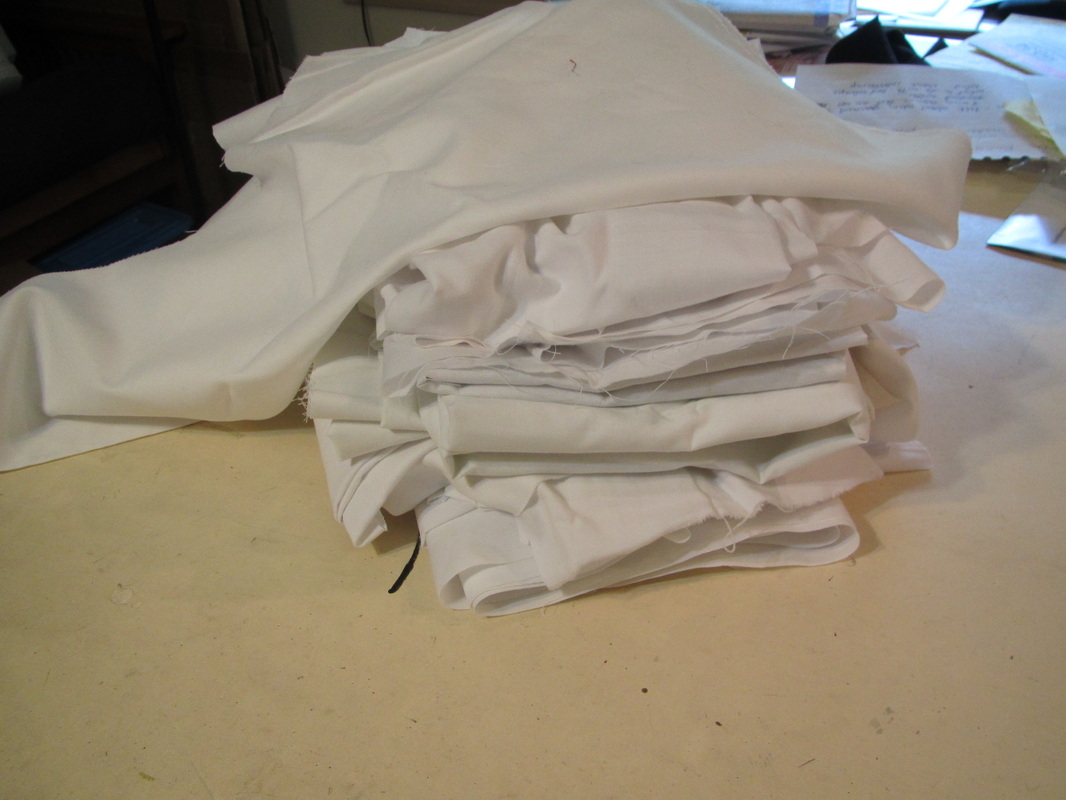
#4 Prepare the fabric parts of the hood base. Slide the buckram and wire into this and baste the open edge.
#6 Prepare the top crescent shaped piece, called the crown, with it's buckram.
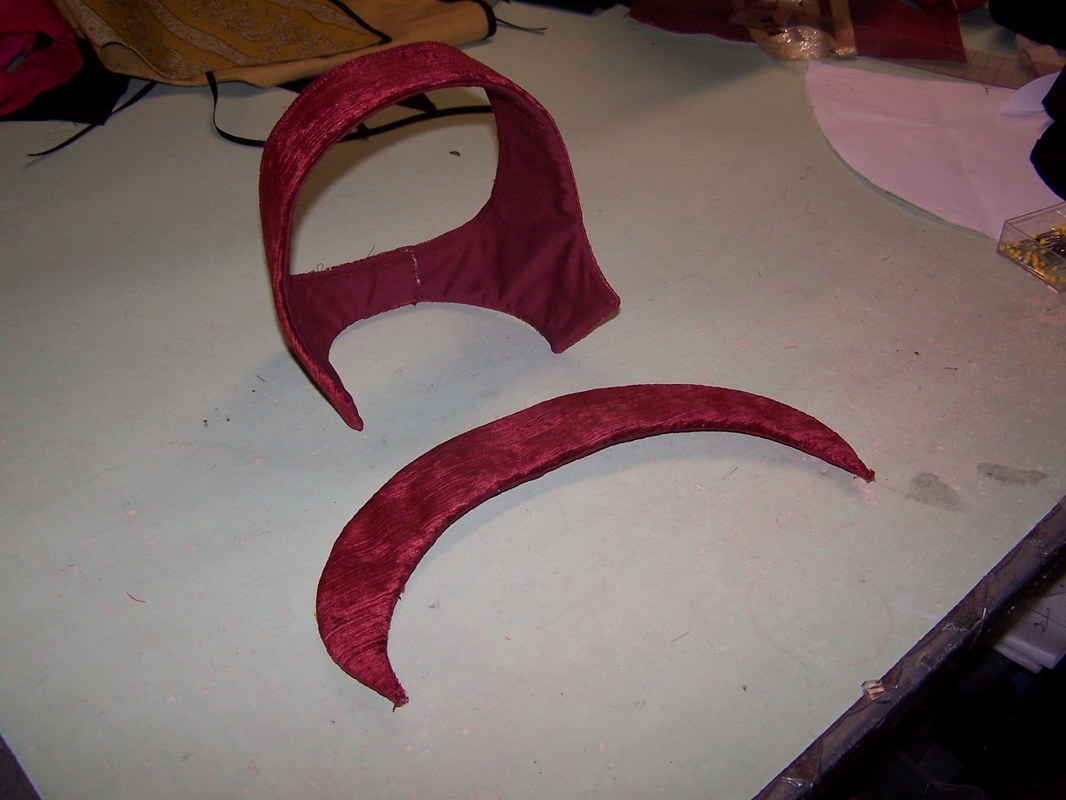
#8 Now pin the crown on and slip stitch in place.
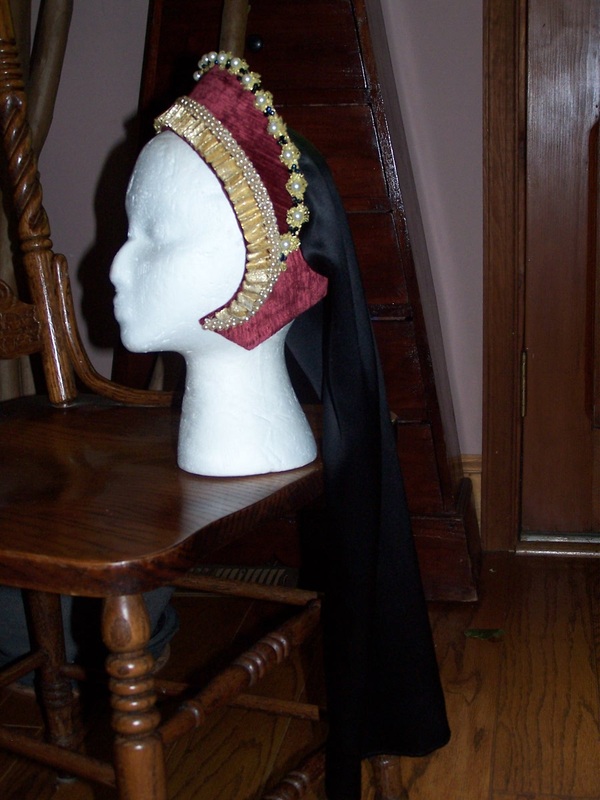
#10 And here is the finished hood with all it's trim and pearls.
|
The hair is worn inside the hood, pulling it through the opening and, if the hair is long, allowing it to hang down inside the veil.


 RSS Feed