
OK, it turned out better than I thought. But, there will be a second attempt to incorporate what I learned doing this one.
Anyway, back to the dye pots. I did a bunch of tie dye projects last summer with varying degrees of success. The two dresses I still love and wear regularly.
Here are links to those posts. Tie dye dress second try. ... First tie dye dress saved!
Here are links to those posts. Tie dye dress second try. ... First tie dye dress saved!
| 
|
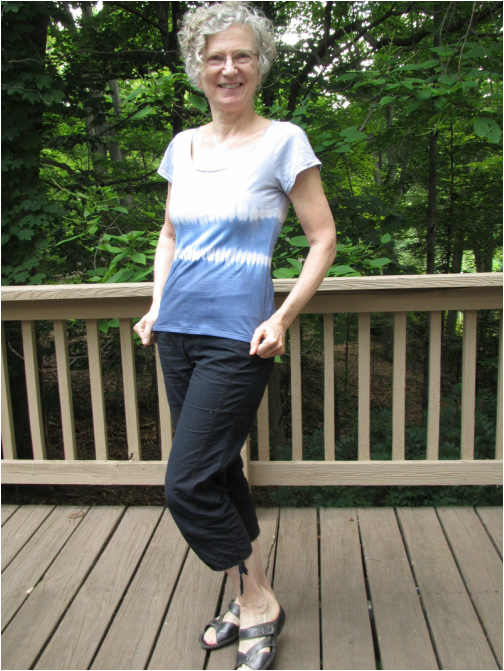
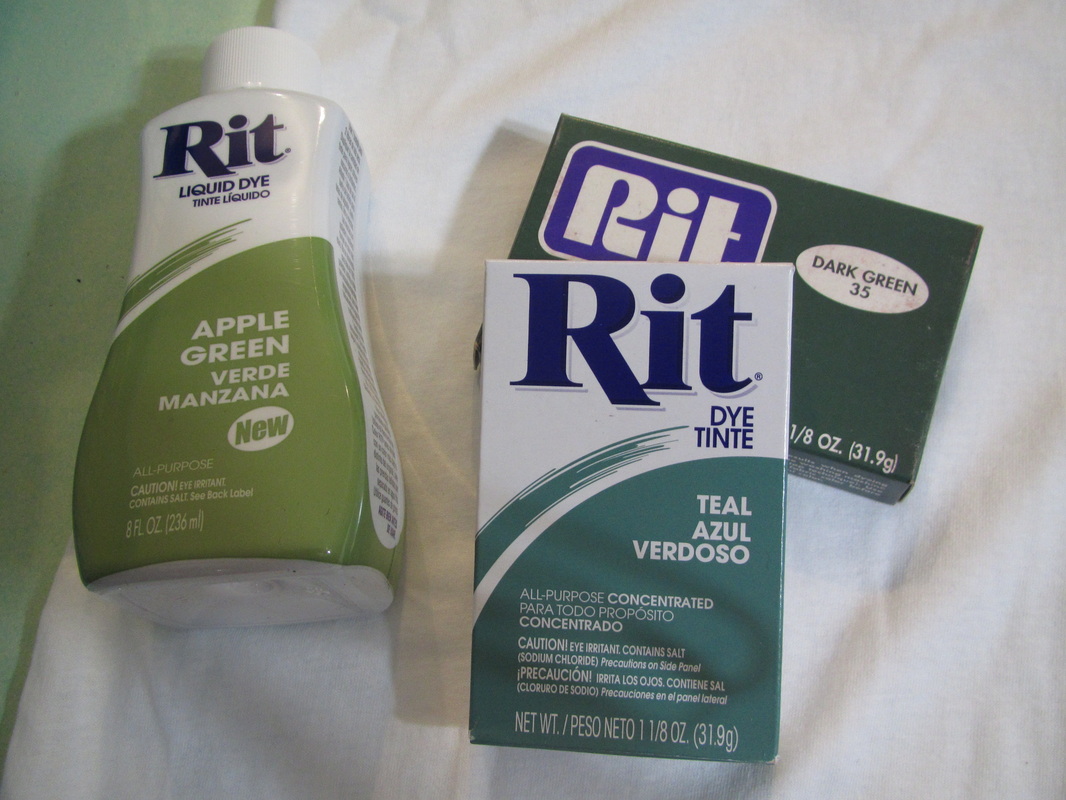
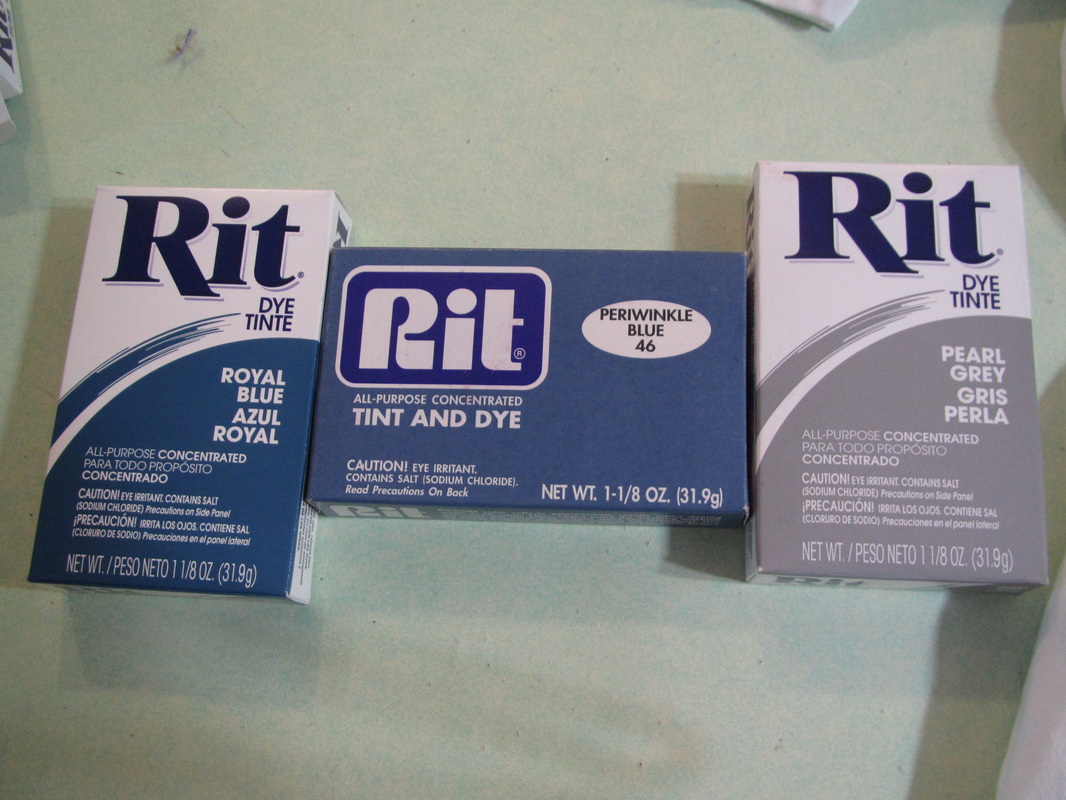
I've seen this style of ombre tie dye on a few people recently. I wanted to make mine with three colors and first pulled out 3 different greens, but after some consideration I thought it would be safer to use grey to dark blue.
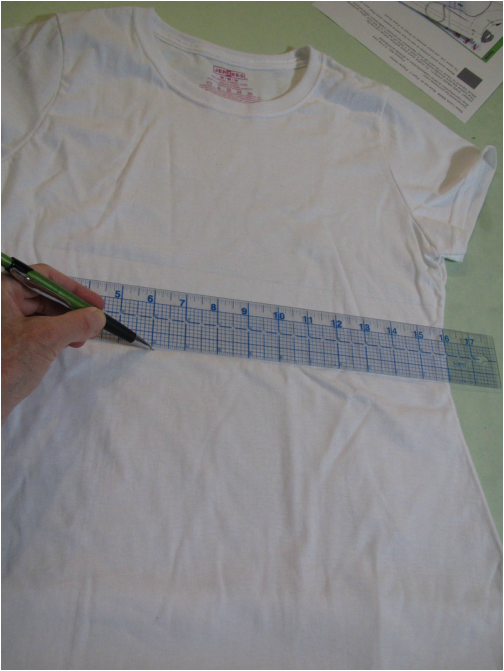
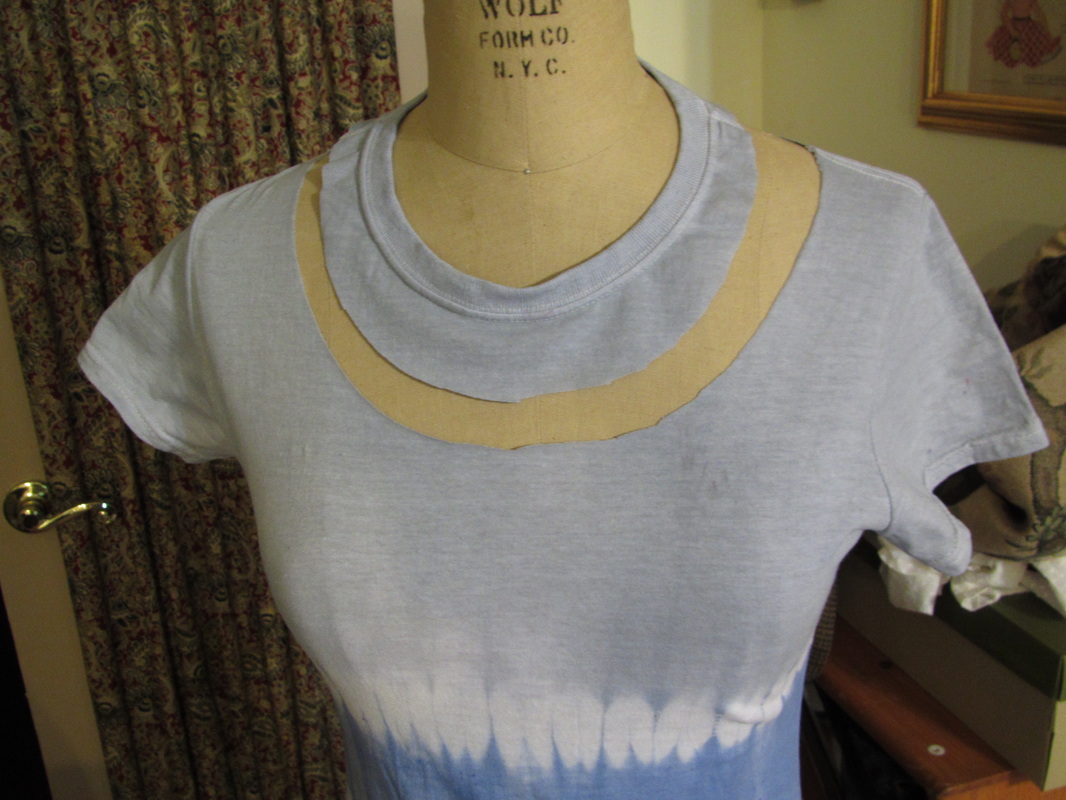
I wanted the color breaks to be just under the bust so I drew a line at roughly that point. (you can see in the finished photo above, I'm a little off, I should have tried the shirt on before marking this spot, that's why this is the first attempt)
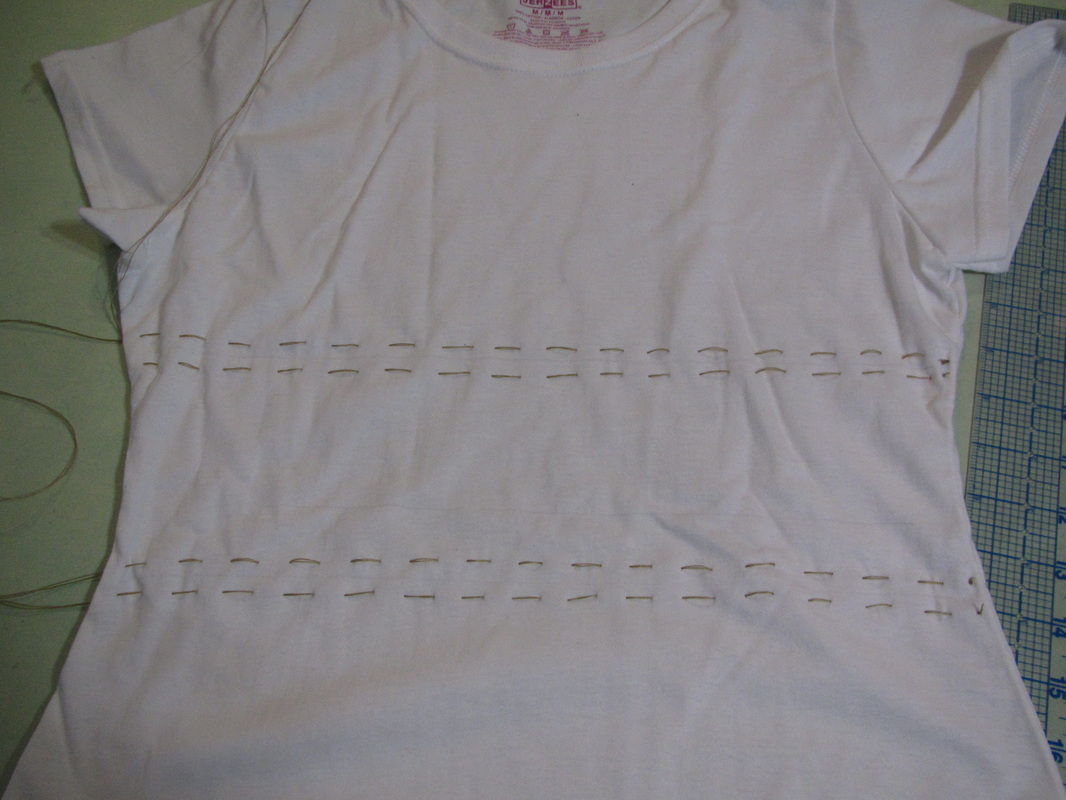
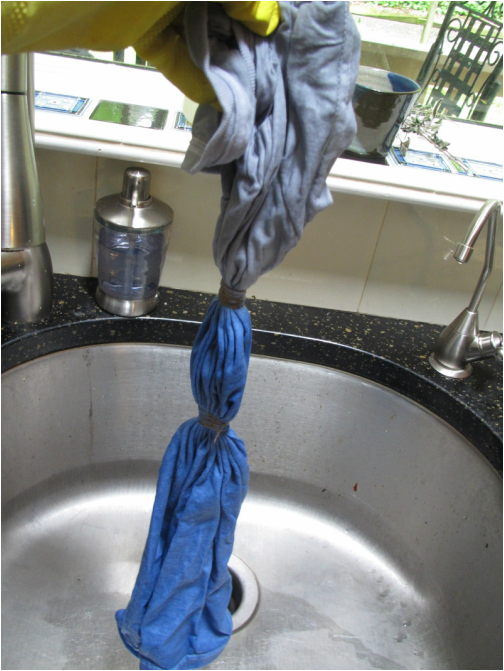
I like the look of organized tie dye pleats, so I made two double rows of wide parallel hand hand gathering.
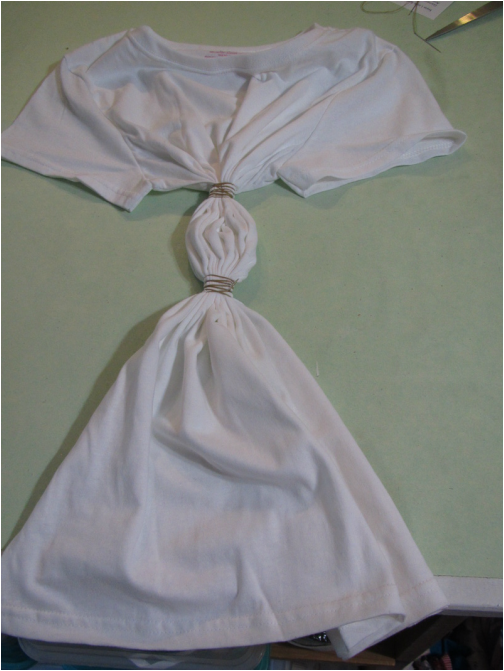
Then pulled these gathers up really tight and wrapped each section with all the remaining thread and tied off securely.
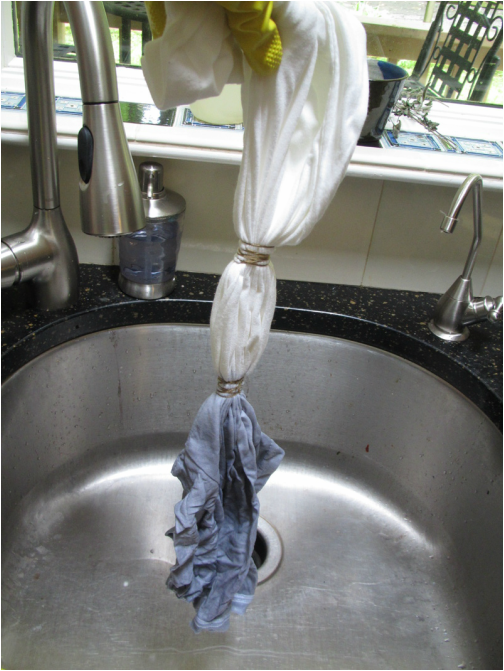
Following the instructions for the brand of dye I'm using, I maked a dye bath of the grey only and dipped just the upper portion of the shirt into it. I waved it back and forth in the pot for about 5 or so minutes then just squeezed the excess out as best I could while wearing rubber gloves.
For the next color, I dumped out HALF the pot of dye. Filled it back up with water and put in some of the medium blue. This will give the middle section some of the hue of the upper section. I hope this will make the colors go together better. It can be risky just using 3 totally different colors without doing text samples of all the colors.
I don't want to spend the time to do that AND that would mean making up 3 separate pots of dye because once I got a color I liked, I would want to save that color. Which would mean I would need 3 pots AND I only own one dye pot. I really don't want to use my cooking pots for this.
So, I forge ahead with my method of keeping a bit of color #1 when mixing in color #2.
When dye bath #2 is ready, this time I dipped the lower 2/3's of the shirt, swished it around for 5 or so minutes and squeezed it really well, again.
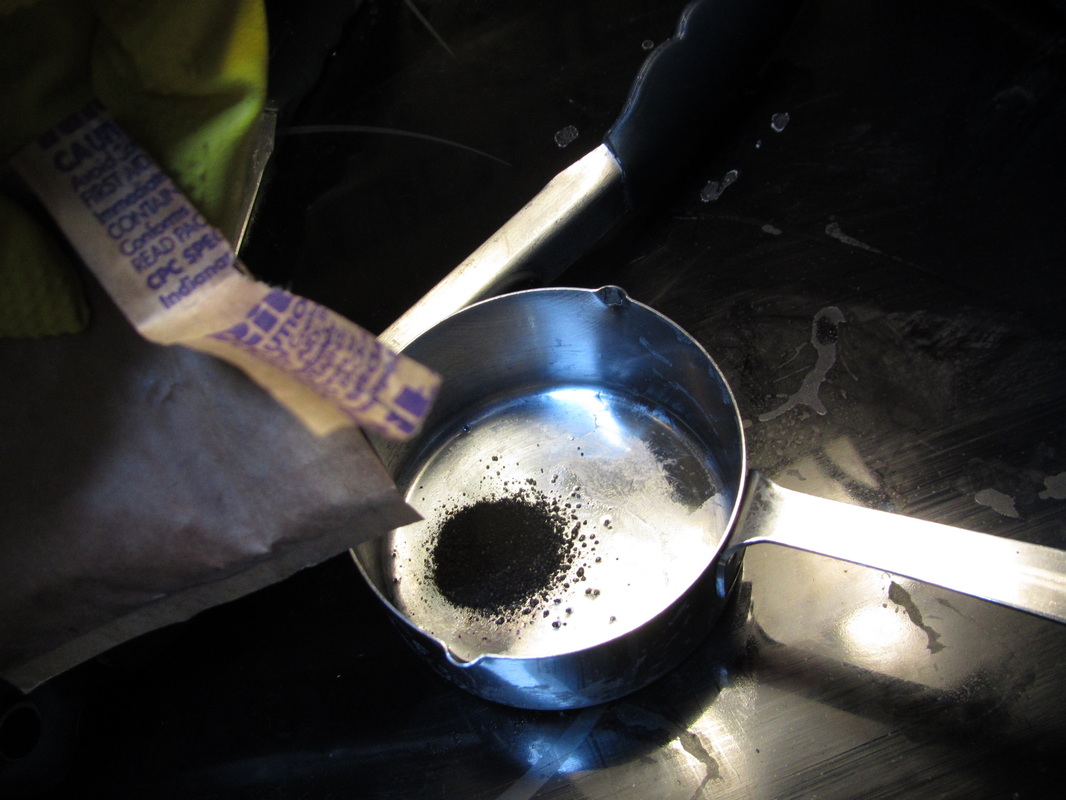
When I tinker with color in a pot, I add dye, a little bit at a time, about as much as in this picture. If you don't like the color of something you are dying, you can add some dye of one color or another and re-dip the piece. You don't need to rinse it or anything. That's why it's good to start with the dye bath on the light side. Once it gets too dark, the only thing to do is dump it out and start again. Plus your piece is probably too dark, too.
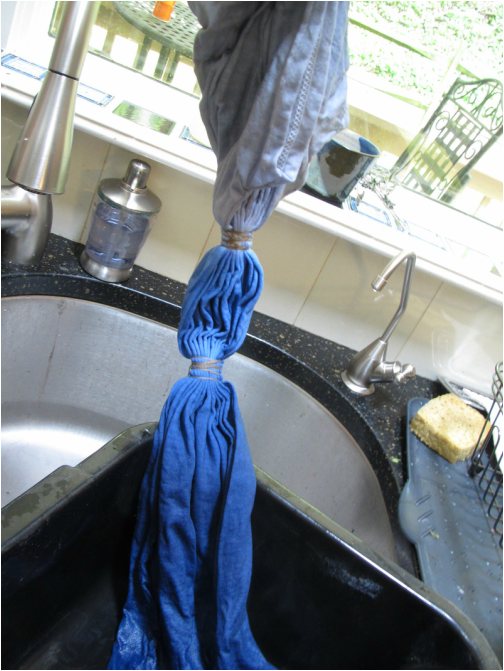
For the third color I actually didn't think the color was dark enough the first time I dipped the lower part of the shirt. I added more dye to the pot and did it a second time.
Just the lower third got dipped this time. This means the middle section was dipped once and the bottom part twice, which is perfect since it is supposed to be the darkest.
Just the lower third got dipped this time. This means the middle section was dipped once and the bottom part twice, which is perfect since it is supposed to be the darkest.

Now the shirt must be rinsed really well and then the thread can be taken off.
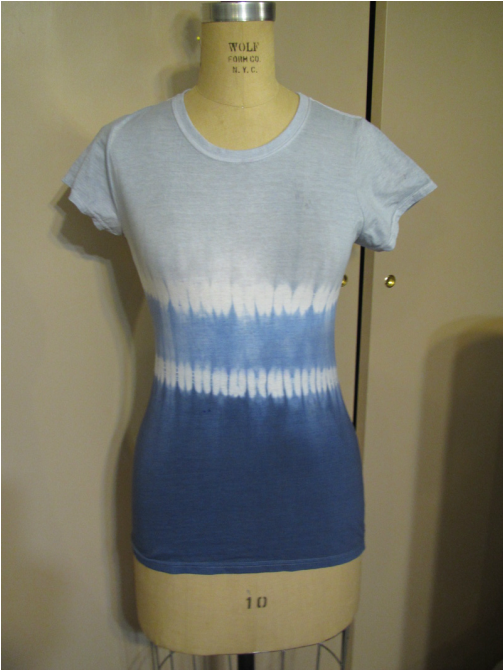
As I've said before, in my opinion, the neckline of any t-shirt needs to be changed. They are just not very attractive. And, in my opinion, this shirt is too long.
I wanted to keep this shirt simple, so I simply trimmed a little off to open the neck up a bit.
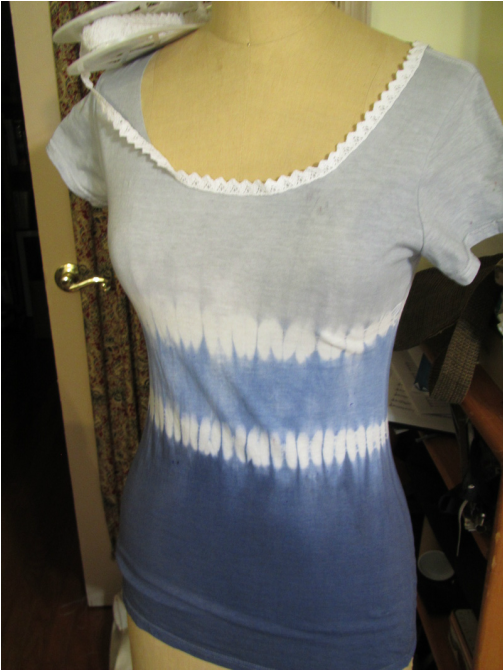
I considered adding a narrow trim at the neck, but it wasn't right. I did re-hem it 2" shorter though.
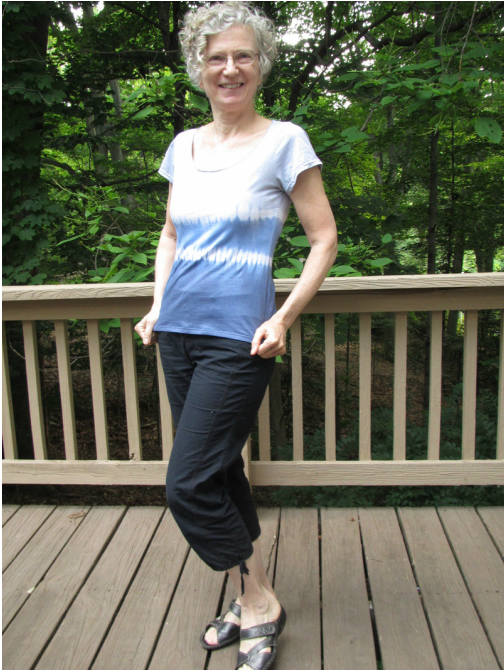
Well, this will be a great shirt for home and especially for the gym. It fits closely enough I think I can wear it in my Yoga class. If your shirt is too loose, it starts to go over your head when doing downward facing dog!

OK, one more lesson learned. See those color spots? They are like flavor nuggets when you pour water into freeze dried food and not all of it dissolves.
I should have stirred the dye around more before putting the shirt into the dye. Some of the granules were not dissolved yet and this is what happens. Live and learn!
I WILL do another one of these.
I should have stirred the dye around more before putting the shirt into the dye. Some of the granules were not dissolved yet and this is what happens. Live and learn!
I WILL do another one of these.
 RSS Feed