Andrea Schewe Design
  • Home
  • Costumes
    • Reader's Gallery
    • Fantasy Costumes
    • Theatrical
    • Historic >
      • Easier to make
    • International
    • Costumes for Kid's and Babies
  • Crafts
    • Home Decor >
      • Pillows
    • Fashion Accessories
    • Doll Clothes
    • For Kids and Babies
  • Blog
    • Past Blogs by subject >
      • My patterns by number
      • Sewing basics
      • Personal sewing Projects
      • Fashion History
      • Fun and funny stuff
      • Guest Bloggers
      • Crafts and Home Dec
  • Links
  • Contact

Holiday Break! 

12/24/2014

4 Comments

 
2014 has been great. I hope you all have enjoyed my blog offerings throughout the year.

I've decided to take a break until January.  I've been brought low with a very nasty bug and don't have the brain power to write anything interesting.
Picture
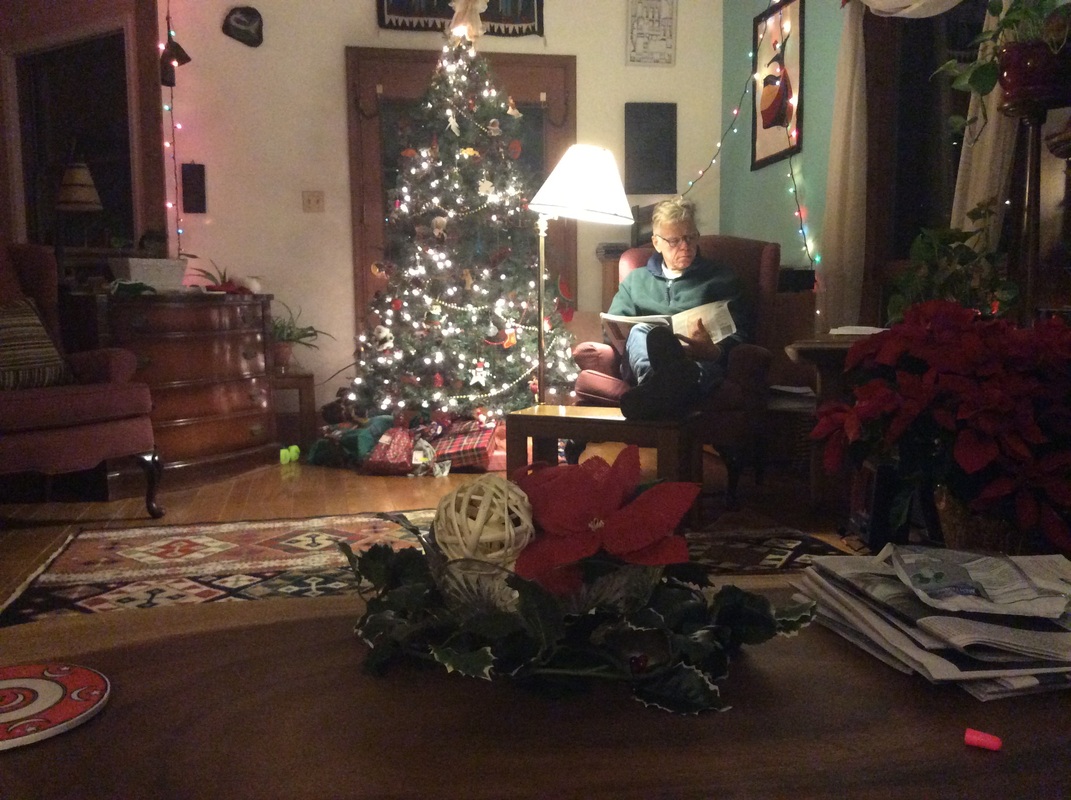
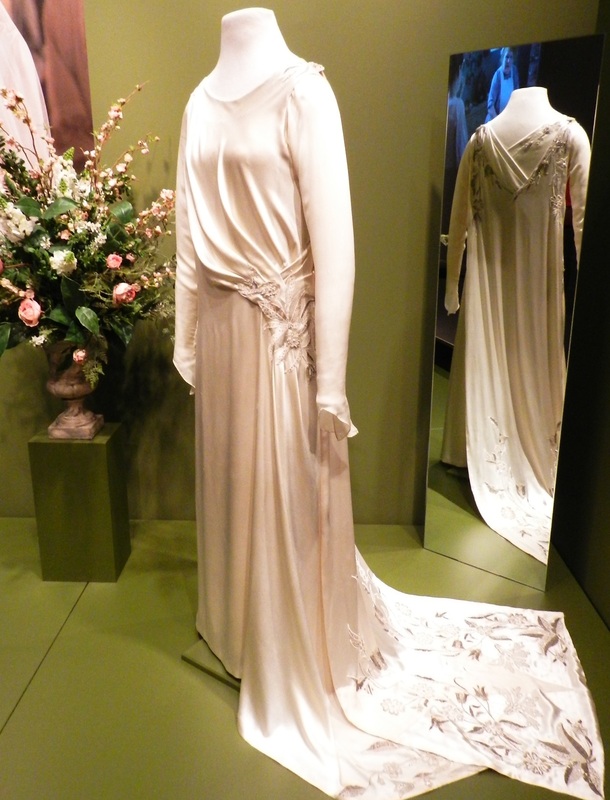
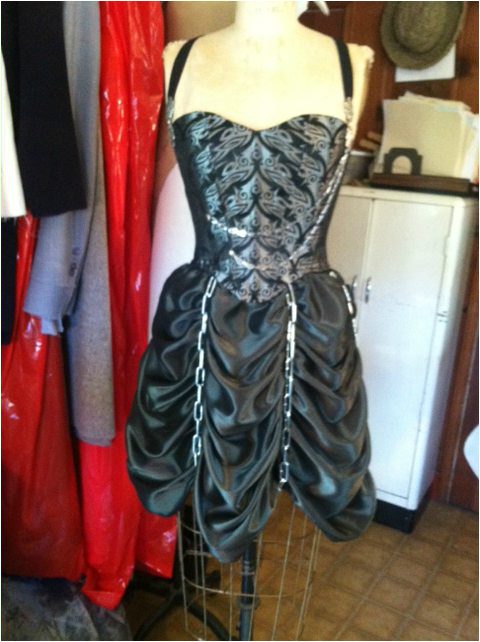
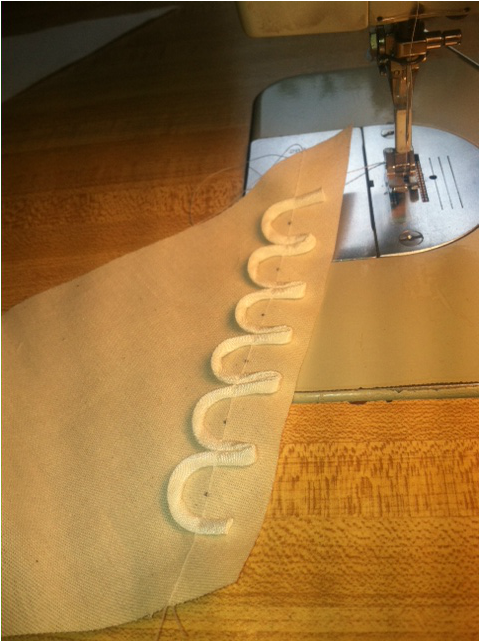
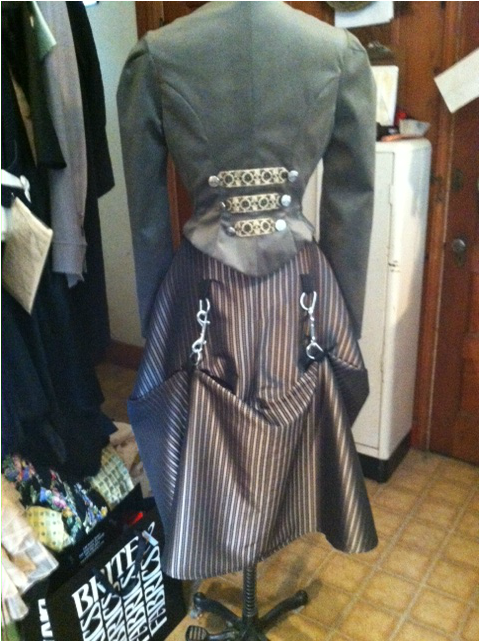
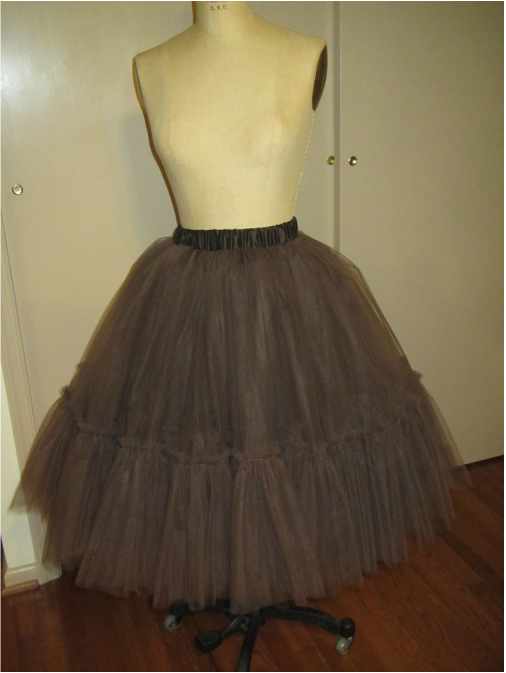
I thought I would share this photo I took with a fever while lying on my living room couch.

Hope you all have a warm and restful winter break, which is my goal.

Best wishes to all for 2015.

BE BACK NEXT YEAR!

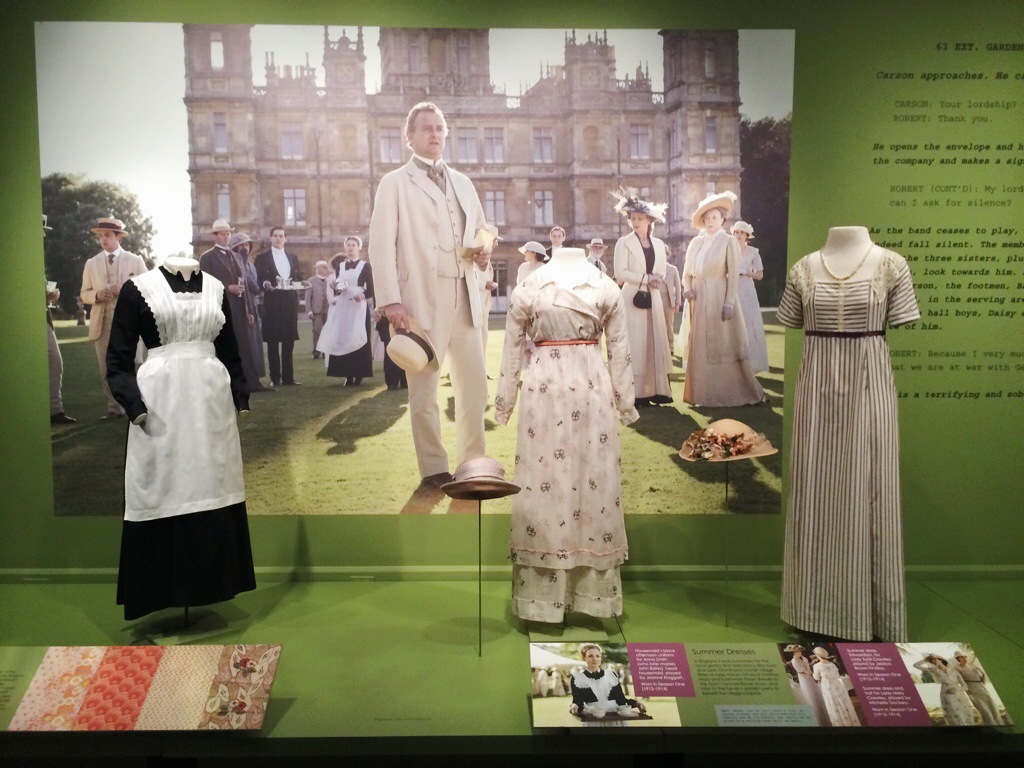
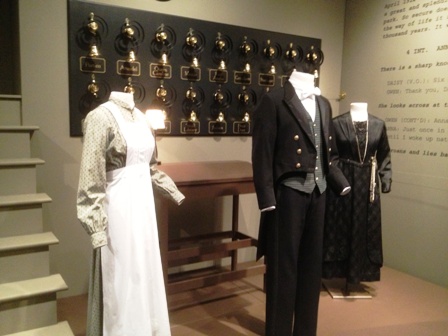
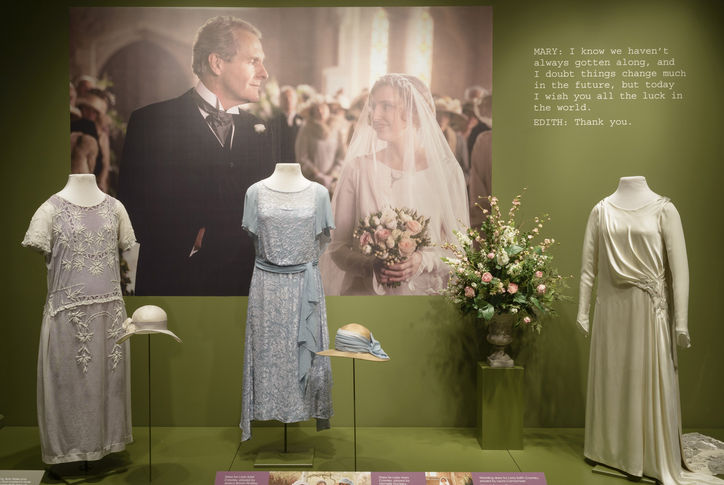
But ... I do have a small gift for you all, if you haven't seen them already. Two excellent Downton Abbey spoofs below. They are part 1 and 2 of a single story.  Watching them made me feel so much better. Thanks to my friend Linda for the link.
4 Comments

Seeing the Downton Abbey costumes in person!

12/22/2014

1 Comment

 
Picture
FINALLY! I got to see a bunch of the Downton Abbey costumes, in person.  I live fairly close (2 hour drive) from Winterthur, the estate and mansion of the Dupont family (think chemicals).  This was turned into a museum in the 1950's. The house is wonderful to visit. It is filled with Mr. Dupont's huge collection of early American art and furnishings and the extensive gardens are also quite famous. There is now a special building just next to the mansion for special exhibits and this is where the Downton Abbey exhibit was displayed.

As you can see, all the costumes were accompanied by photographs of the actors wearing the costumes. It is so interesting to see the sizes of the actors and realize they actually wore these clothes.
Picture
The first thing you see when you walk through the doors is this display of the call board and some of the servants clothing. I really liked seeing the green printed fabric that the house maid's dresses were made in, up close.  Mrs. Hughes' second season dress is on the right. It has some tiny subtle bead work that brings out the design of the fabric and dress. They explained that a real house keeper wouldn't have embellishments like that but on TV, details get lost on an all black dress otherwise.
Picture
Picture
These are the dresses the Crawley sister's wore to Edith's wedding. On TV you never see all the beautiful embroidery and beading at the waist and on the train of her wedding dress, and you can see some more neat detailing in the back by looking in the mirror.
Sybil's dress on the left above amazed me by how shapeless it was.  I didn't notice that when it was actually being worn on TV.
Mary's dress in the middle was made from scratch, first as as white dress which was then gradually dyed to the shade of blue desired.
What I found most interesting about seeing these costumes in person, was how many of them were interpretations of period clothing. The designer, Susannah Buxton, gets just 7 weeks to make, borrow and procure all the costumes for each season. I am in awe of her sense of style, creativity and especially her ingenuity to do this. Many of the elegant evening wear is cobbled together with bits of vintage fabrics and bead work with new fabrics, often skillfully dyed to match. 
To learn about her design philosophy directly read this interview with Susannah Buxton at the Time website.
Picture
This dress of Cora's is a good example of one of these cobbled together dresses. The vintage patch of embellished fabric is plain to see on the front of the dress.
Picture
The green dress on the left is new velvet fabric, dyed to match the vintage skirt and sleeve cuffs. I think Maggie Smith's dress on the right is all new, but the dress I really want you to look at is Cora's in the middle.  This one is a total made-up creation out of the designer's head. She found a panel of vintage fabric with beautiful beadwork and just played around with it, letting it fold and drape over the bosom, until she was happy with it and then built the rest of the dress around that.

OH ... I forgot to mention! Martha McCain was with me. She lives in New York, so we met half way to see this together.  Most of you know how much Martha knows about fashion history, so you can imagine her comments about some of these dress interpretations.  But, don't forget Martha worked for years as a theatrical costumer.  So, after observing the historical squishiness of some of the costumes, Martha said to me how the costumes worked fine on TV. The costumes should help the actor's do their job, not become the focal point of the show.
Picture
A little more about using vintage fabrics. Here is Sybil's famous harem pants ensemble.  Well, apparently the fragile bodice fabric split during filming. They had extra and replaced the part that was damaged, but it split some more. If you look closely you can see the upper part of the sleeve on the left side is split.
Picture
At the end of the show were the costumes Mary and Matthew wore when he proposed to her AND they had the video clip of that scene running on a continuos loop behind them.

It was SO romantic!!!!

Can't wait for season 5 coming so soon.
1 Comment

Theresa LaQuey - Guest blogger - Steampunk #4 - part 3, the fabrics and finishing

12/19/2014

1 Comment

 
Picture
Today is Theresa finishes up this series by talking about the fabrics she used for these costumes and showing some photos of the work in progress.


Thank you Theresa for sharing all this with everyone and giving me a break from blog writing ... I love my sister!


When it came to fabric selection, I once again scored a lovely gold patterned silk from Discount Fabrics in Berkeley for View A. I had wanted to use an acid greenish colored wool flannel, but Betsy Burger asked me to look at the Pantone color of the year, and we ended up doing a purple color that reflected the Pantone color.  The skirt silk comes from reliable Thai Silk in Los Altos.

For view B I scored a wonderful black and silver novelty brocade at Stone Mountain and Daughter Fabrics in Berkeley which is unusual as they don't normally carry anything like that, and I found a very nifty changeable black fabric that was very buoyant at Piedmont Fabric in Oakland. 

Picture
Here I am showing you how I made the channels for the bones in the corset.  I carefully pin through the seam line and the lining seam line and stitch.  You always have to be very accurate when putting the corset pieces together as it won't look good if things are baggy or wrinkly. I also use fusible interfacing on all of the fashion fabric parts of the corsets to reinforce them. 
Picture
When working on the overskirt, I set a piece of seam binding into one of the two gathered seams to insure that they do not stretch and are the same length. 
Picture
After I dyed the Venetian lace, (yes I dyed it, it was rayon so I could) I started figuring out where and how it should be placed on the jacket.  This particular lace I found on eBay. 
Picture
 One of the great things about Venetian lace is that it cuts apart so well. Here is my placing it on the upper sleeve and then starting to hand sew it onto the back side of the fabric. 
Picture
 I prefer to work from the backside on this operation if I can as then your thread doesn't get caught on the lace.  
Picture
The next photo shows the finished pinned placement of the lace on the collar.  This lace has also been cut apart and altered to fit the shape of the collar. 
Picture
On the back of the jacket, I used some of the extra pieces from the collar for added prettiness. 
Picture
Here is the back of the jacket shell stitched together with the completed lace and a sleeve pinned to the form so I can get a final look at how the outcome will be. 
Picture
I used some fusible wigham to give the jacket hem a nice crisp edge.  You can just use bias strips of fusible interfacing. 
Picture
And here is the almost finished product, with out its chain decoration. 
Picture
 A closer detail of the jacket butting onto the corset. It has been some pretty intense days of sewing.
Picture
Picture
This is view B. I have used chain from the hardware store, some decorative buttons, some clasp buckles to attach the straps and an O ring for the back.   I took this photo before I had to make a second trip to the hardware store.  I hadn't purchased enough chain for the corset.
Picture
Picture
Finally a photo of the back of the finished garment with an extra photo of the wonderful cuff detail ... things that the envelope photo doesn't show too well.

In all of my Simplicity designs, as my sister taught me, these are just a jumping off point for all of the people who want to riff on the designs. I hope that you all have a good and fun time with them.

Theresa LaQuey 
1 Comment

Theresa LaQuey - Guest Blogger - Steampunk #4 - part 2 - the muslins

12/17/2014

1 Comment

 
Picture
From Andrea ... Today Theresa show us the muslins for her fourth Steampunk pattern that she's named "It Came from Outer Steampunk"

Take it away Theresa ...

I did a practice run on the loops, here I am showing you how after I have stitched and turned the loops I pin them to my ironing board and stretch them with steam as tight as I can.  I let them rest for about fifteen minutes before I use them. 


Picture
Picture
Picture
Staring the process of making this pattern I firstly tested the overskirt by making just one panel. It would seem crazy to waste all of that muslin for the overskirt if I hadn't tested that first panel. 
I also made a half muslin of the corset with a starting point of one of my previous corsets. I then patterned the jacket using a starting point of my first steampunk pattern as the fit had been approved already by Simplicity so I was pretty sure that the fit would work.  I had to change one of the seam lines in the corset so that the jacket could button onto the corset and the buttons could be on a seam line. That being done and adjusted to my liking, I draped the collar as I wanted it to have a particular kind of a stand to it and also flat patterned the cuffs, which then I adjusted further.
Picture
Picture
I did a practice run on the loops, here I am showing you how after I have stitched and turned the loops I pin them to my ironing board and stretch them with steam as tight as I can.  I let them rest for about fifteen minutes before I use them. 
Picture
Andrea here ...
You can see Theresa is checking the fit of the jacket and skirt before adding the corset. 
Picture
Now she puts it all together, buttoning both sides of the jacket front to the corset.  This is not a garment one gets into quickly, but oh so cleaver!
Picture
And the beautiful back!  Friday she will show more sewing and explain all her fabric choices.
1 Comment

Theresa LaQuey - Guest Blogger - Steampunk #4 - #1248 - part 1

12/15/2014

0 Comments

 
Picture
Dear Blog readers ... welcome to Theresa LaQuey week II!  This latest Steampunk design will take the whole week. Enjoy!

And now we fast forward yet another year to 2014, the next in this series is requested so I hit the costume books, a museum or two this time and get creative again.  Steampunk #4, know around my house as "It came from Outer Steampunk" is another attempt at another silhouette.  In my mind I start listing different aspects for inspiration.  Early 1880s, Victorian bodices that attach to a stomacher or have the look of having a stomacher, Viennese drapery, Schiaparelli from the 1930's, (an easy one for me) and chains from the hardware store.  The idea of using Venetian lace appliques came like a lighting bolt.  I have done so much work with lace with my custom wedding gowns that I knew that was going to work. And View B was a no brainer as just using the corset and overskirt from View A with a couple of changes would work with our goal to use the same pieces from either View.
Picture
Here is my preliminary thought sketch, working things out.
Picture
Picture
The completed rendering of Views A and B ...
Picture
And the details sketch showing all of the pieces.
-- 
 Theresa LaQuey
0 Comments

Theresa LaQuey - Guest Blogger - Steampunk #3

12/12/2014

1 Comment

 
Picture
Theresa is back! This is a tidbit for next week which will be a three part series on her latest Steampunk pattern, #1248. This is her third Steampunk and, alas, she didn't get as many photos of this one. BUT, there are three interesting short videos of her explaining the muslin samples for Betsy Burger in Simplicity's New York offices.


Take it away ... Theresa!
Picture
Oh and one more thing ... she named this one "The Revenge of the Steampunk!"

So, as this steamy design tale goes, another year goes by, another Steampunk pattern requested.  This was perhaps the most difficult for me to design in this series.  My mother's health was in severe decline and as her main caretaker, I was pretty emotionally drained.  I had sent in some designs, but Simplicity didn't think they would go and so back to the drawing board I went.  Betsy had sent me a couple of starter ideas and I finally got inspired to go in a kind of military direction on one view (Also a bit of Adam and the Ants from the 1980's) , and more of a romantic direction on the other.  

Picture
I found the wonderful striped skirt fabric at Britex Fabrics, San Francisco and also the velveteen and trim for View A, and we were off to the races.  As with the previous pattern, I had started making up short videos to show Betsy where I was going in the flat pattern and draping.  They have been really helpful as these patterns are just more complex and different than say, aprons or Barbie clothes.  Alas I don't have any construction photos from this pattern, or better yet me trying to figure out how to make those spats, as I ended up draping them on my own leg and then sizing them down to the proper measurements. So many little pieces for the tabs and straps, so many trips to the hardware store. I never ever thought that I would be in a hardware store by D-clips for a pattern project.

-- 
 Theresa LaQuey
1 Comment

Paper Mache inspiration

12/10/2014

0 Comments

 
Someone posted on Facebook today this time lapse video of this dragon trophy being made. Is is mesmerizing to watch. But, also, it show what can be done with newspaper, paste and paint! I think it can get all of our creative juices flowing! 


Think of the masks, hats or props you could make this way.
I particularly like this marionette family being made below.  It harkens me back to my toy design days.
But, really, if you need a very cool diversion today, go to the Gourmet Paper Mache website. There are so many more of these fun videos to watch!
0 Comments

Tulle Skirt - Pattern #1427 - that inside yoke explained!

12/8/2014

17 Comments

 
Picture
It seems that the blog I wrote a long time ago, back in February to be exact, is my most read posting ... here is the link, just in case you haven't read it!

I'm happy tulle skirts are poplar right now. Sewing all that tulle can be daunting and I give tips about dealing with so much tulle in that blog. BUT, I'm sorry to hear many people are confused by the inner yoke I created.

First I want to explain why this seemingly unnecessary piece is there. It's purpose is to keep the bulk out of the waist seam. If all the layers of tulle were wedged into that waist seam, it would be very bulky and the elastic would have trouble snapping back to it's correct size. The whole waist would sag.
Picture
First, this is what the skirt would look like with out any tulle. There is the elastic waist, then the yoke followed by the main part of the slip. So, there are two main seams. The one at the upper edge of the yoke and the one at the bottom of the yoke.
Picture
SO ... all but the two outer most layers of any of the skirts in this pattern are sewn into the lower seam. This keeps that bulk away from the waist.  Then just the last two layers of tulle are sewn into the waist seam.
Picture
That is how to reduce the bulk at the waist in a 7 layer skirt!


And, as always, I'm happy to do my best to answer questions.
17 Comments
<<Previous

    From Andrea 

    I am a commercial pattern maker who is now "sewing over 50"!
    I love to sew and hope to encourage others to come back to sewing.
    The water is fine!!

    Archives

    May 2019
    April 2019
    March 2019
    August 2017
    July 2017
    June 2017
    May 2017
    April 2017
    March 2017
    February 2017
    July 2016
    June 2016
    May 2016
    April 2016
    March 2016
    February 2016
    January 2016
    December 2015
    November 2015
    October 2015
    September 2015
    August 2015
    July 2015
    June 2015
    May 2015
    April 2015
    March 2015
    February 2015
    January 2015
    December 2014
    November 2014
    October 2014
    September 2014
    August 2014
    July 2014
    June 2014
    May 2014
    April 2014
    March 2014
    February 2014
    January 2014
    December 2013
    November 2013
    October 2013
    September 2013
    August 2013
    July 2013
    June 2013
    May 2013

    Archives by Subject

    To search for blog posts in specific categories, use the drop down menu above by hovering over the word "Blog"

    Enter your email address:

    Delivered by FeedBurner

    RSS Feed

    Andrea Schewe participates in Amazon's associates program.