Andrea Schewe Design
  • Home
  • Costumes
    • Reader's Gallery
    • Fantasy Costumes
    • Theatrical
    • Historic >
      • Easier to make
    • International
    • Costumes for Kid's and Babies
  • Crafts
    • Home Decor >
      • Pillows
    • Fashion Accessories
    • Doll Clothes
    • For Kids and Babies
  • Blog
    • Past Blogs by subject >
      • My patterns by number
      • Sewing basics
      • Personal sewing Projects
      • Fashion History
      • Fun and funny stuff
      • Guest Bloggers
      • Crafts and Home Dec
  • Links
  • Contact

Costume Con ... being there ...

4/30/2014

2 Comments

 
Picture
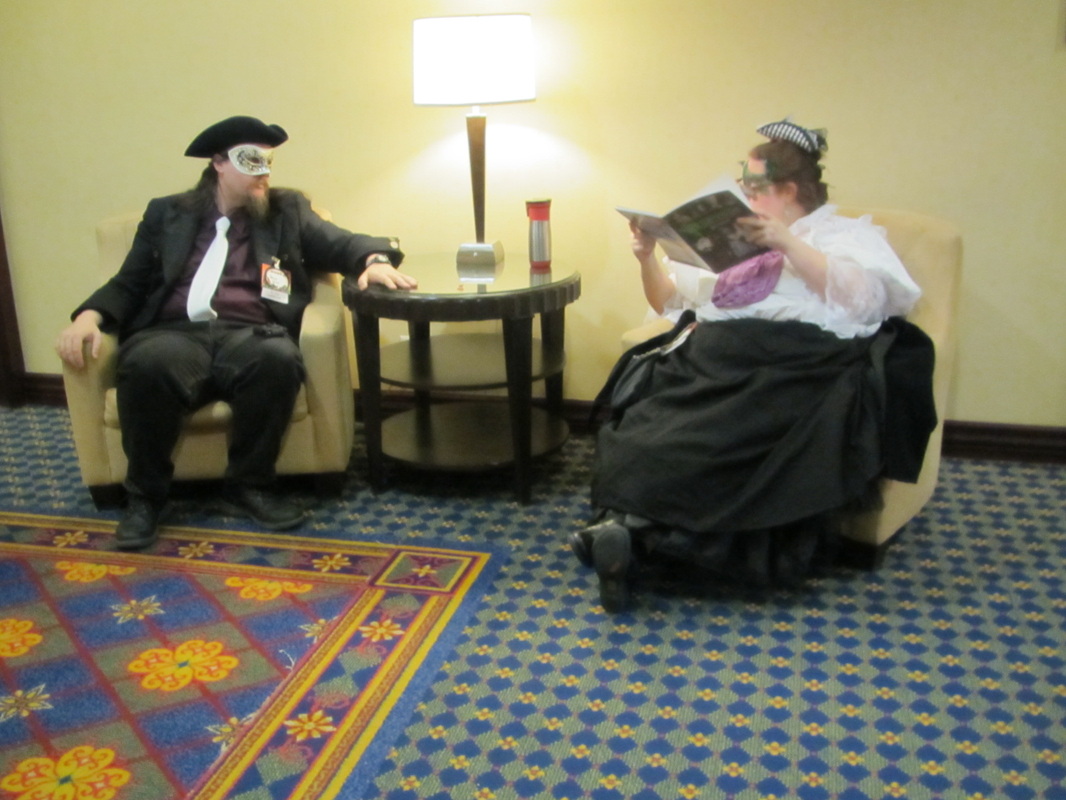
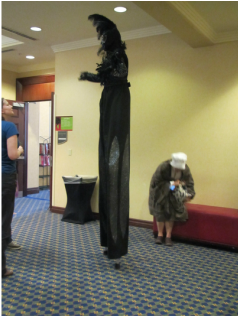
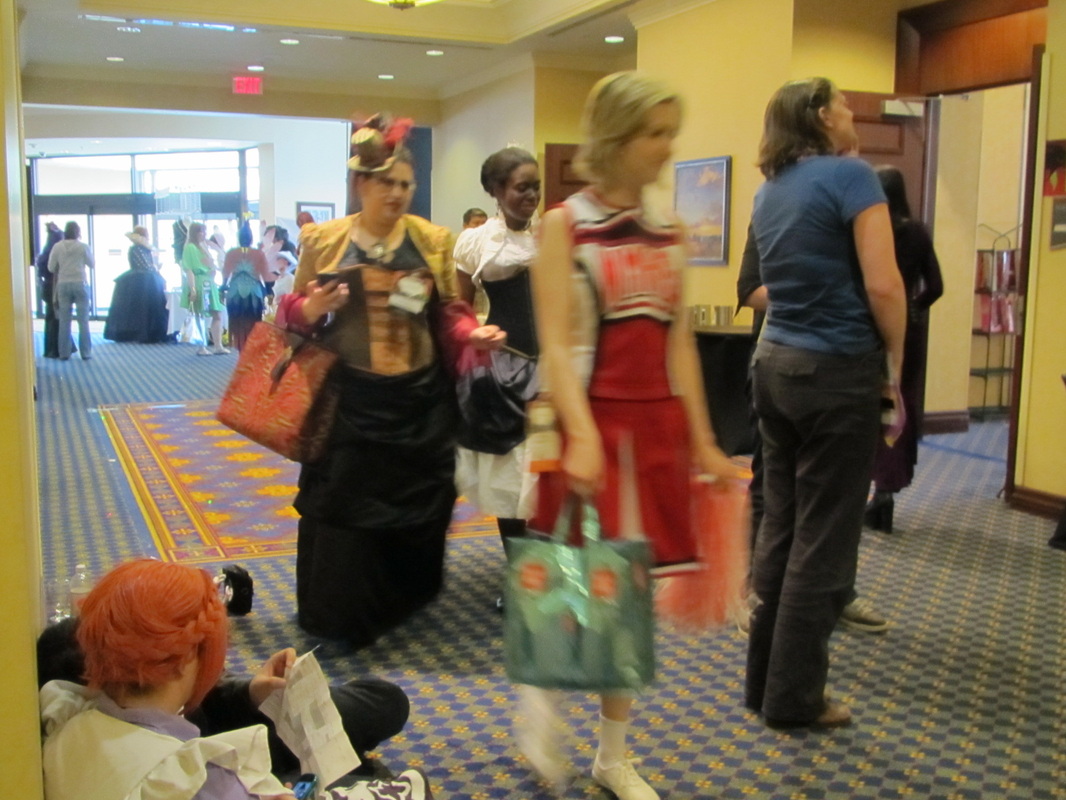
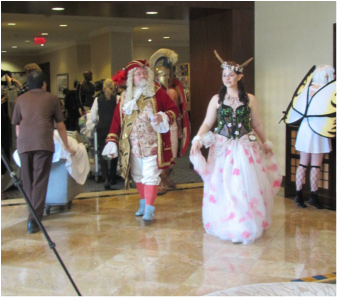
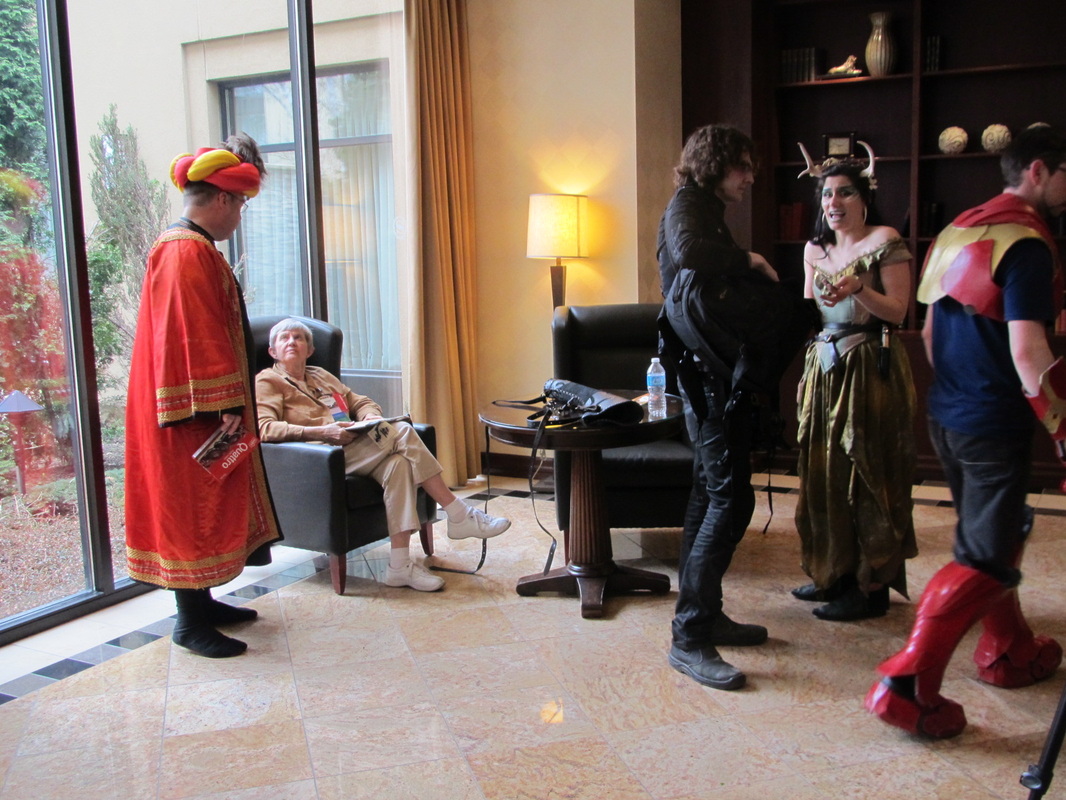
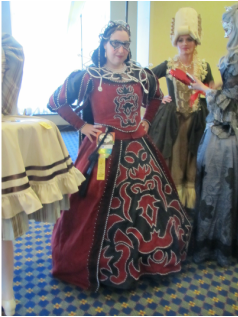
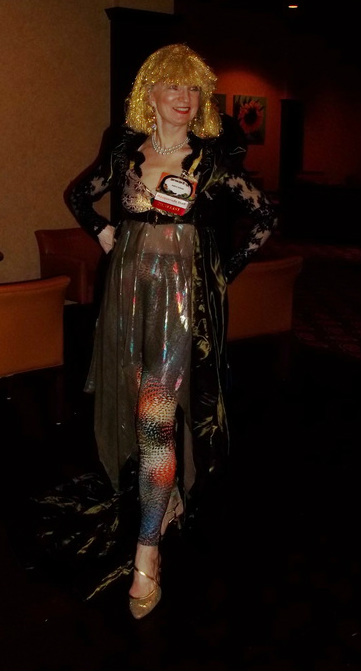
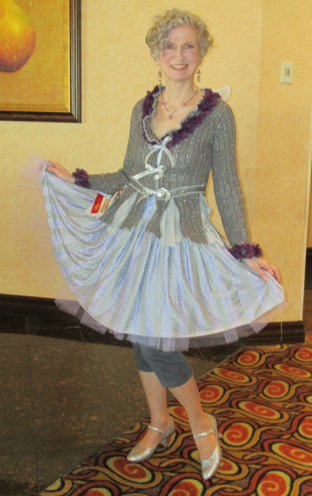
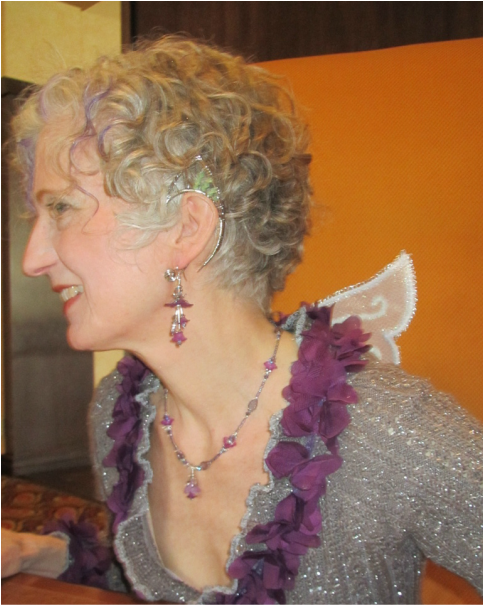
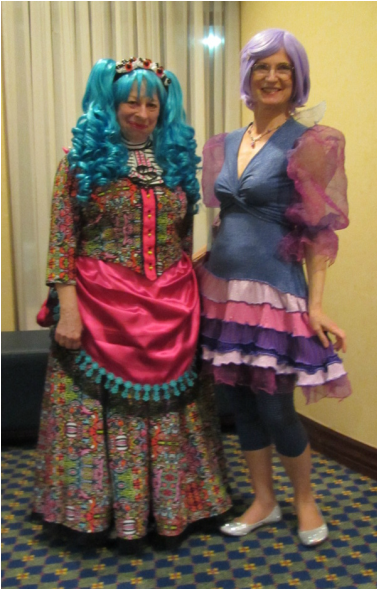
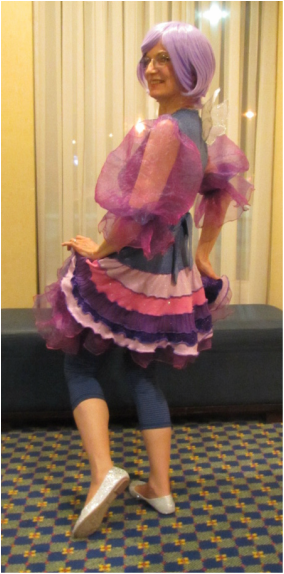
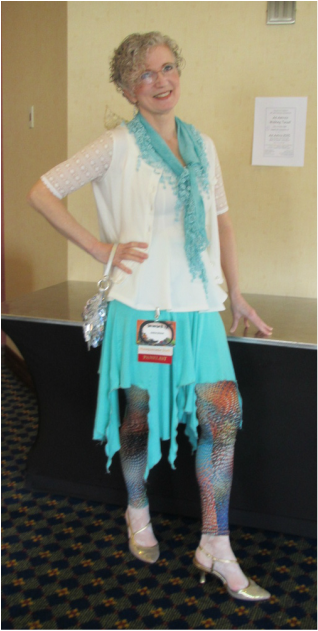
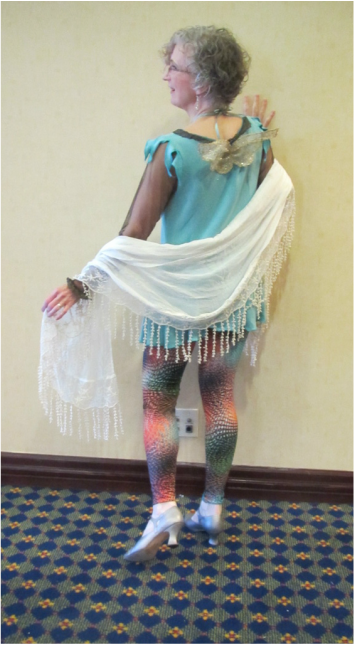
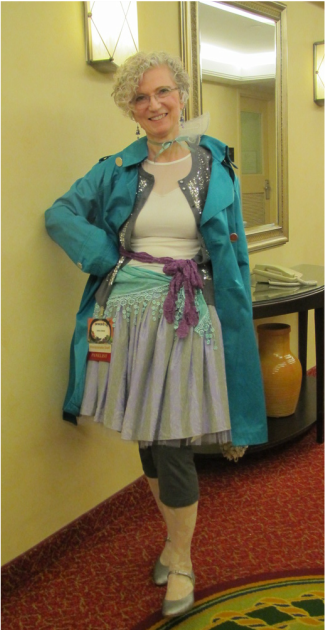
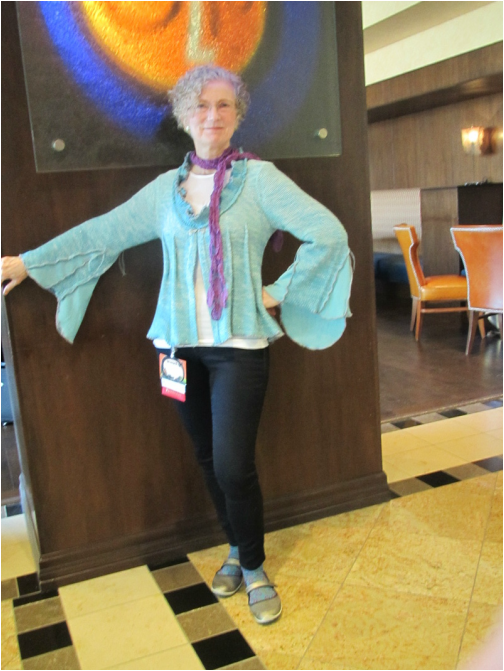
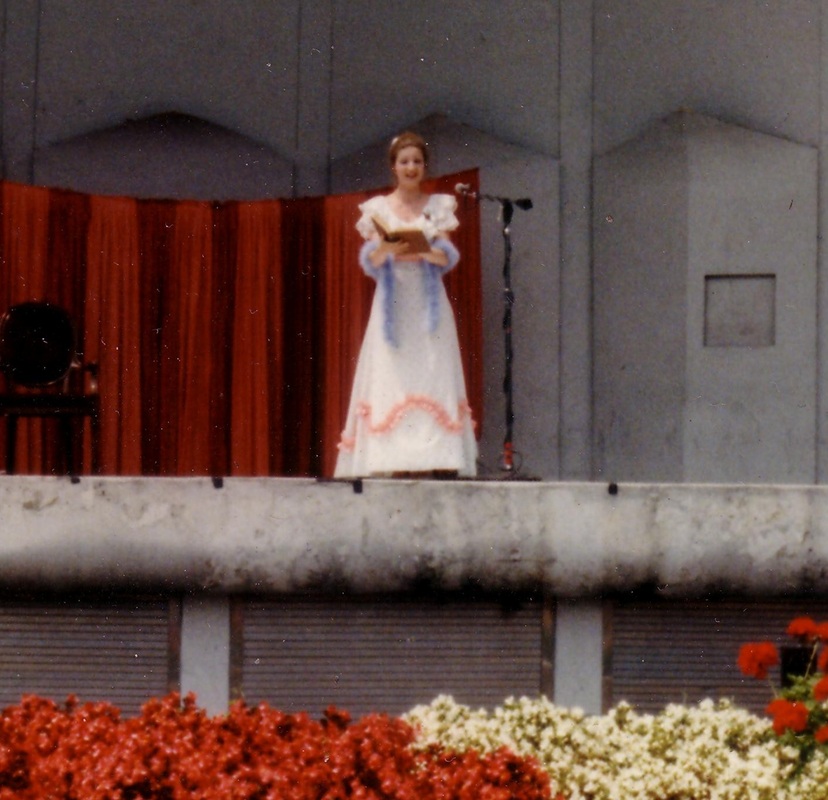
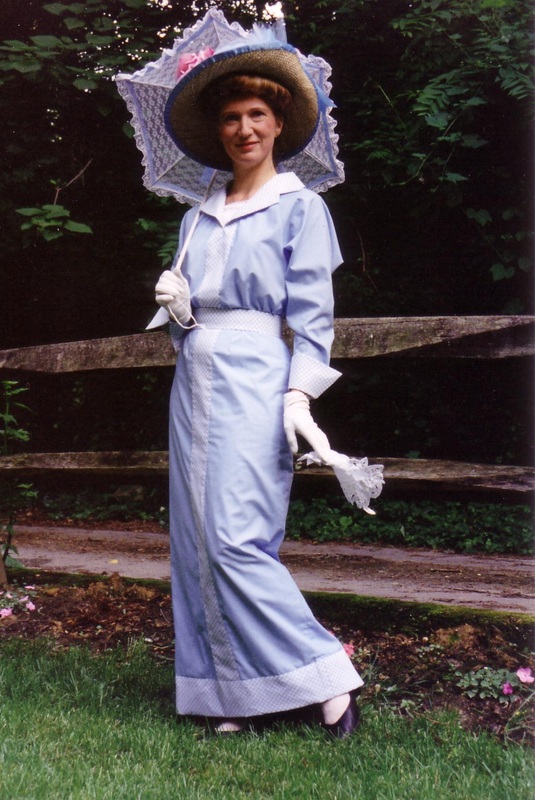
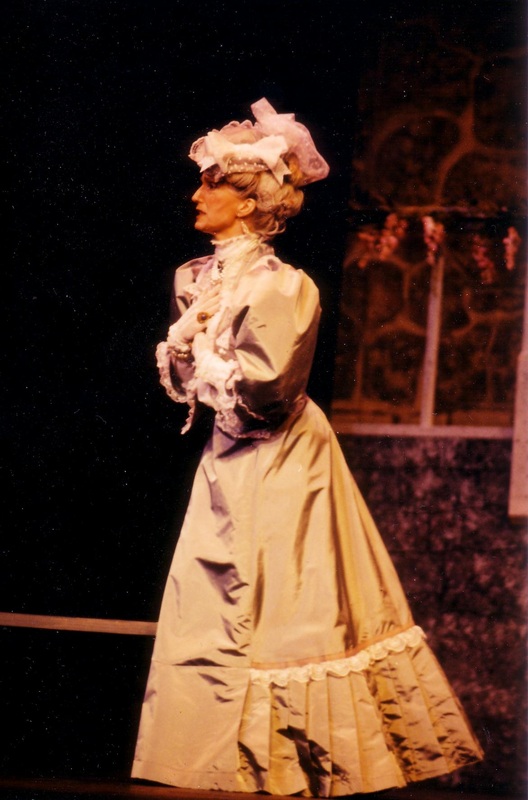
What's it like just to walk the halls at Costume Con? Well, in short, colorful!

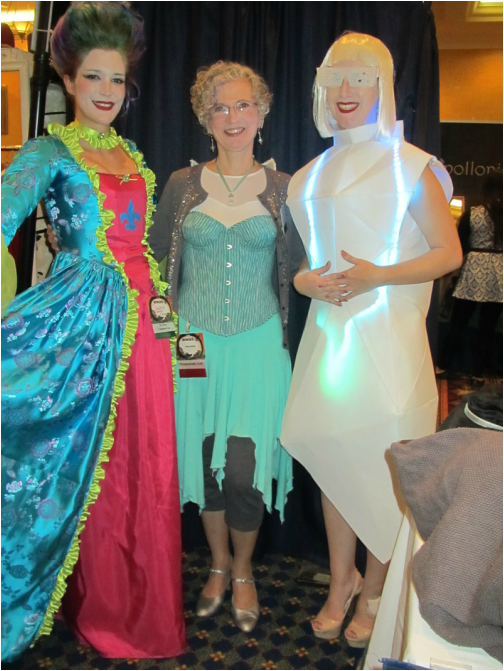
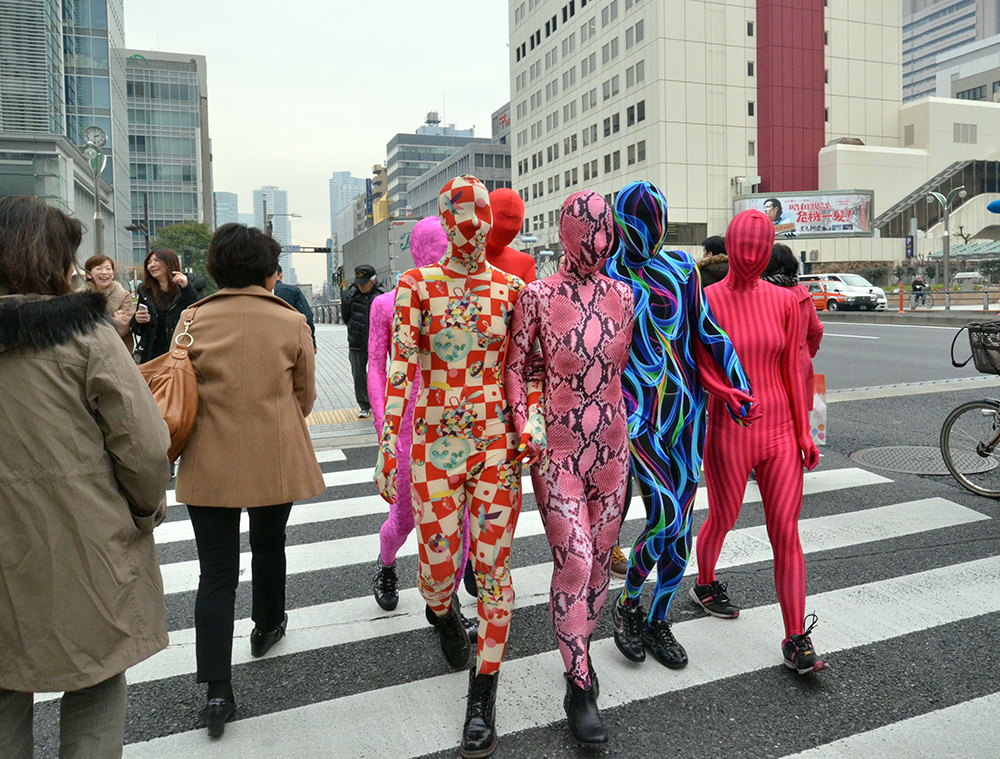
And for me it's really exciting one of my patterns made up.  The lady in the light up geometric white costume above put lights into a neon version of my Pirates of the Caribbean dress ... really creative.

Below are photos I snapped just walking about over the weekend.
Picture
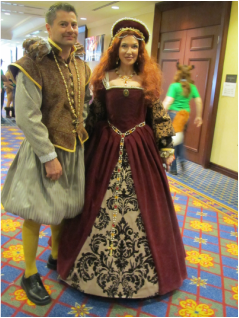
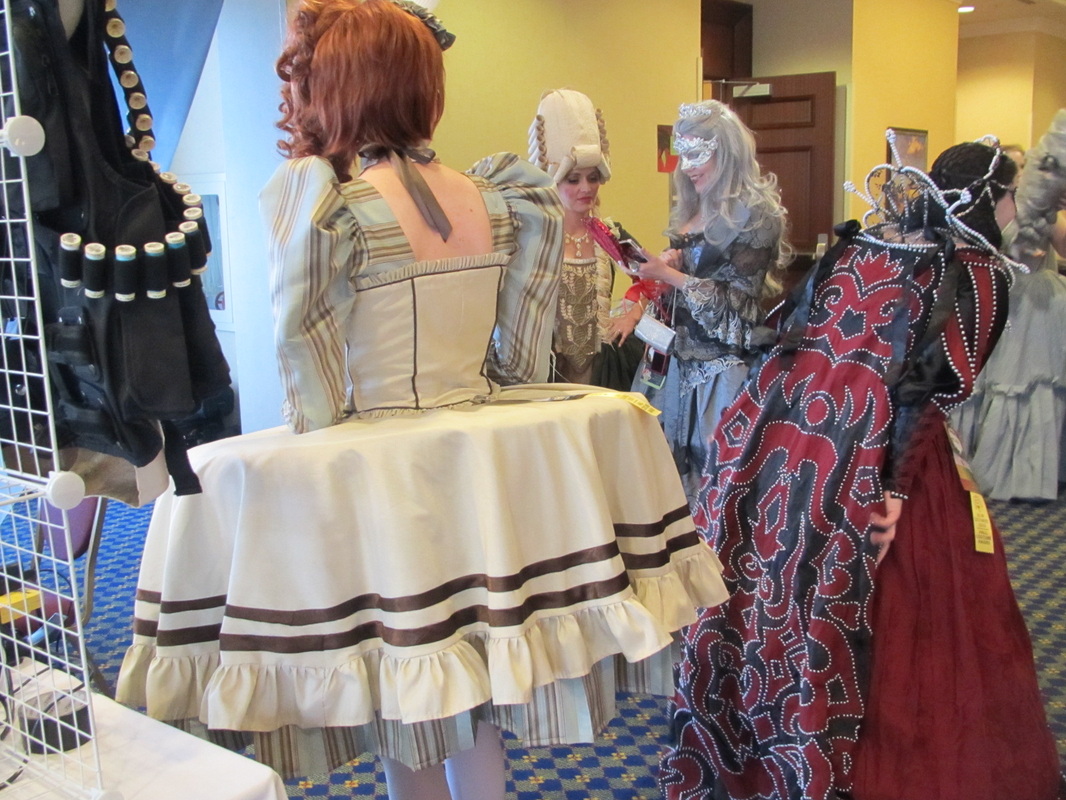
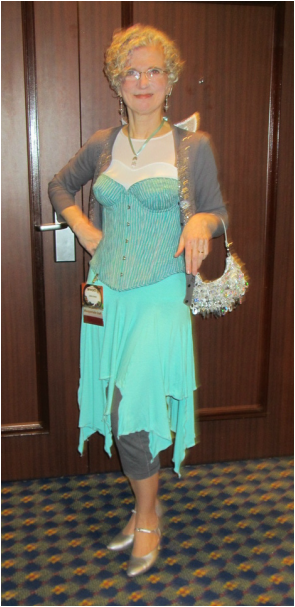
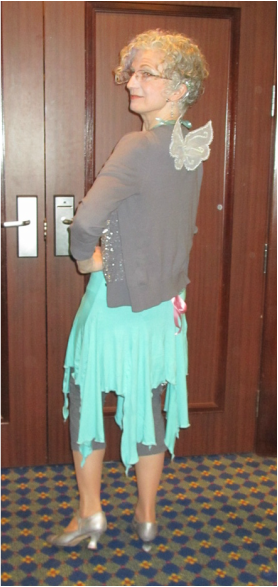
This lady used my Tudor pattern beautifully.
Picture
Picture
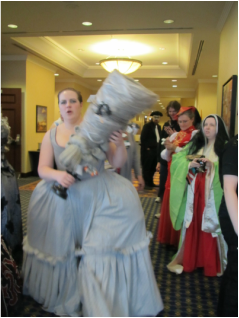
This lady above in the grey made an 18th Century interpretation of the tornado from the Wizard of Oz.  She is carrying the wig that has motorized figures circling it of the witch, a fence, the house and Miss Gulch.
Picture
Picture
Picture
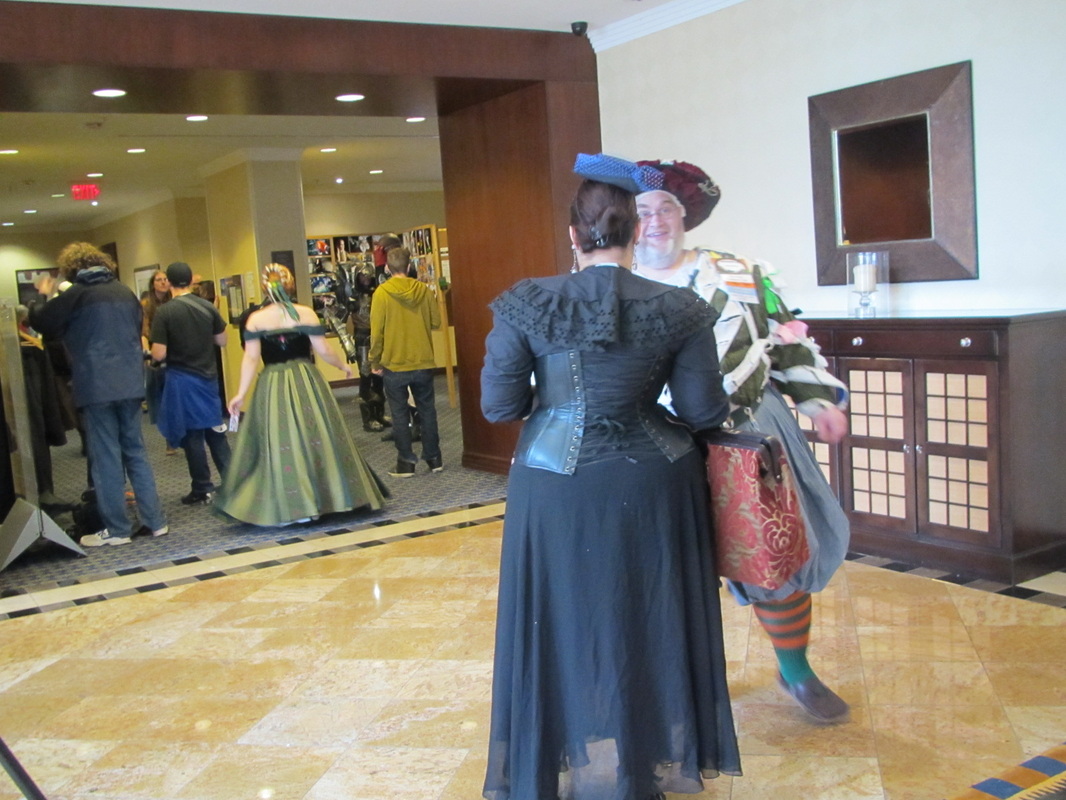
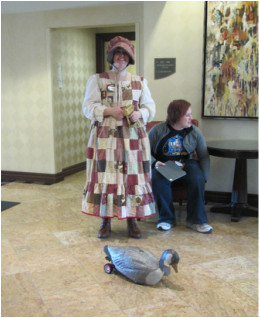
This Holly Hobby had a remote controlled goose!
Picture
Picture
Picture
Picture
Picture
Picture
Picture
Picture
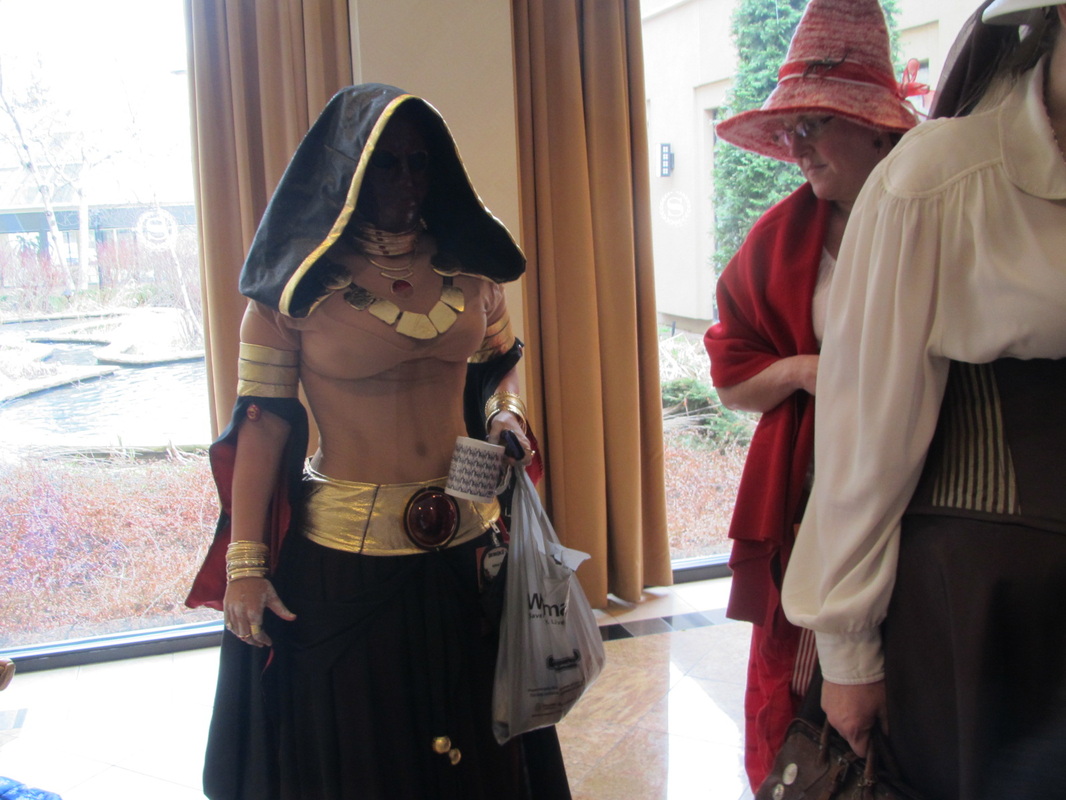
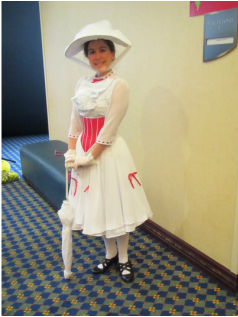
And Mary Poppins was having a very jolly holiday indeed.
Picture
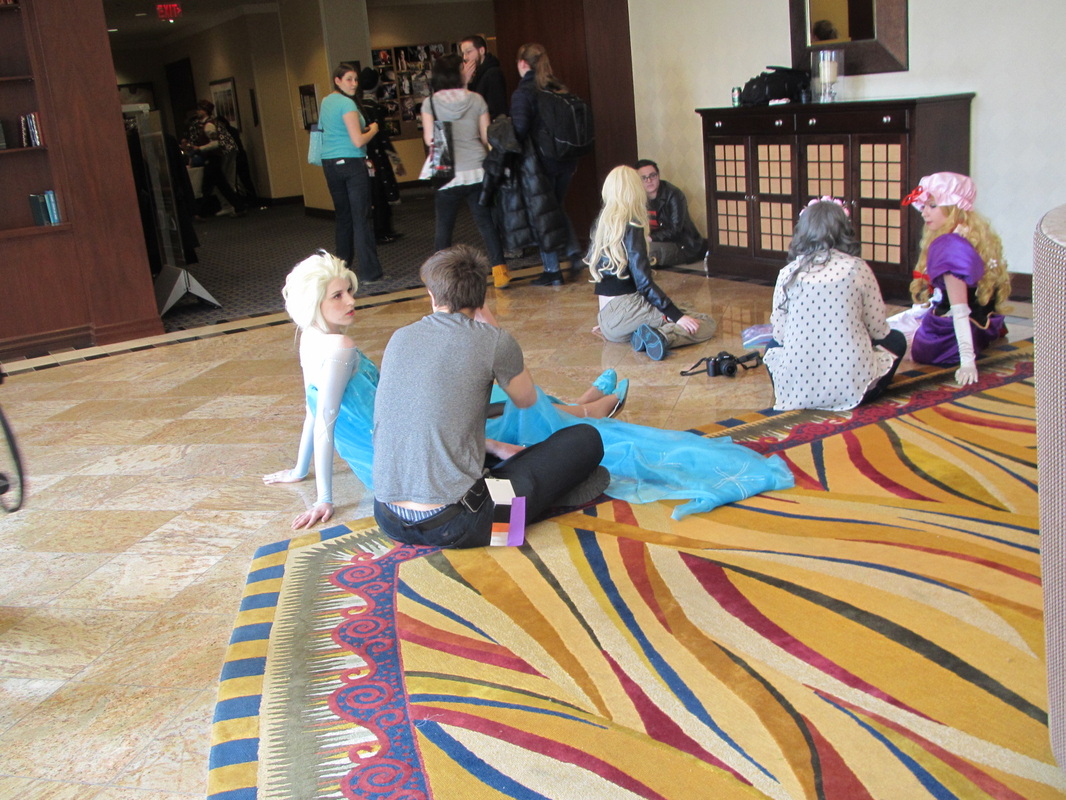
Everyone just chills wearing every kind of costume imaginable.
Picture
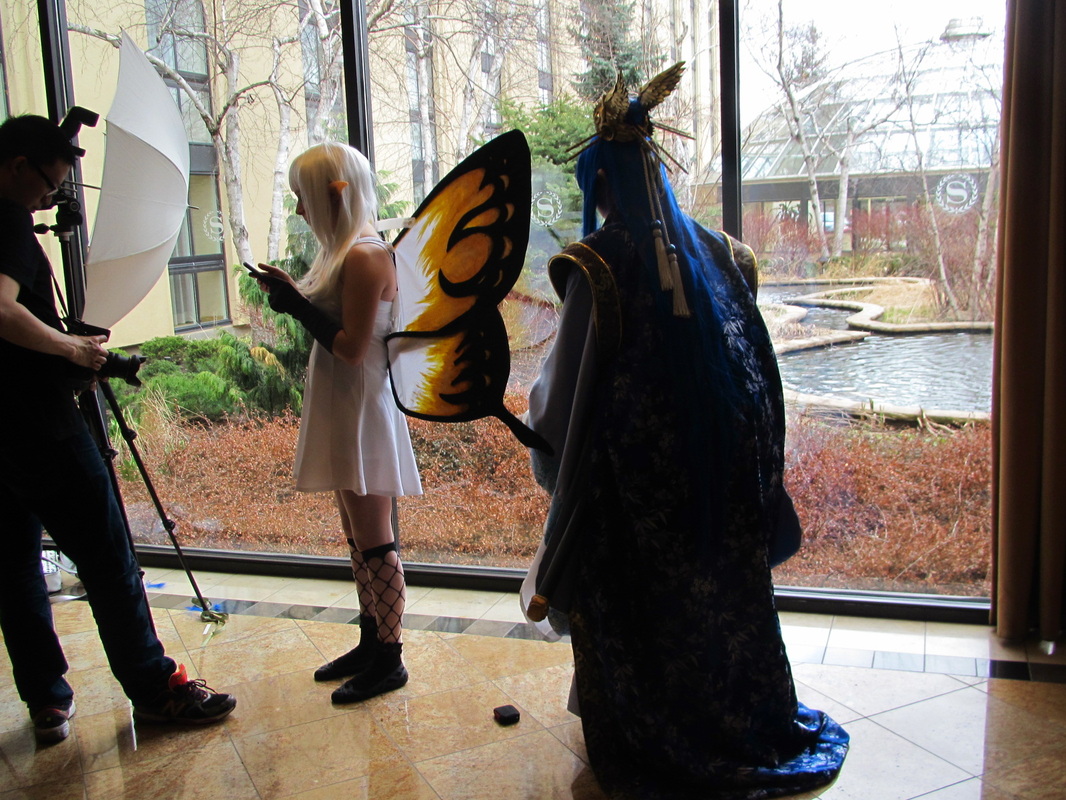
And photos are being taken constantly.


I am going to chase down some good photos of my favorite costumes from the various competitions to share tomorrow.  You won't believe your eyes.
2 Comments

What I wore at Costume Con

4/29/2014

3 Comments

 
Picture
Now you don't HAVE to wear costumes at Costume Con ... but I LIKE to get dressed up ... so ... this is what I did this year. I decided to be a fairy for the entire show.

Friday night I judged the Single Pattern Competition (more on that on another day) and since the theme this year was monsters, myths and legends, I wanted to be a dark/scary fairy. BUT the way things turned out the day we arrived I (no exaggeration) had 10 minutes to get dressed, so my scary make-up never happened, but maybe that's just as well.
Picture
The rest of the time I mixed and matched my fairy wear wardrobe.  Saturday morning this is what I wore to teach my class about the history of sizing and how to correctly measure yourself.  Please note the fairy purse I got at my thrift store for $2.99!
Picture
And, of course, every outfit had wings.
Picture
Saturday afternoon I wore an upscaled/fairyized sweater with a skirt I made to give a session about my background and how one of my patterns makes its way through the Simplicity system.
Picture
I had a mix and match set of fairy jewelry, too! Created by my wonderful friend Linda Wagner, who has been selling her beautiful stuff at craft fairs for years.
Picture
Saturday night, to attend the Sci-Fi costume competition, Betsy Burger (my boss, design director and friend) dressed, too. In a dress made of monster print fabric and a great wig with eyeballs all over her head.


I, again, was a fairy in a dress made from 6 thrift store sweaters and some crinkle organdy.  Pretty, but MAN were those sleeves scratchy.
Picture
And, of course, I'm not a fairy w/o my wigs.
Picture
Sunday morning I'm starting to recycle some pieces.  But, that's what a mix and match wardrobe is all about.  This is what I wore to moderate the Simplicity costume fashion show, that was the half time entertainment when the judges were deliberating during the Future Fashion Competition.
Picture
And later that day I switched a few things to teach my class on how to combine pieces from different commercial costume patterns.

Some one told me I looked like a fairy Go Go dancer ... do I?
Picture
In the 60 or so hours Betsy and I were there, we only ventured outside once to the barbecue restaurant across the street.  And this is what I wore ... more mixing and matching.  Then we headed back to the hotel to see the Historical costume competition that evening.
Picture
Monday morning, I was nearly a dead fairy.  Since my plane didn't leave until around 2, I got to attend another session and talk to some more people wearing my original fairy sweater I made for Costume Academy in March in St. Louis.

So, I managed to eek out 8 fairy outfits and probably could have arranged a few more.  

FUN! and even more important comfortable, except for my gold high heels.  My old feet can only do that for short periods of time anymore.
3 Comments

Costume Con coming home

4/28/2014

3 Comments

 
Here I am in my hotel room, in Canada, trying to get everything I brought stuffed back into my suitcase. Wish me luck.
Picture
There are piles of clothes, shoes, wigs, purses and ...
Picture
sewing emergency kit, jewelry and in the bathroom ... MAKE UP.


And computer, camera, business cards and all the other stuff one needs while traveling.
Picture
Oh and I didn't tell you about my traveling companion here. 


One of the things I did yesterday was give a short fashion show of Simplicity Costumes.  All the models were volunteers.  I will share photos from this later this week. But, I was having trouble finding two kids for the two children's costumes I was bringing, so I decided to make a 3 foot tall stuffed muslin kid and bring him.  So, he was squished in my suitcase along with everything else, and now has to be squished BACK in.  Good thing he's very squish able.


Bye Costume Con ...
3 Comments

Community Theater ...

4/25/2014

4 Comments

 
I'm leaving for Costume Con in a couple hours where I know I am going to see beautiful, creative and amazing work by people who make costumes for the joy of it.  I got my start making costumes in Community Theater, also for the sheer joy, but more because I wanted to act and I wanted to look good doing so.

So, let me share a few old photos.
Picture
This is a production of "The Music Man" when I was 20. I was Marian the librarian! I moved to New York shortly after that and community theater stopped for a while.
Picture
This photo was taken on the outdoor stage right next to the Metropolitan Opera House in New York, the closest I ever got to performing there.  I made my costume out of some old bedroom curtains ... ala Scarlett O'Hara.  I was quite broke in those days.

And for those of you who know opera, I'm singing Norina's opening scene from Don Pasquale. 
Picture
Back to community theater ... this is the costume I made for the first show I was in after we moved to Maryland.  I was a "sister, cousin or an aunt" in HMS Pinafore.
Picture
This is the costume I made for the first leading role I got a couple years later. I played the part of Lady Sangazure in Gilbert and Sullivan's operetta "The Sorcerer."


So, as someone who has spent lots of time with community theater people and loved every minute of it, I want to share a funny list I found on line with you.  And, I have to say, there is some truth here!

The 13 People You Meet At Community Theatre
MAR. 26, 2014 By CHELSEA FAGAN

Whether you’re musical theatre, Shakespearean, or just some down home community versions of Tennessee Williams, you’ve been there. You know all of these people (and are likely more than one of them yourself).
1. The star who is a blood relative of someone important. No one is going to call her on it, because what good would it do, but it’s important to acknowledge that we all know why she consistently gets Eponine/Velma/Maureen. We all know.

2. The exhausted director. It’s not just the usual exhaustion that comes from directing a large stage production — often involving children — it’s the extra special exhaustion that comes from having to do it while holding a normal 9-5 job. (In my experience, they are always teachers. Why are they always teachers?)

3. The grizzled techie. All this techie does is scowl at people, tell everyone to clean up after themselves, smoke cigarettes, and do an excellent job. He’s not going to like it, and he’s not going to be kind about it, but when the house lights go down and everyone is freaking out, you are glad to have someone who is so stoically focused on getting shit done.

4. The random woman from the community who volunteers to hand-tailor every single costume in the show. Who knows where this woman comes from? Who knows what her true motivations are? Is she a modern-day Christ figure? Channeling her soccer mom energy into the selfless creation of dozens upon dozens of costumes for no compensation and no real thank you? No one will ever know.

5. The guy who is there to pick up girls. He’s heard that this is the good place to go if you’re looking to get a date, and he’s participating in his first show ever specifically so he can talk to all of the cute girls in the chorus line while someone else is running a scene. He always looks slightly bewildered about the actual production, but 100 percent sure about talking to ladies.

6. The guy who can ONLY pick up girls there. Distinct from the guy who has wandered in to pick up girls, this is the guy who has mastered the art of hitting on women during shows and has a thrilling amount of success within the theatre community that he could achieve nowhere else. He always has a show girlfriend, and has bounced around from production to production as easily as he goes from bed to bed. He is the Casanova of the community stage, and you’ve probably either dated or had a crush on him, if you’re being honest.

7. The one who is too good for all of this. Umm, excuse you, they booked a juice commercial when they were 7. This is just a pit stop for them on the way to Broadway, and you’re kind of not giving them the respect they need. They’re going to take up half of the dressing room with their takeout food and their extensive bobby pin collection, and you’re going to have to deal with it.

8. The guy who stays in character. Like, you don’t want to get on him for his Daniel Day-Lewis lifestyle, but come on. You’re going out to Applebee’s after dress rehearsal and he’s still in full stage makeup and using his accent. Why does the waitress deserve that?

9. The child actor whose mom is way too involved. There she is, off to the side of the stage, making sure the director treats her baby with the utmost preference and respect and glaring at the other actors who got better parts. Occasionally she brings Rice Krispie Treats though, which is cool.

10. The openly sleeping man in the front row of the matinee show. It’s almost endearing, in a way. He’s just sitting there, mouth wide open and head tilted back, snoring loudly throughout the entire first act, only to be jostled awake by his family somewhere around intermission. Thanks, family members, for your concern for our egos.

11. The duo who is constantly performing musical theatre numbers backstage. Oh my god, they are the worst. If you get into a show with these two, buckle yourself in for three solid months of “Everyone’s A Little Bit Racist” from Avenue Q, or “We Both Reached For The Gun” from Chicago, at full volume, with complete disregard for the people who are trying to concentrate. If you’re lucky, you’ll also get to hear them perform multiple voices in an ensemble song, making sure everyone’s listening when they hit the difficult notes. What a treat!

12. The people who say “the theatre.” The thee-ah-tah. The thee-ah-tah.

13. The small group of old people who basically fund the whole thing. When they come in, it’s basically like the Queen is visiting, because you know that with a closing of a checkbook, it’s all over. It doesn’t matter where the money is coming from, the point is they seem to have millions of dollars at their disposal, and as long as you treat them well, want to use this money to keep everyone doing productions of The Trip To Bountiful. Don’t question it.


In the past I have worn my assorted theater costumes at Costume Con, but I donated them all to my local community college.  So, I'm doing something a little different this year.  


All next week I will post photos of myself and all the other wonderful costumes I know I will be seeing this weekend.
4 Comments

Bodacious Body Suits

4/24/2014

0 Comments

 
Just a couple fun things to look at this morning.  I am trying to pull my s--t together to go to Costume Con tomorrow ... this is a tough job.

First ... did you know about this new trend in Japan?
Picture
Apparently there is a growing fad for groups of people to wear these full spandex body suits called Zentai Suits.  This article in the Washington Post is really interesting, talking about what might motivate people to do this.  Check it out. There are more photos, too.
Picture
If you want one for yourself, follow this link to the Zentai Store. Or, they can be found cheaper at Ebay.
Picture
This bodysuit is made entirely of corrugated cardboard!  by a Taiwanese college student.  Follow this link to the website to see it being made and find out about it's creator.


Now I just have to figure out how to cram everything into this suitcase.


I've already eliminated one pair of shoes!
Picture
Hope to see some of you in Toronto.


And for those who are wondering what I'm talking about. Here is a link to this weekend's event.
0 Comments

#1388 Backpacks - interfacing and drawstring

4/23/2014

0 Comments

 
Picture
One more blog about these backpacks. 

Today I'm going to show you what interfacings I put inside them and give you a different way to do the drawstring closure that is under the flap of the backpack above.
Picture
These backpacks can be made from heavy fabrics like denim and canvas OR even quilting cotton if you use a good fusible interfacing to give some body to thinner fabrics like that.
Picture
Follow the instructions that come with the brand of interfacing you are using.  The one I had told me first to go over it one time to stick it in place.
Picture
Then get a wet piece of fabric for a pressing cloth and slowly go over the entire piece until the fabric is dry.
Picture
And then ... very important ... let the piece sit, untouched, until cool.
Picture
The flap on the messenger bag was wider than the interfacing I was using, so I had to piece it.  I simply over lapped the two pieces a bit so there wouldn't be a weak spot.
Picture
Batting fleece is called for some pieces.  Look at the pattern, but I think all the pieces of the zip up backpack use this fleece, but on this bag that has the drawstring top only the back and bottom panel have it, maybe the flaps ... not sure.  I wanted the front and sides to be soft so it would collapse nicely when drawn up.
Picture
Picture
Here is the drawstring under the flap, opened and closed.  But, I made my personal test pack with a different kind of drawstring.
Picture
I think a drawstring through grommets like this closes tighter, but the folks at Simplicity didn't want to require people to go out and buy grommets and a grommet setter.  But, you could still do it this way if you want to.

This is what you need to know.  IF you do the drawstring through a casing as the pattern instructs DON'T put interfacing on the casing piece because it works better if it is soft.  But, if you plan to use grommets then that piece NEEDS interfacing to support the grommets.
Picture
And see the pretty lining I put in my backpack. I love pretty linings in things, whether coats or bags.  That makes a hand made item very special.
Picture
Picture
OH ... one more thing ... If you follow the instructions, these bags will be all machine sewn, except for an opening in the bottom of the lining.  The entire bag gets pulled thought that. (Kind of like giving birth!) ha ha
Picture
The seam allowance of the lining is then sewn to the seam allowance of the bag itself to prevent the lining from pulling out when using it. I just did this by hand.

This opening is then slip stitched or whip stitched closed. 


That's it on the backpacks ... I've got to start packing for Costume Con!!!  So much to do!
0 Comments

#1388 - Backpacks - the straps

4/22/2014

5 Comments

 
Picture
STRAPS! ....
Why would I write about this?  Well, because I want to give you some tips, but even more than that, I want to give you some options.
Picture
Simplicity wanted me to use "ready to use" belting. And since the most readily available size that comes in the most colors is the one inch wide kind, and that is what I used.  BUT, if I were making one of these backpacks, and I did (photo later), I would either find wider belting or make my own.  The trick is, you have to find "D" rings the correct size to fit the straps you are using.
Picture
This kind of belting raffles so quickly after cutting, but there are a couple things you can do to deal with this.
Picture
Either, put glue on the cut ends ... and wait for it to dry.
Picture
Or just tape the ends.  Be sure to sew it well though.  Go back and forth several times.
Picture
Using a zipper foot makes sewing close to the "D" rings easy.

Now, I experimented with different kinds of hardware for the straps.  You can certainly use other kinds, like the ones that latch and un-latch.  But, I made myself a back pack and used "D" rings and they are strong and secure AND are much cheaper and, in my opinion, nicer looking.
Picture
For the back pack I made for myself, I made straps out of duck (a fabric a little lighter weight than canvas).  This is how I did it.  I wanted the finished strap to fit 1 1/4" D-rings, so I cut my strips 3 1/4" wide.


This is how I figured that.  2 times 1 1/4" equals 2 1/2" (this allows for the fabric to be folded). Then I added in 3/4" for a 3/8" fold on both sides (for the small pressed fold along the side where the two cut edges meet) which adds up to 3 1/4".
Picture
First, press the strip in half.
Picture
Edge stitch along the folded edge.
Picture
Next, press the allotted fold on each raw edge.  I actually pressed a little less than 3/8" to make my straps a tad larger than 1 1/4" when finished, because I wanted to be sure they would fit snuggly in the "D" rings.
Picture
Now, edge stitch together the open side of the strap.  This is a good method for making straps and belts of all sizes when you don't want to sew them inside out and then have to turn them.
Picture
Picture
Here is the backpack I made to test my pattern and to use.  It's a great bag.  I took it on a 3 day trip to New York and fit almost everything I needed in it.
Picture
A other quick tip ...  I like to use the tip of a seam ripper to guide small or tricky things under the sewing machine needle like this vinyl binding.  A dual feed foot or a teflon foot would have helped, but I didn't own one at the time, and I was able to get this trim on smoothly just by pushing it steadily under the foot at the same rate the feed dogs were from underneath. 


And I don't need to worry about my fingers become part of what I'm sewing.

More tips tomorrow.
5 Comments

#1388 - Backpacks - the wings

4/21/2014

0 Comments

 
Picture
This is the first of 3 blogs about sewing specific elements of these backpacks.  Today I'm going to show how I make the wings, which actually don't require any sewing.
Picture
I can't tell you how many times I drew all those little scalloped petals before I liked the look of it.  Or how many different ways I placed the rhinestone.
Picture
This photo shows 2 different versions of my artwork.
Picture
My first thought was to have each layer of wings puffy and dimensional, so I cut a layer of batting fleece and put it between the two colors of felt.
Picture
This required sewing and looked really nice, but the layers started to slip and I knew it would just be too hard.  I don't like to ask anyone to do something I find impossible.
Picture
So, I decided to fuse the layers together, but I thought it would look better if the lower contrast layer of felt showed a bit to make an outline around each wing piece. To do this, first trace wing shape onto Heat’n’Bond, the red/No-Sew kind, my favorite brand of fusible webbing.
Picture
Press outer color of felt to the Heat’n’Bond, cut out along lines and peel away back.
Picture
Press and fuse this onto the second color of felt.
Picture
Trim away the second color of felt just slightly outside the line of the first color ... about 1/16”.
Picture
Prepare the other two layers the same way.
Picture
Stack and glue ... glue on rhinestones and then glue to bag.


E-Z!


Now where else would a pair of these wings look good?

0 Comments
<<Previous

    From Andrea 

    I am a commercial pattern maker who is now "sewing over 50"!
    I love to sew and hope to encourage others to come back to sewing.
    The water is fine!!

    Archives

    May 2019
    April 2019
    March 2019
    August 2017
    July 2017
    June 2017
    May 2017
    April 2017
    March 2017
    February 2017
    July 2016
    June 2016
    May 2016
    April 2016
    March 2016
    February 2016
    January 2016
    December 2015
    November 2015
    October 2015
    September 2015
    August 2015
    July 2015
    June 2015
    May 2015
    April 2015
    March 2015
    February 2015
    January 2015
    December 2014
    November 2014
    October 2014
    September 2014
    August 2014
    July 2014
    June 2014
    May 2014
    April 2014
    March 2014
    February 2014
    January 2014
    December 2013
    November 2013
    October 2013
    September 2013
    August 2013
    July 2013
    June 2013
    May 2013

    Archives by Subject

    To search for blog posts in specific categories, use the drop down menu above by hovering over the word "Blog"

    Enter your email address:

    Delivered by FeedBurner

    RSS Feed

    Andrea Schewe participates in Amazon's associates program.