Andrea Schewe Design
  • Home
  • Costumes
    • Reader's Gallery
    • Fantasy Costumes
    • Theatrical
    • Historic >
      • Easier to make
    • International
    • Costumes for Kid's and Babies
  • Crafts
    • Home Decor >
      • Pillows
    • Fashion Accessories
    • Doll Clothes
    • For Kids and Babies
  • Blog
    • Past Blogs by subject >
      • My patterns by number
      • Sewing basics
      • Personal sewing Projects
      • Fashion History
      • Fun and funny stuff
      • Guest Bloggers
      • Crafts and Home Dec
  • Links
  • Contact

Pattern 1122 - Girls need tulle, too!

4/29/2015

10 Comments

 
Picture
I'm happy to say that the tulle skirt pattern I designed for adults last year has sold well enough, that Simplicity asked for a similar pattern for big and little girls!

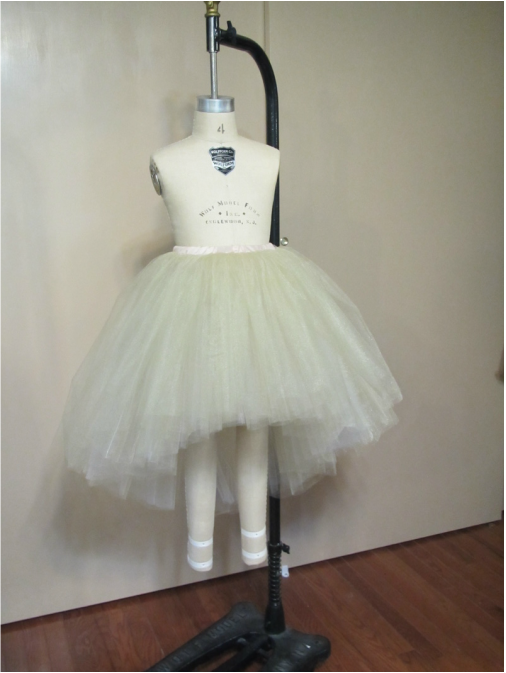
They thought the knee length version with the extra ruffle would kind of overwhelm a child, so this pattern has the basic multi layer shirt in two lengths and one with a hem that slants from short in the front to long in the back.
Picture
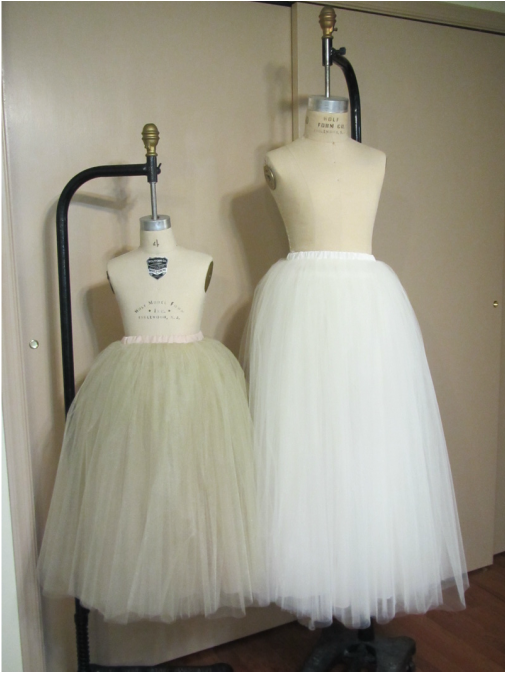
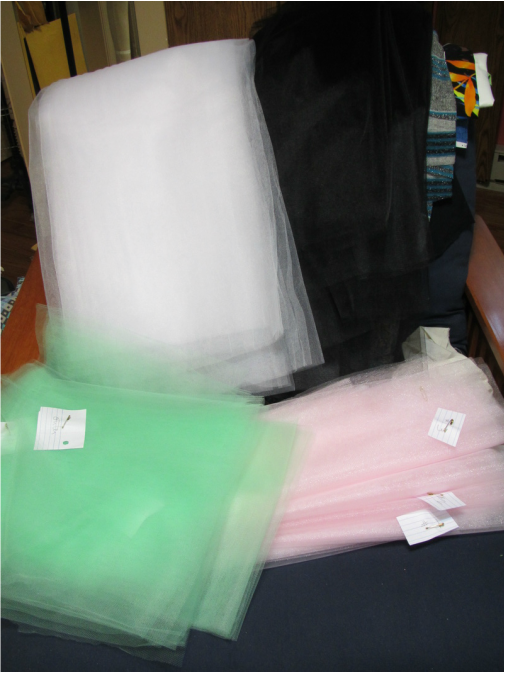
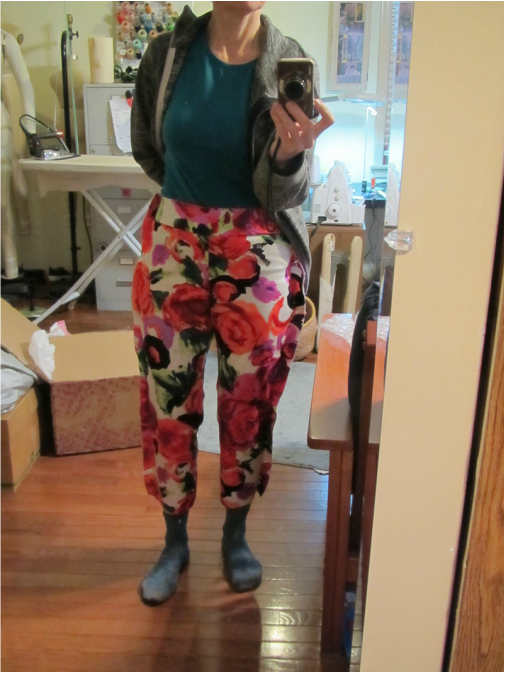
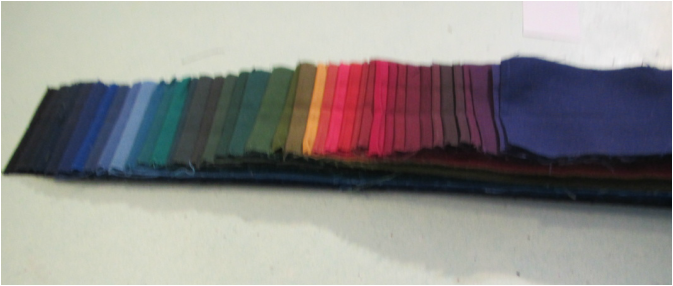
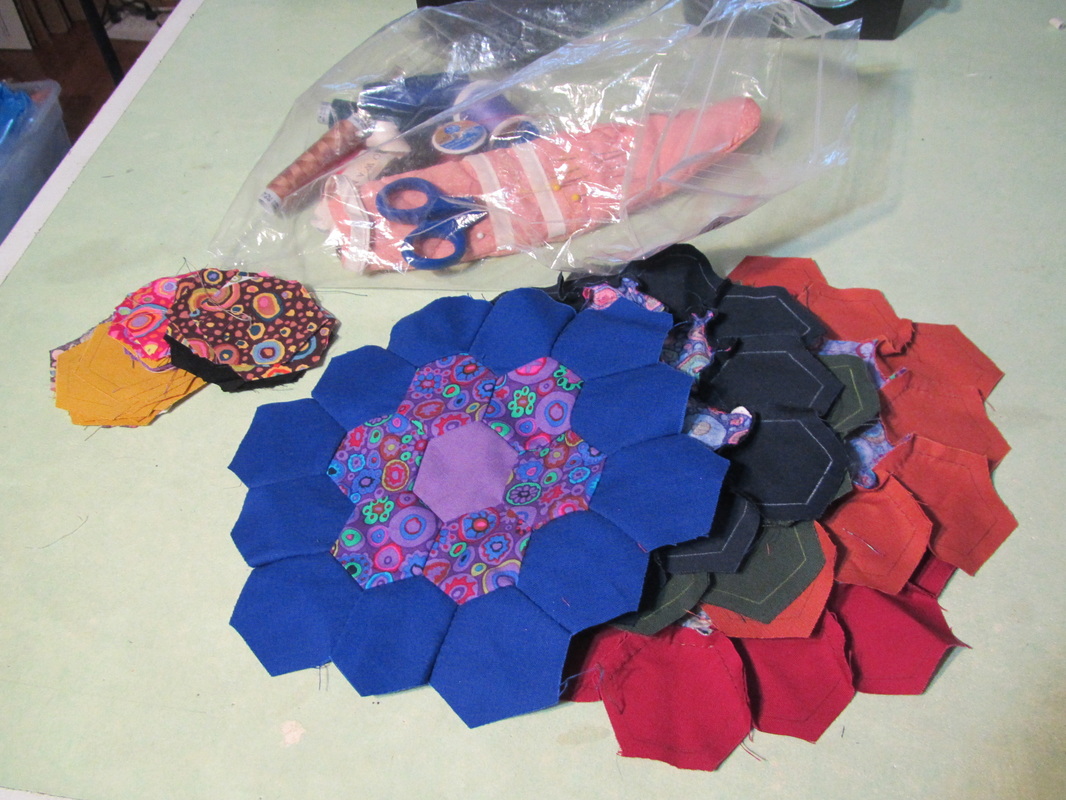
My first job was to figure out how many layers for each size and how many panels of tulle for each. Here is my first set of mock ups. Cute, even in beige!
Picture
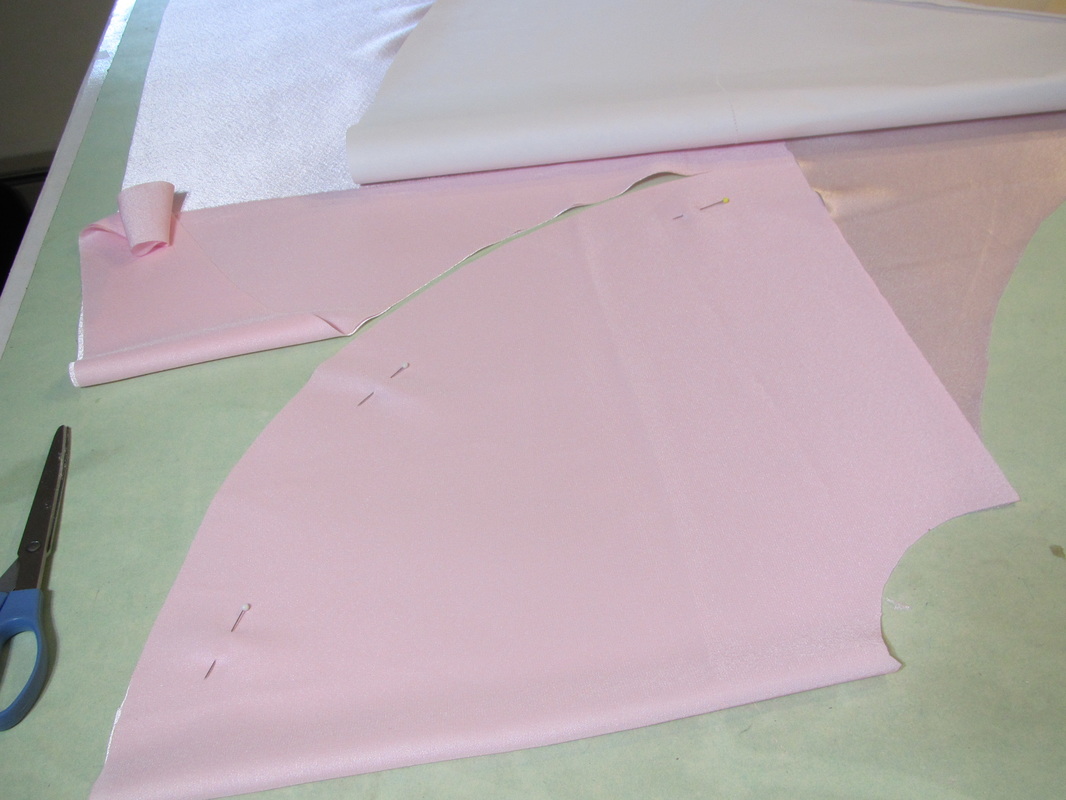
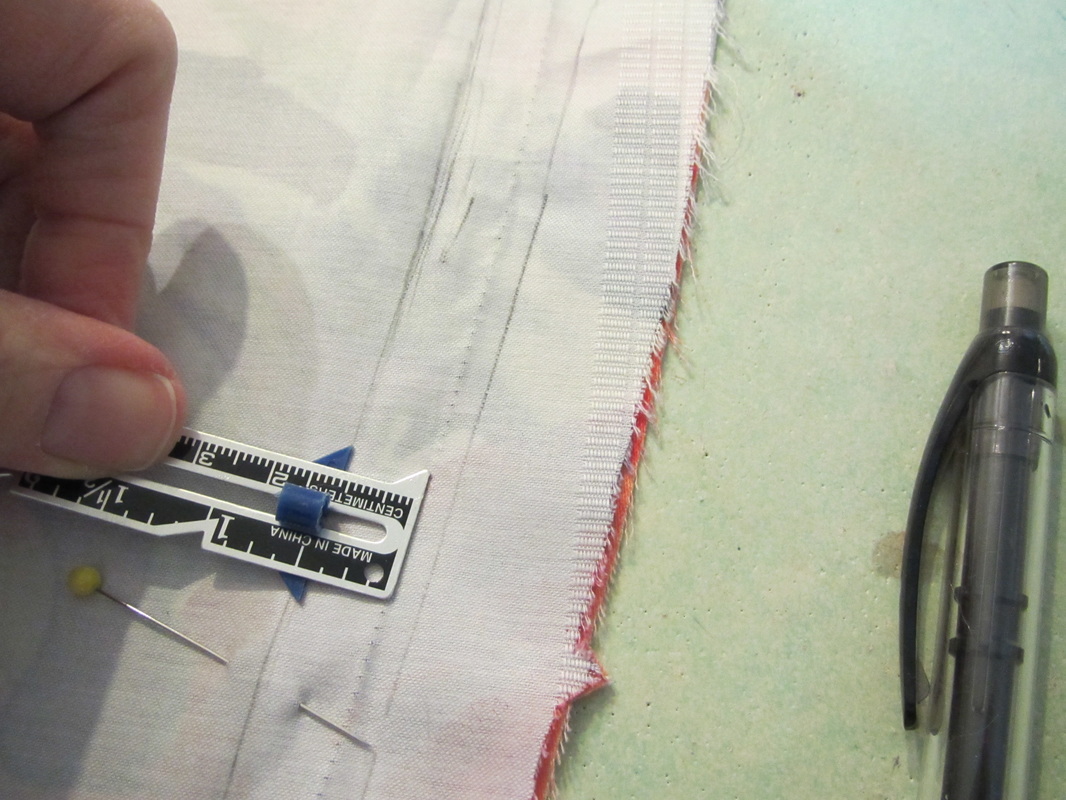
I'm going to talk about cutting in this blog.  Just like the adult version, the underskirt is cut in a circle, to allow for a lot of fulness at the bottom and very little bulk at the waist.
Picture
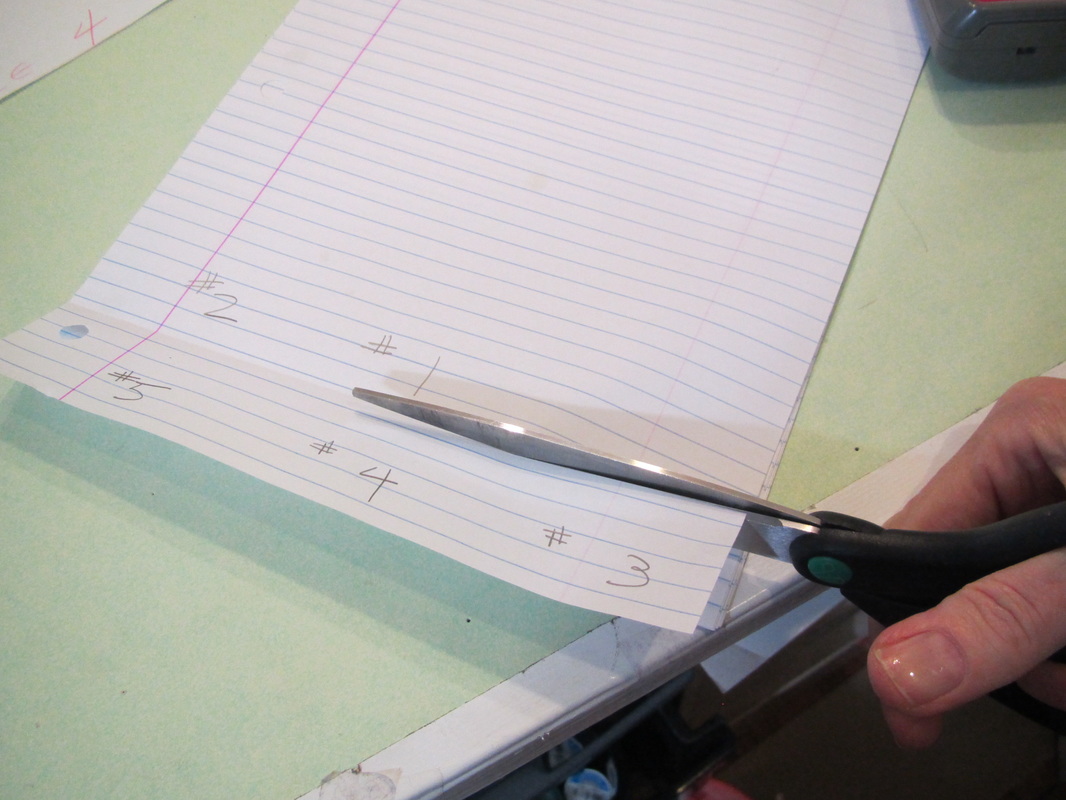
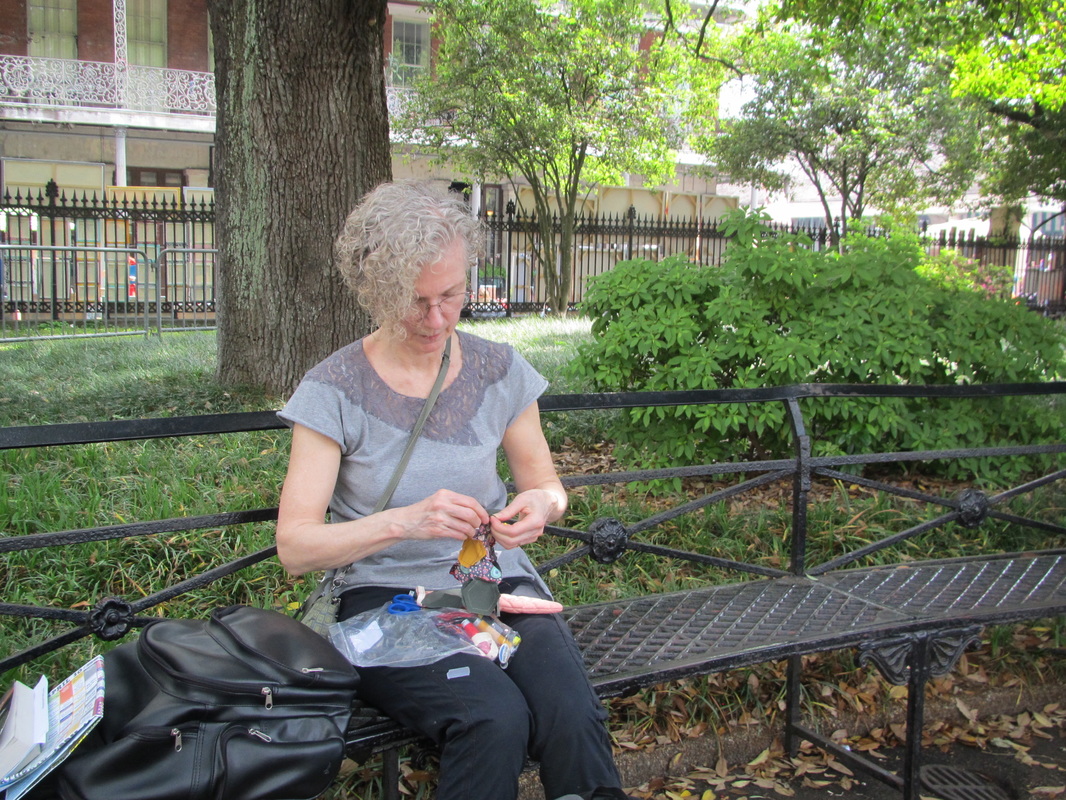
These skirts are made up of many layers that all look the same after cutting and before sewing.  I made up a numbering system that I could safety pin to the different layers after cutting.
Picture
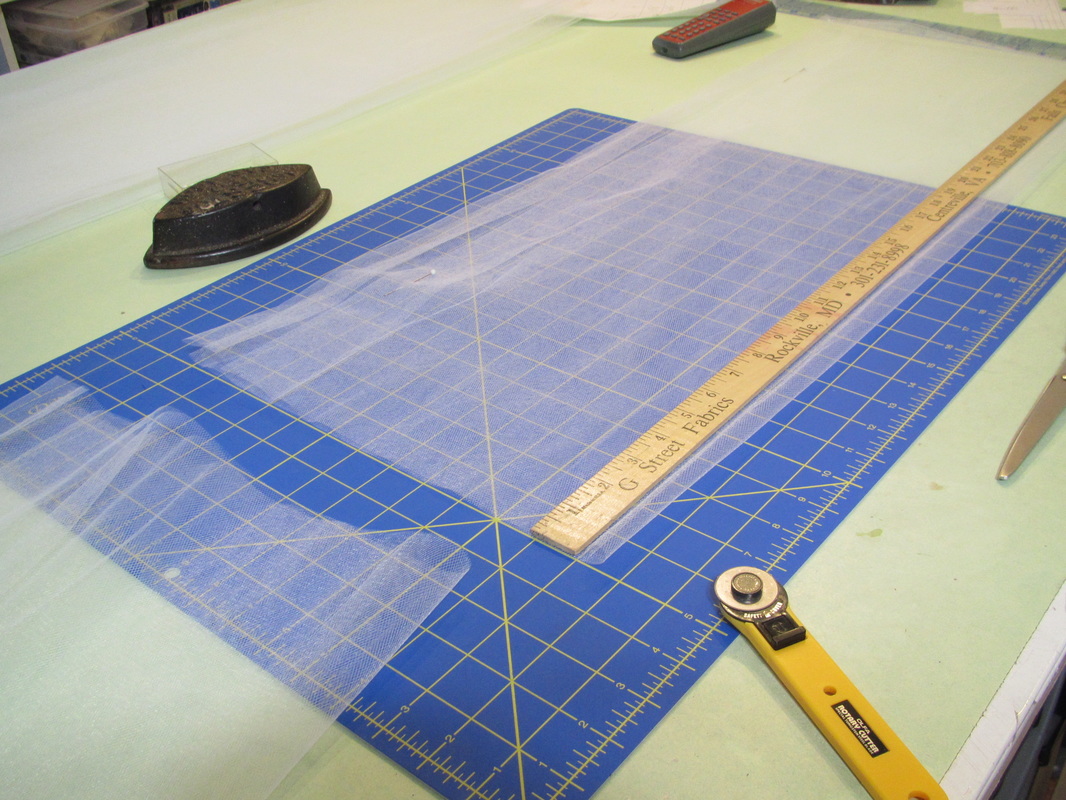
Whenever possible, I cut tulle as it comes off the bolt, folded in fourths. It is so much easier to work with like this instead of being opened up flat. And, a rotary cutter makes all the edges really smooth and straight.
Picture
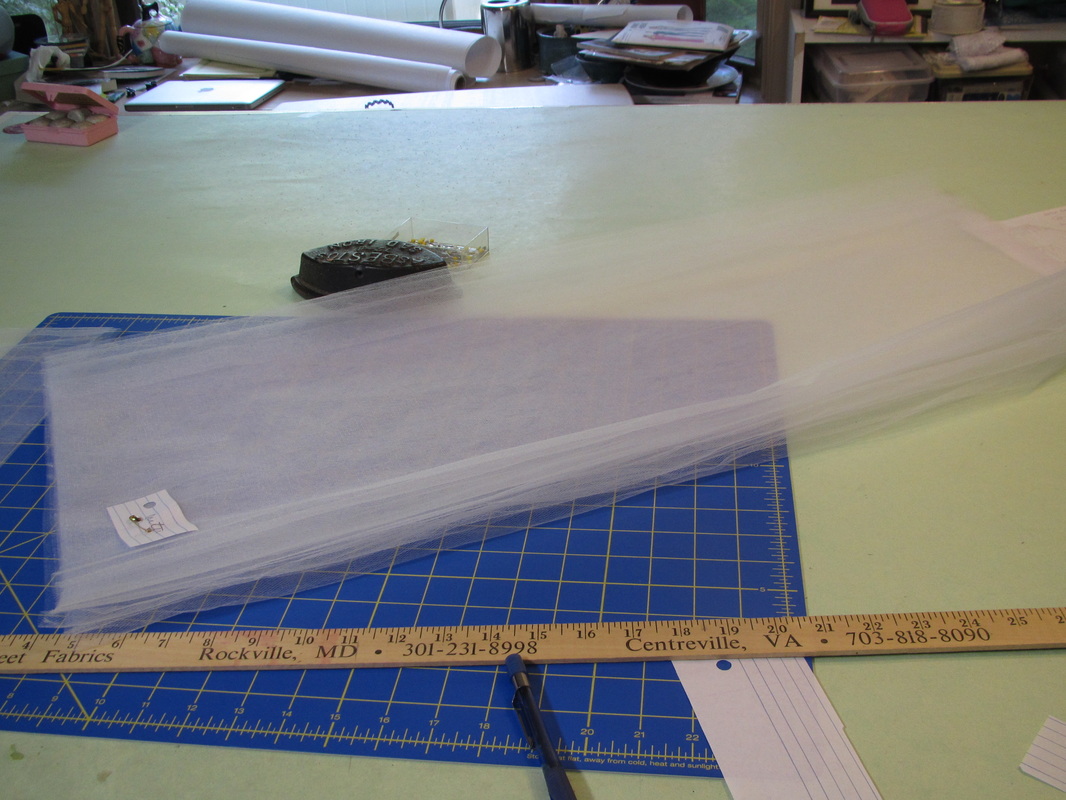
And, you can see, I have safety pinned a number on these pile of cut tulle to keep things organized.
Picture
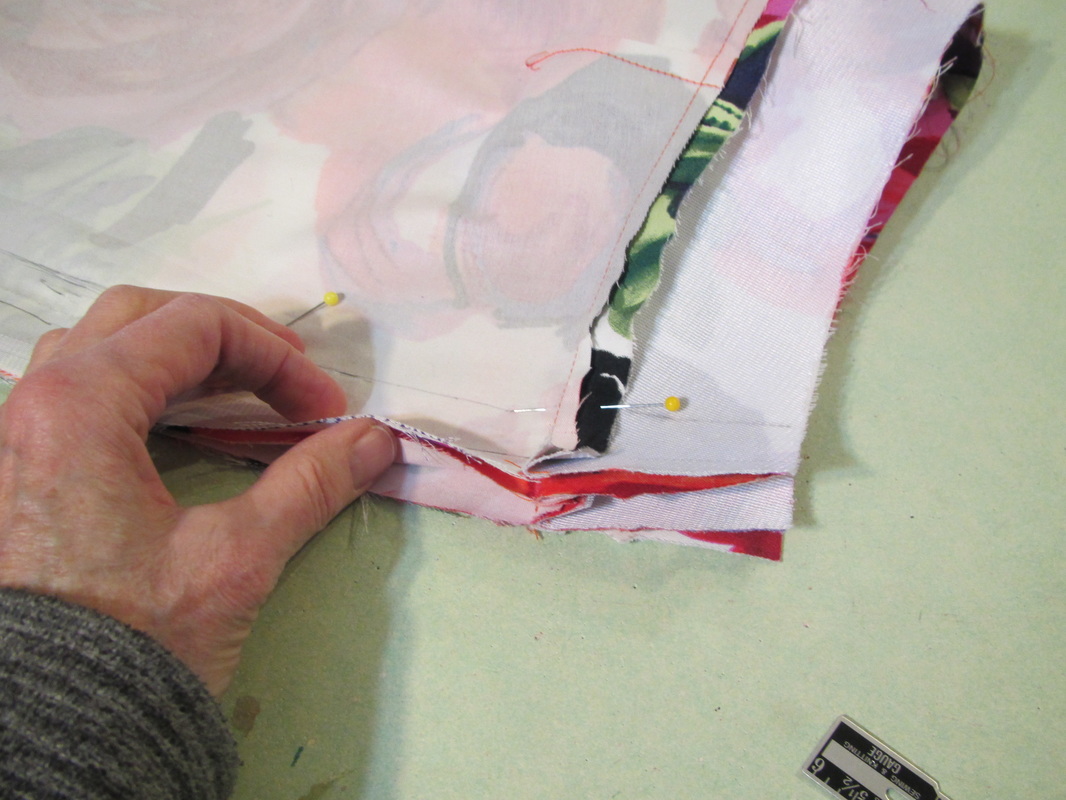
But, for this view since the pieces are not perfect rectangles, the tulle will have to be opened up ... sigh.
Picture
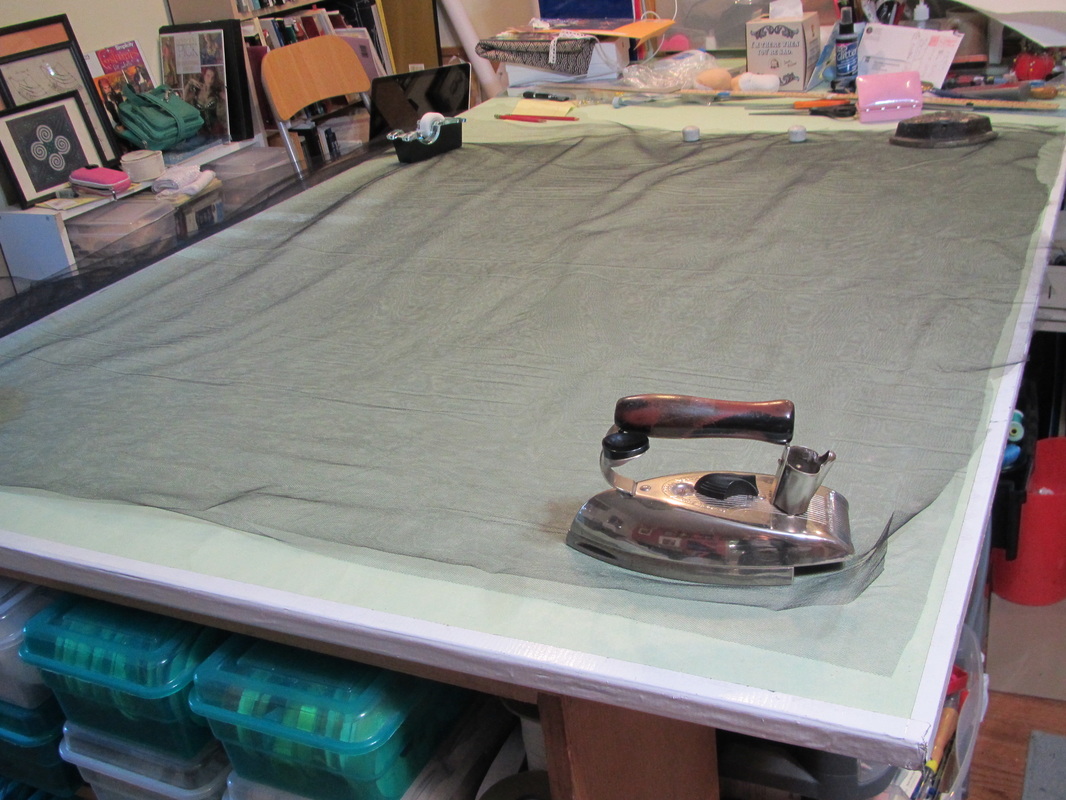
It is nice to have a big table to do this. The tulle is 54" wide. I have doubled it in order to cut the left and right sides of the skirt at the same time.
Picture
I take the top end of my length of tulle and bring it to the bottom end to double it for cutting. I will be less likely to waste any that way. But, this leaves the rest of the tulle (waiting it's turn to be cut) in kind of a jumble.
Picture
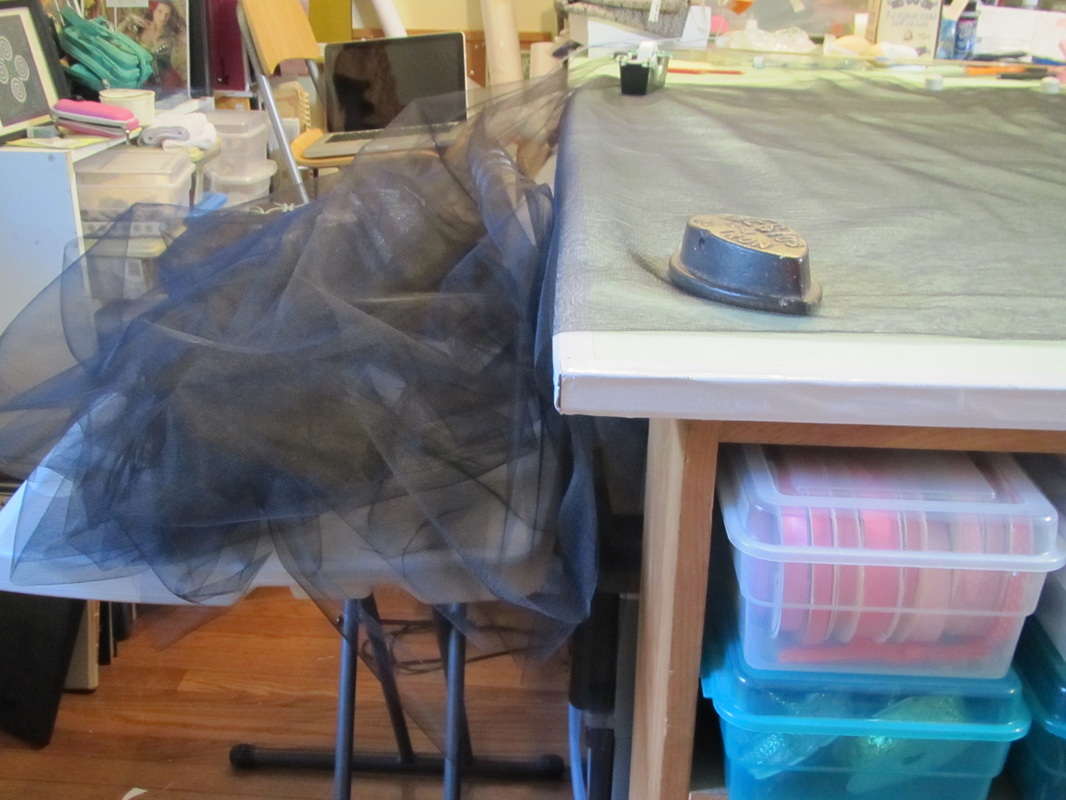
I know some of you will end up using the floor to spread this fabric out and let me warn you that tulle is the most amazing lint and dust magnet!  And all the stuff that sticks to tulle can be easily seen. This is especially frustrating when bits of this and that are stuck between the very, very full layers and you can't tell if it's between layer 2 and 3 or layer 3 and 4.


I've learned this the hard way.

so ... SWEEP!! ... first

Actually sweep anyway, no matter where you are cutting.  That tulle is just going to pick up whatever it can. And maybe invest in a can of "Static Guard".
Picture
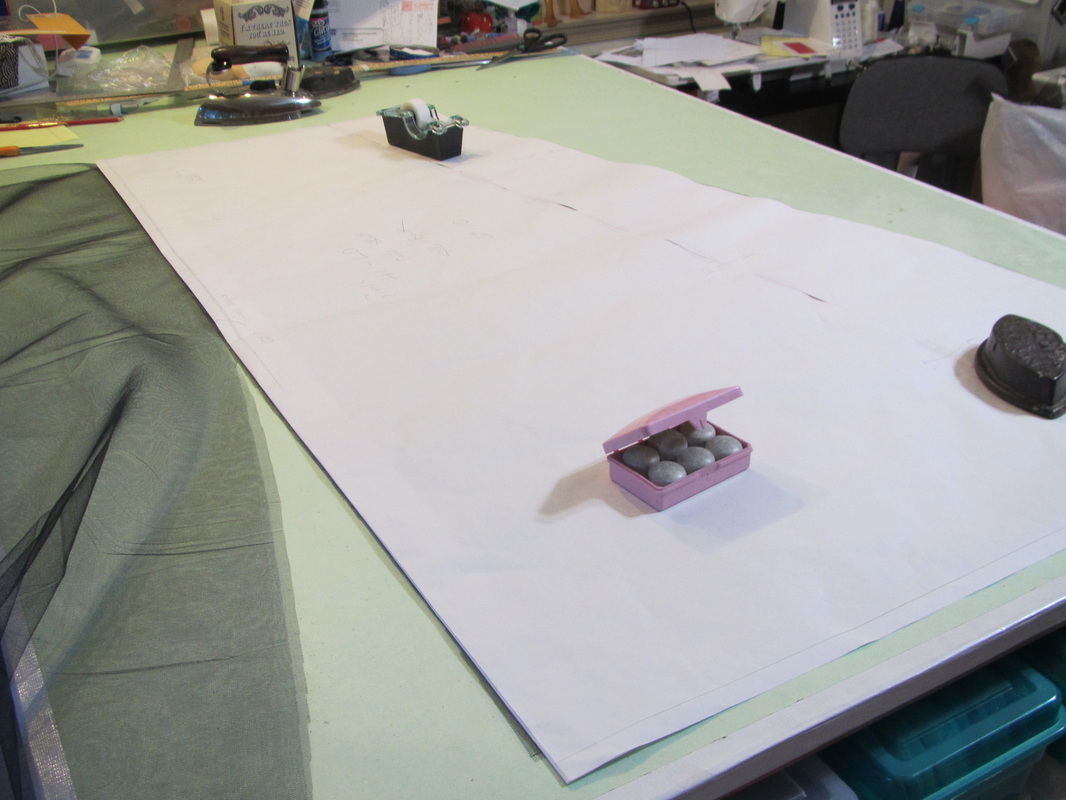
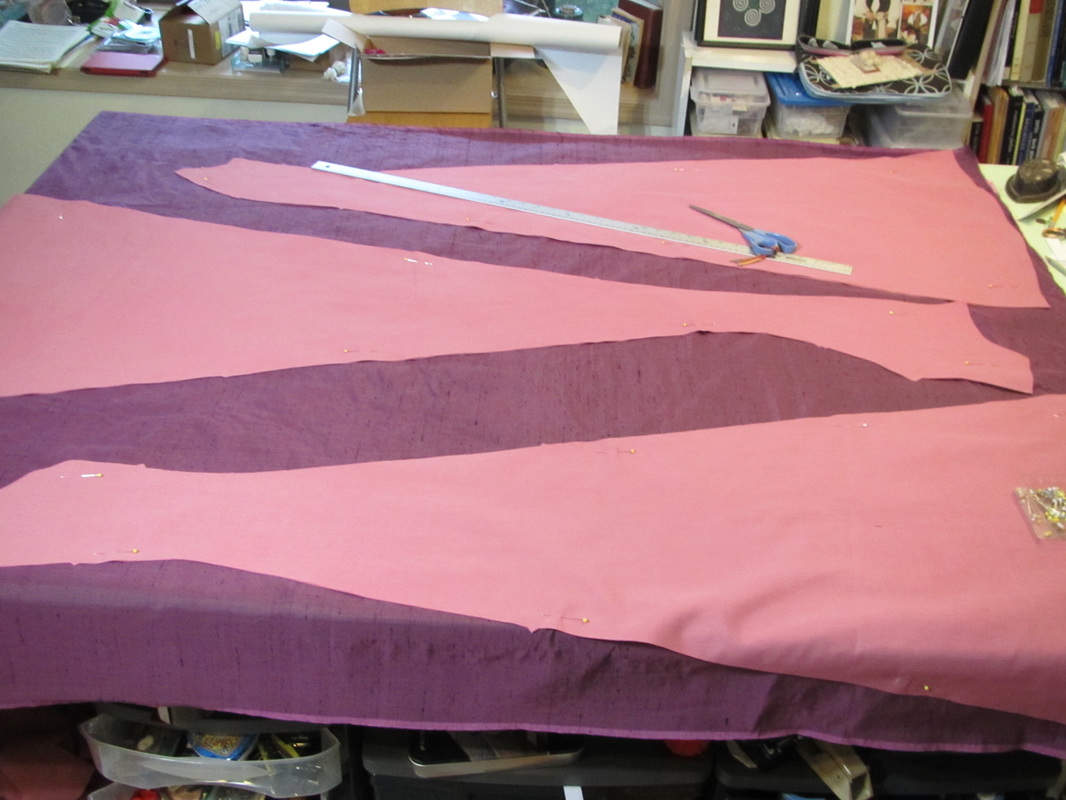
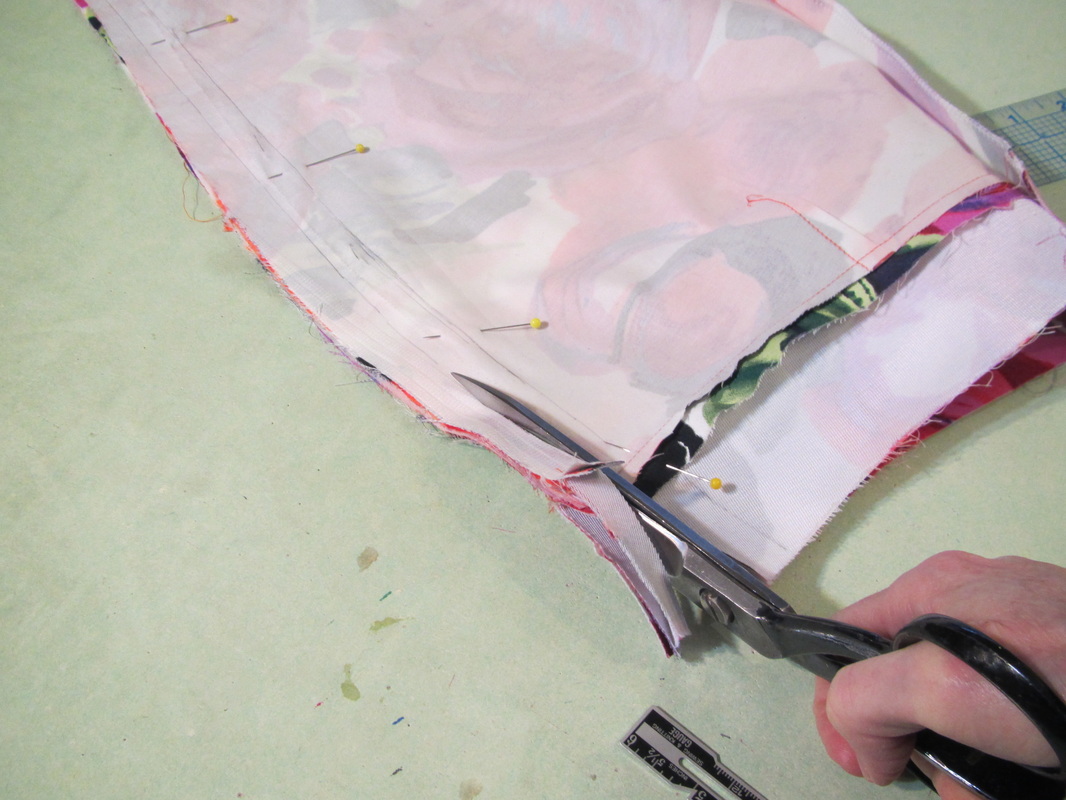
So, back to cutting the skirt with the uneven hem. The pieces need to be cut with the fabric opened out like this.
Picture
I like to use weights instead of pins, especially for something like this.
Picture
So, here are all four photo samples cut and ready to sew. Which I will talk about next time.
Picture
One more thing.
I, also, decided to make labels that say inner and outer to make sure I didn't mix up the layers that get sewn to the bottom edge inner yoke with the layers that get sewn to the upper edge of the inner yoke which is then sewn to the waist band. The inner layers are shorter than the outer ones.

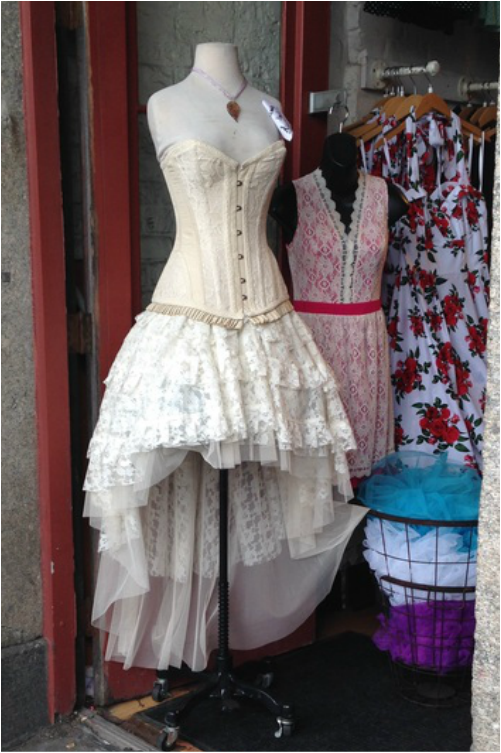
This skirt is constructed the same way as the original one for adults with an inner yoke which keeps excess bulk away from the waist.

I wrote a blog just explaining that clearly ... this entire sentence is a link to that blog posting.
10 Comments

Pattern 1137 - the black dress

4/27/2015

7 Comments

 
Picture
Now for the black dress ...
I don't think this dress is particularly difficult to make, but is a bit time consuming.

It is made up of three separate pieces.
Picture
A sleeveless long dress.
Picture
A midriff top with looped fringe sewn to the bodice and wrist.
Picture
And the feather shoulder thing.
Picture
It took some trial and error, but I worked out the best placement for the fringe so the lines would get a bit wider over the bust and become narrower at the sides and especially at at the center front.
Picture
I recommend pushing and then pinning the fringe away from the stitching lines. Otherwise it will get all caught up in the seams, which won't look nice.

You can see I used a black vinyl crocodile patterned fabric, kind of an odd choice, but it looked the best of all the fabrics I could find. Maybe you will find something better.
Picture
The next patterning challenge was to get the open collar of the shoulder thing to hug the neck. I made the upper side out of black duck cloth because I thought it would take the glue better for all the feathers.
Picture
I looked at so many websites to find these feathers. And now I can't even find the invoice to tell you where I got these, but I bought these about 9 months ago and I bet the supply of feathers has changed. I recommend doing a general internet search for black feathers or black iridescent feather. 

These are dyed turkey feathers that have a slight iridescent sheen to them. But, they weren't quite exactly the right thing. But, I made them work.


Good old Marietta Greene, who has guest blogged here, found some good feathers at Paper Mart.


Here is the link.
Picture
They are really too long and narrow. I found having many short pieces worked better than leaving them whole. So, I carefully clipped them into 2 or 3 sections each, saving the end pieces for important places.
Picture
See how the feather piece on the right is split at the bottom. That kind of piece works fine in the center sections, but the actual feather end on the left I used on the outside edge.
Picture
I cut and prepared many pieces before getting started. Every feather is different and I wanted to be able to plan where each piece would work best.
Picture
Gluing these on is kind of like shingling a roof.  Start at the edges and work towards the center lapping each new layer over the previous one.
Picture
Like this.
Picture
Then it occurred to me that maybe I shouldn't be working flat. This needs to curve over and hug the shoulders. When all the glue dried, maybe it would make the whole piece stiff and flat, so I took my seam roll and pinned it to my sleeve board for a support.
Picture
And finished the feathers while it was laying over that.
Picture
Here is the front view. See how I have the feathers on the edge stick out a little beyond the fabric to give a feathery soft edge. 
Picture
When I was finished, I closely examined the whole piece and looked for ugly, bald or gluey places.
Picture
I kept in reserve some of my best feather pieces just for this purpose.  They were delicately fit into all the spots that needed some TLC.

So ... that's my story for this black dress. I hope this pattern will be useful one.
7 Comments

Pattern 1137 - the purple dress

4/24/2015

14 Comments

 
Picture
First of all, thank you everyone for such an enthusiastic response to this new pattern. It was really fun to work on. 

Today I'm going to talk about some aspects of the purple dress.
Picture
I am lucky to have a terrific independently run fabric store a mile from my house that is so crammed with fabric you can hardly walk through the aisles ... really.  They had several shades of lavender silk dupioni and one of raw silk. They cut swatches for me and this is the photo I sent to Simplicity. They chose the darkest of the dupioni swatches, second from the right.
Picture
I'm not sure if this is in the pattern, but I flat lined (backed or interlined) the entire dress with broadcloth. I felt the silk was a little too light weight. This is something that can be done to pretty much any garment to add substance to the chosen fabric. And it actually doesn't make sense to put in the instructions because not all fabrics will need a flat lining.

In any case, it is REALLY important to make sure all the fabrics involved are pre-shrunk before cutting or sewing so these layers don't shrink at their own separate rates when washed or dry cleaned after the dress is finished leaving a bubbled and badly hanging garment.
Picture
Flat lining is nice, too, because the hemming can be slipped stitched into the flat lining only. Then no hem stitches at all will show from the outside.

This hem is slightly curve, so the fullness needs to be eased in before hemming. 
Picture
There was a request on my Facebook page to show how to add a train. This diagram shows where fabric should be added.  A train in most cases needs extra fabric added to the width of the back in addition to length.  After the dress is sewn together, the sweep of the train should be smoothed out during one of the fittings before hemming.

And, of course, the train can be made as long as you like.
Picture
To work on the roses for the neck, I first traced the scoop of the neck and sketched the size I thought the roses should be.
Picture
Then made some experimental roses. I wanted the roses to have a contrast interior, but after looking at these samples, realized I didn't want too much contrast and decided to make them all like the one in the center.
Picture
So, the pattern for each rose is like this. It is a standard bias cut spiral rose, but with about a third of it being the contrast fabric.
Picture
Fold the strip lengthwise and run a LONG machine gathering stitch on the cut edge.
Picture
Pull the stitched up ... not too tight.
Picture
As I worked I kept referring to my sketch and comparing my roses to make sure they were all about the same size.
Picture
I covered the back with a circle of fabric ... (but, if you could probably skip this stip. The roses are getting sewn to the dress anyway). 
Picture
Once the roses were figured out, I just had to make the rest.
Picture
It's important to get a nice tight coil to start.
Picture
Then I find a simple running stitch along the gathering stitches works best. This keeps all the bottom raw edges pointing downward so they won't accidentally fold up, peak though and be visible from the right side.
Picture
Before sewing to the dress, arrange the roses in the order they look best. No matter how hard you try, each rose will be a little different and the order they are placed will make a difference.
Picture
Here is my personal reference photo taken just before packing everything up for the trip to New York.


Feathers next week.
14 Comments

New Pattern time!

4/22/2015

7 Comments

 
Picture
Picture
7 Comments

Figuring out my size ... 

4/20/2015

5 Comments

 
Picture
This is my April project. I'm keeping my New Year's resolution to make something for myself or a gift for someone els every month this year.

And this time, I'm not going to talk about any sewing technique, but want to share my thoughts on why it's hard for me to figure out the right size to make.
Picture
Picture
As I said on Friday, I used the fabric left over from making the corset from this pattern for these cropped length pants for myself. I just barely squeezed them out. There was just a small pile of scraps left after cutting.

And I don't know where it was purchased. Simplicity bought it for me, but I will ask.
Picture
I had to do all sorts of experimenting to figure out how to get them as long as I did.  I had to totally eliminate the pockets and front fly.  I think front flies just look lumpy when worn with a shirt pulled over. And it is tedious to make a proper fly with the underlap and everything else involved anyway.
Picture
This is an Amazing Fit pattern, so I did all the measuring suggested on the guide sheet and filled in the chart, which said I should cut the size 14 Curvy pattern. But from previous experience I know that the curvy variation on these pants patterns is for people who have very rounded posteriors and my backside is rather flat. Although I am wide on the sides (thigh area) which makes my hip measurement a little larger than it should be for the Average pattern. So it is better for me to cut the average pattern and make adjustments on the side seam.

And, before cutting anything, I also checked the finished garment measurements on the pattern pieces themselves and since this fabric has a little stretch to it and because I wanted these pants to fit close, I cut the size 12 average.

So, I sewed up the front with its yoke and the back with its yoke and the zipper set in so I could fit these pants by pinning the side seams to the outside as instructed in the guide sheet.


BUT, when I sewed the side seam up where I had marked them, the pants were just too big. If I were in a store trying on pants, I would go for a smaller size.
Picture
So, I pinned in the side seam again. Sorry didn't get a photo of me in the pants for the second fitting. But, this photo shows the changes I made. 

The pencil line closest to the cut edge is the original 1" seam allowance given for fitting. The little holes show where I machine stitched the side seam the first time and the other pencil line shows where I will be stitching the side seam for the second time.  That's almost a 1/2" which is 1" per leg and 2" around the hips. That's a lot coming off a size 12 when I really have measurements for a size 14.
Picture
You can see I have the side seam running right up through the yoke which make adjusting easier. 
Picture
Also, I folded the pants so both side seam are on top of each other so I can trim both sides the same.  It wasn't a perfect 1/2" I took in from waist to hem. The waist didn't need as much taken off.
Picture
One more try one before sewing on the waist facing and hem. I like the fit now. It is not too tight and I can sit easily.
Picture
Now I want to pontificate on some sizing psychology. 

First in Simplicity's defense, they would rather have people mad at them for a pattern being too large than too small. Too large can be fixed, but if something is too small, a project can be rendered unusable. And, they have no idea what fabric we are going to use to make up any one pattern and fabrics can change the fit of things a lot.

Now, for my size hang ups ...

I come from a family of all sisters with a mother who was very obsessed about her size, always a little larger than she wanted to be and always on a diet, eating artificial everything, it seemed. So, my sisters and I, too, have battled with our weight from time to time.

I've had a very hard time being honest about my own measurements.  I've lost some weight over the last four years and now have the exact measurements for a size 14. But, four years ago I really was a size 16, but couldn't admit that to myself and always made a size 14 which usually fit fine. This was great for my body ego. 

All I can figure is that it is common for many people to fudge their measurements and for that reason pattern companies give us a little extra to work with.

But, always be careful ... look at the finished garment measurement printed on the pattern before cutting.
5 Comments

My April personal project

4/17/2015

1 Comment

 
Picture
Here I am at the plantation just outside New Orleans modeling my April project ... crop pants made in a pretty bright print.
Picture
I think I finally found a pants pattern that fits me pretty well, except I didn't use the size I should have used according to the measurements ... but more on that later.
Picture
Does the fabric look familiar?  I knew I wanted to make something for myself with what I had leftover from this corset. It is actually a woven cotton with some lycra in it, so it stretches, which makes it perfect for pants ... really comfortable to wear.


On Monday I will tell you how I figured out what size worked best for me and how I modified the pattern.


Enjoy your Spring weekend everyone. I've got a lot of weeding to do!
1 Comment

Quilt progress #1

4/16/2015

0 Comments

 
Picture
So this post begins my series of quilt progress reports.  I will probably report back about once a month. 


As you can see, I'm off to a pretty good start. I have ten inner block assembled in about two weeks, but we know I can't sustain that as soon as I get busy again. But, this is supposed to be something I work on while traveling mostly.
Picture
I want this to be a queen sized, but the only two options in the pattern I'm using are full or king. And as soon as I started to try and figure out how to make it a queen size I figured out why. Just one extra row of hexagons can't be added, two rows have to be added to keep it symmetrical.  Hmmmmmmmmmmm ...
Picture
What to do, what to do?  

Well, I made copies of the diagrams from the pattern and experimented adding blocks to the sides, top and bottom and realized if I turn the whole thing sideways I could get the dimensions I want, so here is my plan. The zig-zag edge will now be on the sides instead of the top and bottom, which I like better anyway.
Picture
I now know how many of the circular blocks I will need (46) and how many half blocks I will need (6). And I can figure out how much connecting fabrics are needed, all the yellow and green in the example photo above.
Picture
Every one of these inner circle blocks is going to be a different color. Remember the roll of dark colors I bought? Theses ten blocks I've sewn up to this point are actually some of the brighter colors in that roll ... see.
Picture
I think a brighter color will work best as a contrast to go around each of them. Also, I like the look of stripes and dots. But, I can't have a very straight and perfect stripe, because the dots on the inner circle of each block are very irregular. I need a stripe that looks hand drawn.
Picture
Picture
Picture
So, after looking and looking and looking, this is what I'm getting. The wiggly dark yellow stripe to go around each of my inner blocks. The black and grey dot to connect all the blocks. It will be sewn right next to this yellow stripe. (the green part of the pattern quilt) And lastly this dark red batik print for the inner border. See the photo from my pattern above. It will take the place of the dark pink.


I guess I'm really just making a dark color version of the quilt from the pattern, but I'm not using florals and other prints, just dots and stripes.
0 Comments

Sneaking away to New Orleans

4/14/2015

1 Comment

 
Picture
It's been a cold, hard winter and Halloween pattern season at Simplicity has been particularly exhausting as well, so my husband and I took a break in New Orleans last weekend. What a great city to visit!
Picture
We spent most of one day out of town to visit a couple plantations. One with an incredible stand of oak trees and the one just above is a traditional Creole style plantation where they gave a terrific tour about the history and a lot about slavery. Really well done, it's called Laura Plantation.
Picture
After the two plantations we went on a swamp tour where we saw many, many alligators, turtles ...
Picture
even cute and furry animals.
Picture
We had the best boat captain. He LOVED animals and took time to hand feed many alligators.
Picture
He also had a number of animals on board for people to hold ... EEK! My husband is holding an albino rat snake.
Picture
Although reluctant at first, I did hold this one animal, a two year old alligator. He really was pretty sweet, for an alligator. But mostly, he felt kind of cold and leathery. Weird.
Picture
Bank in town, I thought I might do some shopping, but 95% of the stores are filled with this kind of party stuff, which I'm not really interested in.
Picture
I thought this was kind of pretty, since I've been making tulle skirts and corsets lately.
Picture
And, in case you can't tell, those are shoes!!! Fun design. Can't image walking too far in them, though.
Picture
But this weekend was also the French Quarter Festival, which featured the food and music of New Orleans at many indoor and outdoor stages.  Amazing.
Picture
This was a great place to work on my quilt blocks while listening to music.
Picture
I assembled 5 of the 8 blocks I cut out while on this trip. Of course these are just the inner parts of the circular blocks for this quilt. Now I think I have enough finished to look for the fabrics needed to join all the multi colored sections together. 


That will be the topic for my next blog.
1 Comment
<<Previous

    From Andrea 

    I am a commercial pattern maker who is now "sewing over 50"!
    I love to sew and hope to encourage others to come back to sewing.
    The water is fine!!

    Archives

    August 2019
    July 2019
    June 2019
    May 2019
    April 2019
    March 2019
    August 2017
    July 2017
    June 2017
    May 2017
    April 2017
    March 2017
    February 2017
    July 2016
    June 2016
    May 2016
    April 2016
    March 2016
    February 2016
    January 2016
    December 2015
    November 2015
    October 2015
    September 2015
    August 2015
    July 2015
    June 2015
    May 2015
    April 2015
    March 2015
    February 2015
    January 2015
    December 2014
    November 2014
    October 2014
    September 2014
    August 2014
    July 2014
    June 2014
    May 2014
    April 2014
    March 2014
    February 2014
    January 2014
    December 2013
    November 2013
    October 2013
    September 2013
    August 2013
    July 2013
    June 2013
    May 2013

    Archives by Subject

    To search for blog posts in specific categories, use the drop down menu above by hovering over the word "Blog"

    Enter your email address:

    Delivered by FeedBurner

    RSS Feed

    Andrea Schewe participates in Amazon's associates program.