This film is a little "X" rated! But was too good and interesting not to share.
|
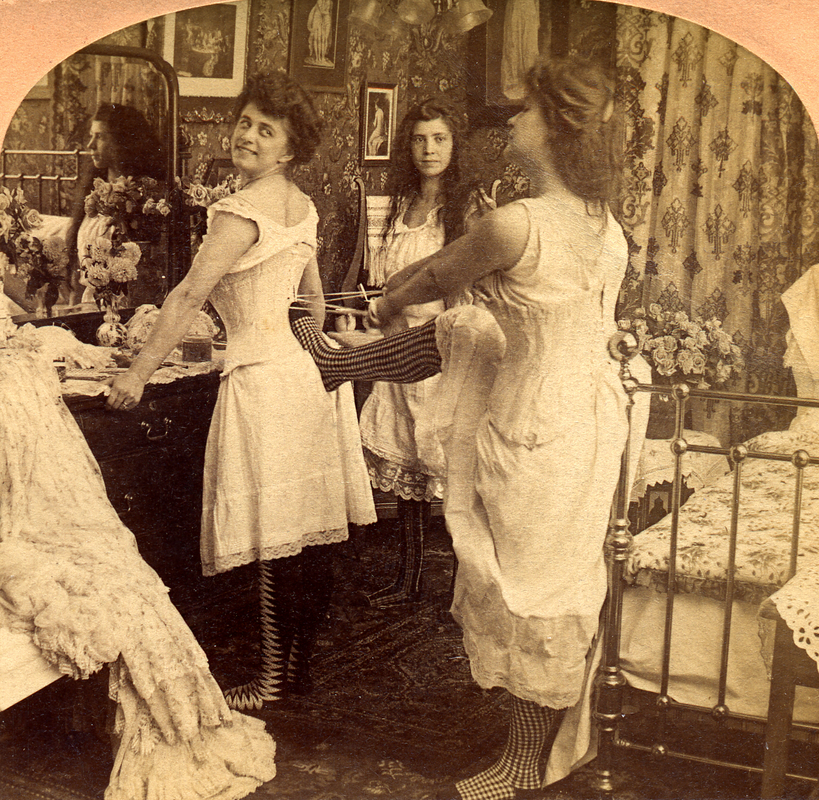
The morning after Costume Academy in St. Louis, I was having breakfast with some of the people involved with the event and someone let me know about this wonderful old silent film of a lady getting undressed in 1897. It is fascinating to see all the layers coming off her and to see the shape her body (from the back) from a life of corset wearing. This film is a little "X" rated! But was too good and interesting not to share.
5 Comments
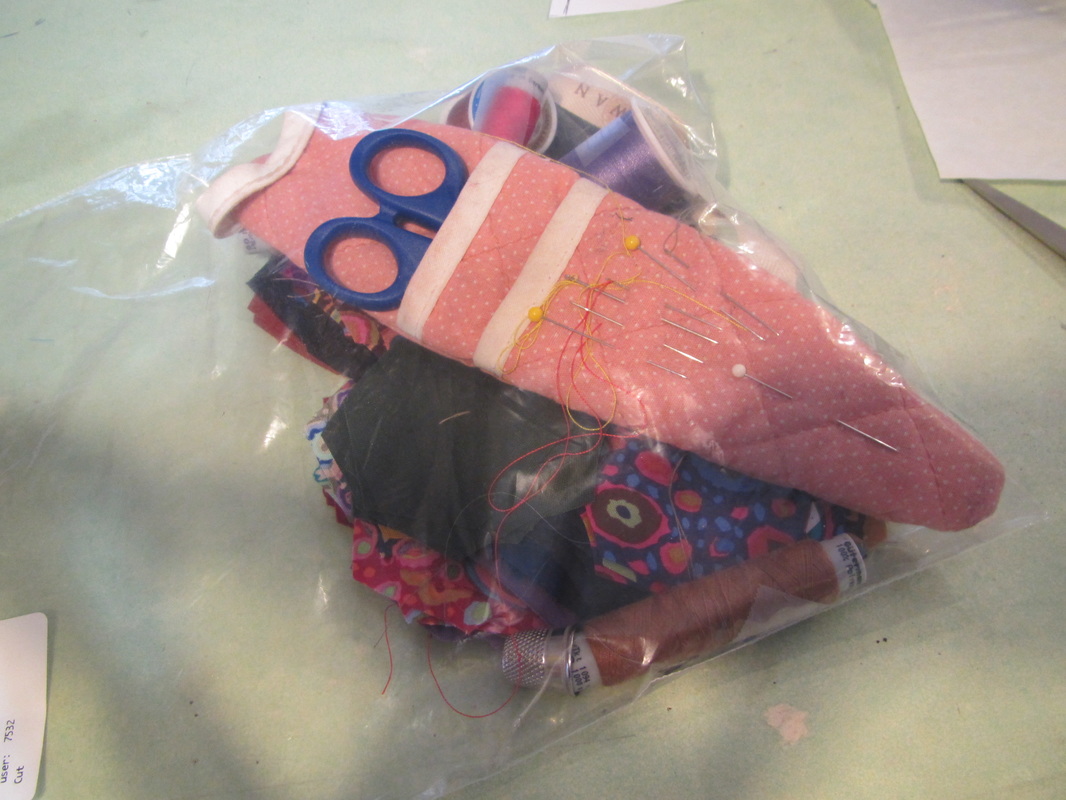
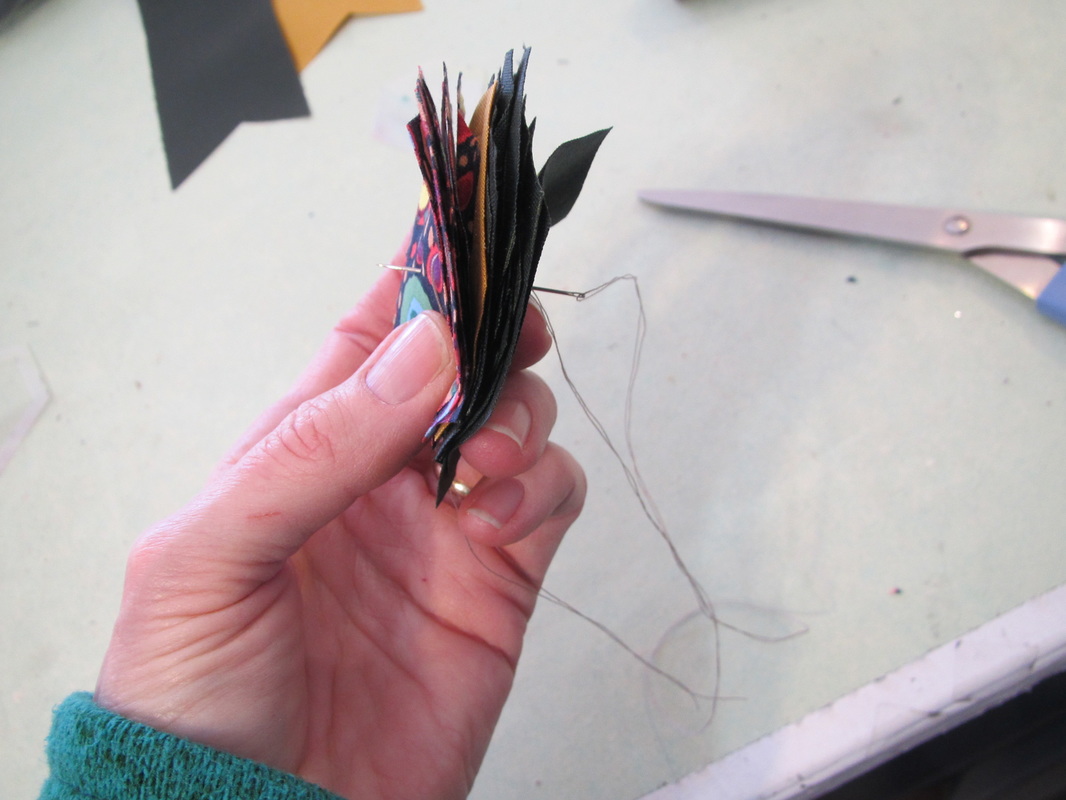
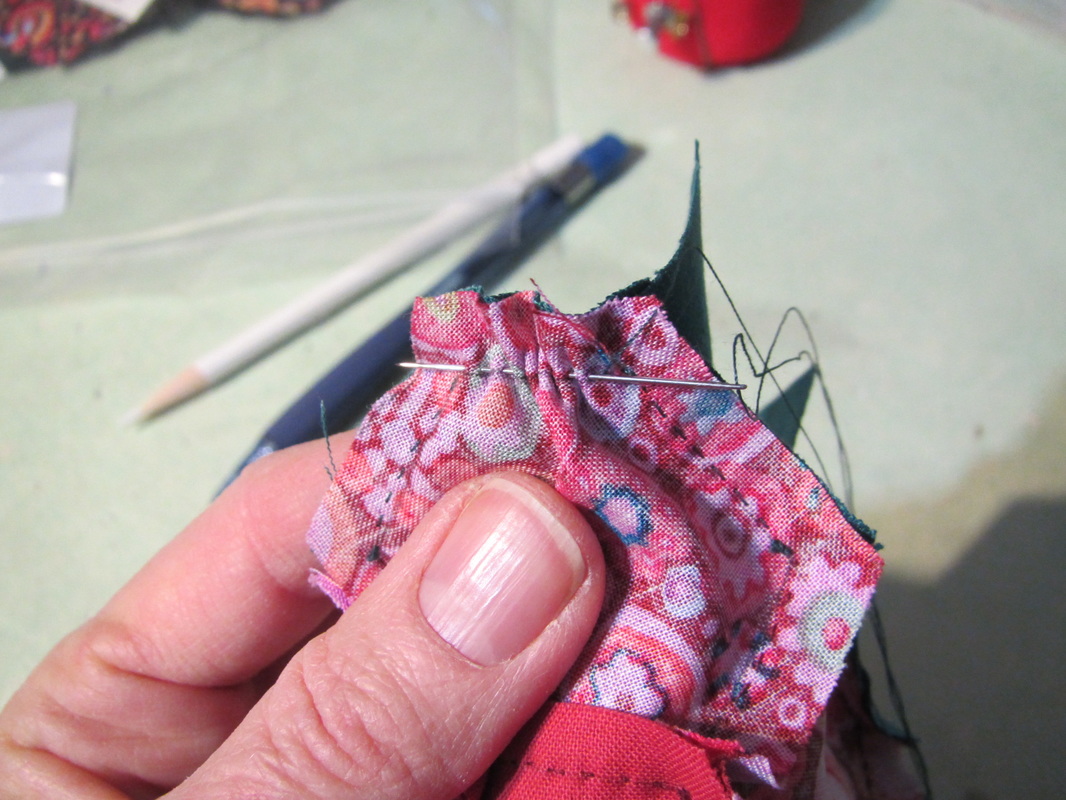
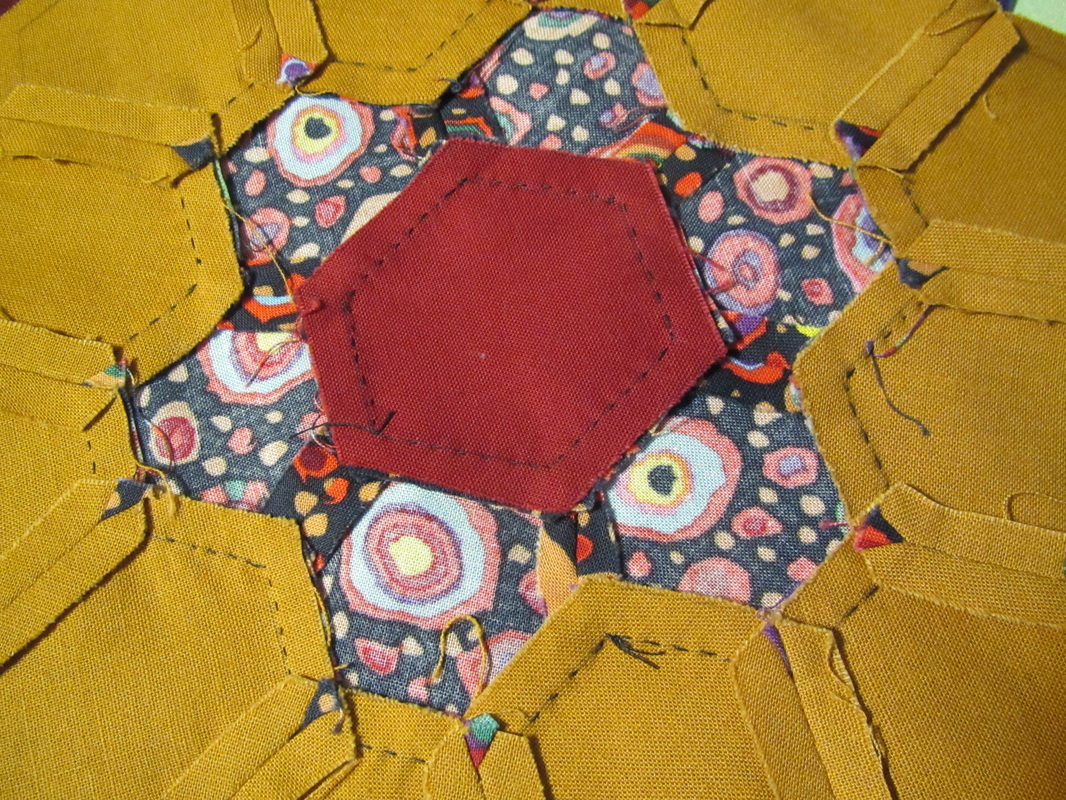
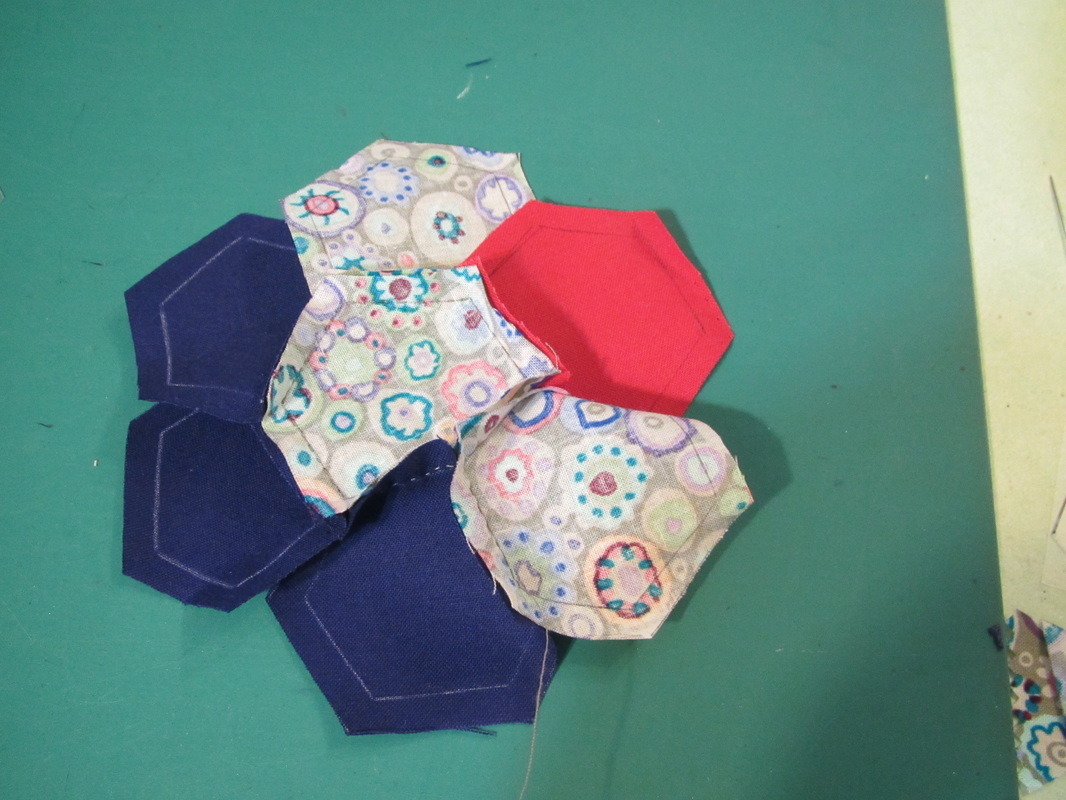
Here is my sewing kit "to go" or as the Brits would say a "take away" sewing kit. Now that I've figured out what s0lid colors I want to go with each of the dotted fabric, I've begun to cut all the hexagons for each circular block, which I then can take to the doctor's office, in the car, if someone else is driving ;-) .... or anywhere. To keep things organized, I decided to sew together the hexagons for each block by just passing a needle twice through and tying the thread. I hope I get fast at this. Every side of each hexagon can be done with one pass of the needle, but it's a LOT of sides. My quilting friend (initials HB ... you know who you are) thinks I'm a little crazy doing a hand sewn quilt. Time will tell. I sure hope she will coach me through the assembly of the quilt after the top is all pieced. I am learning. The first block I pressed all the seams open. But have decided it's faster and better to press the seams towards the print. The printed fabric is thinner than the solid and it actually looks better from the front when pressed this way.
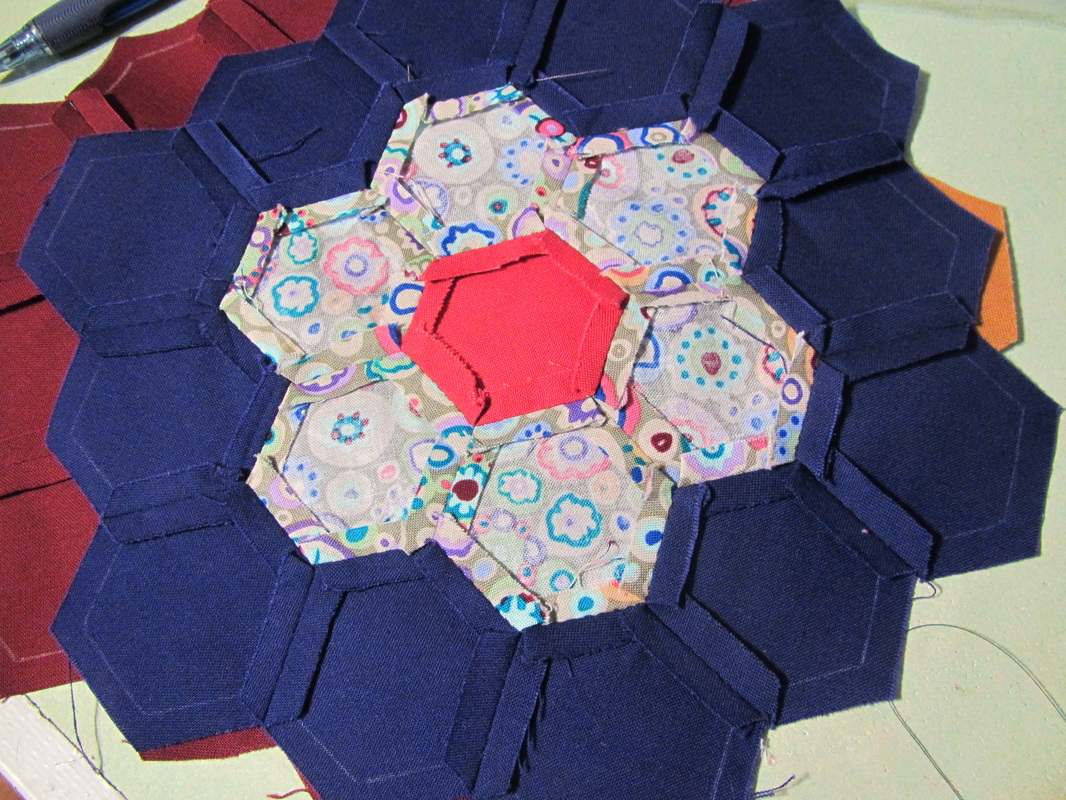
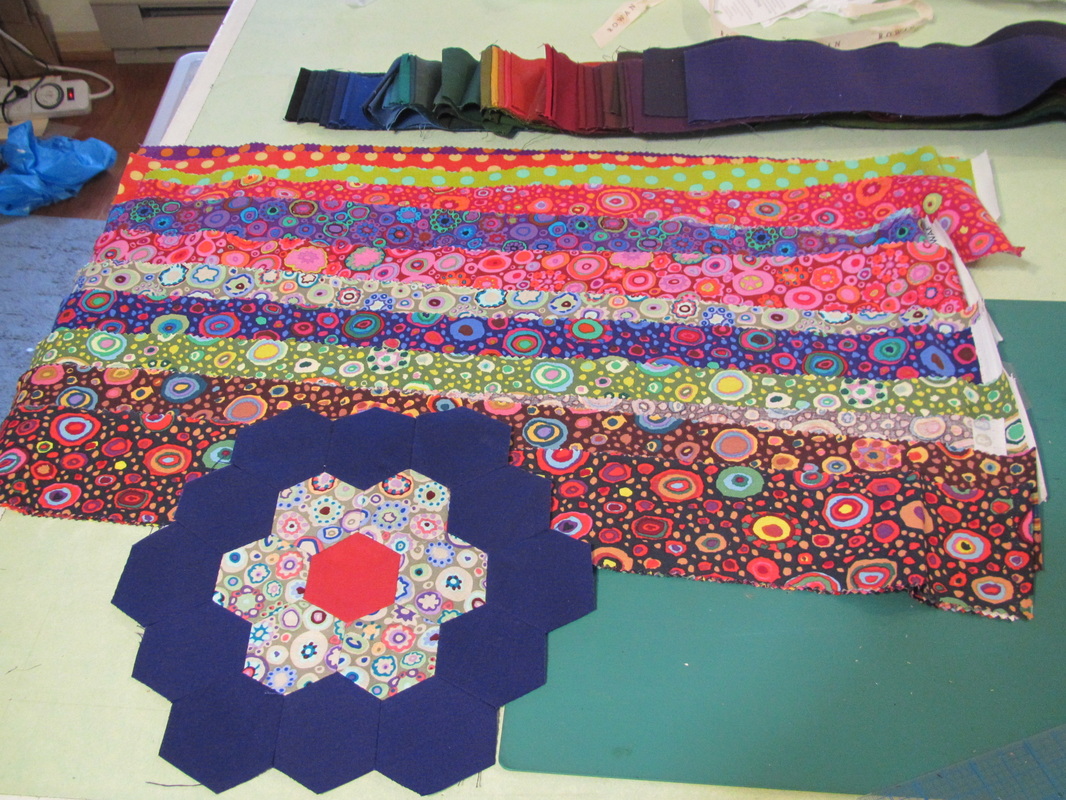
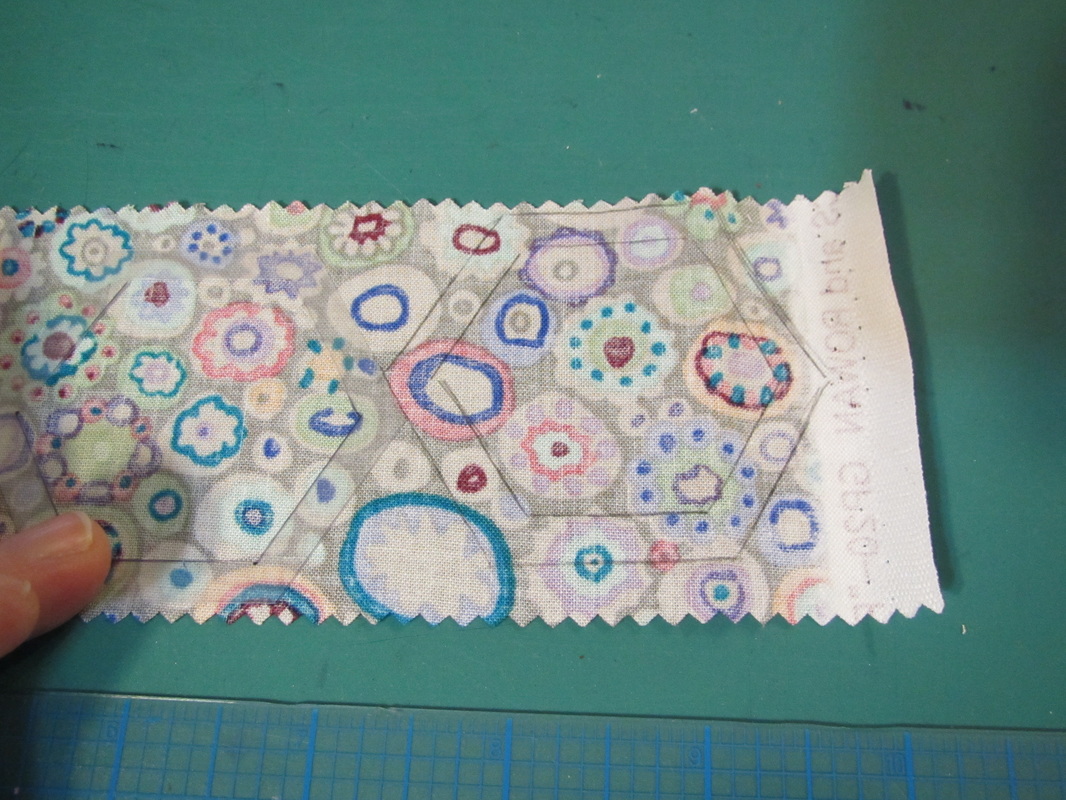
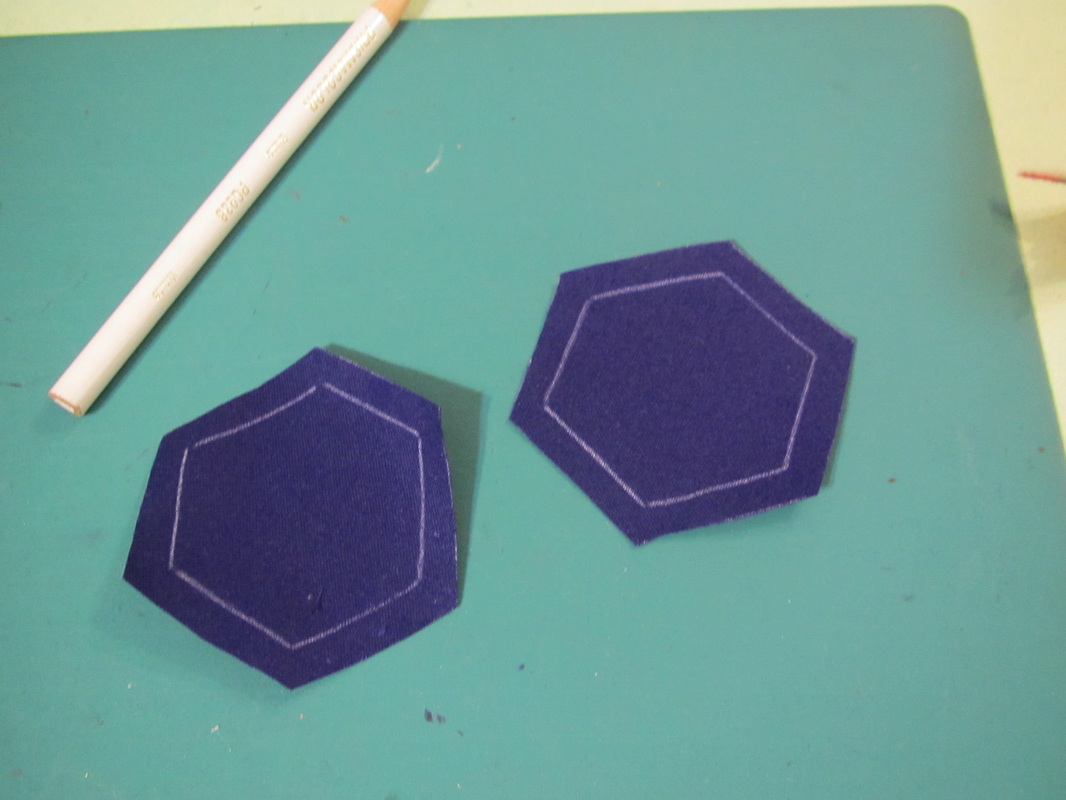
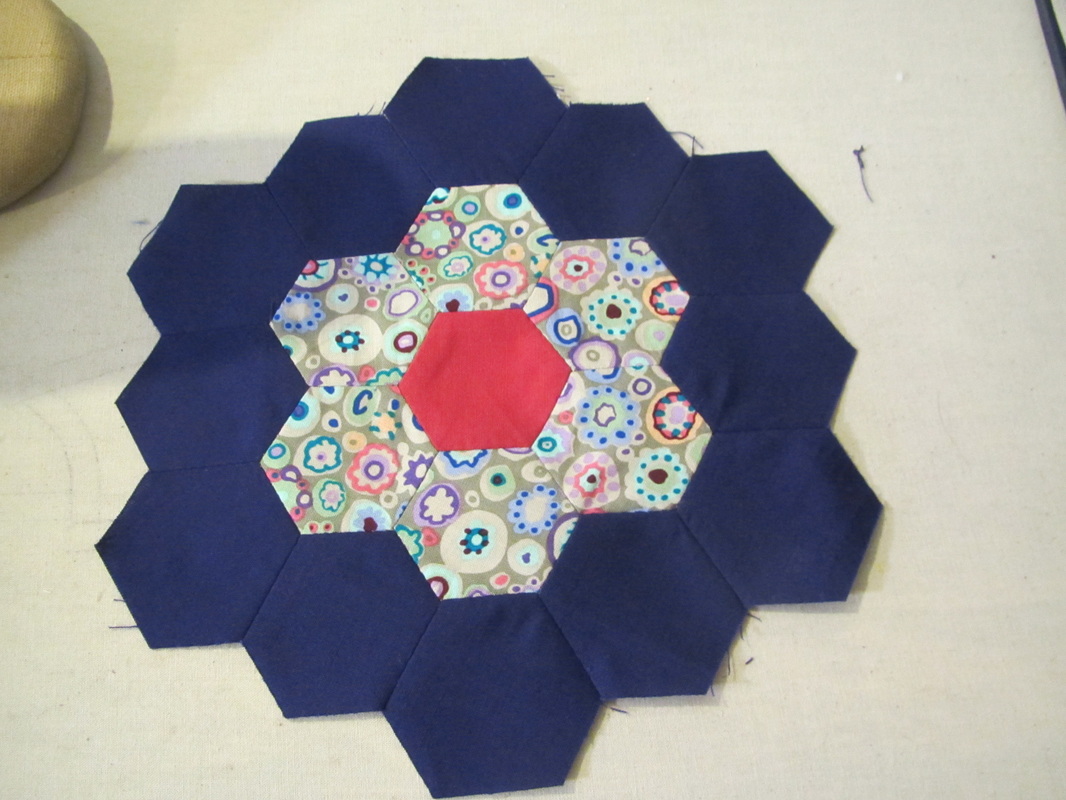
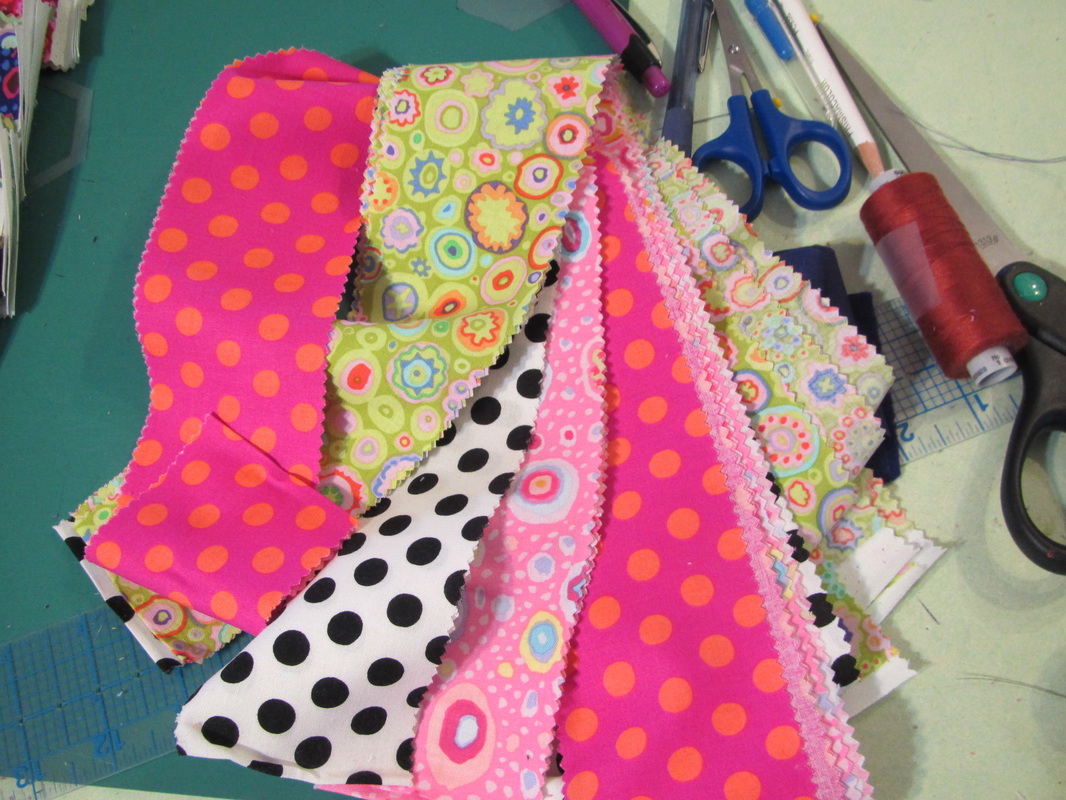
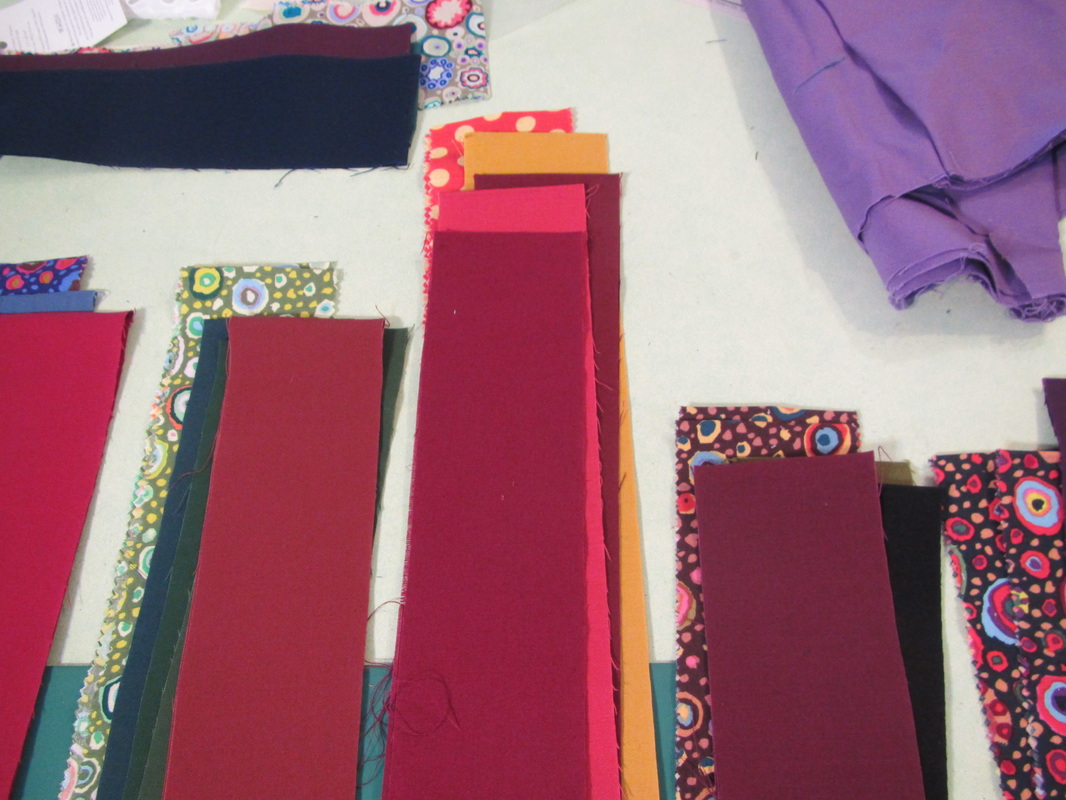
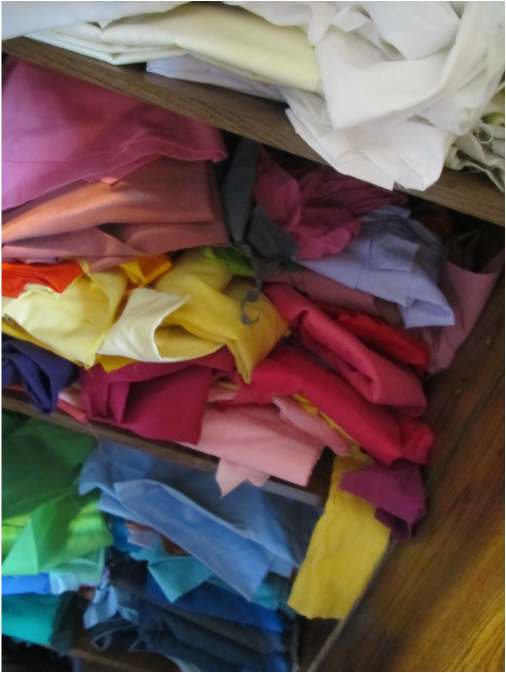
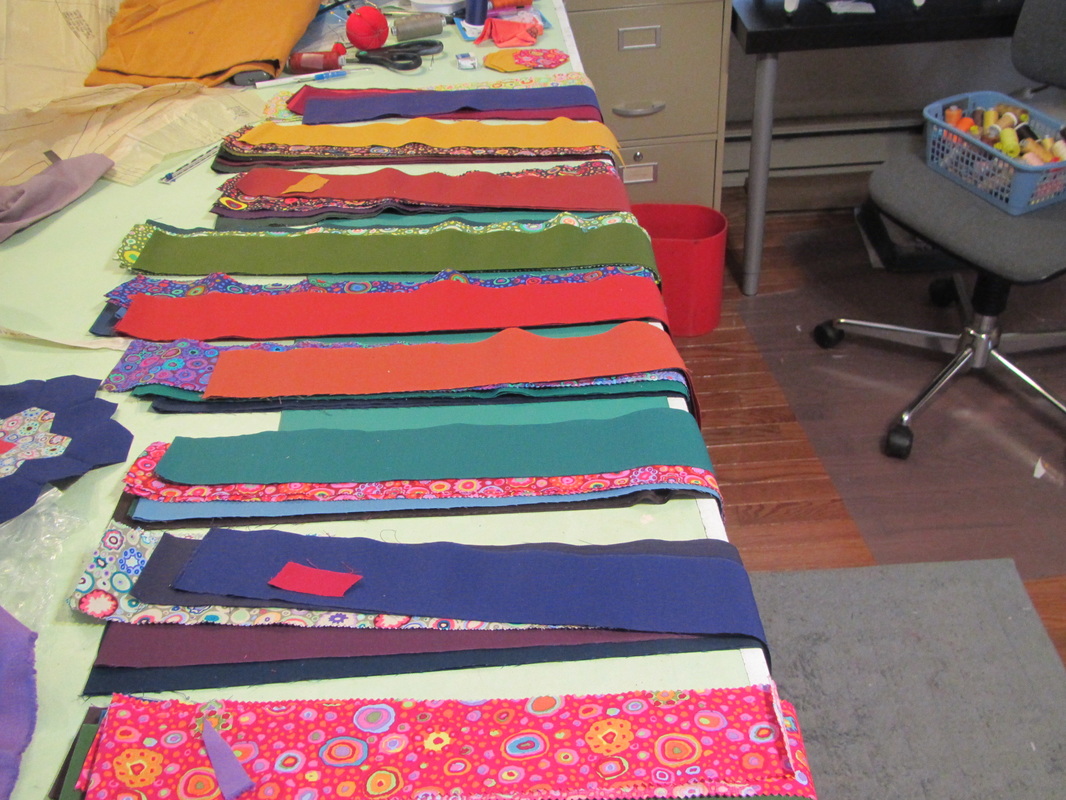
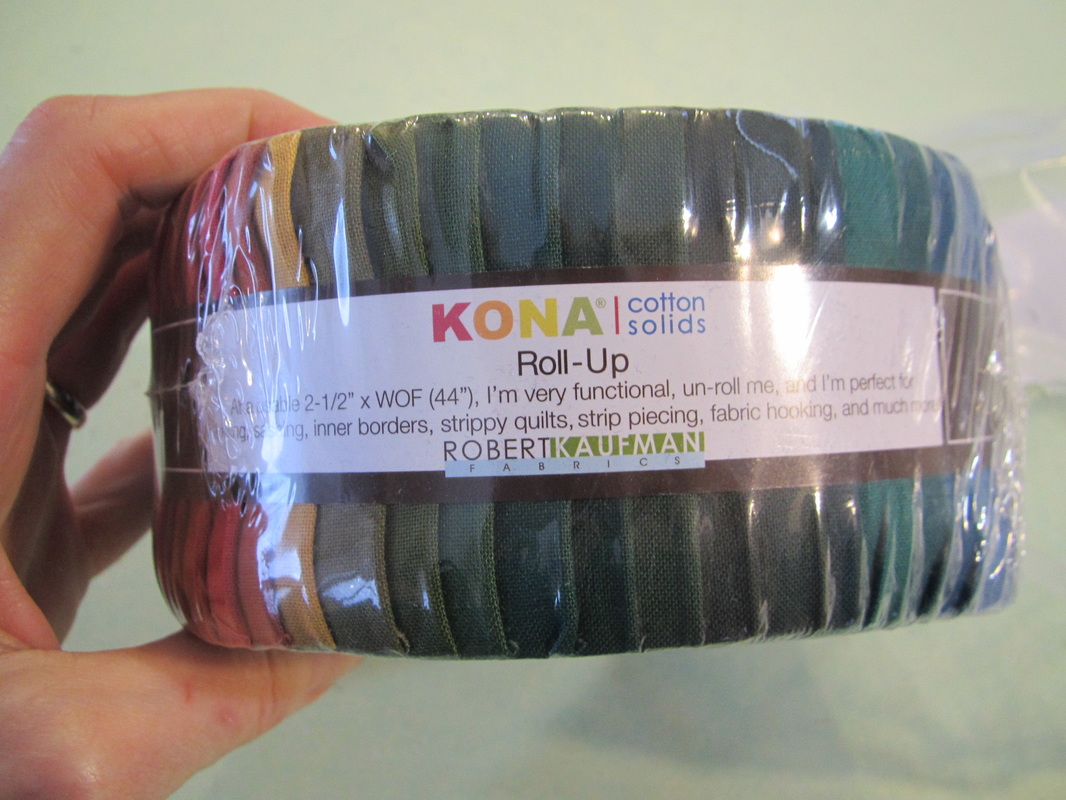
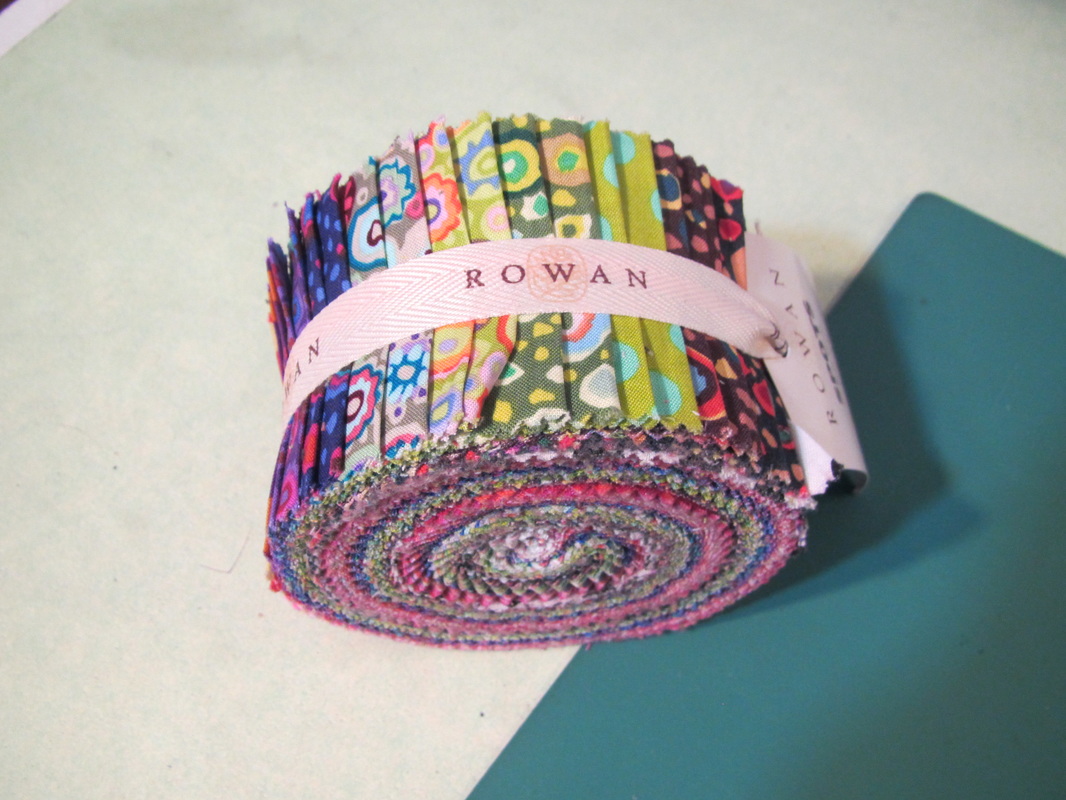
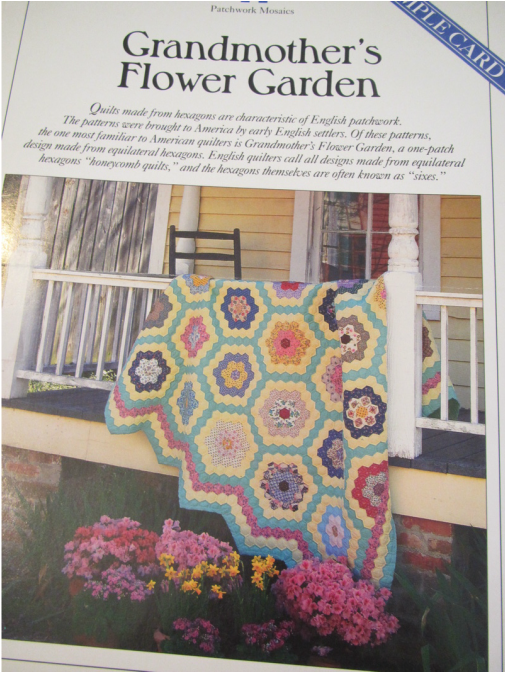
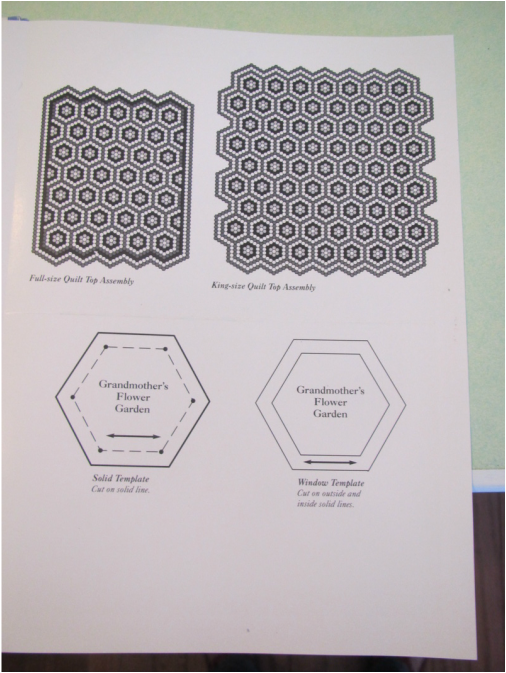
Lets see how many of these I can do by next week! So, I'm following through with my urge to quilt. As I said in my previous blog, I have been inspired by reading the Elm Creek Quilter's books and I love to have a project I can take around with me when traveling. It's nice to read on the plane or car, but sometimes I like to just to think and do something with my hands. So, this will be a hand sewn quilt. As you can see, I'm working with quilting fabrics sold in bundles cut in 2 1/2 inch strips. So I also need a quilt pattern that uses small pieces, no wider than that. I found this quilt pattern in a book I've had for years. I fits all my needs and will allow me to figure out parts of it as I go. The fabrics I have so far will be for the center and first two concentric circles. I have no idea what I want for what is the yellow and green parts on this quilt. After I make up a few of my smaller circles I think I will be able to chose those connecting fabrics. Now to test things out and make up my first circle. I've made myself a template out of a sheet of plastic. It's hard to see but I'm holding it down with my finger there. In the Elm Creek Quilter's books, piecing accuracy is highly, highly regarded, so I'm doing this the old fashioned way and marking all my stitching lines. And I'm trying to use tiny stitches, which is also highly prized. Here is my first circle finished. Happy so far. Now I realize, I really need to figure out which of the dot fabrics I want to use and assign the solid colors to each. If I do it as I go along I know I will be sorry. There will come a point, when the remaining fabrics just won't go together. These brighter colors and regular polka dots don't really go with the other fabrics, so I plan to leave them out. Making up one of the circles also let me know how much fabric each circle will use. It turns out that there is only enough of each solid to make one of those circles, but since there are two strips of each of the dotted fabrics, and fewer hexagons are needed for each circle, I can get 5 circles of each dotted print. BUT, there are not enough solid color strips for all the dotted fabrics, so I dove into my little cupboard of solid broadcloth to see what 100% cottons I had that will work to fill in the fabrics I need. OK, so I have the basic fabric combinations set. I can get going.
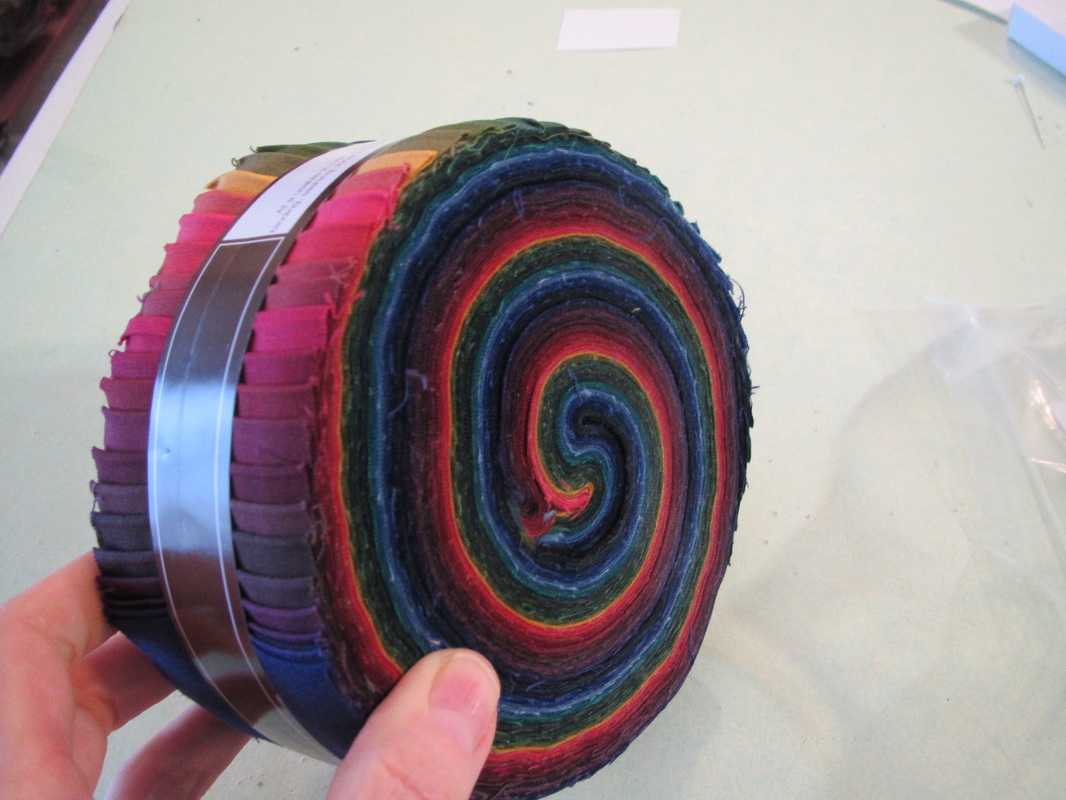
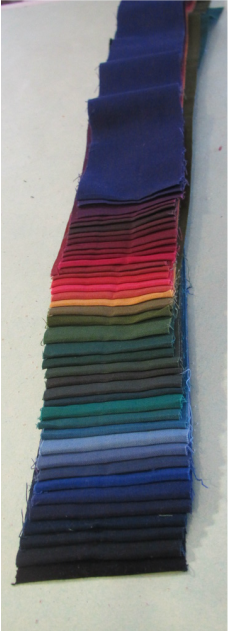
This is going to be a LONG term project. I guess I will give occasional progress reports. This will keep me on task. I really do want to finish this and having all you readers watching me will help a lot! Isn't this roll of dark, rich quilting cottons beautiful? I think so. It kind of tugs at my soul. I mentioned a while ago that I've been reading this series of books call The Elm Street Quilters. And it has given me this powerful urge to make a quilt myself. I know it is going to take a long time, maybe a couple years depending how my life goes. I want to hand piece it and hand quilt it if I can.
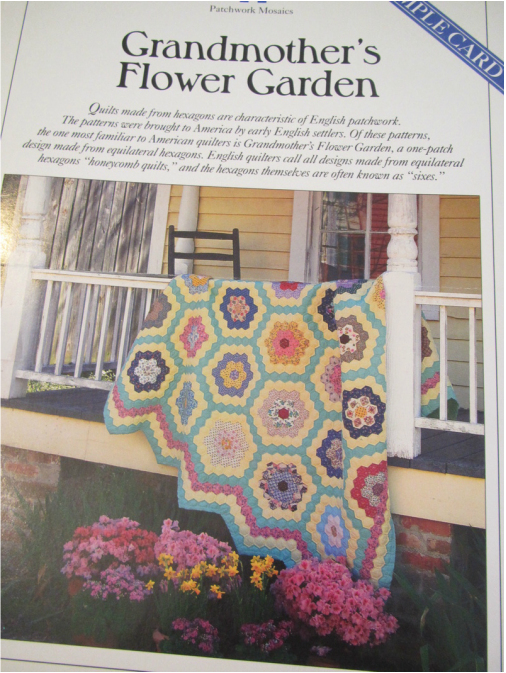
Now ... what pattern? I am interested in lots of color mixing and am not interested in quilting blocks with lots of different shapes AND ... look what I found! I've had this binder of home craft projects sitting in my studio for at least 25 years and this is the first time I'm going to actually do one of the projects. Just lots and lots and lots of hexagons. I can do this.
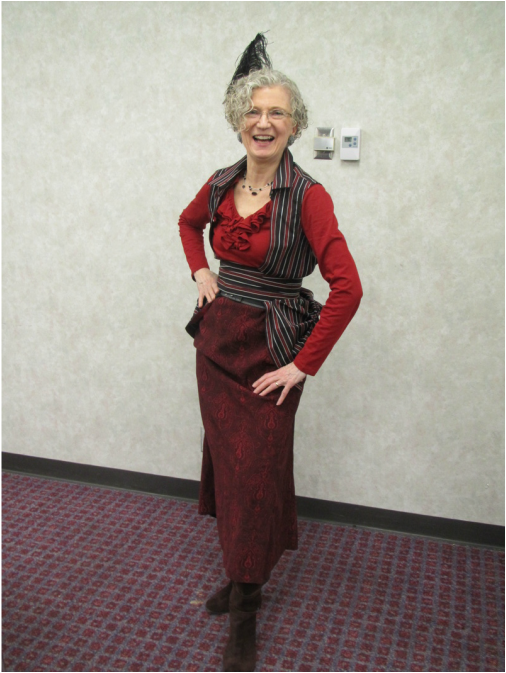
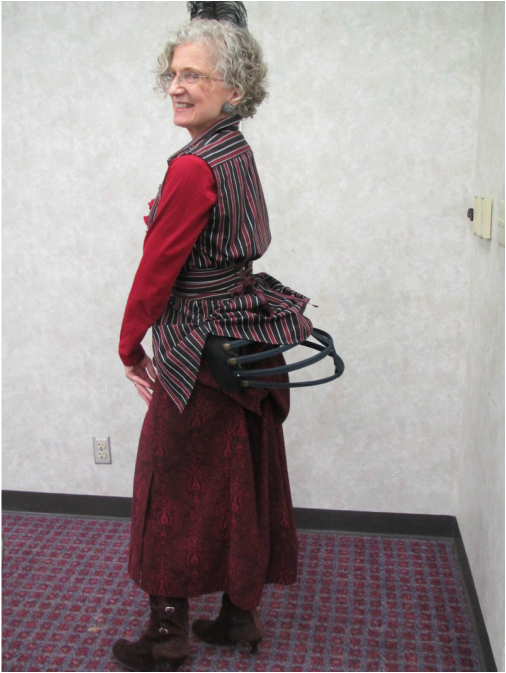
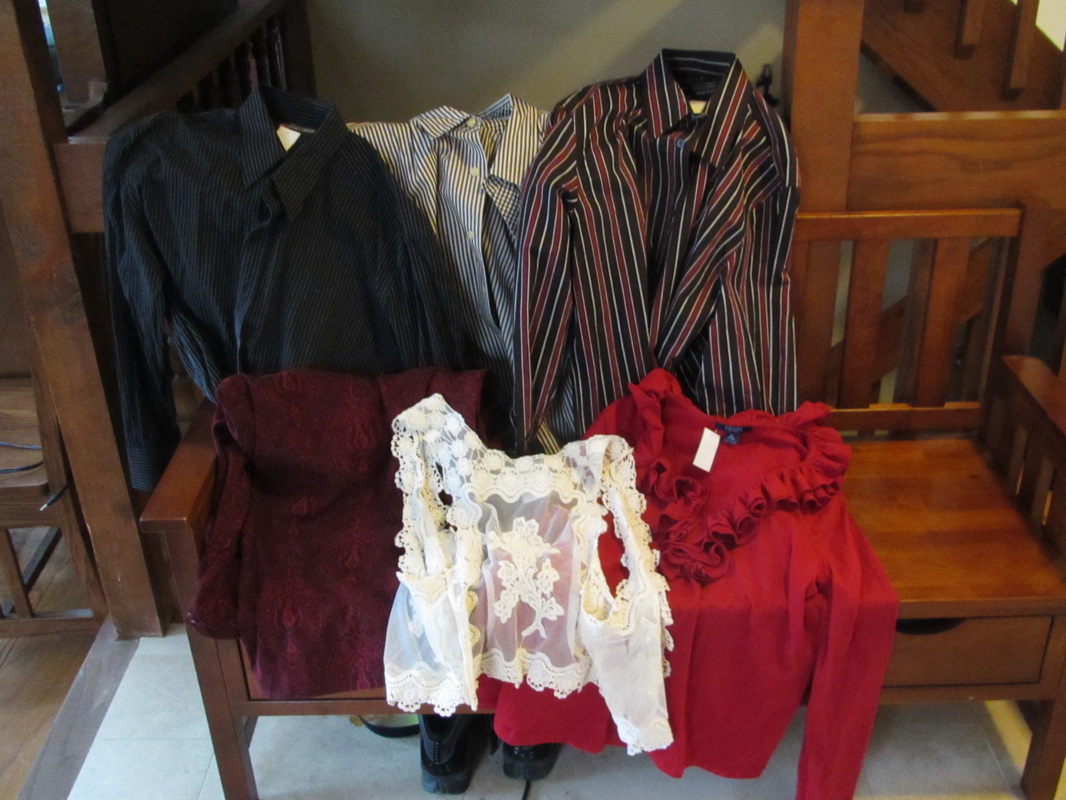
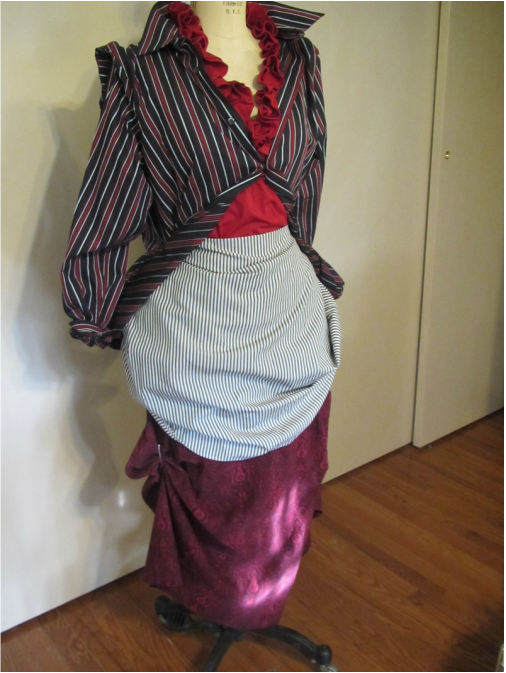
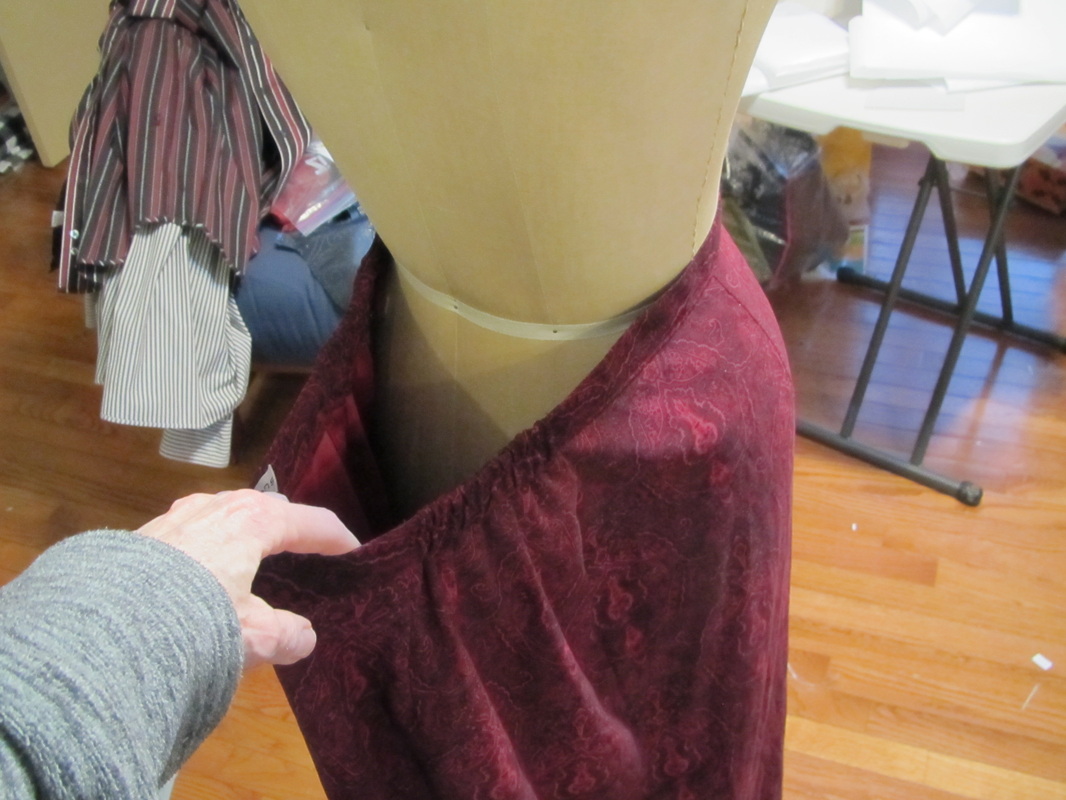
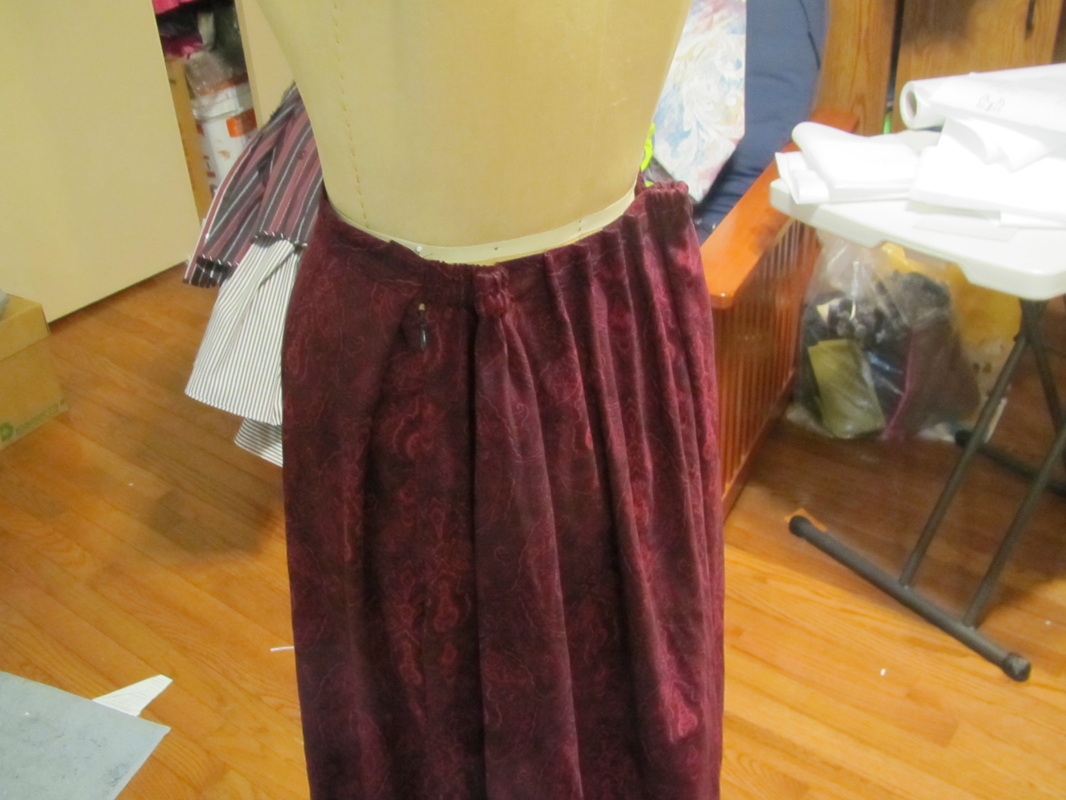
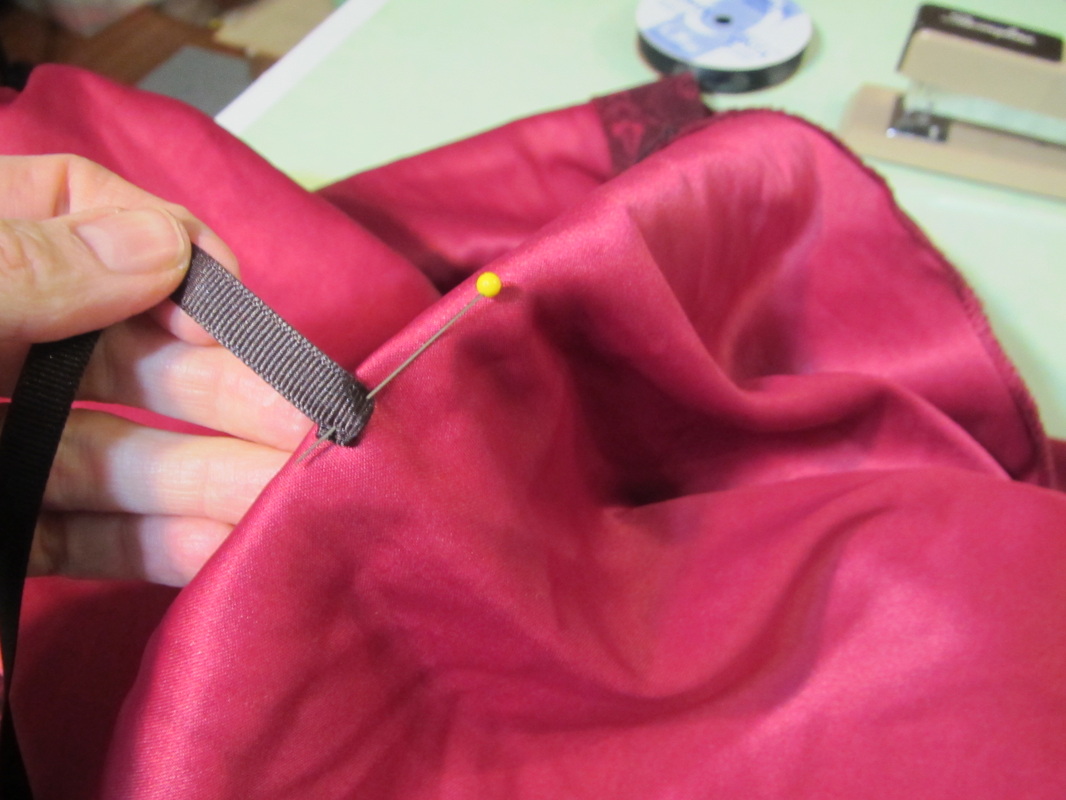
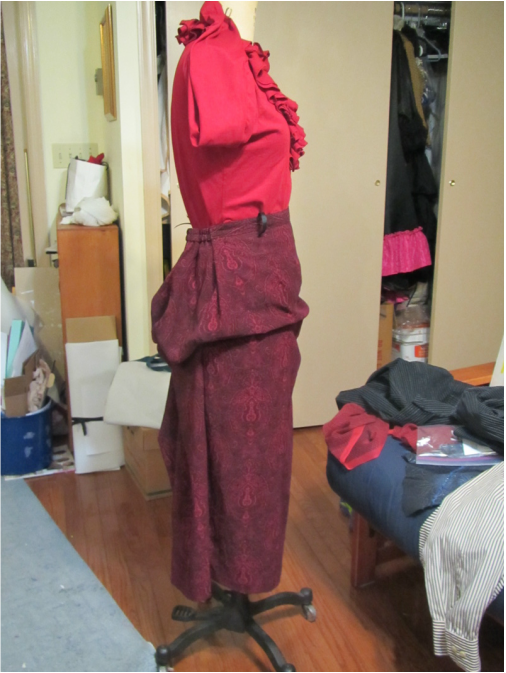
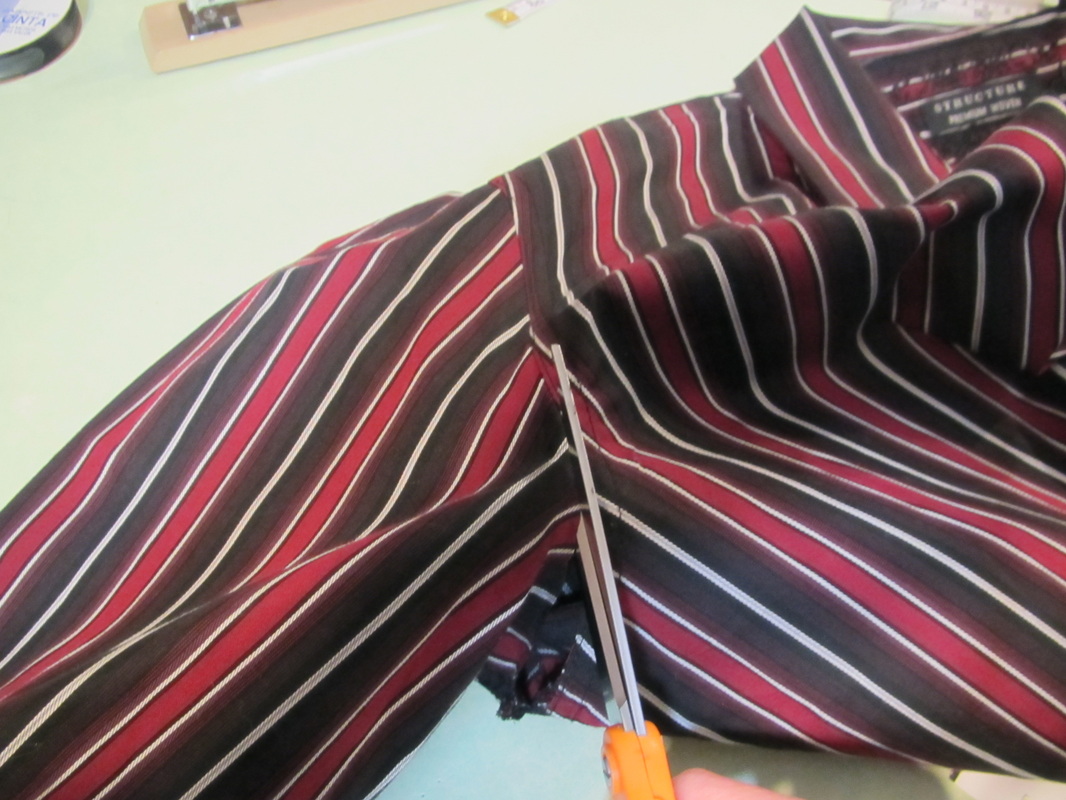
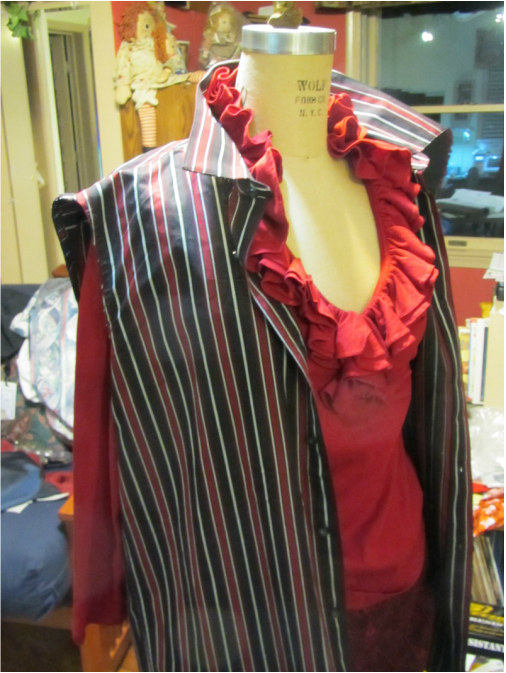
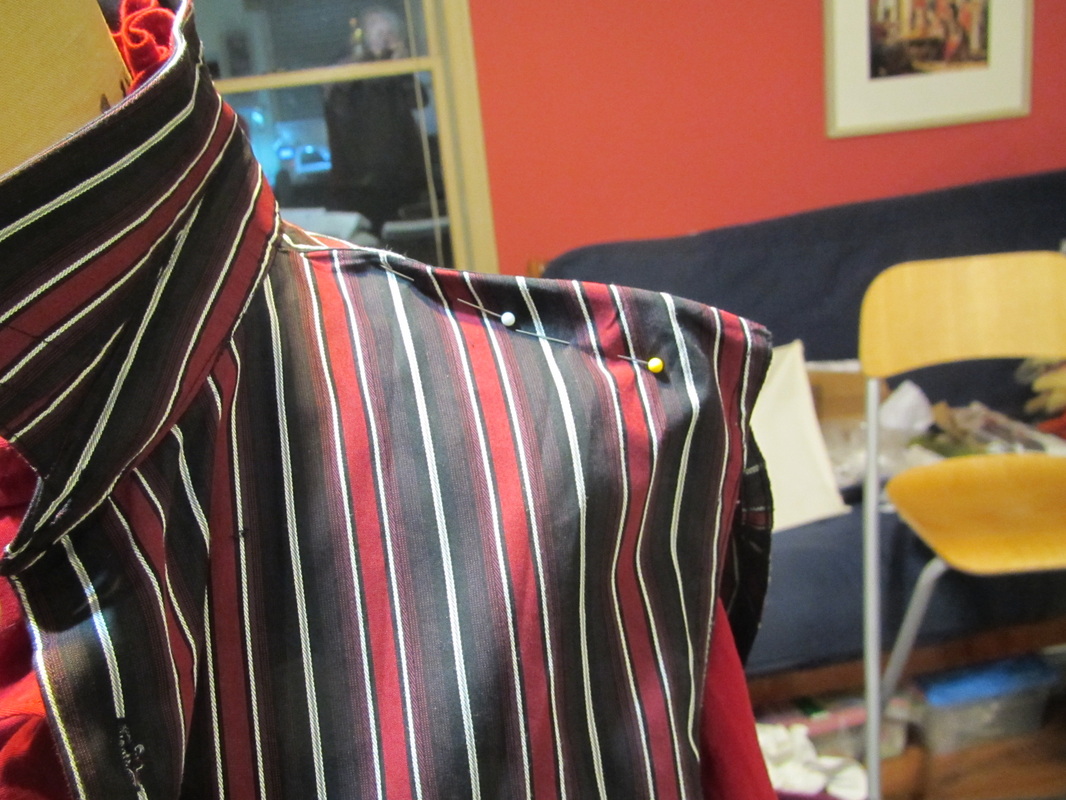
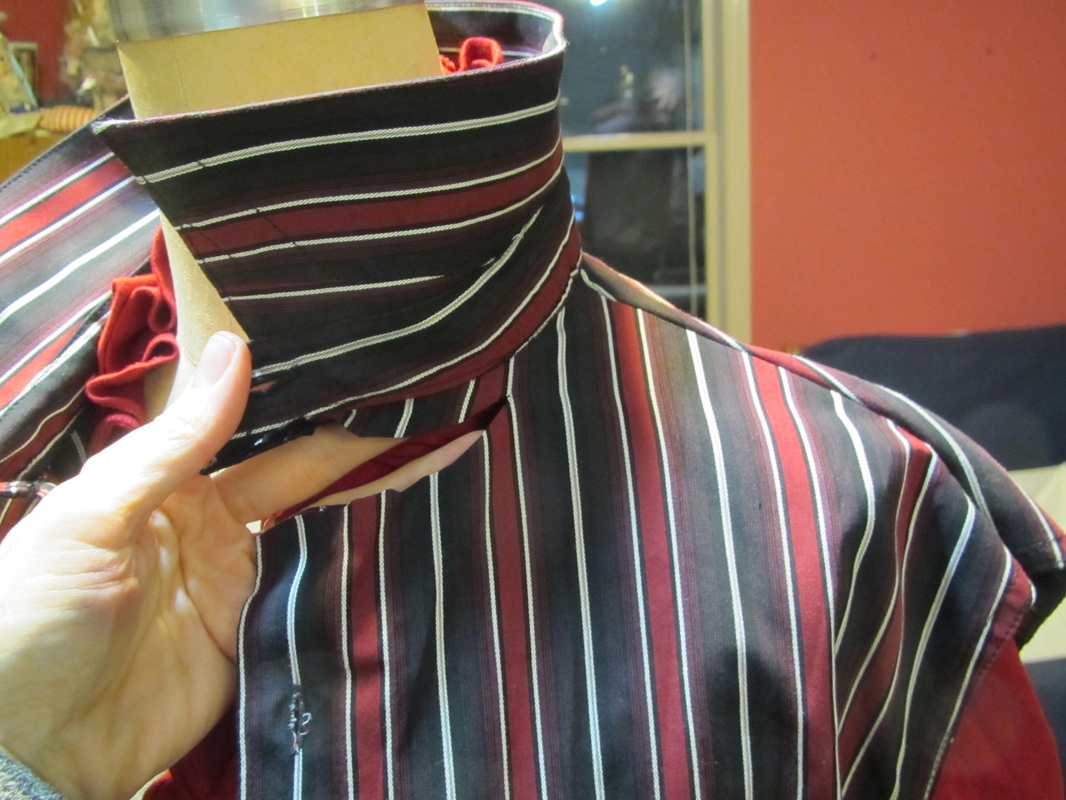
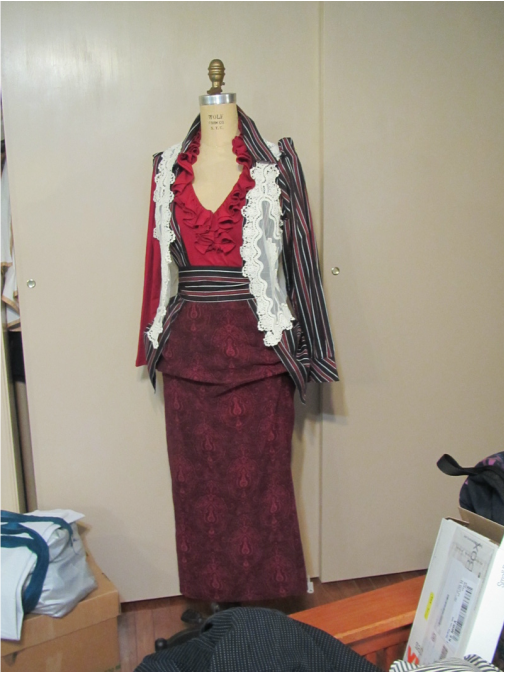
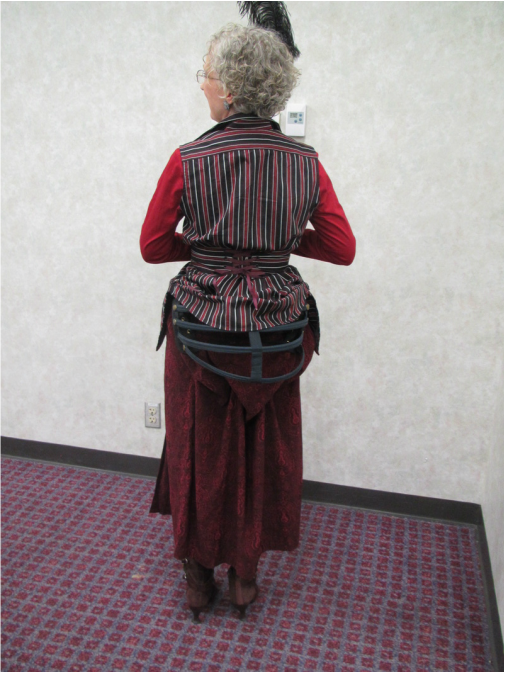
My plan is to get this started over the weekend. "Well begun is half done" This is what I wore last Saturday in St. Louis at the Midwest Costume Academy. It is supposed to be a "non costume" event, but last year I made myself a fairy sweater from some things I found at the thrift store. Not REALLY a costume, but costume like. So, this year I decided to see what else I could do in that vain. At the end of the day, Sheila Lenkman, tied this bustle on my back side ... ha ha. I like the concept, but would have done something to the shirt to make it drape better, if I had planned for this. I bought a lot more stuff than I ended up using. Maybe there is a second thrift store Steampunk in my future?? And this is how I originally mocked up all the pieces before actually cutting into anything. Turns out this looked a little more like a costume than I felt comfortable wearing that day. So let me show you how I modified the pieces I ended up using. First the skirt. I bought a skirt that was WAY too big for me, because I wanted to use the excess fabric to bustle up. I could have bought two skirts and combined them someway, too. I put a bunch of exterior pleats in the back. I wanted the front to be smooth. I sewed a series of ribbons to the inside of the skirt, making sure both sides were symmetrical. Then experimented with pulling them up different amounts, until I liked how it looked and pinned the ends to the waist. I was going to actually sew these ribbons, but then got so busy, I ended just wearing the pins and decided it was part of the "look". I cut the sleeves off the shirt planning to fit the shoulders and armhole so I could put the sleeve back on with a puff at the top, or something, but liked how it looked better sleeveless. This ruffley red knit shirt I found at the thrift store, too. I thought I could cut off the ruffle and do something clever with it, but it looked so good as is and was so comfortable, why make more work for myself? This picture shows how badly this shirt fit. Well, it is a man's XL ... again I bought large because I wanted excess fabric to do things with. I re-sloped the shoulder, took in the side seam near the armhole, but flared it out to the full size at the bottom. Then I cut the armhole in so it fit and finished it with bias tape. The pre-made kind from a packet. I wanted the front more open and the collar set out wider. So I cut the collar free almost to the shoulder. Then hemmed back each front 2 or 3 inches and set the collar back down so the edge of the collar met up with the front edge of the shirt. I pleated up both sides of the shirt and used a BIG safety pin to hold the pleats but, again, never had the chance to actually sew those pleats. I was going to wear this lacey vest, but thought it made me look fat when I was getting dressed in my hotel room. Last thing, I made a pleated cummerbund with fabric from the sleeves ... that laced in the back.
If I wear this again, maybe I will add to it with some of the other thrift store things I bought. Or, maybe I will never wear this again. Time will tell. |
From AndreaI am a commercial pattern maker who is now "sewing over 50"! Archives
August 2019
Archives by Subject
To search for blog posts in specific categories, use the drop down menu above by hovering over the word "Blog" Andrea Schewe participates in Amazon's associates program.
|

 RSS Feed