Andrea Schewe Design
  • Home
  • Costumes
    • Reader's Gallery
    • Fantasy Costumes
    • Theatrical
    • Historic >
      • Easier to make
    • International
    • Costumes for Kid's and Babies
  • Crafts
    • Home Decor >
      • Pillows
    • Fashion Accessories
    • Doll Clothes
    • For Kids and Babies
  • Blog
    • Past Blogs by subject >
      • My patterns by number
      • Sewing basics
      • Personal sewing Projects
      • Fashion History
      • Fun and funny stuff
      • Guest Bloggers
      • Crafts and Home Dec
  • Links
  • Contact

New pattern #1551 - dramatic fantasy dresses ... sewing tips

7/31/2013

25 Comments

 
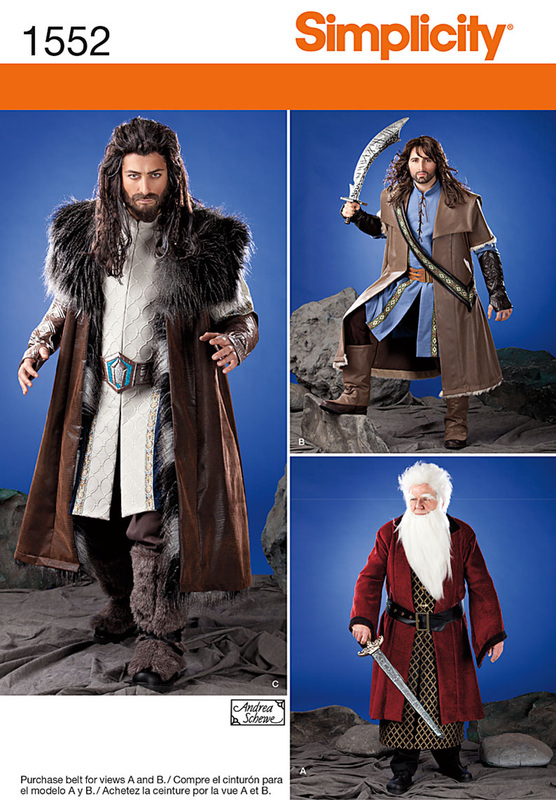
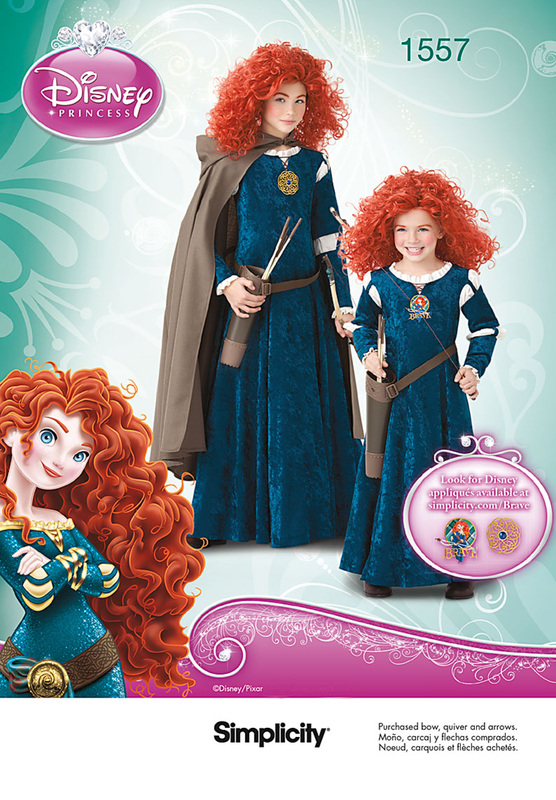
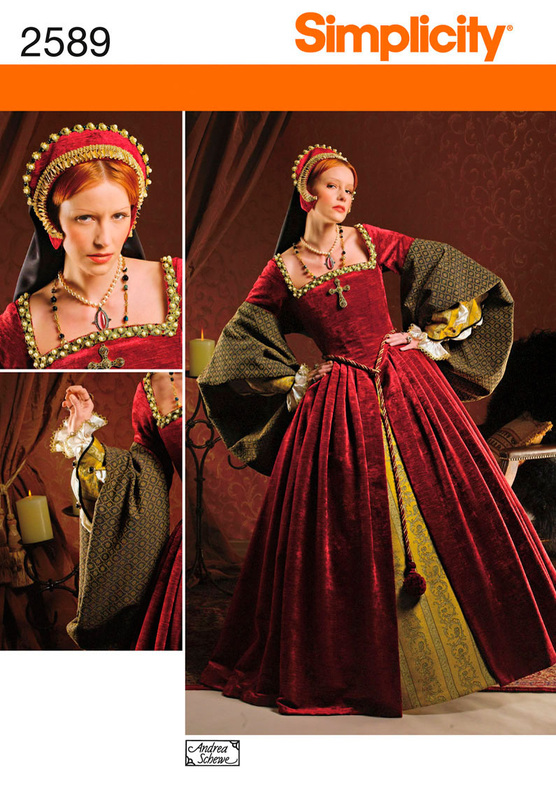
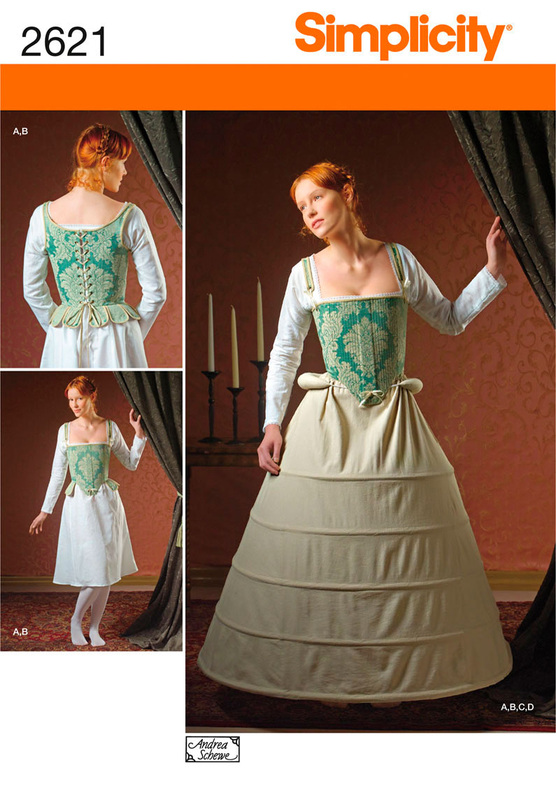
Several people have asked where they can buy all the new patterns I posted on Monday.  They have been shipped to stores such as Joann's, Hancock, Hobby Lobby, and Walmart and so, in the US, should be available within the week.  They will go live on the Simplicity website in a couple days.  I will let you all know as soon as I do. 

Outside the US I think it will take about a month, but I would think you should be able to order from the website.  They have all sorts on little international flags in the upper left hand corner of their home page.  Have any of you folks living outside the US tried to order from the website? Please let me know if it works. How long does it take for the stuff to arrive? Have there been any problems?
Picture
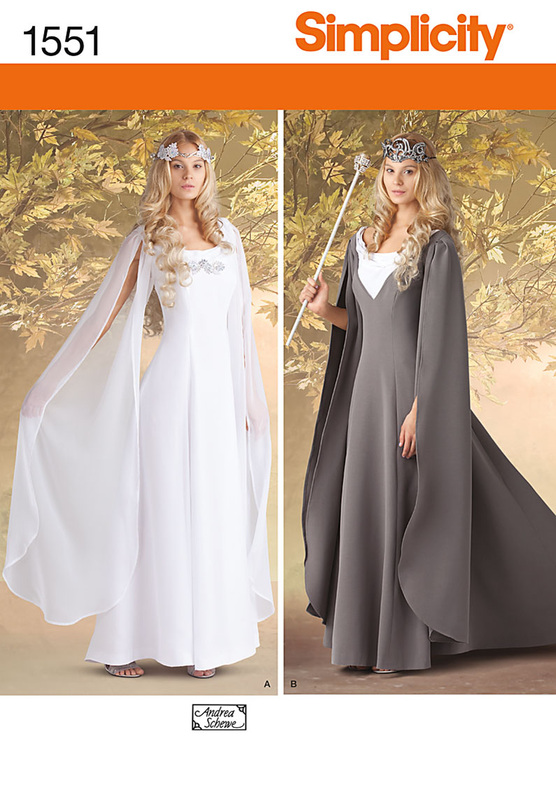
These two dresses, I think, will be very flattering on most everyone.

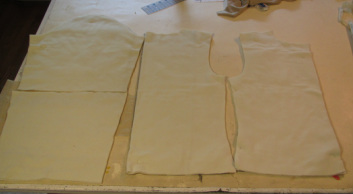
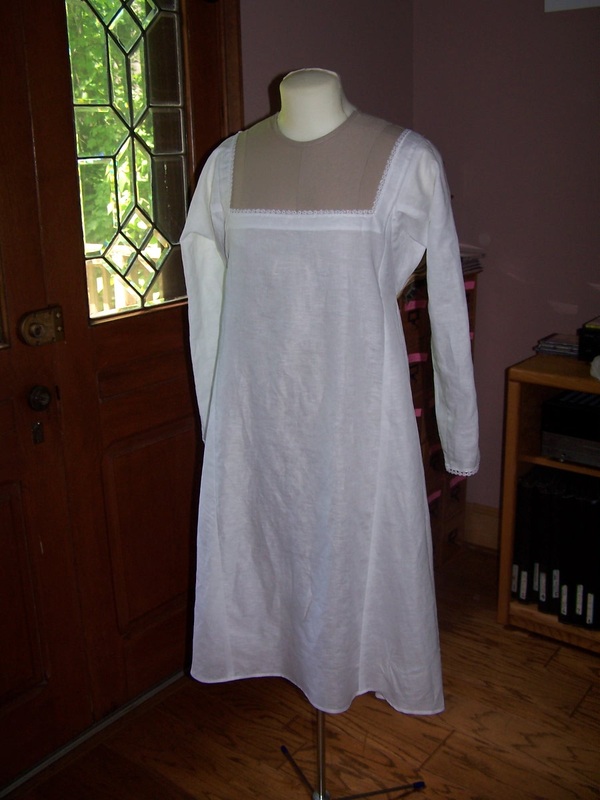
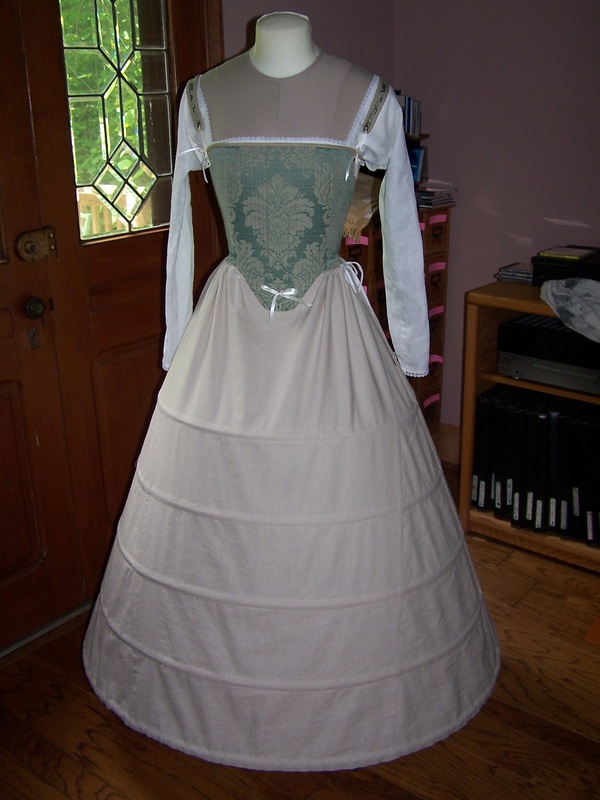
Below are the photos I took of these dresses before boxing them up to send to Simplicity.
Picture
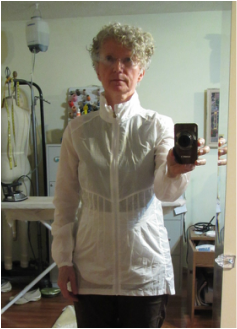
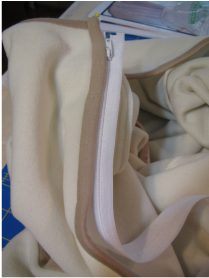
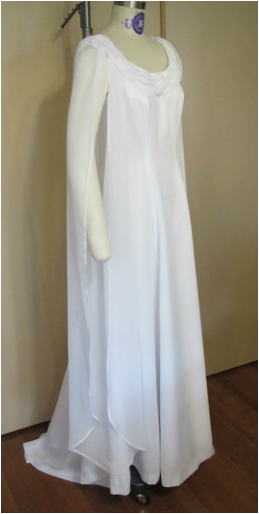
This dress is made of white crepe with chiffon sleeves and draped collar.
Picture
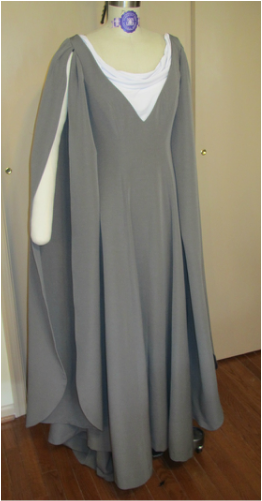
This dress is made with a heavy grey polyester fabric that I think has some rayon in it that adds to the weight. I might be called "suiting" fabric. The white inset is a polyester knit.
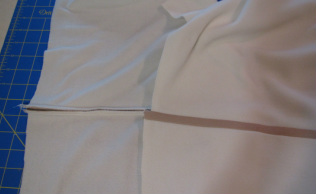
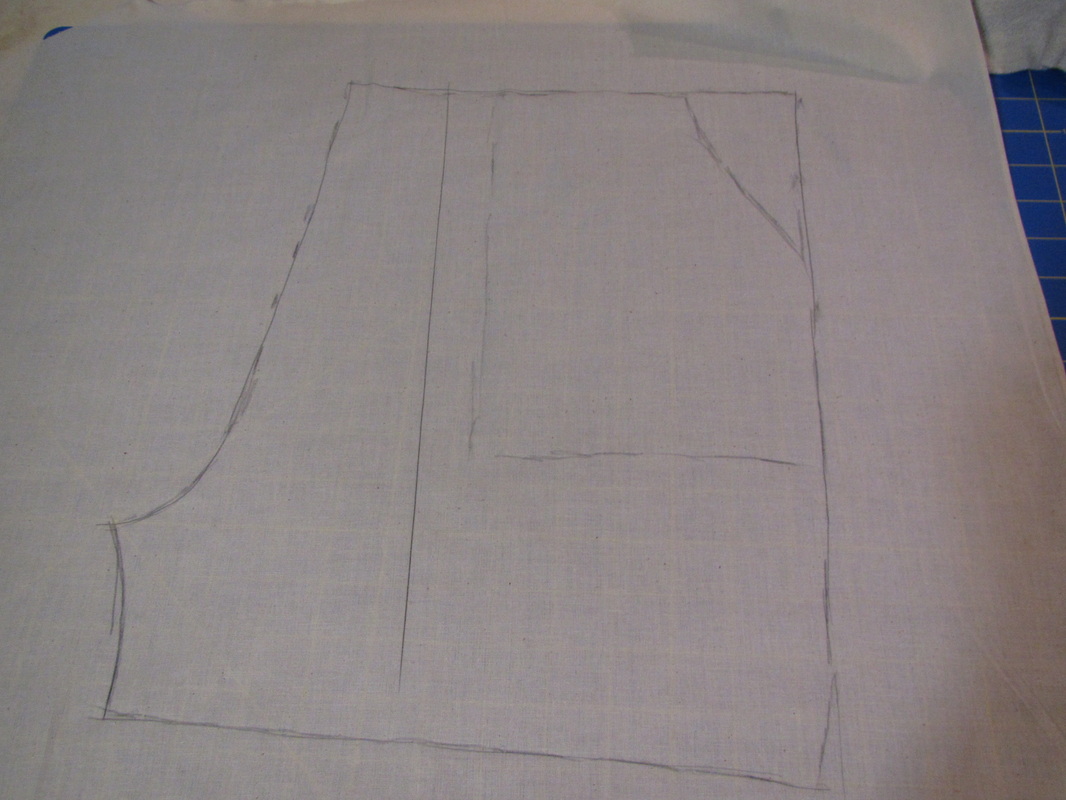
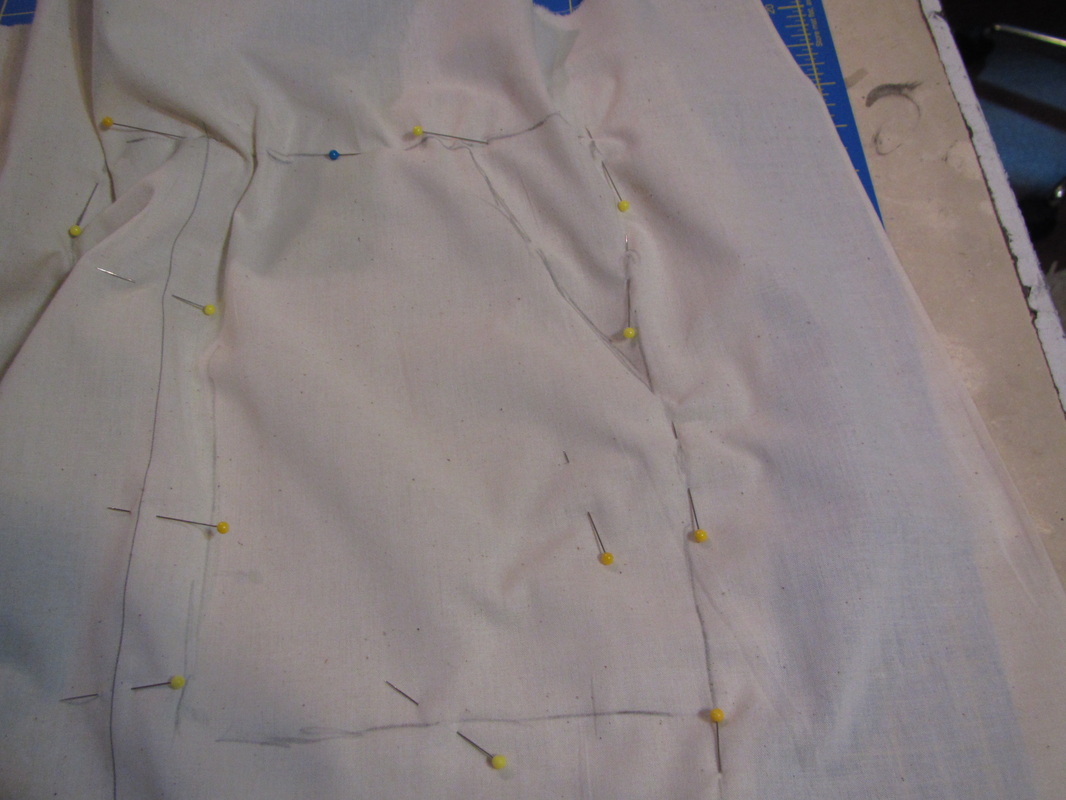
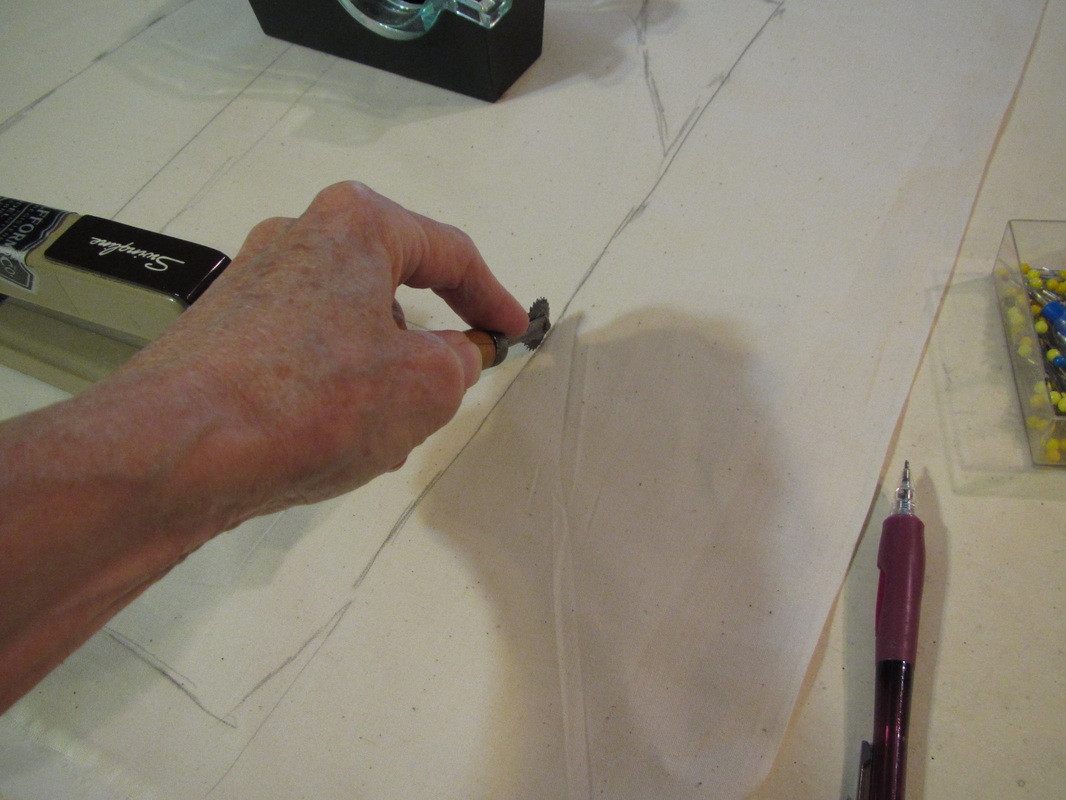
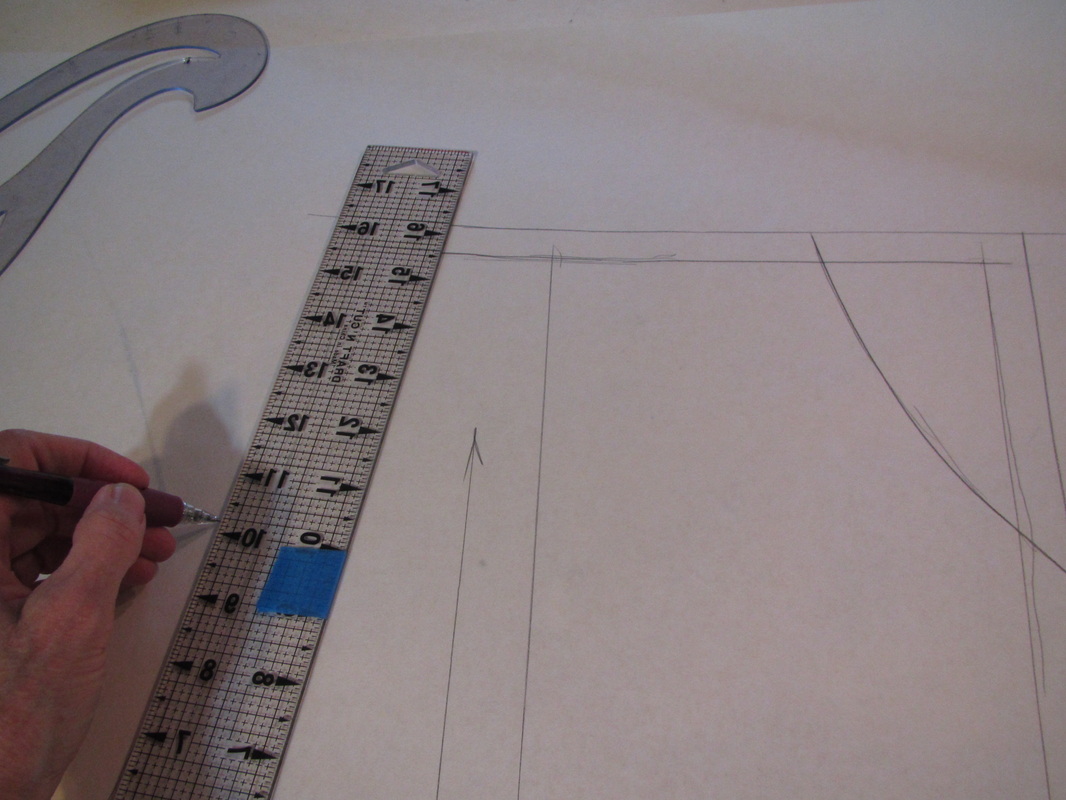
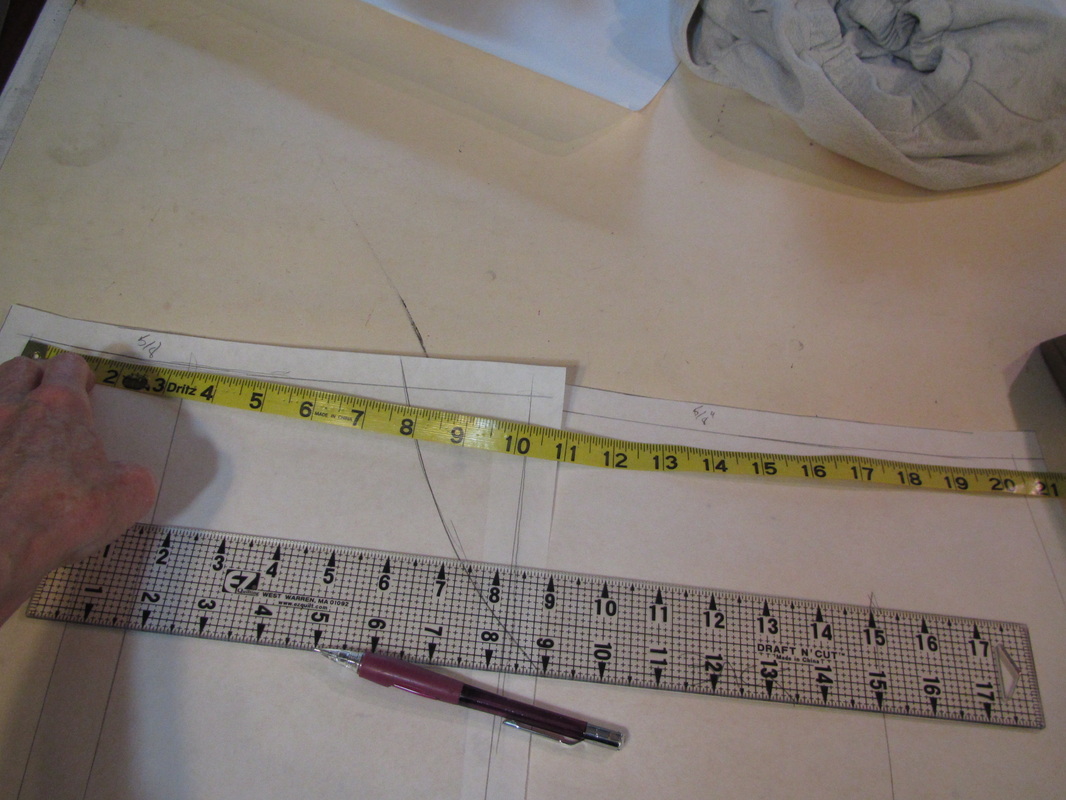
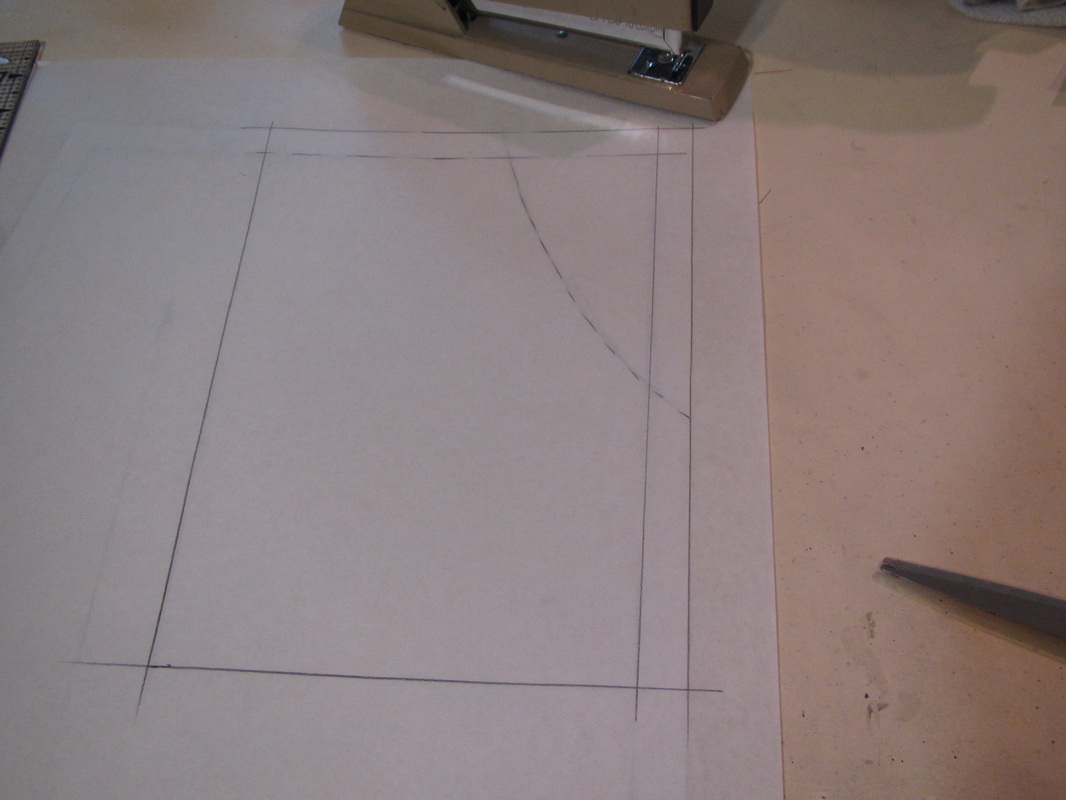
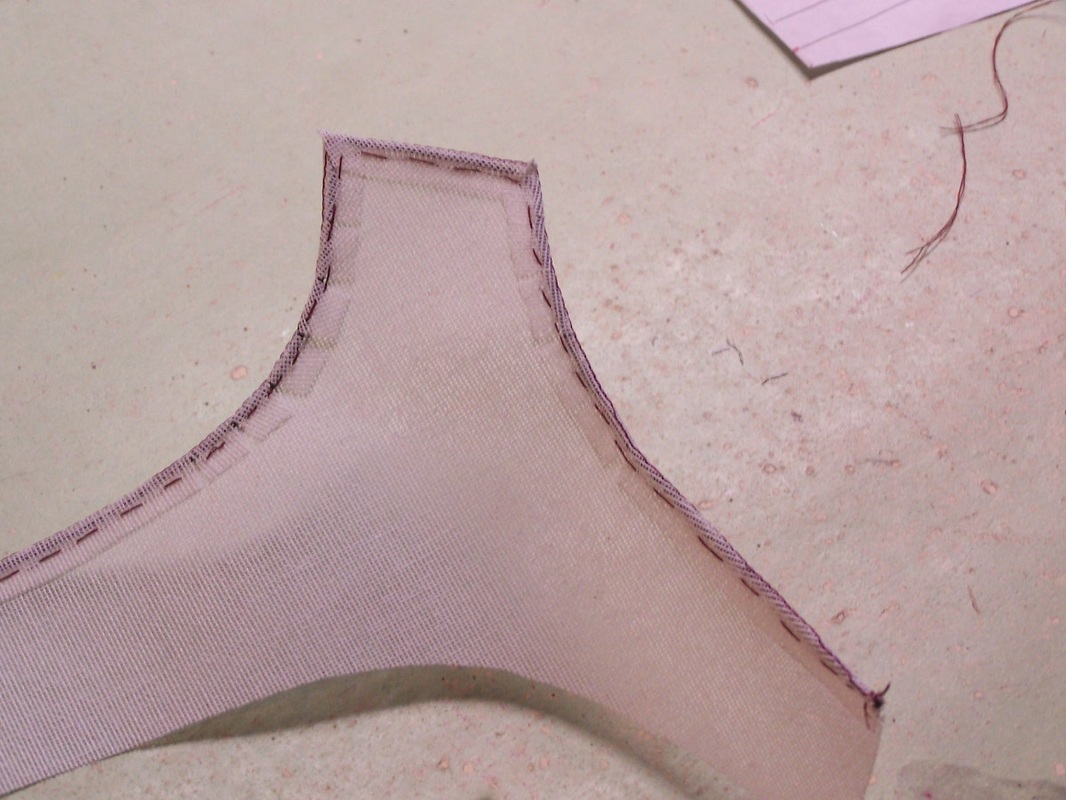
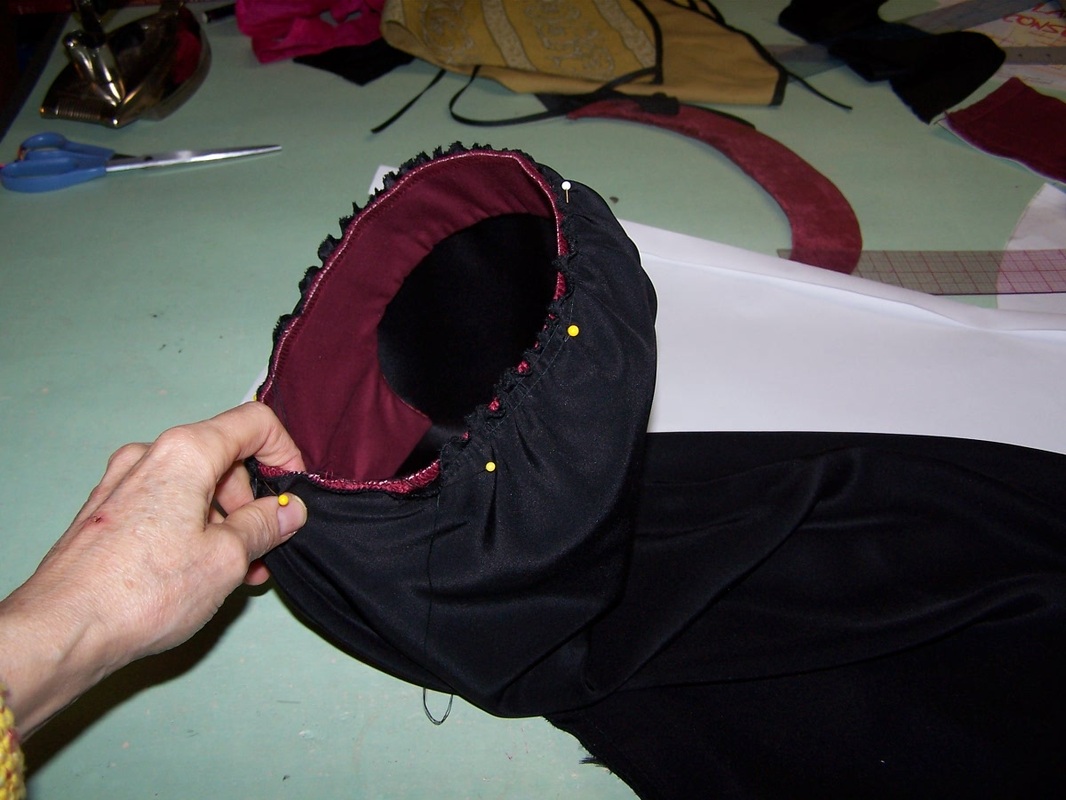
The sewing of these dresses is pretty straight forward, except for getting the nice draped effect at the neck of both for them.
Picture
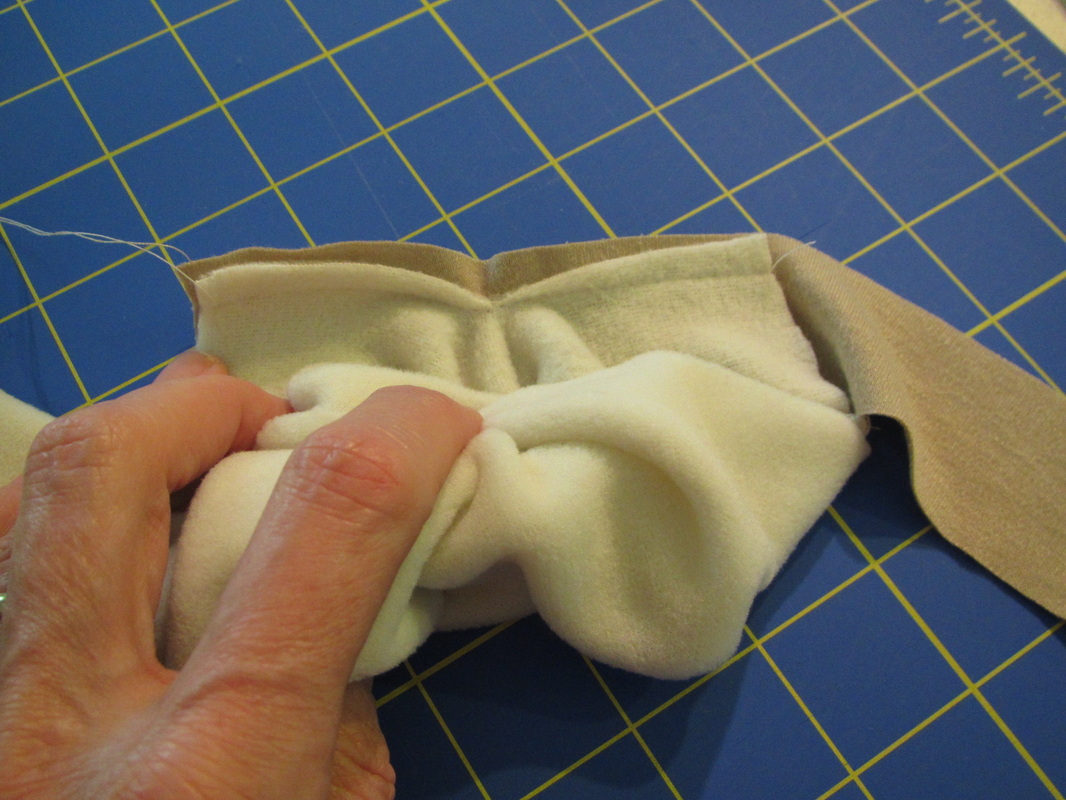
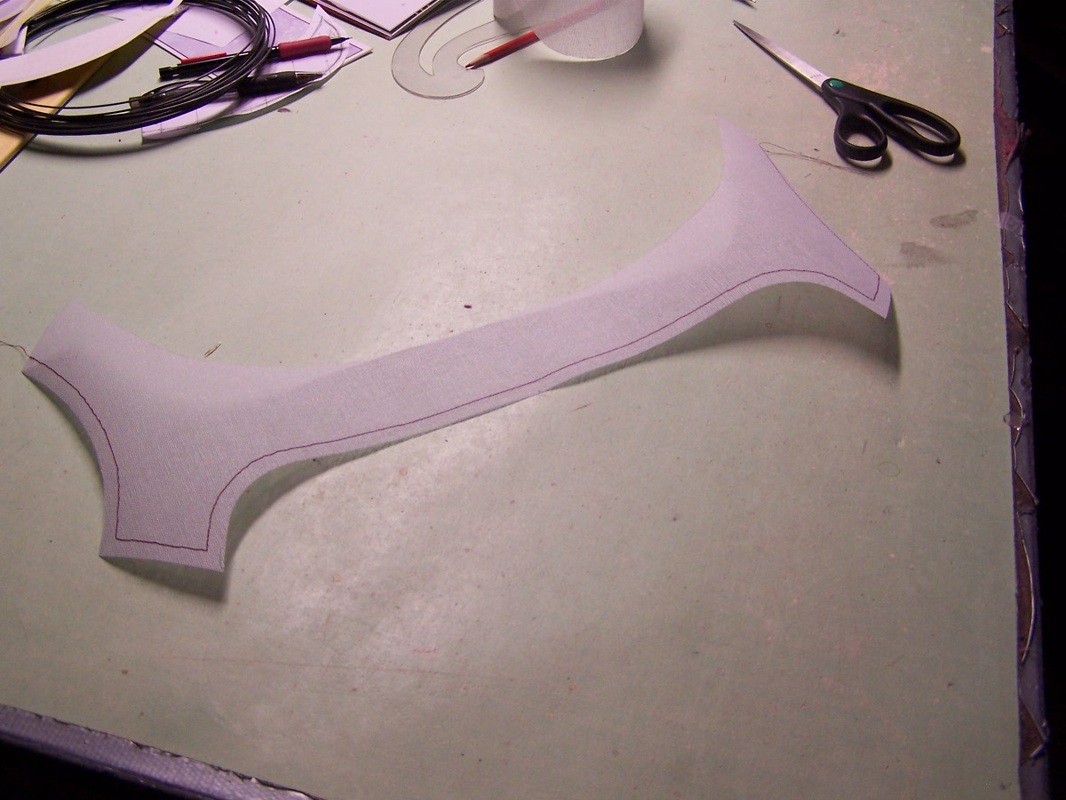
This is what that collar piece does if you don't help it drape in a more beautiful way.  It just flops in one large fold.


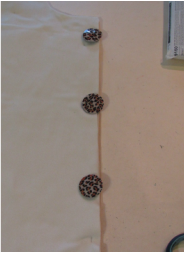
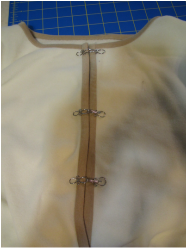
The white dress has a collar that drapes front and back, the grey dress  has a tacked in inset with a "front only" draped collar.

Picture
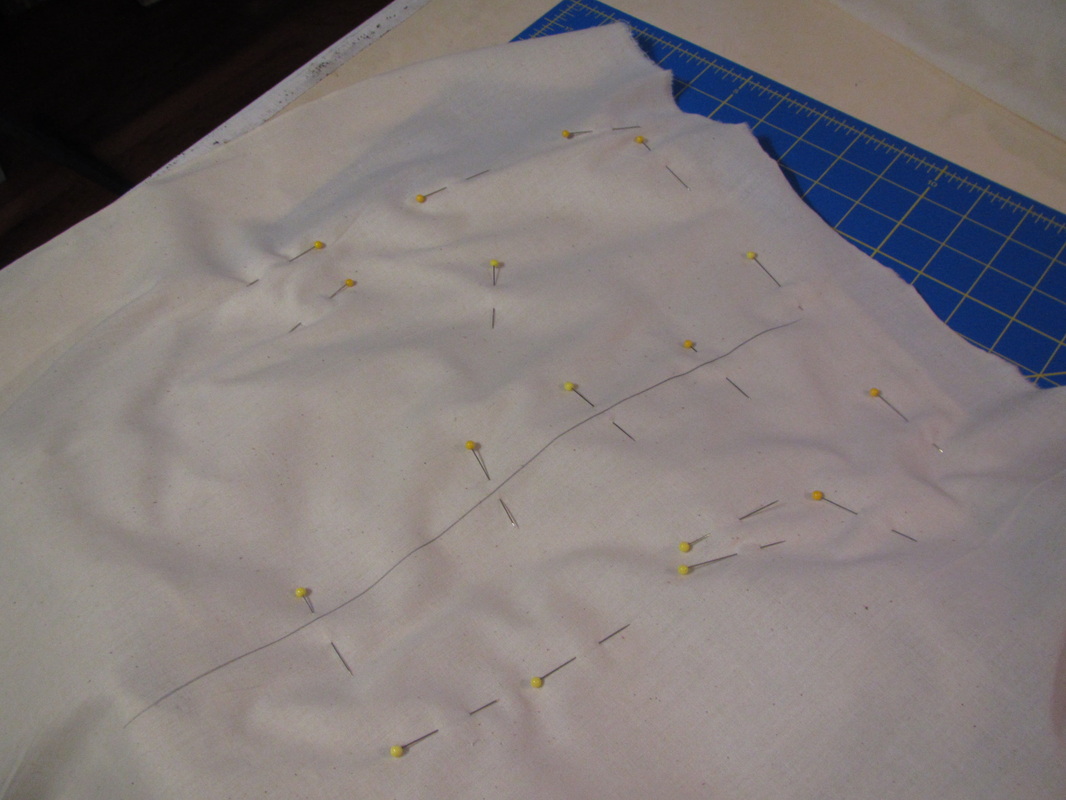
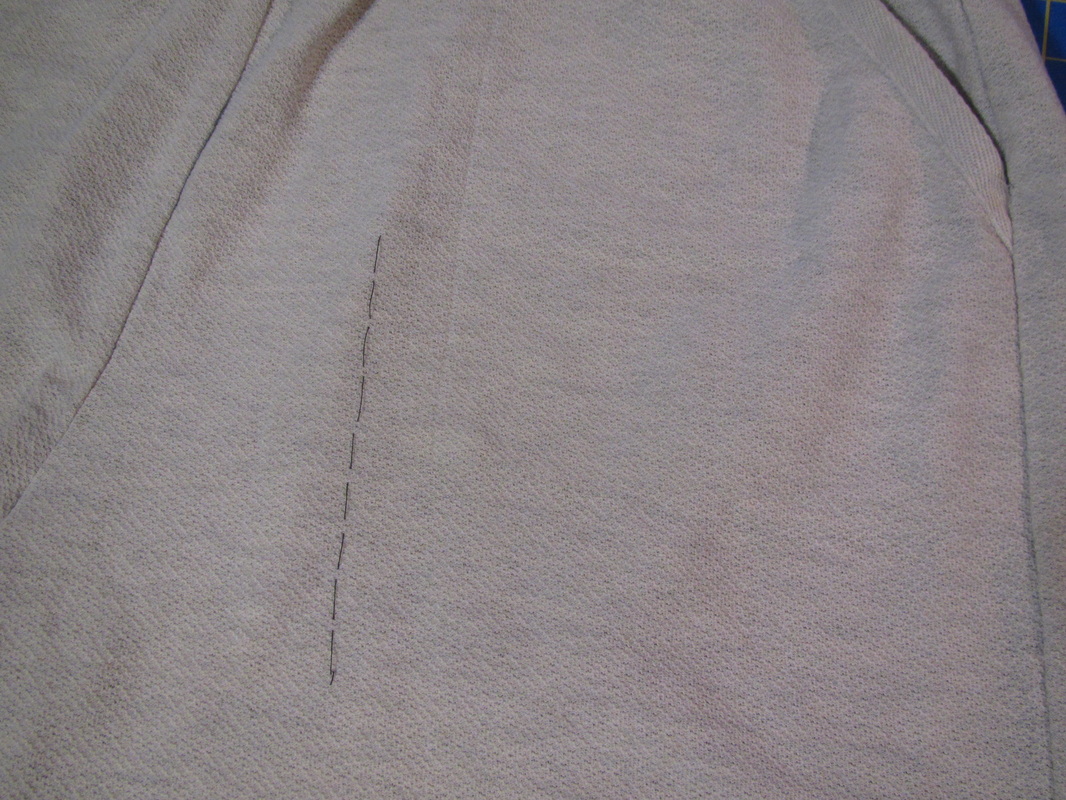
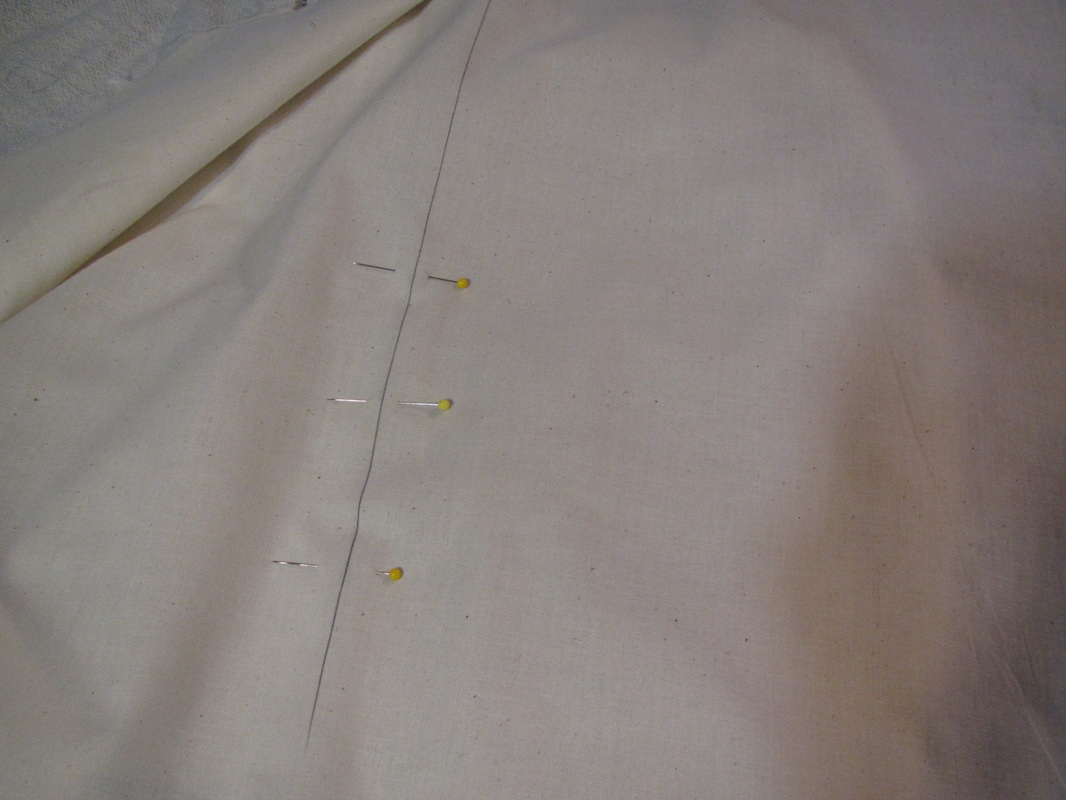
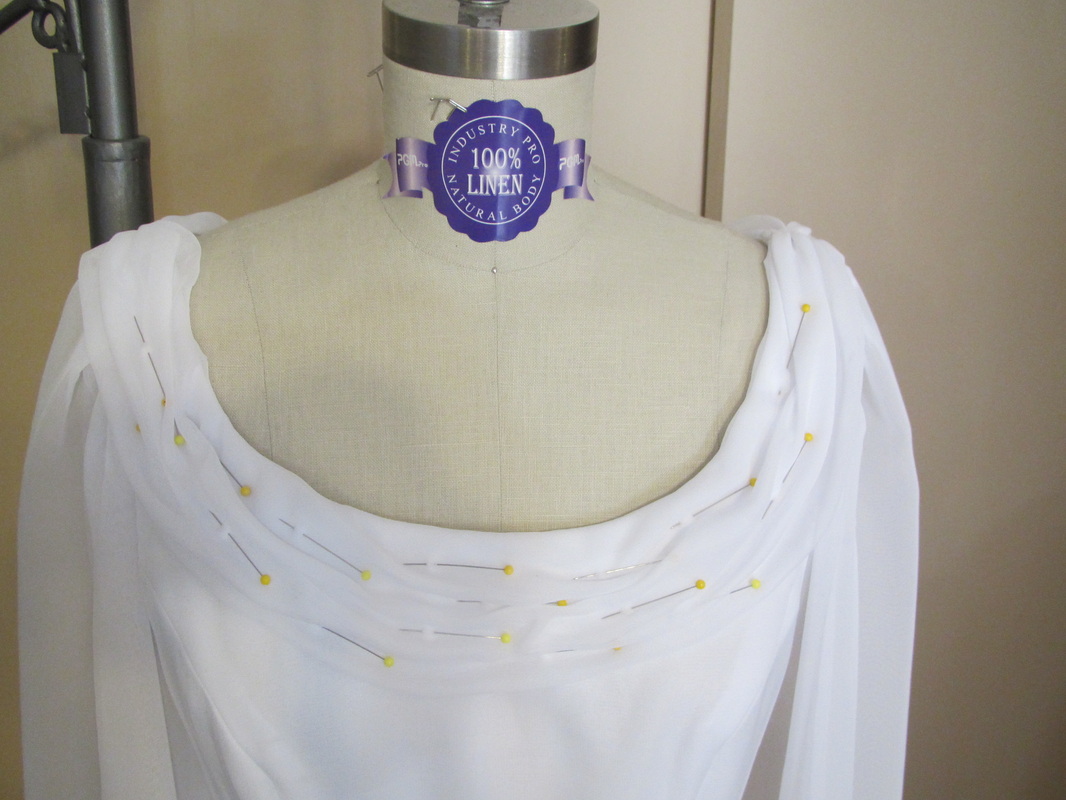
On a dress form, or with someone wearing the dress
Picture
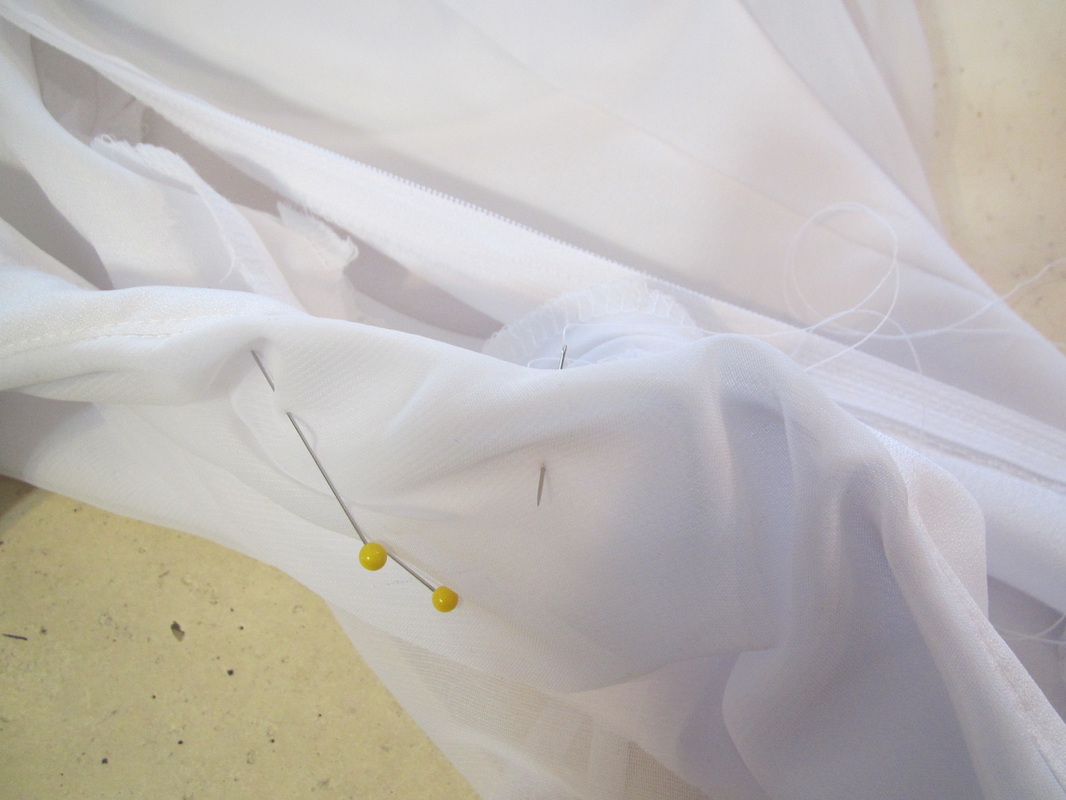
Then carefully tack with just the tiniest bit of thread showing all the places that were pinned.
Picture
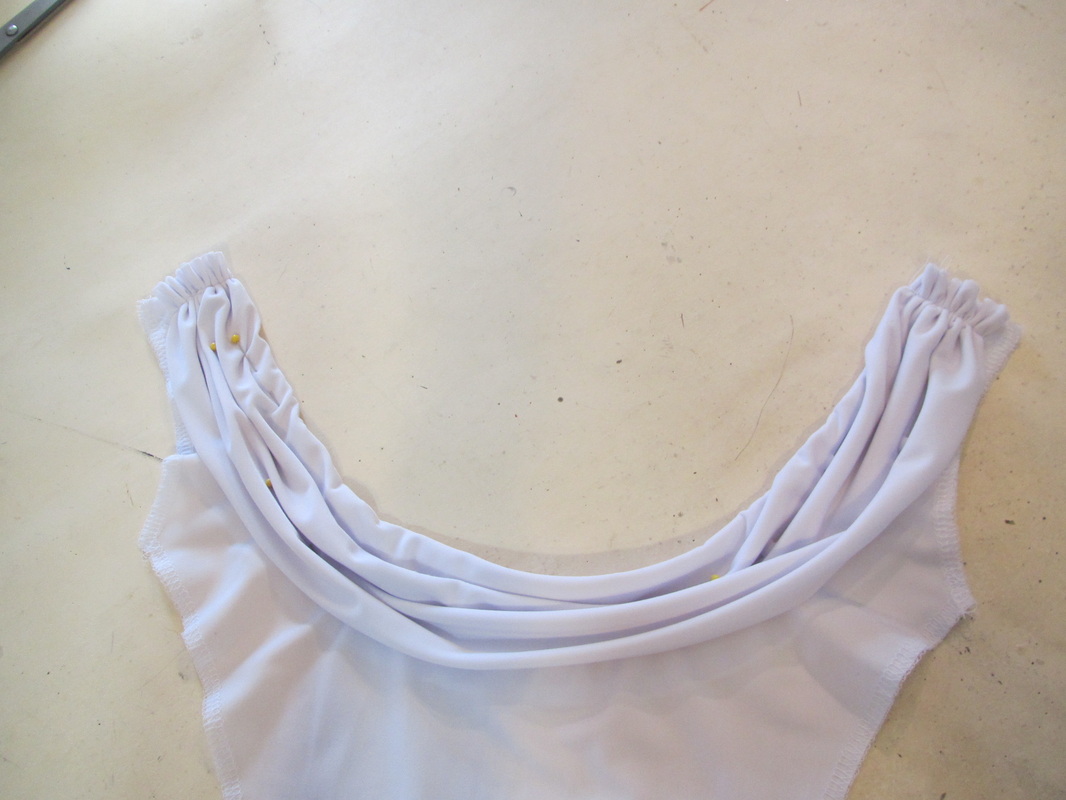
OR on a table, arrange and pin the collar into attractive folds.
Picture
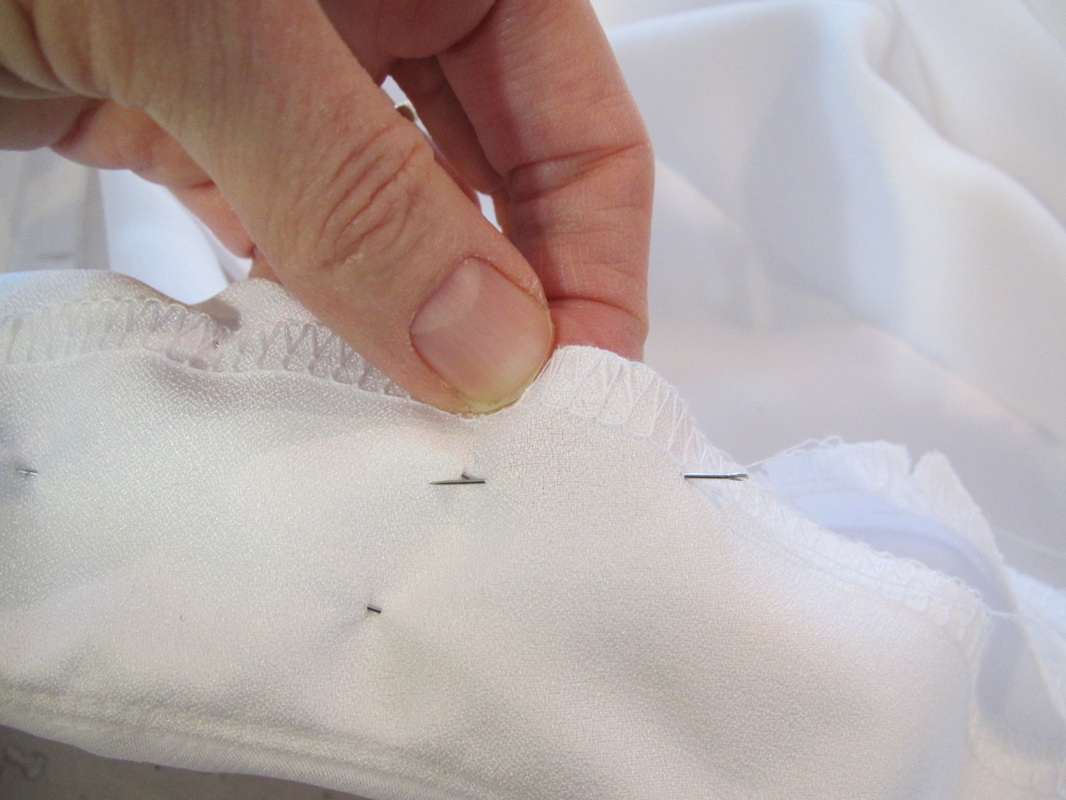
Do this all the way through the neck facing for stability.
I bet you, any time you see a garment with fabric artfully wrapped and draped all over, it has been carefully planned and painstakingly sewn in place.  To do this well is a true art. 


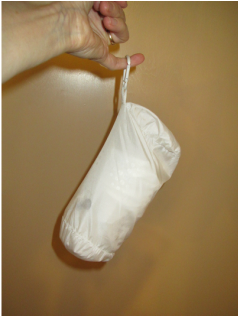
Also ... if I were going to make one of these dresses, I would add a lot to the length of the train, at least 18" if not more.  Buy at least a yard more fabric to do this. Then play around with the layout to get the most length for the train as possible.  Do some careful piecing if that will help.  In my opinion ... longer is better!
25 Comments

Last minute fleece sweater for travel or "making it up as I go along" ...

7/30/2013

2 Comments

 
Picture
Here I am warmly reading on my flight to California.
I don't know about you, but I am usually freezing on an airplane.  I just got back from a trip to California for my husband's family reunion.  We were in Lompoc, just north of Santa Barbara and the weather can be down right chilly in the morning and evenings, even in the summer.  I needed something warm that would pack small and would fit under this really nice lightweight windbreaker I just bought. Nothing keeps me as warm as polar fleece.
More and more I am trying to travel with only carry on luggage. Partially because I don't want to pay the fee, but also it saves time at the airport and it is SO much easier moving around and checking in and out of hotels.
Picture
Here's the nice windbreaker.
Picture
I've had this really nice, soft lightweight fleece for years.
Picture
Here are my pieces ready to go.
Picture
I join the two parts of the sleeves with a strip of the same knit as the binding. This shows the inside and the outside.
Picture
I stretch the slit out straight to apply the binding, taking the seam allowance down to nothing at the end of the slit.
Picture
That fits into this cute little pouch.
Picture
Problem is, it was barely a yard and very irregularly shaped. I figured I could make it work if I squeezed out the skimpy top, from the pattern there, (not the vest) cut it up the front and bind all the edges with beige knit .. OH and make the sleeves in two pieces! Kind of a Chanel fleece jacket.
Picture
I use a rotary cutter to make my binding.
Picture
I cut a slit to make a thumb hole.
Picture
If this were woven binding I probably would have stitched in the ditch, but all this knit was too wiggly, so I hand stitched the back of all the binding.

Picture
What to use for the front closing???? I have these really neat leopard print buttons, but they are too, too heavy for this light fabric.
Picture
Maybe a zipper? But it's the wrong color, too short and there's no way to sew it on nicely.
Picture
Just like Goldilocks, the third try worked. I had some very light weight decorative hooks. I sewed 5 down the front.

Picture
Finished sweater .....
Picture
Folds up nice and small.
Picture
Fits into my carry on tote bag along with the windbreaker in it's stuff sack, my computer, water bottle, small purse, book and banana! CALIFORNIA HERE I COME
2 Comments

New patterns being released

7/29/2013

22 Comments

 
Several new patterns of mine are being released today, as well as a couple for which I've just done the patterns and samples. Over the next couple of weeks I will devote one or two blogs to each of these patterns to explain the choices I made and show you how things were sewn.
Picture
Picture
Picture
Picture
Picture
Picture
22 Comments

2nd test flower

7/28/2013

0 Comments

 
Picture
My flower tester Jaime Ferguson has made her second flower.  I love her bold color choices.  Go to her website to see how she made this!
0 Comments

Taking a pattern rub off

7/26/2013

2 Comments

 
Today marks my blog's second month anniversary.  Last month I asked if there was anything people wanted me to talk about and I got a request from a blog reader, who is also a friend of mine.
Picture
 She asked how to make a pattern from a pair of shorts she likes without taking them apart. 

What a great thing to show everyone how to do.  This is called taking a rub off of a pattern.

You will need muslin, large pieces of blank paper (poster or butcher paper works), pencil, tape measure. a ruler and the garment in question.  A french curve, like in the photo above, is nice to have, but you can manage without.

Shorts are a good garment to show this technique to you.  There are only 2 pattern pieces! So, I can show the technique quickly, but this same technique works for more complicated garments.

The pattern pieces are made one at time. I recommend doing the major pattern pieces first, because as you work each piece has to be checked against the others to make sure things are fitting.  Meaning the seams are the same length and curves are the same, etc. 

It's a good idea to check your work by measuring the actual garment from time to time as well.
Picture
#1 - the shorts in question
Picture
#3 - rough cut or tear a piece of muslin to size and draw the grain line on it.
Picture
#5 - Working outward smooth and pin the muslin to the entire pattern pice of the garment.
Picture
#7 - Remove muslin from the shorts. It's time to transfer the markings to paper. This can be done in two different ways.
Picture
#9 - Or, if you can see well enough through the paper, lay the paper over the muslin and trace the lines onto the paper. Use things to weigh the paper and muslin down for both methods such as tape dispensers or staplers or ????.
Picture
#11 - and french curve, if you have one.
Picture
#13 - When the next piece is ready for it's seam allowances, check that the seams that are to be joined are the same length, adjust and fix ... THEN add the seam allowance.
Picture
#15 - Again, check that the seams that are to be sewn together are the same length by laying the stitching lines on top of one another, not the cutting lines!
Picture
#2 - On the first piece, find the grain and mark it with a thread baste.
Picture
#4 - Pin the grain line of the shorts to the grain line of the muslin.
Picture
#6 - These short have an elastic waist so the top needs to be stretched while pinning. Then draw on the muslin all the seams and other details by feeling through the muslin.
Picture
#8 - Either lay the muslin over the paper and run a tracing wheel over the lines which leaves little bumps on the paper that can then be drawn over with a pencil.
Picture
#10 - Straighten out your hand drawn lines with a ruler ...
Picture
#12 - Add seam allowances. A see through ruler makes this task easy ... First piece is done.
Picture
#14 - The waist band is just a long straight strip, so I measure the garment and then check the measurement on my pattern and draw a long rectangle using those dimensions.
Picture
#16 - Once the major pieces are all done and checked, the detail pieces can be made. For these shorts that would be the pocket. I examine closely how this pocket is constructed, then recreate that with paper, again by tracing the individual pieces from paper to paper, adding seam allowances where needed.
Picture#17 - Here is the pocket pattern peeking out from behind the pants front pattern. In making this piece, I had to cut away the corner of the main front piece, this is why it's best to make detail pieces after the main construction pieces are all figured out.
So ... As I said above, this technique will work for any garment.  Of course, it gets more complicated with a complicated garment.  I would recommend, as usual, making a muslin before sewing it in expensive fabric.

AND PLEASE NOTE THAT I LISTEN TO REQUESTS ... SO PLEASE WRITE IN!

2 Comments

Last minute black eyelet skirt

7/25/2013

7 Comments

 
Picture
I debut my new skirt at a restaurant in Berkeley, CA.
I bought a yard and three quarters of really pretty black cotton with an eyelet edging on both selvedges about a year ago.  I knew I wanted to make a skirt out of it, but am just now figuring out what kind of skirt.

Well, actually, it's another last minute job.  I'm  going for a family visit in four days and I want something new.
Picture
This is pretty eyelet.
I want to use the eyelet edging as a ruffle, but I don't want it to look like a peasant costume.  I've seen some skirts recently that are A-line skirts with ruffles at the hem.  I think that will work for this.
Picture
This is a pattern I've made before. It fits well and I can flair it out a tiny bit to make it A-line.
Picture
Here is the sketch I made to work out the proportions.
Picture
I hold it up to get an idea of the length I want.
Picture
And can you believe how lucky I was ... there was a 7" black zipper in my zipper box!
Picture
This is how much I flared the front and back side seams. I didn't like my first line, so I drew a second slightly wider.
As I always try to do, I said "Self ... try this on before you put on the waist facing and ruffles."
Picture
As I said, I've made this pattern before and it fits fine. No changes needed.
Picture
And here is the finished product. I gathered and sewed on the two ruffle layers separately. I just like the look of that better. This will be a very versatile skirt!
7 Comments

RenFaire Wear Part 6 - pattern #2589          Tudor hood

7/24/2013

0 Comments

 
Picture
Yesterday I showed photos of the samples I made for the Tudor gown and underpinnings. Today I will show you all the photos I took while making this hood. I got most of these hat making techniques from the book "From the Neck Up" by Denise Dreher, one of the books I think any serious costume maker should have.

Anyway ... here are my photos.
Please note, these are not complete instructions.
Picture
#1 Stay stitch around buckram layer of the main piece called the hood base interfacing.
Picture
#3 Fold the buckram over the wire and baste. Pressing with steam will make the buckram stitch to itself, which will hold things in place while you baste.
Picture
#5 Pin the back edges together to fit. There is a large overlap to fit any head size.
Picture
#7 Prepare the veil, adjust the gathers at the top to fit and sew it, inside out, to the hood base.
Picture
#9 Here is the gold ribbon, pleated up with parallel rows of hand gathers ready to go on the hood along with the other trim and lots of pearls.
Picture
#2 Bend wire to the shape that will fit just inside that stay stitch line.
Picture
#4 Prepare the fabric parts of the hood base. Slide the buckram and wire into this and baste the open edge.
Picture
#6 Prepare the top crescent shaped piece, called the crown, with it's buckram.
Picture
#8 Now pin the crown on and slip stitch in place.
Picture
#10 And here is the finished hood with all it's trim and pearls.
The hair is worn inside the hood, pulling it through the opening and, if the hair is long, allowing it to hang down inside the veil.
0 Comments

RenFaire Wear Part 5 - patterns # 2589 and 2621        Tudor gown and underpinnings

7/23/2013

6 Comments

 
These patterns are for the very serious Renaissance Faire attendee or could be used for people who work and perform there.
Picture
Picture
I made these a couple years ago. I didn't take as many photos as I would today.  But, I do have photos to show the dressing order, which I can share.  Tomorrow I will show the photos I took while making the hood.

All the dress fabrics are actually home decor fabrics as is the corset.  The under sleeves, shift, farthingale and corset binding are all made of 100% linen.
Picture
#1 put on the shift
Picture
#3 then the farthingale (hoop skirt), pull the front under the busk at the front of the corset.
Picture
#5 it's ties also goe under the busk. Tying it under the busk will keep it in place
Picture
#7 The underskirt acts goes over the farthingale. You could put a petticoat between the farthingale and underskirt.
Picture
#2 next the corset or "pair of bodies"
Picture
#4 after that comes the bum roll.
Picture
#6 Here's a side view.
Picture
Here is the complete ensemble. The lower portion of the sleeves is tied to ribbons inside the main sleeve.
Picture
Above is a portrait of Elizabeth I as a young girl. You can see this was the dress style of the time.
Picture
This is Janna K.S. Reck from Greer, SC, one of the winners in the 2009 Simplicity pattern competition. She is about the same age Queen Elizabeth was in that portrait. Isn't she so sweet!
If you want to know more about clothing from this time just for fun or to make a costume that is more authentic, the best and most comprehensive website to visit is Elizabethan Costuming. It would take a year, at least, to read all the information there.  There are links to everywhere. It is really excellent. Actually, if I were going to make another gown like this, I would visit this site.  There are endless links to portraits to get ideas to make fabric choices.

And the best place to go for corset supplies is Farthingales.  They have everything you need.
6 Comments
<<Previous

    From Andrea 

    I am a commercial pattern maker who is now "sewing over 50"!
    I love to sew and hope to encourage others to come back to sewing.
    The water is fine!!

    Archives

    May 2019
    April 2019
    March 2019
    August 2017
    July 2017
    June 2017
    May 2017
    April 2017
    March 2017
    February 2017
    July 2016
    June 2016
    May 2016
    April 2016
    March 2016
    February 2016
    January 2016
    December 2015
    November 2015
    October 2015
    September 2015
    August 2015
    July 2015
    June 2015
    May 2015
    April 2015
    March 2015
    February 2015
    January 2015
    December 2014
    November 2014
    October 2014
    September 2014
    August 2014
    July 2014
    June 2014
    May 2014
    April 2014
    March 2014
    February 2014
    January 2014
    December 2013
    November 2013
    October 2013
    September 2013
    August 2013
    July 2013
    June 2013
    May 2013

    Archives by Subject

    To search for blog posts in specific categories, use the drop down menu above by hovering over the word "Blog"

    Enter your email address:

    Delivered by FeedBurner

    RSS Feed

    Andrea Schewe participates in Amazon's associates program.