Back to my Bridal and Vintage hats next time.
|
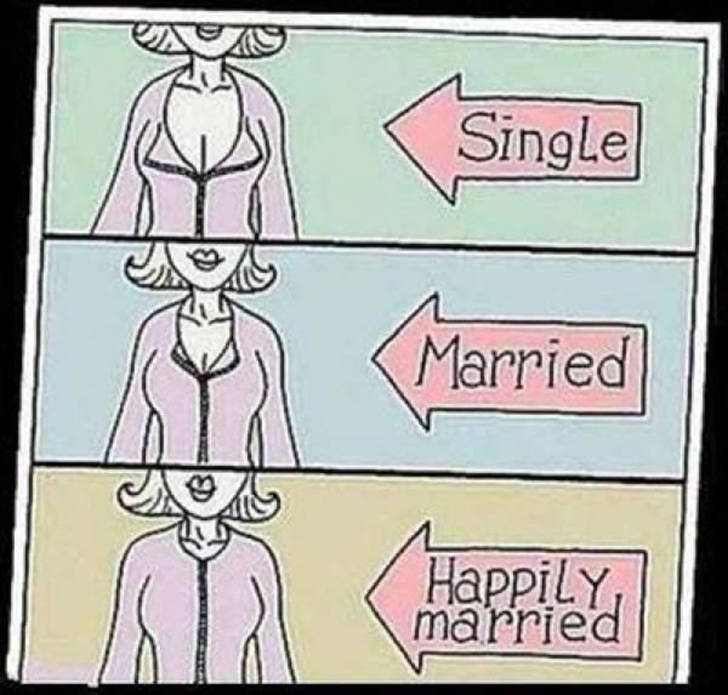
So, now that I have your attention, I thought I would share a funny and interesting YouTube video I ran across about a male run lingerie company that is trying to see things from a woman's perspective. Back to my Bridal and Vintage hats next time.
4 Comments
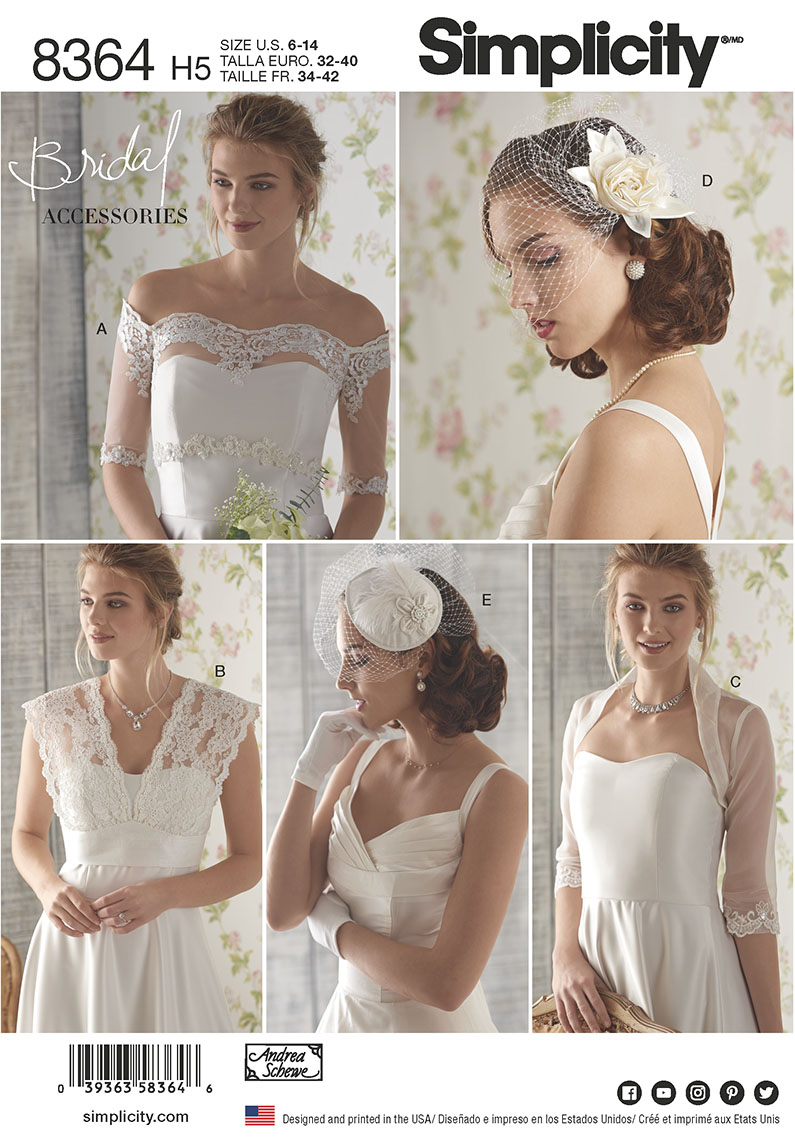
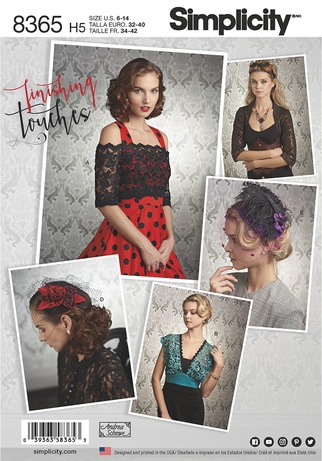
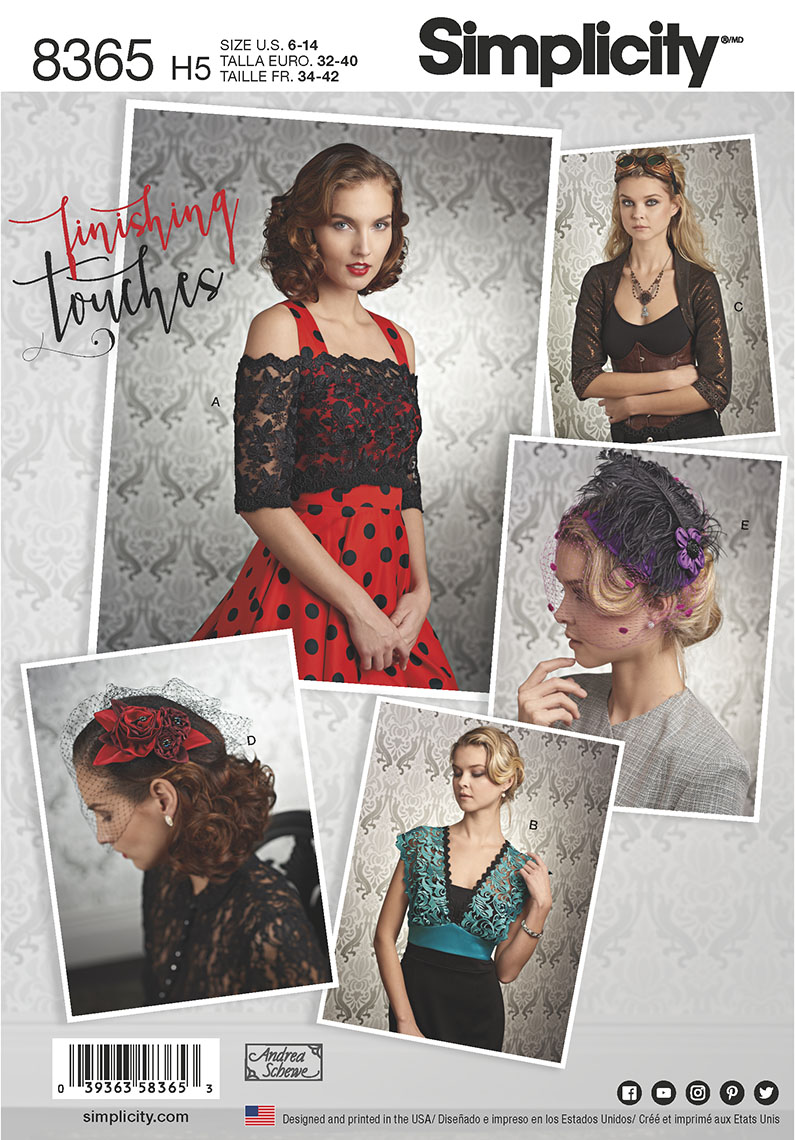
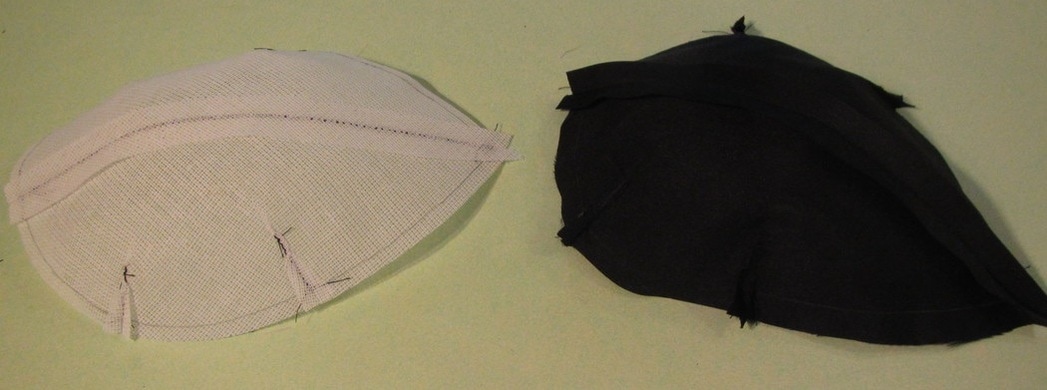
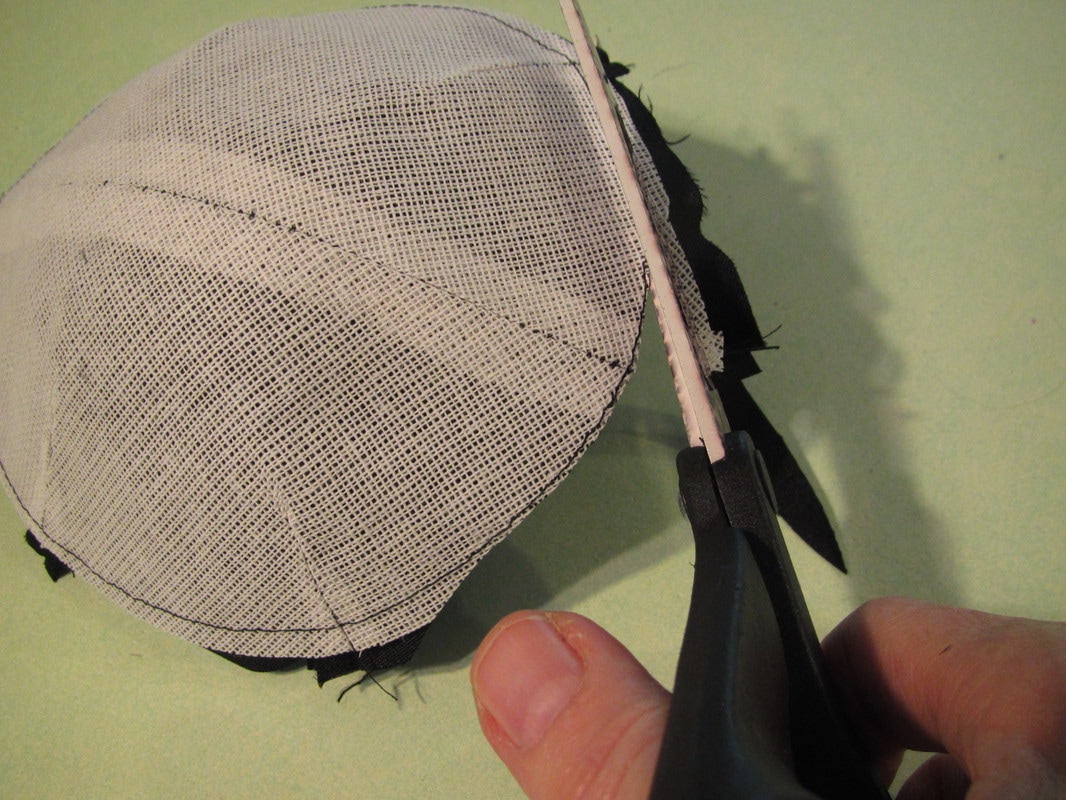
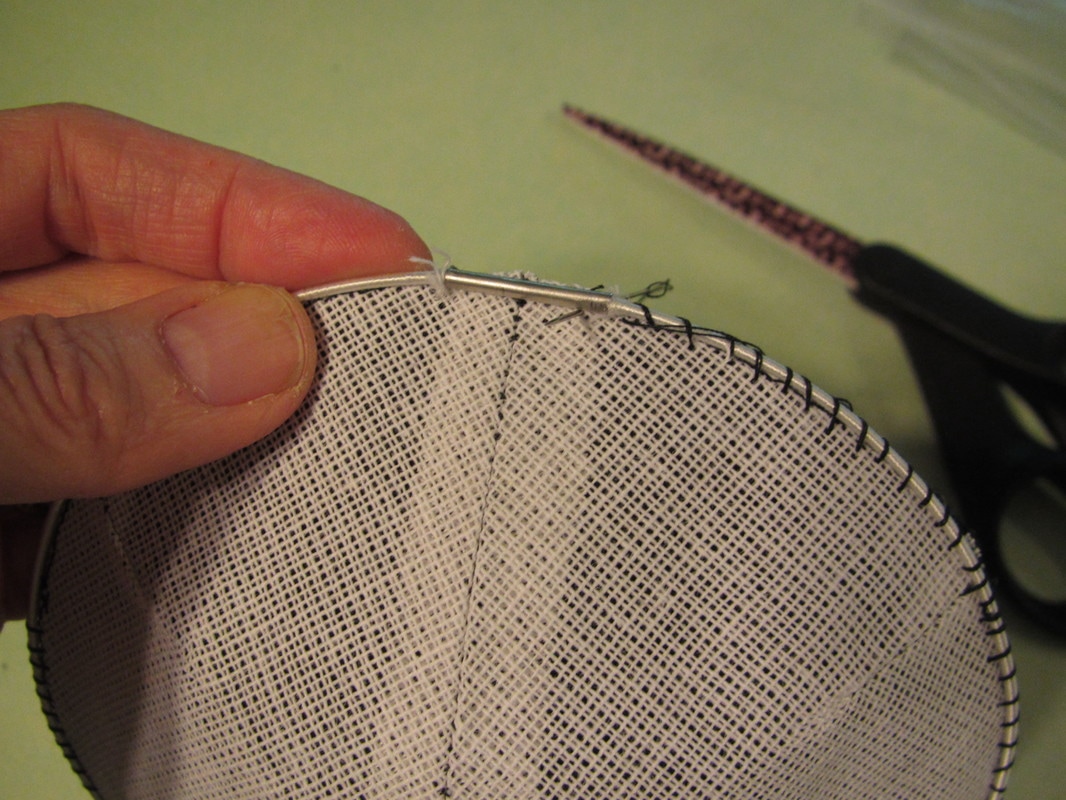
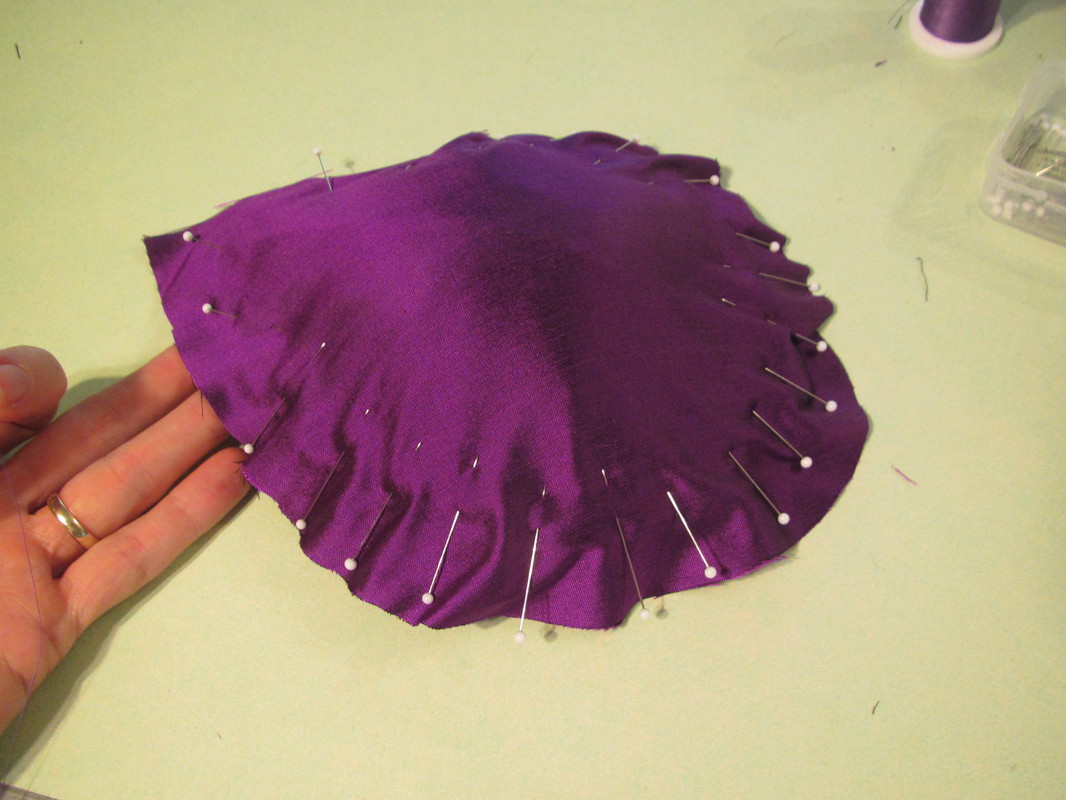
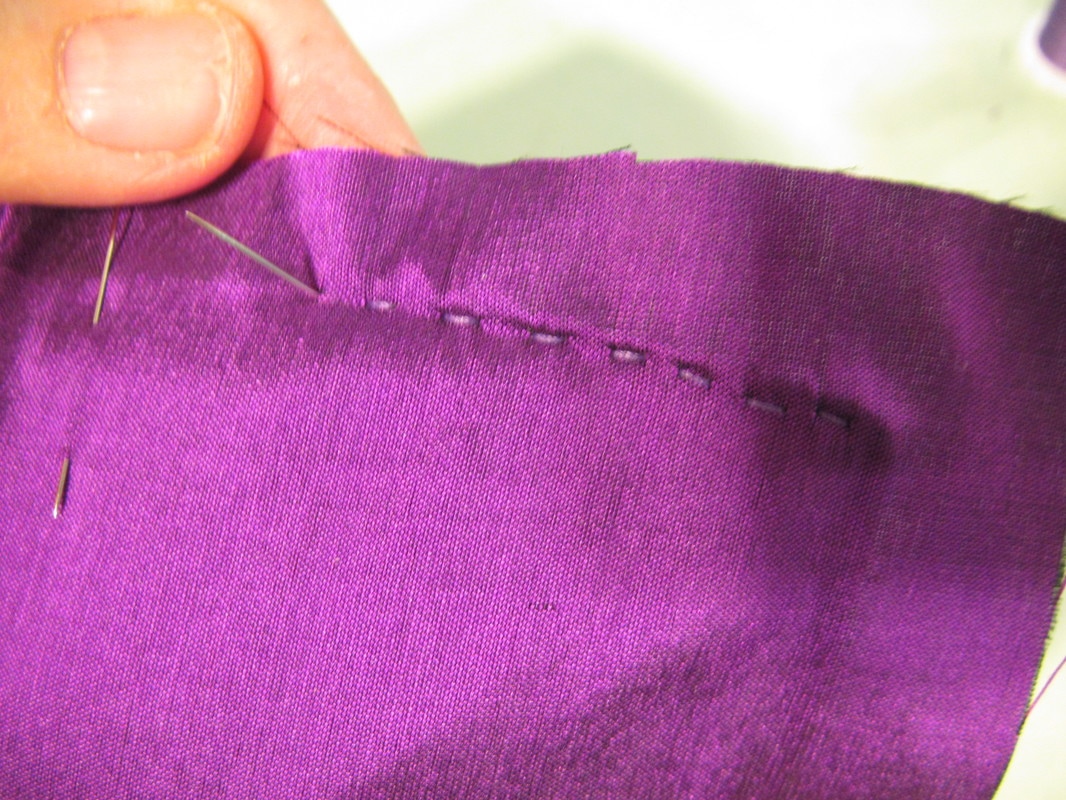
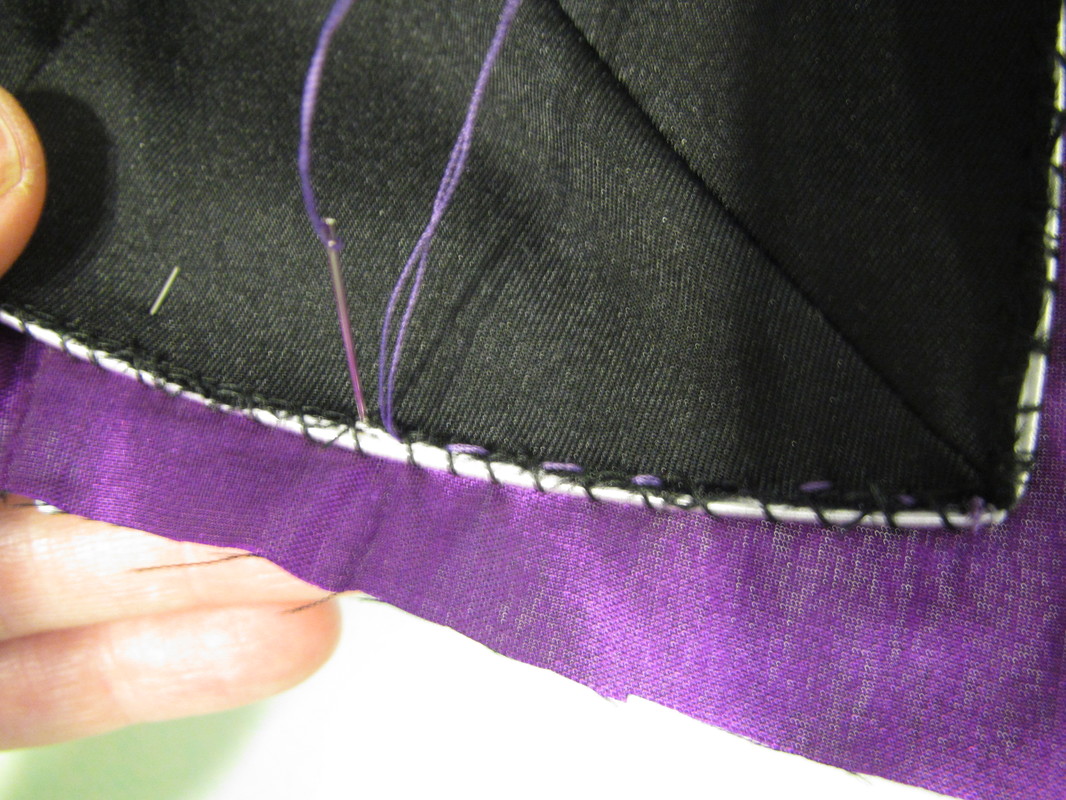
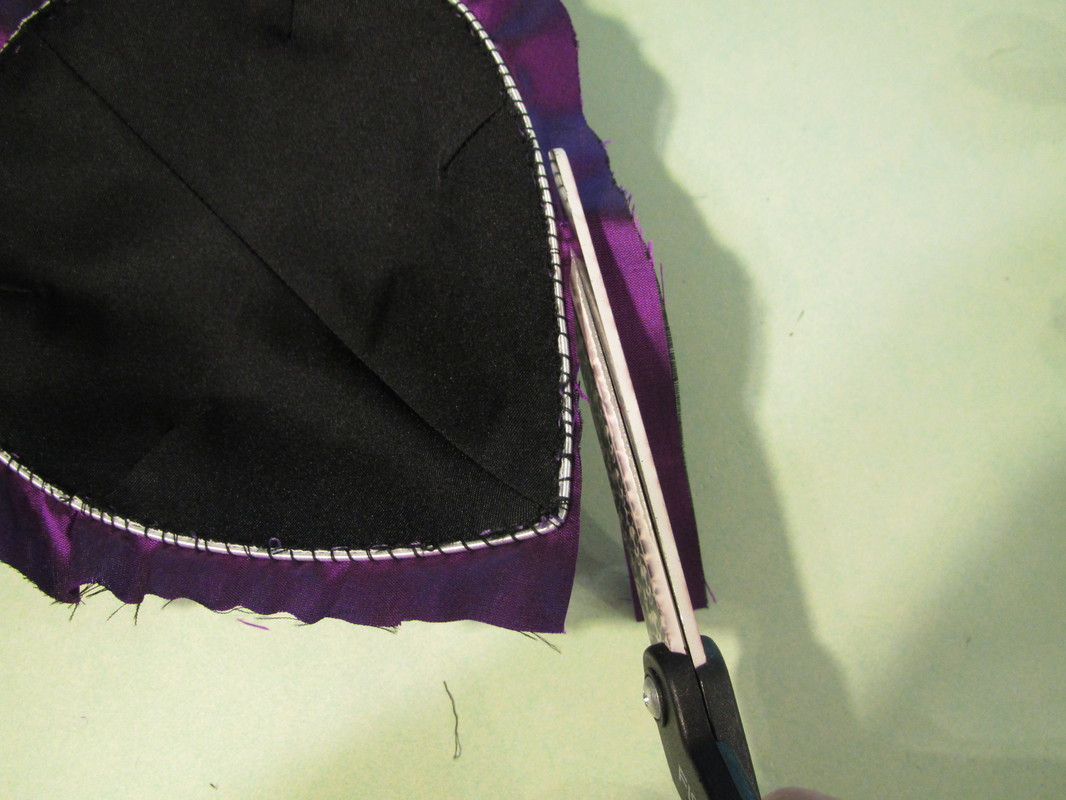
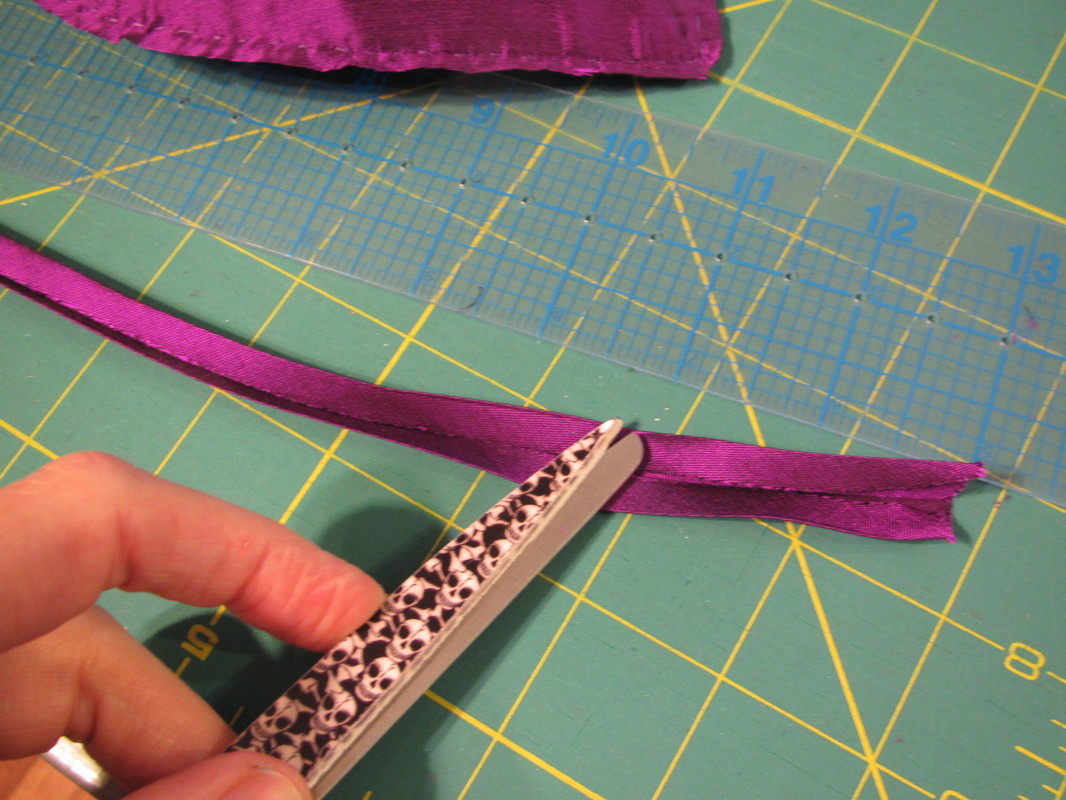
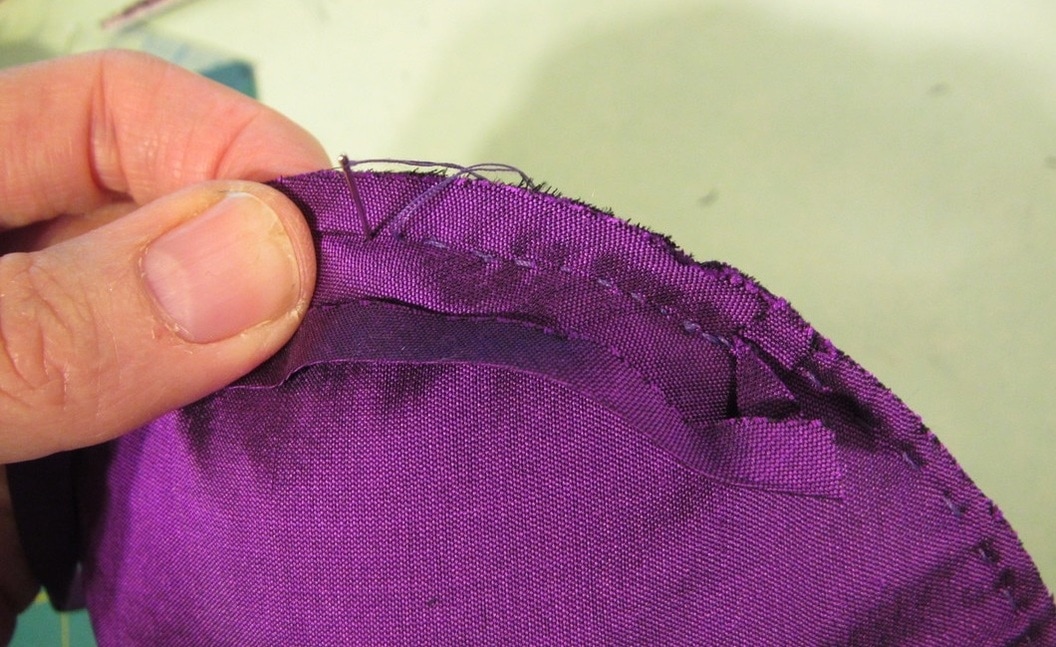
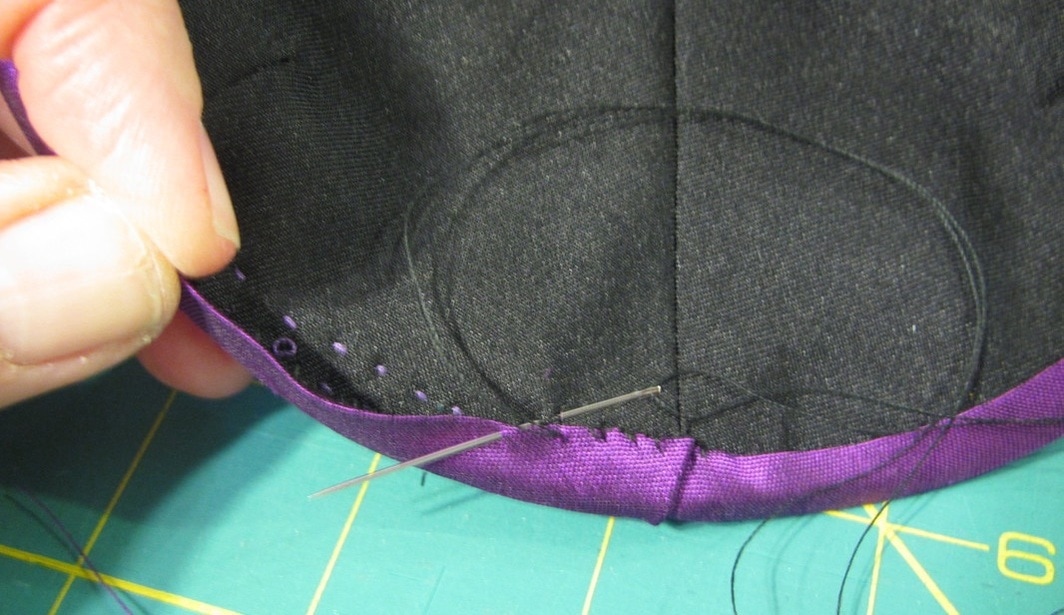
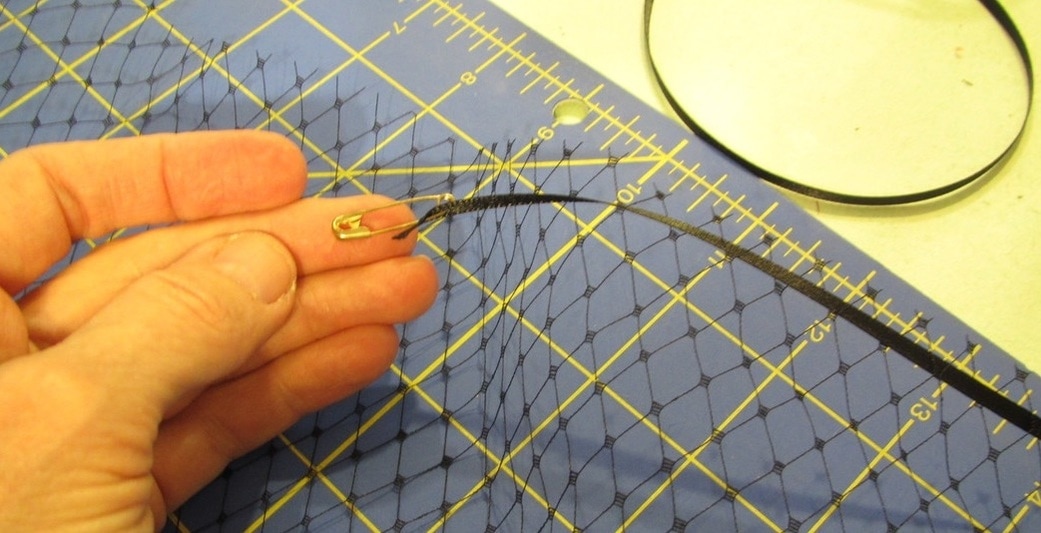
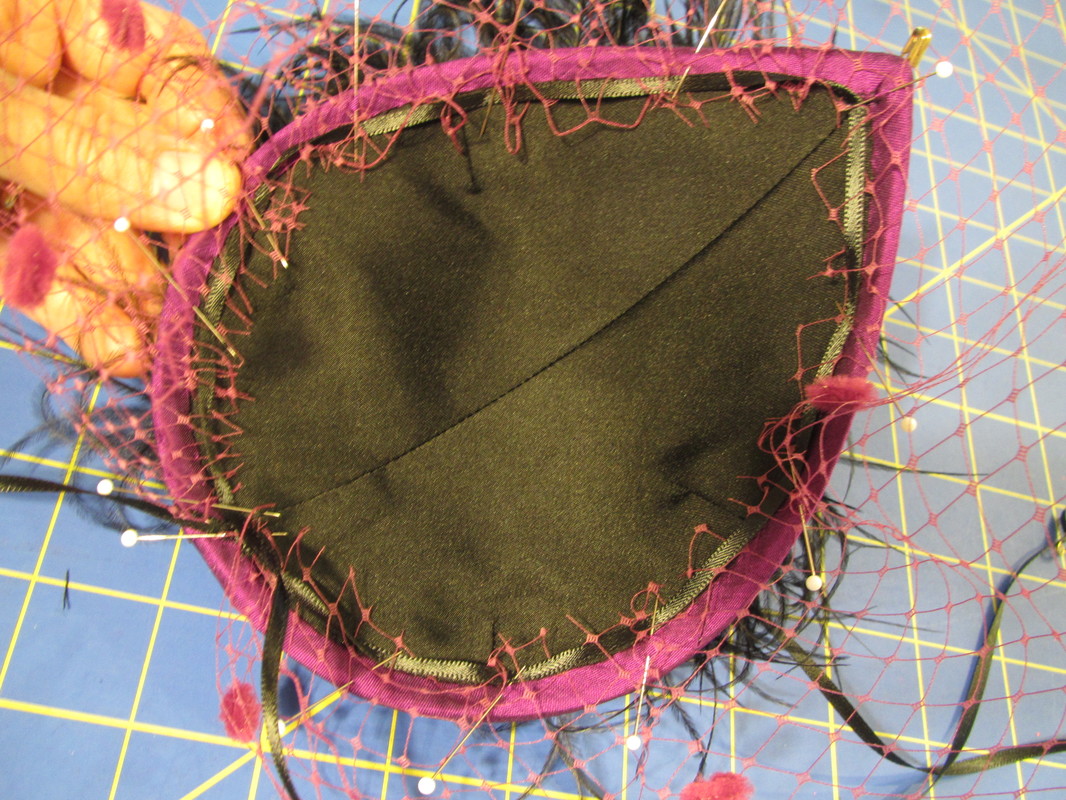
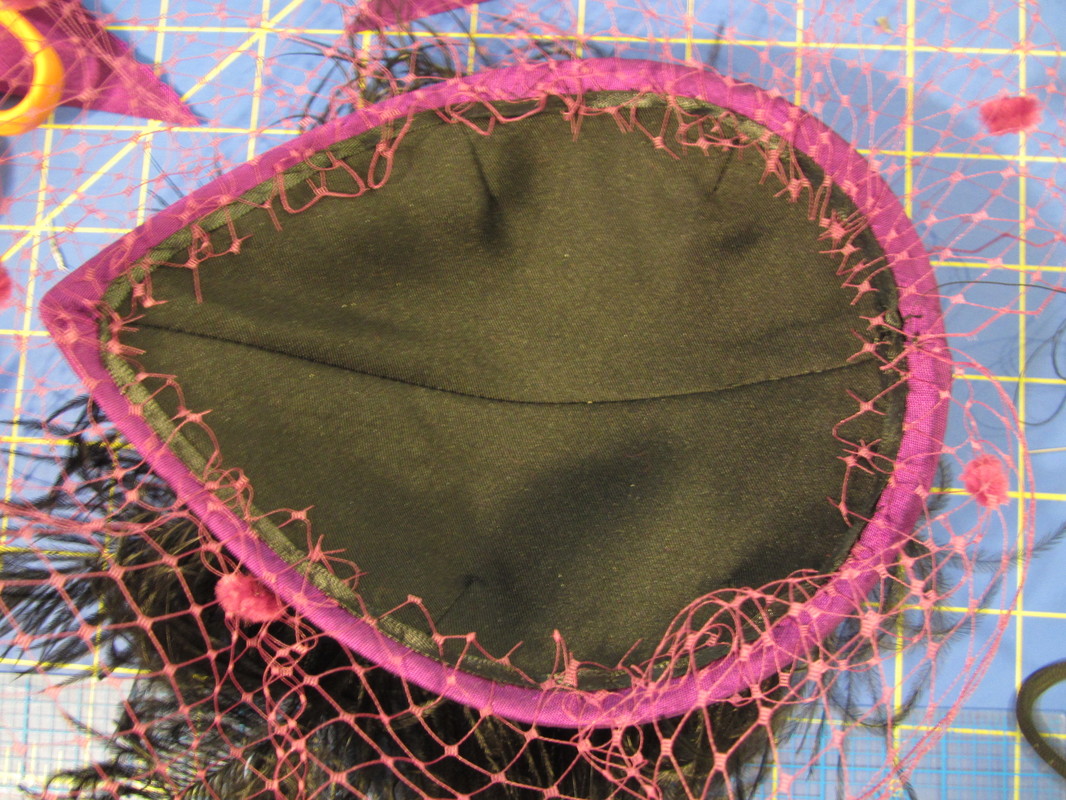
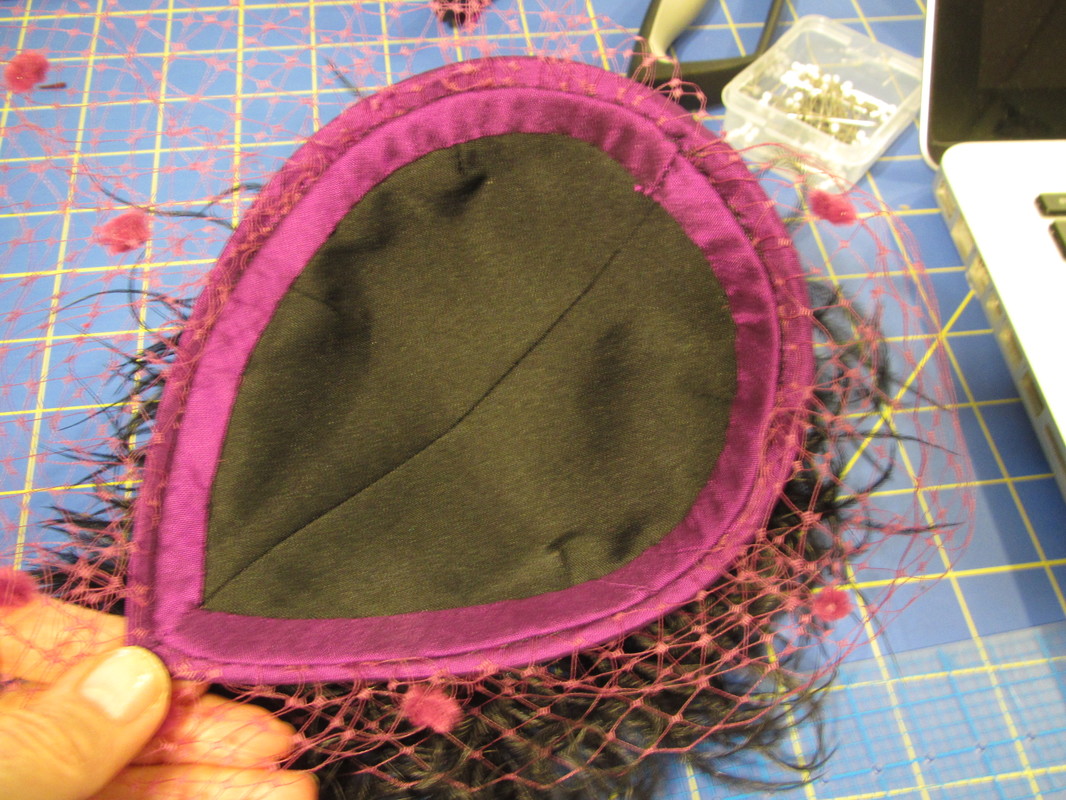
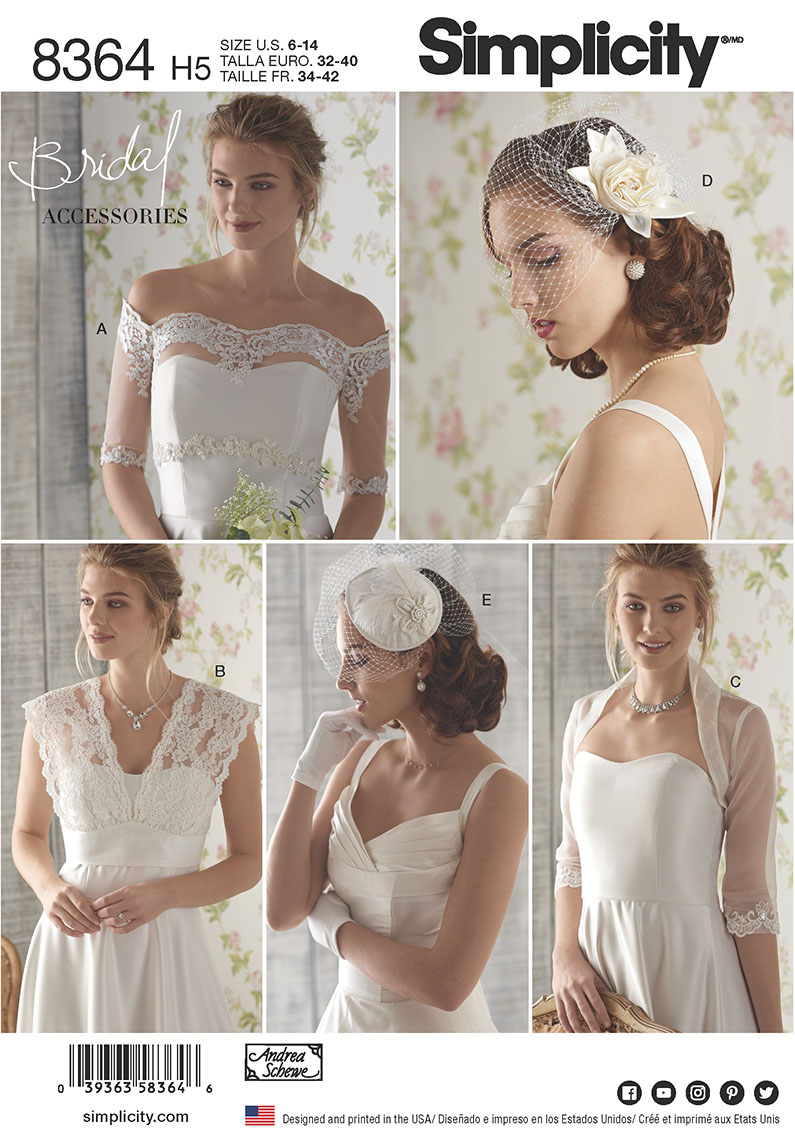
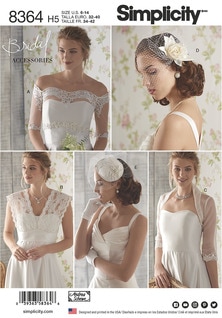 The little tear drop shaped hat is made with some standard millenary materials, but not with true millinery techniques. The buckram is shaped with darts instead of steaming it and moulding it over a hat block. Because I don't have a hat block and I bet most of you don't either so I figured out a way to get the same look with tools that most people would have. I took more photographs of making the purple hat because it is easier to see what I'm doing in the darker colors. But the white hat is made the same way. To make the basic foundation, first sew the darts and center seam in the buckram and lining. Layer the buckram and lining, seam allowances for both facing inwards. Join by stitching along the seam line. Then trim close to this stitching line ... very close. Whip stitch millinery wire right along this edge. Join the ends with an optional wire joiner. Wires can be overlapped and taped or wrapped with thread as well. The wire is what makes this hat look and feel professional. It gives the outer edge substance and allows the hat to be bent slightly to conform to the shape of the head. Pull the bias cut top piece smoothly over the foundation and pin, a lot. Hold your iron above and pump steam down onto it to smooth and stretch the fabric and pin some more. Use a hand running stitch to sew the fabric to foundation just to the inside edge of the wire. I find it helps to check top and bottom sides frequently. Trim close, again. Then make double fold bias with the hat fabric ... instructions should be in the pattern. Use a hand running stitch along one of the folds of the bias to sew it to the hat. Bring the bias around to the inside of the hat and slip stitch in place. I gathered the netting for both hats with 1/8” ribbon, using a small safety pin at the end to guide it through all the holes. Arrange and pin gathered net in place along underside edge of hat. Hand sew in place. It can be left like this OR get optional extra inside finish. 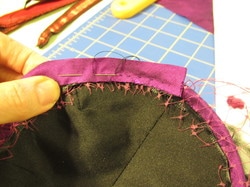 Cut another bias strip using the same pattern. This time press it in half. Use a hand running stitch to sew it down next to the bias binding, just covering the ribbon that gathered the net. 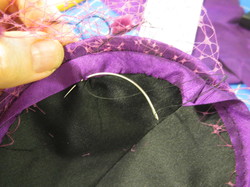 Fold this bias down so all rough edges of the netting are covered and slip stitch in place. I found a curved needle made this job much easier. Very professional looking, I think.
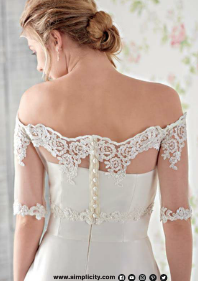
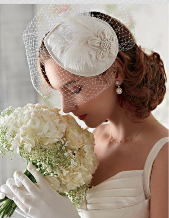
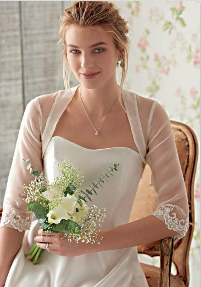
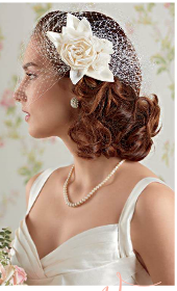
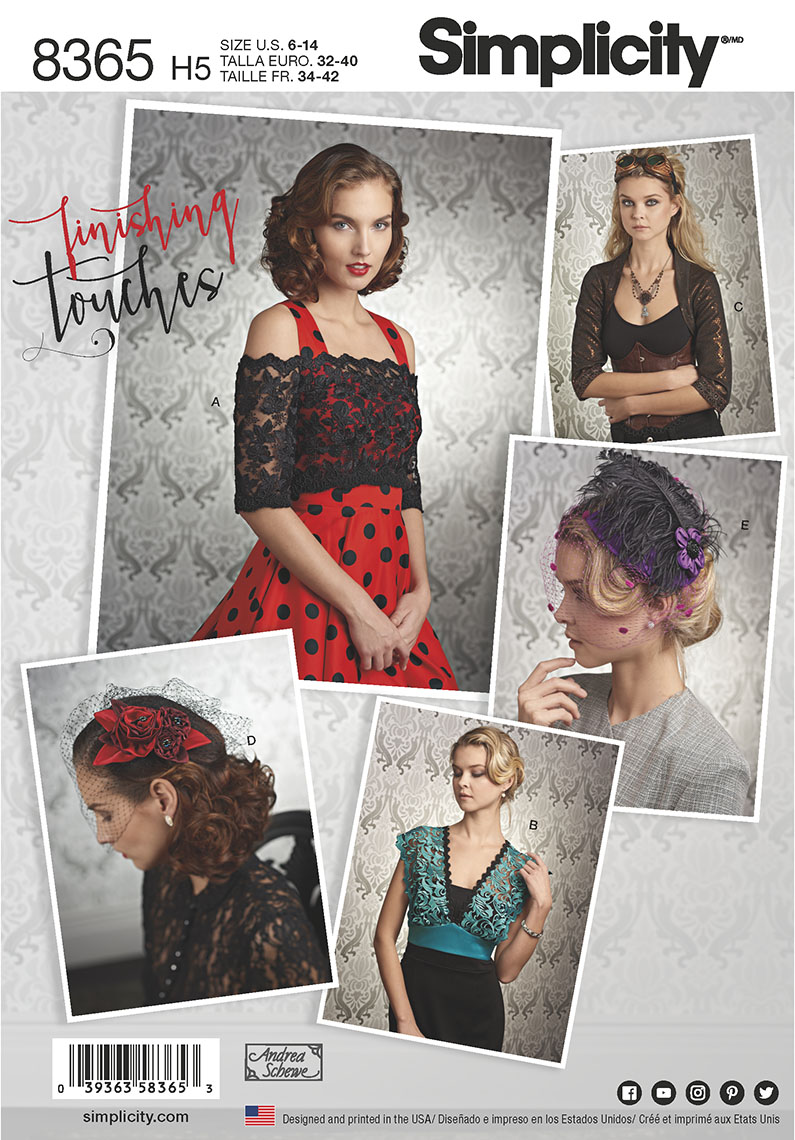
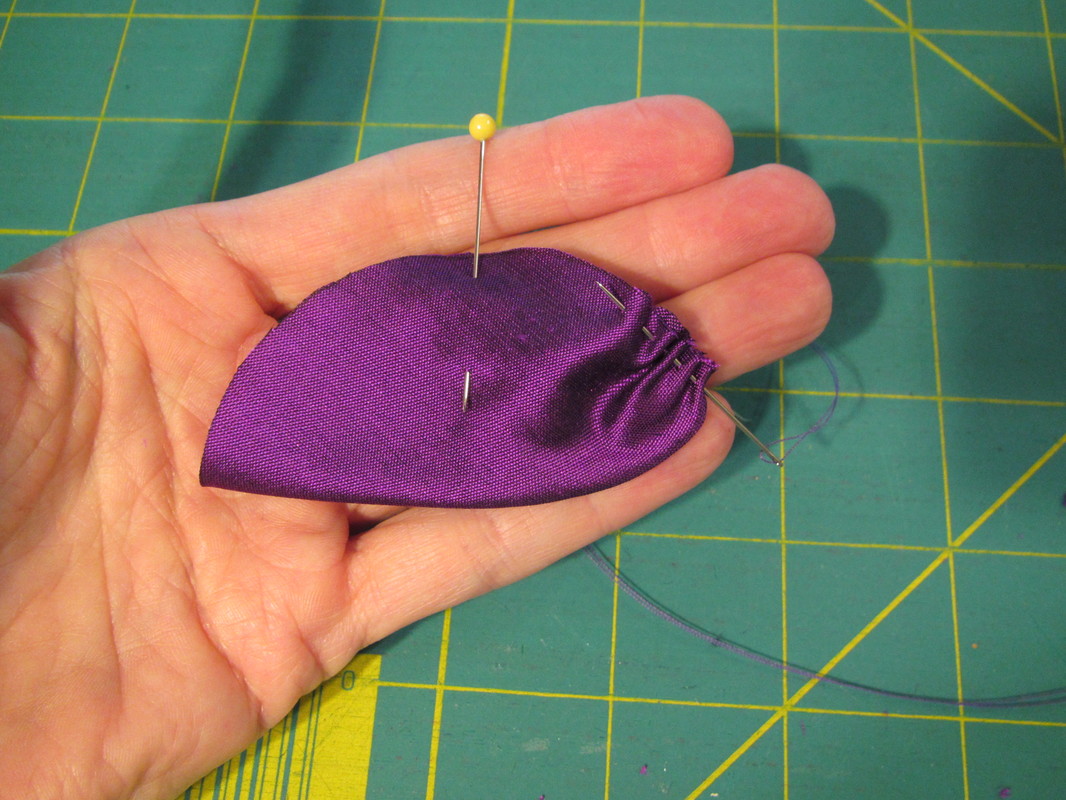
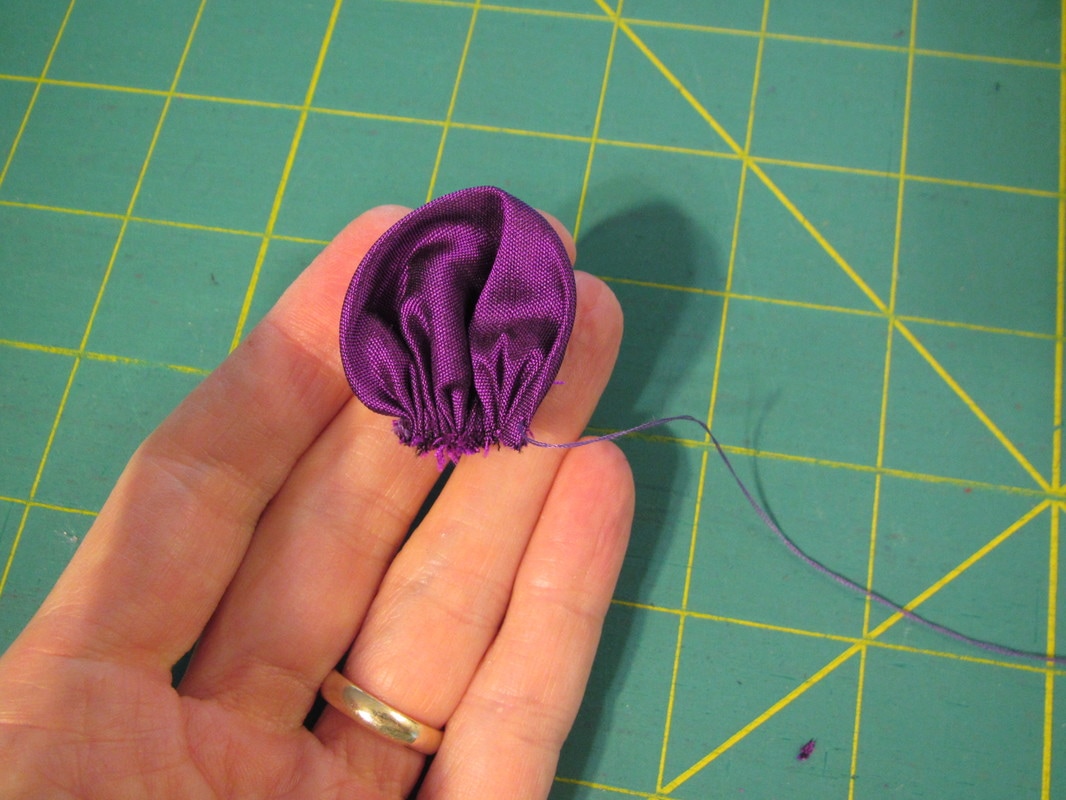
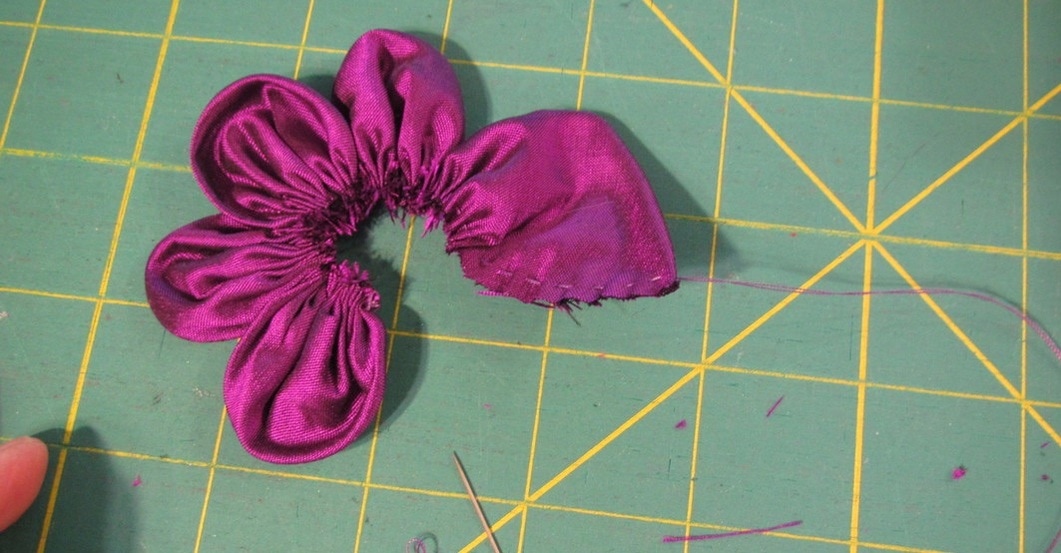
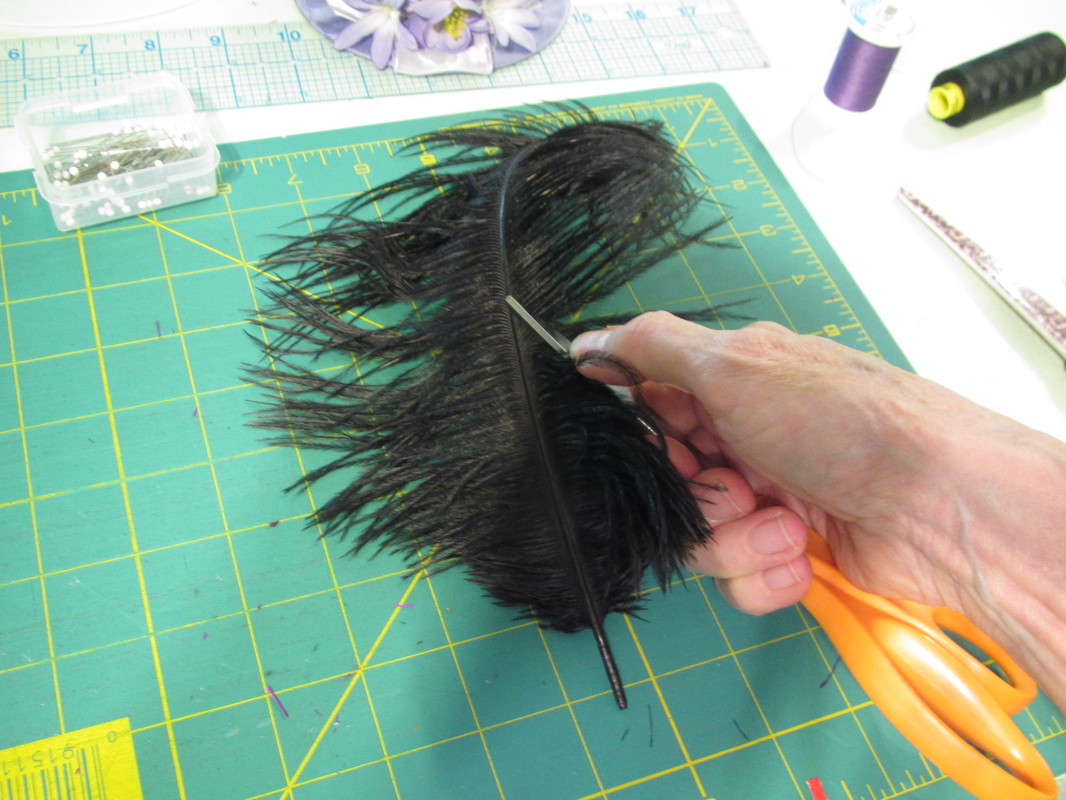
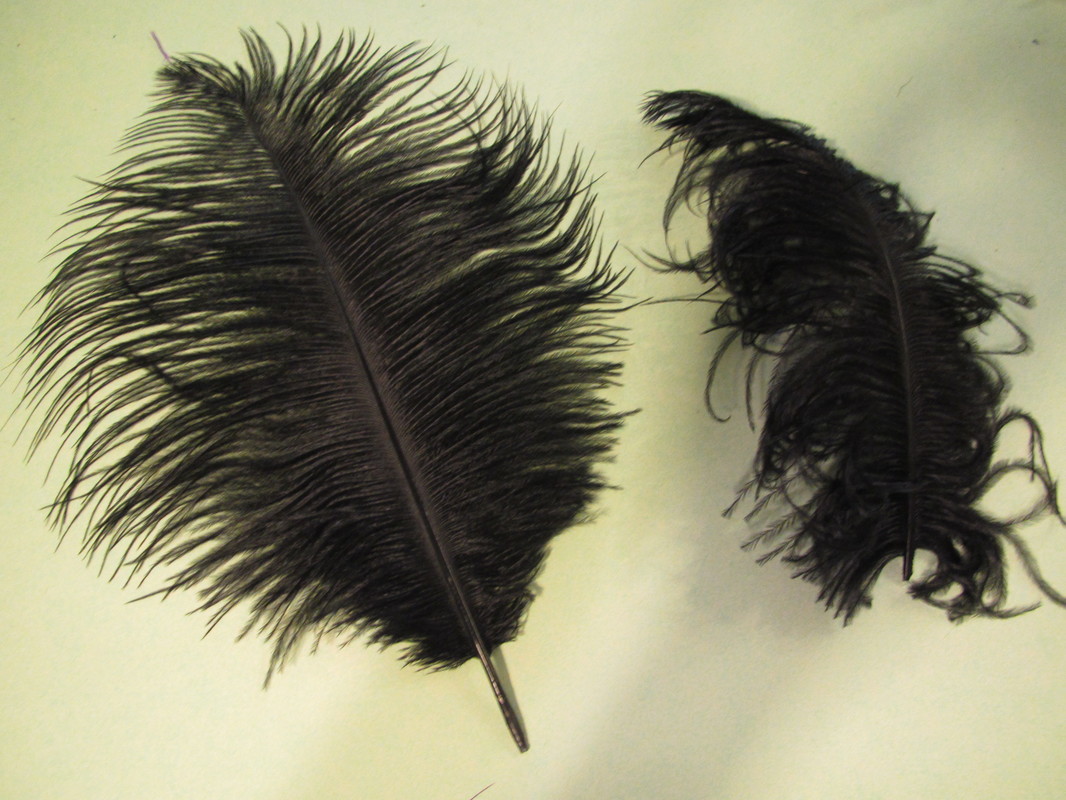
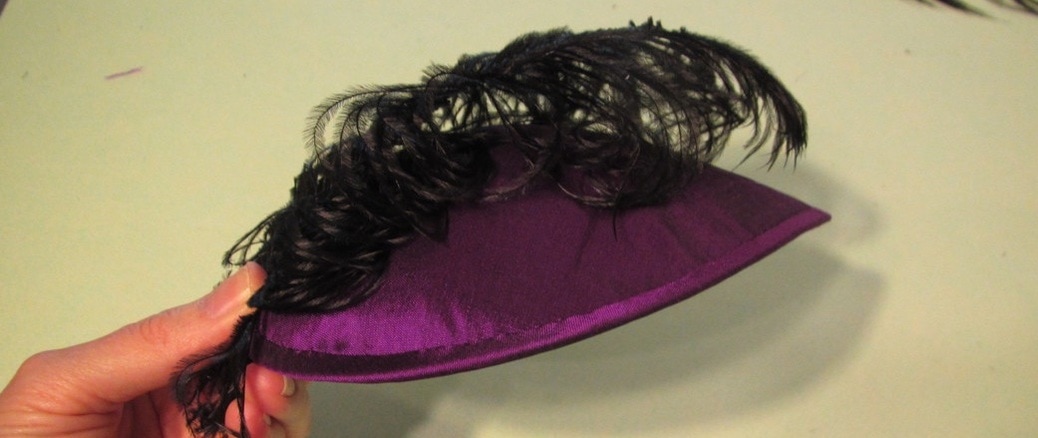
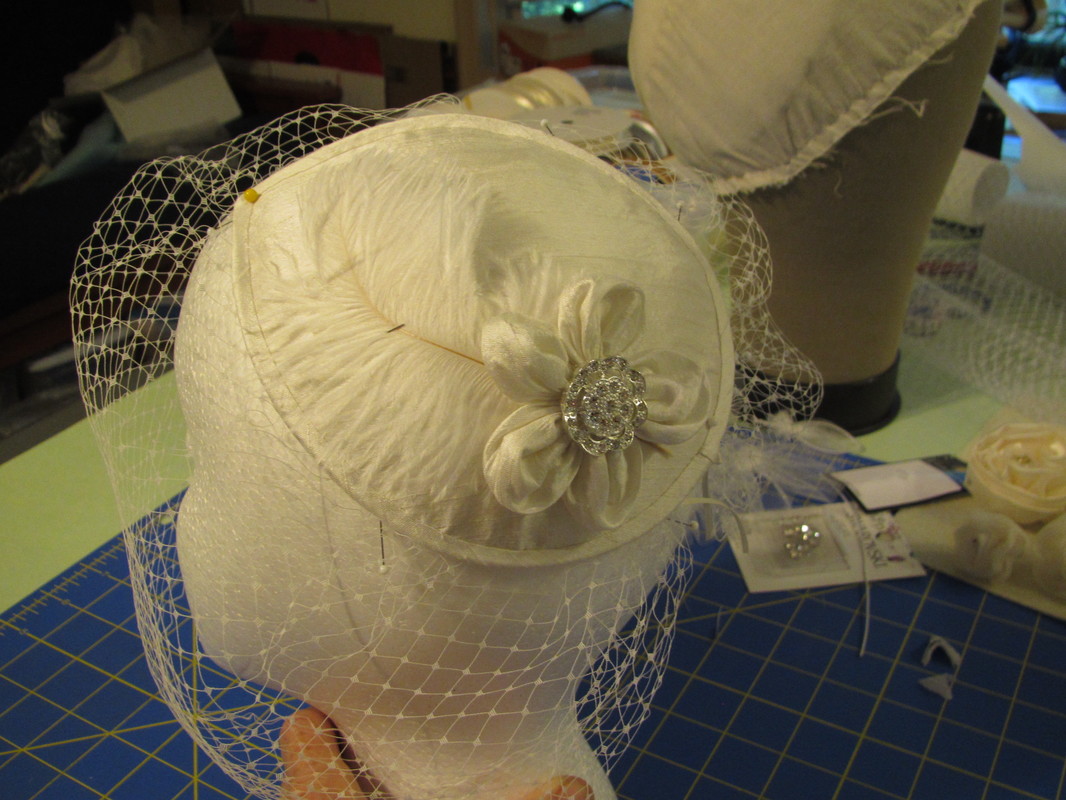
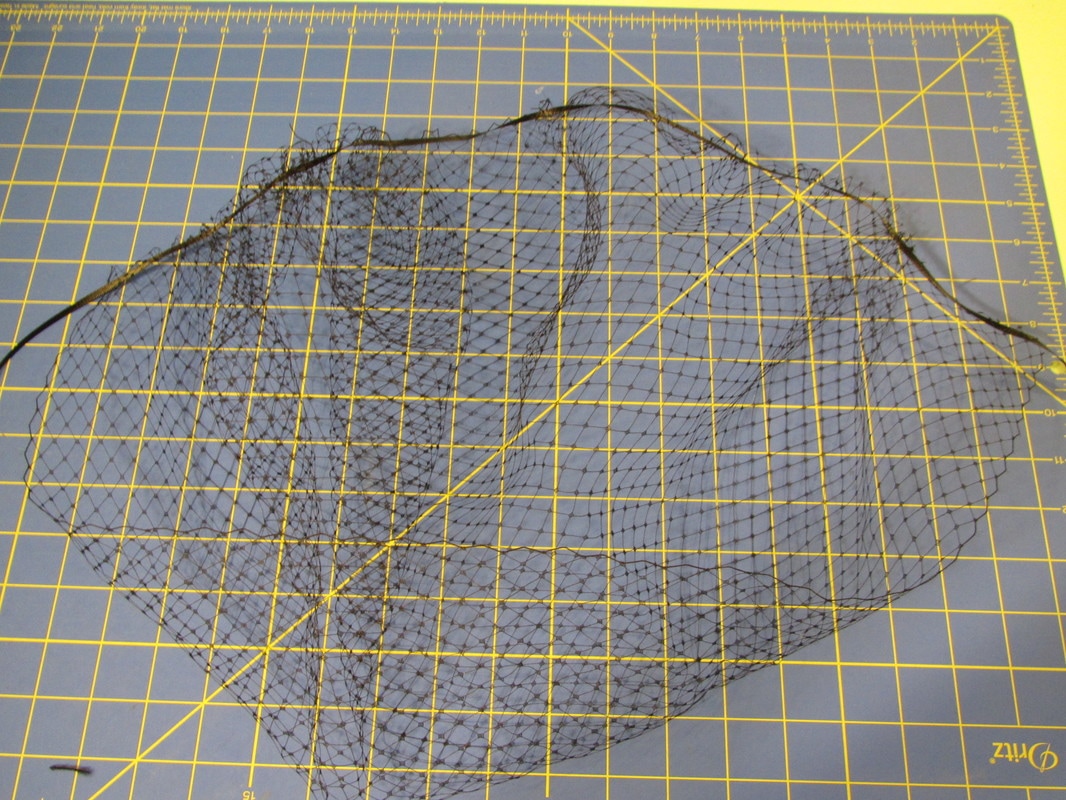
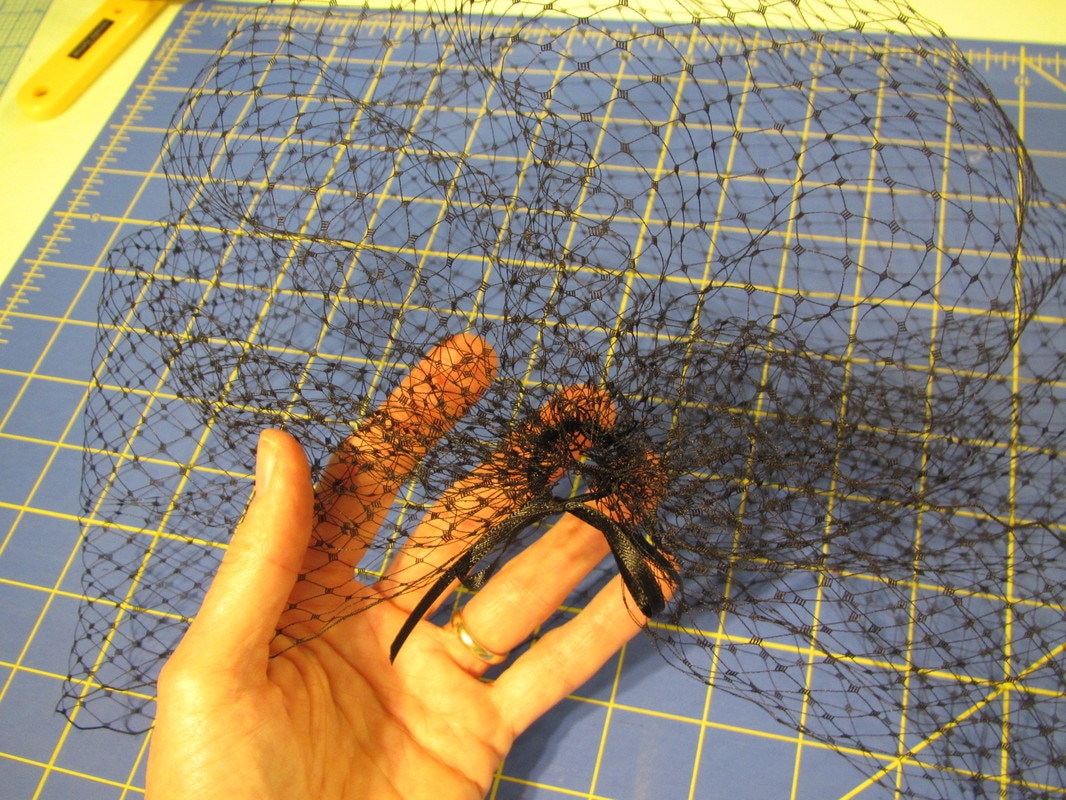
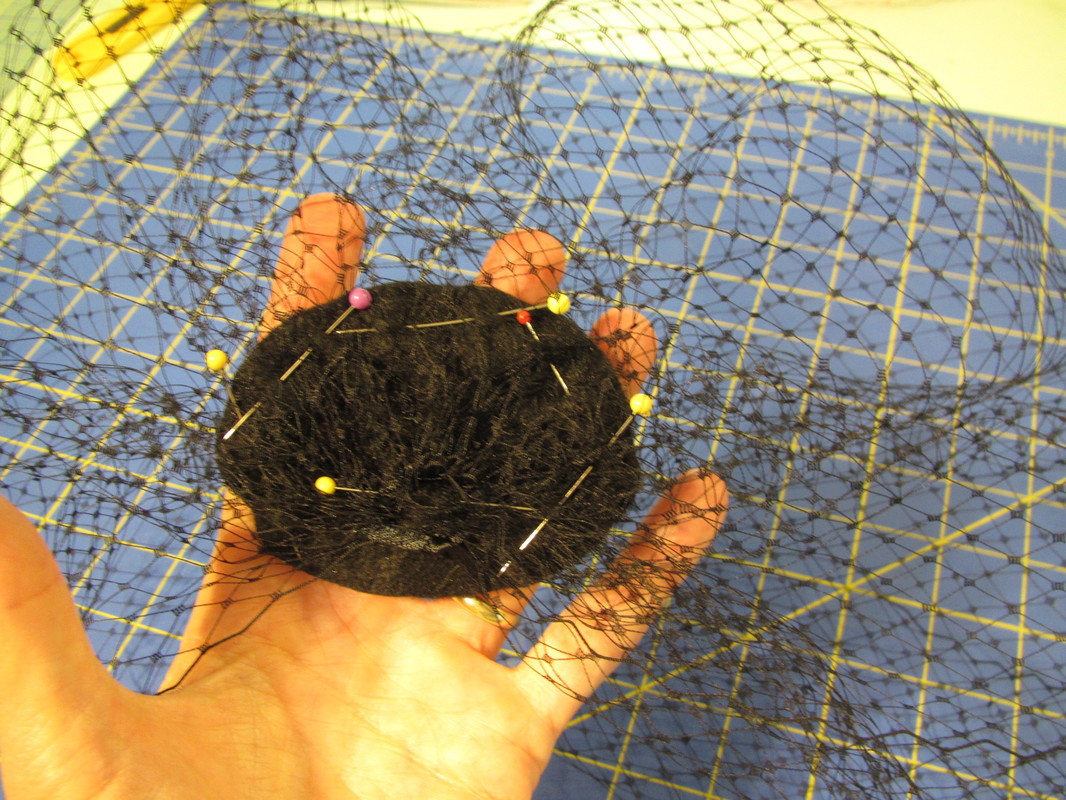
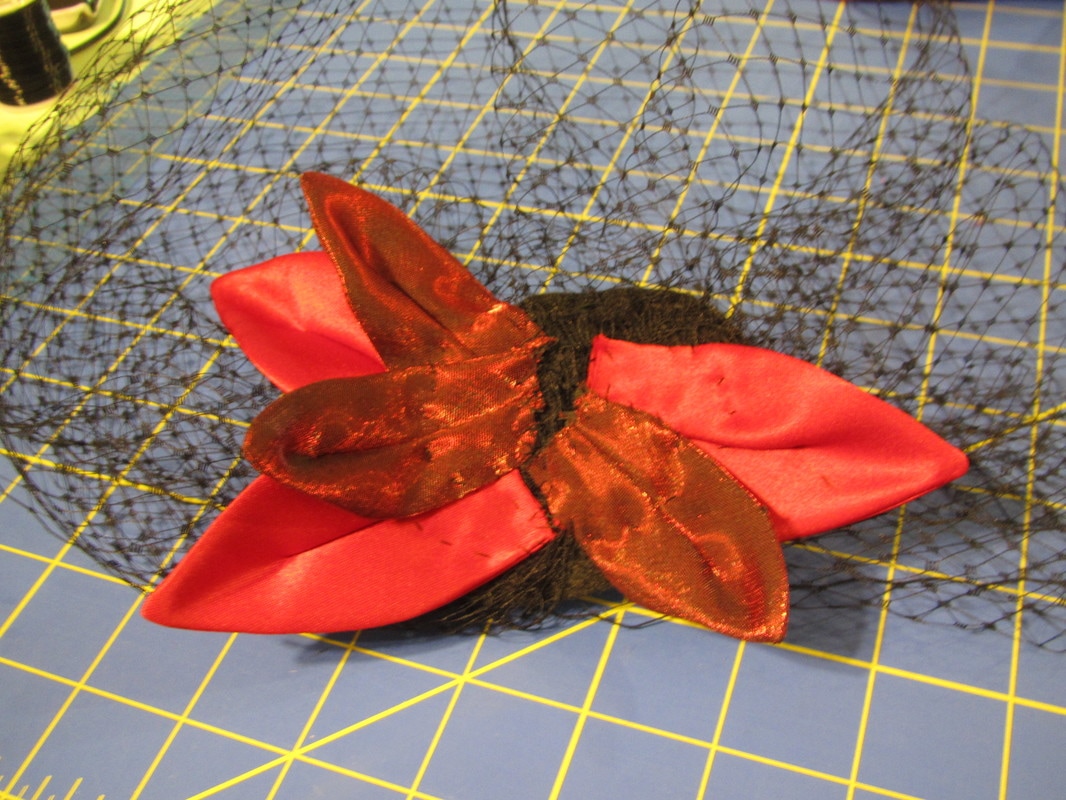
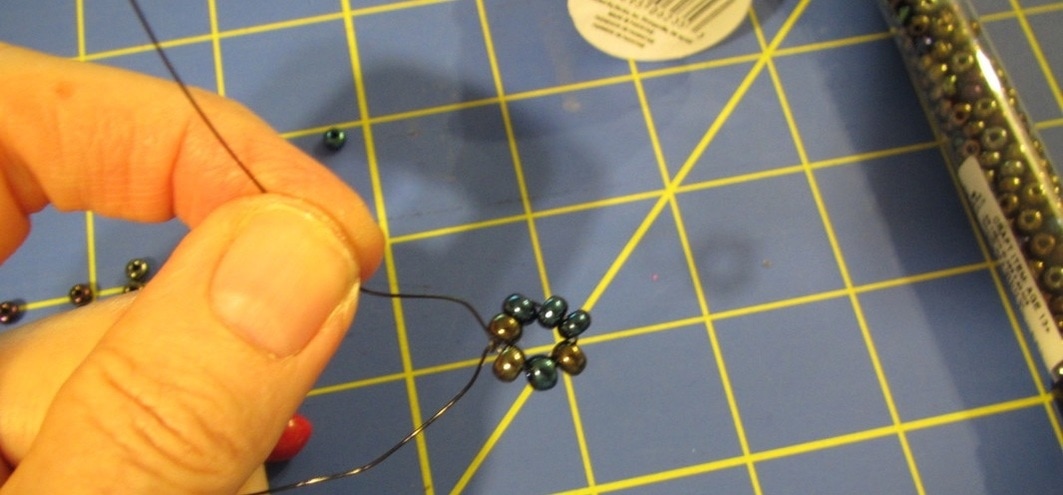
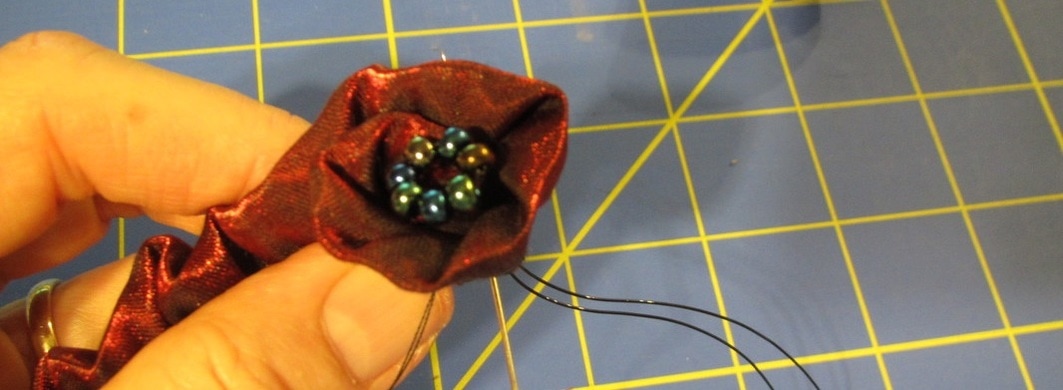
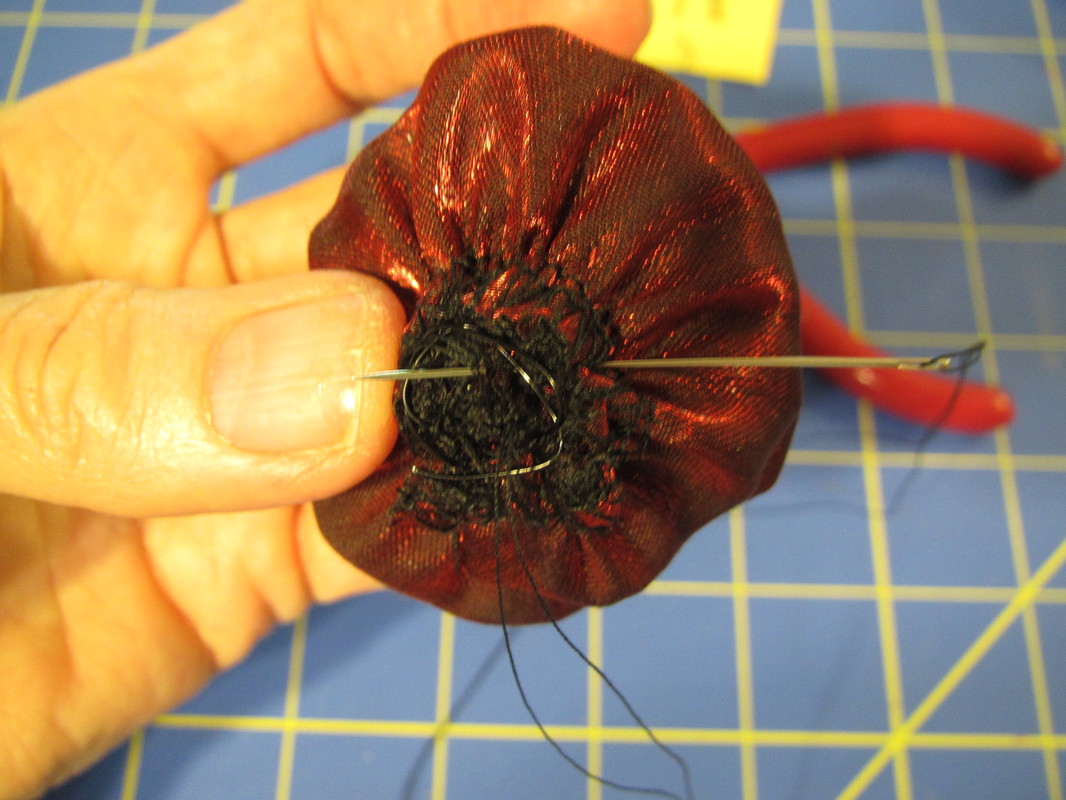
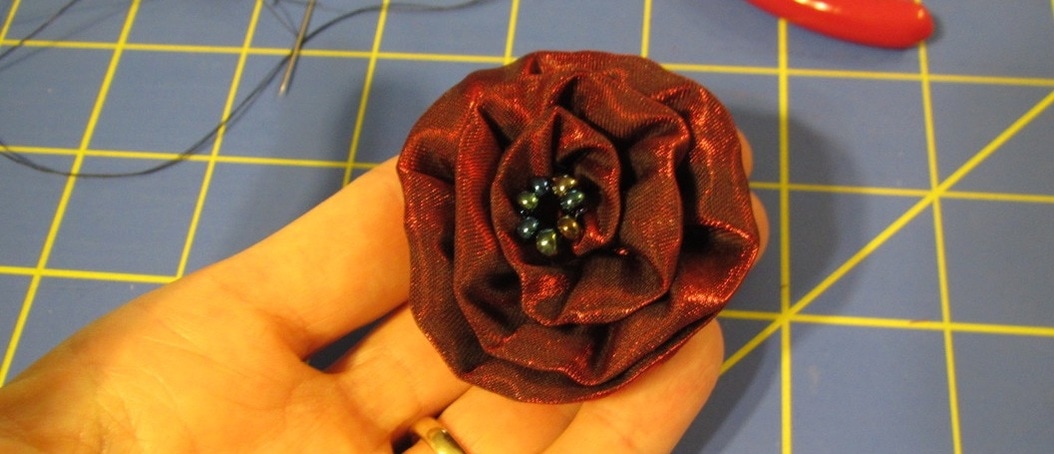
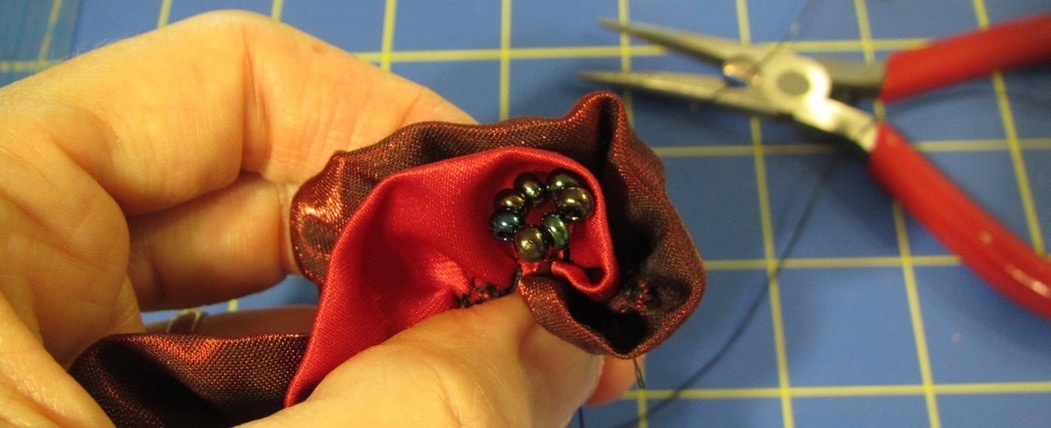
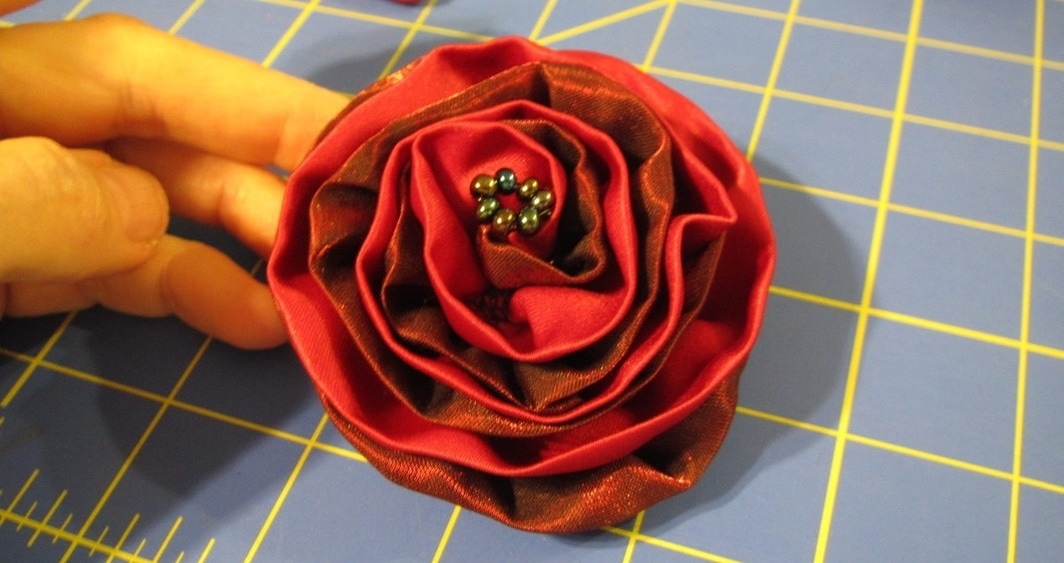
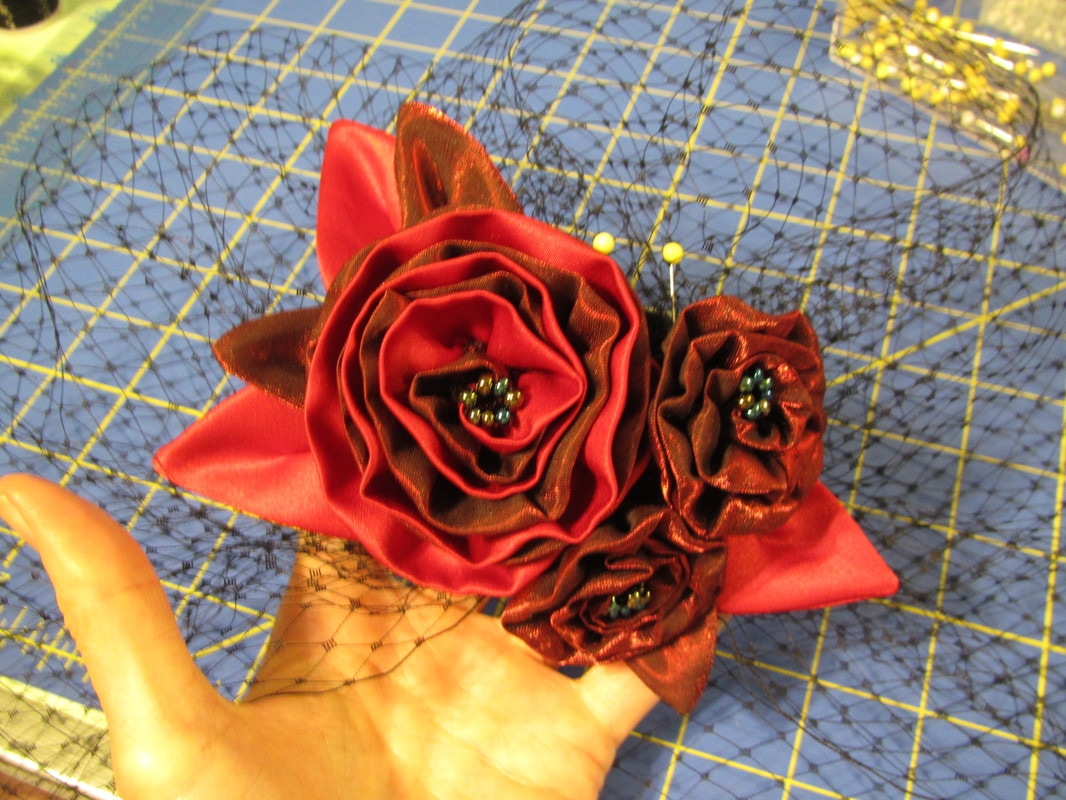
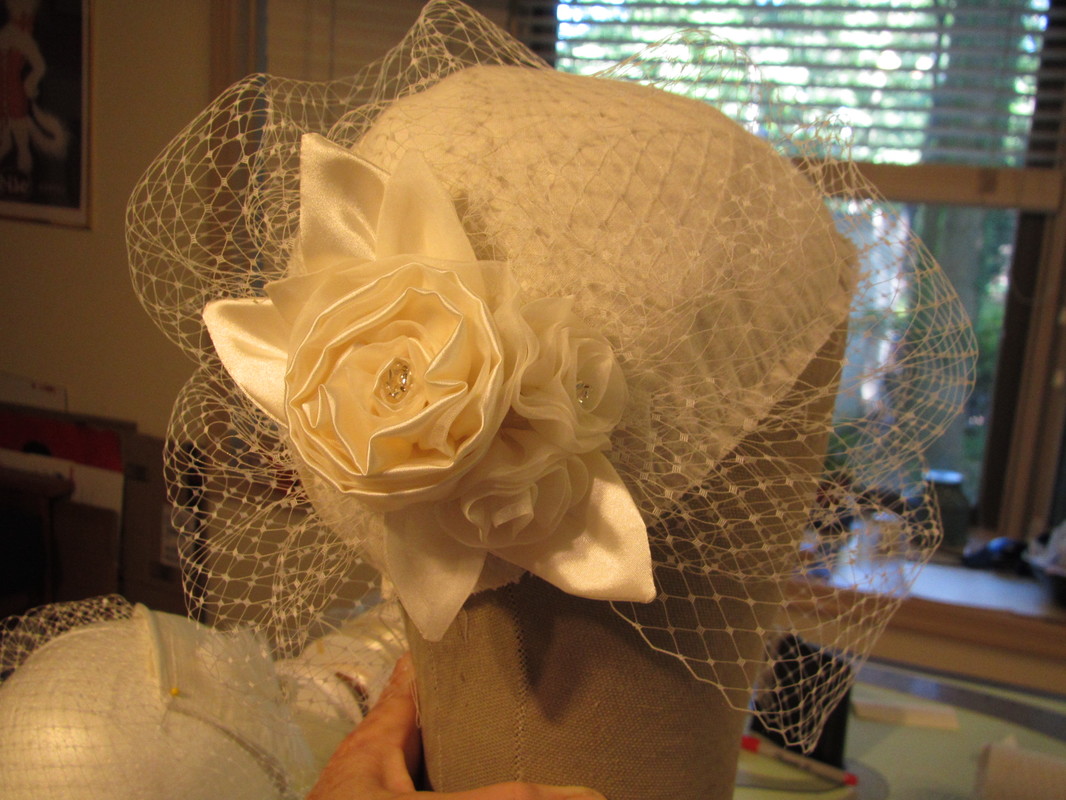
Enough for this time. Next time trimming this hat and making and trimming the one with the big cluster of roses. In the previous blog post I showed the steps for making the tear dropped shaped hat. This time I will show how I made the trimmings for both hats. The petals for the flower are made from circles that are folded in half and hand gathered around the raw edge. When the gathers are pulled the a cupped petal is formed. String 5 of them together and you get a daisy like flower. A big beautiful button in the center will finish it and cover up all the raw edges. It is hard to find just the right feather sometimes. This black feather I got for the purple hat was too big and to stiff! To make it work, I cut it shorter from the bottom and then used the dull side of my scissors blade to GENTLY curl the barbs (or hairs) of the feather. If you use the sharp side of the blade or pull too hard they will tear off. Now the feather gracefully arches over the hat instead of sticking straight up. The feather for the white hat was good as is ... so you never know! The other hat is really just a bubble of millenary netting. You need to by the 18" wide kind, which is a little harder to find. You can get it at Amazon click these links for Black, Off-White and White Again, I used 1/8" ribbon through as many of the holes in the net near the edge as I can. Then for this hat it gets pulled into a tiny circle and sewn to an oval of felt. There are pattern pieces for the shape of the net and that oval pieces of felt. Under the roses are six leaves made from two different fabrics artfully arranged! There is one large rose and two small ones. In the center of each is a circle of beads on a wire. Leave longs tails on this bead embellishment. It can always be trimmed later, but if it is too short, that's more difficult. Start the coil of gathered fabric with the bead in the center. Let the long tails just stick out the back. I just bent the extra wire into a circle and sewed it securely to the bottom of each rose so no sharp ends protrude. This is one finished small rose. The large rose is made up of two different fabrics. Do the same as the small rose, but coil both fabrics at the same time. Finished large rose. And here is how I arranged them on the felt base piece. The bridal version is made the same way.
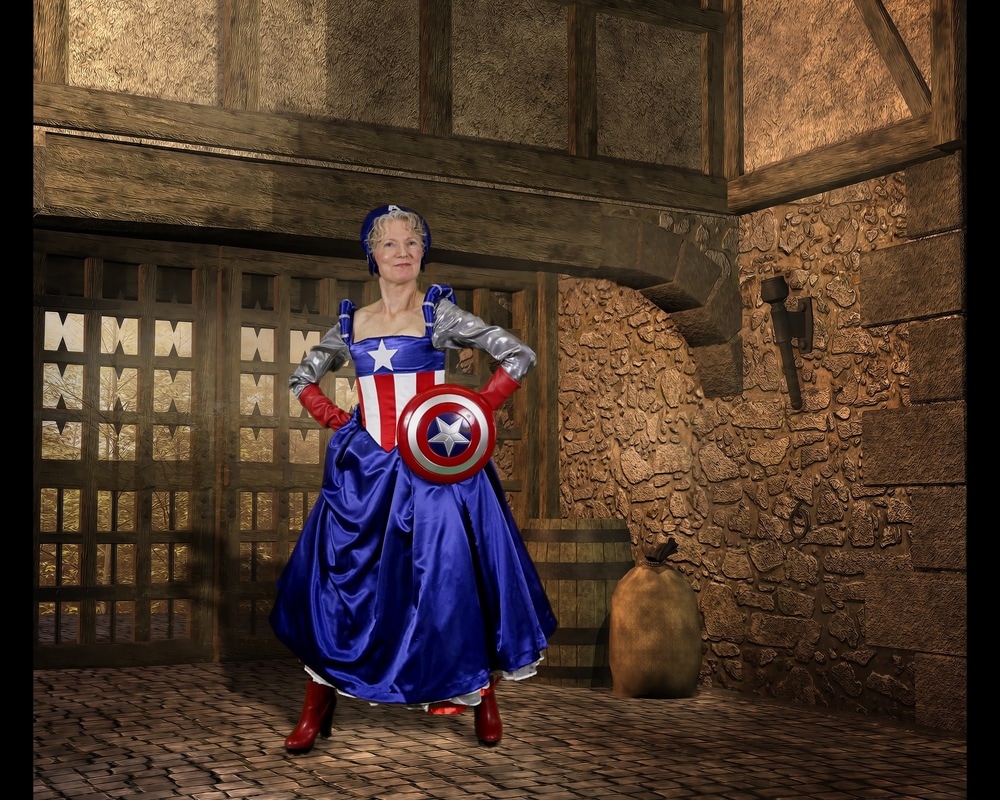
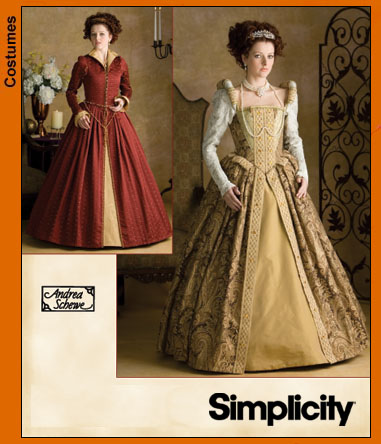
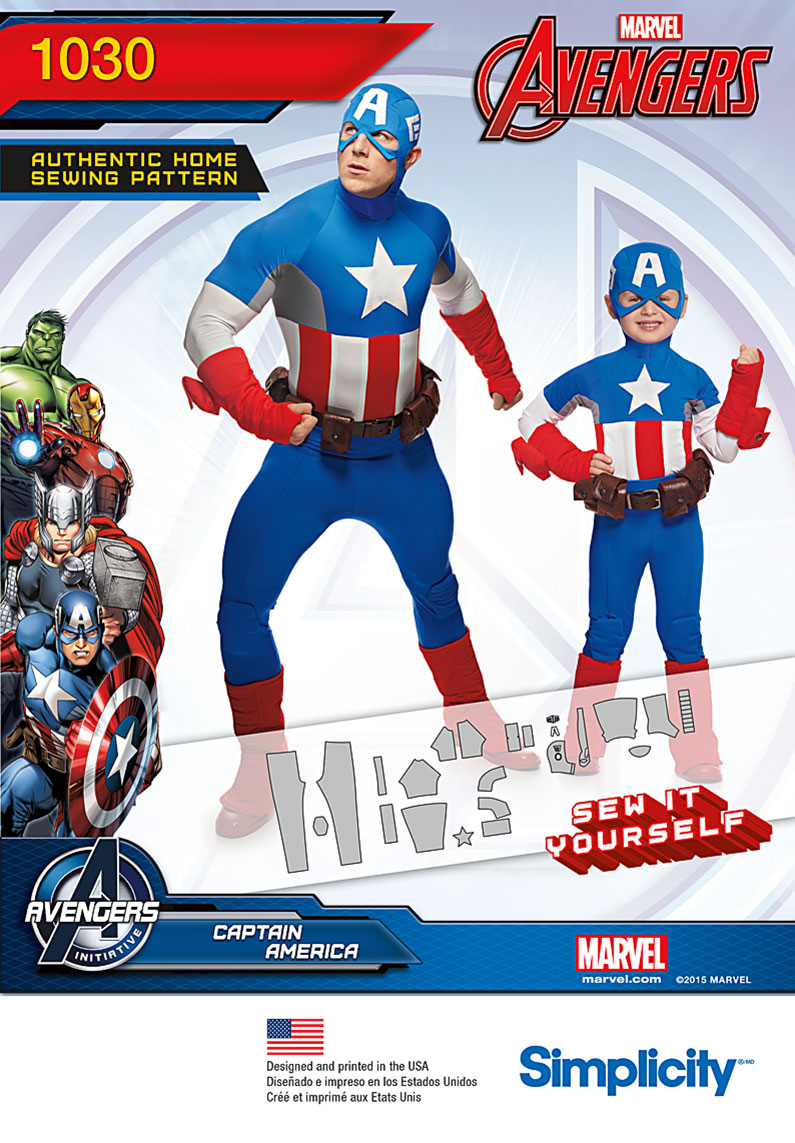
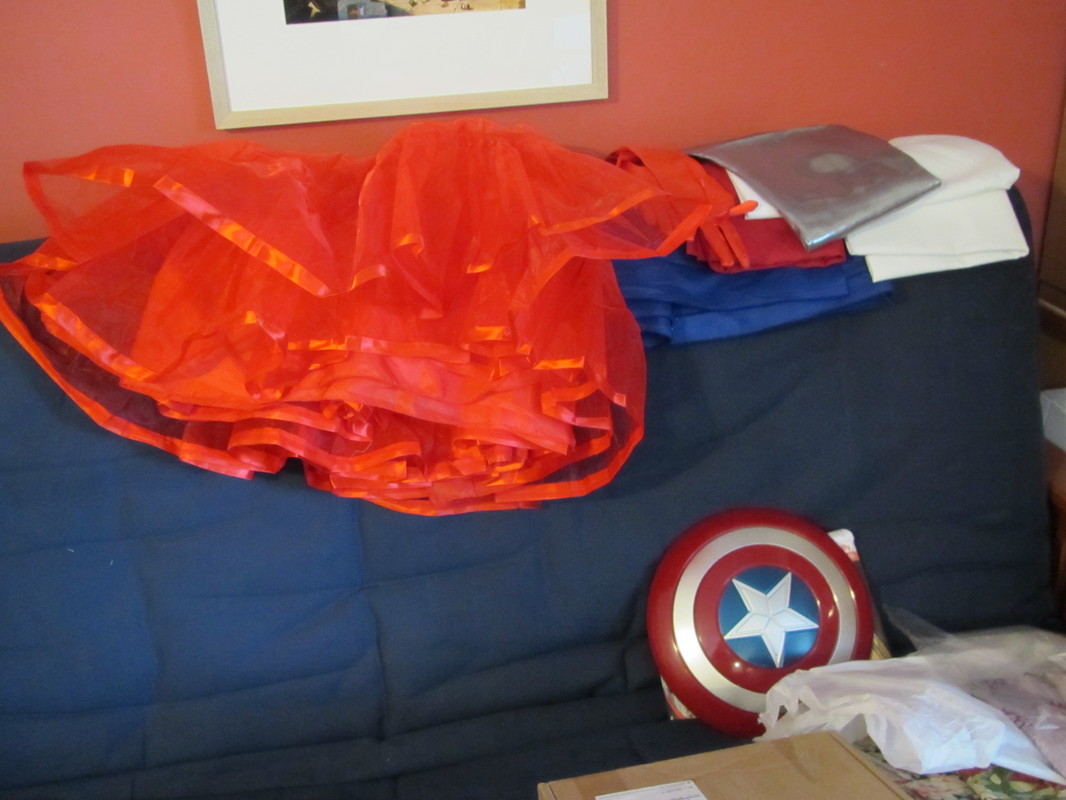
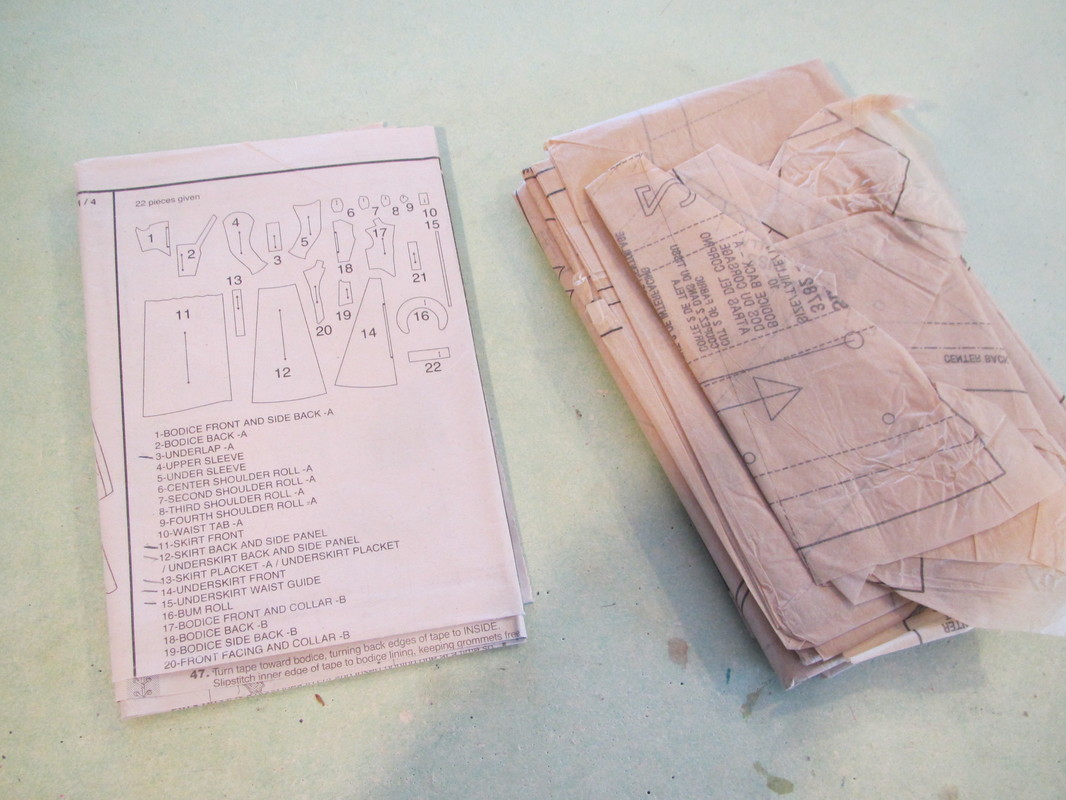
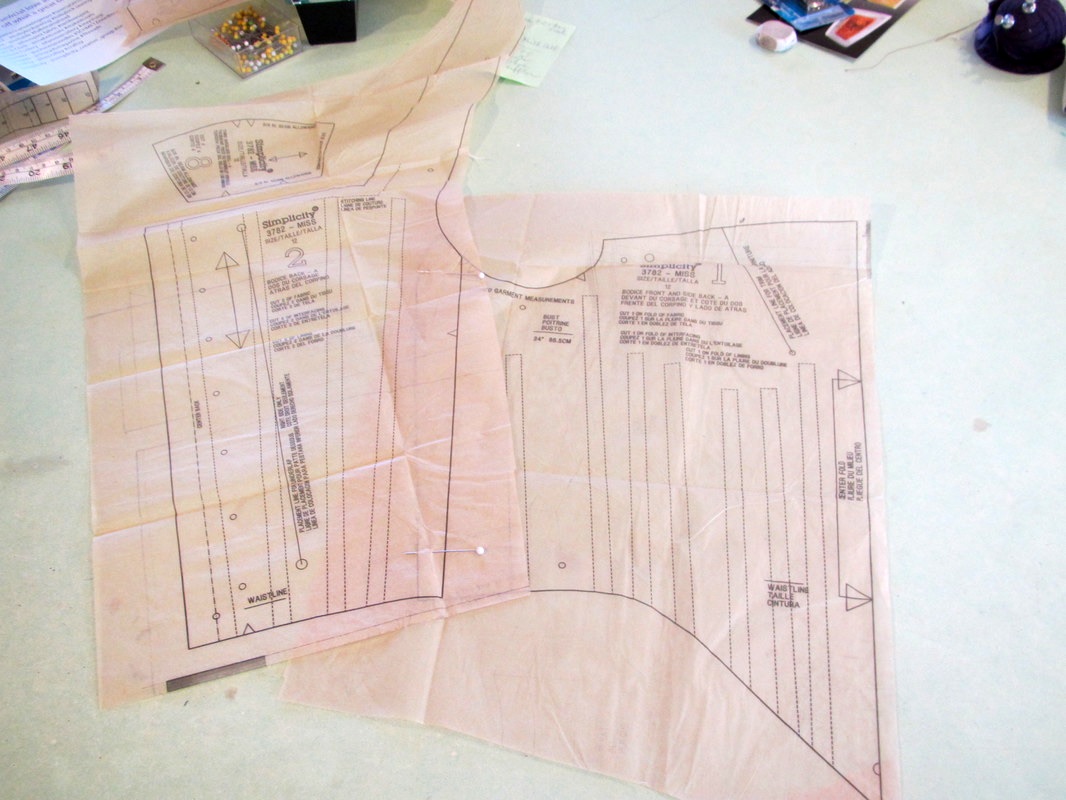
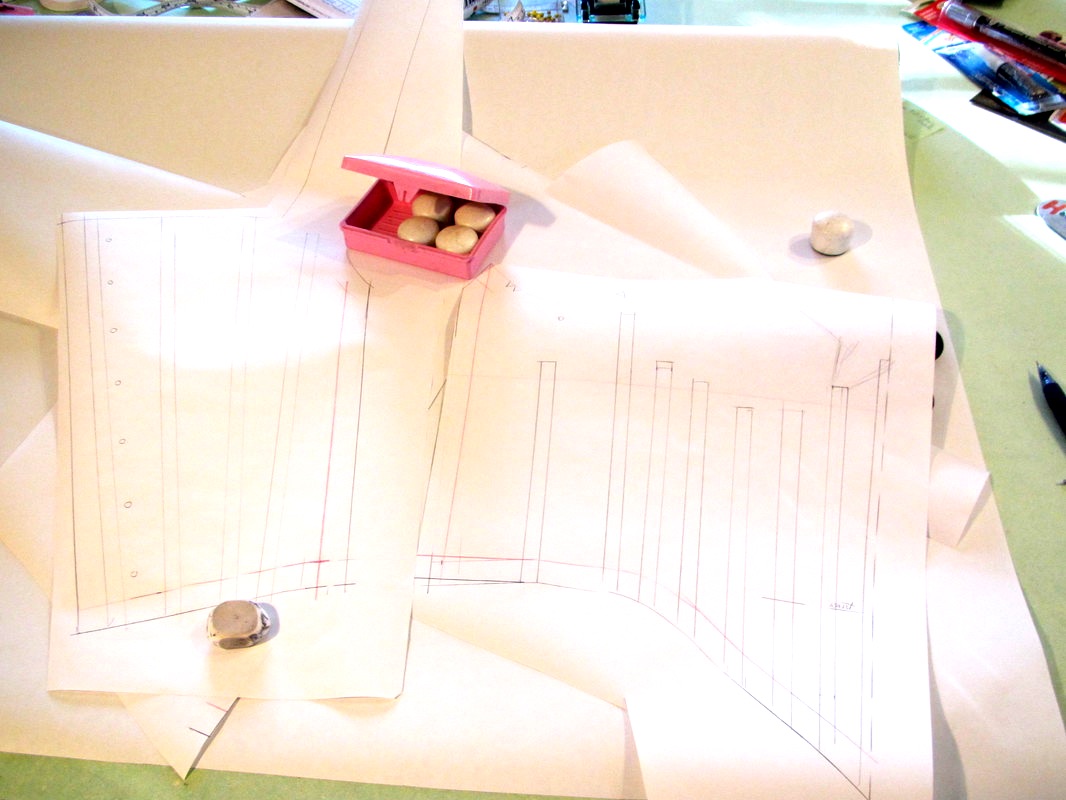
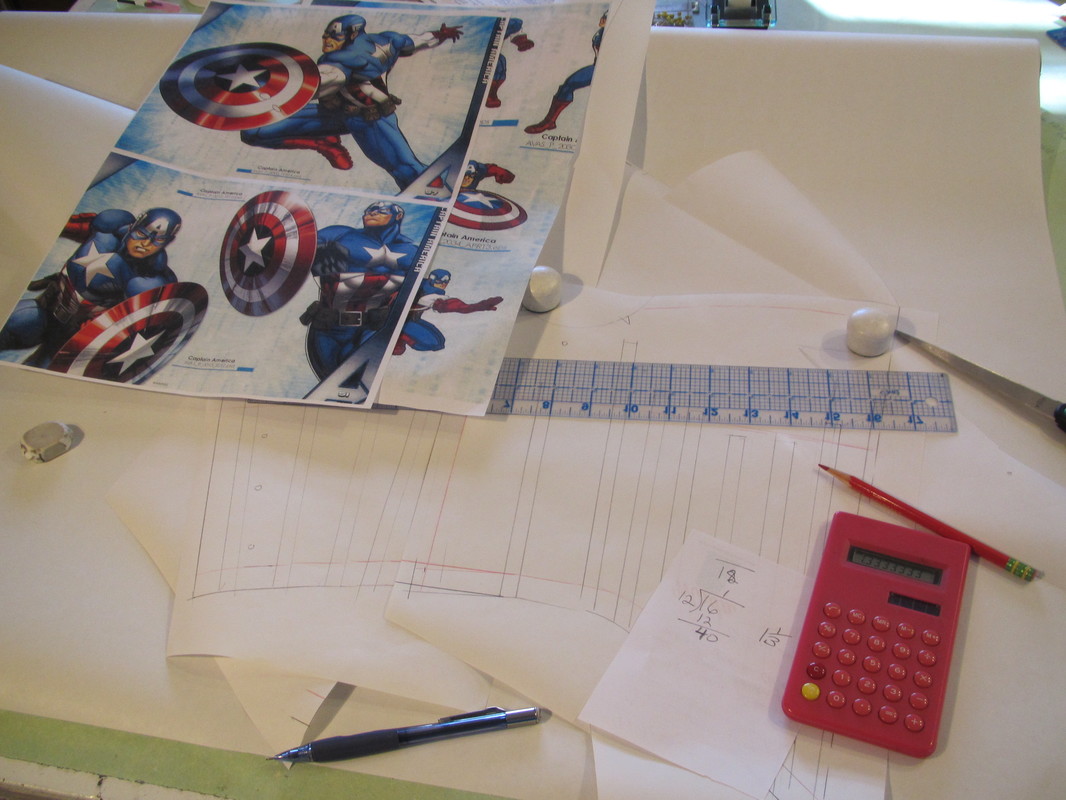
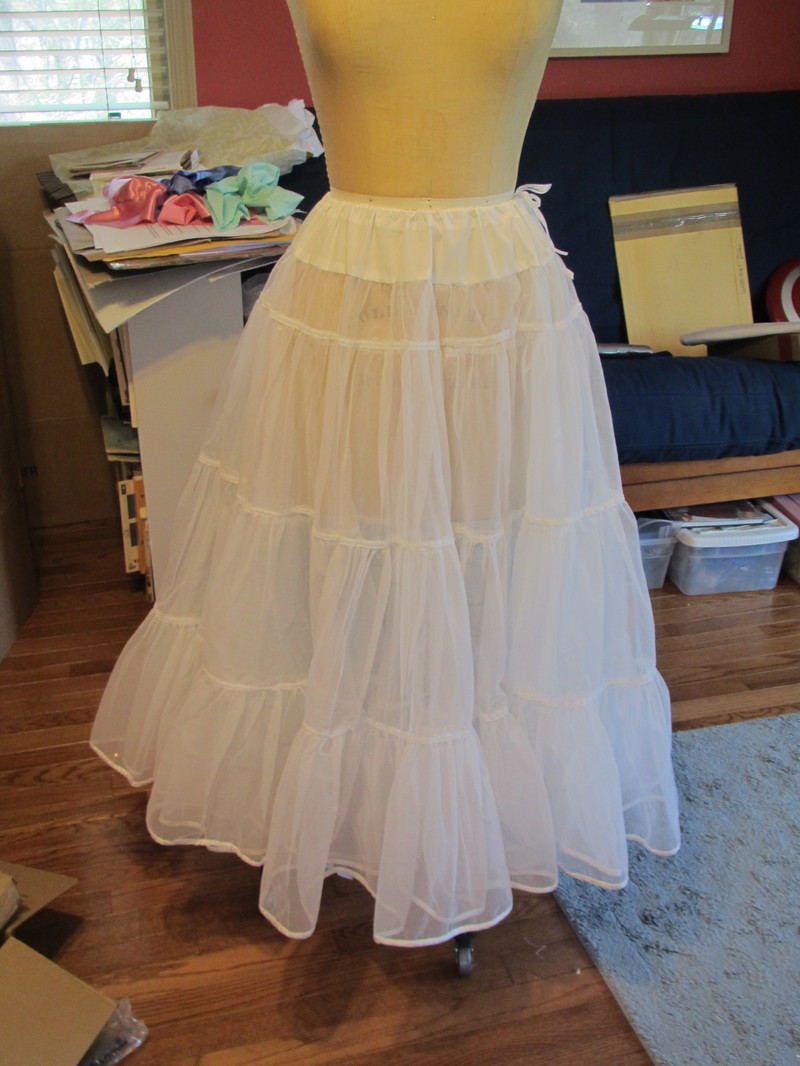
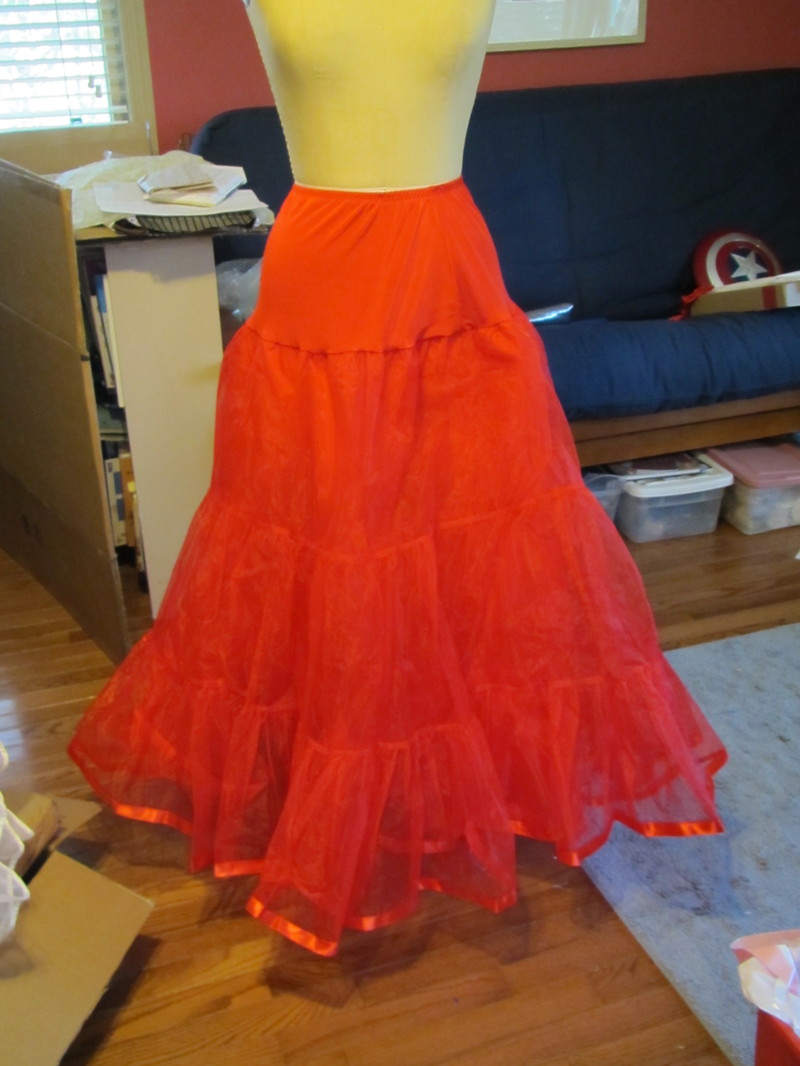
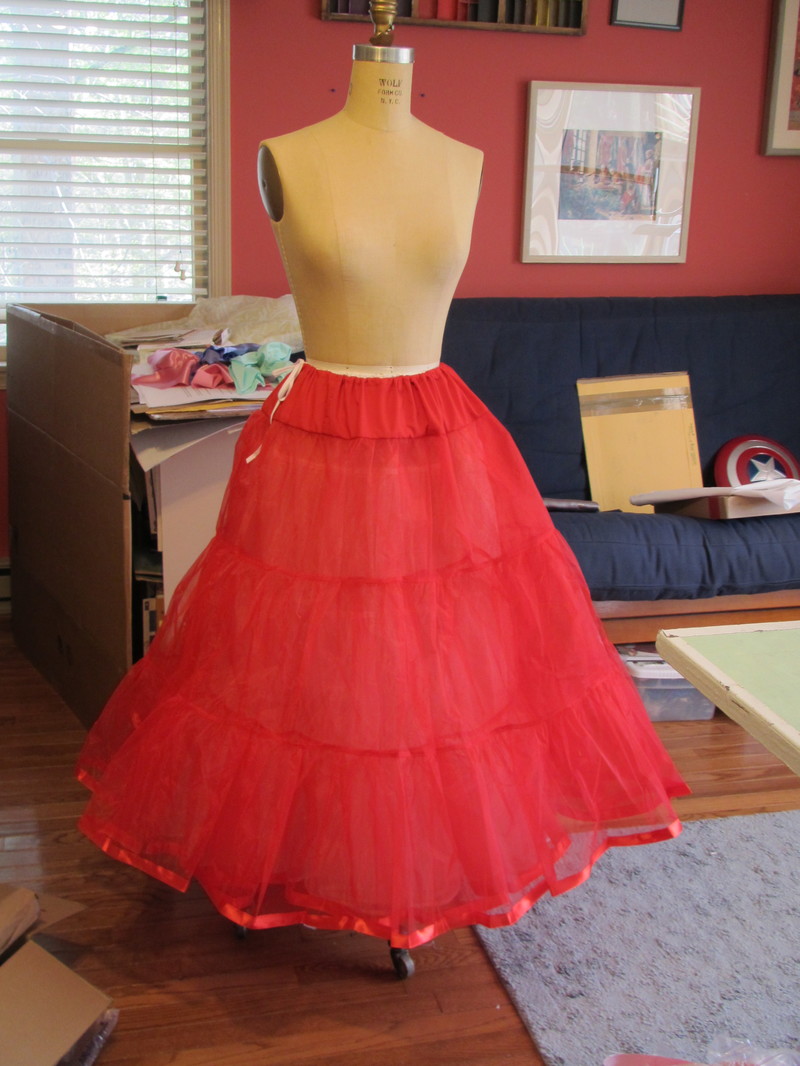
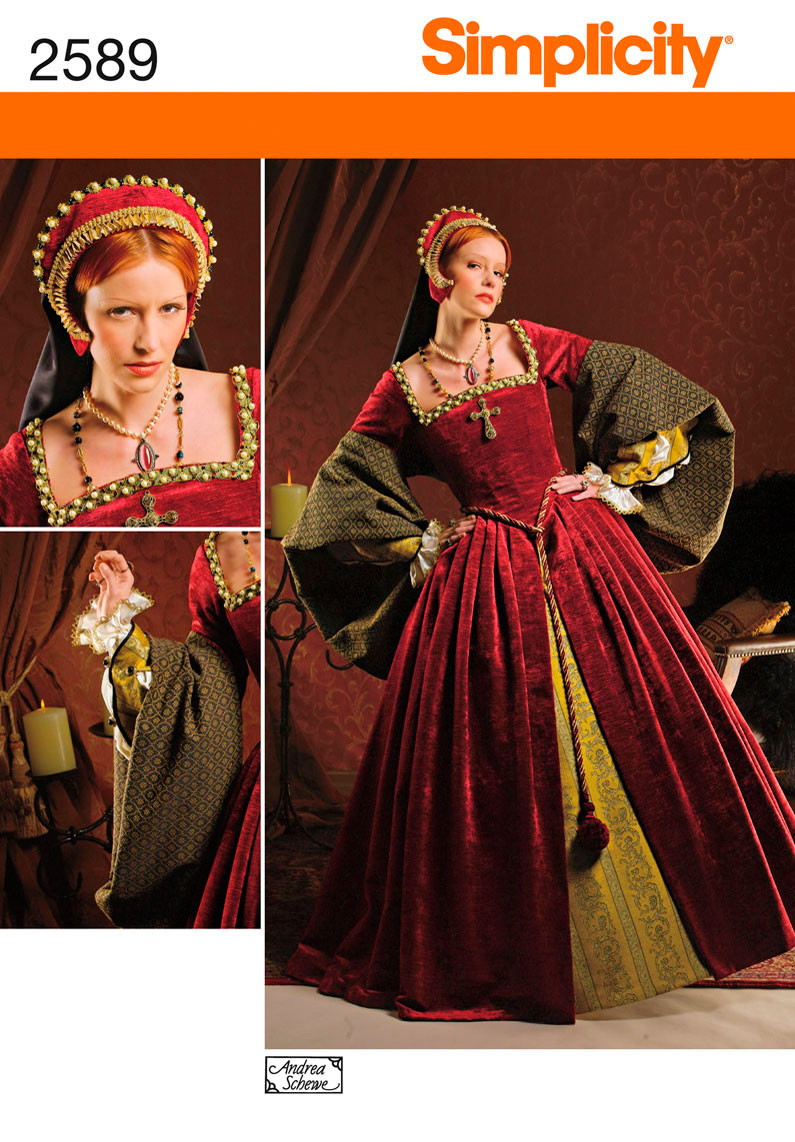
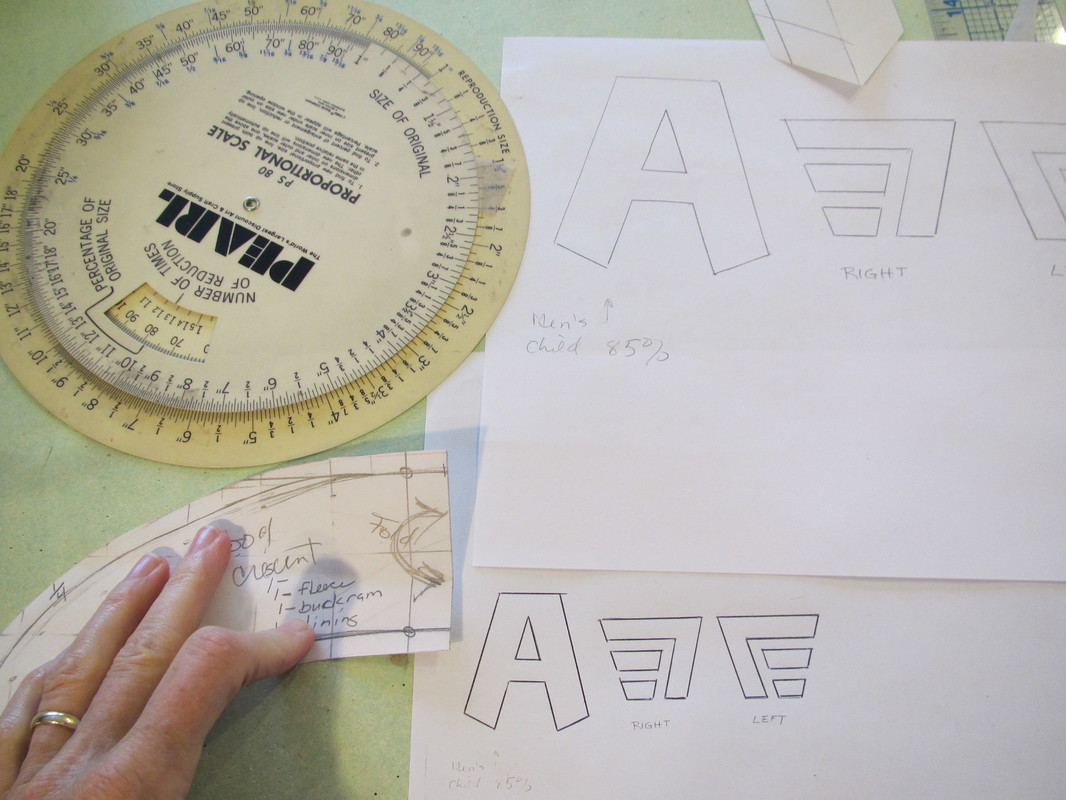
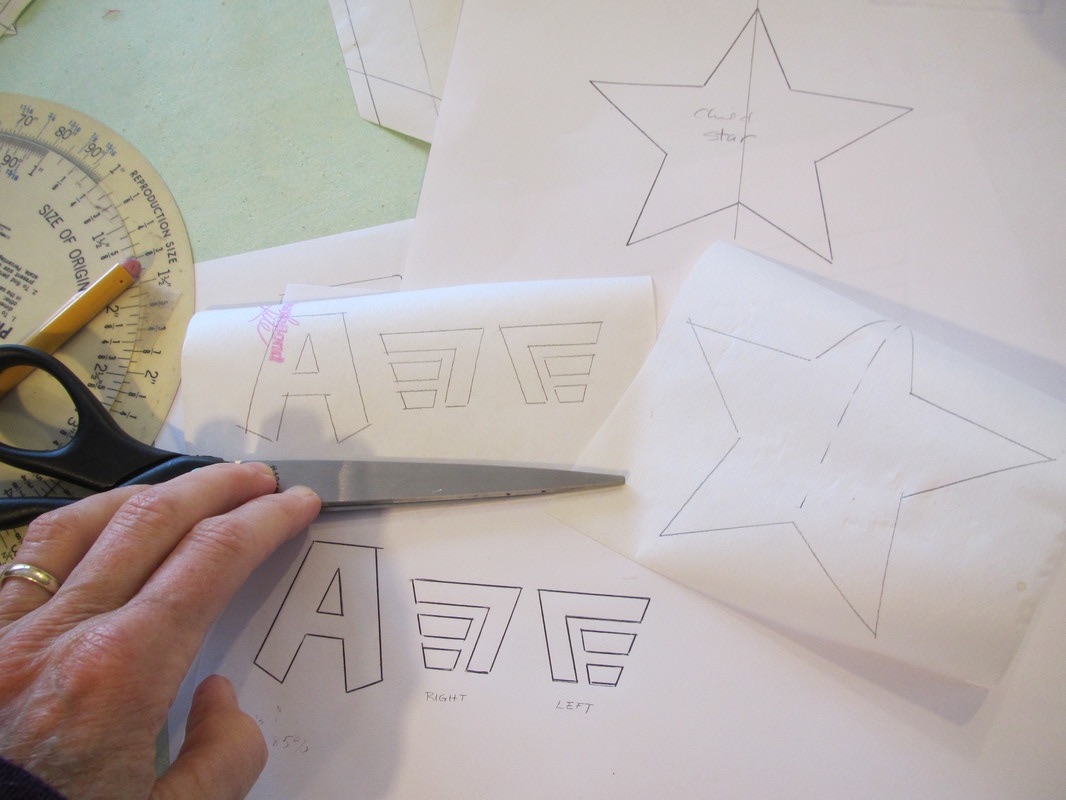
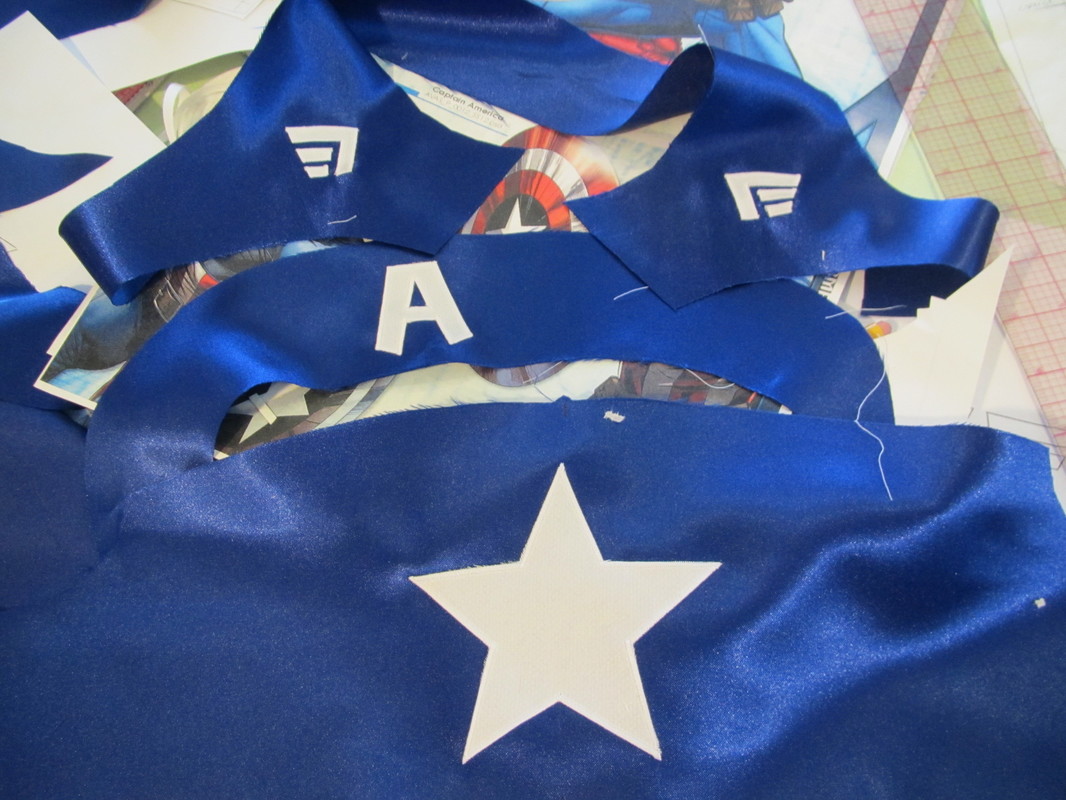
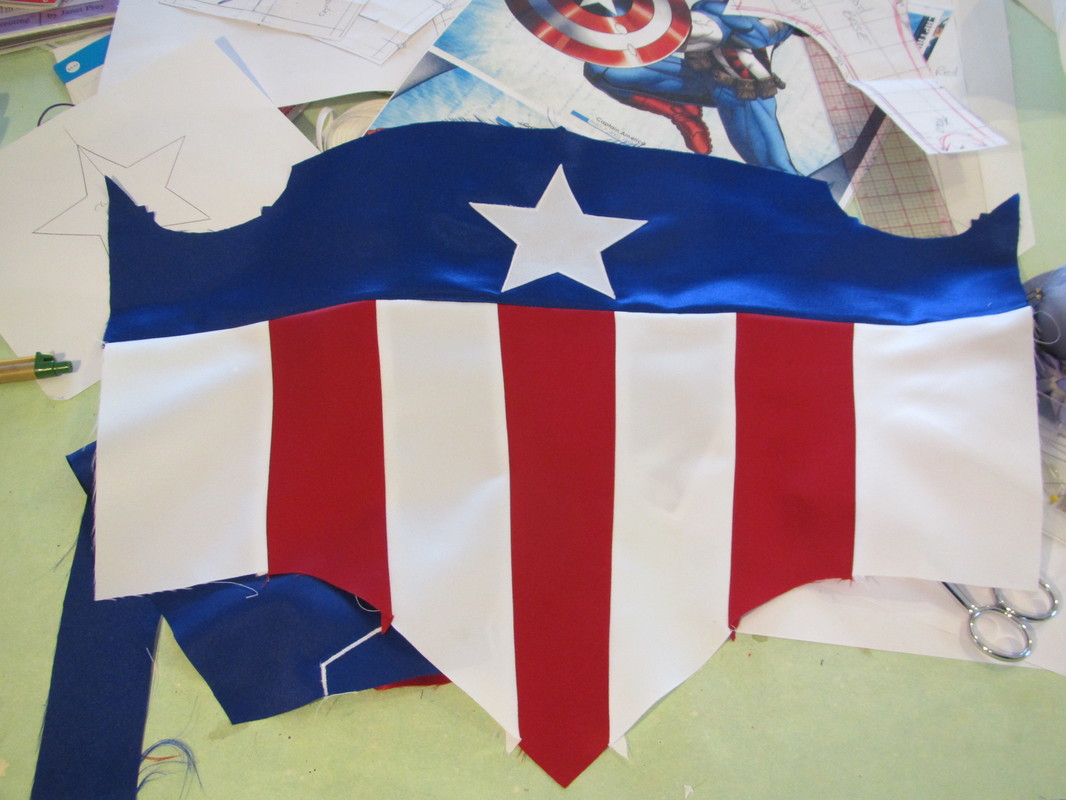
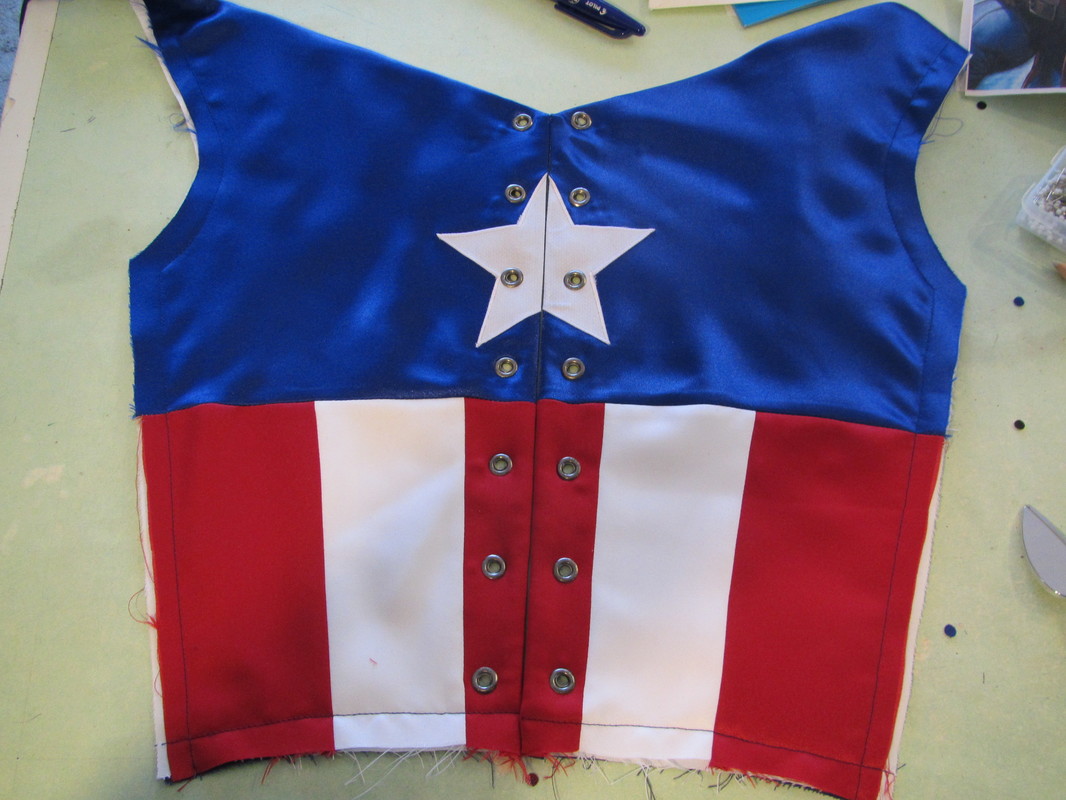
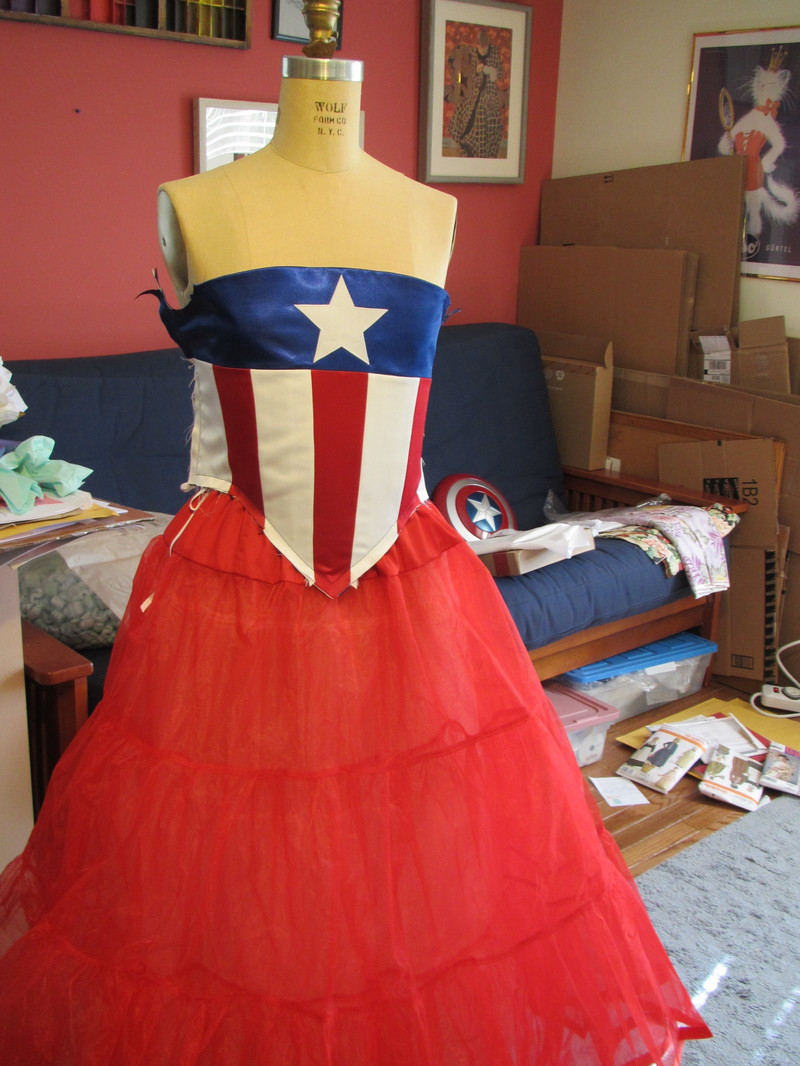
Now, you don't have to trim your hat EXACTLY how I did mine. I am required to make things as straight forward as possible so it is easy to understand. But, really, you can do whatever you thinks looks right. Send me a photo if you make this .... I would love it see other versions. [email protected] I can Cosplay, too! As I said in an earlier blog, 2016 was very busy for me and I really stopped writing any new blogs for a long time. I was scheduled to teach and judge at a couple "Cons" ... Costume Con which was in Madison, WI this year and Anime St. Louis which is always in ... you guessed it, St. Louis. I needed a new costume and it was time to get into the Cosplay spirit. Since people still think of Renaissance costumes when they think of me AND I've been doing a lot of license Comic Book costumes, this seemed like the logical mashup! These are the two patterns I used. Both still available. I started collecting supplies. Dug out a printed copy of my Tudor pattern so I could get the pattern in my size. The original pattern I have at home is a size 10 and I am not a size 10. Found the bodice pieces. This pattern can be worn without a corset because it is heavily boned. This isn't a REAL Tudor gown. I don't need to wear all the proper under pinnings. Then traced it out in my size and made a couple alterations, basic I needed to make the waist a larger. The bust needs to be very tight for these boned straight front bodices. The bust should be pressed flat and UP. Lucky I still had all the official artwork from Marvel. I needed to to a little measuring and math to adapt all the elements to a different style garment. Then I drew where I wanted the color breaks on the bodice. After this, I made separate pattern pieces for each color with seam allowances for the outer layer. For the interfacings and linings I used the whole front and back pieces. A super hero shouldn't have a skirt to the floor. How could she possible chase bad guys. So I decided on a mid calf length. The better to show off my high heel boots! Every costume, or any garment for that matter, looks better if the undergarments are integrated into the ensemble. I purchased red and white petticoats, but they were too long and badly shaped. To fix this problem I shortened the yokes and used twill tape drawstrings I could tie tightly at my waist. I HATE elastic waists on heavy skirts. The skirts tend to slide down. Heat'n'Bond lite is my friend for appliqués. It holds the piece in place but the adhesive can be machine stitched through. I did a satin stitch around all the pieces. Front assembled ... and back with grommets ready for lacing up. This was a LOT of fun ... hope to wear it again soon!
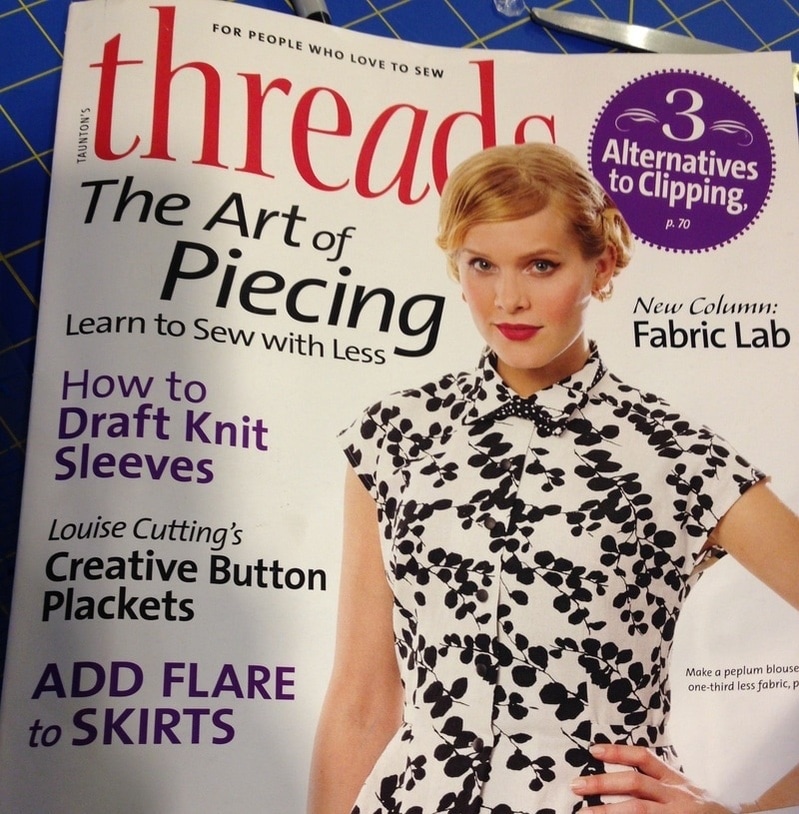
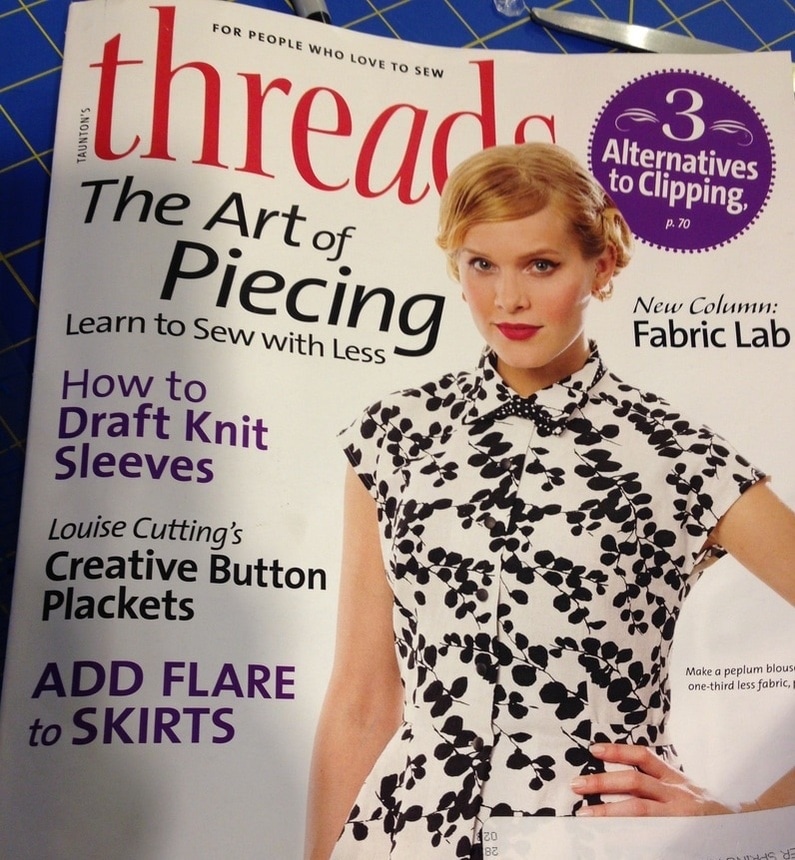 I got to write an article for THREADS. It is in the current issue, click here to buy it! It is basically about being frugal. My mother taught me how to make garments using much less fabric than the pattern calls for. It is a fun challenge and is something I do all the time. I HATE to have tons of left over fabric ... so wasteful. The funny thing is ... to write this article and to be able to make all the "in progress" samples needed I had to buy LOTS of extra fabric ... sigh.
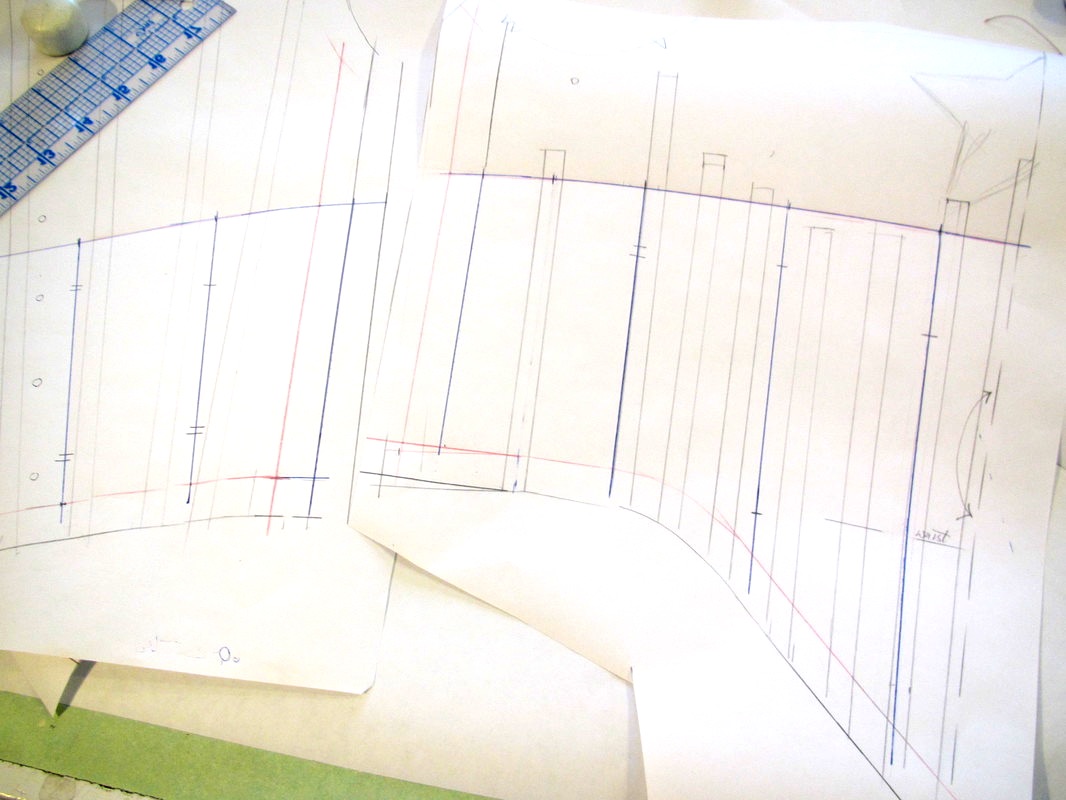
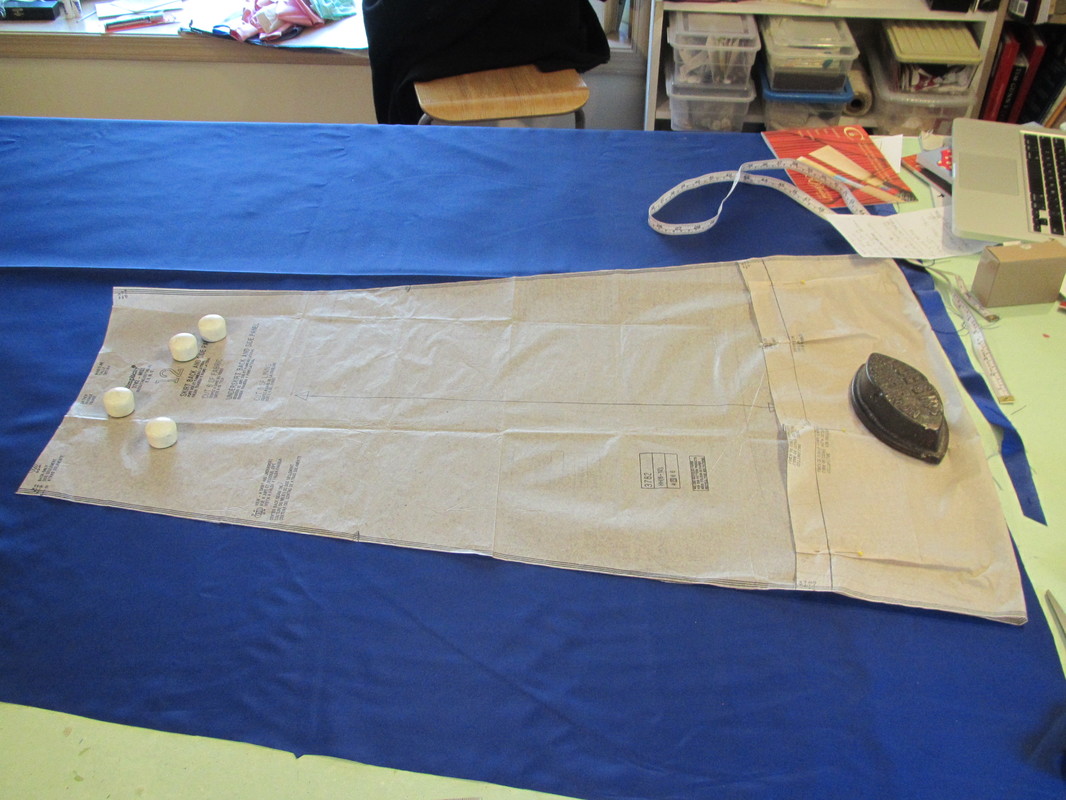
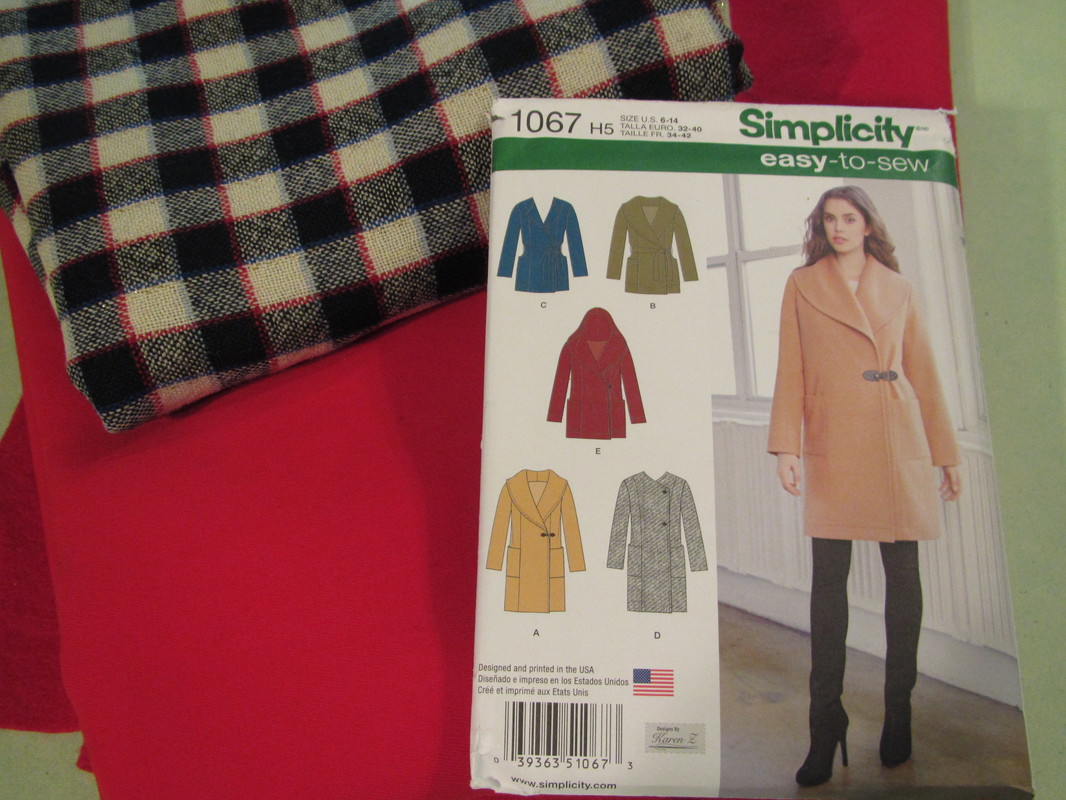
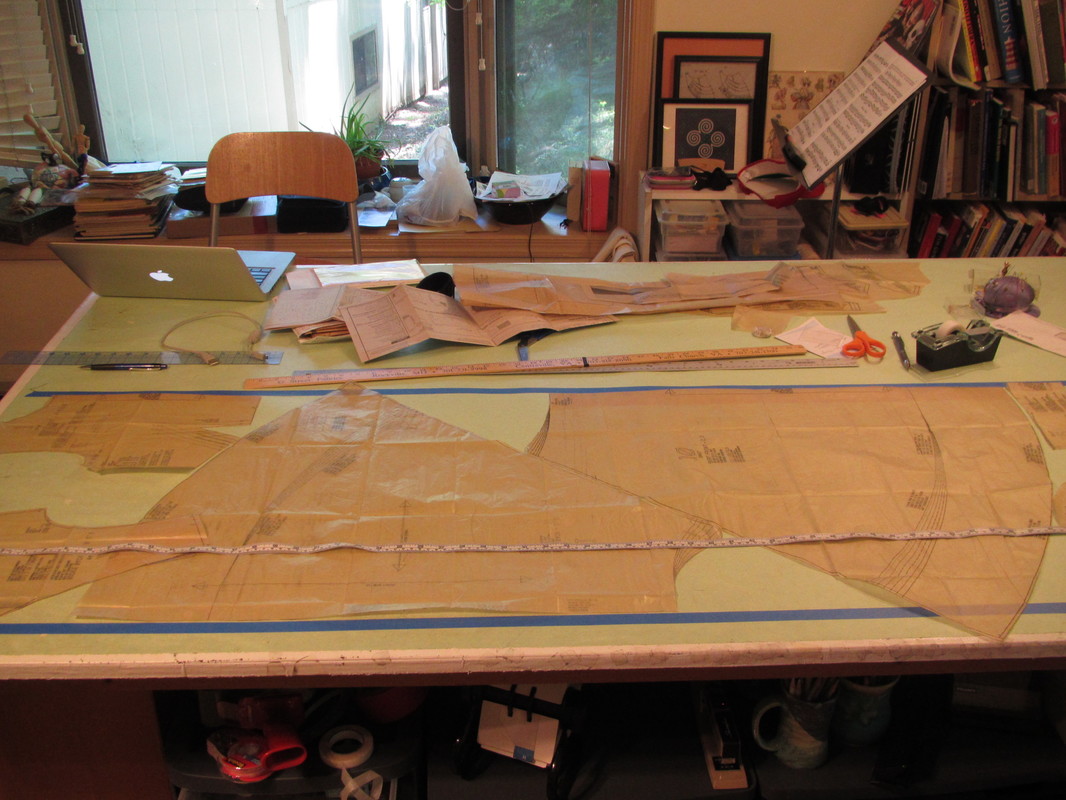
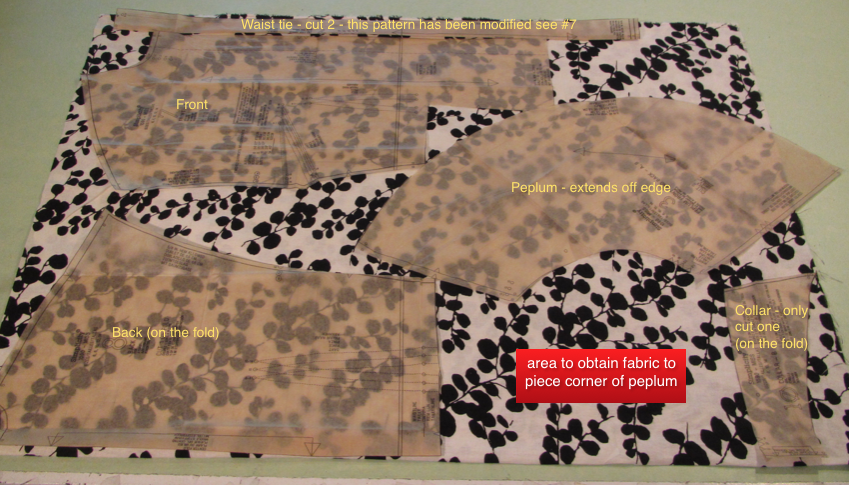
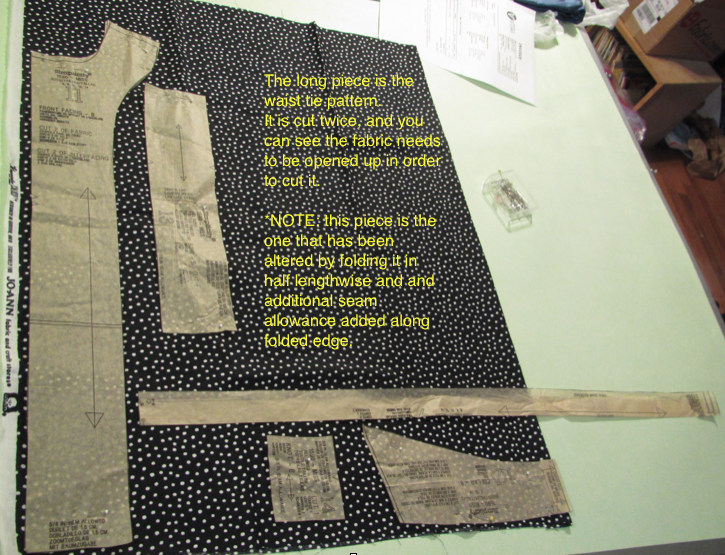
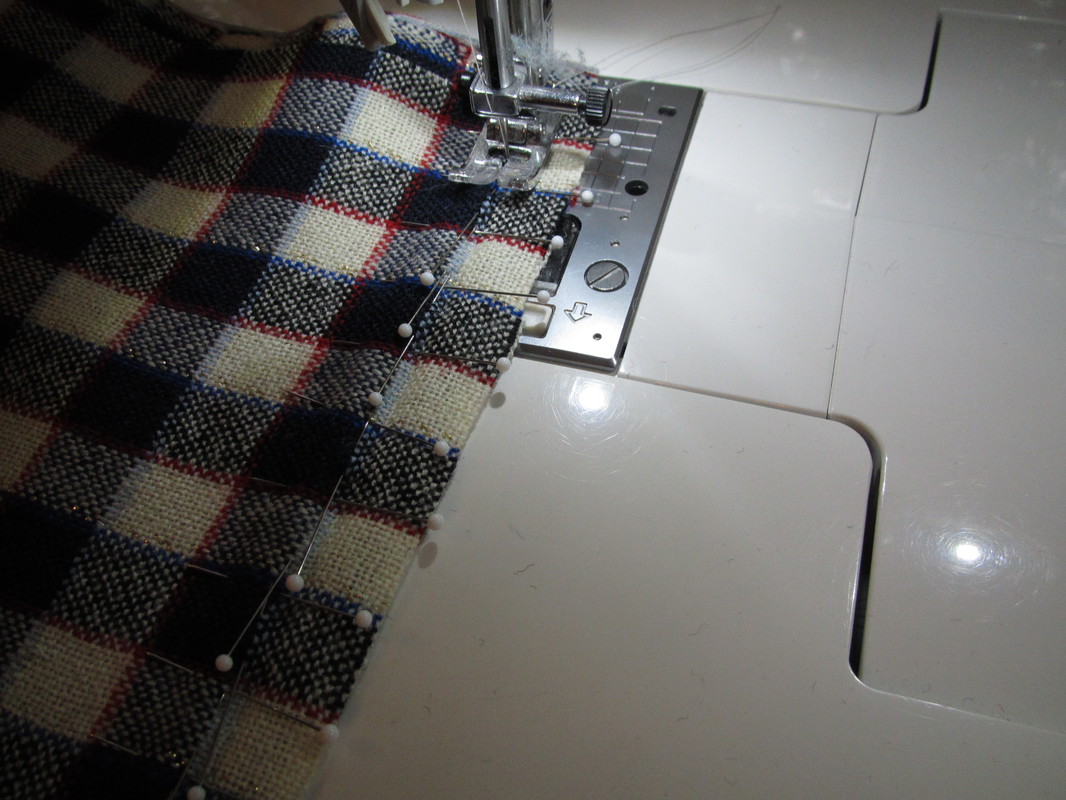
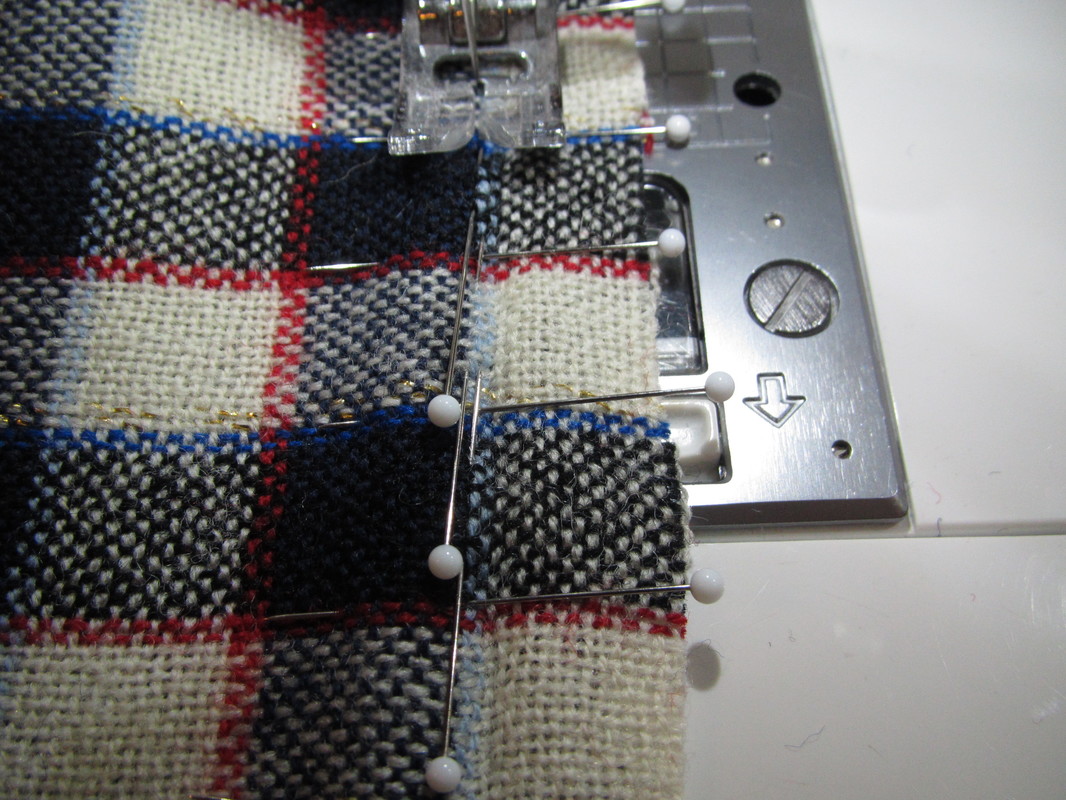
This is how I planned out my pattern layouts. This is how I presented the layouts I used to the editors at THREADS. I don't know how other people do it, but the only way I can get a perfectly matched plaid seam is to use LOTS and LOTS of pins. I poke the pins exactly where the machine needle is going to go and don't pull the pin out until the needle is on i's way into the fabric. Yes you do have to sew carefully and have extra machine needles on hand.
I hope my article gives people ideas how to manage with less fabric and figure out a way to "make it work" ... as Tim Gunn would say. Let me know if you read the article. I am open to any and all comments and criticism ... always trying to improve So ... let me tell you all how 2016 was for me ... I spent January, February and March in Santa Barbara living and working. Which I LOVED, but also knocked me off course. Coming back home, teaching at several expos and conventions, and writing for Threads totally got in the way of writing this blog. I'm going to use this time here to get back in the blog writing habit! That said ... I love Santa Barbara ... the place, but even more the people. So, I am back for a couple weeks and will be teaching a Pattern Fitting class that will take the mystery out of making a garment that will fit anyone. We will all learn to choose the correct size, measure and modify the pattern to fit any body, sew a test garment in muslin for fit and tweak that. The class is 2 weekends from now, February 25 - 26, first half on Saturday morning and part 2 on Sunday afternoon. AND there is still room. Here is the information for the store below. For more go to their website via this link. I was told they haven't been able to update the site for a while and are working on fixing it, so you won't see any info on my class, but it is happening so please call the store directly. I'll try to get more info up tomorrow.
|
From AndreaI am a commercial pattern maker who is now "sewing over 50"! Archives
August 2019
Archives by Subject
To search for blog posts in specific categories, use the drop down menu above by hovering over the word "Blog" Andrea Schewe participates in Amazon's associates program.
|



 RSS Feed