Andrea Schewe Design
  • Home
  • Costumes
    • Reader's Gallery
    • Fantasy Costumes
    • Theatrical
    • Historic >
      • Easier to make
    • International
    • Costumes for Kid's and Babies
  • Crafts
    • Home Decor >
      • Pillows
    • Fashion Accessories
    • Doll Clothes
    • For Kids and Babies
  • Blog
    • Past Blogs by subject >
      • My patterns by number
      • Sewing basics
      • Personal sewing Projects
      • Fashion History
      • Fun and funny stuff
      • Guest Bloggers
      • Crafts and Home Dec
  • Links
  • Contact

Invisible zippers

1/31/2014

2 Comments

 
Picture
Do you remember the first time you saw an invisible zipper?  I surely do.  I first heard about them though.  Is was rumored that there was a zipper that just looked like a seam.  You couldn't tell there was a zipper at all.  And, it was true.  

I think I was 16 or 17 and a pretty good seamstress by then.  I remember looking and looking and not being able to see any sign of a zipper.

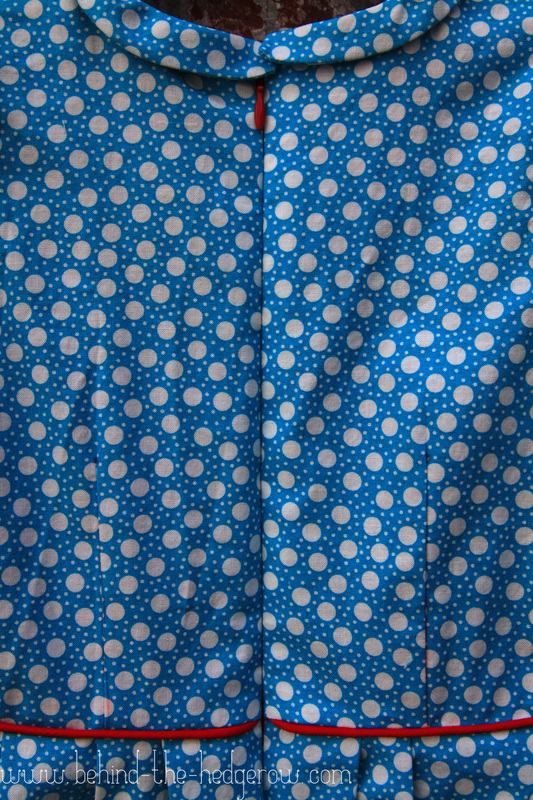
The zipper above (white dots on blue) is really well done. You can see it is a red zipper because of the zipper pull at the top, but you can't see a trace of the zipper in the seam. Go to the blog Behind the Hedgerow to see the original image and read the post that goes with it.
Picture
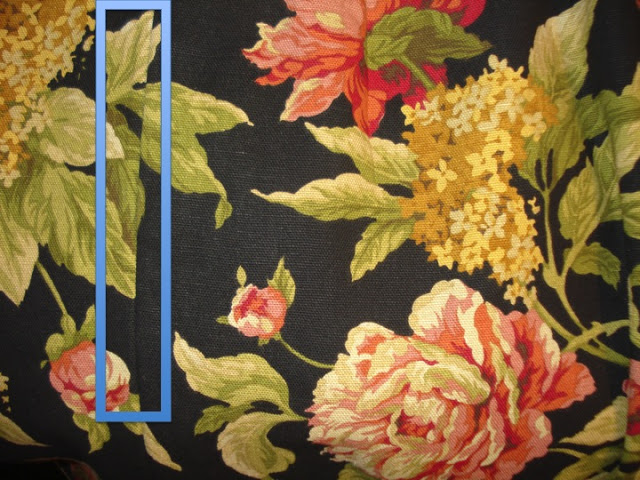
The flower print above is the best example I've ever seen using the print as camouflage! Look inside the blue rectangle!  That's the zipper.  I pulled this off of the blog Peggy's Closet.  I recommend a visit to that page.
Picture
NOW, if you don't do a good job putting in an invisible zipper, it will look like this! ... not so invisible.

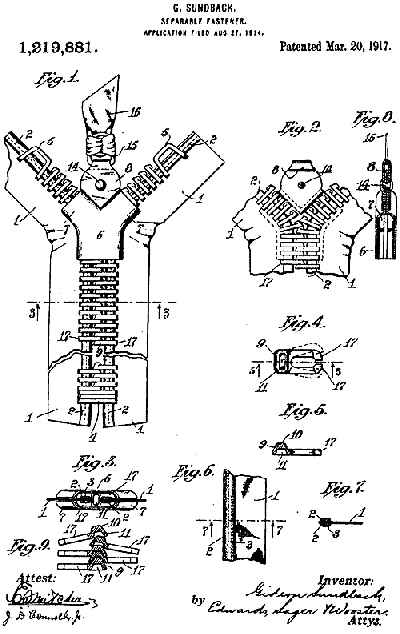
I tried to find out some history about the invisible zipper without any success really.  It was introduced to the home sewing market around 1968 and used by the sewing industry as early as the 40s (I think).  Please if anyone knows better leave comments!
Picture
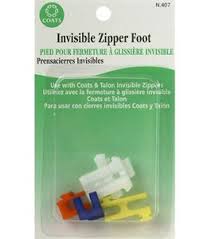
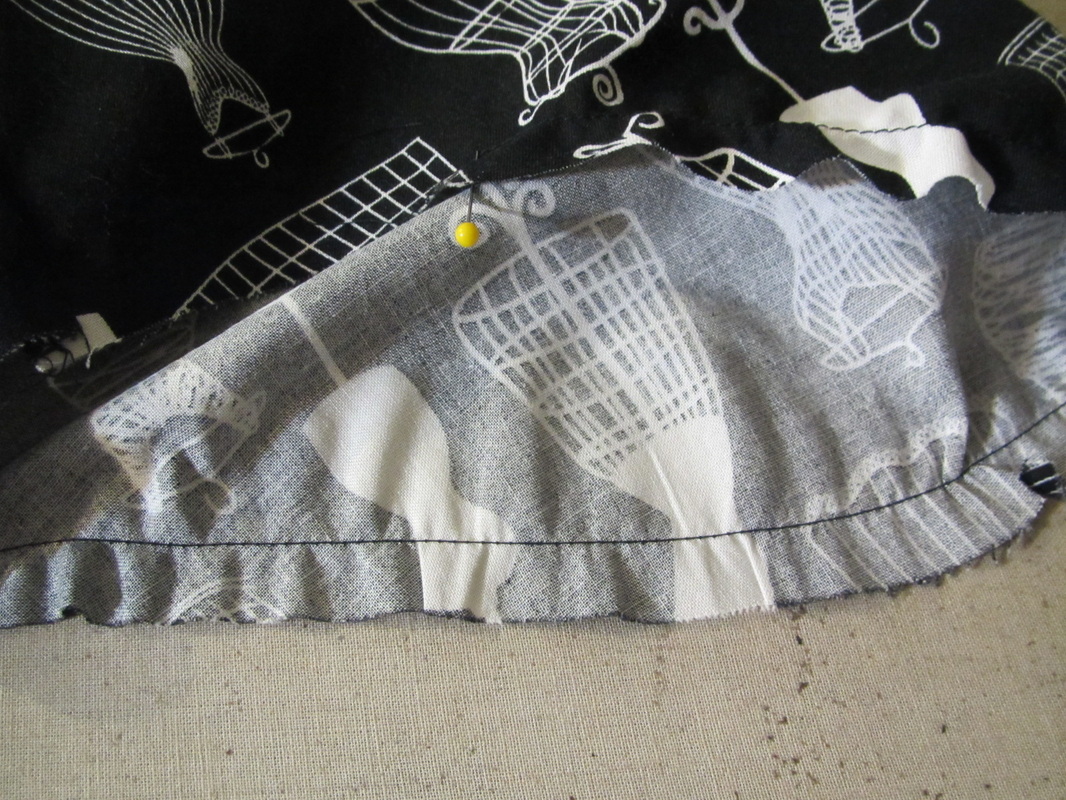
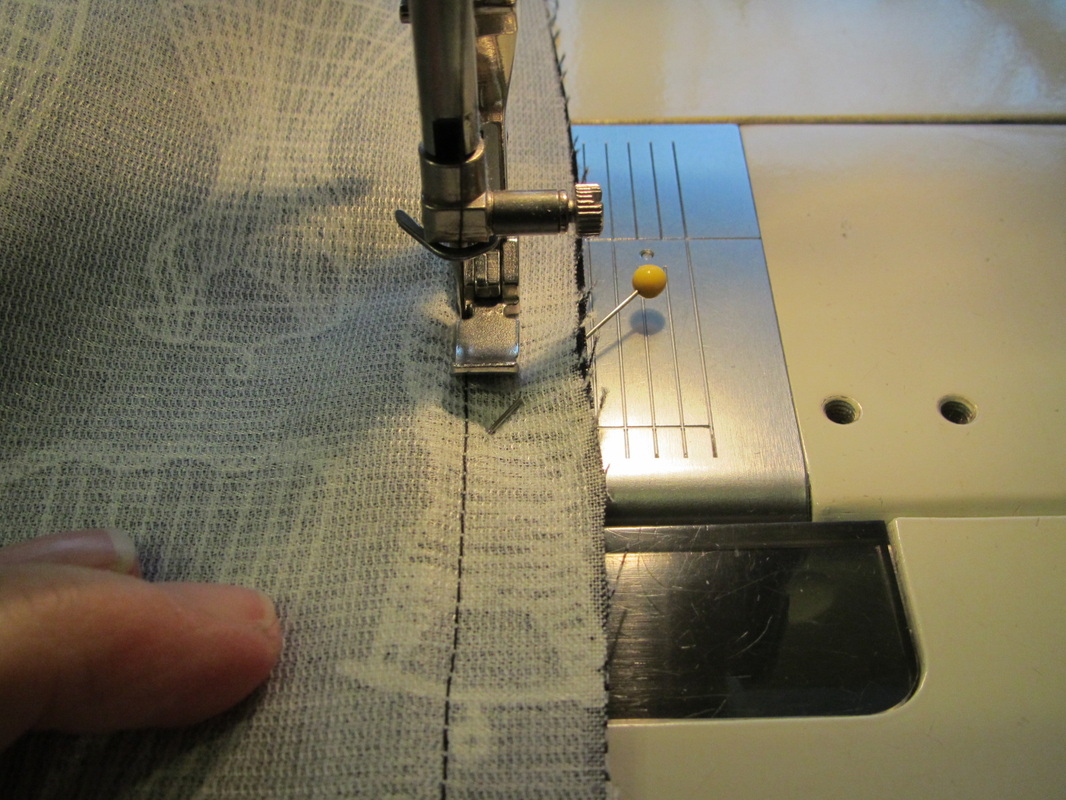
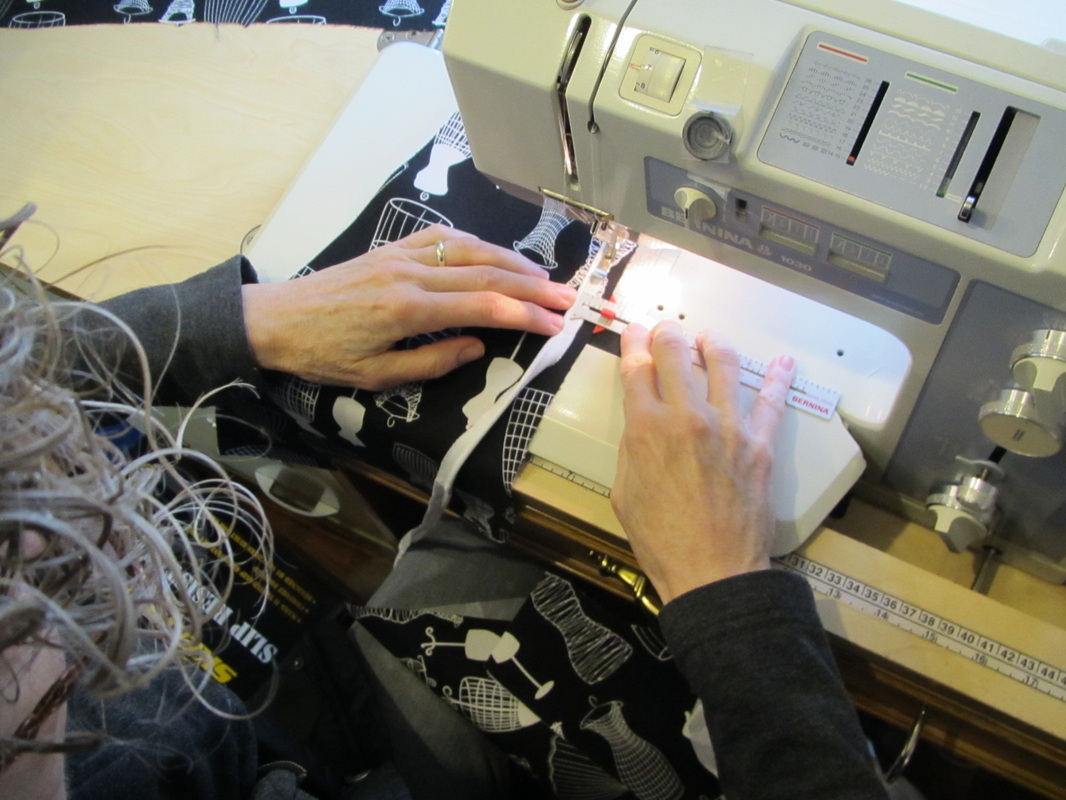
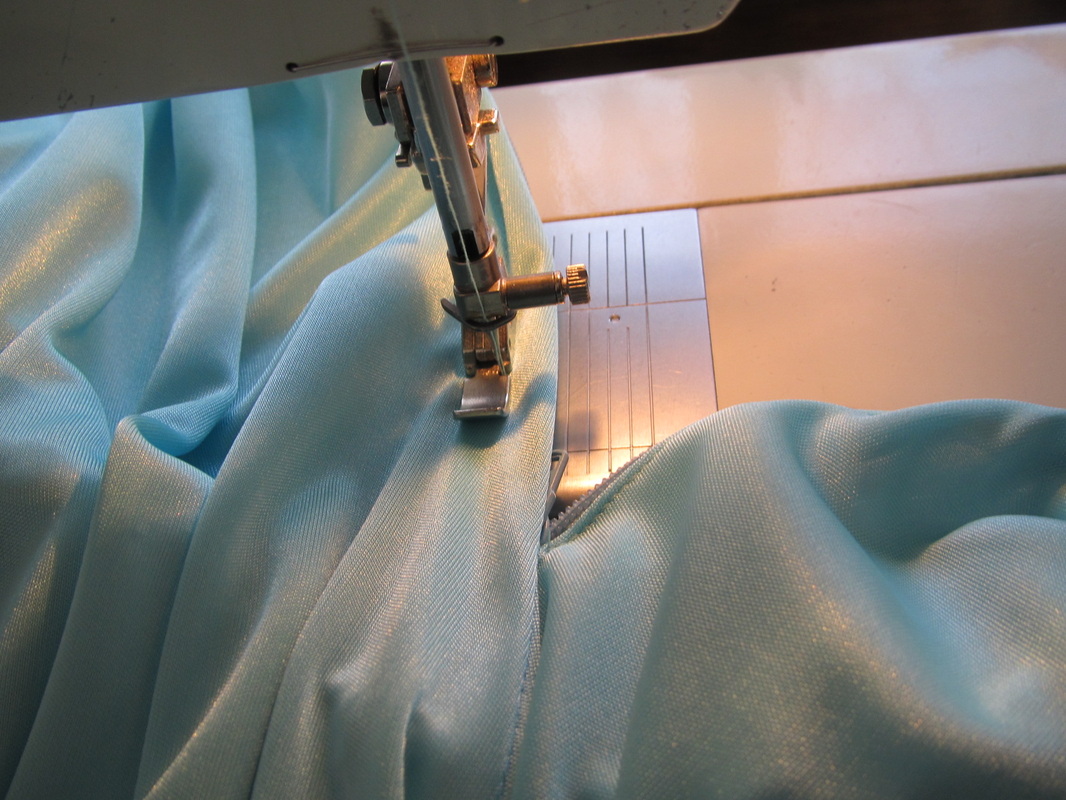
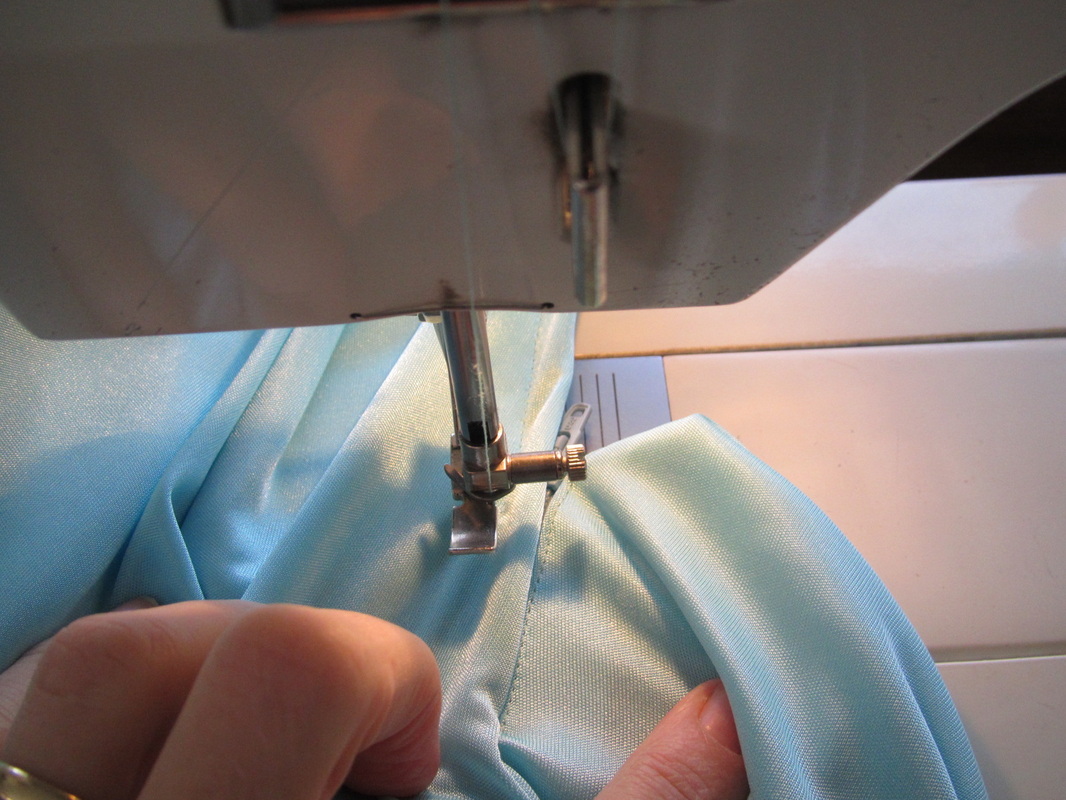
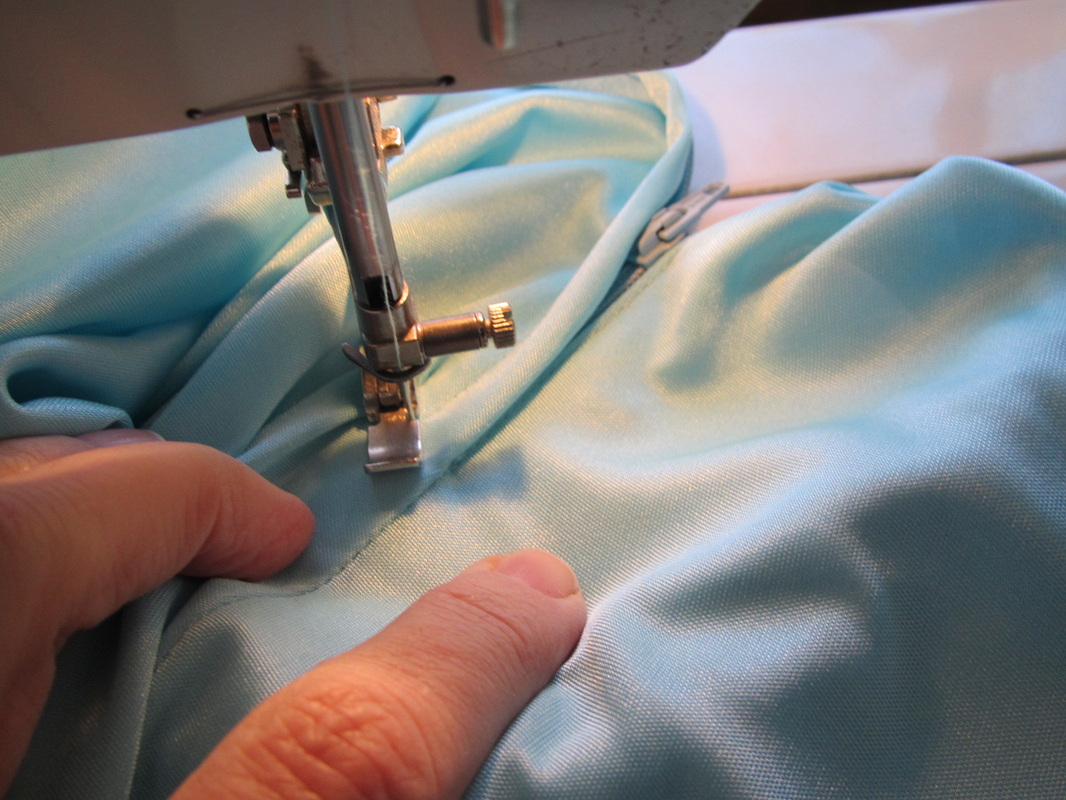
Setting in an invisible zipper is really easier than a conventional zipper as long as you have the right kind of foot for your sewing machine.  The universal plastic ones really do an OK job.  I've used them many times.

Picture
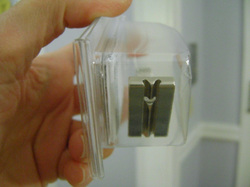
But, if you can get a sturdy metal invisible zipper foot that is designed specifically for your sewing machine ... that makes things even easier.

As
Carolyn in her blog Allspice Abound tells about.

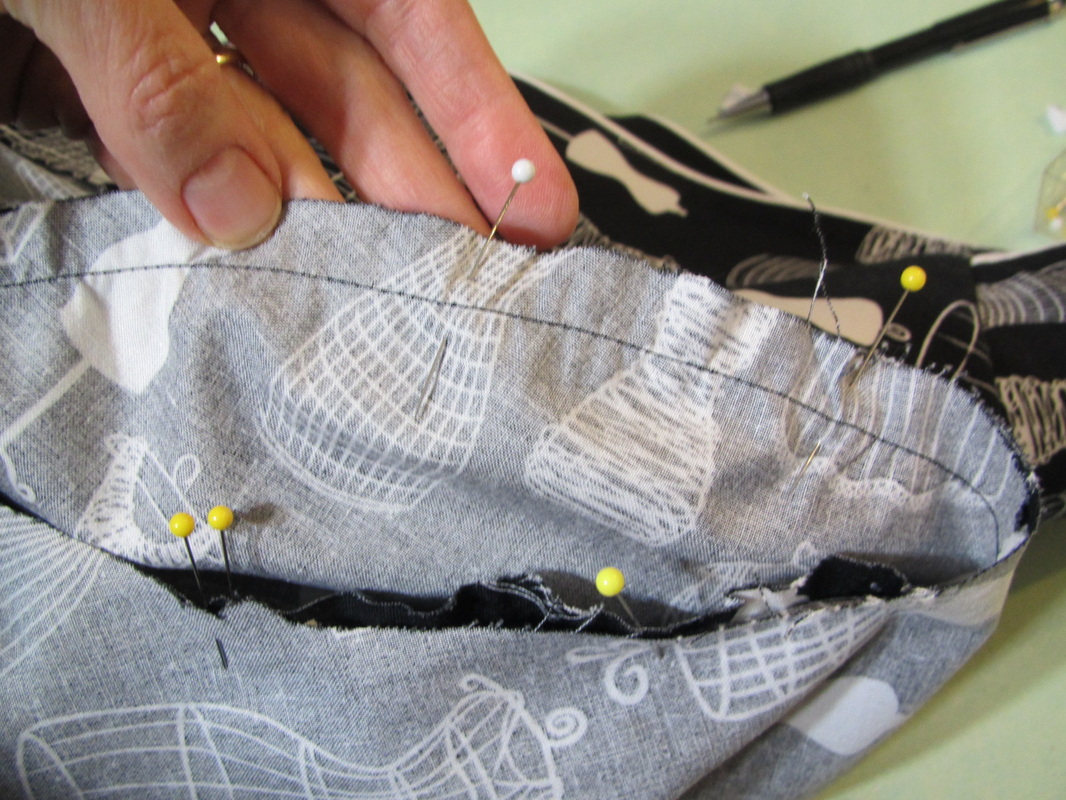
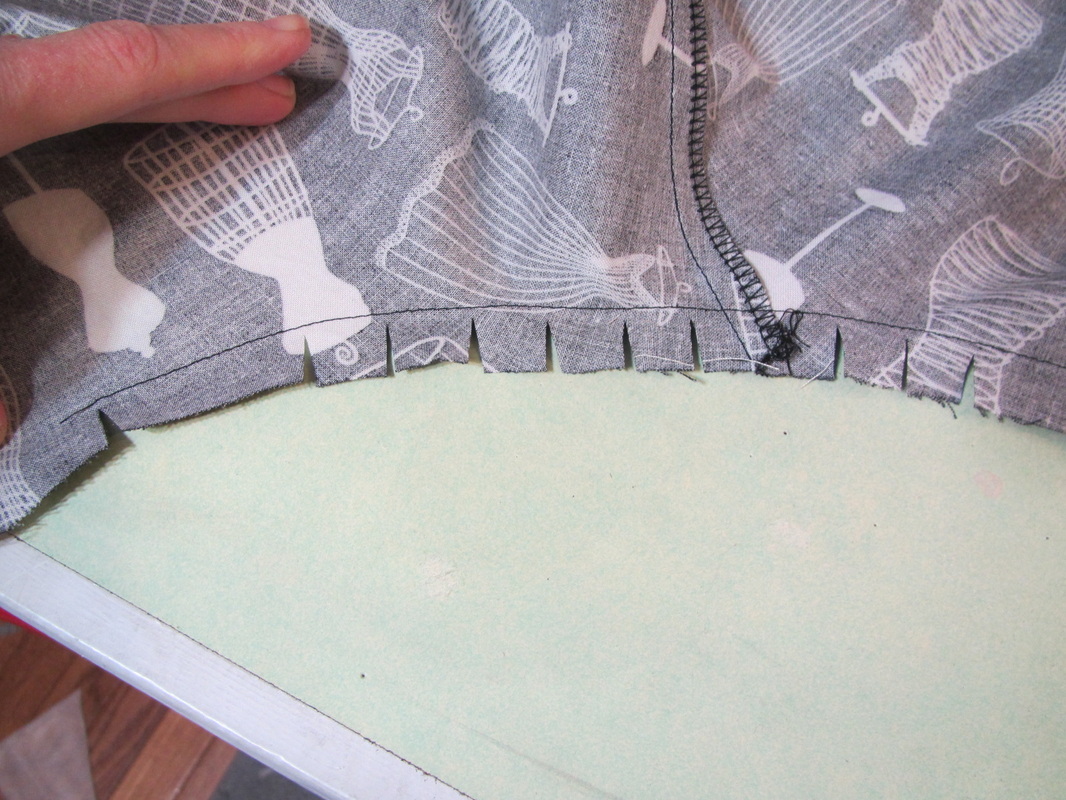
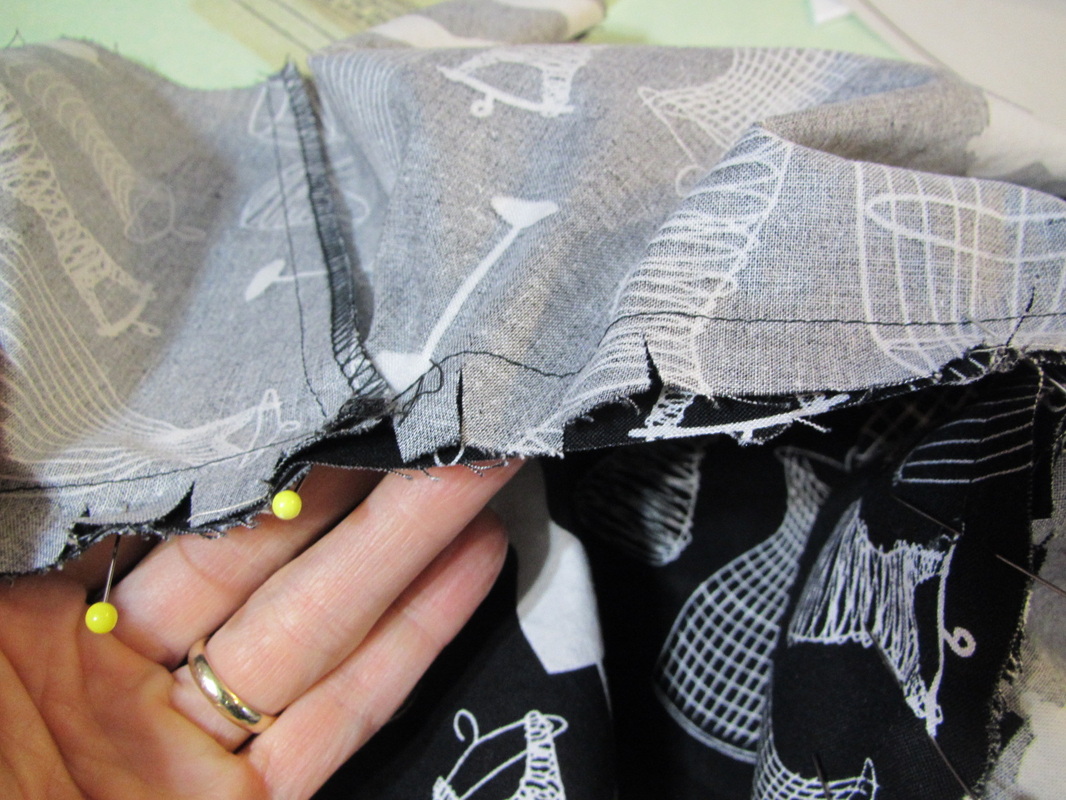
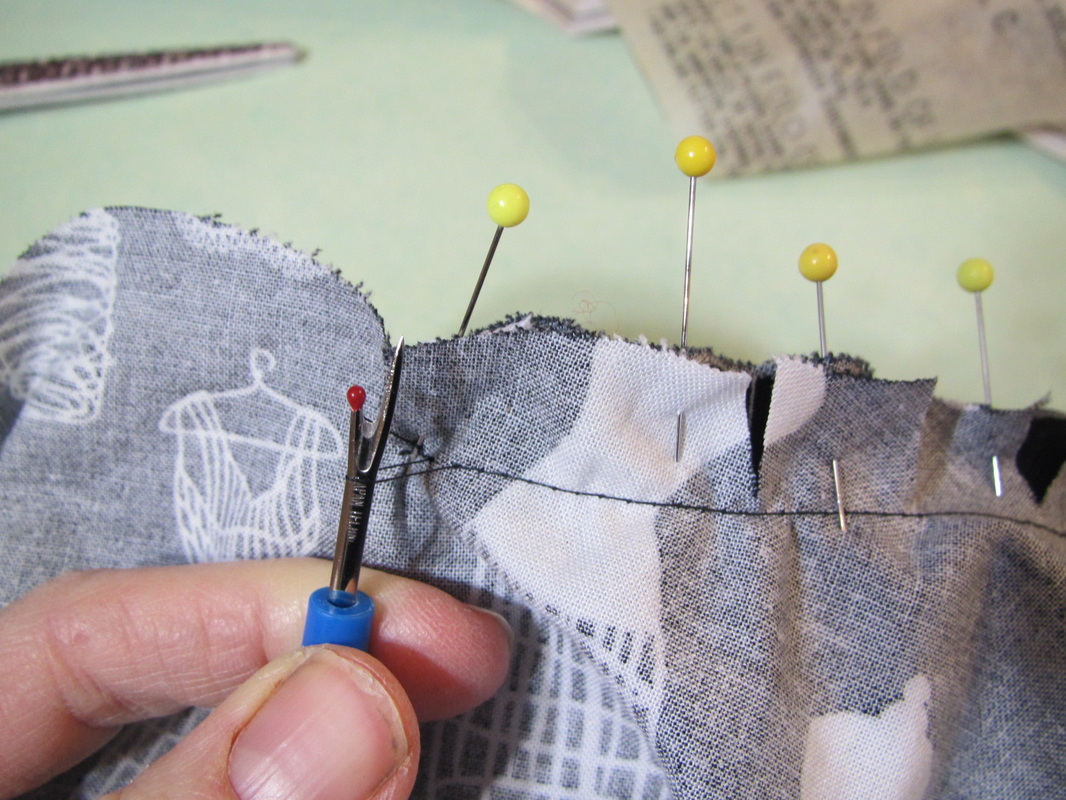
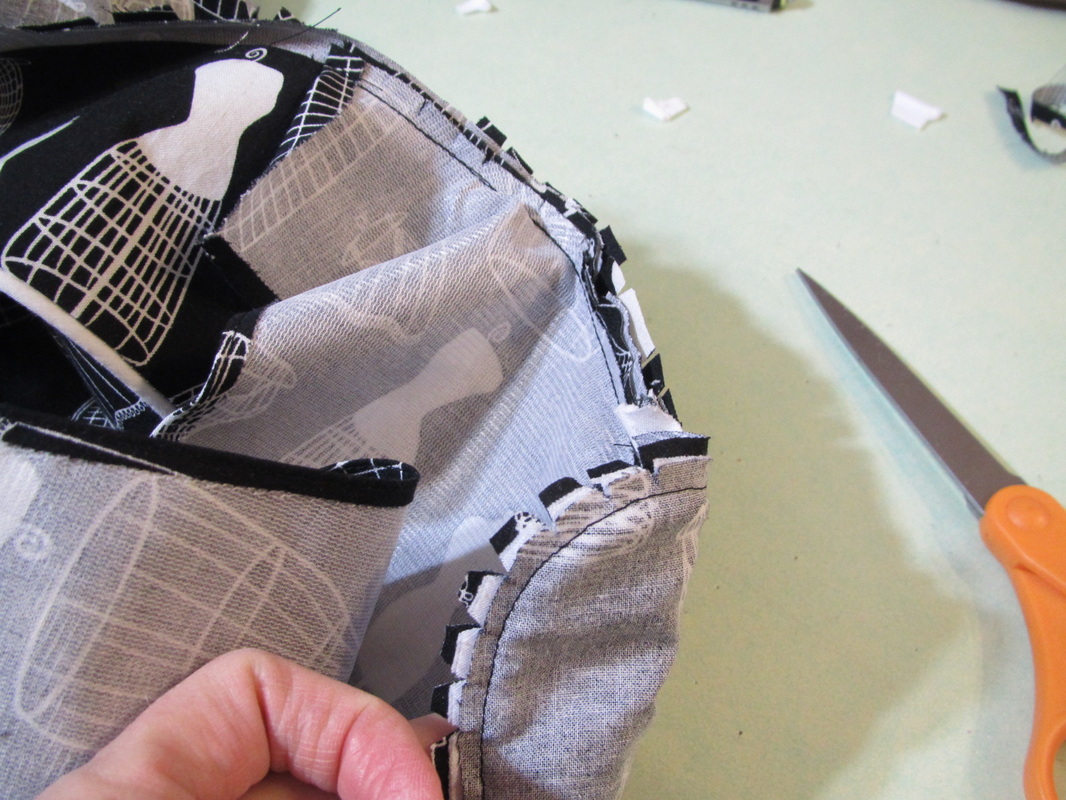
An invisible zipper should be installed before the seam it is to go is has been sewn at all.  Below is a good basic diagram showing how it's done.
Picture
But, this webpage has, by far, the best and most complete information I've found on line about the invisible zipper with a very good tutorial. Boyd - Walker project
Picture
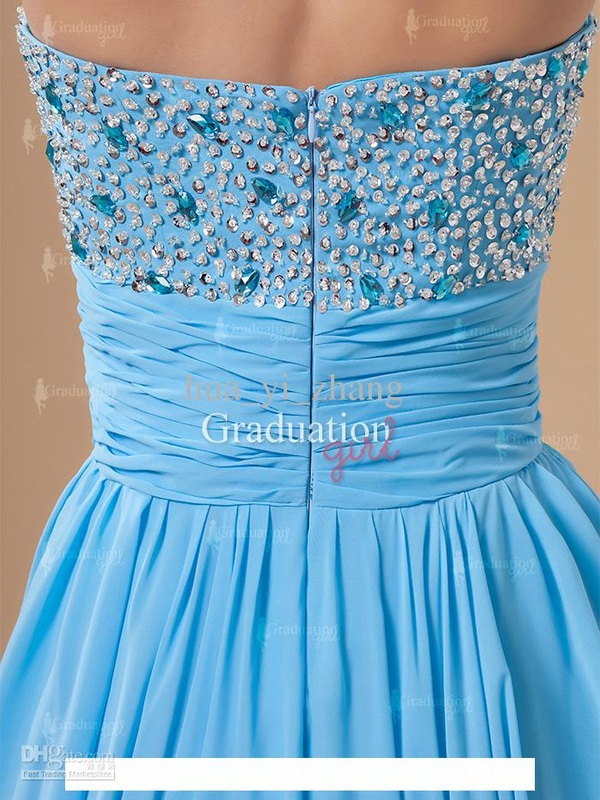
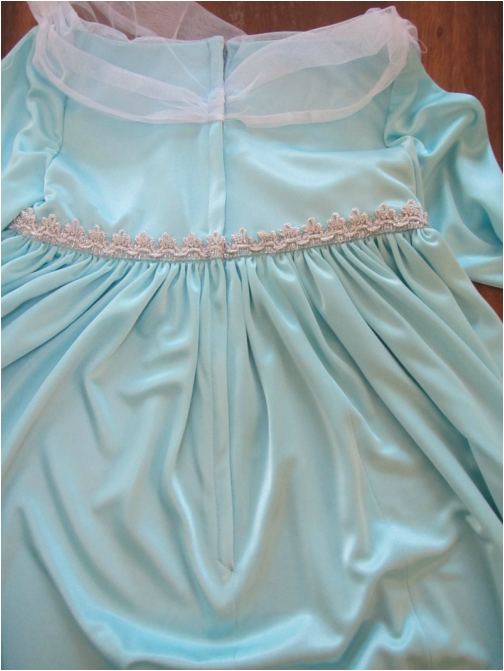
A great example of an invisible zipper in the back of a special occasion dress. So much nicer than all that top stitching, flaps and zipper teeth peeking out.
I, also, really like the Tutorial by Gertie on the Coats and Clarks website. It is easy to understand.
Picture
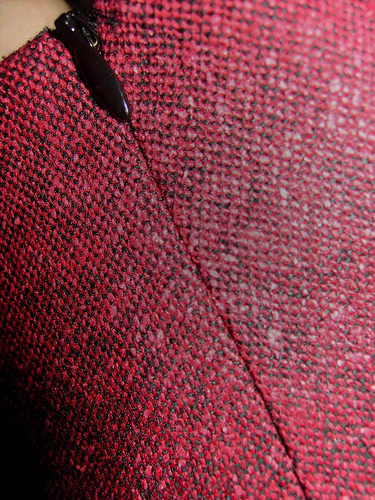
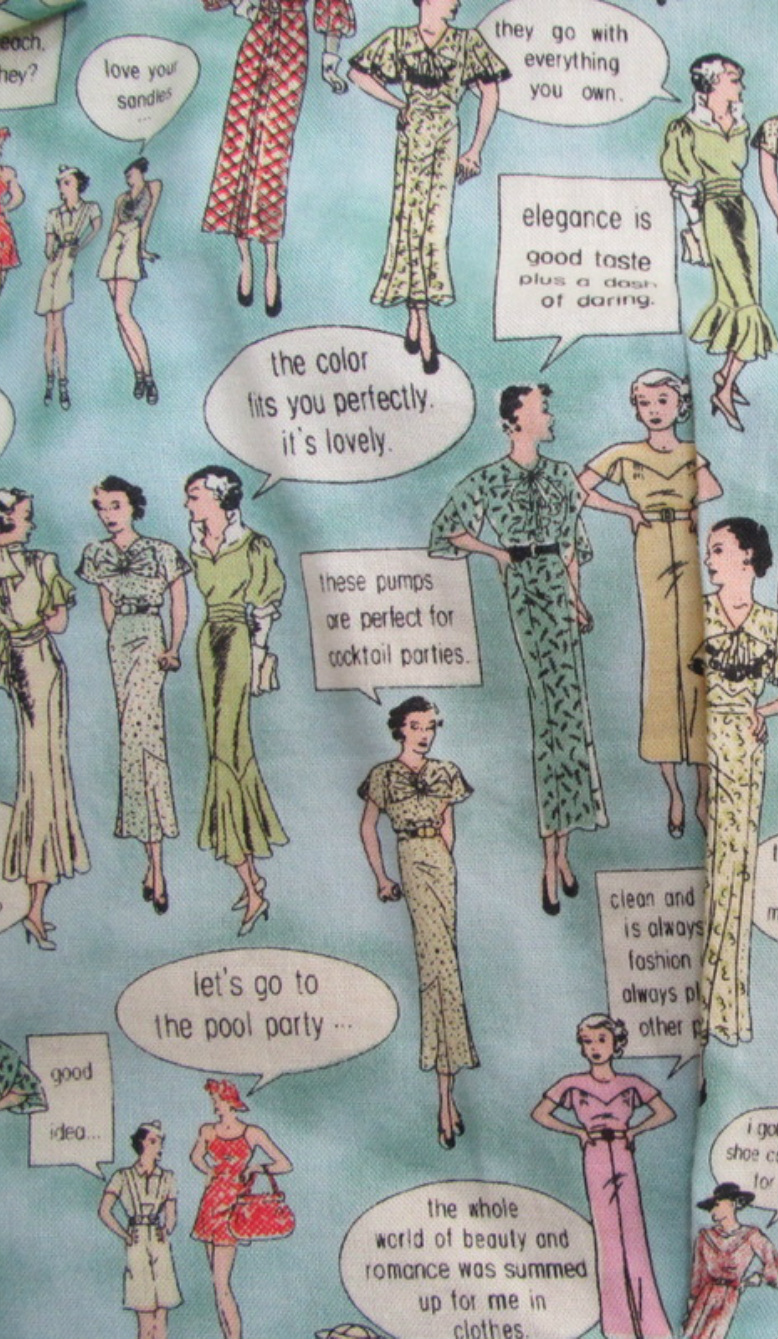
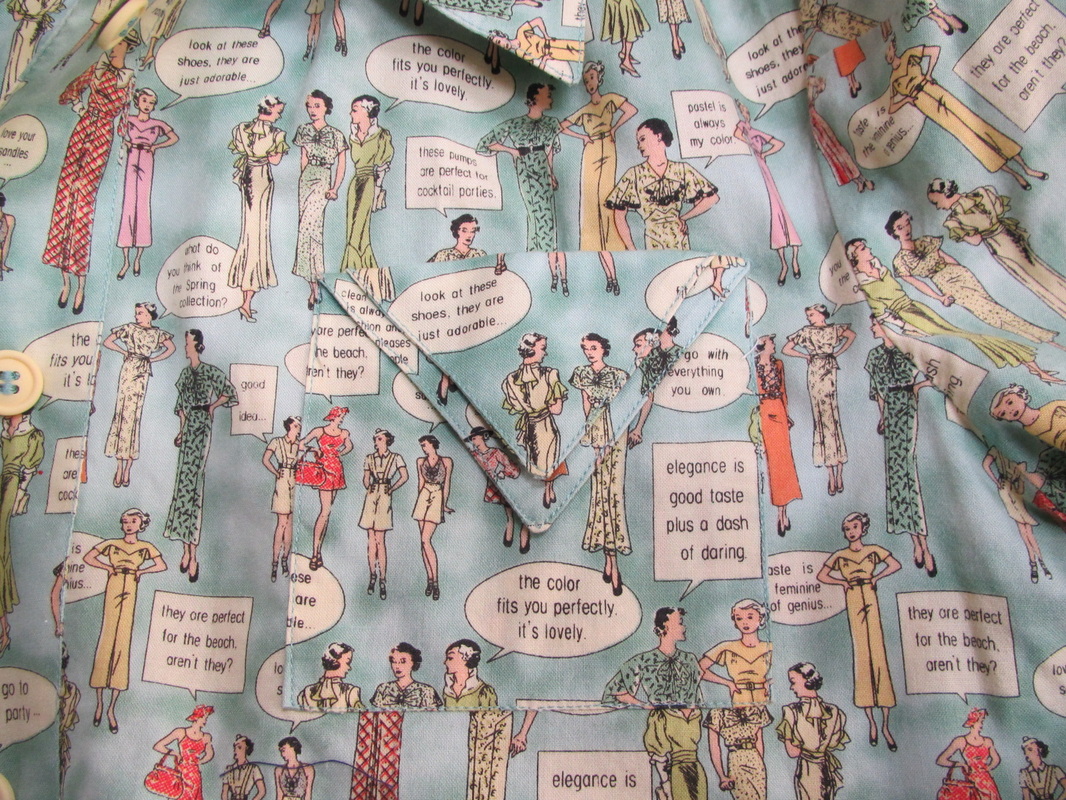
Another really well set in invisible zipper.
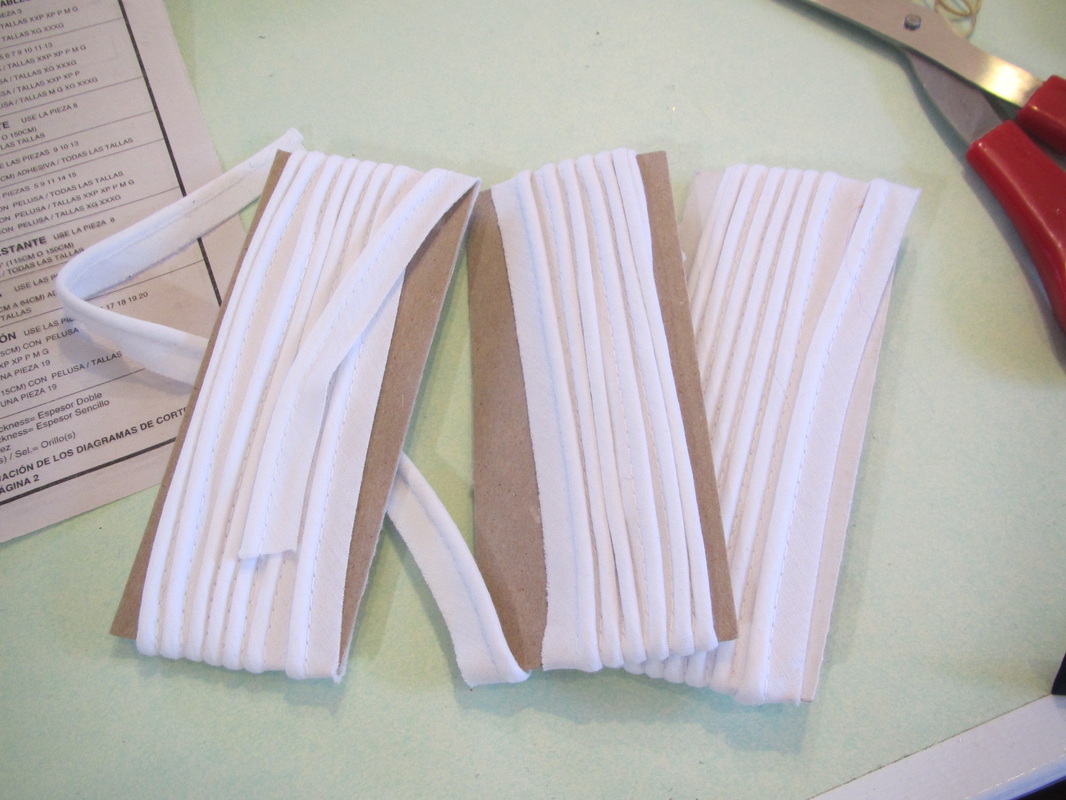
So, my last bit of advice on this subject.  Coats and Clark make a very good zipper and it is the one that is most readily available at all the major fabric stores. I use that brand all the time.

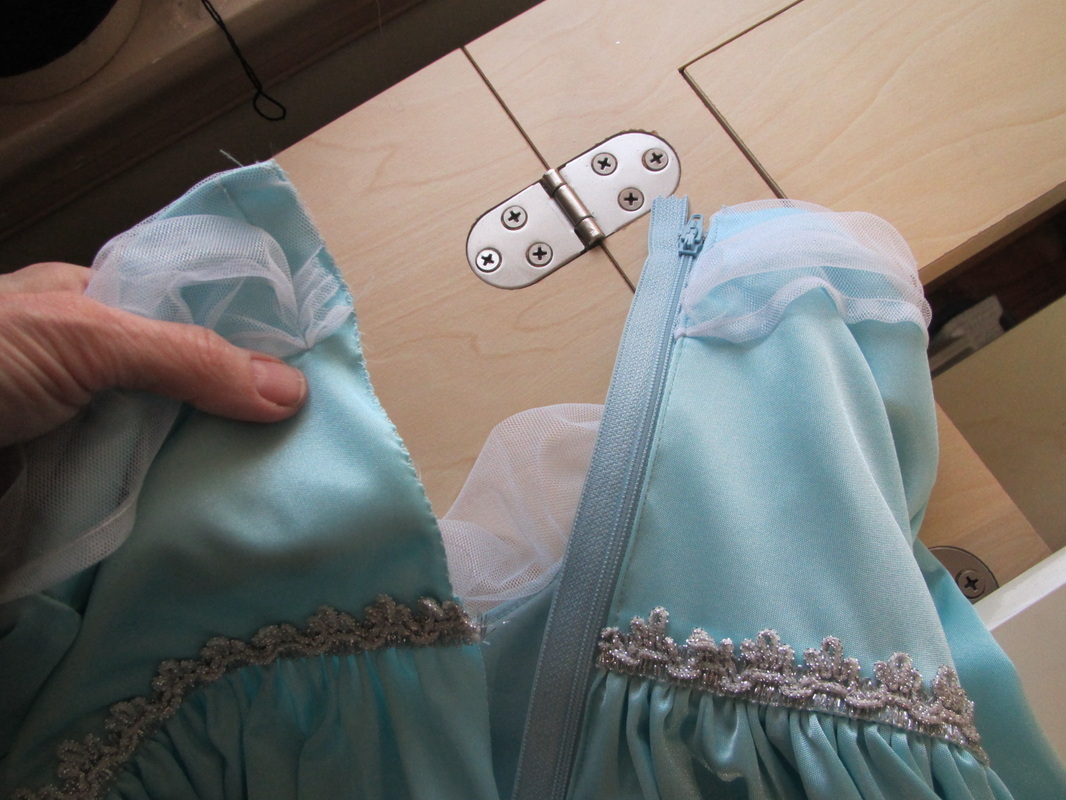
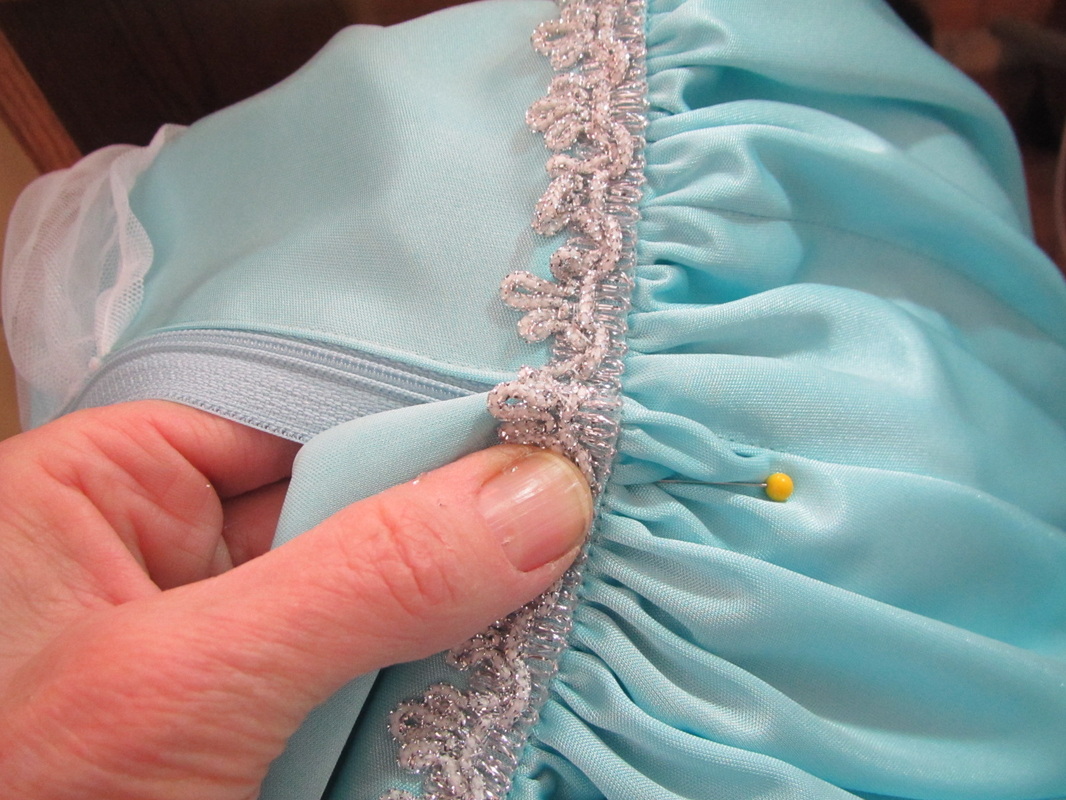
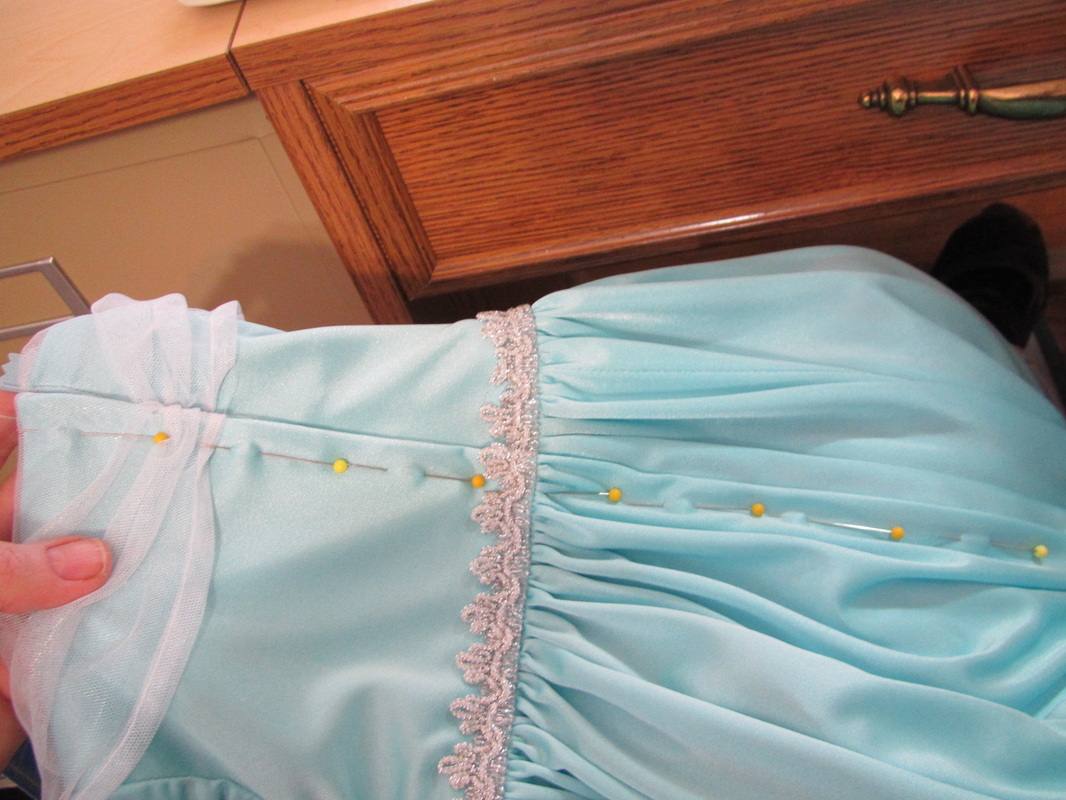
BUT, if you are putting a zipper into a dress where it will be under some stress, such as the blue evening dress above, get a YKK brand zipper. These can be purchased in load of different colors at WAWAK.

When I made my daughter-in-law's wedding dress a few years back, I asked my sister, Theresa LaQuey, for zipper advice.  Theresa does many, many brides every year and she recommended the YKK zipper for reliability in a close fitting garment.

So, if you've never used an invisible zipper ... give it a try.  I think you will like them.
2 Comments

Gift for Theresa - setting in the sleeves

1/30/2014

0 Comments

 
Yesterday I showed how I applied the cording around the lapels of the pajama's I made my sister Theresa.  Today I will show you how to set in a classic sleeve that has a very high cap.

Back in August I wrote a blog showing how the cut of sleeves has changed over the last 400 years. They didn't always have such high caps.
Picture
Your average modern sleeve cap has gotten very high.  This makes the sleeve lie smoothly over the shoulder, when the arm is straight down against the body, but it also means there is a lot of extra fabric that needs to be eased into the armhole when setting in a sleeve like this.

When my mother taught me to sew, she ALWAYS simply reduced the height of the cap by folding out about 1/2" of it like this photo shows.
Picture
She said there was more ease than necessary and that factory sleeves didn't have as much ease as home sewing patterns did. Although, I'm not sure she really knew that.  She also told me that all the fabric companies were in "CAHOOTS!" with the pattern companies, because they always tell you to buy more fabric than you actually need.

I now know that the reason the fabric amounts are so generous is that the pattern companies would rather we are mad for buying too much fabric, not too little. And it's always good to have a tiny bit extra if you need to re-cut a facing for example.

But back to sleeves.  I have NOT taken any fullness out of these sleeves. I want to show you how to successfully fit the full sized sleeve into it's armhole.

I wish I had taken a few more photos. But at this point everything is ready to set these sleeves in. The sleeves are prepared with the ease/gathering stitching around the cap.  And the side and shoulder seams of the pajama top are all sewn and finished.
Picture
As I pin the first sleeve into the armhole, you can see that there is a LOT of seemingly excess fabric.
Picture
I pull up the thread on one side until the fabric has gathered/eased in to fit the armhole. I'm sure anyone who has sewn at all knows to do this.
Picture
But, this next part some of you may not know to do.

The sleeve now needs to be UN-PINNED from the armhole.  Make sure the easing thread stays at the exact same tightness. See how the pulled up thread is wrapped around those pins at either end?
Picture
Take the sleeve to your ironing board and steam, pat and gently press out as much of the gathering and puckering as possible.
Picture
Then pin the sleeve back into the armhole and sew it in place, finish the seam and you are good to go, as the saying goes.

This is the way I sew a sleeve on a garment I when I want it to turn out really good. Although I still do fold out a little fullness in the pattern at times depending on the fabric I am using.  I do this if the fabric is thick or stiff and I don't think it will gather in smoothly.
Picture
So, as I said in an earlier post, I decided to make the bottoms striped because I thought it looked more "fun".  But I put a little cord and a band of the fabric for the top a the hem to tie it all in.
Picture
When Theresa received these, she told me they reminded her of the jammies our mother used to make!!


The best compliment.
0 Comments

Gift for Theresa - applying cording/piping

1/29/2014

2 Comments

 
Picture
Today I said I would show you how I applied the cording around the lapels of the pajamas I'm making for my sister Theresa.

Read yesterday's blog to see how I got started.

Since these are pajamas, it's not tailoring.  But, some interfacing is needed for any kind of lapel so they lay well.  I've decided to use fusible tricot interfacing.  I'm feeling much braver about fusible interfacing ever since I found out about the "cool down" period when writing some blogs about interfacing.  Click these numbers to read my two blogs (#1 & #2) on fusible interfacing.
Picture
Picture
The collar needs to be made first.  And the first thing to do, after pressing on the interfacing is to apply the cording to the side of the collar with the interfacing.
Picture
The seam allowance for the collar is 5/8" but the seam allowance of the cording is 1/4", so to make sure I am getting the stitching line of the cording in exactly the right place, I sew with a seam gauge in one hand.
Picture
To lie flat around the curves the cording needs to be clipped.
Picture
Picture
Now, there are two schools of thought about sewing on the apposing side of a corded seam.  I would say most people do it with the piece that has the cording sewn to it on the top, so you can see the stitching line for the cording and there-by stitch just inside that stitching line so the first line of stitches won't show from the outside.  BUT, I've been told that you can actually get closer to the cord, if you have the fabric without the cord on top and just FEEL for the cord.

I recommend trying both ways to see what works best for you.
Picture
Everyone knows I'm a big advocate for grading seams, so I grade and clip the collar seam ...
Picture
turn and press.
Picture
Next, I apply cording to the lapel facing, the piece that has the interfacing. See how I am sewing with the seam gauge in my one hand.
Picture
After the shoulder seams are joined, I stay stitch the neck line, to stabilize it and so I can clip into the tight curve of the neckline so it can open up to accept the straight collar.
Picture
BUT, the neckline has stretched and isn't fitting the collar ... grrrrr.

Maybe I should have done what is recommend on the guide sheet, which is to stay stitch the collar edges before doing anything else.  Hmmmm
Picture
Well, stay stitching can be pulled up like gathering stitching to ease in the bias areas to make it fit again.  Yay!
Picture
So, I apply the collar, then the lapel facing over it, grade and clip the seam and press.
Picture
I'm happy with these lapels.  Since it is for Theresa, I need to sew it well.  She knows the difference.


Tomorrow, setting in sleeves.
2 Comments

A gift for Theresa

1/28/2014

0 Comments

 
So, I showed you some nice blouses Theresa made for me yesterday.  Now it's my turn to make something for her!
Picture
I wrote a blog just before Christmas about making gifts with themed fabrics.  Well, this was one of those cases. I saw this fabric and knew I had to make something for Theresa.  But ... WHAT??
Picture
Theresa has a very specific style for all her clothing that I just don't think I would get right.  So, in the past I've made her things like aprons.  This time, I thought I would make her some pajamas.  Our mother always made us nighties every Christmas when we were little. I looked for a pattern with a 1930s feel and this pattern (Simplicity 1762) looked like it would do nicely. I just noticed it is out of print, but can still be purchased at the Simplicity website.
Picture
To make them a little more interesting, I found a black and white stripe for the bottoms. 
Picture
The pattern calls for cording, either purchased or there are instructions for making it yourself, but I've had these 3 cards of white cording in one of my boxes for several years just crying to be sewn into something.  Solid white cording will outline the lapels and look striking on the pajama top. 

I know many people call this piping (the packaging it come in says "piping", but I was told years ago, by a very experienced New York garment district sample hand that piping is a bias fold sew into a seam WITHOUT any cord inside, so it is like a pipe.  When there is cord inside, it's call cording. 


I know ... it's a loosing battle.
Picture
And because I ALWAYS follow my own advice ... I wash and machine dry the fabrics, including the cording.  This was a good thing, too, because it shrunk quite a lot. A 91" piece of that cording shrunk to 89".  Thats about 2%.  If it wasn't pre-shrunk, the first time the pajamas were washed the lapels would cup up like a piece of bologna being fried.

At this point, I had to bag up this project and send Theresa a sketch with swatches because of the extra Simplicity work I was given in December. I have now finished and sent the finished product to her, so this will not be a spoiler.

Over the next two days I am going to show you how I applied the cording to the lapels and what I do to ease in a lot of extra fabric when setting in a sleeve.


So, until tomorrow ...
0 Comments

Fun blouses from Theresa LaQuey

1/27/2014

2 Comments

 
Picture
I am lucky to have friends and family members who make me gifts!  And you know, that I like to give gifts that I have made.

I want to share with you three blouses my sister Theresa has made for me.  The nice thing about getting something from Theresa ... well there are several nice things, one being how well she makes things.  But what I was going to say, is her stuff doesn't go out of style, since everything she does is deco style ... timeless. I will wear these blouses for years.

The blouse above, I got for my birthday a few years ago the week my son got married. That was a very special week. One I won't forget.
Picture
This is my dress form blouse.  I love to wear this when I give talks to sewing groups.

But my favorite one is the next one.
Picture
The thing about this one is, when I wear it I have to be prepared for people standing very close and reading me.

This is the funniest fabric. Take a closer look.
Picture
Picture
Also, all three blouses have a cool double flap breast pocket which is kind of Theresa's signature.
Picture
As I said ... these are fun blouses.
2 Comments

How I set in a zipper

1/24/2014

1 Comment

 
Picture
Since I talked about zippers yesterday, I thought I would show you how I set in a zipper. I developed this method years ago on my own and have never seen anyone do it this way.  But, as I'm writing this I am going to do a little research on line to see if there is another person or two doing it the same way.  REALLY ... the world is pretty huge and there are lots of people who sew ... so ... 

WELL, OK, after some searching around, I think I might be the only one doing it exactly this way. hmm

And, this will be a spotty tutorial, since I didn't think I was the only one! HA.  Let me know if you want a more detailed one and I will do that.

The big difference in the way I set in a zipper is the seam stays open the entire time.  I never baste it closed and every other tutorial I saw on line bastes the seam up.  That is how I was taught to do it and I found it very confusing as a kid.

My way works best for a lapped zipper.
Picture
Basically, I hate to put a centered zipper in. 


I find no matter how much I tape or baste or whatever, it is so hard to get the left and right lap sewn the exact same size.


But, if you want or need to do it that way.  Try this tutorial out at Sew Mama Sew.

So, here is a brief description of my zipper technique.

First (see first photo), finger press or press with an iron the seam allowance on the right side of the seam back 5/8".  Pin the zipper exactly next to the pressed fold and edge stitch in place.

Next, press the seam allowance on the left side back.  Here I often press 3/4" instead of the usual 5/8" to make sure the fold is large enough.

Then I start to pin the left side in place starting with any seams, trims or collars that need to be matched up.
Picture
I pin it so the fold of the left side JUST covers the stitching line of the right side.

Here is the left side all ready to be sewn.
Picture
Now, I found a tutorial that was the same up to this point. This other tutorial asks you to stitch the zipper just like this, but I find it very hard to stitch an even lap this way.  I figured out, if the zipper is UNZIPPED then the little seam allowance lines on your sewing machine's throat plate can help you stitch a straight line!
Picture
When you reach the bottom there is a little trick.
Picture
Leave the needle down in the fabric, lift the presser foot and close the zipper a few inches.
Picture
Finish stitching the zipper and then stitch across the bottom. I usually stitch the bottom at an angle ... just think it looks more professional than straight across.
Picture
Here are the results.  
Picture
If you want to know almost everything there is about sewing zippers, check out this site sew4home.


Personally, I almost always use an invisible zipper for my own projects.  I will write about them next week.
1 Comment

In praise of the zipper

1/23/2014

1 Comment

 
Picture
The zipper ... what would we do without it??

Well, I know you historic clothing people could probably do without it.  But, really can you imagine having to either hook up, button up or lace up every garment you wearing.

That wouldn't leave any time for surfing the internet now would it??
Picture
This is what one of the first zippers looked like. Pretty clunky and not meant for the back of a dress, for sure.

From Thomas Net website.

The first semblance of a zipper model traces back to Elias Howe, the founder of the sewing machine. In 1851, he created a patent for a device named An Automatic Continuous Clothing Closure, which had a similar function to the modern zipper, although the composition was significantly different. The product operated as individual clasps that were joined manually, and pulled shut by using a string, creating a “gathered” effect. Ultimately, Howe did not continue developing his model, and several years went by before another patent was created. 

Picture
More than 40 years later, inventor Whitcomb L. Judson began devising the patent “Clasp Locker or Unlocker for Shoes.” (See drawing above) The design was essentially a guide (now known as a fastener or slider) that was used to close the space between a shoe’s clasps on one side to the attachments on the other. The guide could be removed after use, and had the double function of pushing the bulky clasps down and subsequently pulling them together to close. The guide was difficult to produce due to its very specific functions, and was also seen as time consuming. 

Whitcomb’s second patent in 1893 was a transition from the former bulky clasps to hooks and eyes. This device, later called “C-curity” was a series of loops (short metal extensions) that were manually laced into the boot or shoe. The improvement was significant because the device functioned as a unit instead of as individual clasps. Eventually, it proved to be ineffective because it had a tendency to spring open.

The design used today, based on interlocking teeth, was invented by an employee of Whitcomb Judson's, Swedish born scientist Gideon Sundback. In 1913 and patented as the "Hookless Fastener" and after more improvements patented in 1917 as the "Separable Fastener". Only after Gideon Sundbach, had remodeled Judson's fastener into a more streamlined and reliable form, was the fastener a success.
Picture
And I'm so happy he was Swedish, since I am in the process of finding my Swedish roots.

Here is some basic knowledge about him from the Idea Finder website.

Inventor - Gideon Sundback
Criteria - First to patent. Modern prototype. 
Birth - 1880
Death - June 21, 1954
Nationality - Swedish 
Invention - zipper in 1913
Function - noun / zip-per / Originally a trademark
Definition - A fastening device consisting of parallel rows of metal, plastic, or nylon teeth on adjacent edges of an opening that are interlocked by a sliding tab
Patent - 1,060,378 (US) issued April 29,1913

Milestones:
1851 Patent # 8,540 issued Nov. 25, automatic, continuous clothing closure, Elias Howe, 
1893 Patent # 504,037 issued Aug. 25, shoe fastener, hook-and-eye, Whitcomb L. Judson, 
1894 Universal Fastener Company formed
1904 Automatic Hook and Eye Company
1905 C-urity, Whitcomb L. Judson, 
1913 hookless fastener, Otto Frederick Gideon Sundback, 
1917 Patent # 1,219,881 (US) issued Mar. 20, 1917, Talon, separable fastener, Gideon Sundback,
1925 Zipper name, B. F. Goodrich Company,
1928 Hookless Fastener Comapny renamed Talon, Inc.
1934 zipper manufacturing, YKK group, 
zipper, clothing, fastening device, apparel, Sundback, Gideon Sundback, Elias Howe, Whitcomb L. Judson, B. F. Goodrich Company, history, invention, facts, inventor, biography.
Picture
So, when did Zippers start to be used in garments? I found this neat Talon ad on Amy Barickman's blog.  A nice blog ... check it out!

I would say sometime in the 30s. But, there is a wonderful scene in the TV series "House of Elliot", about fashion designing sisters in the early 20th Century, when a zipper is put into a dress for an elderly client during the 1920s so she can dress herself easily.

And, if you haven't seen this series, it really is a must.  Here is a link to it.  I think you can get it on Netflix.

I really loved watching it ... so did my sister Theresa LaQuey.
Picture
Here's something I never thought of, and I should have! But, the kind of zipper or lack of and it's placement can help you date a vintage garment.  Check out this article at Vintage Visage.
1 Comment

Off topic - Back to Bali

1/22/2014

0 Comments

 
Picture
Many of you know I took a fantastic vacation to Southeast Asia last summer.  It is so hard to imagine wearing such skimpy clothing just now, since it is currently 6 degrees fahrenheit (-14 celsius) outside my house!

I wrote several blogs about my adventures there.  You can find them all on my list of Travel blogs at the bottom of the page this link will take you to, many about textiles.

But, I was waiting to tell you all about this very special souvenir I JUST got a week ago.
Well ... actually two souvenirs.

In the photo above I am standing next to a slice of a Suar tree. 
Picture
This is a Suar tree.

Actually, I wish I could just have this tree.  Isn't it so pretty?

And go to this article to read about the wood.  I am told it is harder than Mahogany.

I was traveling with a good friend who had had two wooden doors carved and sent to her from Bali several years ago. I always thought how beautiful they are and just what a neat thing that was to do.

Since I was about ready to freshen up my living room and a new coffee table was in my plans, I had this great idea to buy one in Bali! So, the day before we left Bali our guide took us to a furniture workshop that make natural wood style furniture. The Balinese are known for their elaborate carvings, but I just wanted something simple. ha ha

Here is a view of the open air workshop with huge slabs of Suar wood lying about.  My husband and I looked all over the shop several times to find a small piece we liked.
Picture
Once we found it, we had to bargain, which I never like doing.  We, finally came to a price that everyone was happy with that included shipping.  But then, look at the photo on top again.  What should we do with the upper part of the board? The coffee table we were getting was going to be the size of the chalk marks.  Well, they said they could make a second, smaller table out of that for no extra money! What a deal.

Here I am, the happy customer with the artisan and my bill of sale.
Picture
It was supposed to take about four weeks to make and about four weeks to get here. HA!

I heard from my furniture maker about two months later.  He sent a photo of the tables.  They looked great but I realized I wanted the legs shortened on the smaller table, so that took a few weeks more.  

Mid-November (I had ordered the tables in mid-August) I got a message from a shipper in Bali that three boxes were being sent to me and I had to have some special government form filled out and submitted BEFORE my boxes left on the boat or I would be charged something like $10,000 ... not kidding.

This was the beginning of hiring shipping agents and dock brokers, and lots of official and complicated papers being delivered to my house and emailed back and forth, etc.,etc.  Basically, if you want to have just one thing shipped to the US that is too large for UPS or FedEx, they treat you like you are a giant corporation importing goods to fill a store. But, what's the alternative?? Not getting my tables?

But, now after all the extra fees and anxiety is over, I am so glad I did this.  Might never do it again, but glad I did it this time.  
Picture
Picture
I did have a few more anxieties that the boxes wouldn't fit into my little Prius. I didn't want to spend any more money on a rental van!  I knew the tables were being shipped IKEA style with their legs off.  So, I figured we (my son mostly) could open the boxes (crates really) and fit the table parts in my car that way.

But, you can see they did fit ... barely.
Picture
It's a good thing we didn't have to take apart the crates at the warehouse, because they were so hard to pull apart.  The wood was really soft and the nails were really strong and rusted. 
THANK YOU STRONG SON!!
Picture
Every piece was wrapped in corrugated cardboard, then this woven plastic stuff. And, each piece was slightly damp when I opened it. Bali is unbelievably hot and so, so humid.  All I can think is that moisture traveled all the way from there.

I had to wash each piece with wood oil soap and was unable to remove all the mold from a couple of the table legs.  I'm so grateful the bit of mold on the table tops came off completely.
Picture
Here is a close up of the coffee table top. Knot holes are a desired feature.
Picture
This is the bonus table that is perfect for my husband to keep his many, many book he is aways reading.
Picture
And this is the main event!  


From, Andrea ... the very happy customer.
0 Comments
<<Previous

    From Andrea 

    I am a commercial pattern maker who is now "sewing over 50"!
    I love to sew and hope to encourage others to come back to sewing.
    The water is fine!!

    Archives

    May 2019
    April 2019
    March 2019
    August 2017
    July 2017
    June 2017
    May 2017
    April 2017
    March 2017
    February 2017
    July 2016
    June 2016
    May 2016
    April 2016
    March 2016
    February 2016
    January 2016
    December 2015
    November 2015
    October 2015
    September 2015
    August 2015
    July 2015
    June 2015
    May 2015
    April 2015
    March 2015
    February 2015
    January 2015
    December 2014
    November 2014
    October 2014
    September 2014
    August 2014
    July 2014
    June 2014
    May 2014
    April 2014
    March 2014
    February 2014
    January 2014
    December 2013
    November 2013
    October 2013
    September 2013
    August 2013
    July 2013
    June 2013
    May 2013

    Archives by Subject

    To search for blog posts in specific categories, use the drop down menu above by hovering over the word "Blog"

    Enter your email address:

    Delivered by FeedBurner

    RSS Feed

    Andrea Schewe participates in Amazon's associates program.