Andrea Schewe Design
  • Home
  • Costumes
    • Reader's Gallery
    • Fantasy Costumes
    • Theatrical
    • Historic >
      • Easier to make
    • International
    • Costumes for Kid's and Babies
  • Crafts
    • Home Decor >
      • Pillows
    • Fashion Accessories
    • Doll Clothes
    • For Kids and Babies
  • Blog
    • Past Blogs by subject >
      • My patterns by number
      • Sewing basics
      • Personal sewing Projects
      • Fashion History
      • Fun and funny stuff
      • Guest Bloggers
      • Crafts and Home Dec
  • Links
  • Contact

Pattern Paper overview

4/26/2017

11 Comments

 
Picture
I am a member of PatternReview.com. If you don't know about it, you might want to check it out. Members write reviews of patterns and sewing machines. There are occasional fun competitions, it is a great place to buy all brands of patterns and, if you choose, a daily email is sent with updates of all these things along with a discussion board. I look at it everyday. And yesterday someone wrote with questions about where to buy Oak Tag for making patterns. There seemed to be a lot of confusion about what it really is. So I thought I would talk about a variety of paper used for making patterns and why.
Oak Tag is also called Tag Board or Manila.
It is similar to the paper used to make a manila folder, but a bit lighter in weight. It is not the same as poster board.
Picture
Picture
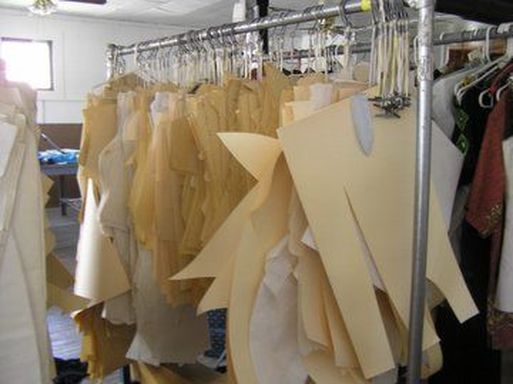
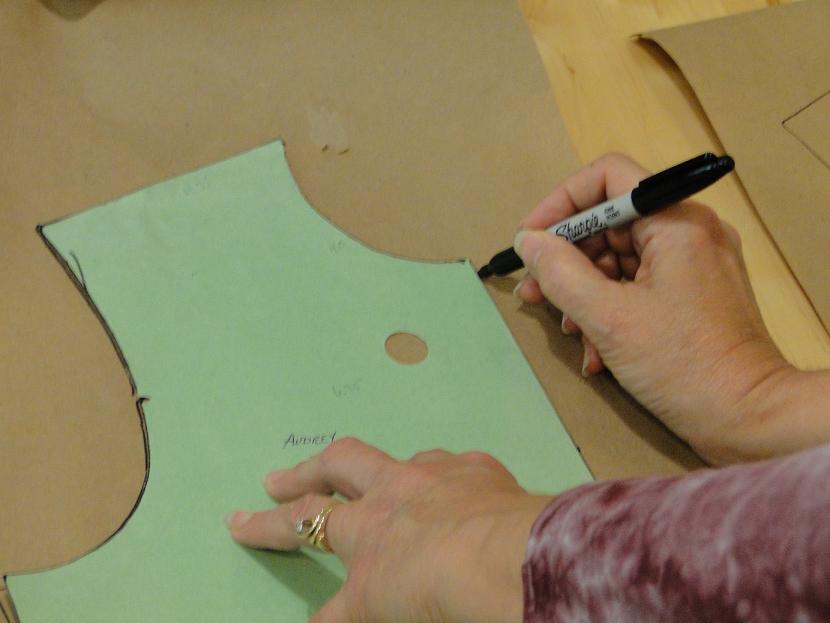
 In professional sample rooms it is used to make slopers or any other pattern that is going to used again and again. Since it is too thick to pin through, an Oak Tag pattern must be held down with weights and then traced around. When tracing onto fabric, you probably wouldn't use a Sharpie! A pencil or fabric marker are good choices, depending.
These patterns are almost always stored on a rack  ...
like the photo above ... by punching a large hole near one corner ...
and using one of these hangers.
Picture
Picture
Heavy Kraft paper is sometimes used in place of Oak Tag. This is what we used on the professional costume shops I worked in in New York.
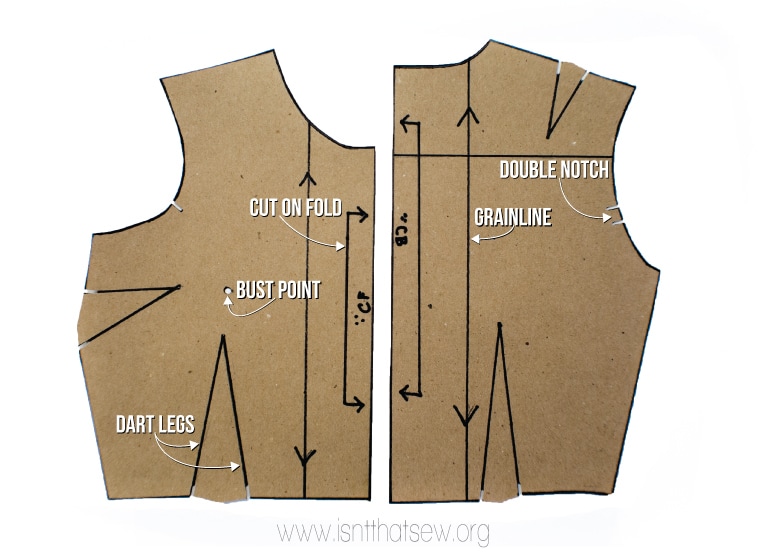
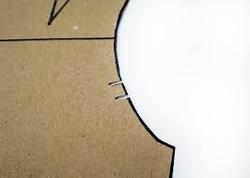
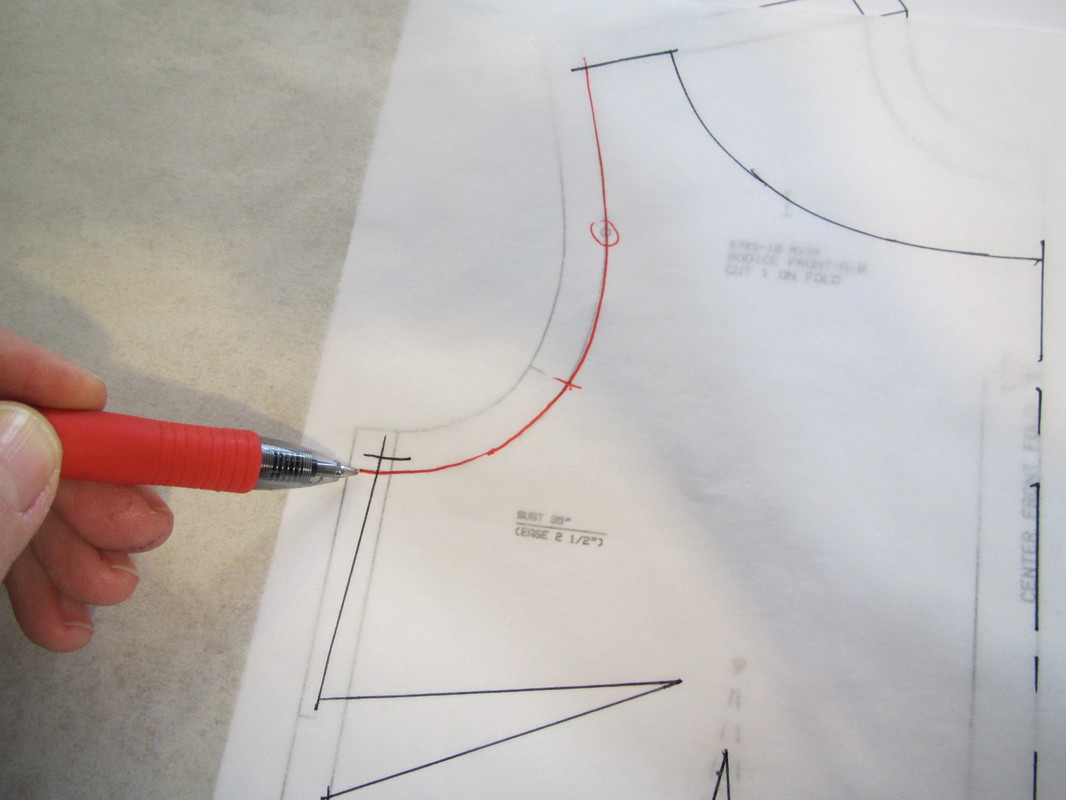
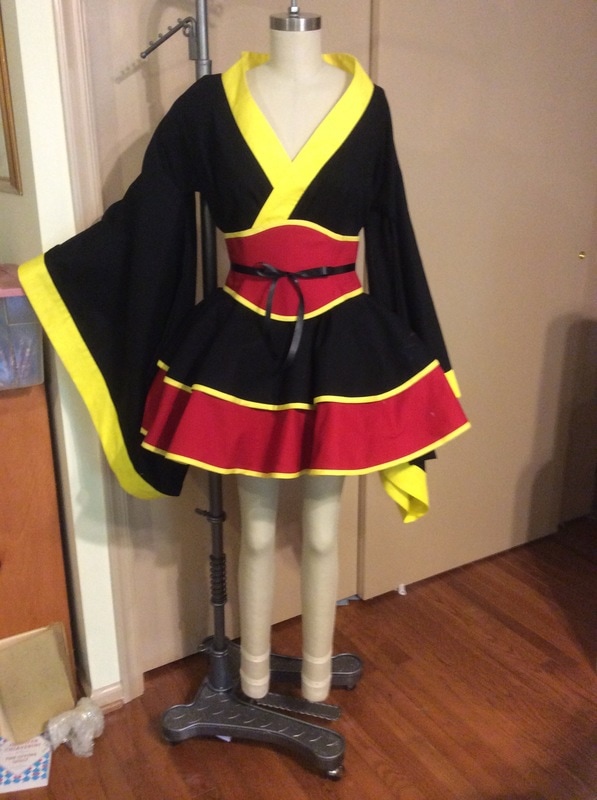
With either Oak Tag or Kraft paper a notcher is really needed. The pattern above is a good example of all the places notches are used. Note that that pattern above has no seam allowance. Couture and a lot of professional costumes are made using patterns like this. Tracing the pattern onto the fabric gives exact stitching lines. The seam allowances need to be added on after tracing and then the piece is cut out.

These are the tools needed for working with Oak Tag. You can just get a notcher. But, also a tracing wheel with sharp pins for making perforations is good to have as well an an awl and hole punch. 
Picture
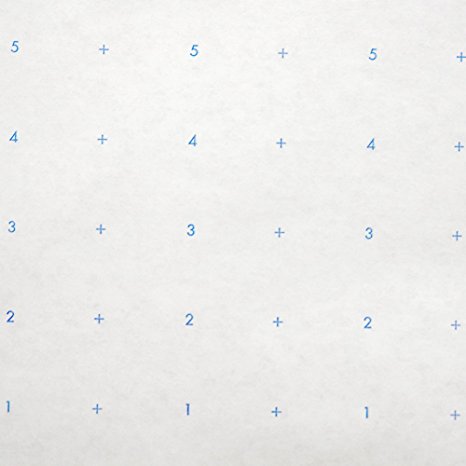
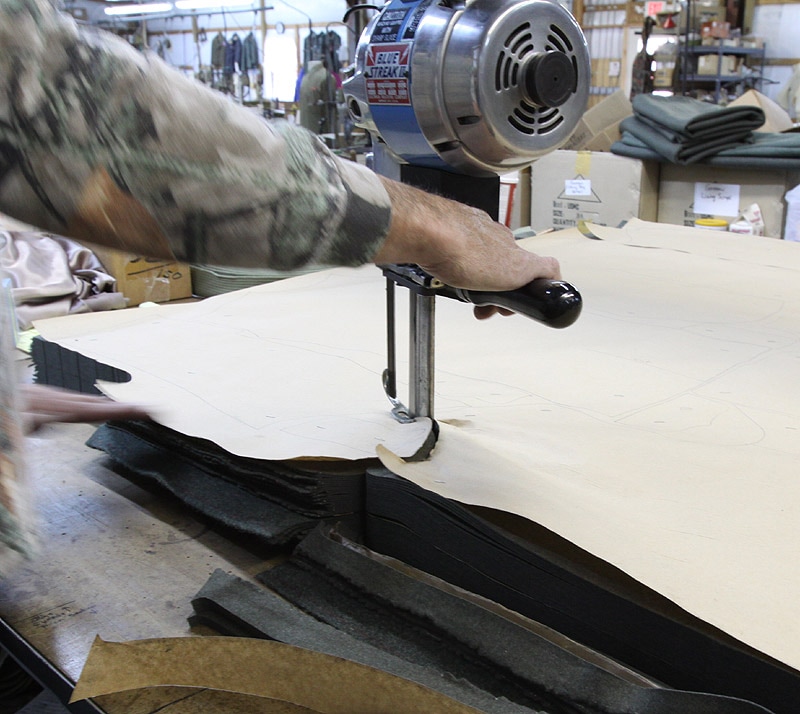
This is Dot Paper, which is used when working on a design. Many people like the one inch grid made by all these numbers and crosses. This paper is opaque but thin enough to see through, which can make pattern making faster, if you can lay one piece under another to see if seams fit, for example. If the design will only be made a few times this paper is perfect. It is is a design destine for mass production it will be transferred to Oak Tag for tracing onto paper that is laid on stacked fabric then cut with a saw. OR there are probably even newer better ways I don't even know about.
Picture
I use poster paper or lightweight drawing paper for almost all the drafting I do. It is similar in weight to Dot Paper, but cheaper and actually I don't like all those dots. You really don't need them if you have a good L-Square ruler.
Picture
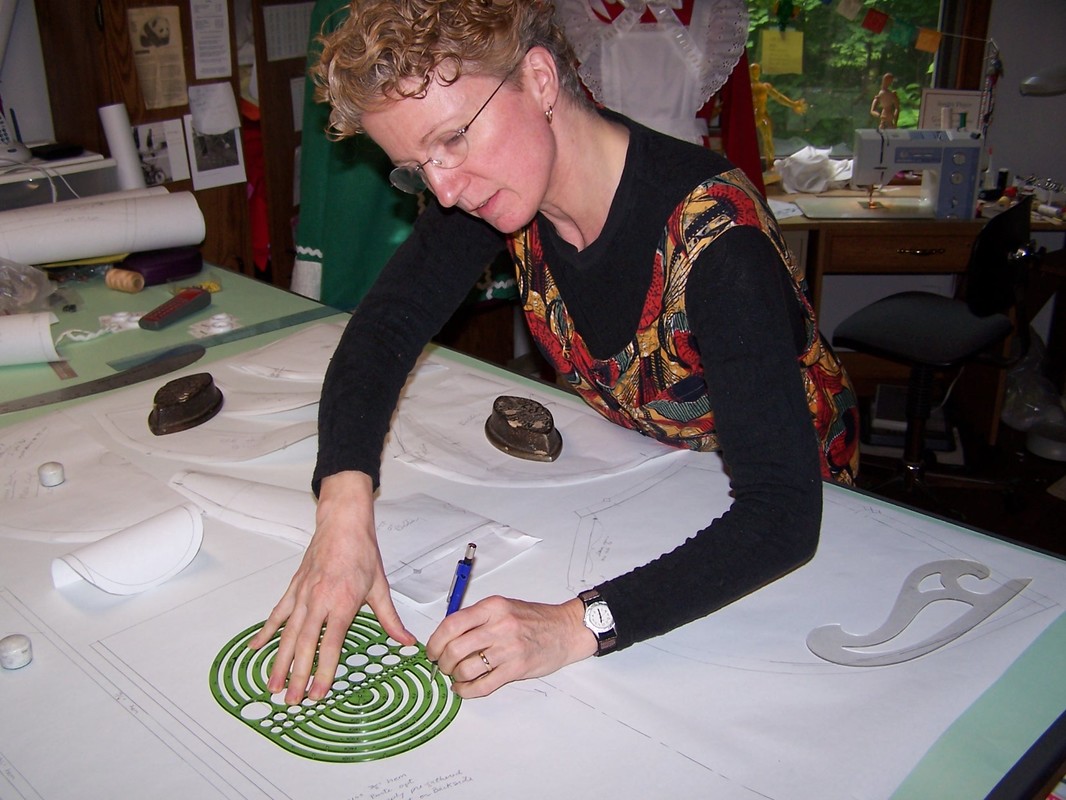
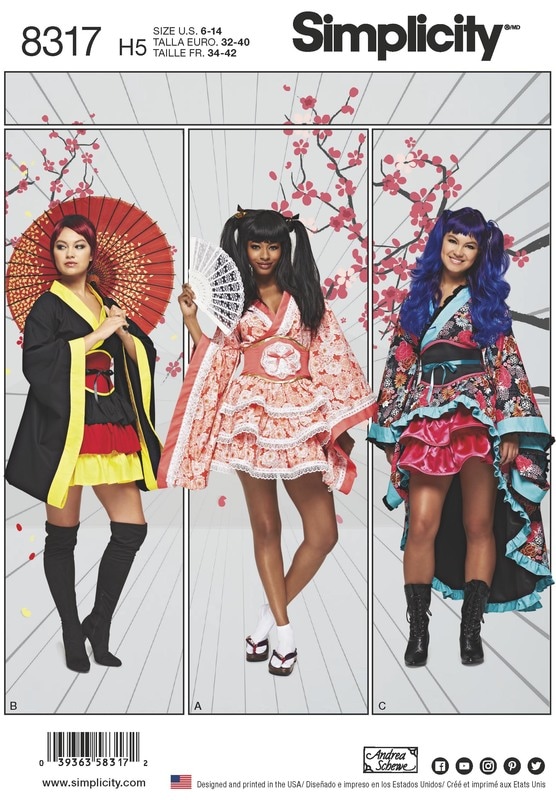
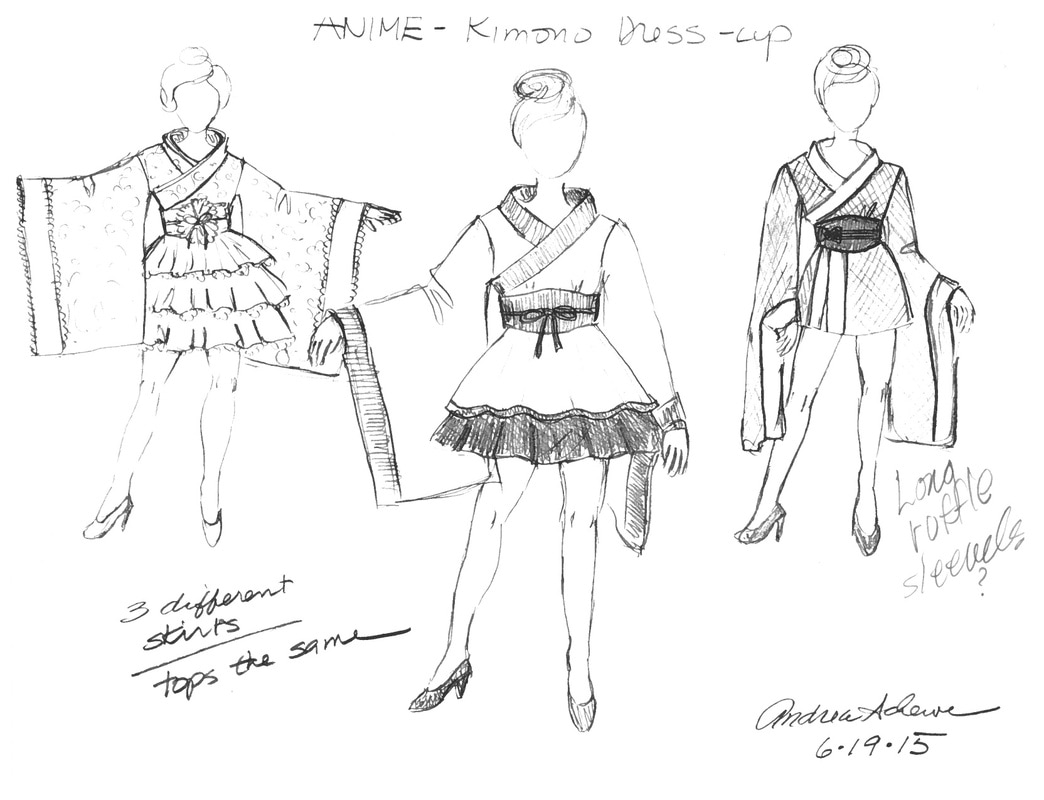
Here I am about 15 years ago, tracing my working patterns onto the large sheet that will be sent to Simplicity. All paper you see is poster paper, 36" wide. I do it exactly the same today.
Picture
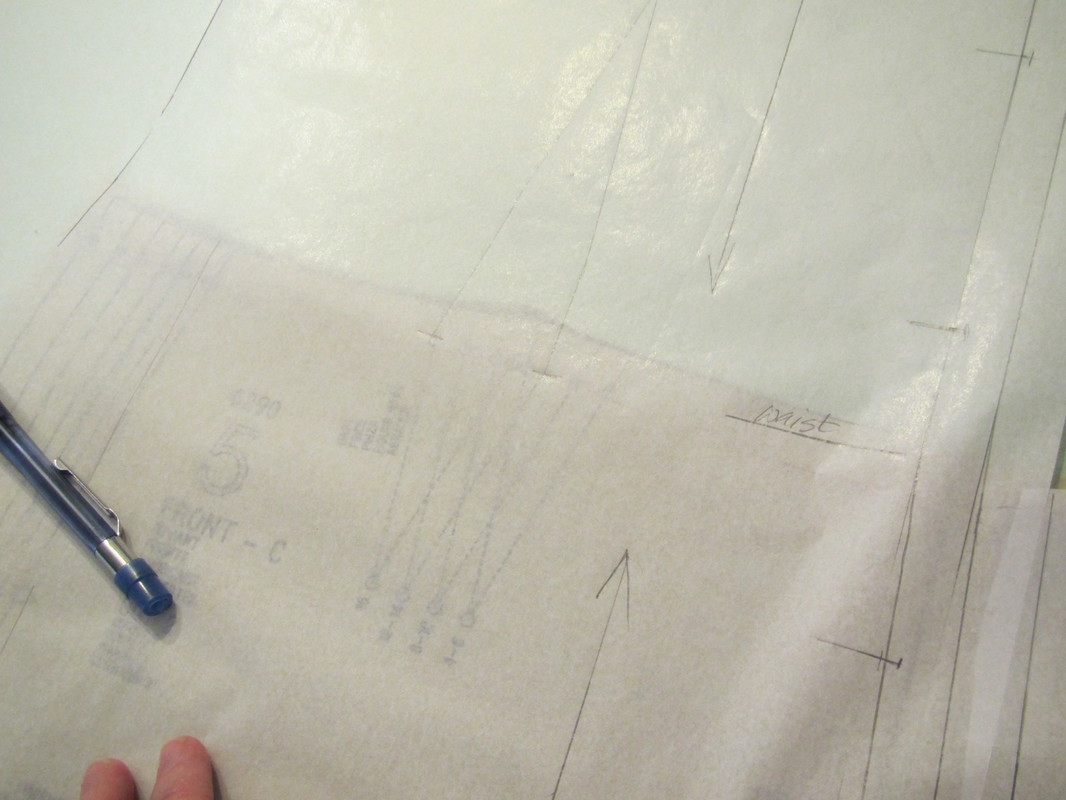
My newest discovery (3 years ago) is Medical Exam paper ... the stuff you sit on at the doctor's office. It is almost exactly the same as the tissue paper patterns are printed on, only just stiffer enough to make writing on it pretty easy. I use it when I am reworking or altering a pattern for myself because it is super easy to work with, folds down small for storage and is really cheap, especially if you buy a box of 12 rolls.
$9 for one roll ...
Be sure to get the smooth kind.

$41 for a dozen ... go in with some friends and save money.
Picture
I started using it because of the patterning classes I've been teaching lately. This picture shows a sheet of medical paper laid over a print out of a 50% size patterns I use in my classes. Great stuff.

Now I know there are other things people use to make patterns ... Swedish Tracing paper and other sewable materials. But I don't use them, so don't feel I should comment. Please let me know if you use any of these things and what you think of them.

Having rolls of various kinds of paper around can be useful for other things, too.
Picture
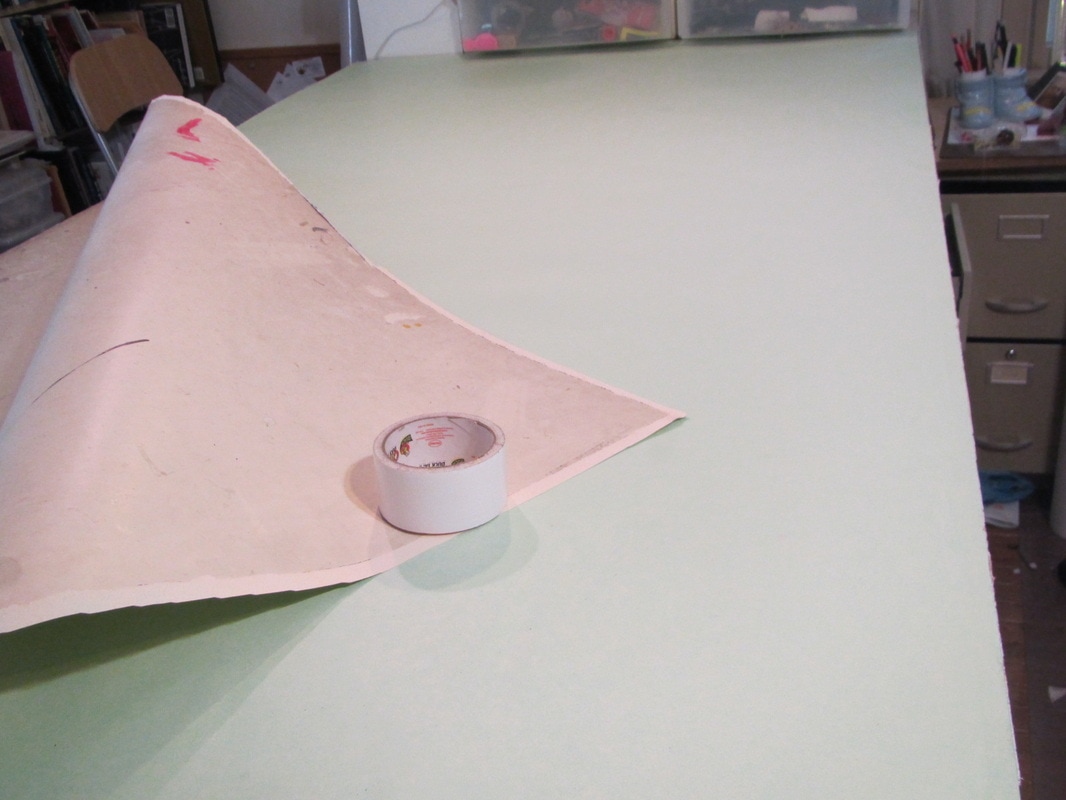
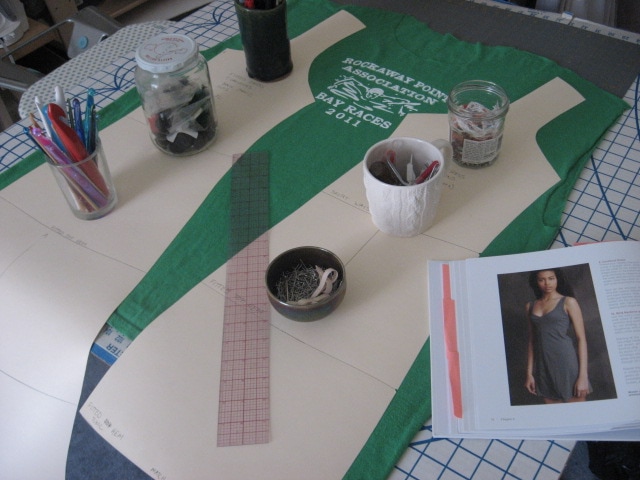
I use Oak Tag to cover my cutting table. (See picture at the top of my blog page) The kind I get is manilla on one side and pale green on the other. This picture was taken on a day when I was flipping it over for a clean surface.  The costume shops I worked in used Heavy Kraft paper to cover their cutting table. This kind of stuff lasts a long time, but is cheap enough to toss out and replace every so often.

And that Medical Exam paper is good for SO much stuff! I crumple it up for packing material and cut nice even sheets to use inside gift boxes. No one will ever know.
11 Comments

Sewing Baby Accessories - Simplicity 8110

4/19/2017

2 Comments

 
Picture
Picture
I don't know how many of you know this, but I spent some of my formative working years as a designer and sample maker for the toy industry. Alas, nearly all that work has gone overseas, so I don't get to make things for kids too often, But I love it when I do.

This is also a REAL, REAL catch up blog. I wrote the first blog for this pattern almost exactly a year ago ... phew! Where did that year go! Click here to read it.

That blog was kind of an overview. Today, I'm sharing pictures of some of the actual sewing. I did my best to make these pieces manageable for most people to make. You can't believe how intricate the patterning can get for a factory made toy. But, those machine operators do one operation over and over and get really good at sewing teeny tiny things.

Picture
Here is the sketch I made to work out the travel activity mat. I was trying to squeeze as much play as possible and still have it small and portable.
Picture
This is the same sketch with all the activities out. I think the wooden beads were eliminated during Simpicity's production process. They probably thought the beads would be hard to find or might be unsafe ... not sure.
Picture
And because the challenge when designing a pattern and instructions that need to fit into a little envelope, the floor play mat uses all the same activities with a few more added.
Picture
There are a lot of tiny pieces in this pattern. I did my best to make it not too tedious to make like I would have done with a toy design destine to be made in a factory. So, the animals are flat two piece shapes with added details like the bird beaks and fox cheeks.
​I call this photo beaks and cheeks!
Picture
I first straight stitch the piece in place along the edge then a zig-zag appliqué stitch over.
Picture
The eyes and nose are hand embroidered. We don't want any small buttons that could be swallowed or choked on.
Picture
All the small activity items are made out of felt or "Alova", a brand name for brushed tricot, which is used a lot in the toy industry. Like felt, the cut edges don't ravel, but it holds up better and, I think, looks better. But, can be hard to find.

Since the fabrics used do not fray all these small items are sewn with tiny (1/8") seams to the outside. This gives more defined shapes and is WAY easier ...  no turning.

It is important to sew the tail and the ribbon tether back and forth several times to make it not come apart with possible rough play. 
An opening needs to be left for stuffing and for a small squeaker. These ones from Amazon are the right size.
Picture
The bird eyes are also embroidered. The wings need to be sewn by hand because there is a rattle in the body and crinkle paper in the wings.

This one from Amazon should fit.

Etsy.com is also a great place for hard to find crafting supplies.

Picture
Babies love texture. So I thought a circle of cut rick rack would make good looking and nice to touch sunbeams.
Picture
Simply plop the sun in the middle.
Picture
Here are two little flat fishes getting their ribbon tethers securely stitched to the bottom of their water.

Picture
Then a little mesh on top for a fish bowl.
Picture
This picture shows how I reinforce any bits that might get pulled of with rough play.
Picture
It's hard to see, but I stitched a box with an "X" through it to hold this ribbon with beads on strongly.
Picture
All the play elements are now in place!
Picture
And for a little extra thing. I want to show how I miter a corner when sewing double fold bias tape . The is the clear vinyl pocket on the floor mat that you can put a safety mirror in.

A 4 x 6 safety mirror like this one, will fit in this pocket. Also 4 x 6 photographs will fit.
Picture
Because this bias is going on vinyl, it really needs to go on in one operation. You can't stitch it over twice or make it nice with a slip stitch on the back. 

So ... to get a clean miter, sew to the end, pick up the needle and the presser foot.
Picture
Turn the piece, open the bias tape up and fold it like this.
Picture
Fold it back to make the miter and then insert the machine needle where the other stitching stopped and keep going.

It really works!
2 Comments

Wa-Lolita dresses - Simplicity 8317

4/12/2017

21 Comments

 
Picture
Happy Spring everyone ... here on the east coast we are having some lovely Spring weather and these fun dresses are very Springy! 

I have been wanting to do some of these Japanese influenced costumes for a LONG time. 

Picture
Here is my original sketch for this set, but I had been sketching versions of this since 2009. I WISH I hadn't thrown them out in discouragement.
Picture
Picture
I finally got the go ahead during my three month sojourn in Santa Barbara (Jan-March 2016). See the cactus outside the door of my tiny workroom! I experimented with sleeve shapes, using horsehair on the skirt hem and different trimmings on the neck band ... all on the same mock up sample ... efficient!
Picture
Picture
Picture
The next step was finding fabrics and getting them approved.  This can take several go rounds. The more I sew, for Simplicity or myself, the right fabric is seems even more important than the design. A bad fabric choice can completely destroy a good design.
Picture
Picture
Picture
After that I could color in my sketches for final, final approval.
Picture
Here is one finished photo sample just before getting packed to go to New York.
Picture
Here is the back with a lovely large bow.
Picture
Picture
Picture
These dresses are made up of lots of pieces. It is best to tuck the top in under the skirt and petticoat, if used. Then the short skirt and over skirt can be tied on. I like drawstrings better than elastic because it can be tied tight and will support the weight of a heavy skirt without sliding down.

The belt is really a waist cincher with boning that laces up in the back. The waist ribbon and bow covers all that. I attach the bow with Velcro.
Picture
Second dress ready for it's trip to New York.
Picture
It, too, has the same bow in the back. 

A good looking bow is no accident. It should be built bit by bit.

Picture
There are four separate parts to this bow. After the main part is sewn and turned with fairly stiff interfacing inside, the ends are folded into the center to form the two loops.
Picture
The ends are overlapped slightly ... the yellow headed pin is my center mark. I use pins a lot for marking.
Picture
Now the center can be gathered up. This bow is very stiff, so it is pleated more than gathered. I use two parallel lines of double threaded needles to pull the bow into organized pleats.
Picture
After pulling tightly I wrap the center for security.
Picture
The second piece is the knot, just a small rectangle of fabric sewn, turned then wrapped with a crinkle or two to make it LOOK like a tied bow.  Scroll up and look at my two finished bows.
Picture
Pieces three and four are the tails. Because they are separate pieces, they can be arranged exactly as you want them to hang.

This is the magenta bow for the dress with the long over skirt. You can see the pieces for the peach bow in the upper left of this photo all ready to go for the lacy peach dress.

Picture
Just pleat the tops and hand sew in place.   

VOILÀ!

Picture
Now, this last dress is a little more tailored. Even more so in the actual sample I sent up. You can see it didn't have a 3 tiered gathered skirt, but a 2 layered circle skirt. The pattern pieces for the giant sleeves were two large and squeezed out the pattern pieces for this skirt ... DARN!

BUT, a circle skirt is not hard to figure out, if you want this version instead.

There are many, many, many tutorials on Youtube. Here is one I like. but if you don't. Go to Youtube.com and you will find lots more options.

The only thing different about how I made the circle skirt for this dress is I didn't make a folded hem. I used extra-wide bias tape along the hem line.

Cheers, Andrea
21 Comments

Upcycled Art, one Sweater from two

4/5/2017

4 Comments

 
Picture
Picture
I find it really fun to take stuff from the Thrift Store and just play around with it. 
My "uniform" in the winter, when I'm working in my home studio has become a zip-up polar fleece sweater. It's comfortable and warm and boring. Plus, my husband is retired now and is home to see the boring clothes I'm wearing.
So, I decided to create something fun that would fill the same category.
Picture
This is the sweater I started out with. I wanted a neutral color and I wanted something that zipped up.
Picture
The stripes had possibilities, but the red Nordic design had to go.
Picture
Picture
The minute I cut that striped border off, I started trying it here and there and decided it just HAD to become a collar.

Time to bring in sweater number two that coordinates so I can change and add parts to this sweater. I bought this man's pullover from the Thrift Store at the same time.

THEN I was stuck. I couldn't decided what to do next. I was busy on another project so I just left this on my dressform and stared at it for about two weeks.


I wanted to add length and I wanted it more shapely, but I didn't want to just add bands or ruffles around the bottom ... and then in the middle of the night it struck me ... I needed princesses seams, using the second sweater on the sides.

Picture
Picture
To figure out where I wanted the princess seams I used some really skinny tape I have and just kept moving around until it looked right.
Picture
And, for shape, I folded in a bust dart.
Picture
I taped both sides of the dart so I could see what I had after unpinning.
Picture
Then took a big gulp and started cutting, leaving a bit of a seam allowance.
Picture
This is now my pattern piece. I will deal with the dart later, which really is just going to be a guide for shaping the side panels.
Picture
First I need to pin it to the other side of the sweater as a guide, so both sides can be cut the same.
Picture
This piece is, also, used to cut the side piece from the second sweater I'm using.
Picture
Now I can add length in the front using parts of the sweater that used to be on the side and inner sleeve of my original sweater. Several smaller pieces needed to be sewn together.
Picture
I pinned the pieces together to see how it will look and tried it on for fitting. This seam will go to the outside and be serged with contrast thread, so it looks almost like a corded seam.
Picture
The stripes are my favorite feature from the first sweater. So I figured out how to use every shred of it. This bit will go in the back.
Picture
Like this!
Picture
I mitered the stripes for the collar keeping the rolled hem which is now used as a dimensional feature along the "V neck of the sweater.
Picture
More of the stripe is used on the front of the sleeve. There wasn't enough to go all the way around. The remaining piece was so small, I had to split it into two narrower pieces to manage it. 
AND, that black band with the skinny grey stripe at the very bottom was the neckband from the man's sweater. 
You've heard about nose to tail eating with regard to animals? Well this is neck to hem sewing. I'm trying to work in as many elements from my two original sweaters as possible.
Picture
I used ALL the black ribbing from the man's sweater, too. This sweater is now longer than the original and extends beyond the bottom of the zipper. I used some of the black ribbing to fill in the gap created below the zipper and split the remaining ribbing, finished the edges with my maroon serging thread, to make a secondary hem all the way around.
Picture
This sweater will make me happy when I wear it next winter. And it will be warm since both sweaters I used were 100% wool.
4 Comments

    From Andrea 

    I am a commercial pattern maker who is now "sewing over 50"!
    I love to sew and hope to encourage others to come back to sewing.
    The water is fine!!

    Archives

    August 2019
    July 2019
    June 2019
    May 2019
    April 2019
    March 2019
    August 2017
    July 2017
    June 2017
    May 2017
    April 2017
    March 2017
    February 2017
    July 2016
    June 2016
    May 2016
    April 2016
    March 2016
    February 2016
    January 2016
    December 2015
    November 2015
    October 2015
    September 2015
    August 2015
    July 2015
    June 2015
    May 2015
    April 2015
    March 2015
    February 2015
    January 2015
    December 2014
    November 2014
    October 2014
    September 2014
    August 2014
    July 2014
    June 2014
    May 2014
    April 2014
    March 2014
    February 2014
    January 2014
    December 2013
    November 2013
    October 2013
    September 2013
    August 2013
    July 2013
    June 2013
    May 2013

    Archives by Subject

    To search for blog posts in specific categories, use the drop down menu above by hovering over the word "Blog"

    Enter your email address:

    Delivered by FeedBurner

    RSS Feed

    Andrea Schewe participates in Amazon's associates program.