Andrea Schewe Design
  • Home
  • Costumes
    • Reader's Gallery
    • Fantasy Costumes
    • Theatrical
    • Historic >
      • Easier to make
    • International
    • Costumes for Kid's and Babies
  • Crafts
    • Home Decor >
      • Pillows
    • Fashion Accessories
    • Doll Clothes
    • For Kids and Babies
  • Blog
    • Past Blogs by subject >
      • My patterns by number
      • Sewing basics
      • Personal sewing Projects
      • Fashion History
      • Fun and funny stuff
      • Guest Bloggers
      • Crafts and Home Dec
  • Links
  • Contact

1st quilt for my granddaughter ❤️❤️❤️

4/24/2019

4 Comments

 
Picture
Picture
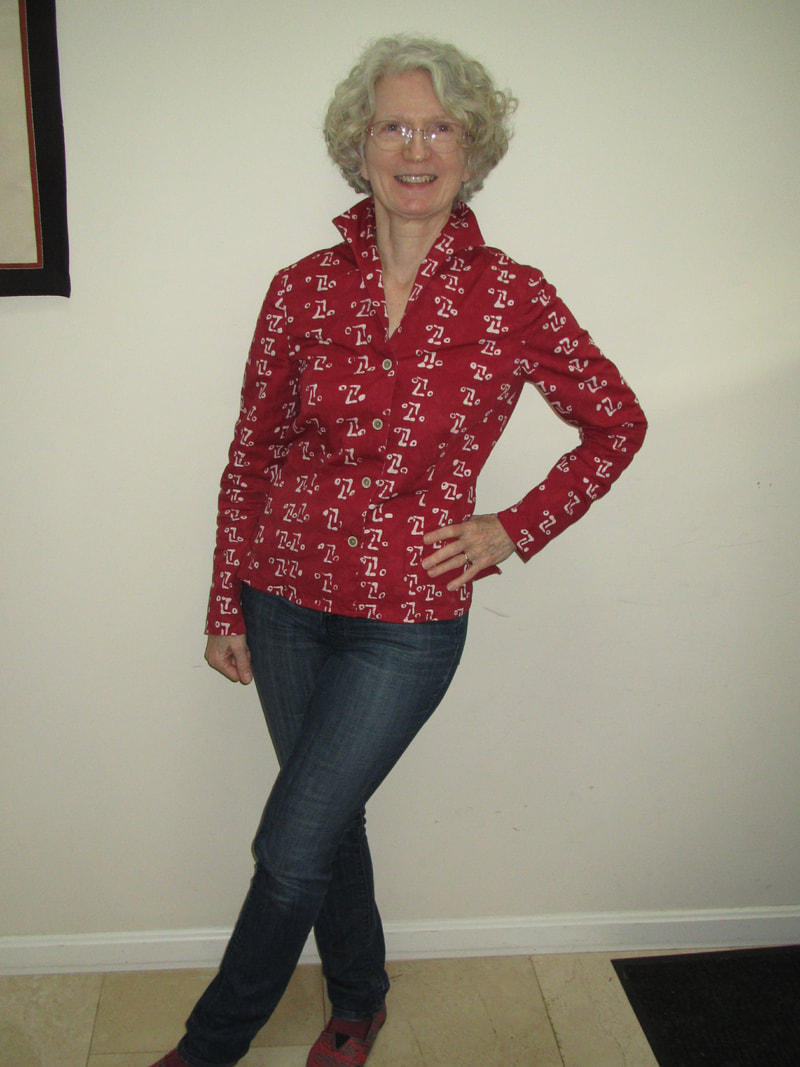
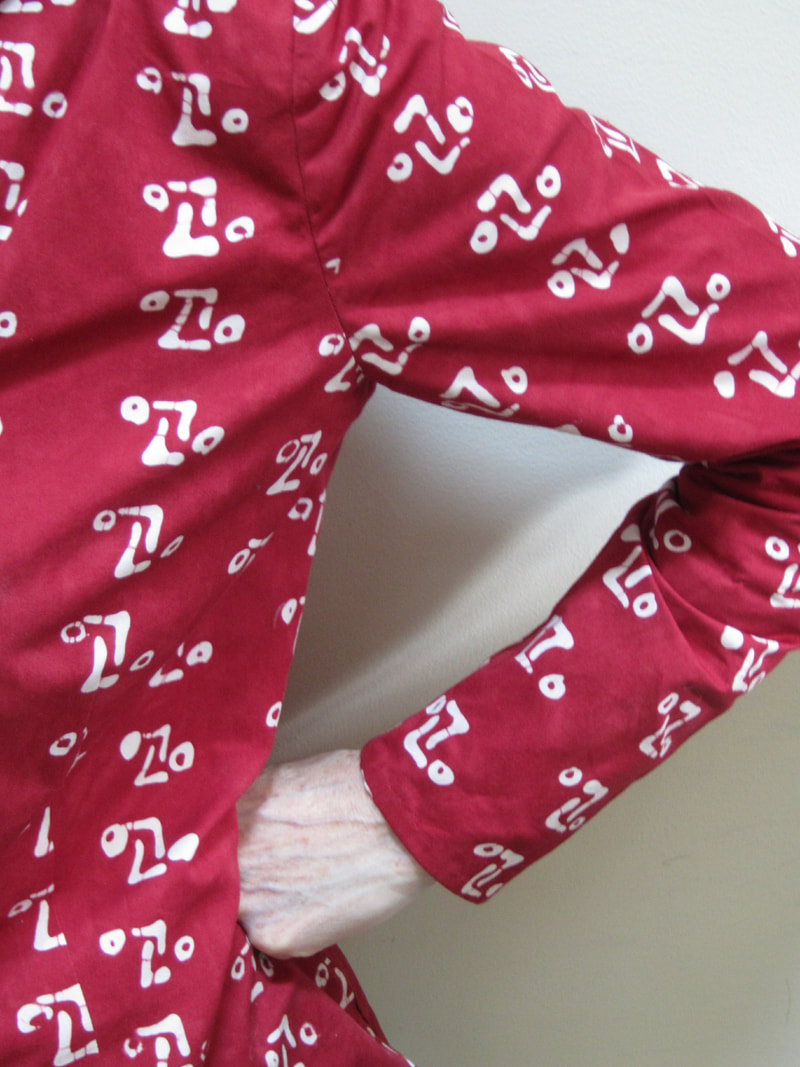
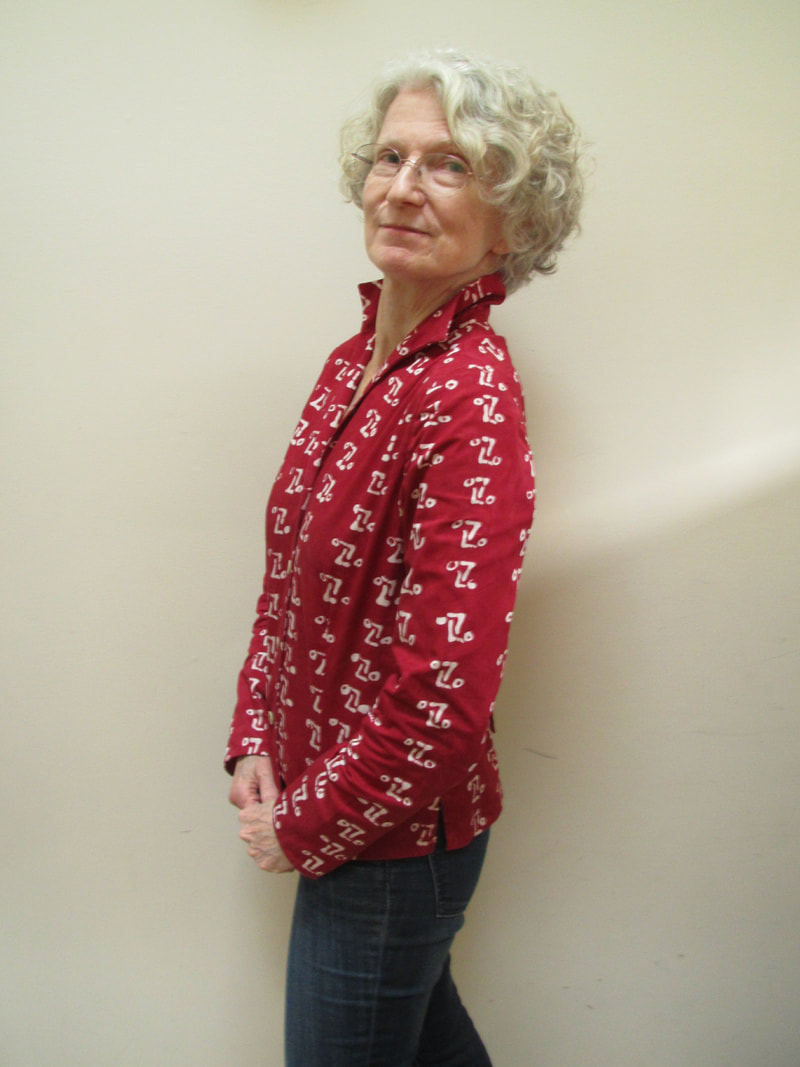
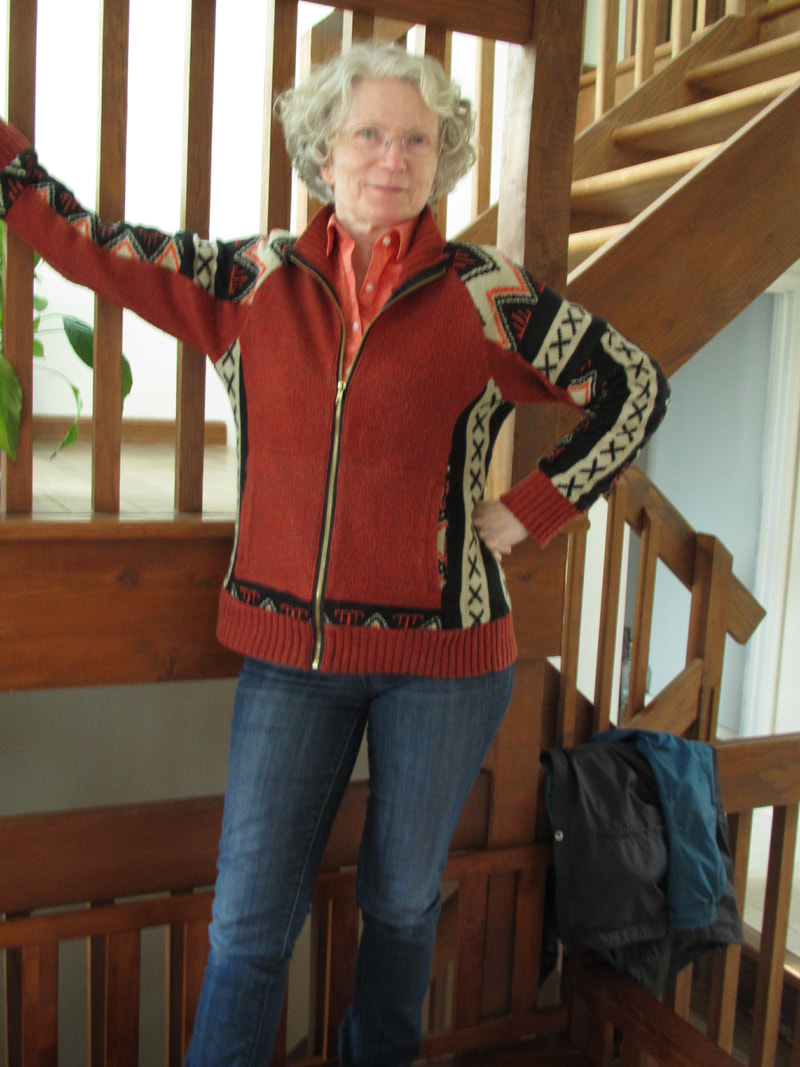
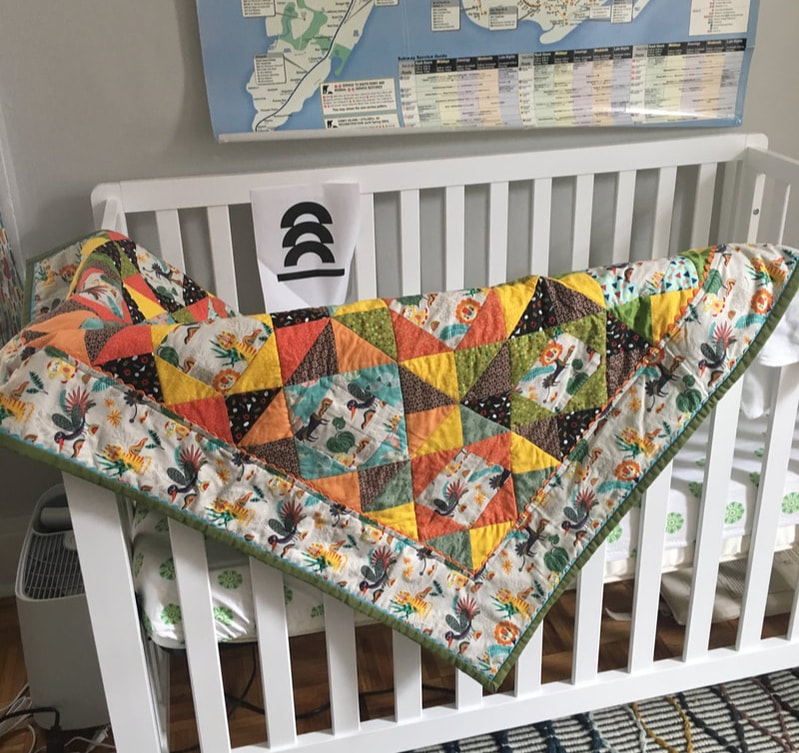
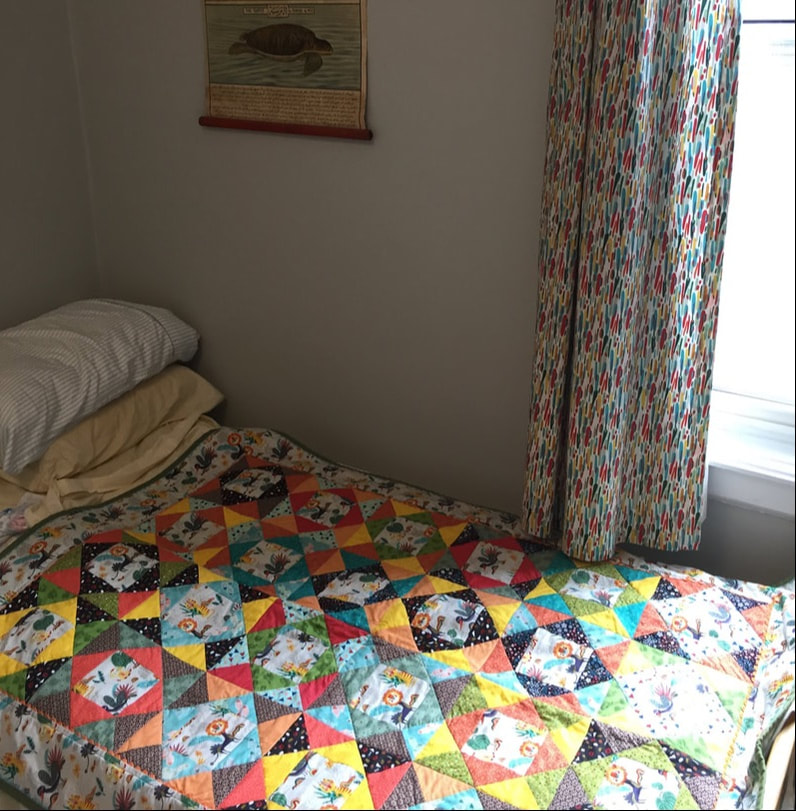
Believe it or not. THIS is the very first quilt I have ever made! Although I have designed patterns incorporating piecing, I have never made a finished quilt with batting, binding and actual quilting.

Having a beautiful and darling five week old granddaughter was my inspiration. 

You will have to take my word about this, because her parents have wisely decided not to post photos of her online. But, this allows me to declare she is the most wonderful little girl ever born!!

At least to me she is.
Picture
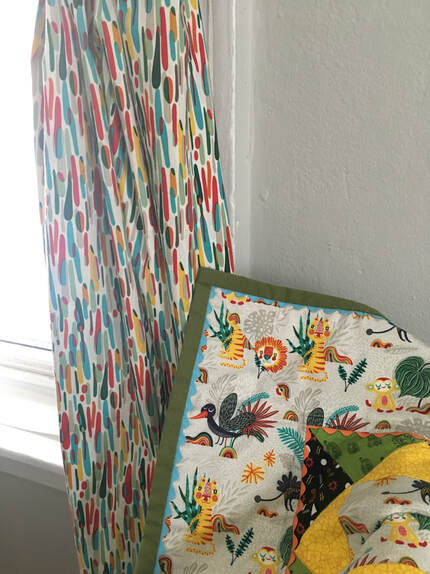
Since my son and daughter-in-law moved into a new apartment in December anticipating the birth of their baby, I gave them for Christmas a voucher to make curtains for a room of their choice. I was so happy they chose the baby's room.

The splatter paint print they decided on for the curtains had a delightful coordinating animal print. So I bought two yards of that, not really sure what I would do with it.

Then I went to an American Sewing Guild meeting where several of the ladies brought quilts to show they had made for their grandchildren. And I thought ... "Heck! I can do that!"

Picture
Don't you just love the whimsical animals on the coordinating print?
Picture
Not feeling as if I needed to reinvent the wheel, I decided to use a simple traditional quilt design from this book, which I have had for a long time. 

Good news for you, there are MANY used copies on Amazon for as little as $1.04 plus shipping. It is a good introduction to quilting.

I used the "Economy quilt" design in the book.

So, I made copies of the pattern at the back of the book, got out my rotary cutter and went to work.
Picture
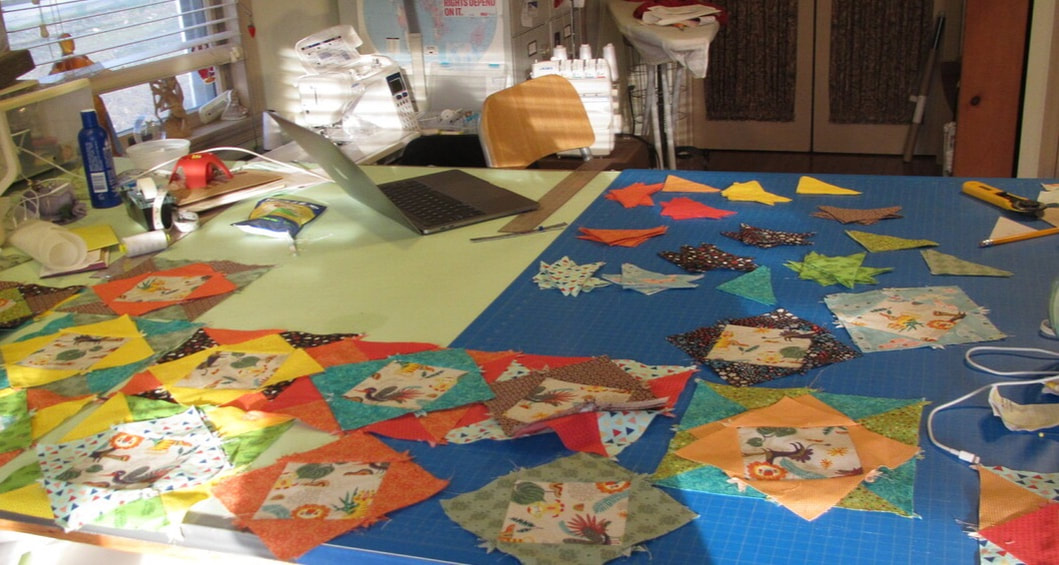
I ended up sewing a lot of it on my reliable classic Bernina 830 Record, my trusty back up machine. Because, I had a friend over for a few days to help her get back into sewing after retirement and she was trying out my Juki f600. She ended up buying one for herself.

I should work for Juki.

I like to chain stitch when I have lots of small things to sew and cut them apart all at once. 

And, you know ... I think of myself as pretty accurate when sewing even seams. BUT, WOW ... you have to be super perfect and perfectly accurate when sewing all those small pieces if you want everything to line up in the final assembly.

I have new respect for quilters!!!

Picture
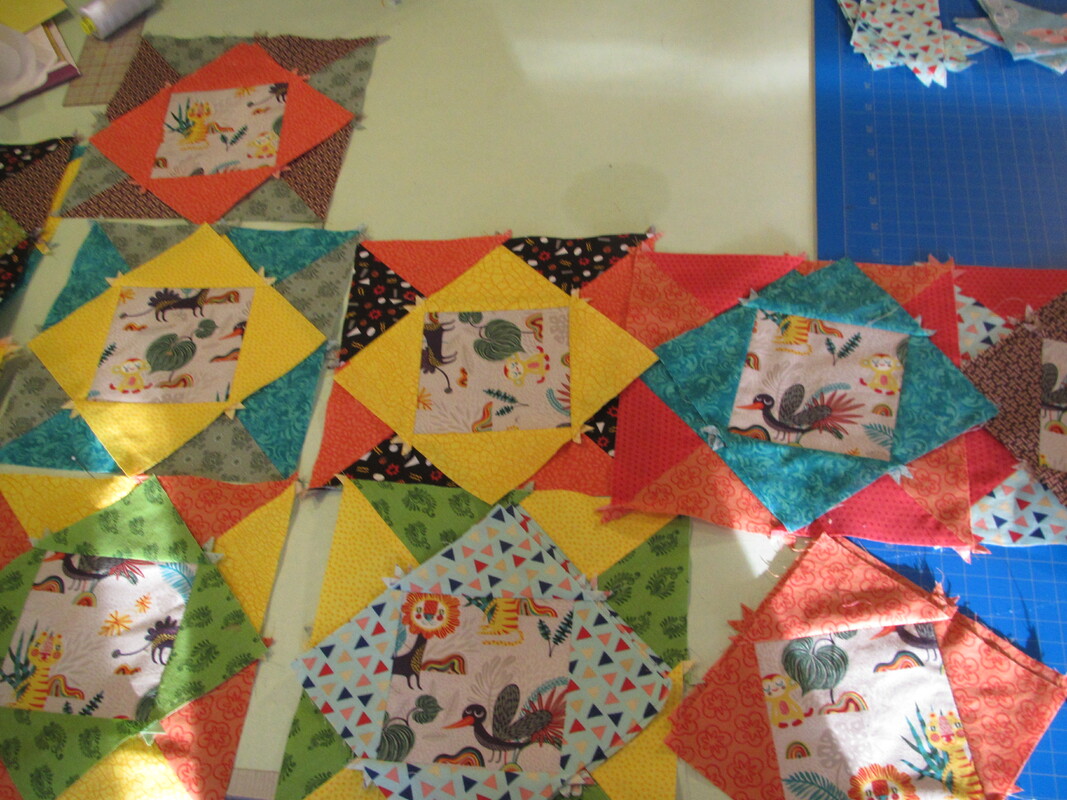
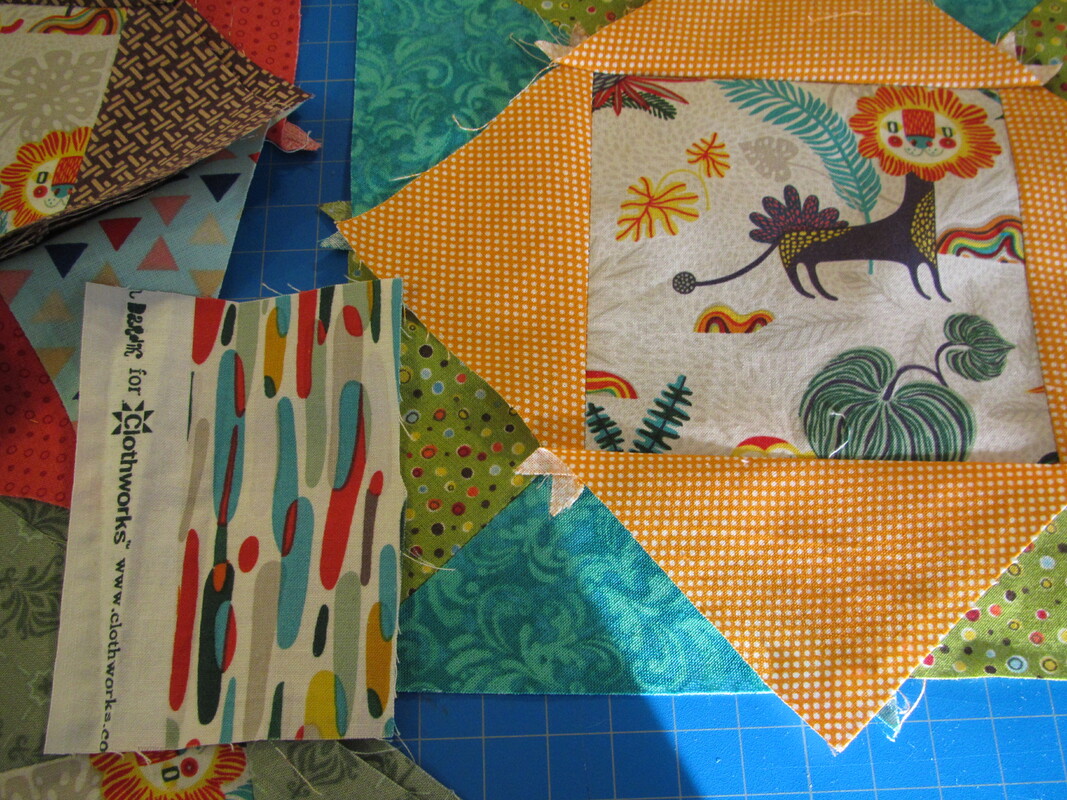
At least half the fabrics I had at home, but I did go out shopping for more small bright prints that would match with the colors in the animal print fabric and curtains.
Picture
It is so challenging and satisfying to choose and arrange all the fabrics and colors.

Actually this is harder than I realized giving me even more respect for experienced quilters. 
Picture
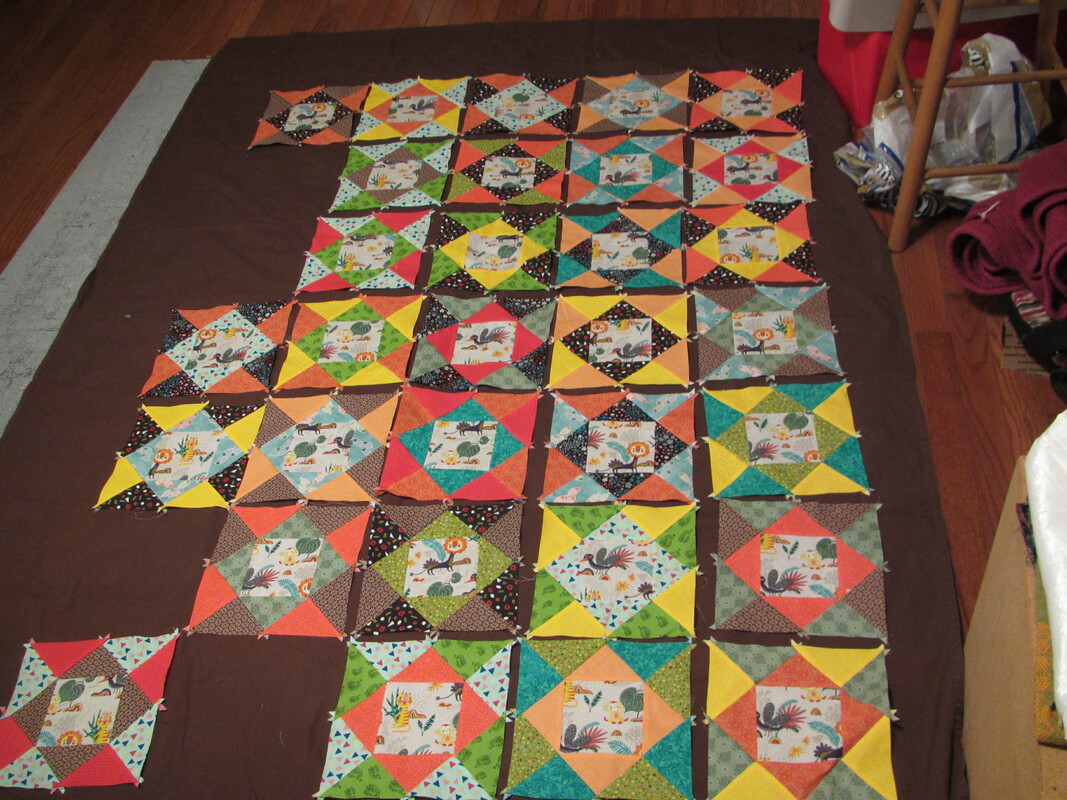
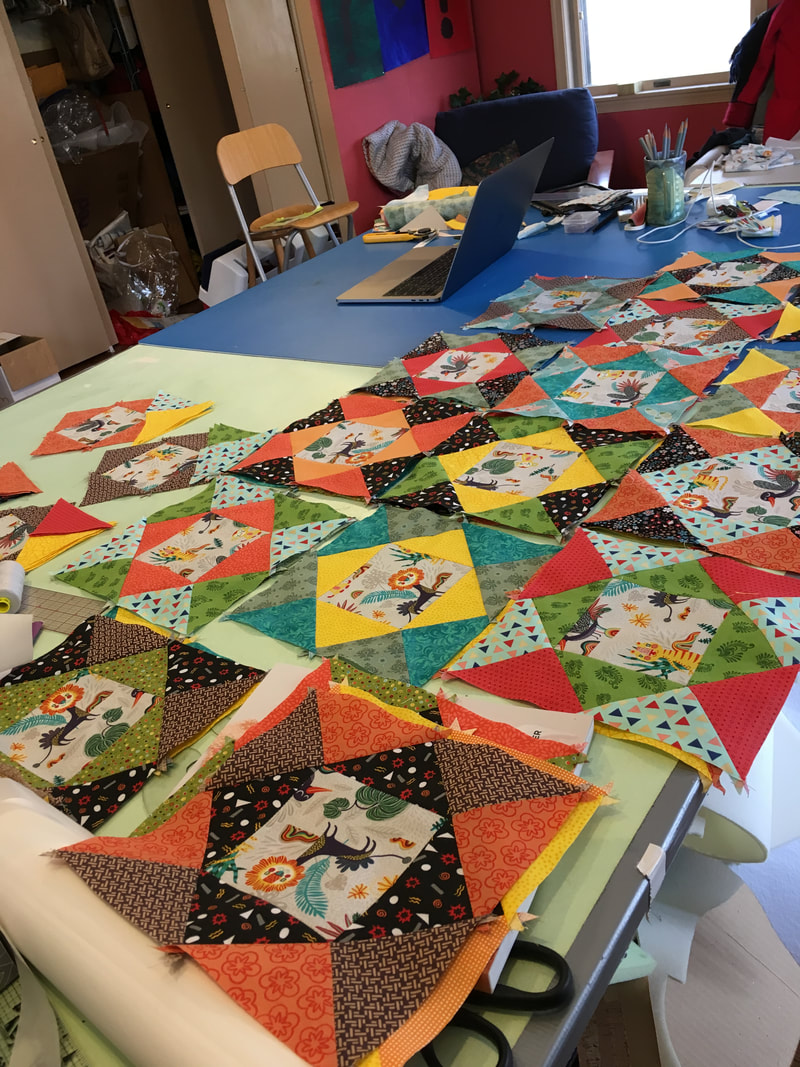
When I almost had enough blocks, I laid them out on the floor on a dark tablecloth so I could play around with the placement. 

The pattern in the book designated 4 blocks across by 6 long for a crib quilt, but I made more thinking I would make in a bit bigger. Then I realized I bought crib sized batting. It was only large enough for the 4 by 6 quilt like the book.

SO! what to do with the extras?????
Picture
Make a pillow!
Picture
And actually crib size isn't that small. It fits on the top of a twin bed, so she can probably use it for a while after she grows out of her crib.
Picture
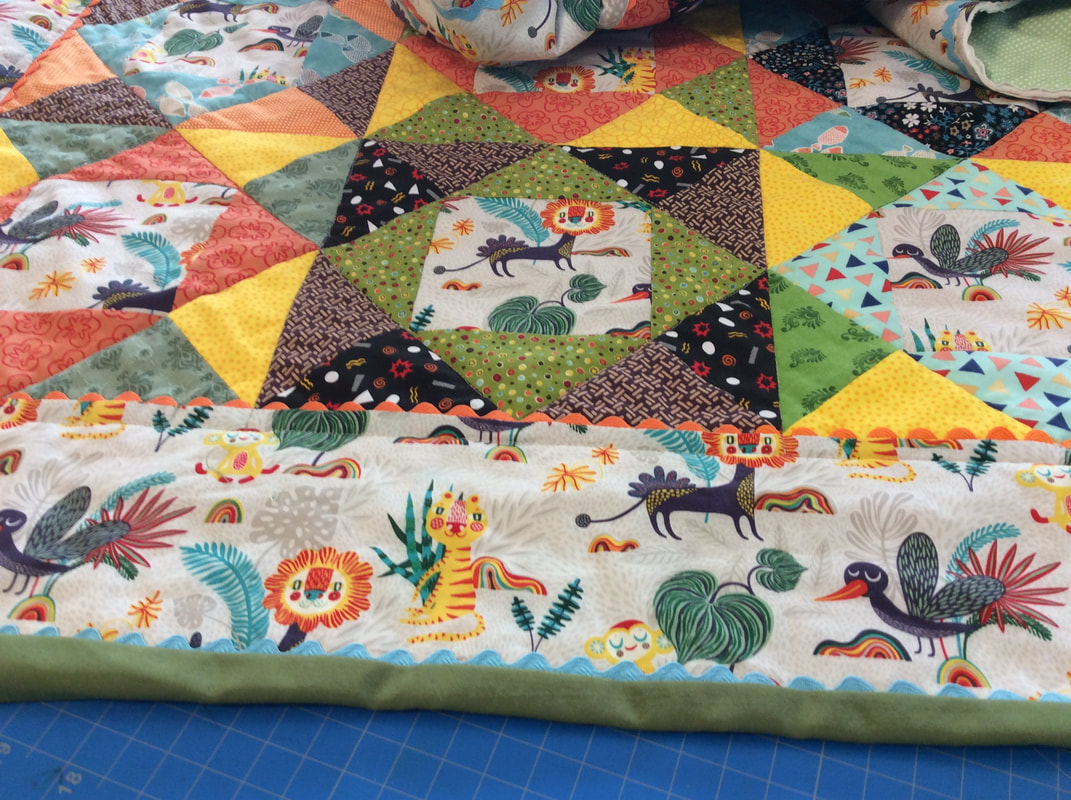
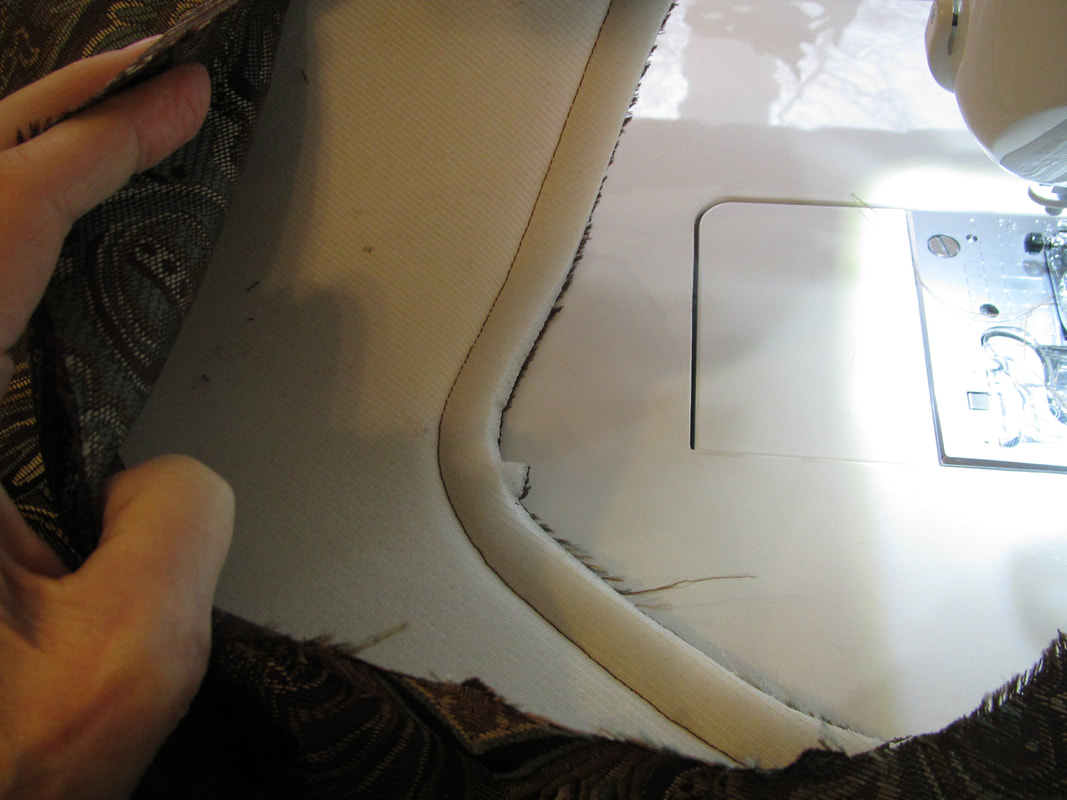
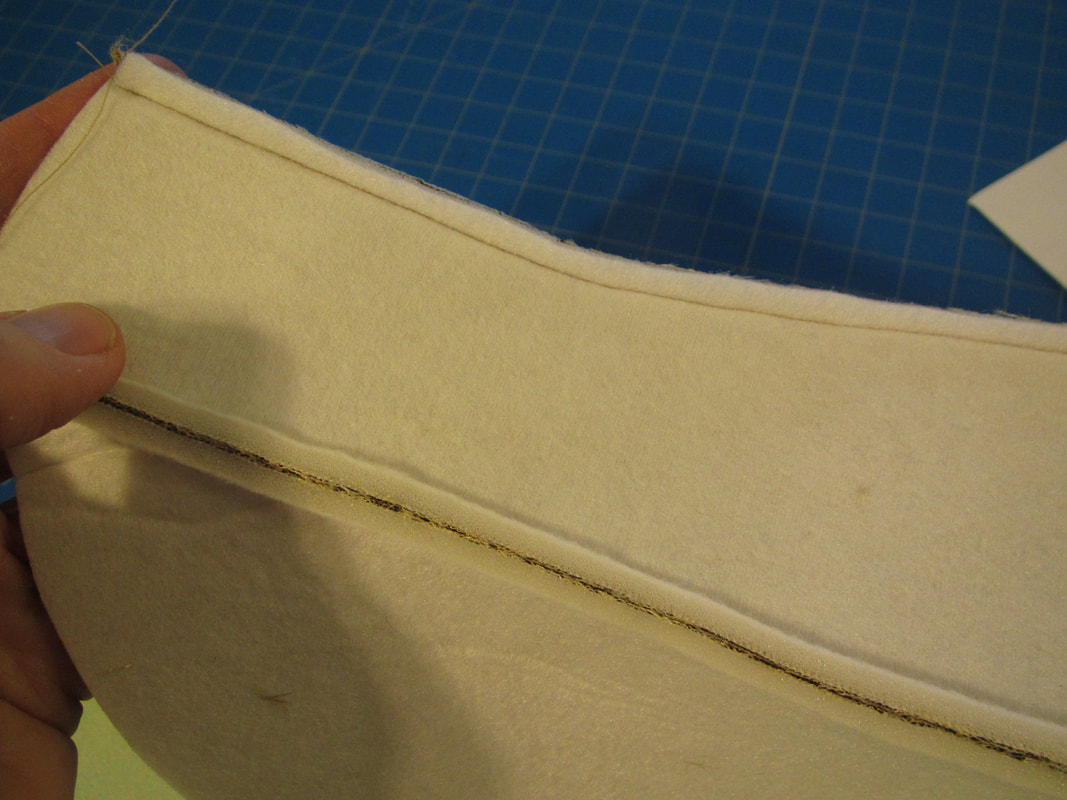
The one little custom touch I added to this quilt was rick rack in the border seams. I am rather fond of rick rack when sewn this way, just half of it peeking out.

Plus, I have LOTS of it left over from other projects. Waste not want not.

This was a very satisfying project. I hope to make another quilt or two or three. And I will so much more appreciate every quilt I see, knowing what goes into making one.

I am starting to pull together a blog about patterns and fitting for larger sizes and for all of us who are experiencing body changes as we age. Should be up next week.

4 Comments

Good basic capes ... Simplicity 8771

4/19/2019

0 Comments

 
Picture
Here is the second of my last three patterns from a year ago. It is a well balanced half circle cape and comes in just one size. Should be a useful basic pattern to have. 
Picture
I seem to have lost my sketches, but you can see the design from the official pattern instruction sketches. Figuring out the placement for the bias tape on view C was interesting. It has to make a gradual curve from the bottom of the center back to the top of the center front and look good when falling in folds while being worn.

See how view A has an odd seam at towards the bottom of in the back?

Picture
Well ... I wanted a true half circle cape, not one with a shoulder seam running down the side. So this was the only way to do it. See how the pattern fits onto 54" fabric? The lower edge at the back of the cape is a separate piece that fills out the circle on the left.

Also, see how this was too big to lay out on my cutting table!
Picture
Picture
I do have photos of my mock ups ...

Here's one sad thing about my retiring ... my husband won't have the fun of dressing up in whatever I have been making. Lucky for me he is almost Simplicity's sample size exactly and has tested every mens costume over the years.
Picture
Picture
Picture
You can see  how he gets into character. But, I also enlisted my the sons from time to time with varying degrees of enthusiasm ?
Picture
Picture
Also, the appliquéd animal heads were fun to design. I took classic heraldic heads and modified them to be easy to stitch on.

The thing that has really helped me applying appliqués is using Heat'n'Bond on the entire appliqué so it can be completely fused in place before stitching around it. Not only does it hold the fabric in place, it stiffens it so it doesn't pucker when zigzagging.

Make sure to get the Lite kind. It can be stitched through by machine with out getting the needle sticky.

Picture
Picture
HOW TO ATTACH A TASSEL TO THE END OF A PIECE OF CORD​

#1 Take a threaded needle and wrap the end farthest from the needle tightly around cord, just below tape that is keeping the cord from unraveling. THEN cut close to tape.
#2 Put a dot of glue at end of cord. Notice the thread used for wrapping is still attached to the cord.
Picture
Picture
#3 Stick the top side of the tassel to the gluey end of the cord.
#4 Stitch many times connecting the cord to the tassel. Don’t worry if it looks a bit messy, because …
Picture
#5 All that hand stitching will be covered when the hanging loop from the tassel is wrapped around the join. First put on a little glue, then wrap and secure with a few more hand stitches.
Picture
And, as usual, Simplicity found terrific models. 

Well ... I have finished my granddaughter's quilt and plan to write about it next week. AND, I have a new respect for quilters ... the necessary accuracy and the arranging of color and pattern! It is very fun, but harder than I thought.

until next week ....
0 Comments

Simplicity 8768 ... one of my last!

4/11/2019

2 Comments

 
Picture
Catching up and finishing off is part of retiring, too ... isn't it?

Here are some photos I took while working on this set of 2 dresses last year.
Picture
This pattern was an assignment from my design director at Simplicity. And the challenge was how to get make two dresses use basically the same pattern??? 

I love this kind of stuff.

So, I designed a princess seamed dress which allowed me to insert godets in the 2 side front and 2 side back seams to give the long dress the full skirt it needed AND the short dress the slits it needed. One got a collar, one didn't and the other elements could be pattern pieces on their own.

Picture
Here is my mock up showing the way the pattern can work for both looks. I pinned the skirt up like this so my design director could see how full the skirt is with the added godets.
Picture
By this point I had already worked out the shoulder armor. It was fun making sure the fabric motifs were place just right.
Picture
I was still working out the shape for the cape and cape yoke.
Picture
Here is the front. Getting the front of the yoke to taper down just right was challenging as was the cross over collar band!!

The shoulder armor and cape yoke use sewable interfacing foam for structure. Bosal is one brand of this stuff. Pellon also makes it.

It is really great ... light weight, holds dramatic shapes other interfacing won't and its it pretty easy to use.
Picture
I carefully cut the outer fabric of the shoulder armor and cape yoke pieces first to be sure the fabric motifs were correctly placed, then lay them on the foam interfacing to cut around them.
Picture
The foam sews easily with a sewing machine.
Picture
But the seams need to be trimmed narrow to reduce bulk.
Picture
Or sometime the foam only needs to be trimmed as close to the seam as possible. But, if you have used the fusible kind of foam the fabric has to be pealed away first.
Picture
I recommend grading all the different layers in the seam to make a gradual reduction in bulk, having the foam trimmed the closest.
Picture
Then any curve ... inner or outer needs clipping.

​I'm writing this at my son's apartment in Seattle. I'm here to help out at his cafe in the Queen Anne neighborhood named KUKO ... check it out! It got a great writeup in the Seattle Times last year! Proud MOM speaking.

And I will be meeting with people at Pacific Fabrics in the hopes I will be able to teach there on my next visit.

2 Comments

Why I sew

4/5/2019

4 Comments

 
Picture
THIS is my three dollar blouse ... really!!

And I do love to sew ... have since I was 9 or 10.

And there are many reasons ... 
1. I like to work with my hands and figure things out.
2. I'm frugal! I'm always trying to save money.
3. I like to be creative and have clothes that no one else in the whole world has.
4. When I'm sewing, I'm less likely to go spend money on random things I don't really want or need (the frugal me again)
5. Sewing is like meditating. It slows the world down ... a good thing.
6. I want to own things of quality.
7. I love to make things for people I love. The best gifts are hand made.

Now that I am retired, I can make what ever I want!!!

And, if I am going to take the time to make some unique clothes, I want them to be clothes I will wear often, not just fancy special 
occasion things.
Picture
Picture
It is the nicest fine cotton gaberdine, too.

​One of my sons lives in New York. And when we visit him we often take urban hikes. New York City is an endless source of beauty, history and cultural diversity. Last year we were out on one of these hikes and after a donut at the best donut shop in Queens, we past a funky old second hand store with the most intriguing assortment of stuff. Out front was exactly 1 3/4 yards of this fabric on a roll. The gal behind the counter sold it to me for $3!! I already had this New Look pattern at home, because it is my all time favorite blouse. I love the stand up collar and overall fit. The only other thing I needed was some buttons and I had the perfect ones in my button box.

So, this is my three dollar blouse!
Picture
This sweater is like no other in the world and it was very cheap to make.
Picture
Picture
I used this zip up jacket pattern by Jalie which, again, I already had at home because I taught a class using it in Santa Barbara a while ago. 
​And the fabric was two different old sweaters from my local thrift store ... cheap!
I had to sew a few extra seams to join some sweater sections so they would fit on the pattern pieces. And I replaced the folded pattern pieces for the bottom band, wrist band and collar with ribbing cut from the sweater. 
I can't tell you how many compliments I've gotten wearing this! And I wear it a lot.
Picture
This dress I made to wear to a family wedding last September. 

It is made from an old used Indian Sari I bought on eBay quite a while ago. This was not a super cheap dress to make, b
ut not expensive for how it turned out. I had to flat line and line it, because the Sari was very thin cotton fabric. It is an Ikat weave, I think it very likely was woven on a hand loom. The bottom was all frayed. The original owner of this Sari must have loved it like I do.

All the fabric you see is from that one Sari. Saris usually have some kind of border all along the bottom edge which I positioned on the hem of the skirt and sleeves. Saris are also very long, between 6 and 9 yards. One end often has a special design to it. So, this is what I used for the bodice of the dress which matches nicely with the border at the hem.

I used a Simplicity Amazing Fit pattern. A link to it is on the right. A very comfortable and well fitting pattern.

I will be posting soon about the quilt I just made for my granddaughter. And I also am working on a super simple stuffed puppy and teddy bear for an American Sewing Guild community service sewing project.

Stay Tuned!
4 Comments

    From Andrea 

    I am a commercial pattern maker who is now "sewing over 50"!
    I love to sew and hope to encourage others to come back to sewing.
    The water is fine!!

    Archives

    May 2019
    April 2019
    March 2019
    August 2017
    July 2017
    June 2017
    May 2017
    April 2017
    March 2017
    February 2017
    July 2016
    June 2016
    May 2016
    April 2016
    March 2016
    February 2016
    January 2016
    December 2015
    November 2015
    October 2015
    September 2015
    August 2015
    July 2015
    June 2015
    May 2015
    April 2015
    March 2015
    February 2015
    January 2015
    December 2014
    November 2014
    October 2014
    September 2014
    August 2014
    July 2014
    June 2014
    May 2014
    April 2014
    March 2014
    February 2014
    January 2014
    December 2013
    November 2013
    October 2013
    September 2013
    August 2013
    July 2013
    June 2013
    May 2013

    Archives by Subject

    To search for blog posts in specific categories, use the drop down menu above by hovering over the word "Blog"

    Enter your email address:

    Delivered by FeedBurner

    RSS Feed

    Andrea Schewe participates in Amazon's associates program.