|
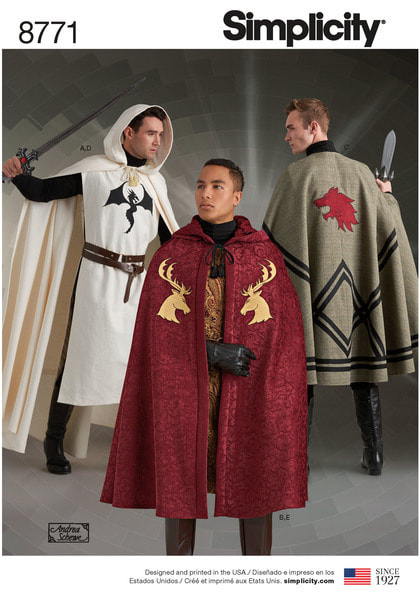
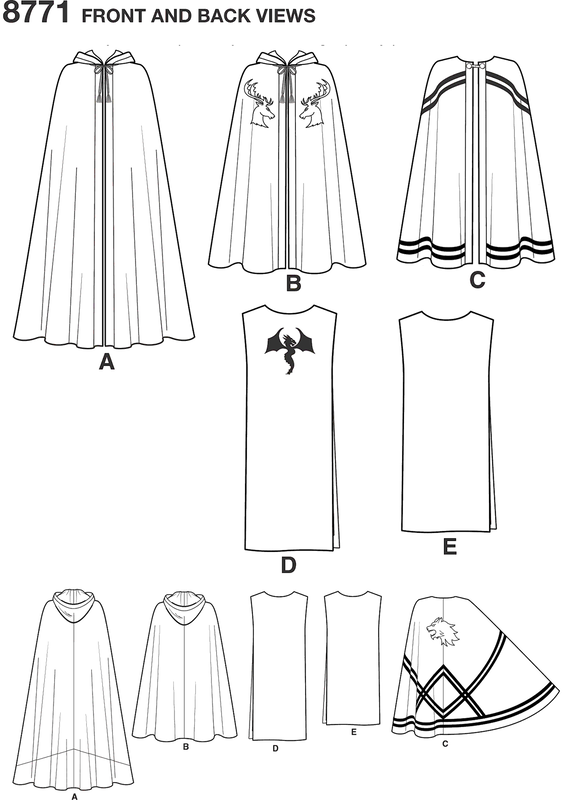
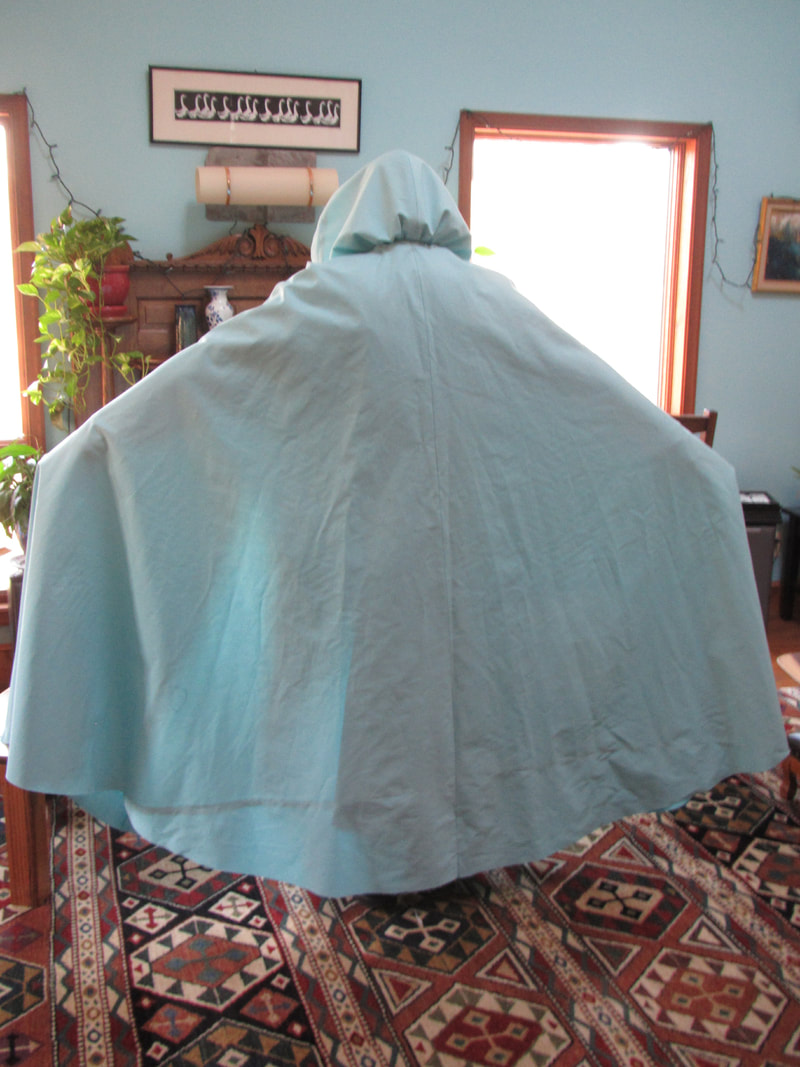
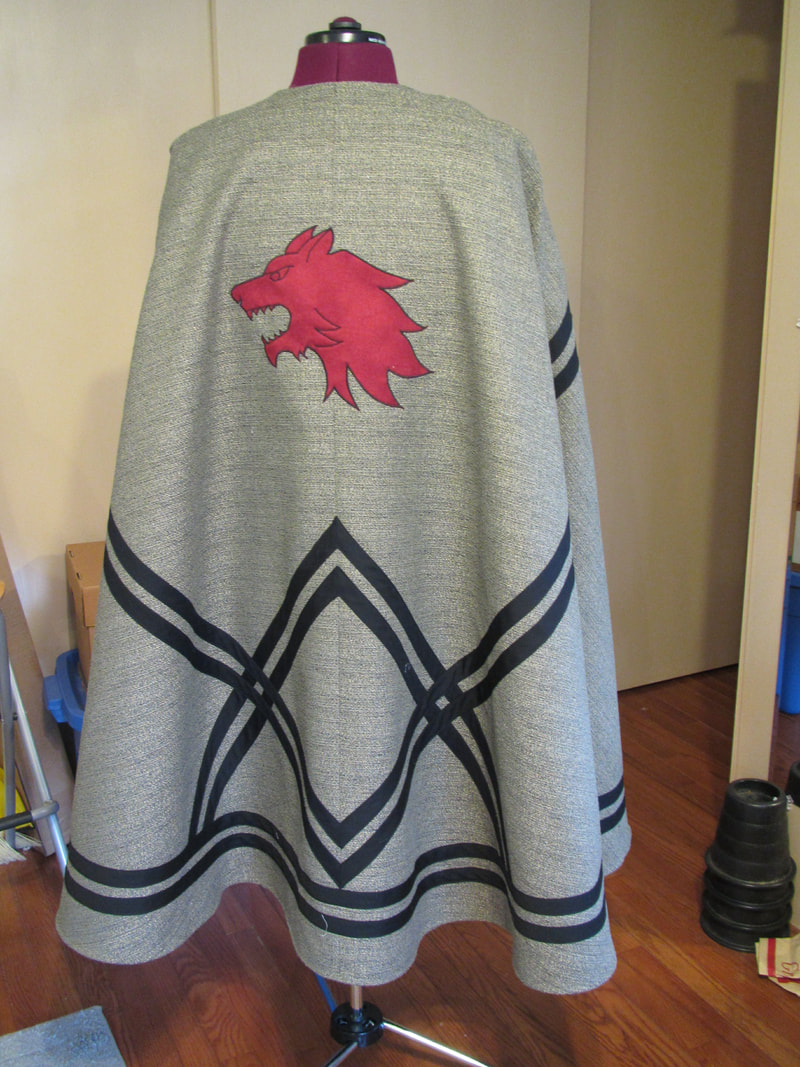
I seem to have lost my sketches, but you can see the design from the official pattern instruction sketches. Figuring out the placement for the bias tape on view C was interesting. It has to make a gradual curve from the bottom of the center back to the top of the center front and look good when falling in folds while being worn.
See how view A has an odd seam at towards the bottom of in the back? |
|
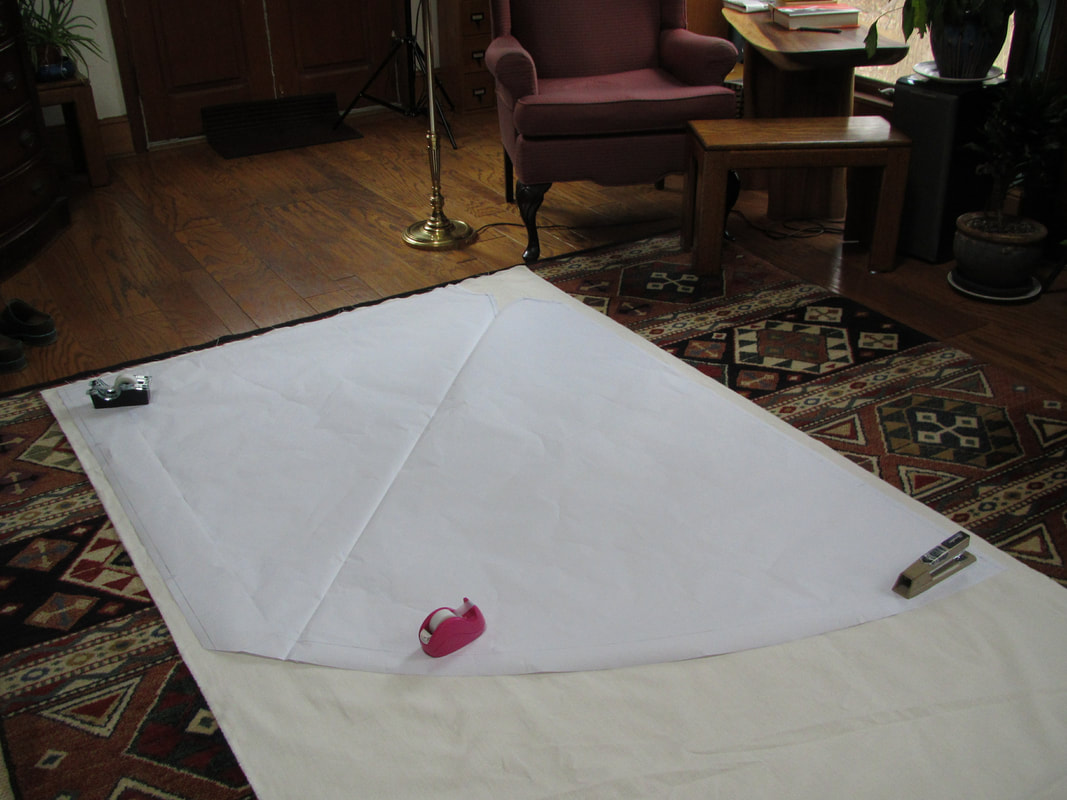
Also, see how this was too big to lay out on my cutting table!
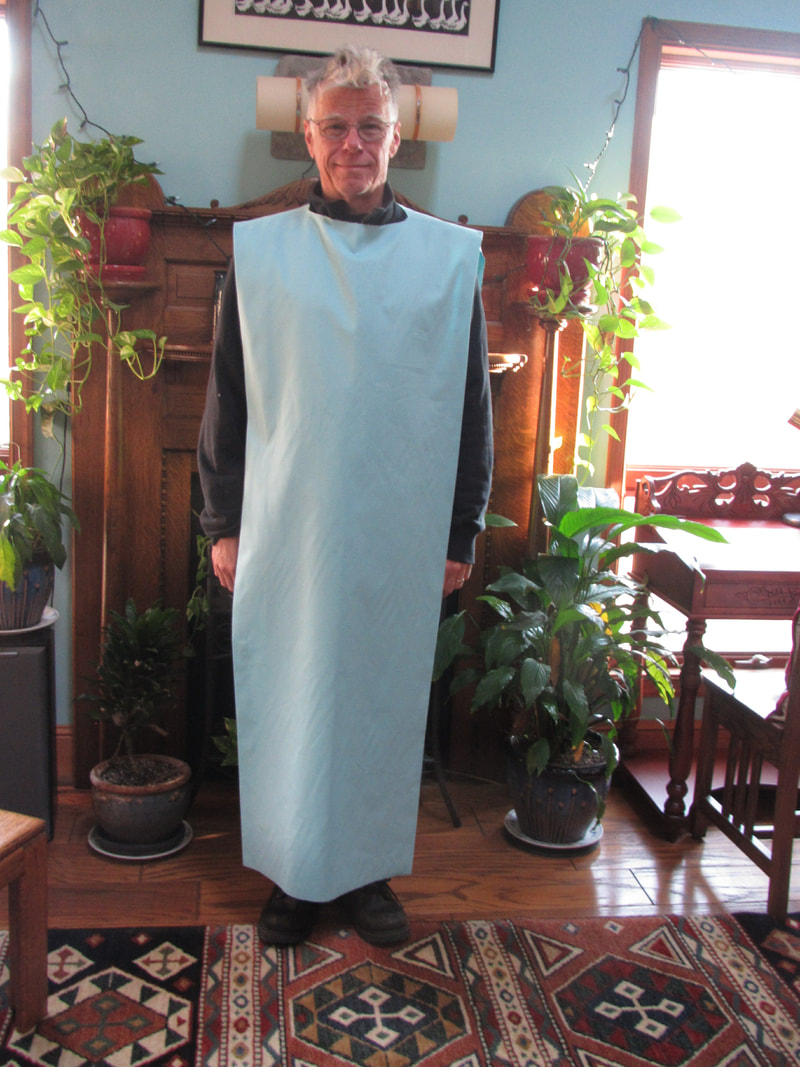
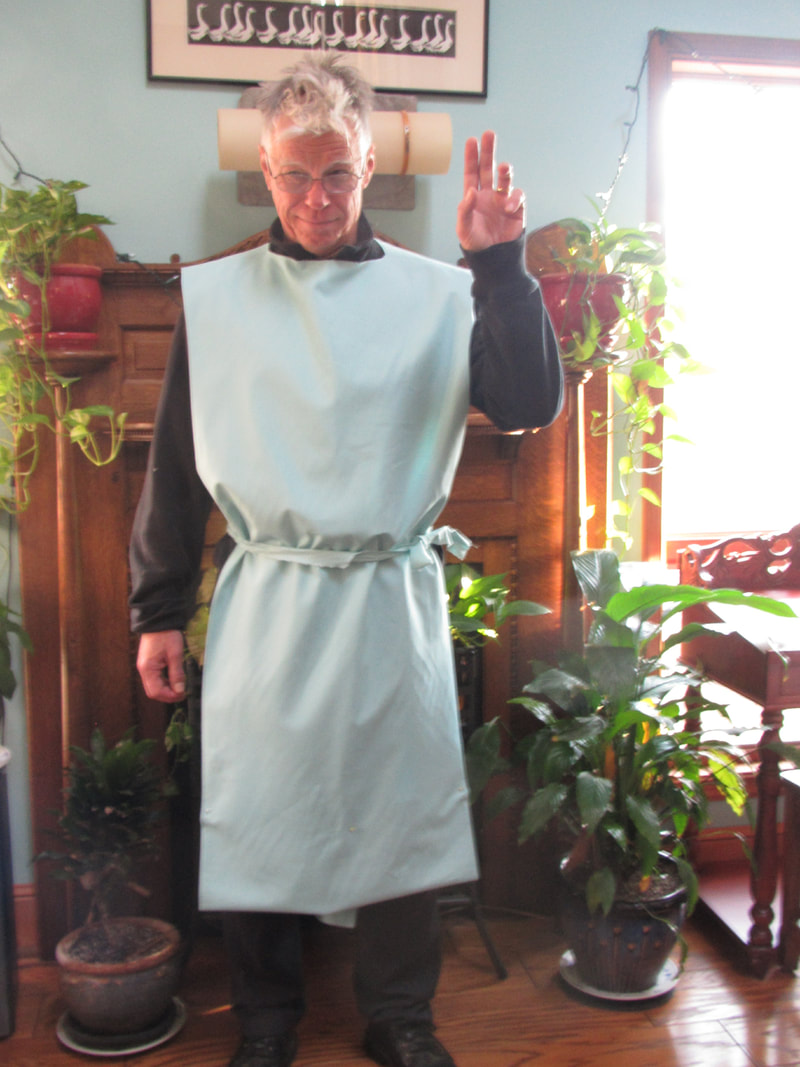
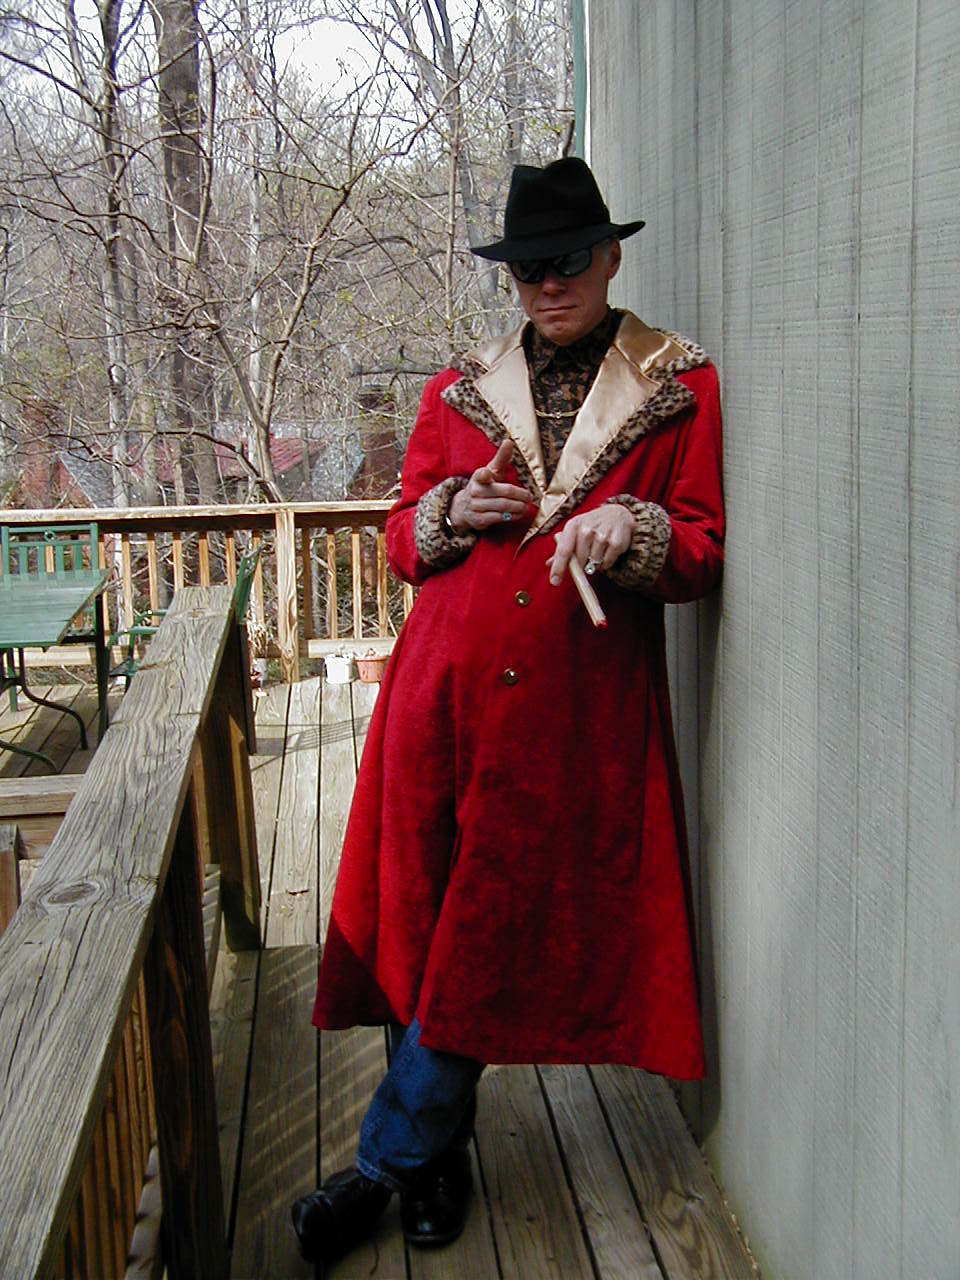
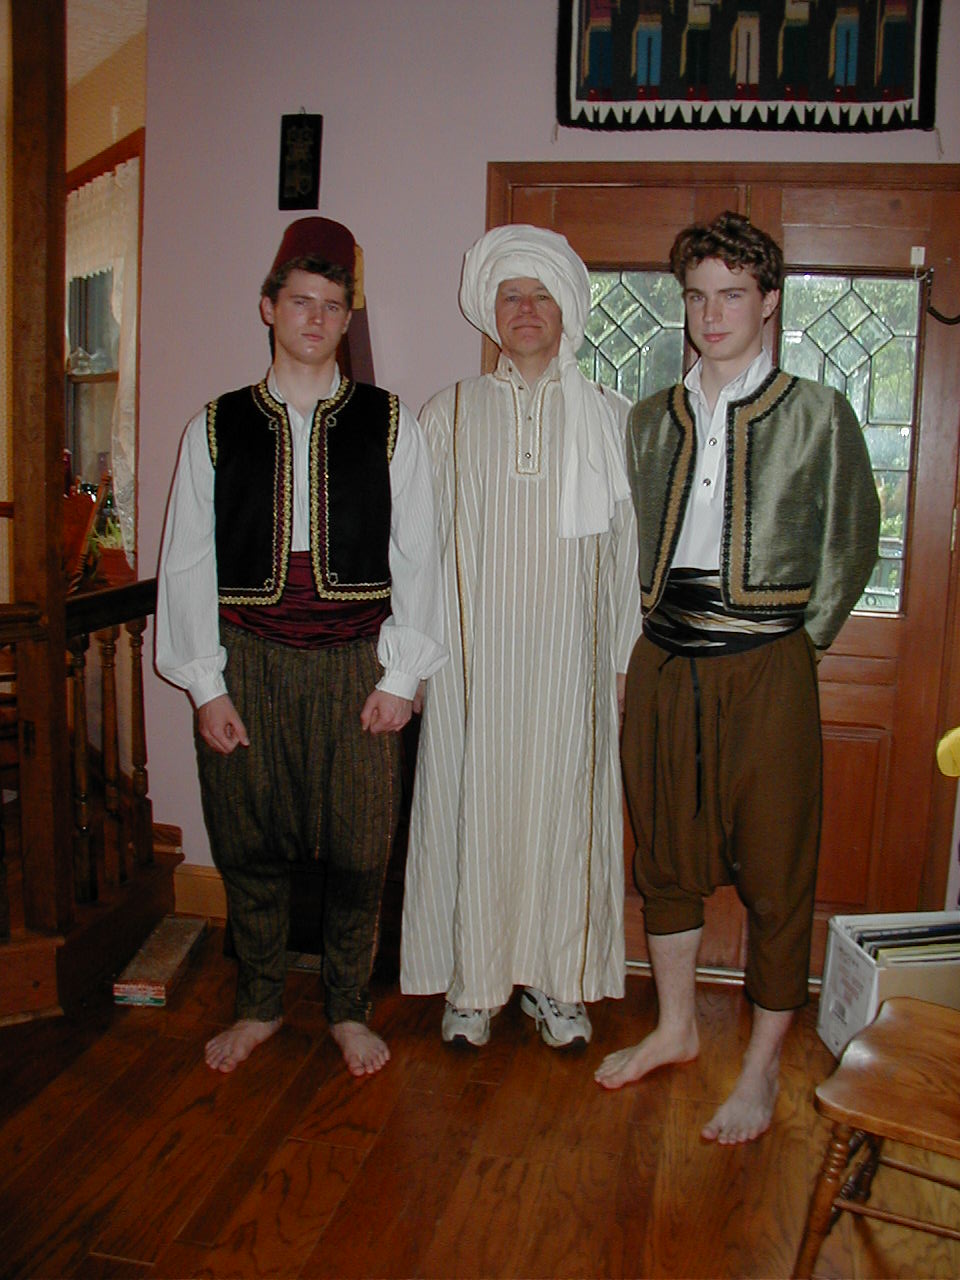
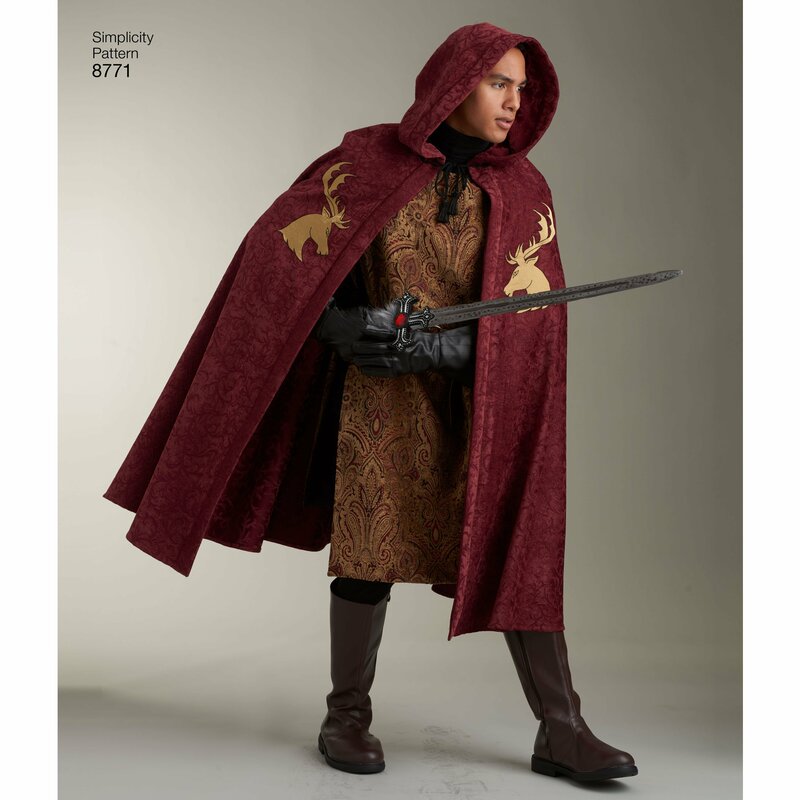
Here's one sad thing about my retiring ... my husband won't have the fun of dressing up in whatever I have been making. Lucky for me he is almost Simplicity's sample size exactly and has tested every mens costume over the years.
|
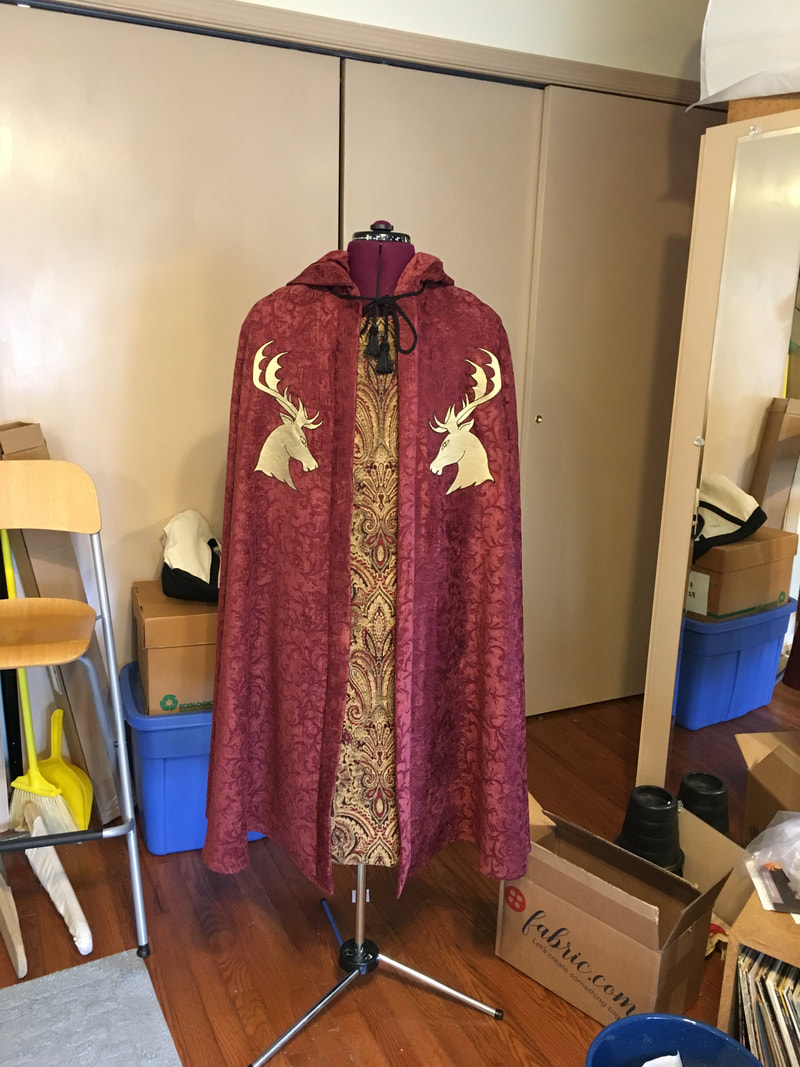
Also, the appliquéd animal heads were fun to design. I took classic heraldic heads and modified them to be easy to stitch on.
The thing that has really helped me applying appliqués is using Heat'n'Bond on the entire appliqué so it can be completely fused in place before stitching around it. Not only does it hold the fabric in place, it stiffens it so it doesn't pucker when zigzagging. Make sure to get the Lite kind. It can be stitched through by machine with out getting the needle sticky. |
|
|
HOW TO ATTACH A TASSEL TO THE END OF A PIECE OF CORD
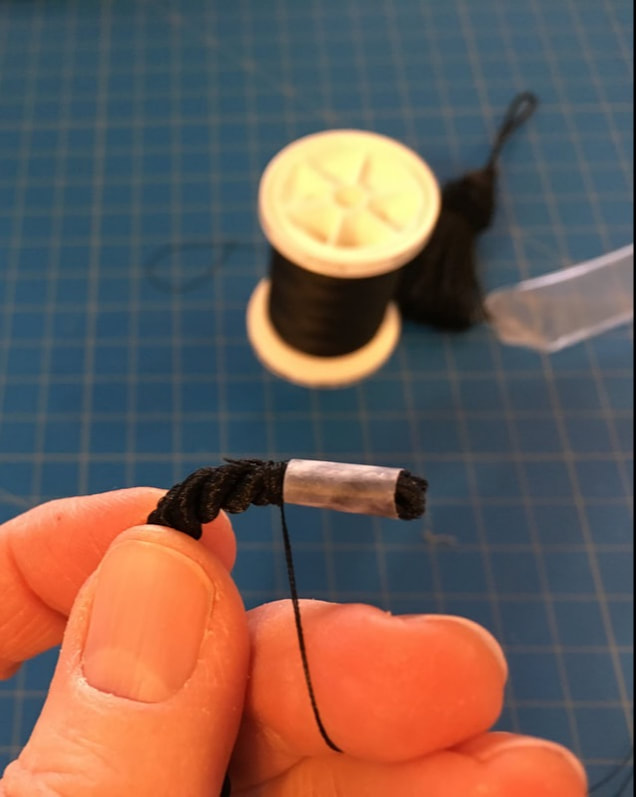
#1 Take a threaded needle and wrap the end farthest from the needle tightly around cord, just below tape that is keeping the cord from unraveling. THEN cut close to tape. |
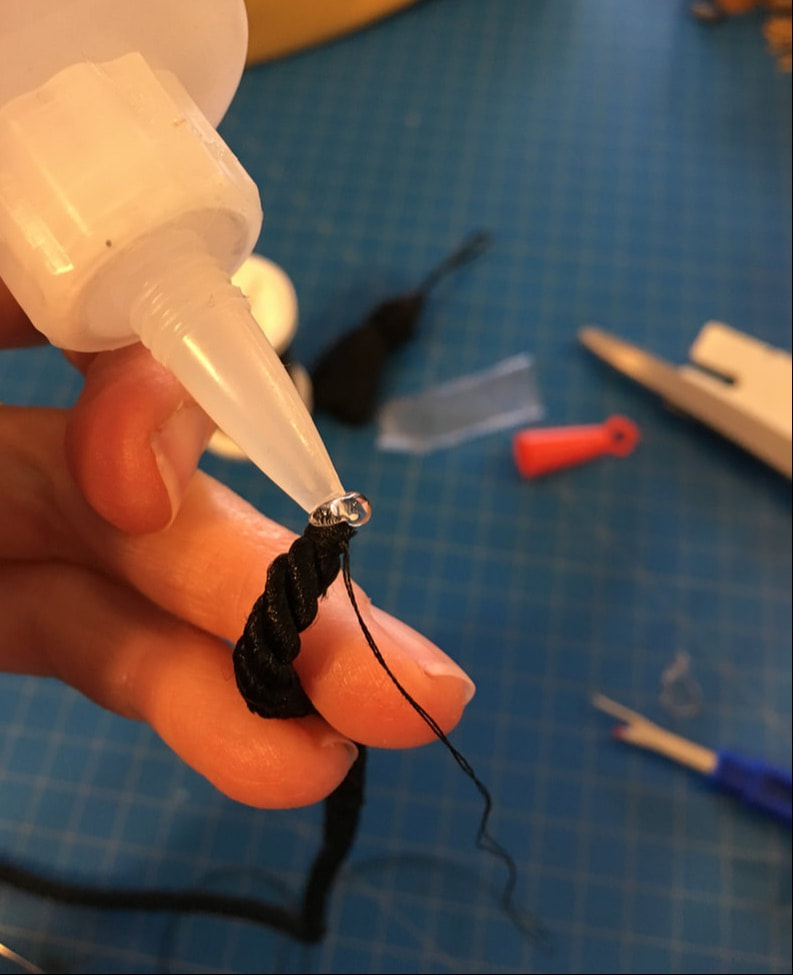
#2 Put a dot of glue at end of cord. Notice the thread used for wrapping is still attached to the cord.
|
|
#3 Stick the top side of the tassel to the gluey end of the cord.
|
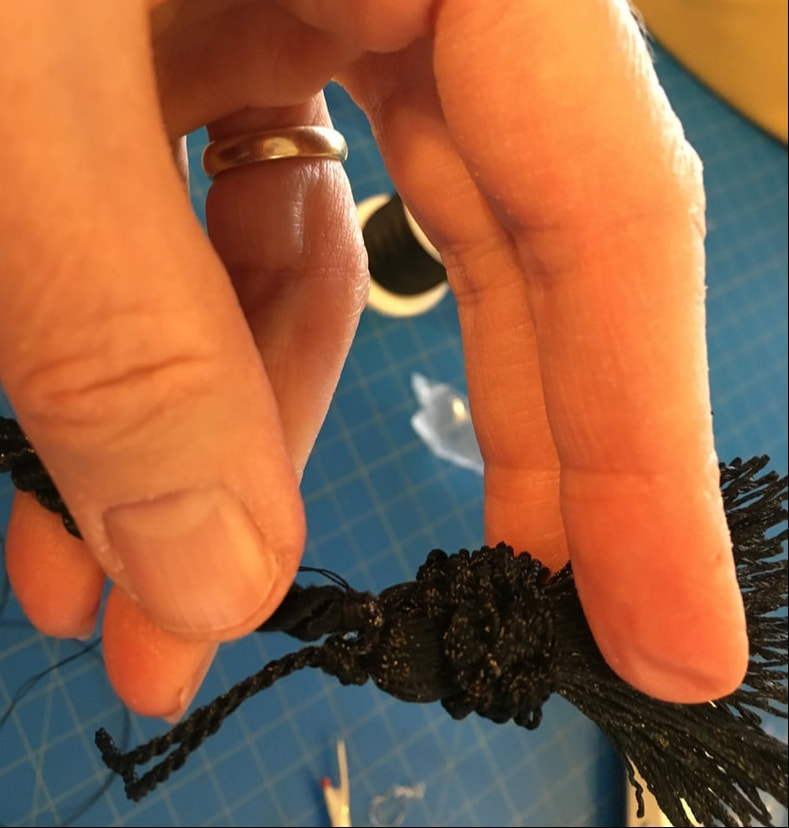
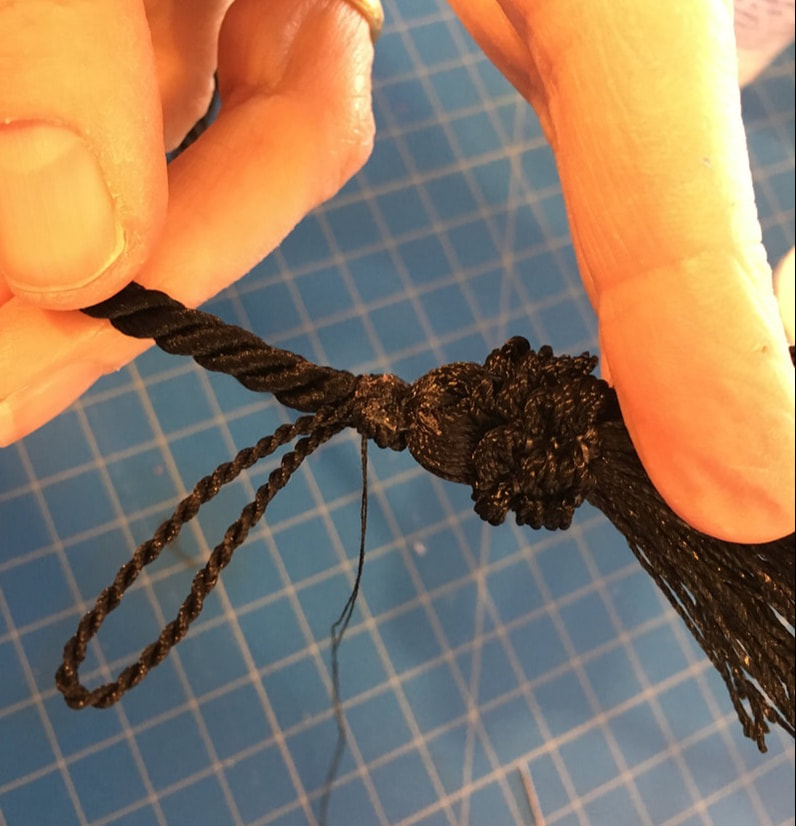
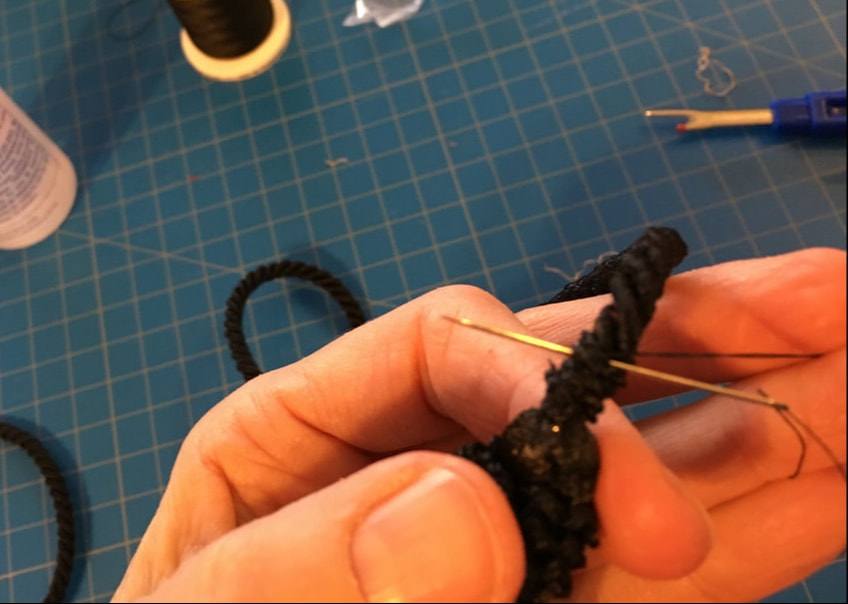
#4 Stitch many times connecting the cord to the tassel. Don’t worry if it looks a bit messy, because …
|
Well ... I have finished my granddaughter's quilt and plan to write about it next week. AND, I have a new respect for quilters ... the necessary accuracy and the arranging of color and pattern! It is very fun, but harder than I thought.
until next week ....

 RSS Feed