
Serious construction talk today!
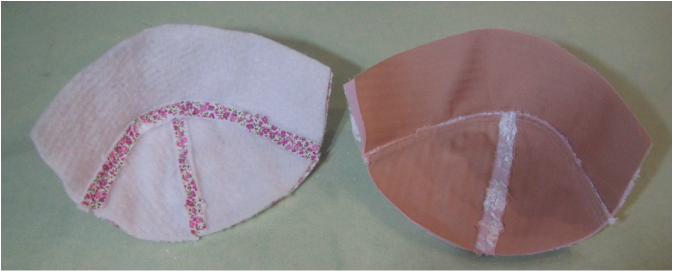
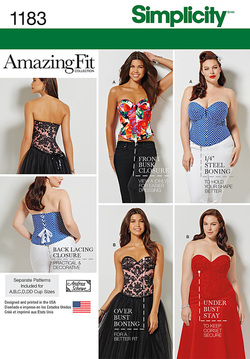
The bust cups for Simplicity's Amazing Fit Corset #1183 are made up of 4 different layers. (And if you are using a lace overlay, actually 5 layers). For the inner cup, on the left, the lining fabric (a floral cotton) is sewn with a layer of batting fleece (not polar fleece) and the outer layer using the fashion fabric is sewn with a layer of coutil (the interfacing fabric which backs the entire corset).
The photographs and explanations below are not meant to replace the guide-sheet instructions, just to supplement them by showing you what some of the operations actually look like and showing you how I made the photography samples. Also, please note, that the photographs jump around between the 4 samples AND the pink and white lace one became the all red corset with the aid of computer color mapping after the photograph was taken.
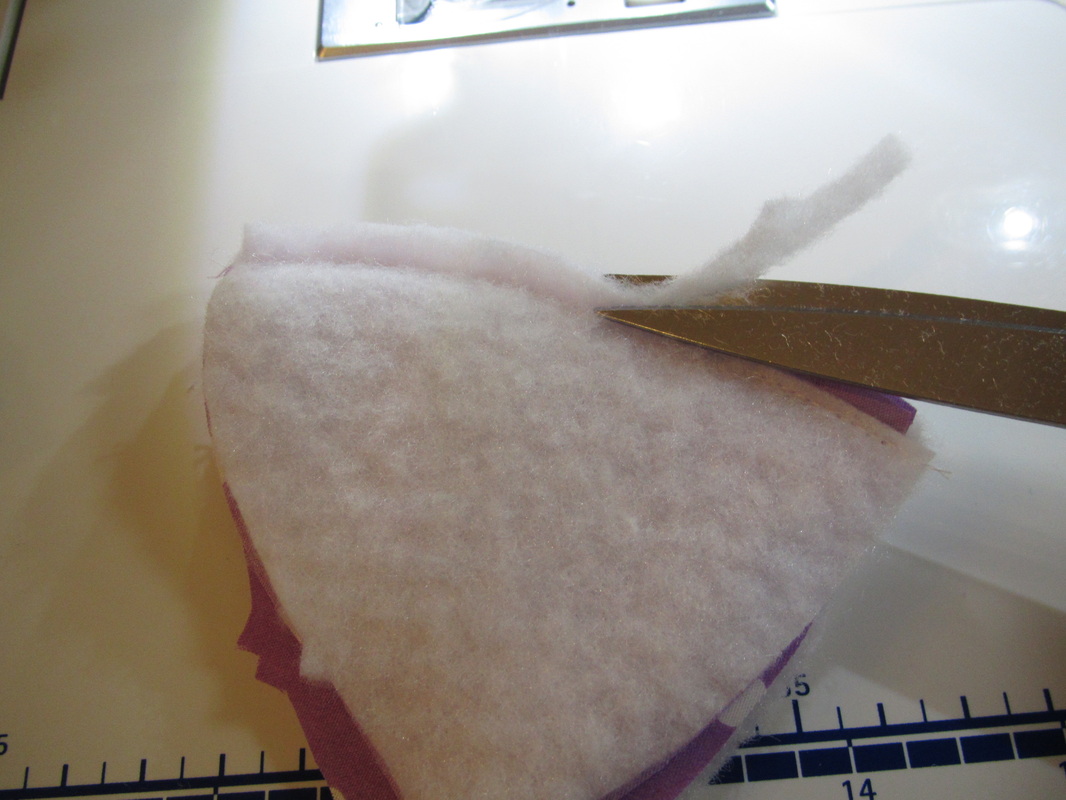
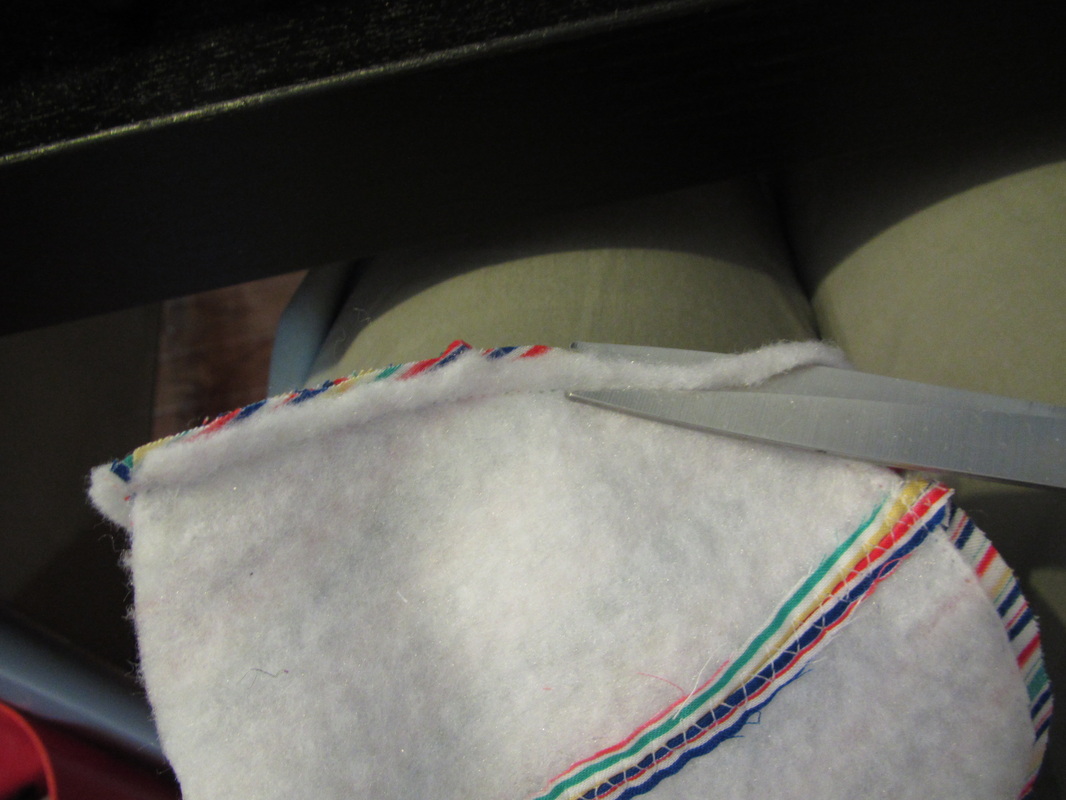
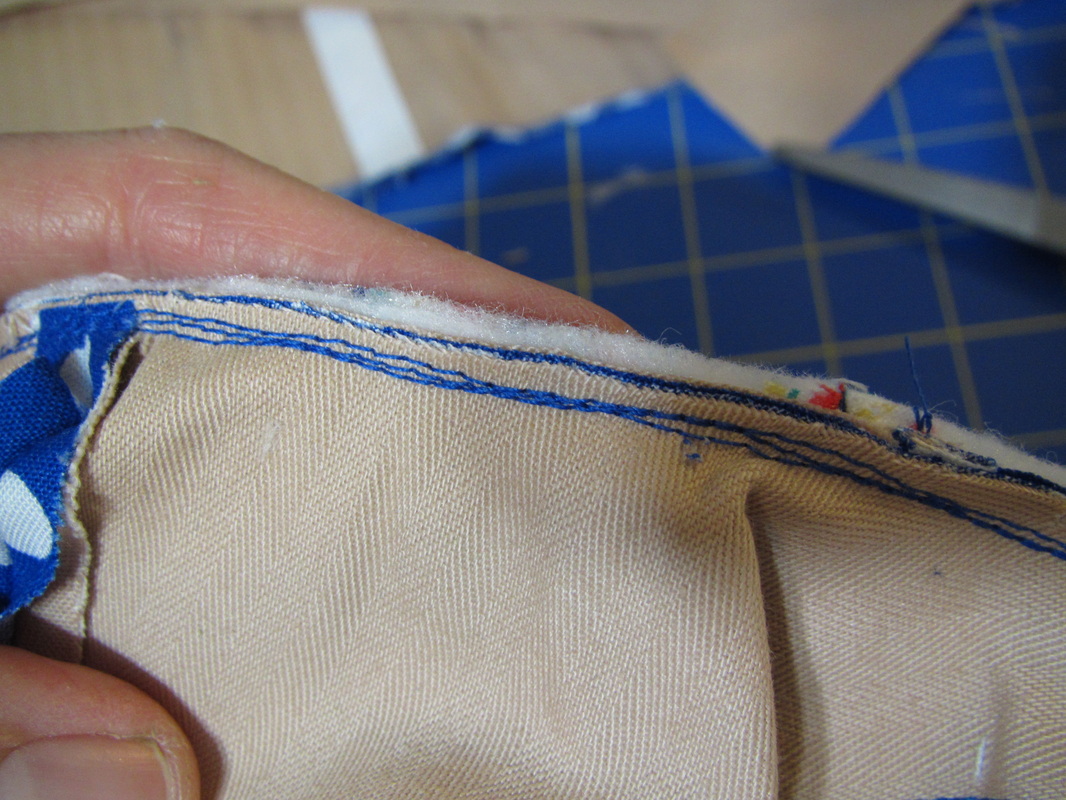
After sewing each seam of the inner cup, trim the fleece very close to the stitching line.
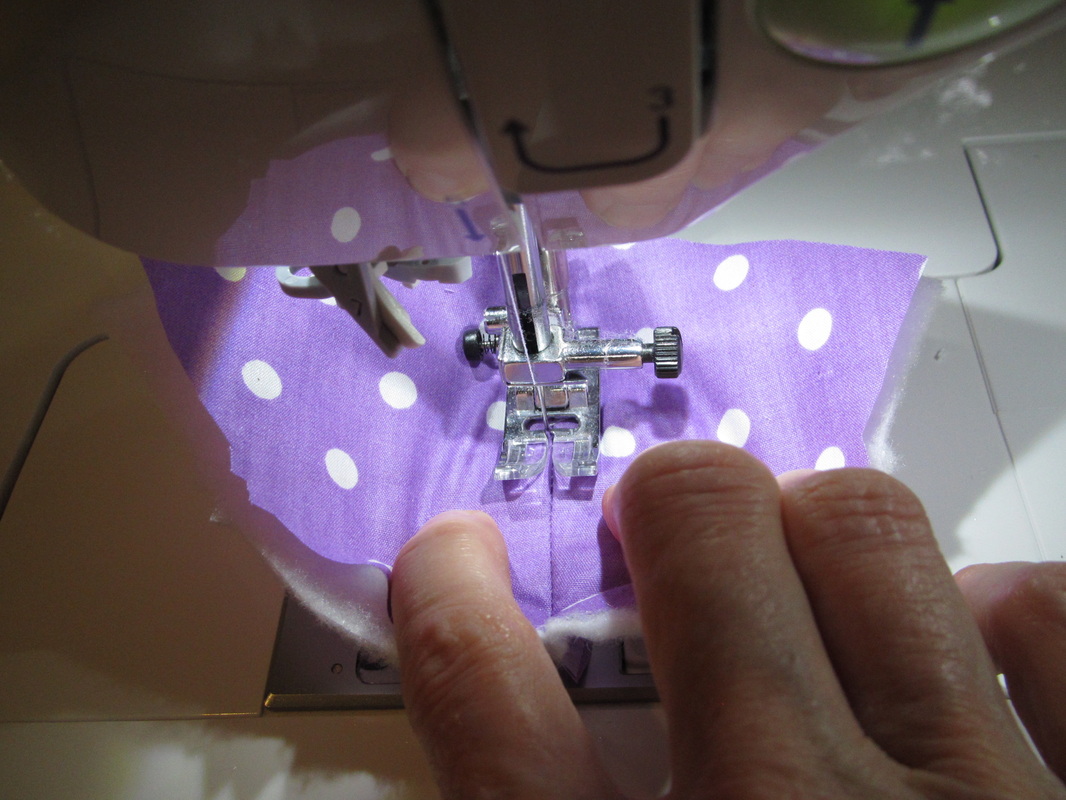
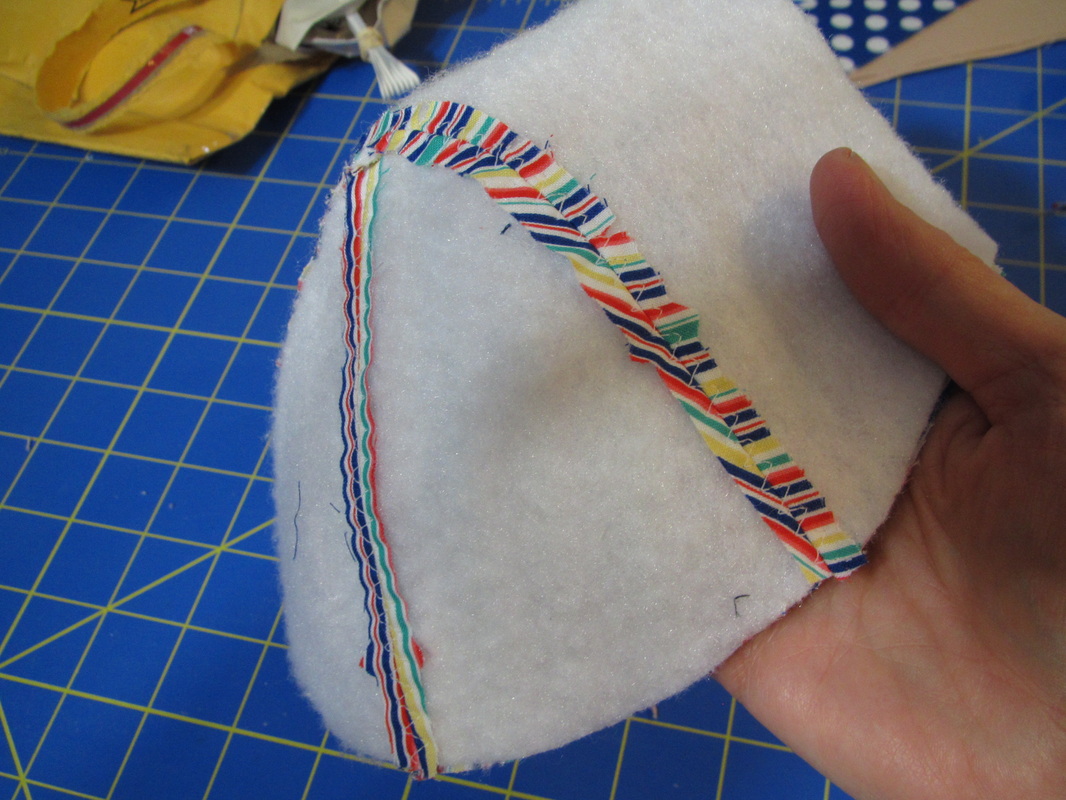
Then press open and stitch over the seam with a triple stitch zig-zag to hold it open and flat.
| 
|
Here are a photographs from the cups of another one of the corsets.
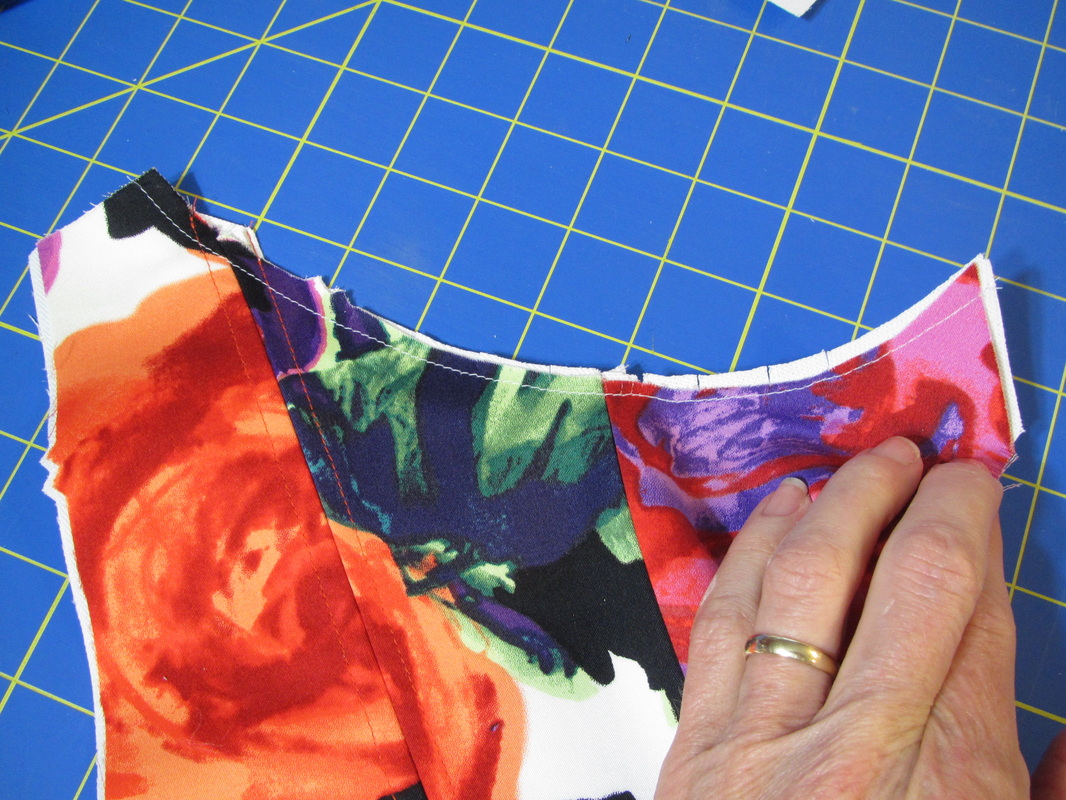
When assembling the outer cup, also trim the interfacing close to the seam and press the seams open. You will then have the inner and outer cups complete, looking like the photo at the top of this blog. As you can see, the lower vertical seam I pressed open the the horizontal seam I pressed up and topstitched close to the seam.
When assembling the outer cup, also trim the interfacing close to the seam and press the seams open. You will then have the inner and outer cups complete, looking like the photo at the top of this blog. As you can see, the lower vertical seam I pressed open the the horizontal seam I pressed up and topstitched close to the seam.
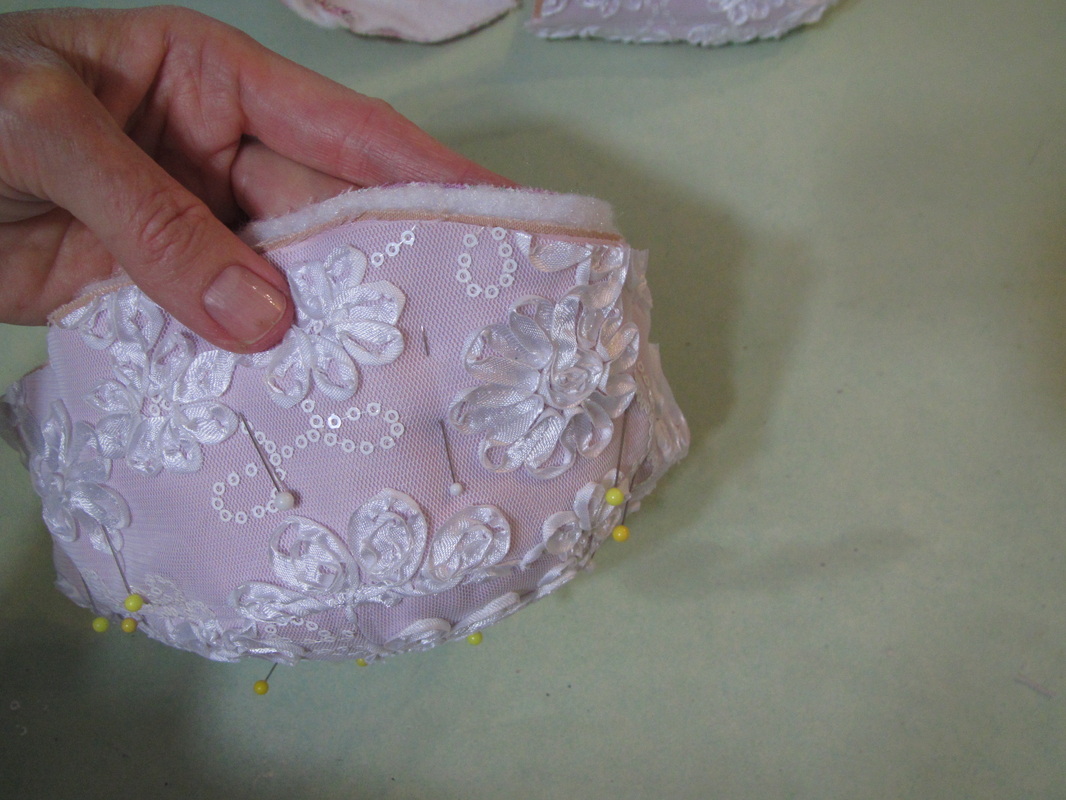
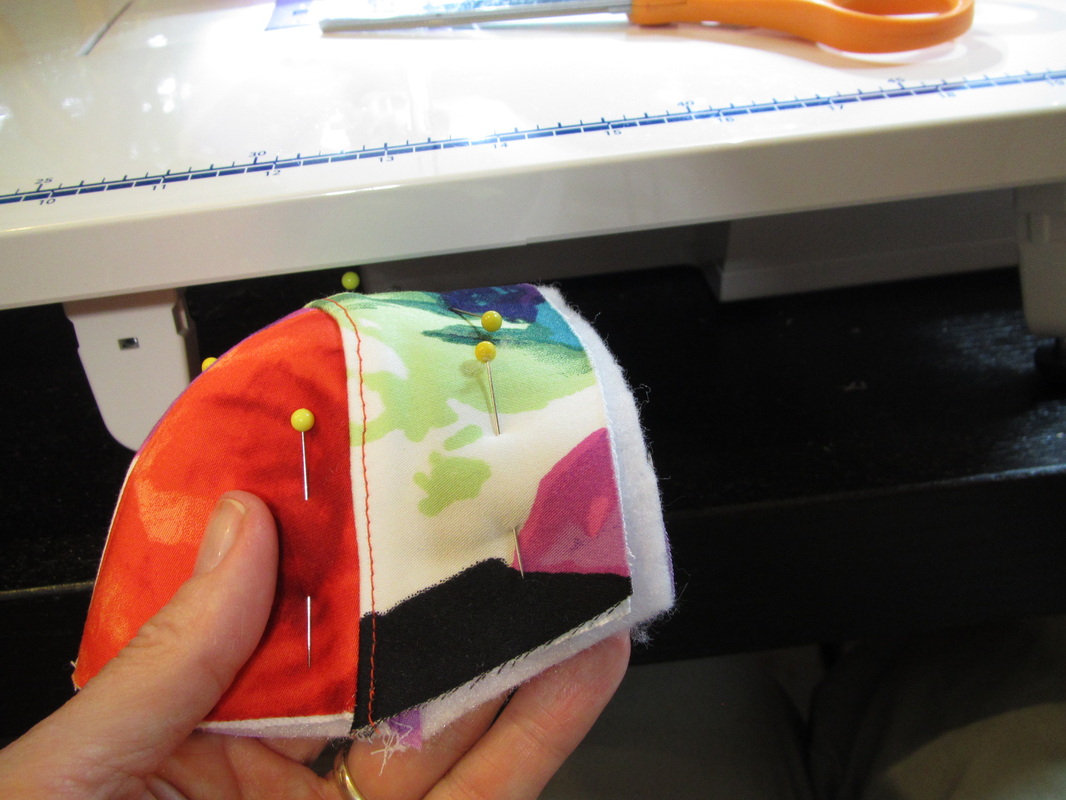
Now, nestle the inner cup into the outer cup. Starting at the center, matching up the seam allowances, pin through all layers.
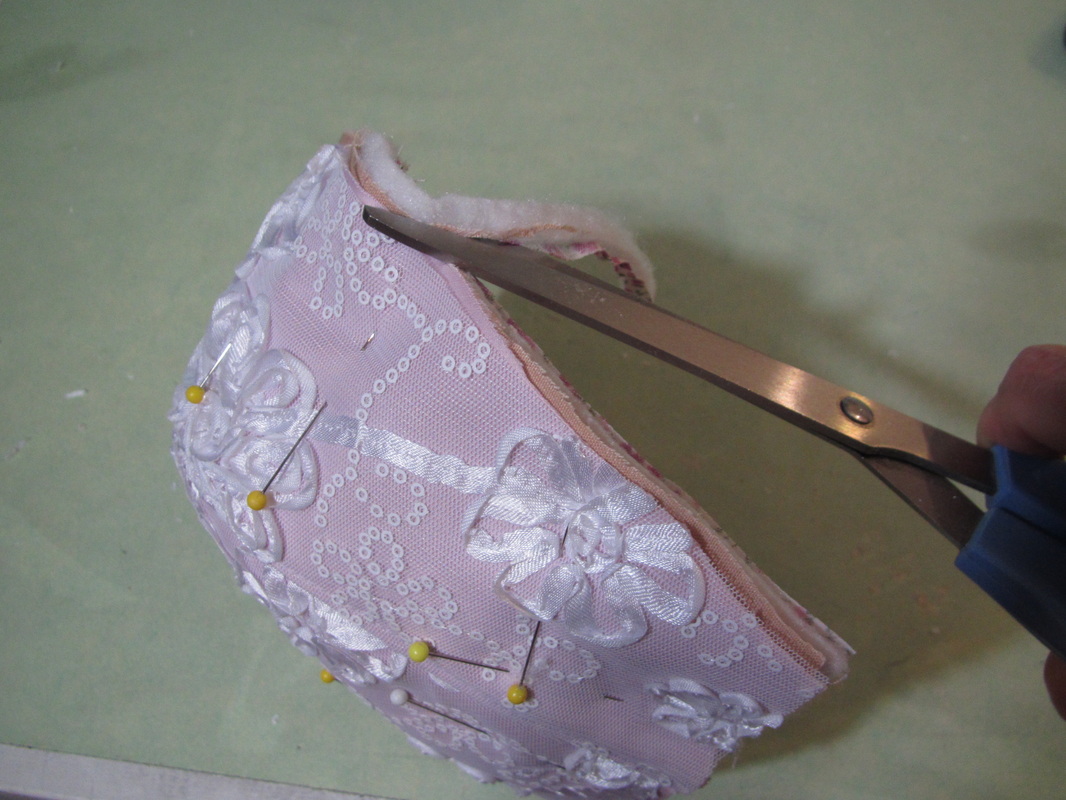
Because of the thickness and multiple layers the inner layer with the fleece is going to project beyond the outer fashion fabric layer and will need to be trimmed to match up with the outer layer.
You can see the same thing happened with this sample and all the sample, actually.
By this point, the three panels of front body of the corset should be assembled with the bone tape sewn to the seams, but no bones in yet. The assembled cup will now be sewn into the cup opening.
This will be a many layered seam that needs to be graded (trimmed in graduated layers to smooth out bulk).
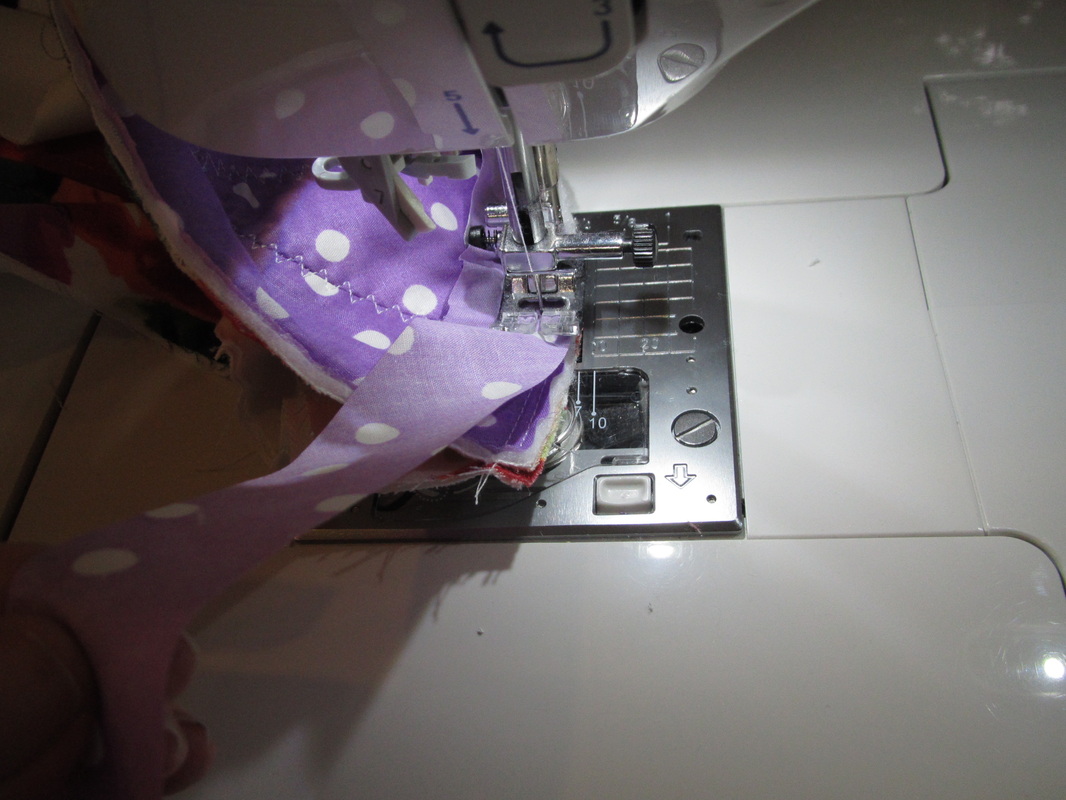
The seam is then covered with a strip of bias cut from the same fabric as the cup lining.
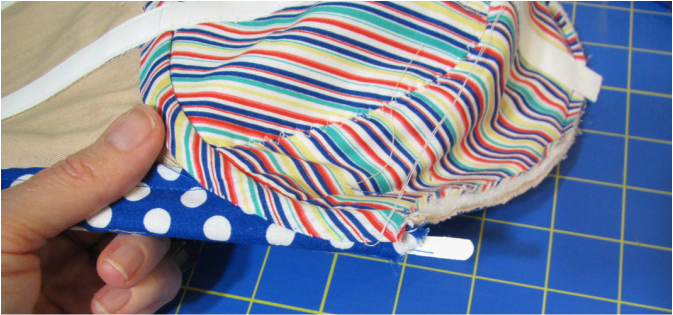
And slipped stitched down.
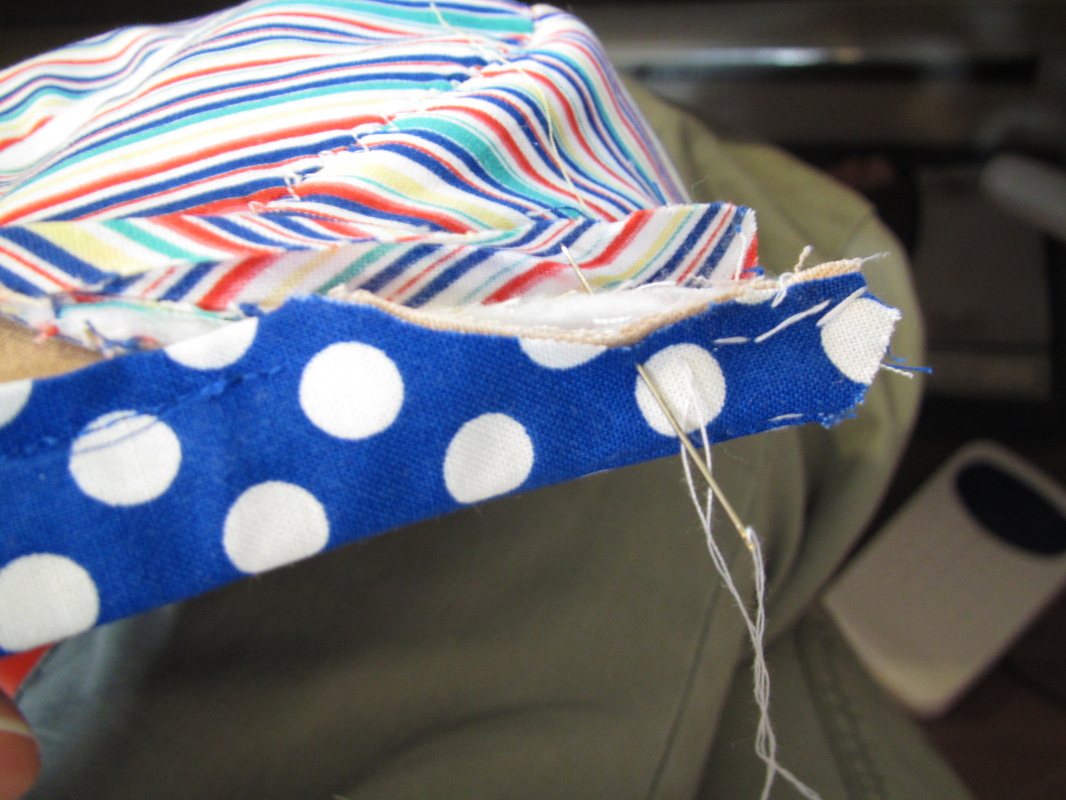
For the corsets that have a busk closer in front, the front facing gets VERY narrow at the top and I found the facing needed to be hand sewn in place AFTER the bias was stitch on. This skinny top section has a short piece of 1/4" steel boning that sits above the busk, because if the busk went all the way to the top, between the breasts, the bust cups would be WAY too far apart ... making an awkward silhouette.
Now one more thing about bust cups ... and this is something my mother told me YEARS ago, but it was so interesting to see while working on this corset.
This is the way bust cup sizing works, as an example, a 38A, and a 36B and a 34 C cup are exactly the same ... exactly, the cup and the opening it is sewn into. Now, this pattern comes in 5 cup sizes A, B, C, D & DD. I had only hoped it would come in 3!
But, I have already gotten a question from someone who is larger than a DD. So, I suggested she try taking a bust cup from a size or 2 larger to use with the body pattern that was her size. This would mean, of course, using the bust cup opening for that same larger size. The pattern pieces can be overlapped to find the necessary cutting line.
And, I also, recommended making a muslin. If you make a muslin, it should have some kind of boning, maybe just feather boning, or you could use the steel boning that is for the finished corset and then pull it out. Don't use the good bone tape though, just use some bias tape or twill tape for the muslin sample.
That's all for bust cups. A little more about corset sewing next time.
 RSS Feed