
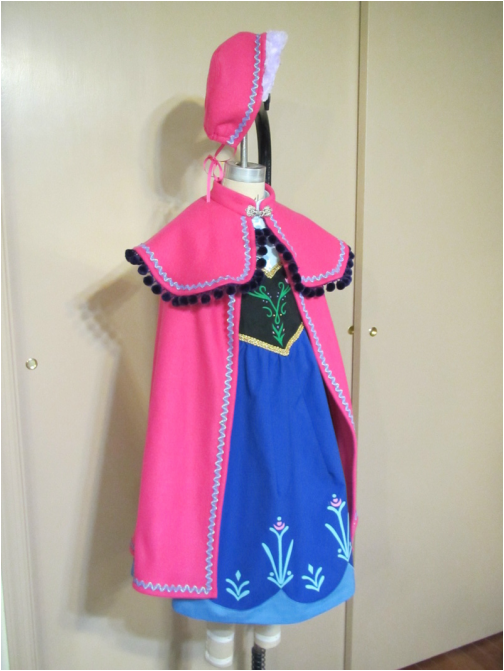
We are at the home stretch! The pieces just need to be sewn together ... YAY!
This is part 5 of a 5 part tutorial. Click on these links to read the other parts. Part #1 dress cutting, Part #2 dress motifs, Part #3 dress sewing, Part #4 cape cutting.
This is part 5 of a 5 part tutorial. Click on these links to read the other parts. Part #1 dress cutting, Part #2 dress motifs, Part #3 dress sewing, Part #4 cape cutting.
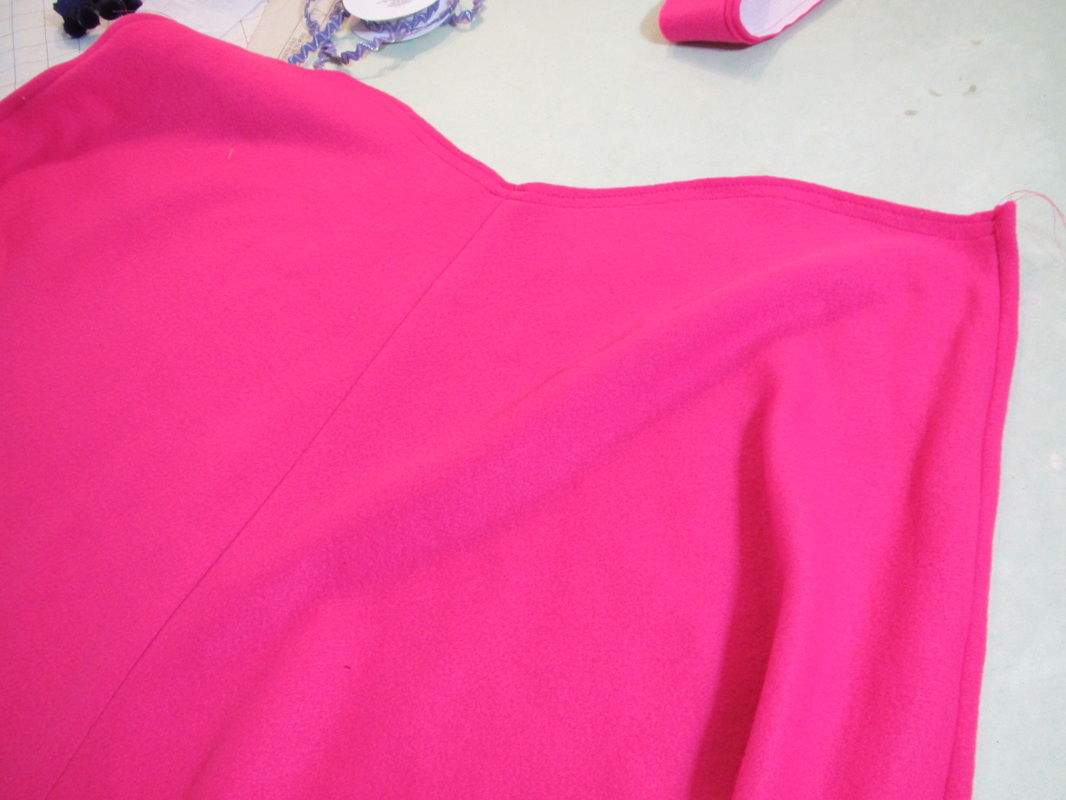
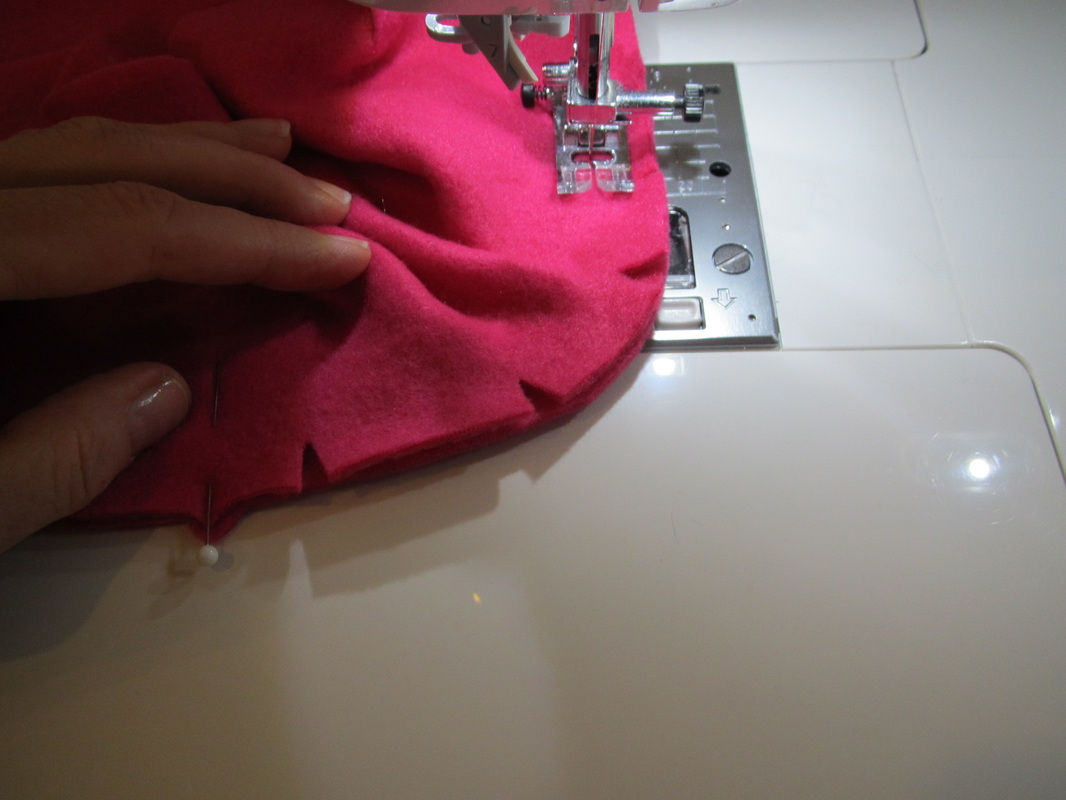
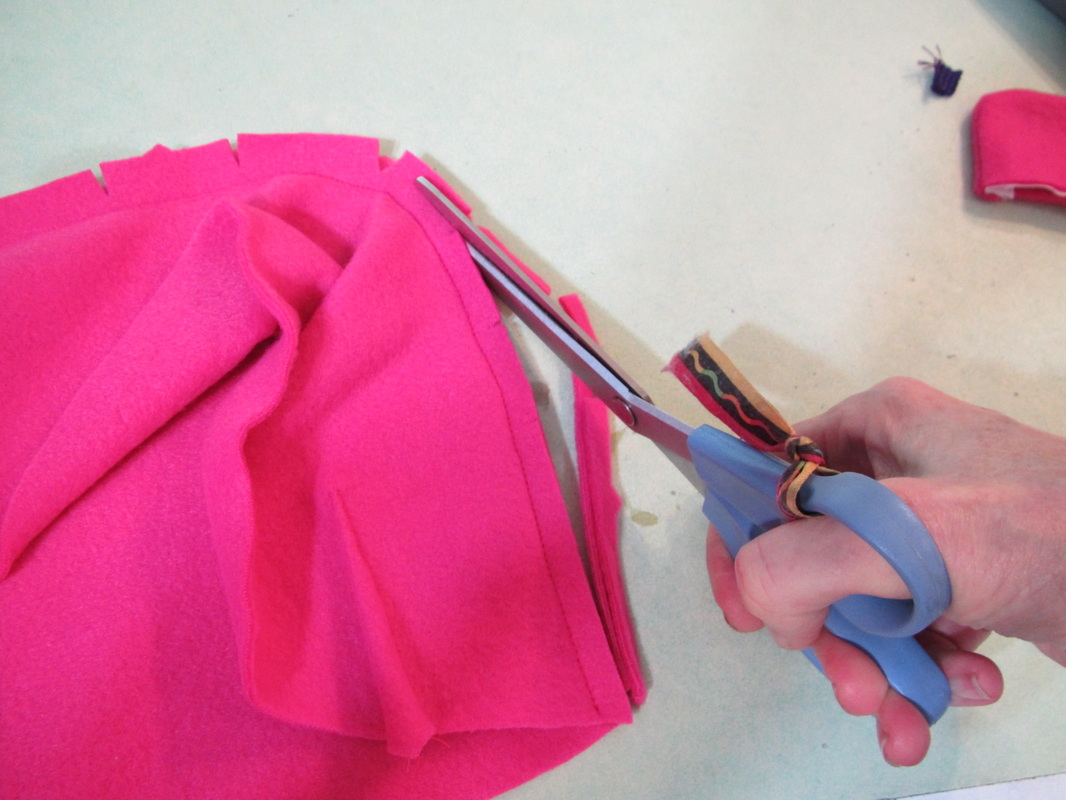
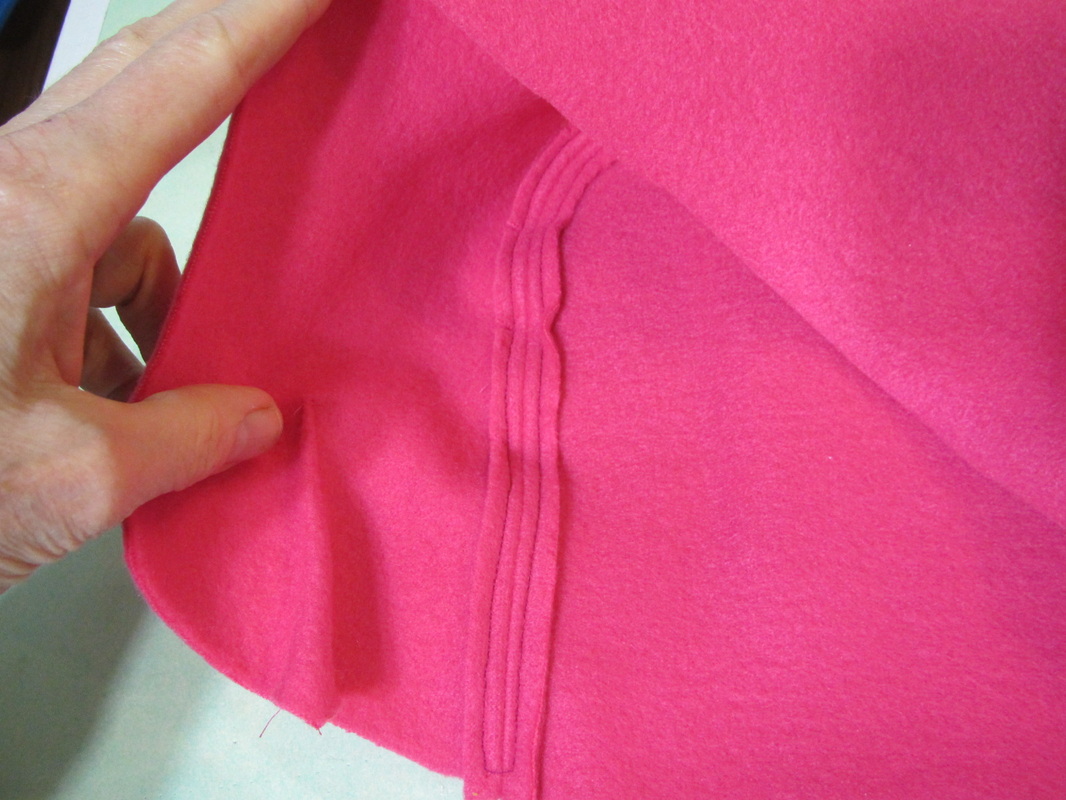
First sew together the 2 main cape pieces along the back seam. Hem the front edges (with polar fleece a single folded top stitched hem works fine). Don't hem the bottom yet. Run 2 rows of gathering stitches along the top edge.
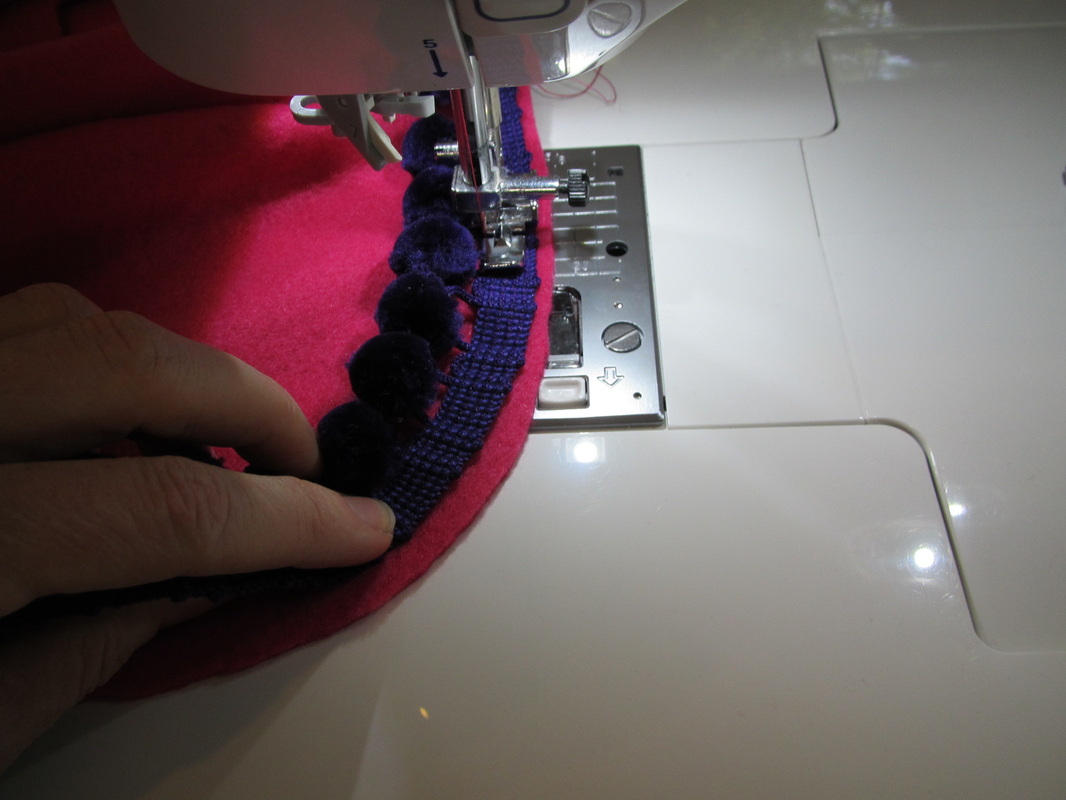
To attach the ball fringe to the upper cape, sew it on like this first and then fold it back and top stitch it again. Press first to ease in that curve. Then, if you are using it, rick rack can be sewn next to the ball fringe.
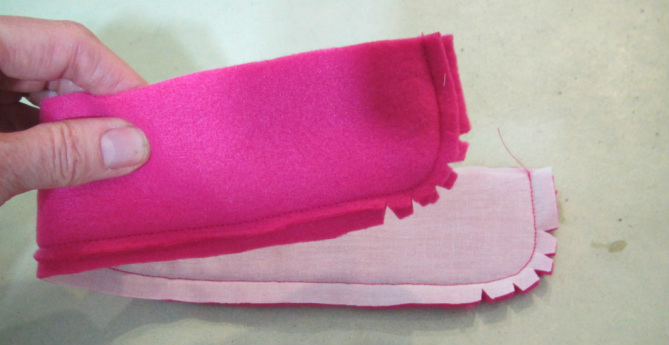
Press the fusible interfacing to one piece of the collar. Then sew the two pieces together, trim and clip the seams, turn and press.
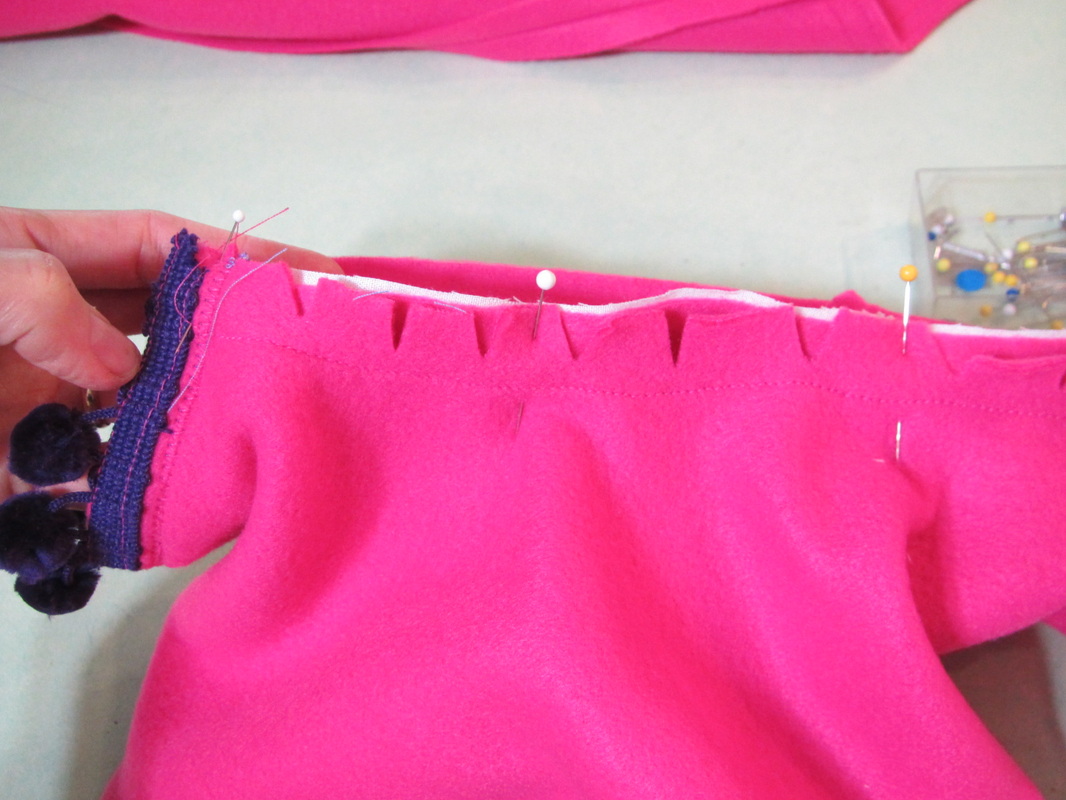
Stay stitch and clip the tight neck curve of the upper cape. It is sewn to the collar first. The side that has the interfacing pressed to it.
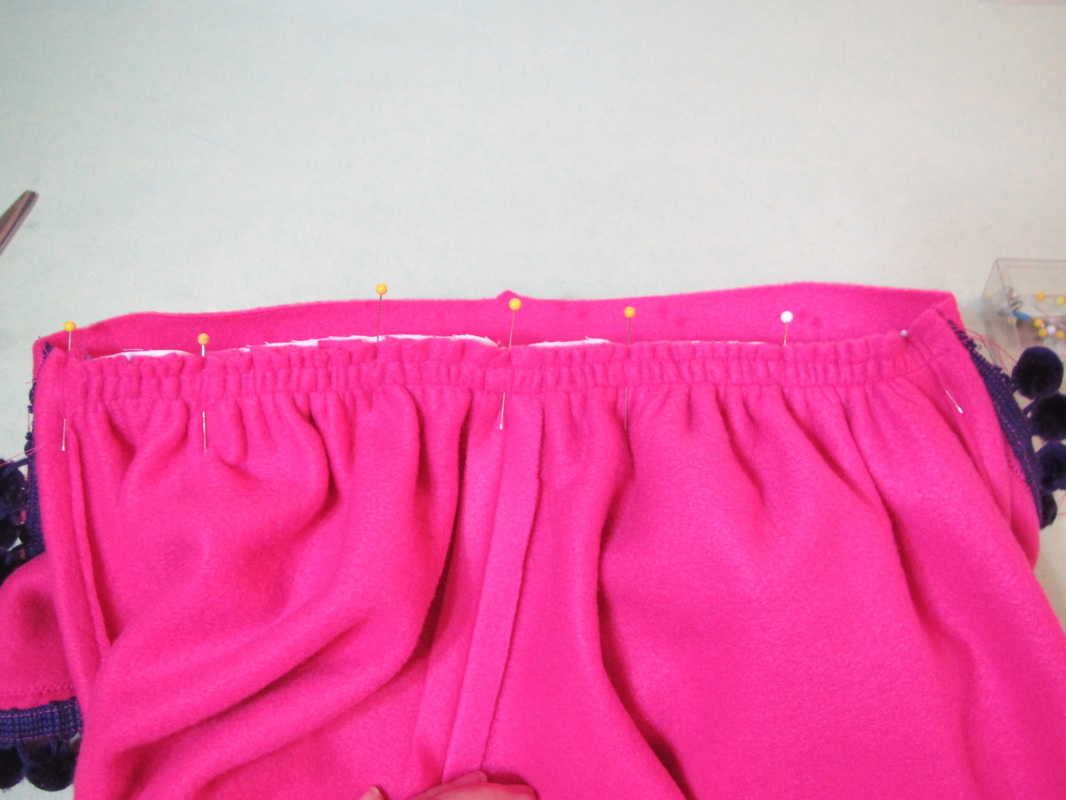
Next, the main cape is gathered to fit and sewn to the collar next to the upper cape.
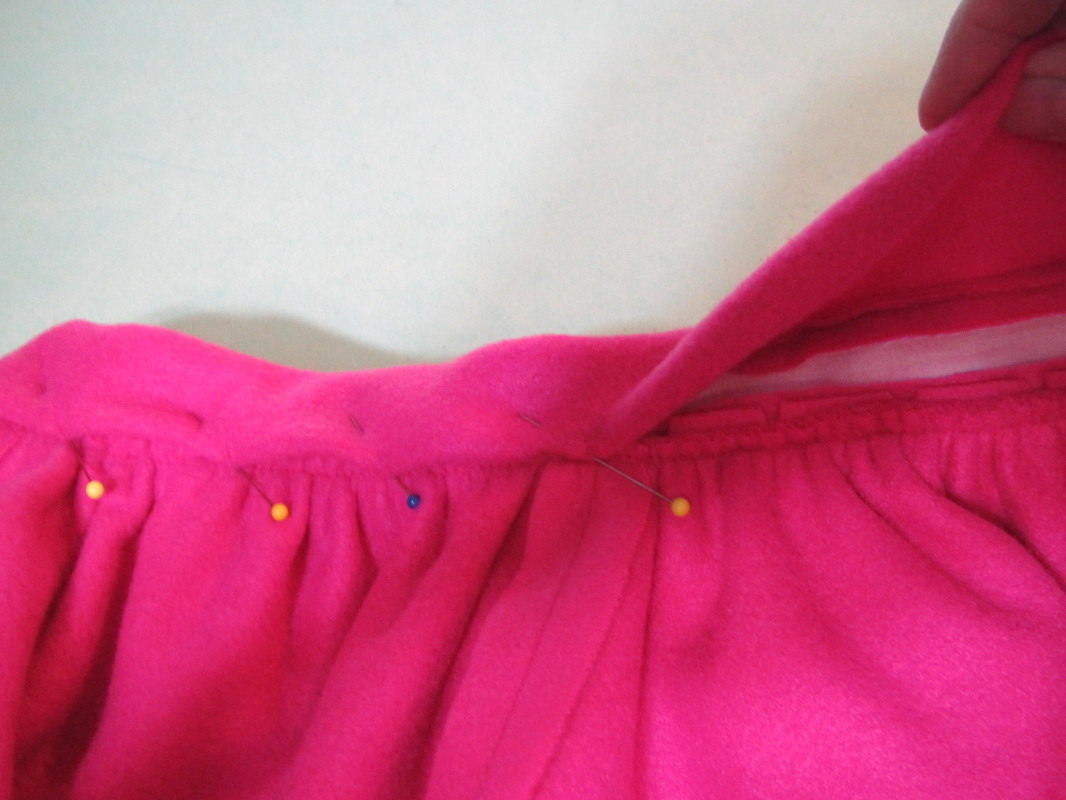
Trim away the bulky seam allowance, turn and pin the inside collar piece.
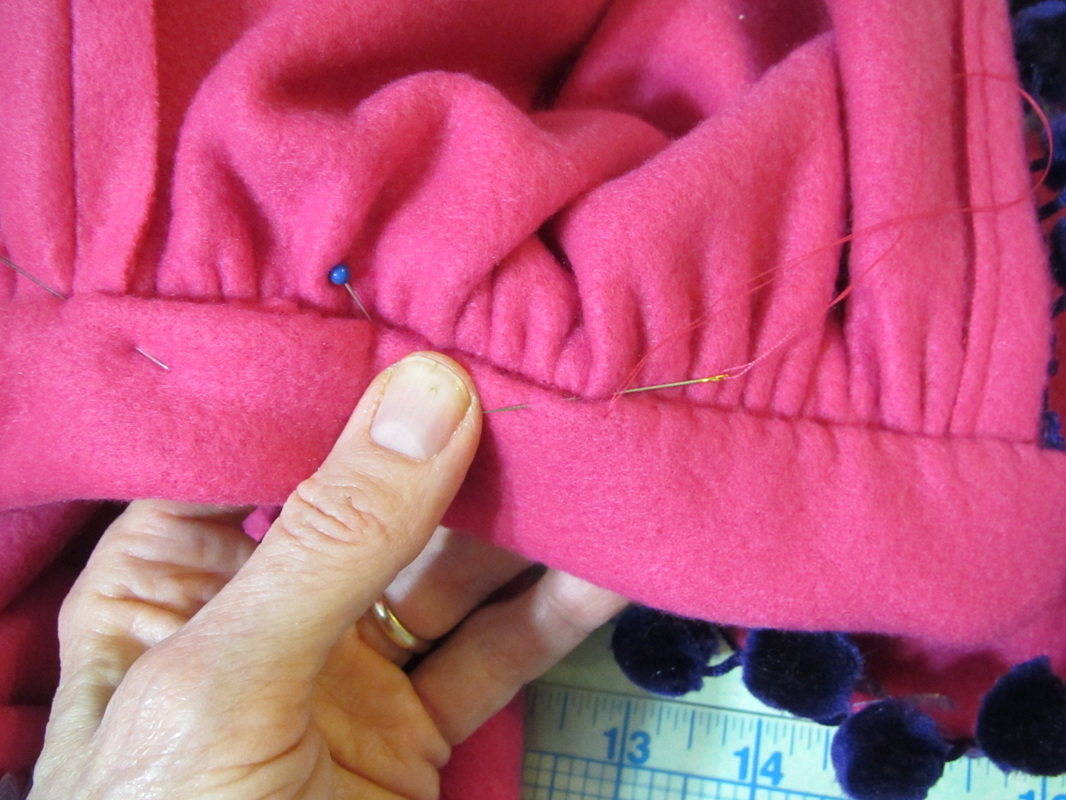
So it can be slipped stitched into place. Then the decorative hook can be sewn on.
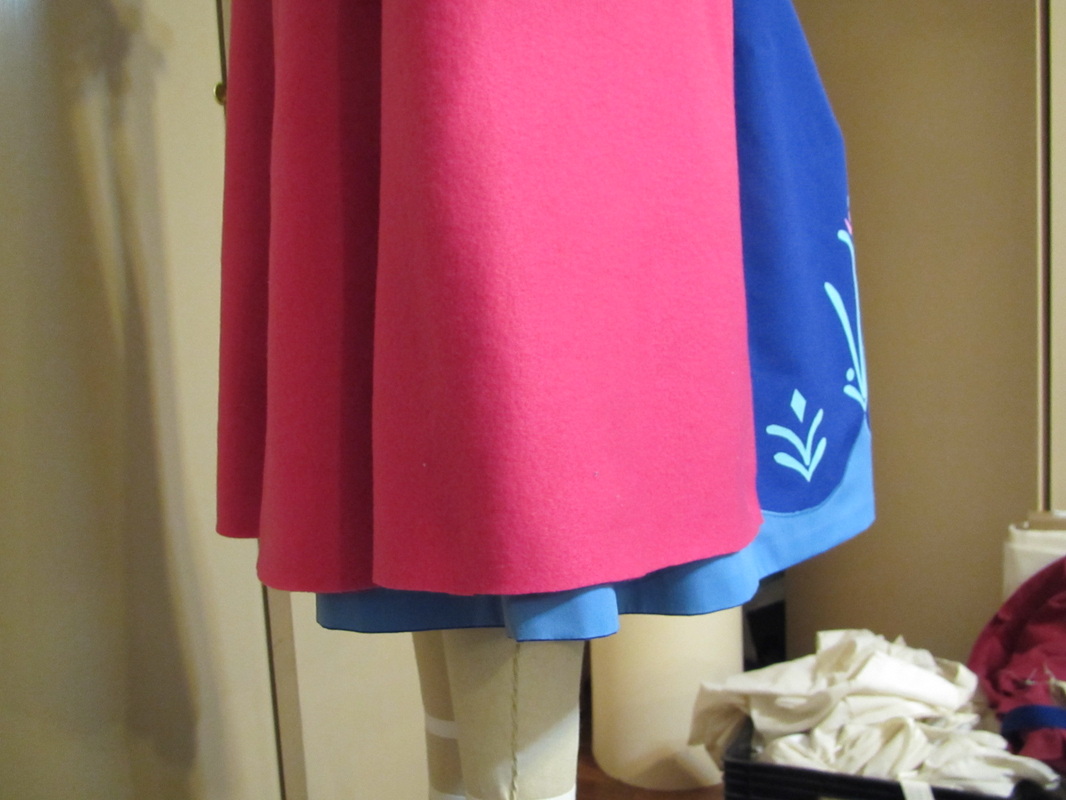
Check that the hem is hanging evenly and fix, if necessary, and machine sew a 1/2" hem. Add rick rack, if desired.
For the hat, sew the darts on the main piece and then sew the main piece to the back. It fits better if the straight edge of the straight piece is clipped to open around the curved edge of the back piece.
Trim this seam to 1/4".
To make the seam lie flat, open up the seam allowances and edge stitch them to either side.
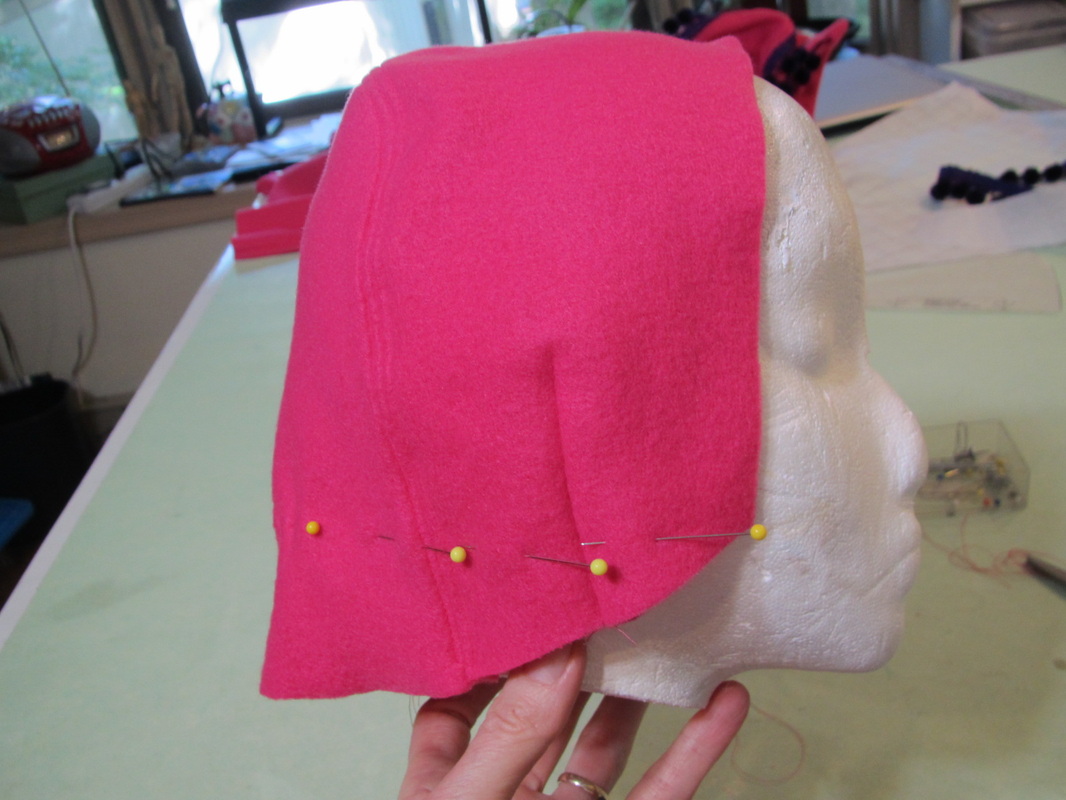
This hat dips down in the back, but Anna's hat doesn't, so try it on and put some pins where you would like to trim it off. Fold and pin the hat in half so the two sides can be trimmed together to ensure they will be the same.
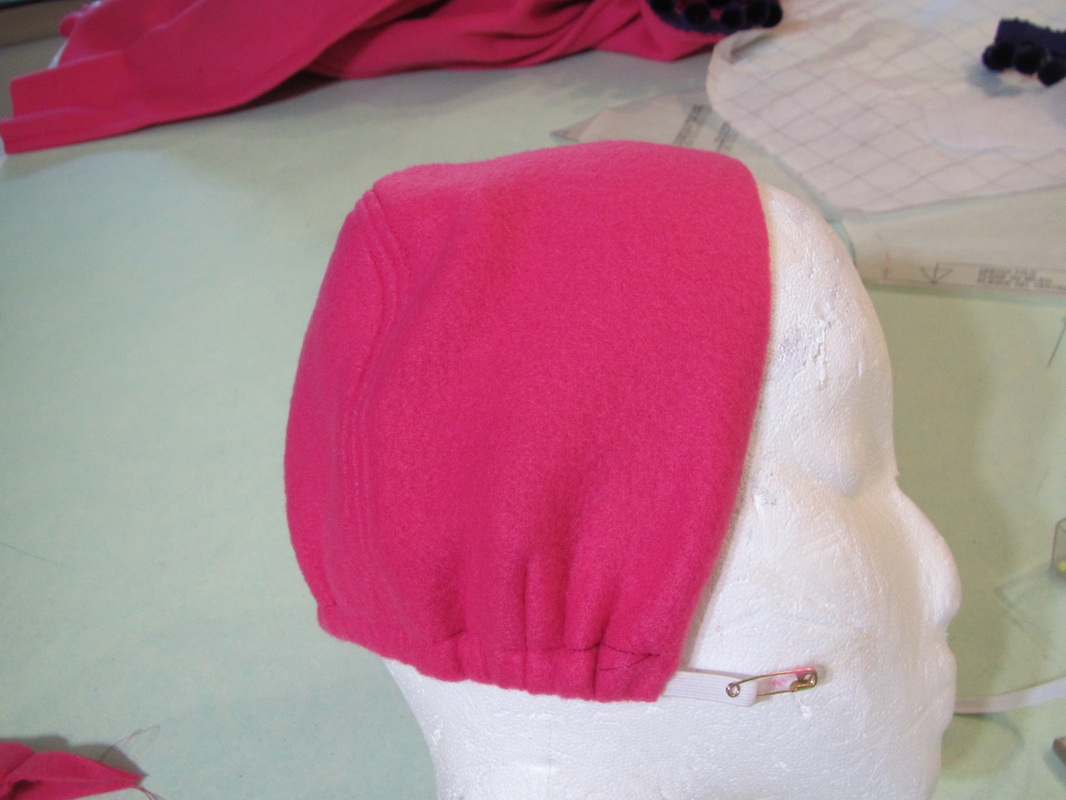
To make the back fit the head better, fold up the bottom 5/8" and sew a casing for 1/4" elastic. Insert the elastic and pull it to fit, not too tight.
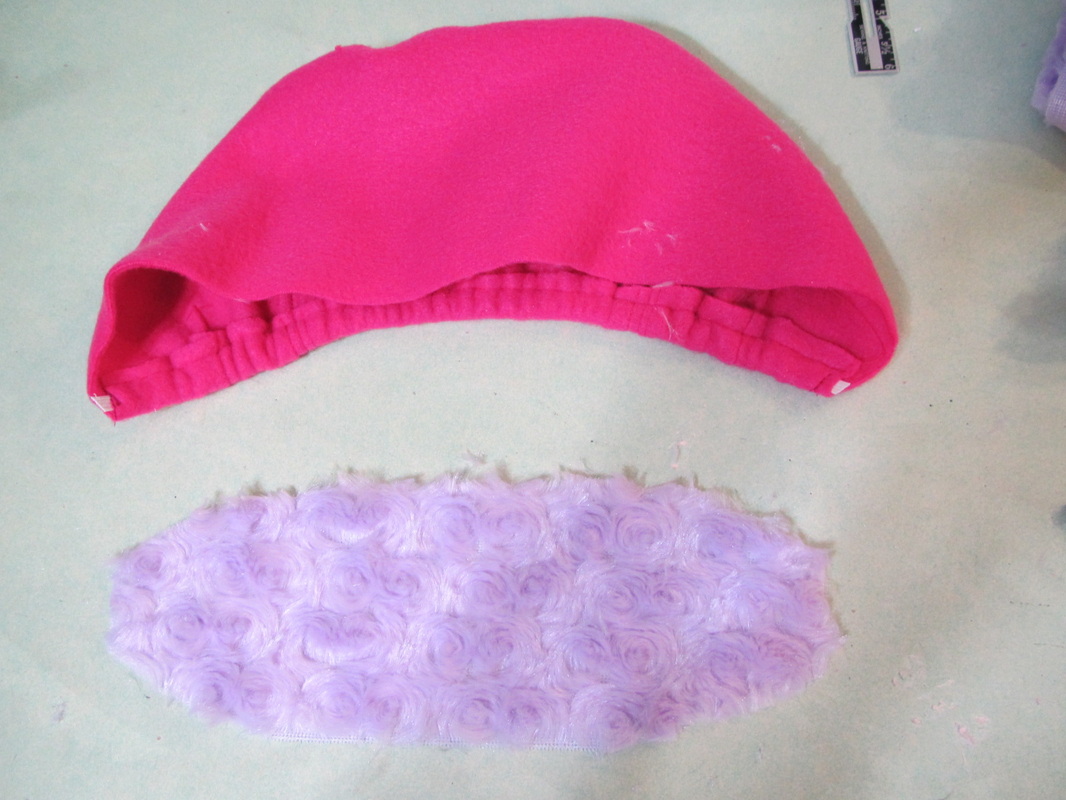
The front edge needs some purple fur (only Disney would have purple fur!). I used some purple curly Minky. It is cut about 3/4" the length of the front hat edge and is about 4" wide.
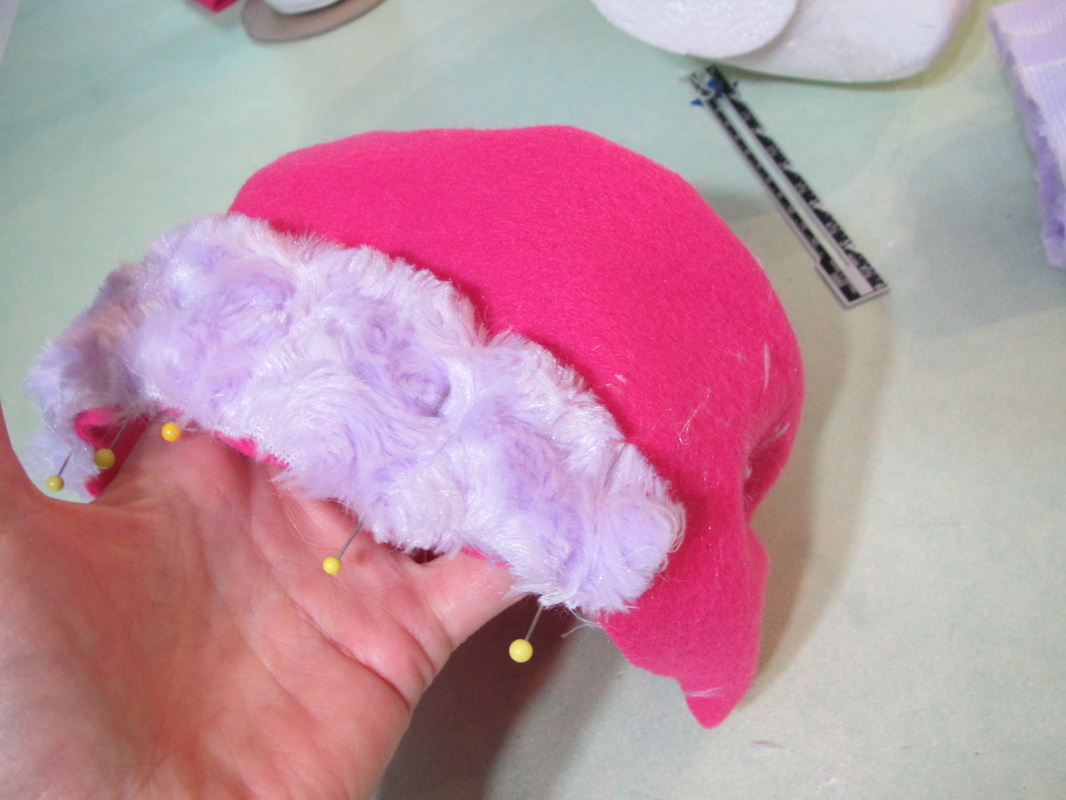
Taper the ends a bit, fold in half, center and pin to the front edge. Sew in place.
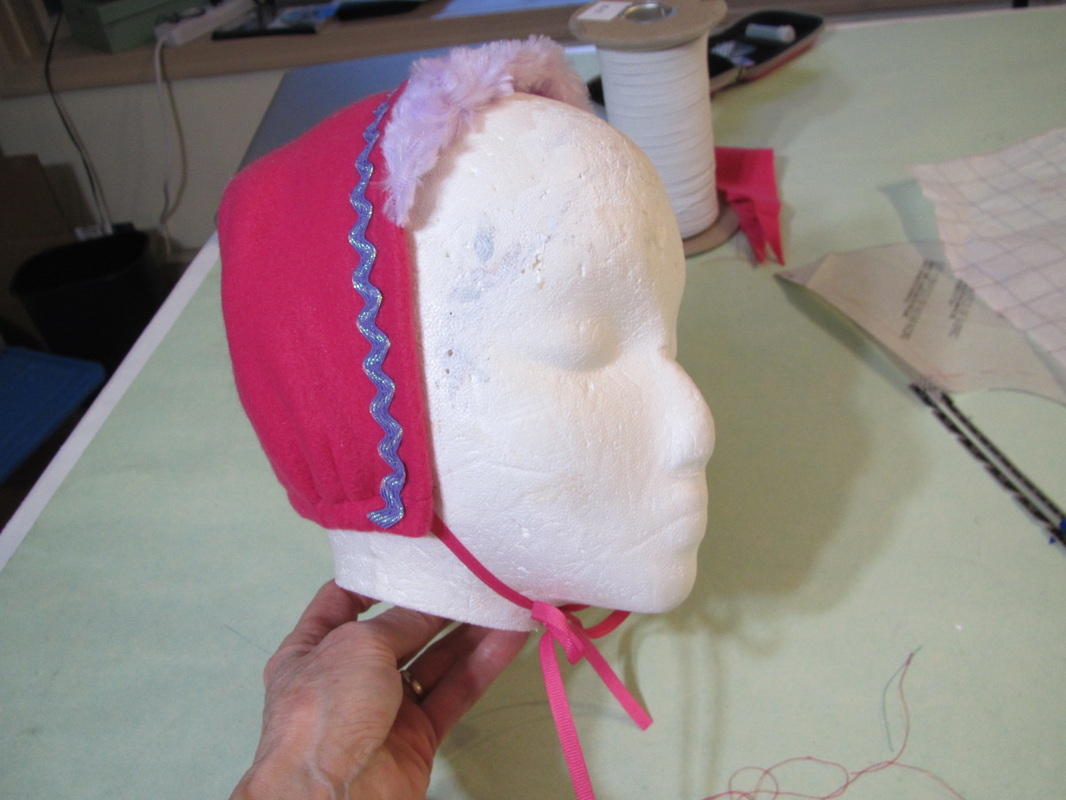
Fold the front edge back for a machine stitched hem and apply rick rack, if you are using it. Then add some ribbons to keep this hat on. Anna doesn't have ribbons in the movie, but I think this hat needs them.
And I just want to point out to you that this hat isn't fitting ths head very well, because it is a kid's hat on an adult head form.
Well, that wraps up three weeks of Frozen dress tutorials. It's been fun and exhausting!
Please share with friends. I hope there will be many happy Elsas and Annas of all ages and sizes around this year.
 RSS Feed