
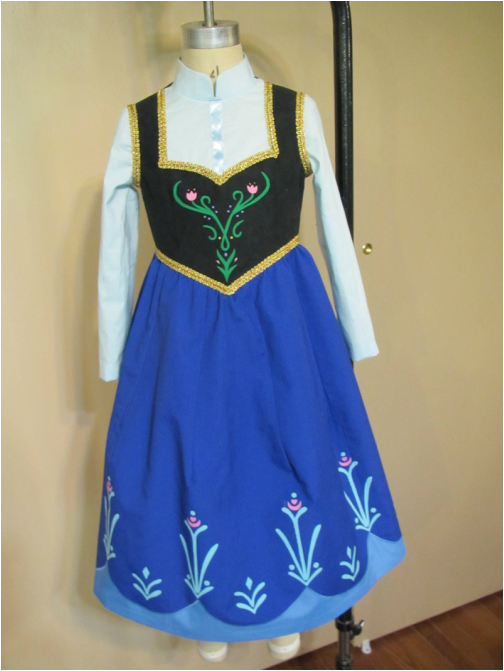
All the hard work is done and now it's time to put the pieces together.
If you missed them, click on these to read part 1 (cutting), and part 2 (motifs).
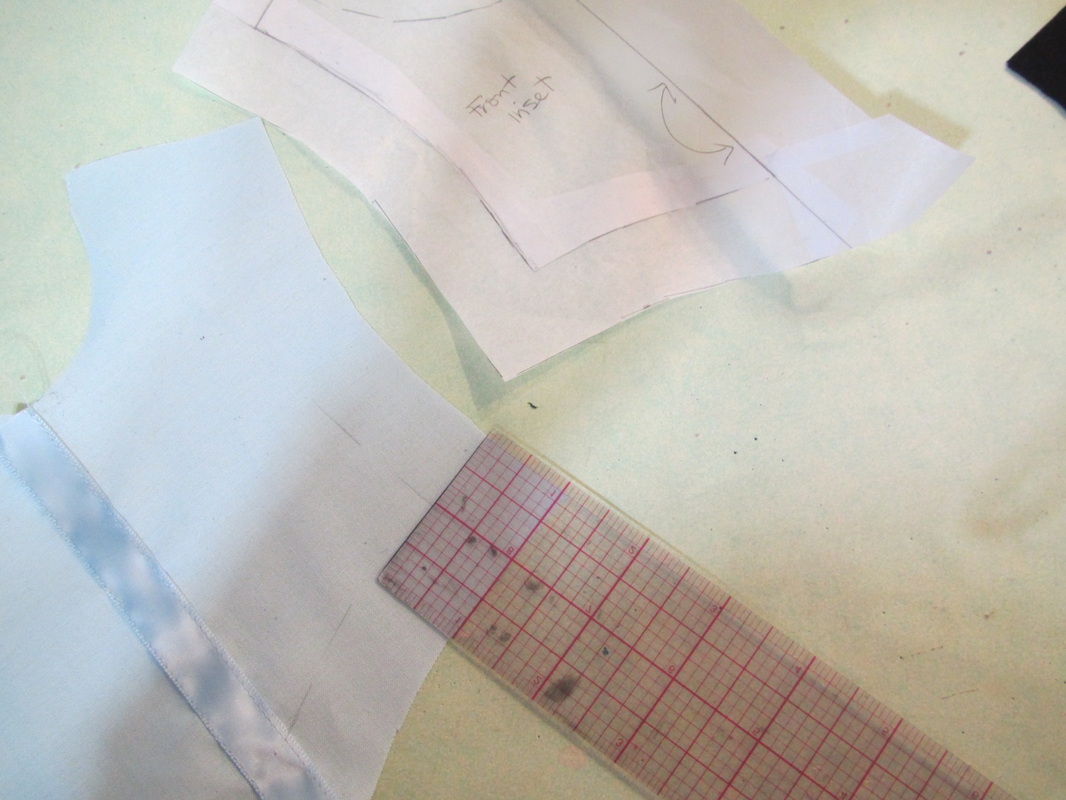
The first thing to do is sew the little bit of ribbon down the center of the front bodice inset (faux blouse front) and then lap the inset under the edge of the front bodice. Mark the 1" underlap allowance to help line it up properly. Sew a small zig zag over the edge to join these pieces.
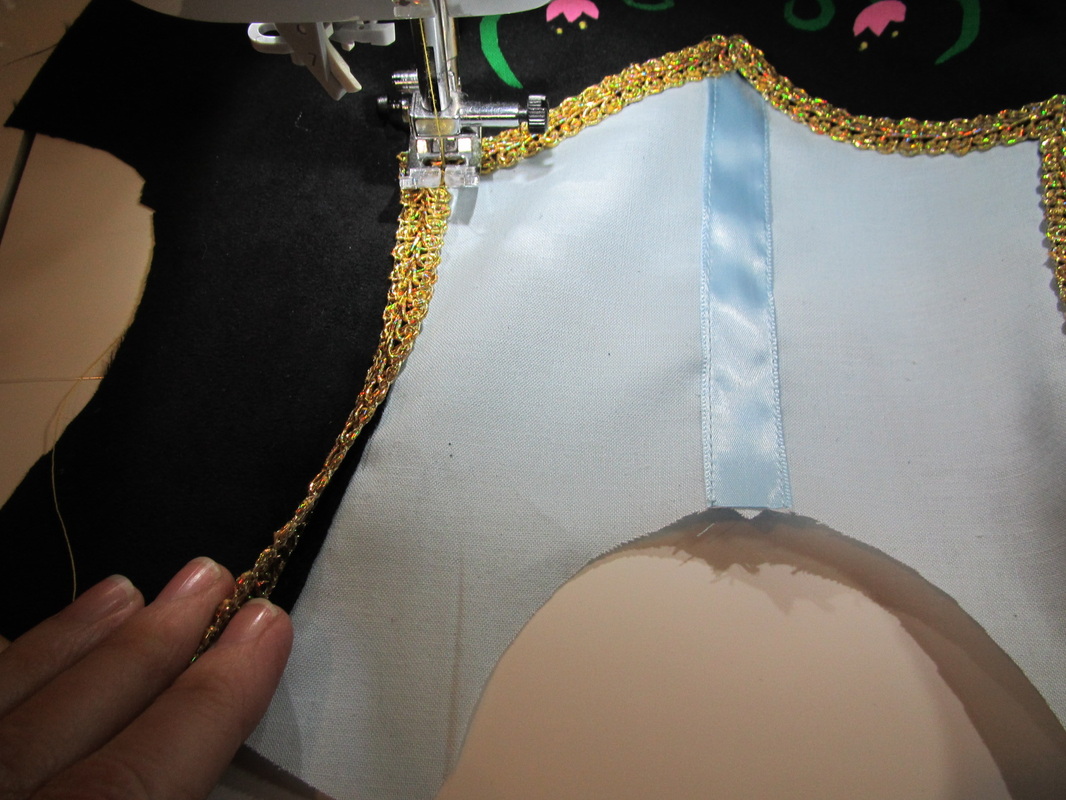
Then sew braid over to cover the stitching and raw edges.
| 
|
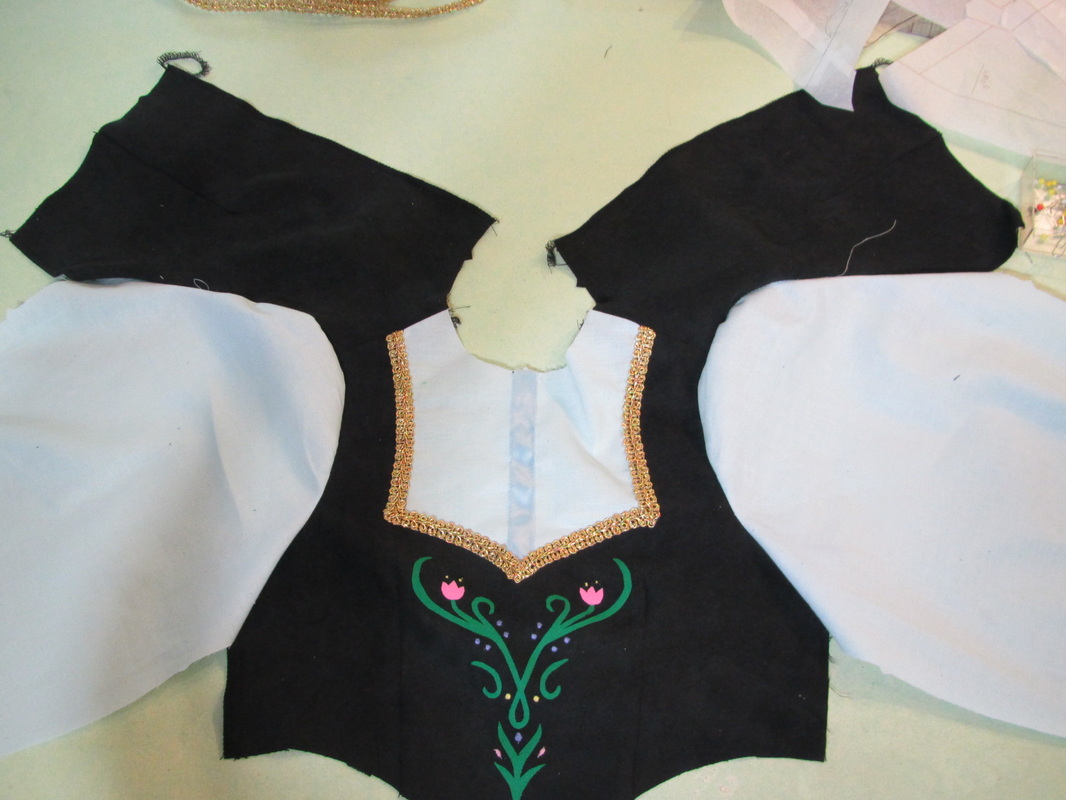
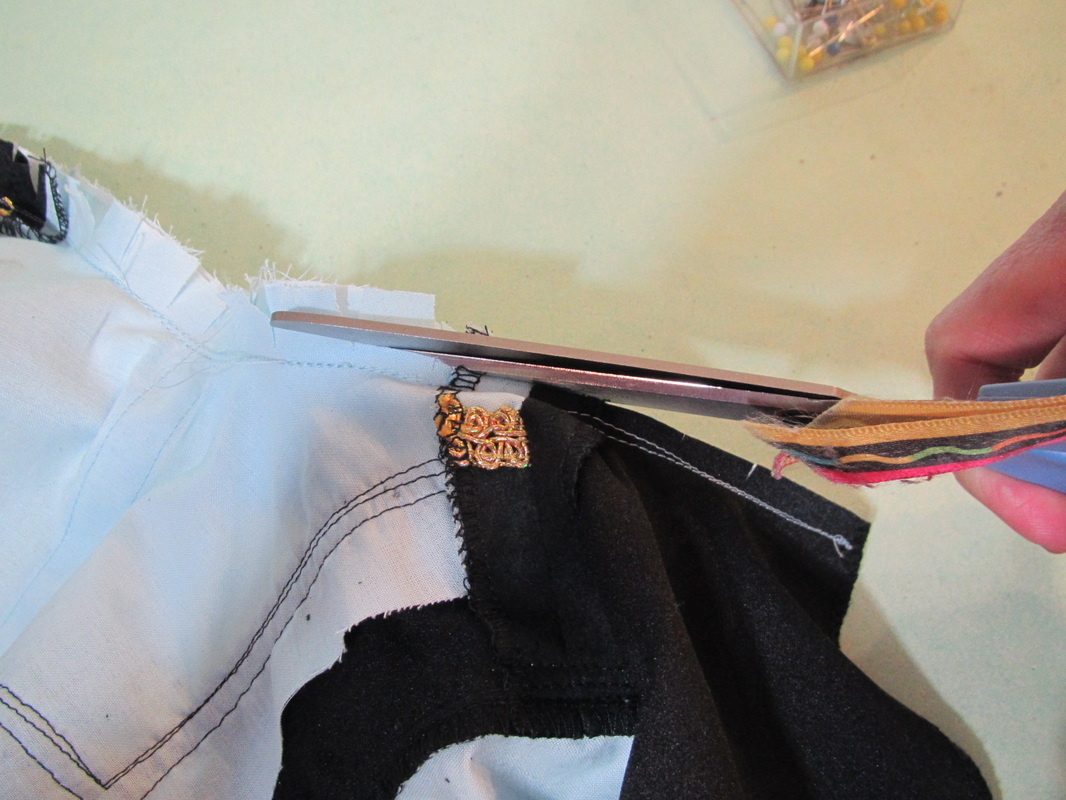
Sew the shoulder seams and set the sleeves in with the side seams open. This makes is easier to sew more braid over the arm hole seam.
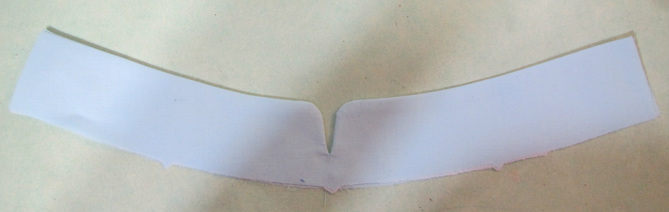
To prepare the collar for sewing, fuse the interfacing on one piece, then draw the center front line and the stitching lines (5/8" from the cut line) onto the interfacing.
To make the little split in the front of the collar, draw slanted lines starting 1/4" from the center line at the top of the collar that tapers to the center line at the bottom.
To make the little split in the front of the collar, draw slanted lines starting 1/4" from the center line at the top of the collar that tapers to the center line at the bottom.
Round the front corners with something round. This is now your stitching line.
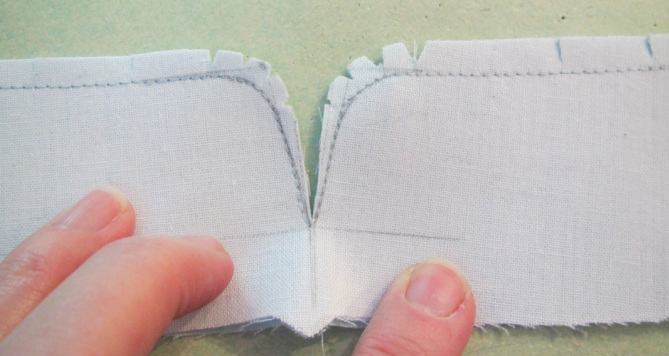
Pin the two layers of the collar together and stitch along the upper line going down and up the split. Trim and clip the seam.
Turn and press.
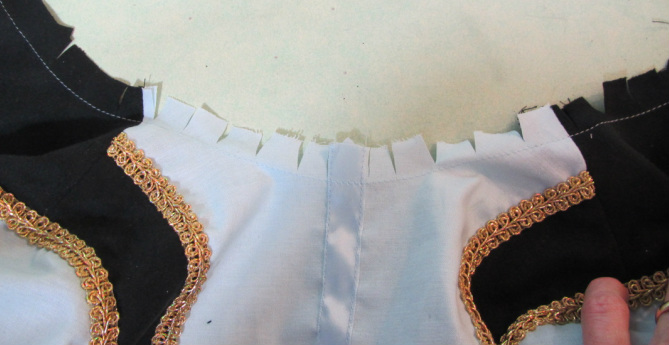
Stay stitch the neck at the 5/8" seam line, so it can be clipped into and open up straight to fit the collar.
After the collar is stitched on, trim the seam to about 1/4", zig zag over the edge, push the seam allowance down and edge stitch in place.
Now the side seams can be sewn all the way through the sleeve seam and the bodice is ready for the skirt. The sleeve hems can be sewn now, but try it on your Anna, first.
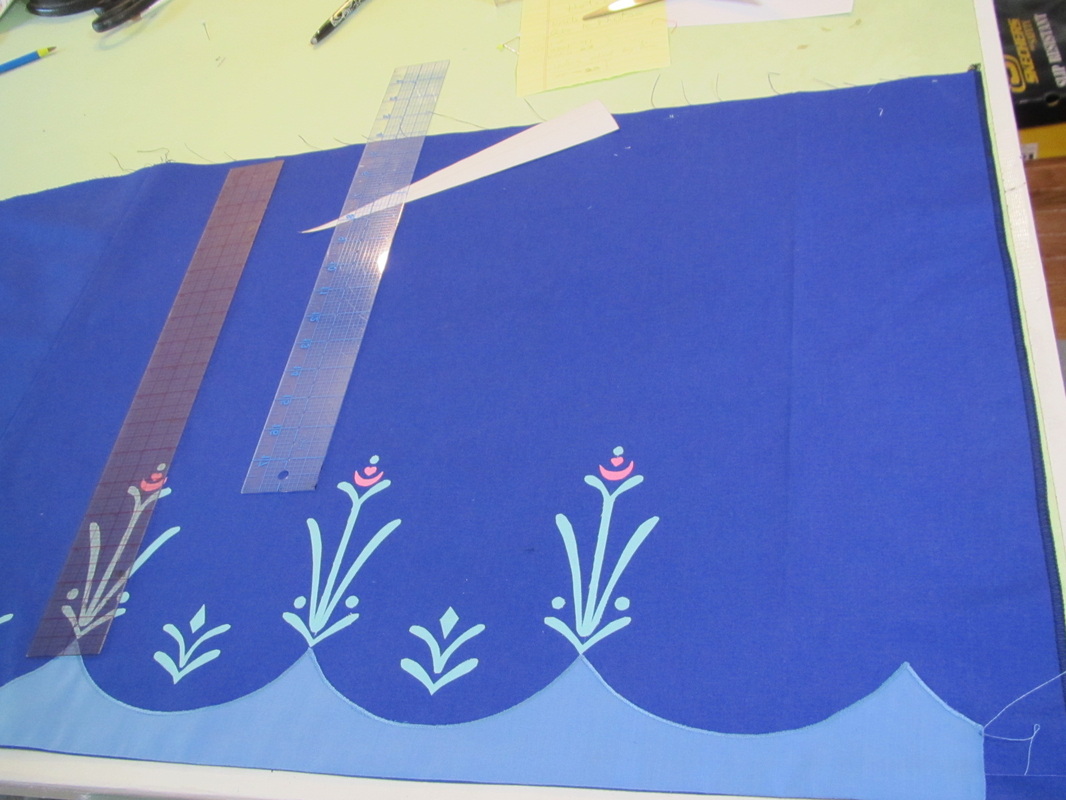
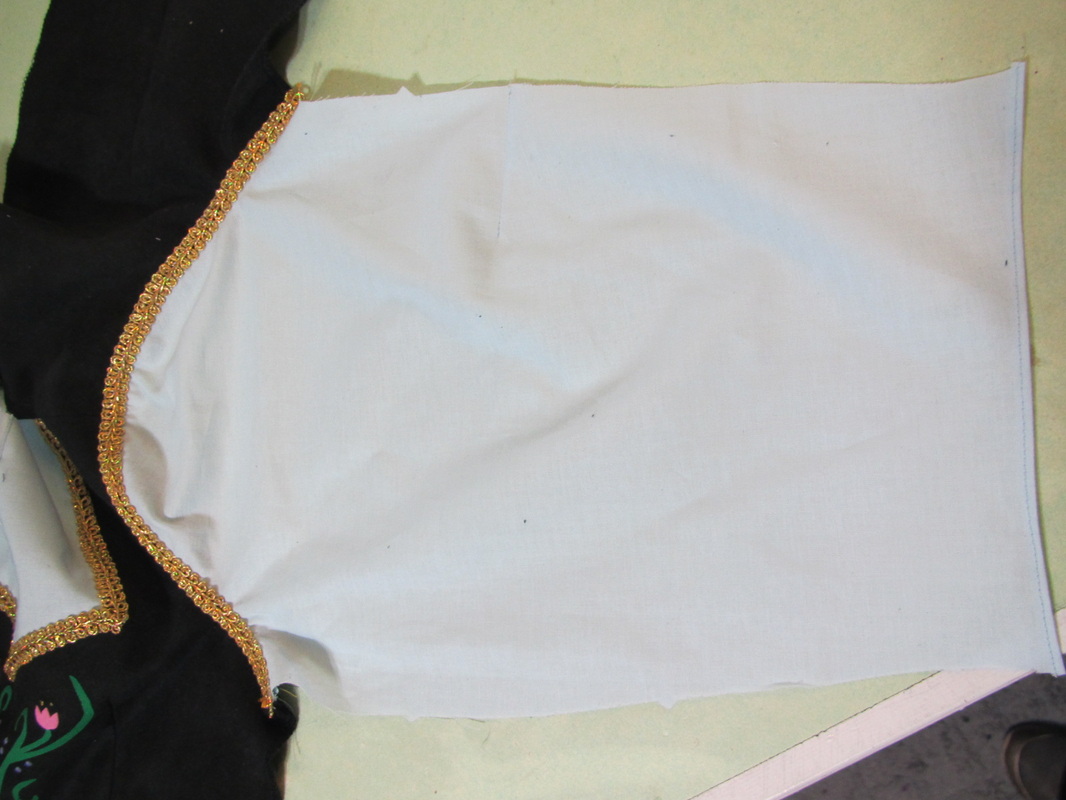
So now, this is what one back edge of my skirt looks like. The other side is the same. I could trim away some and sew it up where the point of the scallop is, but think I will reduce the size of the skirt a bit and sew it up at the center of the low part of the scallop. Because this bodice and skirt have a point at the center front waist, the fullness of the skirt cannot be reduce a lot all at the back or the slope of the top edge of the skirt where the front point is will be thrown off and the skirt won't hang properly in the front.
But, I do want to take out some of the gathers at the top of the skirt. If you look at the artwork from the movie, the skit of this dress has very little to no gathers. So, I measured the waist of the bodice (24") and the top edge of the skirt (60") and decided to reduce the fullness of the skirt by half, which will make the skirt now 30" which will gather into a 24" waist.
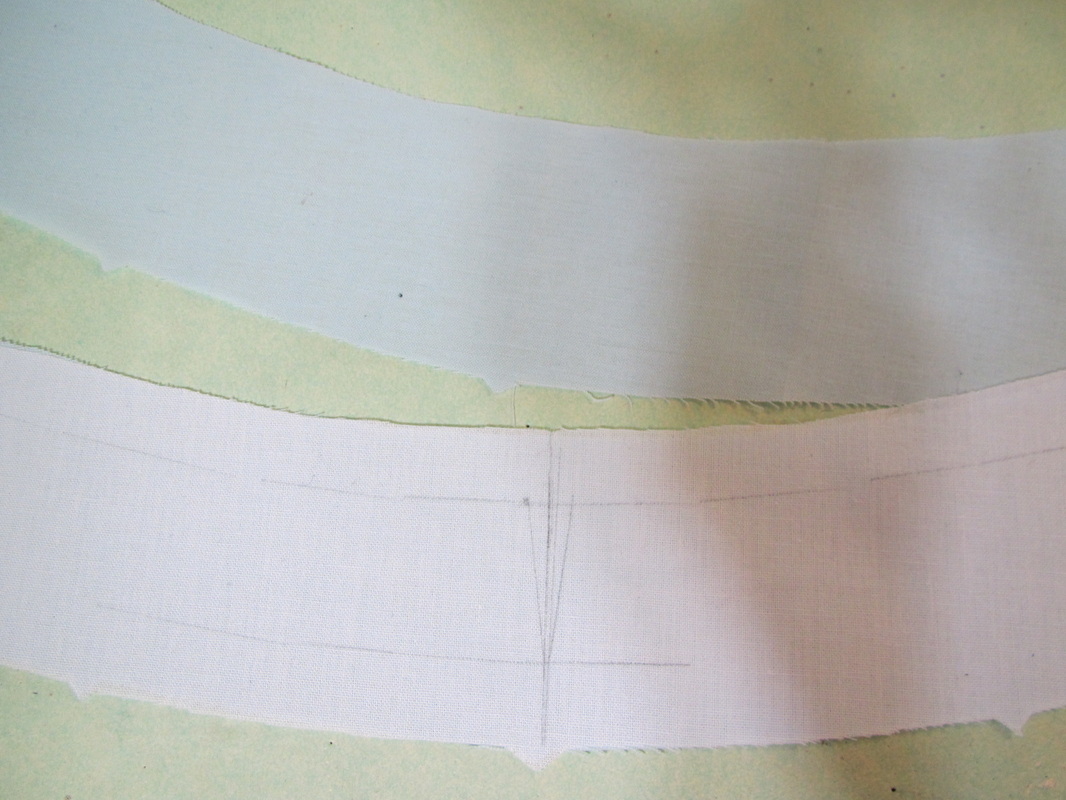
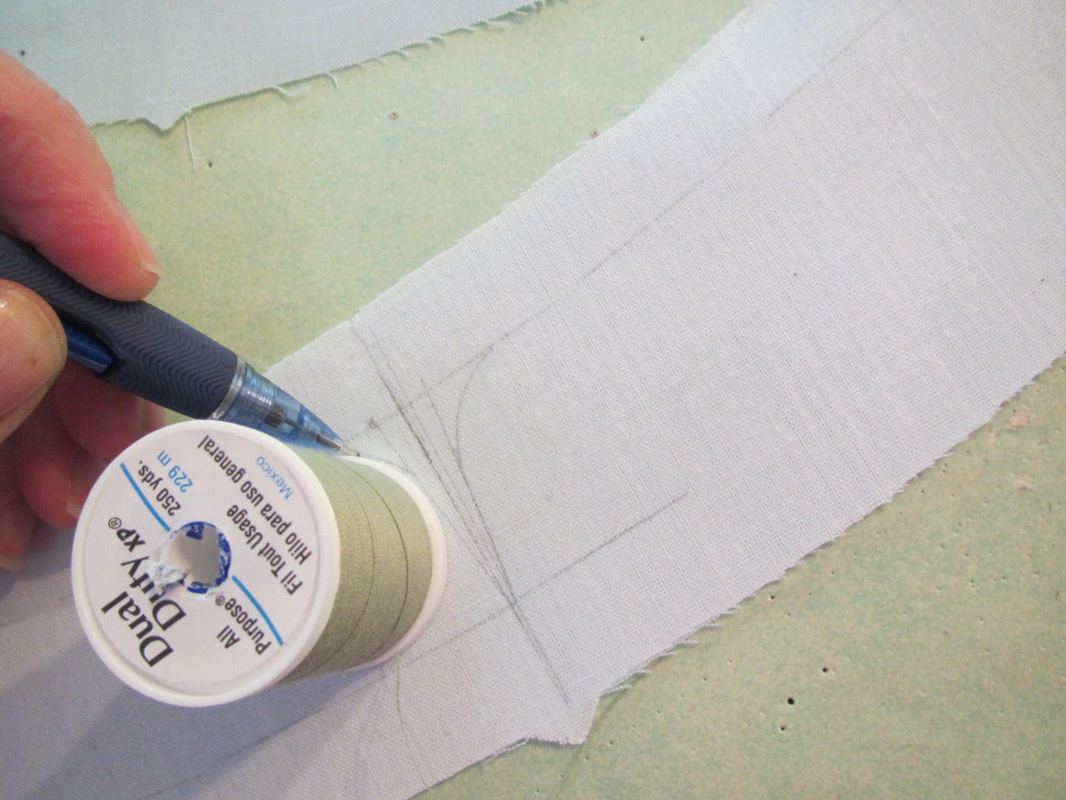
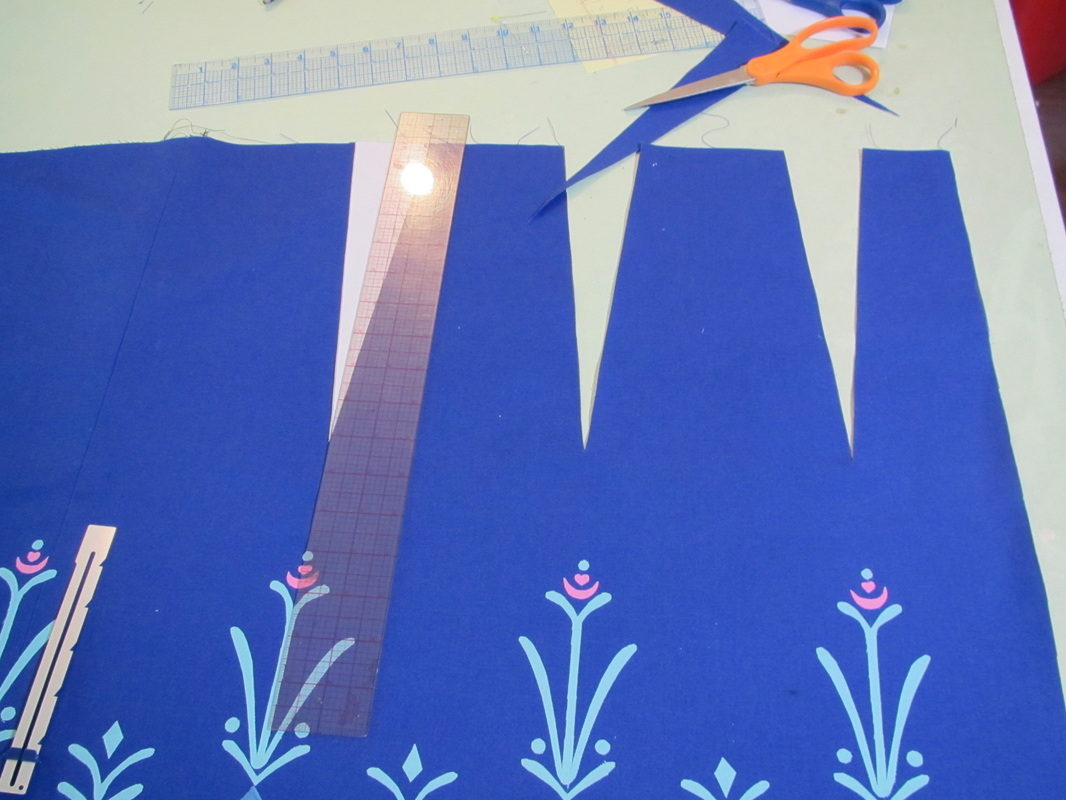
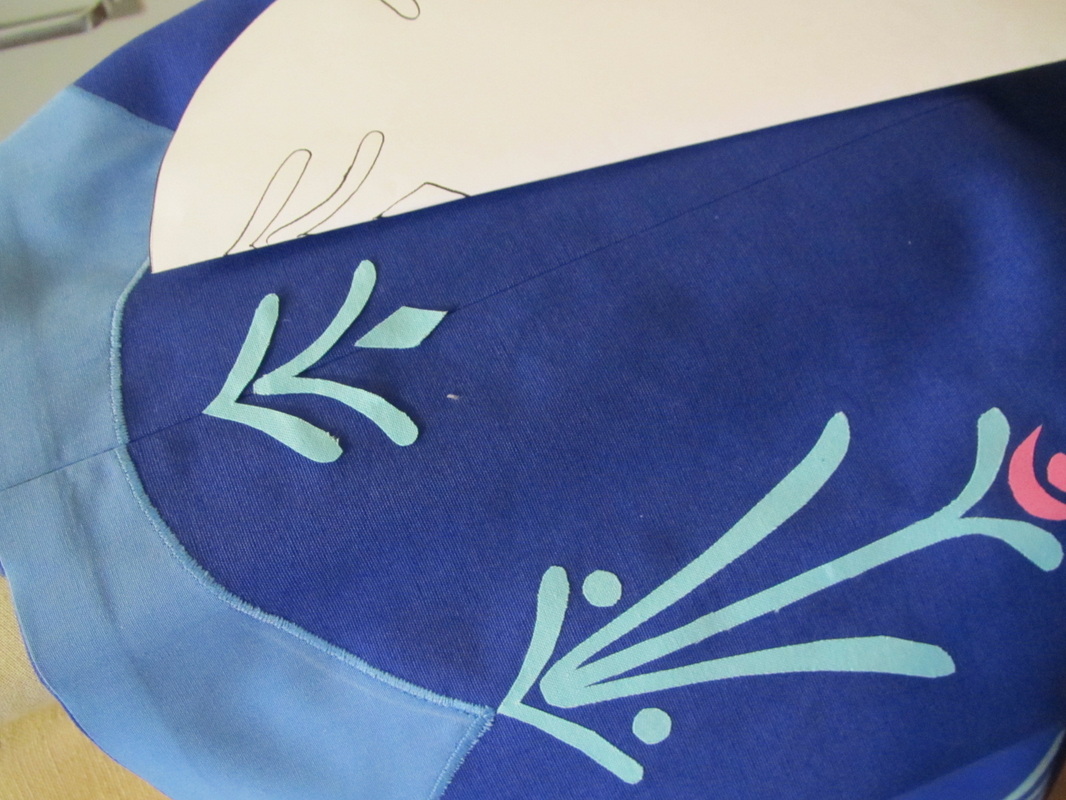
Since the spacing between motifs is 6" I want to take out 3" at each scallop point. So, I've made a kind of negative pattern piece for a long dart, that allows for a 1/2" seam. The pattern piece is 2" wide at the top tapering to nothing. I want the dart to stop a few inches above those flowers.
Since the spacing between motifs is 6" I want to take out 3" at each scallop point. So, I've made a kind of negative pattern piece for a long dart, that allows for a 1/2" seam. The pattern piece is 2" wide at the top tapering to nothing. I want the dart to stop a few inches above those flowers.
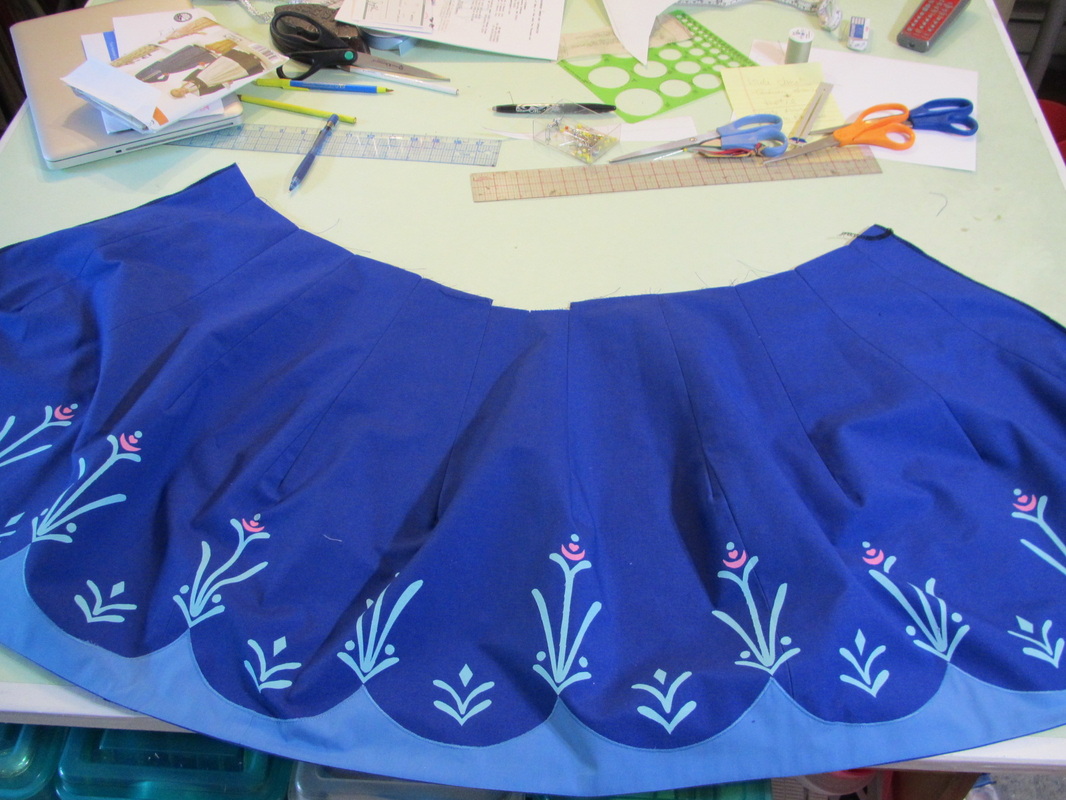
Here it is with all the darts sewn, ready to put on the skirt. The gathering will be greatly reduced but, it still needs some gathering so it will fit on the bodice.
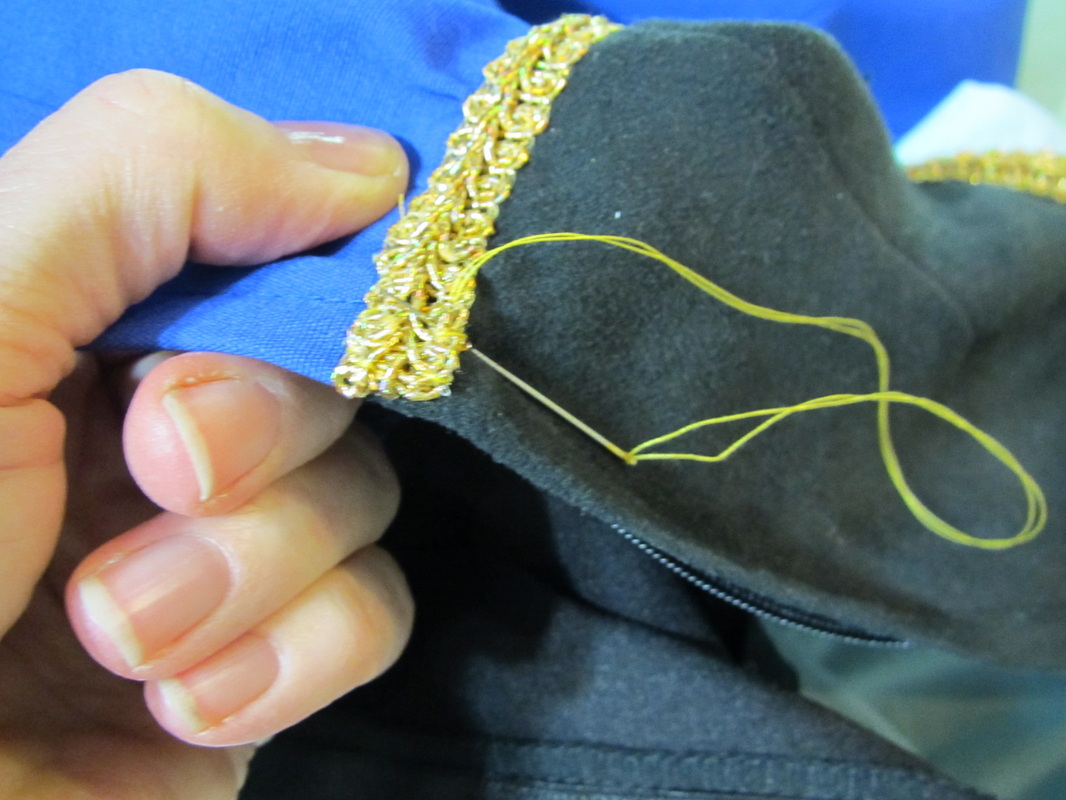
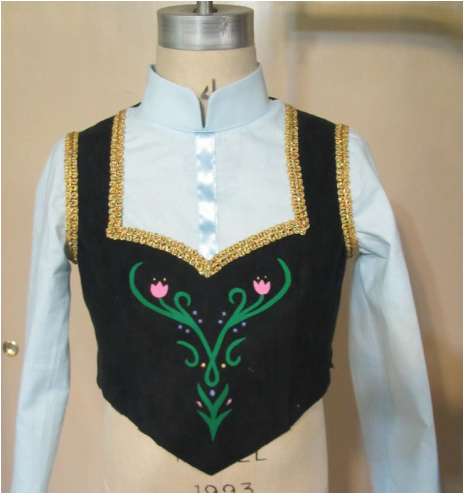
After the skirt is sewn on the bodice, trim and finish the seam, then sew more braid over the waist seam. Leave the ends of the braid at the back seam loose. Sew up the center back seam, and set in the zipper. After the zipper is in, the braid can be folded and hand sewn in place.
Now the final motif can but ironed on over the back seam.
Tomorrow, I start the cape and hat to go with this dress.
Tomorrow, I start the cape and hat to go with this dress.
 RSS Feed