
What's the difference?
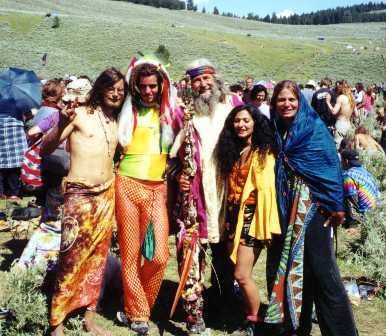
Woodstock 1960's
| 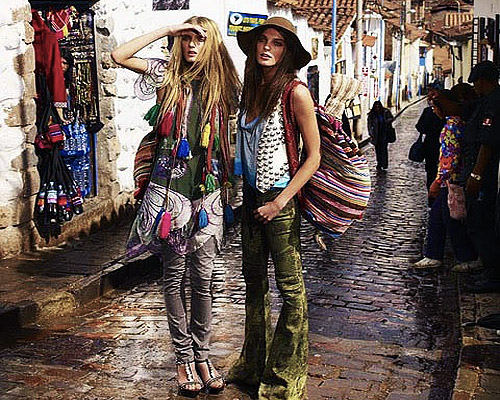
Fashion ... NOW
|
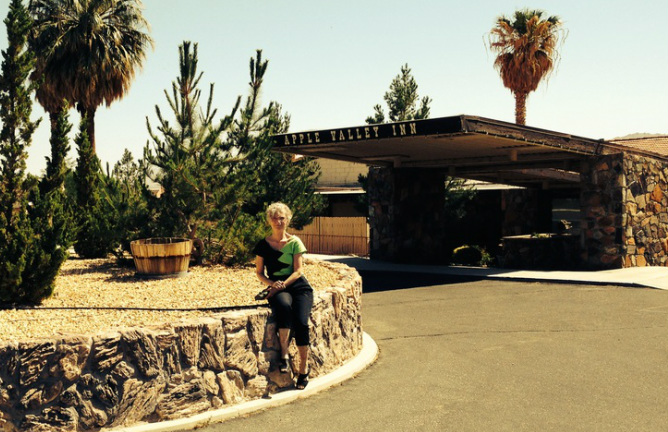
While in LA last week, I spent an afternoon at Venice Beach. It is a beautiful beach, also a vibrant, albeit a somewhat run down, place with many homeless people and artists and musician set up all over ... kind of like Berkeley in the 60's!
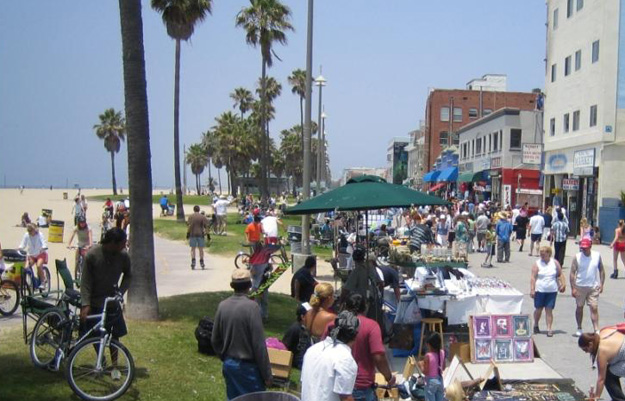
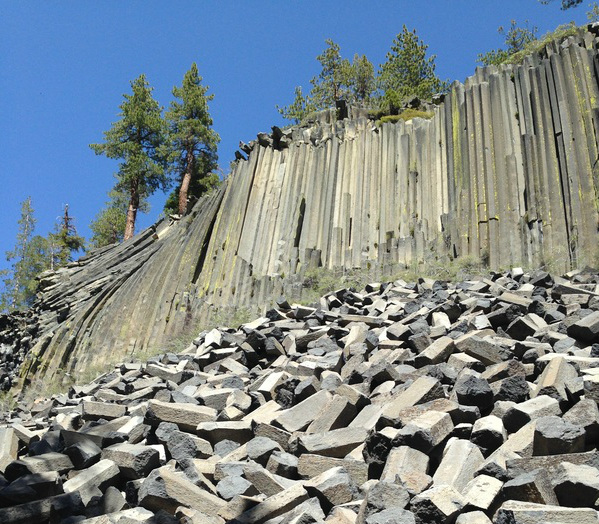
It was a sunny, not too warm day. My husband and I had just arrived from a week in the mountains and I was enjoying the scene, a lot!
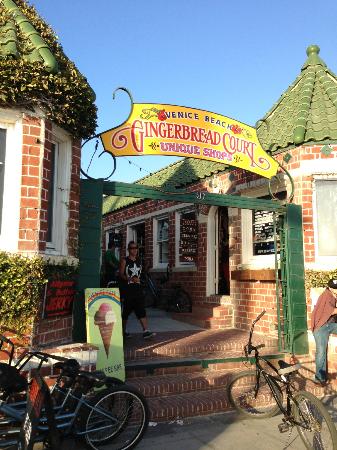
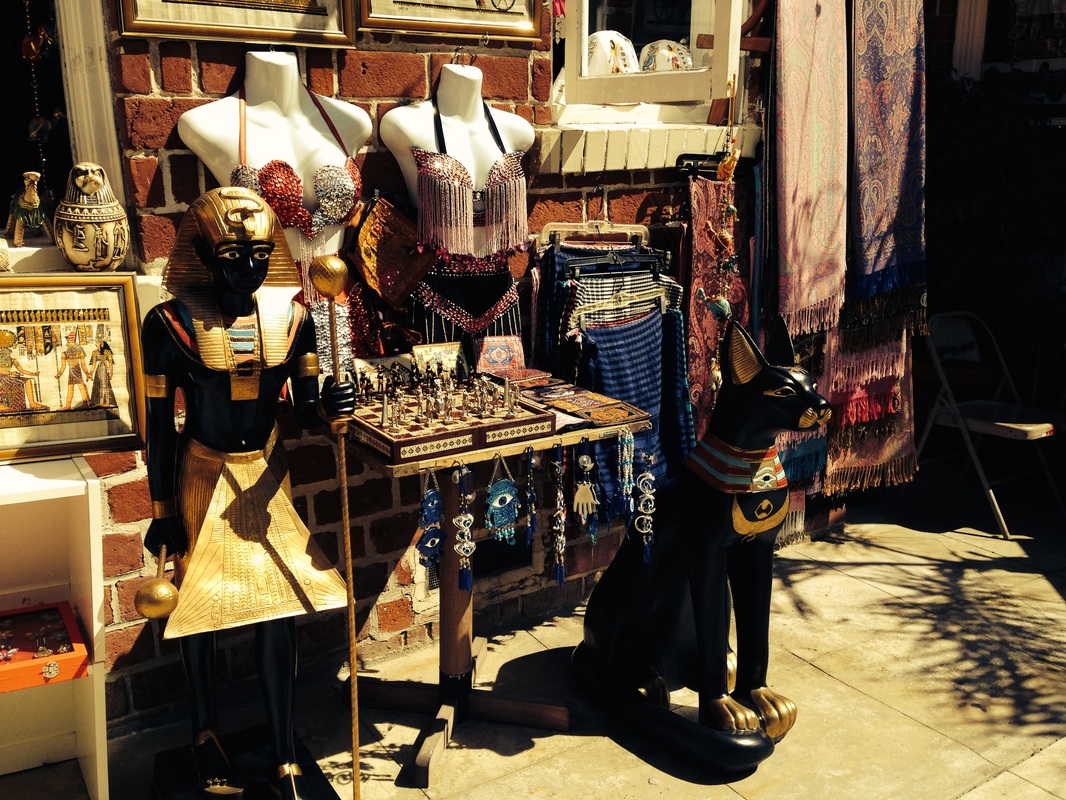
Along the walkway appeared an enticing ally lined with shops, the kind you just have to walk into.
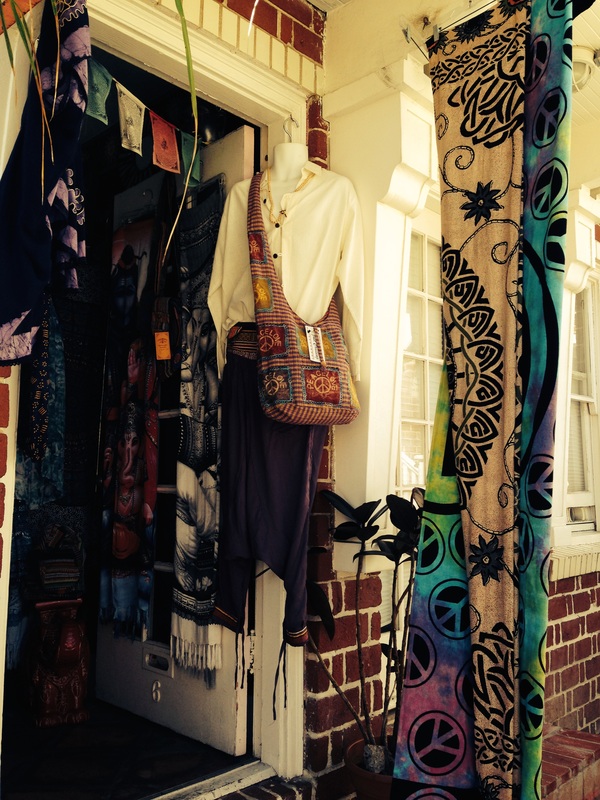
And, low and behold! Not only was this an ally way, but also a time machine!
I felt like I had walked into a Woody Allen film, or at least gone back to my high school days.
It's true, it's true. Everything old is new again ... if you live long enough!
It's true, it's true. Everything old is new again ... if you live long enough!
| 
|
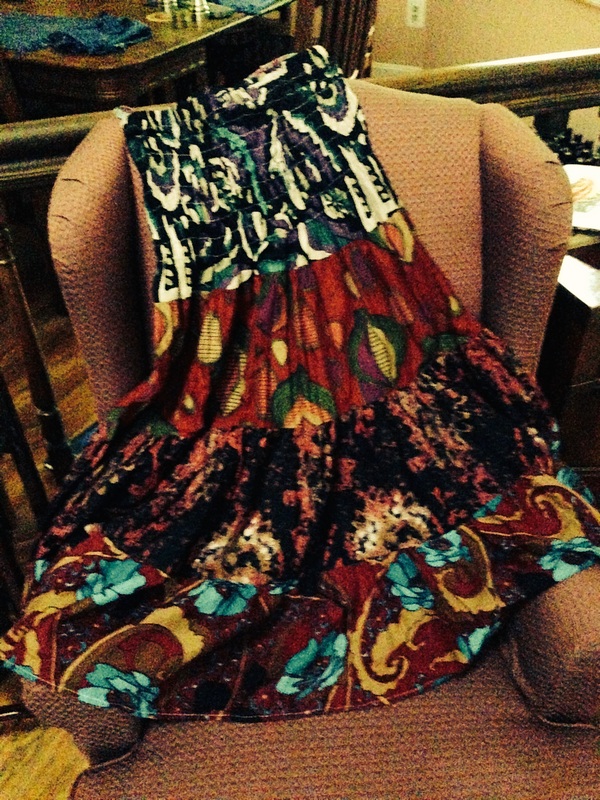
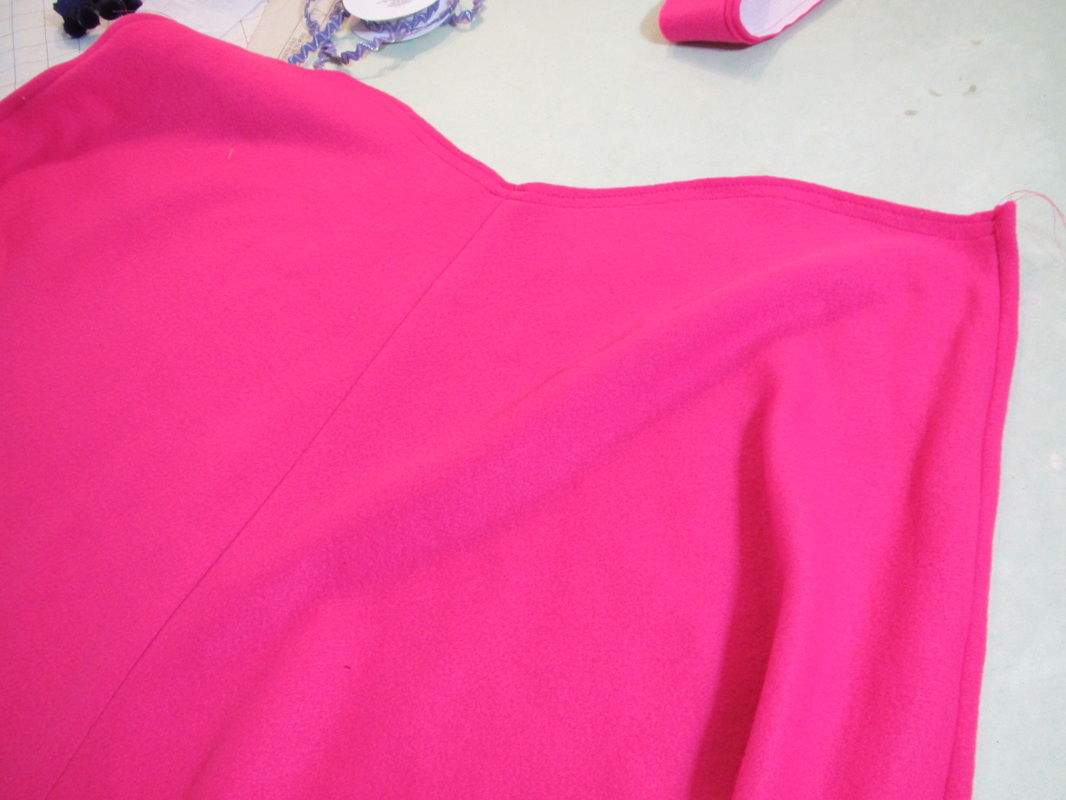
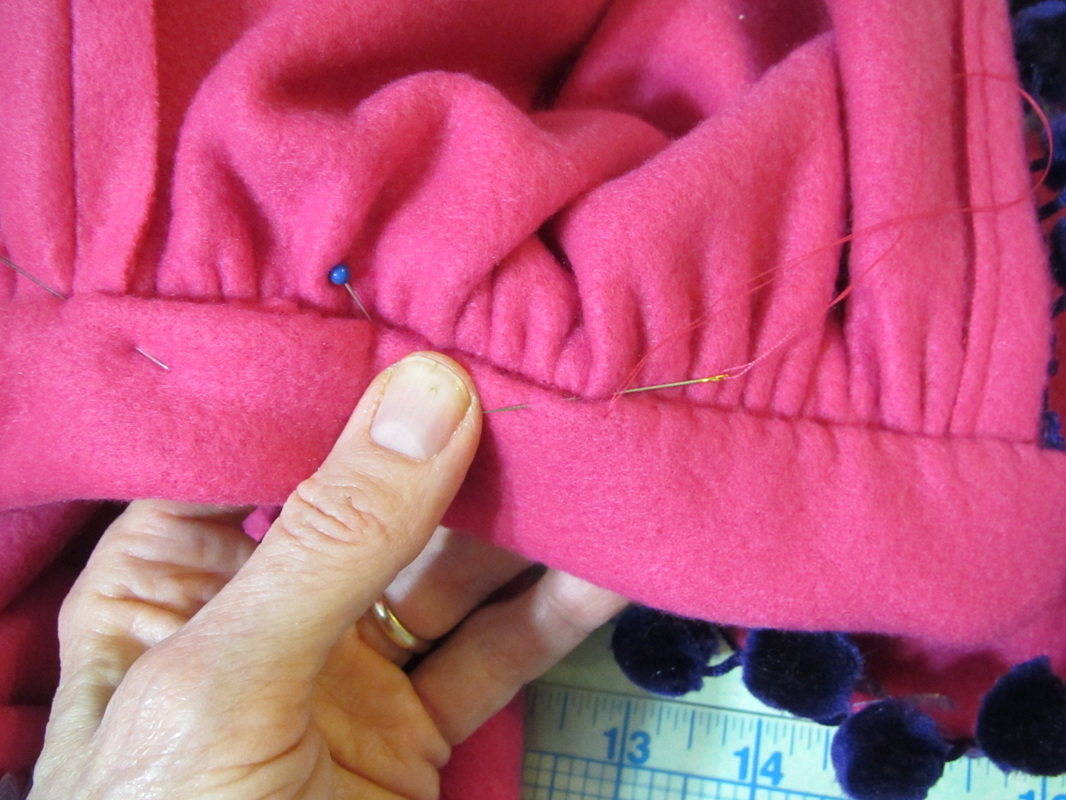
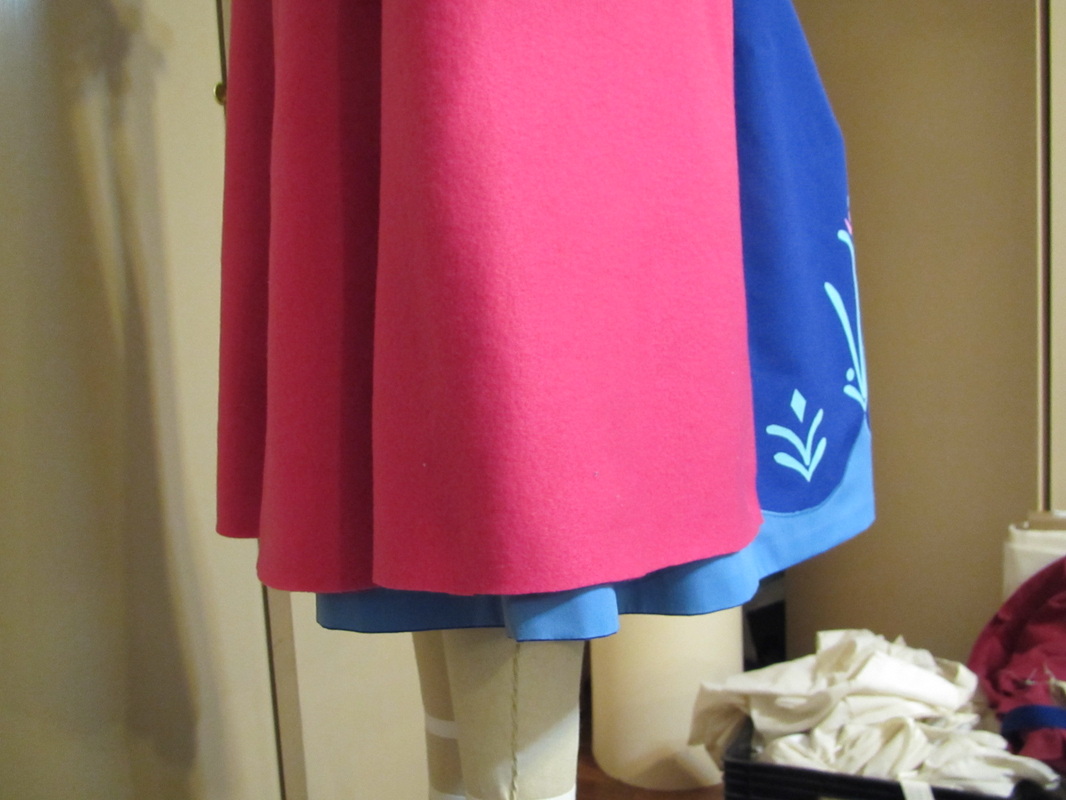
I couldn't resist. I wanted to bring a piece of this day home. So, my husband was a very good sport and sat outside while I tried on bunches of things and ended up buying this skirt. I love the colors and prints, but it is sewn really badly.
It's time to look at my summer wardrobe.
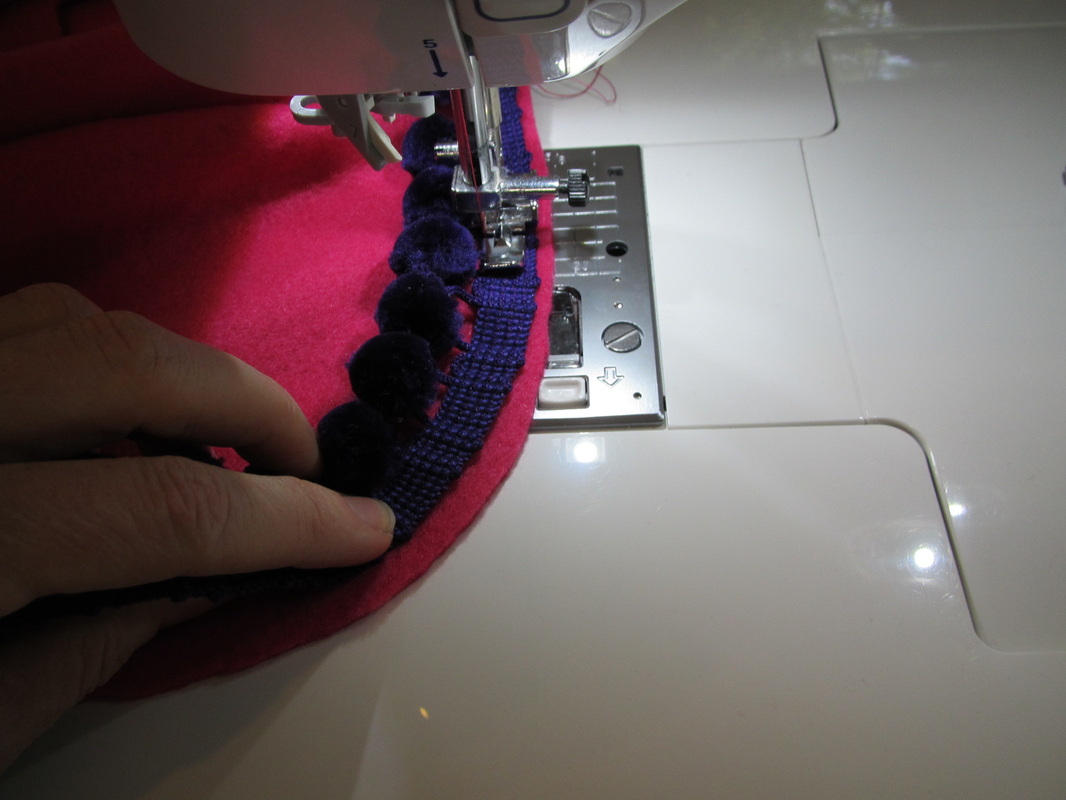
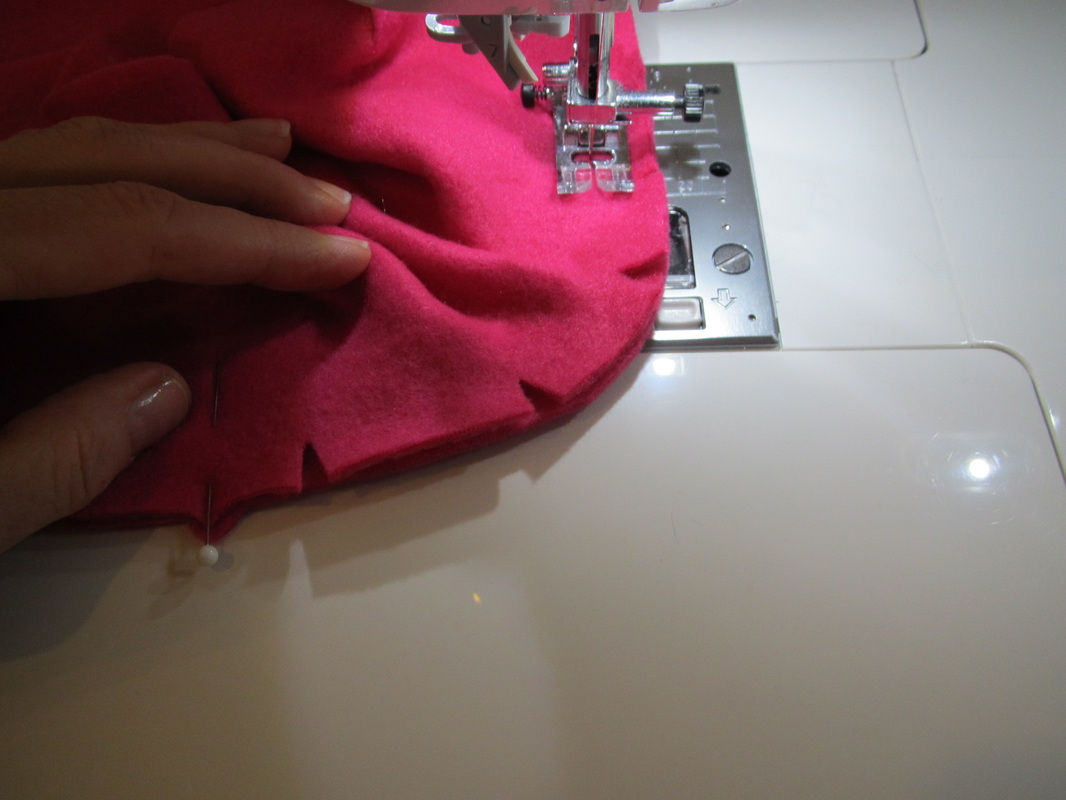
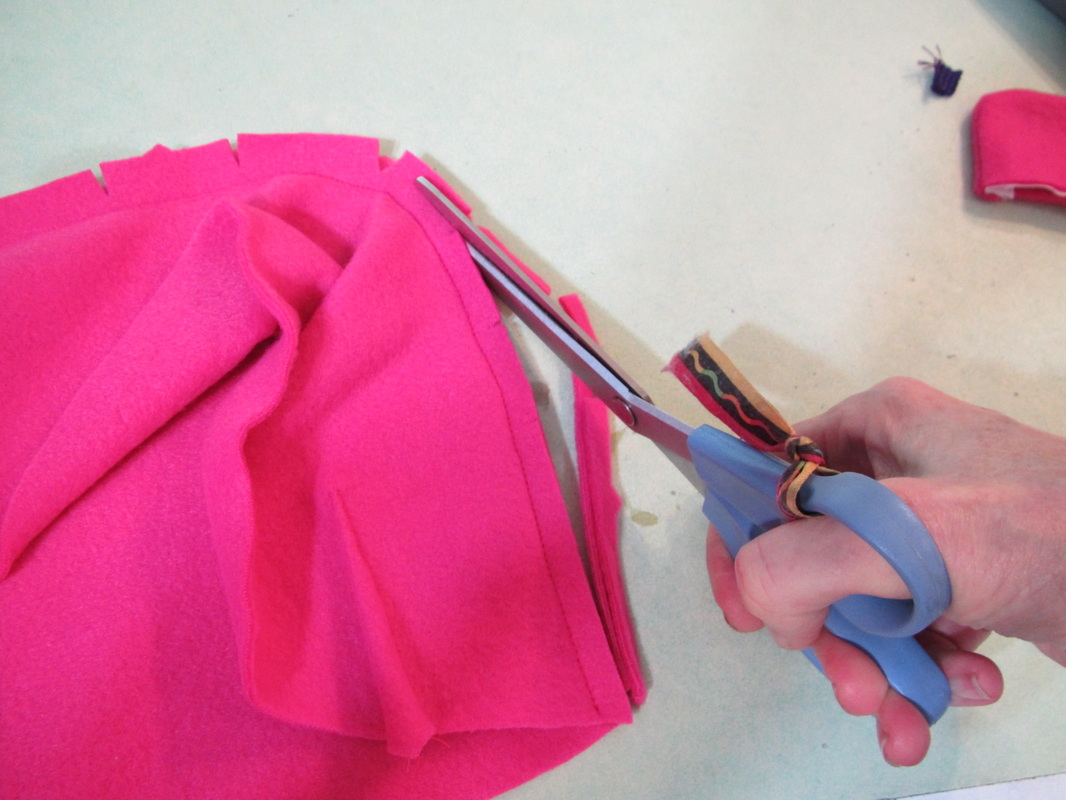
Next week I plan to re-sew parts of this skirt and fix a few other summer things from my wardrobe ... the fit of a dress I made last summer needs a tweak and I want to see if I can re-style a cool top/dress my son and daughter-in-law brought me from India a while back ... stayed tuned.
It's time to look at my summer wardrobe.
Next week I plan to re-sew parts of this skirt and fix a few other summer things from my wardrobe ... the fit of a dress I made last summer needs a tweak and I want to see if I can re-style a cool top/dress my son and daughter-in-law brought me from India a while back ... stayed tuned.
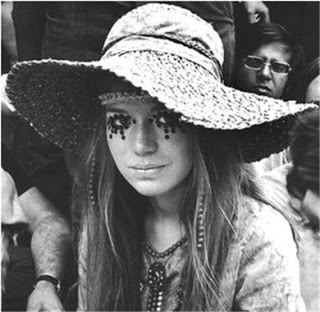
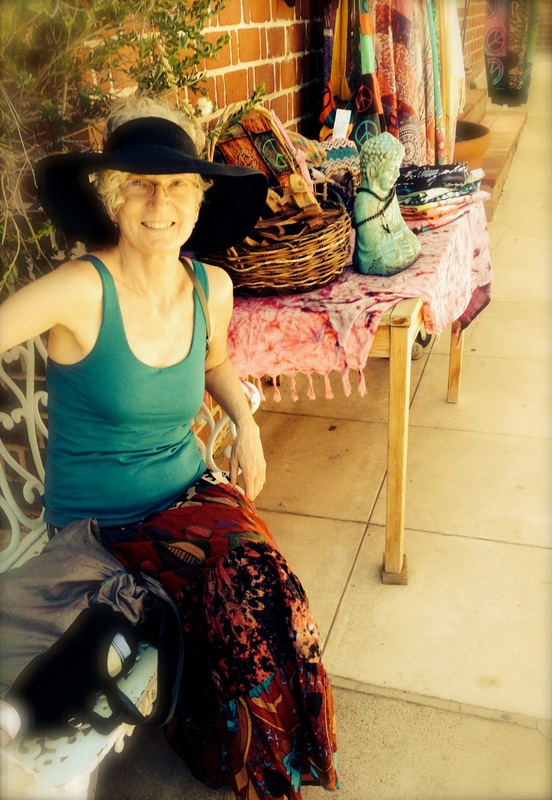
AH! I found a photo of me in 1970! It is the one to the right. I also found on line the photo above from the same time. Not too different, except for I didn't wear that crazy eye make-up. Thanks to my high school boy friend Paul for this beautiful photo. | 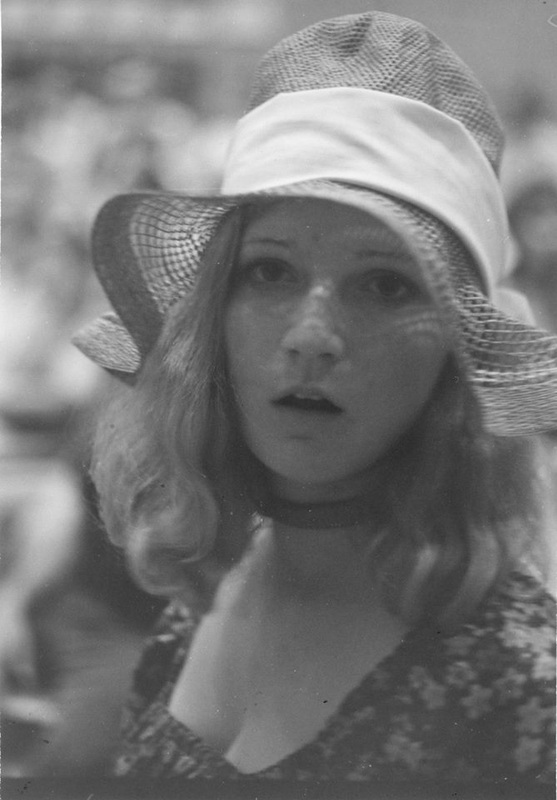
|
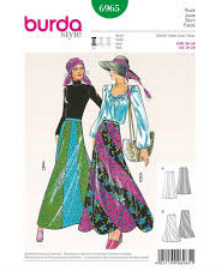
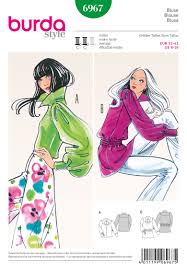
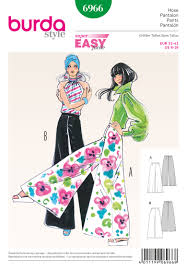
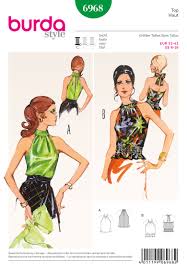
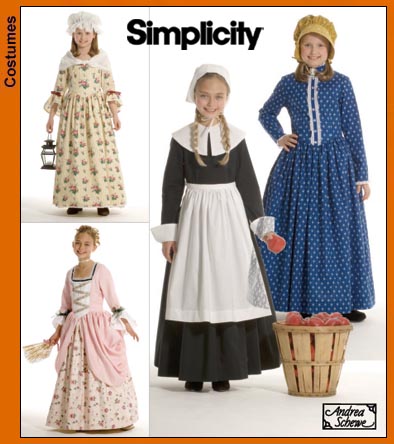
Now, if you too want to dress in the Boho Chic/Hippy fashion. A trip to the thrift store might do it. Or, you can sew your own! Burda has four great vintage patterns for that look, available at the Simplicity site right now. Click on the image to go there.
| 
|
So, how much of a difference do you see? The photo below is a modern fashion take on Hippie fashion. Except for the too beautiful models with make-up, the fashions don't seem that off, to me.


 RSS Feed