Andrea Schewe Design
  • Home
  • Costumes
    • Reader's Gallery
    • Fantasy Costumes
    • Theatrical
    • Historic >
      • Easier to make
    • International
    • Costumes for Kid's and Babies
  • Crafts
    • Home Decor >
      • Pillows
    • Fashion Accessories
    • Doll Clothes
    • For Kids and Babies
  • Blog
    • Past Blogs by subject >
      • My patterns by number
      • Sewing basics
      • Personal sewing Projects
      • Fashion History
      • Fun and funny stuff
      • Guest Bloggers
      • Crafts and Home Dec
  • Links
  • Contact

Fun Fairy pattern explained #1550 - wings

8/19/2013

5 Comments

 
Picture
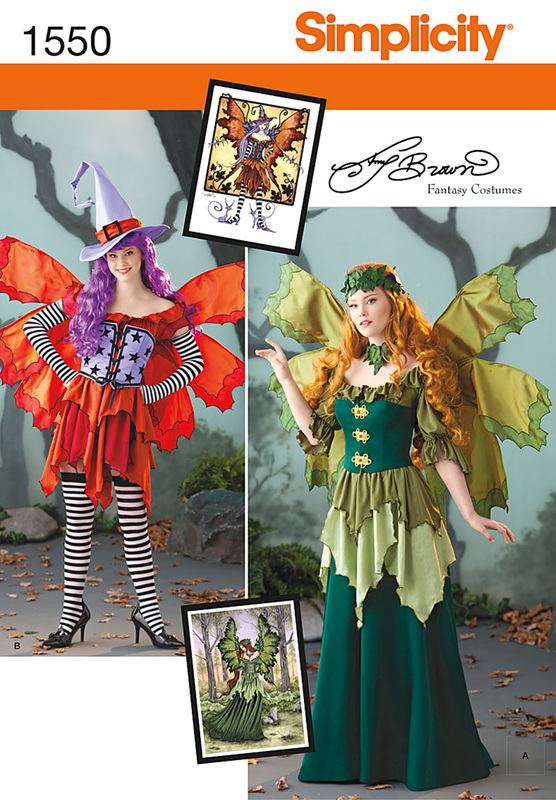
While it is possible to make your own fairy wings from scratch, it is tricky.  Over the years we have tried so many different ways of doing this and have concluded that it's not worth the trouble when such good wings can be purchased for around $10 or $15.

So, this time I made extensions that could be added to any purchased wings. Bigger is better. The ones I used measured 36" x 24". I will give you links to purchase the wings that I used.  Although, in the 8 months since I made these wings, they are no longer available where I bought them ... grrr!

Annie's Costumes has the black wings.  And ... well I can't find the exact wings I used in green, but Amazon has something close. Again ... grrrrrr!

So, here is how to deal with wings that may not be the exact color you want, because even though I was able to get big green wings, they were not the shade of green I needed. And the shoulder straps were the wrong color, too.
Picture
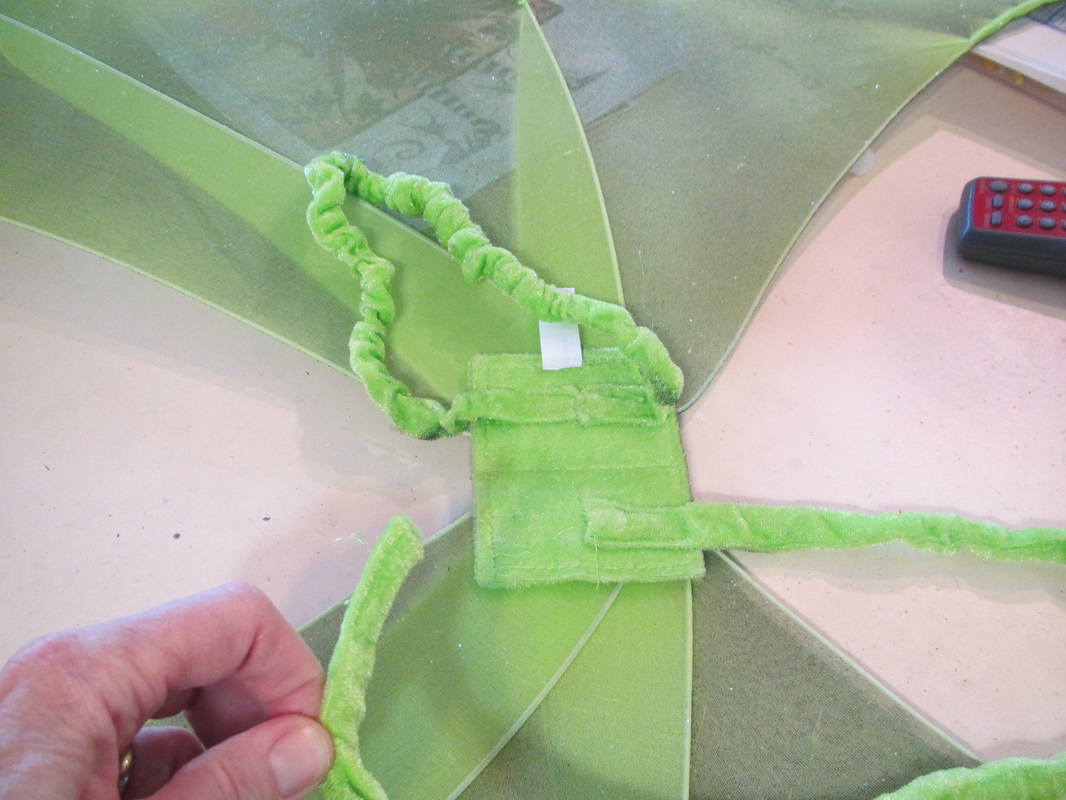
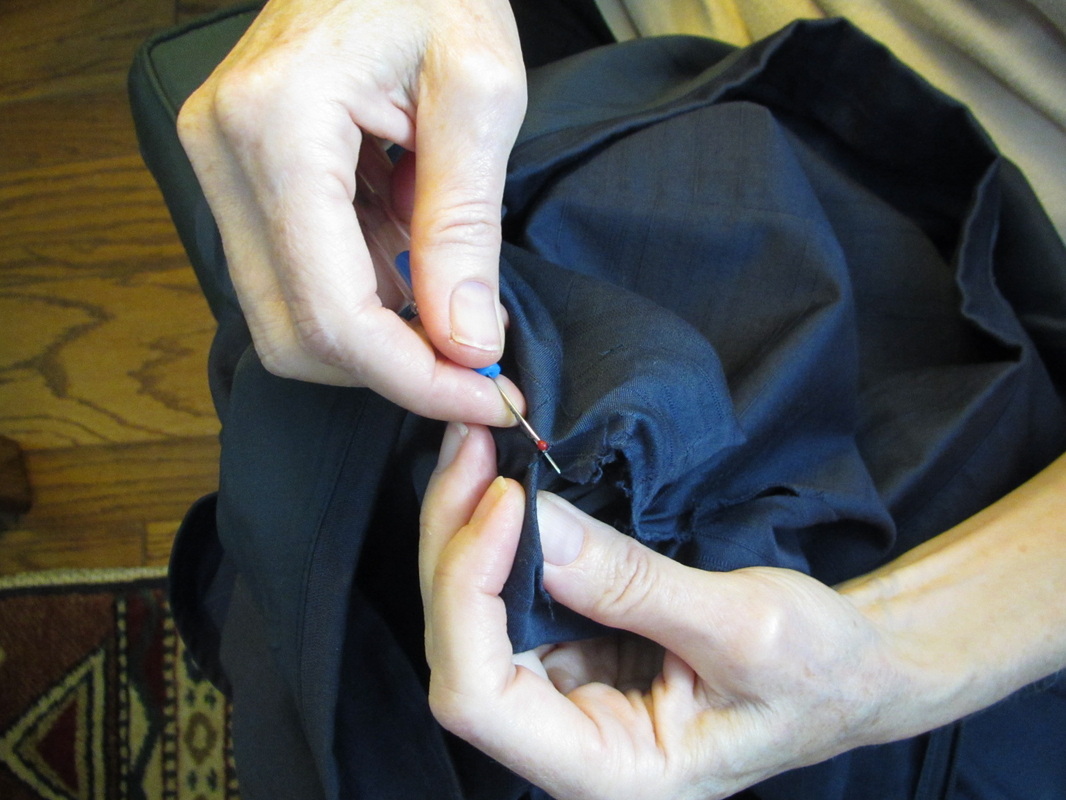
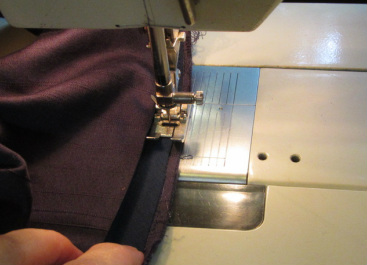
First pick off the shoulder straps. You may need to just cut them off.
Picture
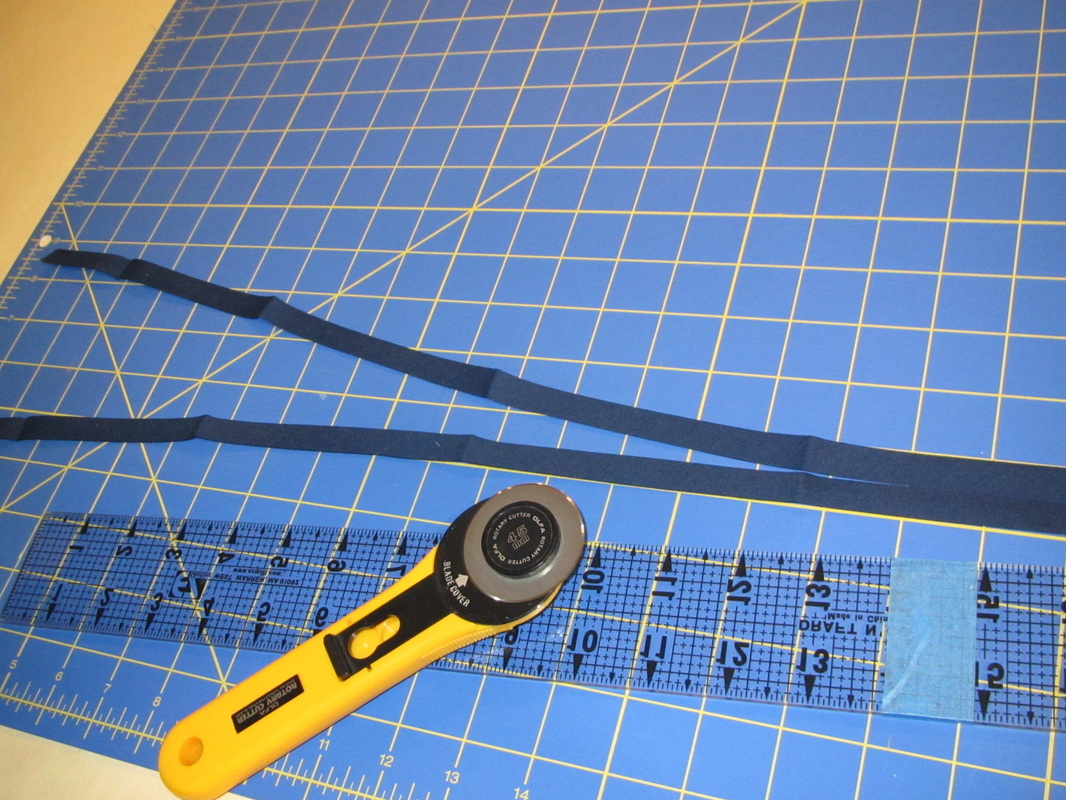
Make new shoulder straps to match your costume or maybe your skin. Also, this is the chance to make the elastic nice and tight. Purchased wings often have elastic that is too loose.
Picture
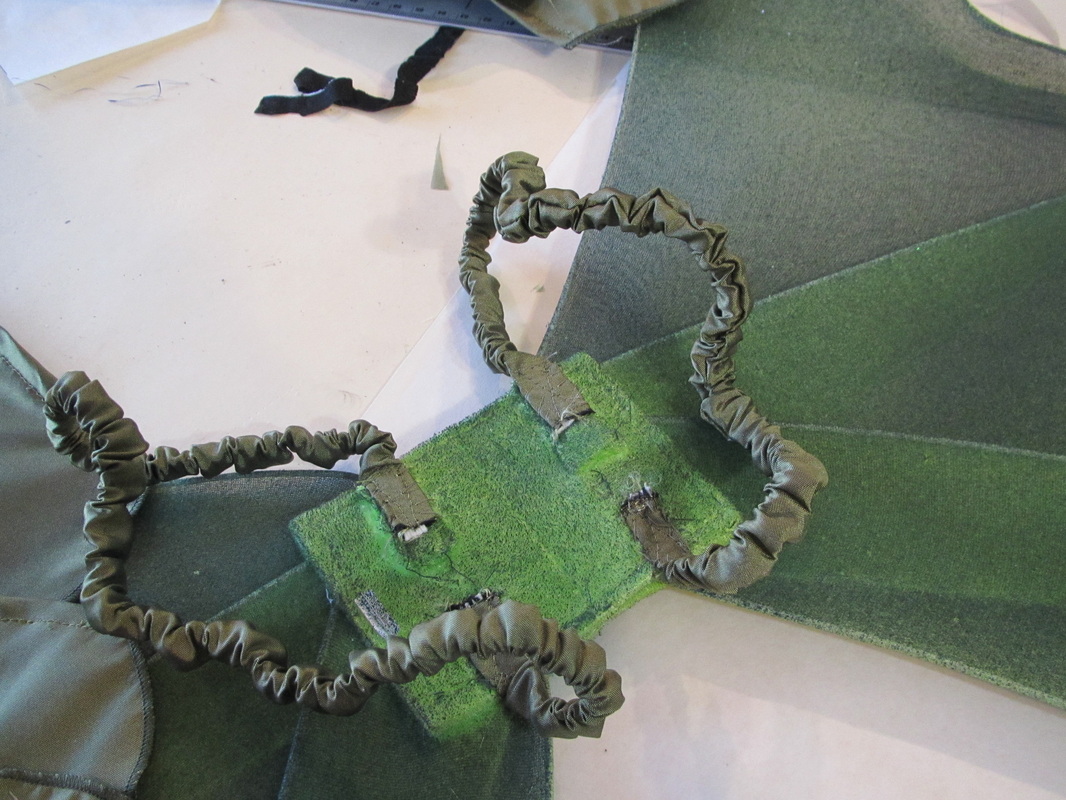
Second, spray paint them. This will take several coats, flipping the wings from front to back.
Picture
Then pin on the wind extensions. You might want to try on the wings before sewing them permanently.
Picture
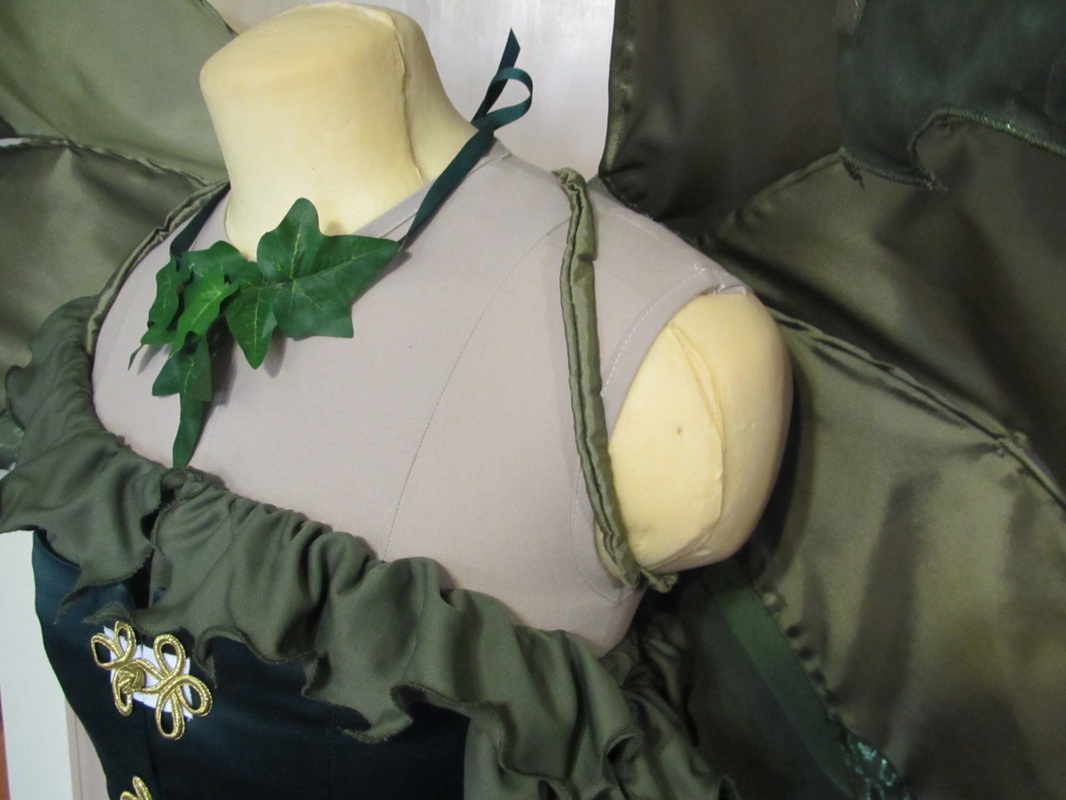
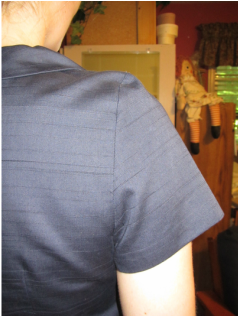
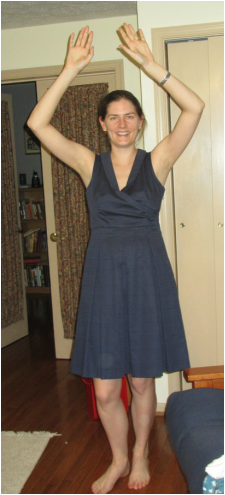
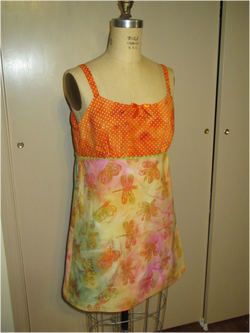
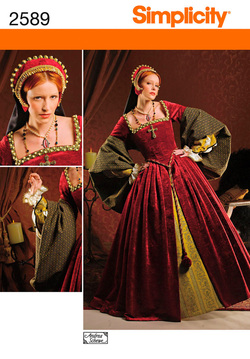
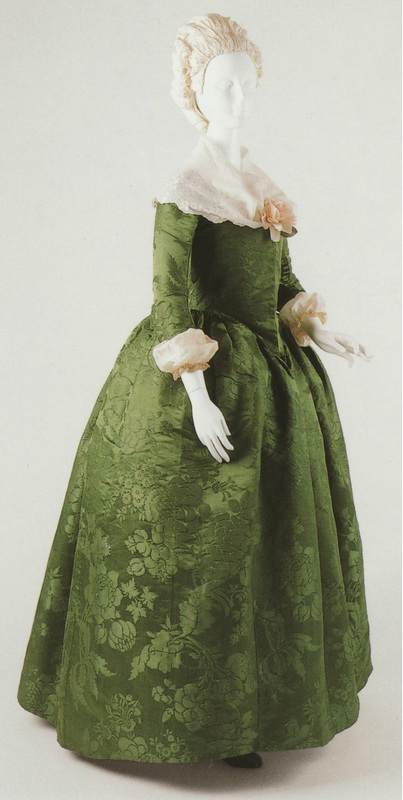
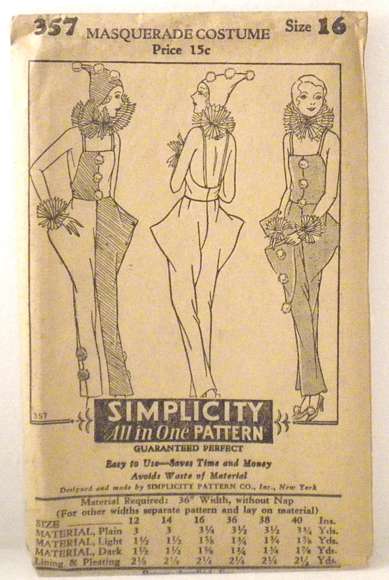
I dressed my form with the shoulder straps going under the blouse, but Simplicity must have pinned the wings to the back of the bodice, because I don't see any straps in the photo above. BUT, I'm not sure that is the most practical way to wear them.
So, anyone with wing wearing experience and advice ... please share it with us!
5 Comments

Dress doctor - a sleeve fix

8/19/2013

13 Comments

 
Picture
A fixed dress!
A few weeks ago I was having a Skype conversation with my son and daughter-in-law.  They were coming soon to visit on their way to a wedding near by.  She was a bit stressed, because she needed a blue or green dress to wear as one of the attendants.  Everyone else had chosen their dress and she didn't have much time left to find one that would look good with the others. I suggested a blue dress she already owned, but she said the sleeves were too tight and she couldn't lift her arms to toast the bride and groom or dance ... and she loves to dance.

I said "I can fix that! Bring the dress and we will figure something out."

So, one afternoon during their visit, the guys went out to play racquet ball and we got to work on the dress.
Picture
It's a lovely, really well made dress that fit her great, but ...
Picture
I wanted to try just opening up the armpit area to put in a gusset, first.
Picture
Releasing the sleeve under the arm helped, but not enough. You can see how it pulls.
Picture
this really is the highest she could lift her arms. These were the skimpiest sleeve caps I'd ever seen and on top of that, she has broad shoulders!
Picture
As I said, this dress is really well made. Everything is lined and the stitches are really small AND the fabric is dark. I had to be very careful picking open that seam.
Picture
You can also see how it has extra fabric at the shoulder. The sleeve cap is so tight that it makes the whole bodice rise up. The only solution is turn it in to a sleeveless dress, which she thought would look good.
Picture
I dove into my bias box to see what I had for an armhole facing. This bias was the right width, but too light in color.
Picture
This bias was a better color, but was too wide AND there wasn't enough for both armholes.
Picture
So, I pull out all my blue cottons to cut my own bias, but nothing matched better than the second navy bias tape.
Picture
So ... "make it work!" I carefully cut the wide bias down the center ...
Picture
Mobility problems solved!
Picture
and sewed it with the smallest seam allowance I felt comfortable using (1/8"), I was able to make a nice finish for the armholes on her dress. I then pressed it to the inside and slipped stitched it to the lining.
Picture
And here is the pretty gold belt she will wear with it.
You know, I think the way modern sleeves are cut is really silly.  You can't lift your arms without lifting the entire garment. Back when dresses fit really tightly and ladies were corseted sleeves had lots of extra fabric in the underarm area to allow for movement.  When I was working in professional costume shops they developed a special sleeve for dance costumes that had a gusset built into it to allow for full arm movement. 
 
Tomorrow I'm going to show you how sleeves use to be. 

13 Comments

Seeing outside the box

8/16/2013

3 Comments

 
The thrift store can be a treasure trove for a costumer on a budget, but you have to learn how to shop.  The more I do it, the better I get at finding what I need.

You have to go in with a very open mind and be prepared to see something as more than what it appears to be.

There was a lesson I learned a long time ago when I was working as a designer at a toy company named AmToy.  I made the patterns for My Pet Monster there.
Picture
One day I was working on a rag doll with a frilly lacy pink satin dress.  I wanted her to have an old fashioned bonnet and I had made a couple versions that weren't really working AND they were too complicated, meaning too expensive, to make in a factory.

My design director, Elaine Heigl, came in to see my progress.  She didn't like any of the hats I had made yet.  Sitting on my desk happen to be one of these ponies. 
Picture
Elaine, in a stroke of genius!, took the little felt saddle and cupped it around the doll's head.  It look really cute and it was just one pattern piece.  So, this doll got a horse saddle hat.  To this day, I think of that.  Things are not always what they seem.
Picture
So, when you go shopping let your mind be very creative.  I made a frock coat once using the trousers from a two piece man's suit for the lower portion, sewing it on to the jacket after trimming if off at the waist.  Always check out the sheets, curtains and tablecloths for possible fabric.  Don't be afraid to use women's stuff for men and the other way around.  And always have a tape measure with you.  The sizing is all of the map, because older clothes were sized differently than modern clothes are.

AND, Elaine Heigl also designs for Simplicity now and has a website and blog ... check it out.
Elaine Heigl Designs
3 Comments

A summer nightie from my stash

8/15/2013

2 Comments

 
Picture
In writing this blog, I have certainly have had the chance to make myself lots of new things to wear.  Since I have all this fabric at home, it's hard to justify going out an buying something when I can make it, not leave my house, fight the traffic, not find what I like, etc. etc.

I need a new skimpy little nightie to wear when the weather is hot like it is now. 
Picture
So, I pulled down some of my fabric boxes ...
Picture
And found these two cotton prints. I bought them a while ago for a Simplicity project and always liked how they looked together, but was told batiks don't photograph well, so they have been in a box for a couple years.
Picture
I couldn't find any pajama or nightie pattern for a summer nightgown.  So, I decided to use the slip pattern that goes under this dress.


You may wonder why I don't just make my own pattern.  Well, ever since I learned how to make patterns I don't complain anymore about how much they cost!  Making a pattern is not quick.  But, if you have a simple pattern to start from, making modifications is easy.

Picture
Picture
OK, the problem was, I had very little fabric, about 16" of the polka dot and 30" of the batik.  That makes a yard and a quarter and the slip pattern said it called for 2 1/4 yards!

Picture
So here is how I managed.  The bodice was supposed to be cut double, totally unnecessary for a nightie, so I cut it one layer and cut the straps on the crossgrain.  For the skirt, I just made it really short and added a small wedge piece on one of the side seams.  Piecing like this used to be done all the time.  I even have a blouse pattern from the 50s that tells you to piece the back near the side seam right in the guidesheet on the pattern layout.  People used to be much more conscience of economy.

See the piecing I did. I probably could have done a better job finding a bit of fabric where the print would have blended better, but who's going to see when I'm in bed?

Picture
The bodice had distinct bust darts which I didn't want for a night gown, so I rounded off the points at the bottom of the dart and will gather in the fullness to fit the skirt.
Picture
I finished the neckline with some bias tape and to please myself, I added a bow. Aren't all nightgowns supposed to have bows? And green rick rack in the waist seam to coordinate with the green in the print of the skirt.
2 Comments

New pattern #1552 - Fantasy for men - making the quilted pieces

8/14/2013

2 Comments

 
It's the day after Christmas ... I have house guest and thought I would post a re-run blog.

I thought of this one, because I saw a certain movie yesterday ...

And you have to admit, Simplicity got some pretty handsome models for these costumes.
Picture
The gauntlets, belt and belt buckle are made by machine quilting the design into the fabric. I am going to show you the photos I took while making these samples to help you visualize the instructions better.

The first thing that needs to be done after cutting out the pieces is to mark the quilting lines on the broadcloth lining fabric. I use a light board and colored pencil. If you pin the pattern under the fabric, you can hold it up to a window and do the same thing.

The outer fabric is sewn along with a layer of fleece or batting and the broadcloth lining has a layer of stiff fusible interfacing pressed to it before sewing.
Picture
Join the upper and lower portion of the gauntlets, outer fabric and lining.
Picture
Press the seam open.
Picture
Trim and clip seams, turn right side out and to keep things from shifting around, hand baste the wrist seam through all layers.
Picture
Sew the outer fabric and lining together at upper and lower edges.
Picture
Then do all the quilting from the wrong side along the lines marked earlier.
Picture
Join the long seam and the the thumbhole to complete the gauntlet.

Picture
Prepare the quilted design on the belt buckle in the same way as the gauntlet.
Picture
Fold it around a plastic or cardboard backing. Pin and then check the design is centered in the front and sew firmly in place.
Picture
Fill in a few sections of the design with glitter, then pin and slip stitch the buckle to the belt.
2 Comments

Shopping for fabric - readers suggestions

8/13/2013

4 Comments

 
I am happy to say many readers wrote in with good fabric shopping sources and advice.

A lot of comments on my blog posts are written on my Facebook Page.  So, if you are interested you can check that out, too.

Everyone loves and supports their LOCAL INDEPENDENT STORES.

In the Washington DC area, we have several branches of G-Street and there is Sarah Fabrics in Langley Park, MD. I mentioned these in the blog last week. (Aug. 7th)

I've tried to put hot links on all the places mentioned.
Picture
And about an hour's drive north in Thurmont, MD is this place called Discount Fabrics USA.  They really just have decorator fabric, but lots of decorator fabrics are great for costumes and even clothes.

This place is huge.  It's hard to describe how big it is. They also sell on line.

That is where I bought all the fabrics for my Tudor costume.

In Los Angeles there is the Fabric District with M.B's mentioned particularly. SR Harris in Minneapolis is a favorite, too. Dallas has a fabric district and and Philadelphia has it's Fabric Row. In the San Francisco area there is Britex in the city and there are good stores in the Piedmont area of Oakland. And I know of a terrific store in Berkeley called Stonemountain and Daughter Fabrics.

Sari stores were mentioned as a good place to find fabric.  A lovely garment can be made out of a length of fabric intended for a sari.

I'm sure many other large cities have good fabric stores, but I'm just listing the ones I heard about this time.


CHAIN STORES

We all depend on our chain store.  I talked about Hancock and Joann's but didn't mention Hobby Lobby, because I didn't know I had one near me. Well ... I just found out there are TWO! Each about 30 minutes from my house. They were endorsed for having good satins.  I will be checking them out for my next Simplicity project.

I got a really good tip for ordering fabrics from chain store websites.  Anything available on their websites can be ordered from one of their stores.  If you do this, no shipping is charged and your local store gets the credit.  Such a good idea. I will do this.

I was, also, told not to forget Walmart. I used to go to Walmart fairly often, but stopped when they took the fabrics out of their stores, but I understand it's back.

Can anyone tell me how fabric in Walmart stores is doing???

ONLINE SHOPPING

I already talked about Fabric.com, Fashion Fabrics Warehouse, eQuilter, Renaissance Fabrics and Quiltshops.com in Aug. 7th's blog.

Here are some additional sources from readers
fabrics-store.com - specializes in Linen
Thai Silks - for ... well ... silks
Silk Baron - really good for dupioni
Dharma Trading - for excellent natural fiber fabrics and dyes

And I was told to not forget ebay and etsy.


Thank you everyone.  I certainly have learned of a few new places to look for fabrics.

4 Comments

Martha McCain - Guest Blogger                     The Road to Extreme Research #2 - Museums

8/12/2013

11 Comments

 
Picture
Martha checking out the back of this beautiful gown!
Hi.  Martha McCain again. I really love to see costume exhibits at museums.  When an outfit is beautifully mounted and shown as it was meant to be worn, you can learn so much.
Picture
Andrea being inspired by the tie dye!
Especially when you attend an exhibit with a like-minded, serious scholar....(These photos were made at an exhibit at the Brooklyn Museum of Art in 2010)

Visiting an exhibit, however, is “research light.”  Extreme Research requires laying the garment out on a table...

Picture
Picture
and "digging in."

I consider being allowed to study a garment that belongs to someone else a great privilege, whether the owner is a private collector or a museum like the Costume Institute at the Metropolitan Museum of Art. To work with garments in a museum, you have to prove your credentials and the seriousness of your project. Not only does the museum staff have to spend time locating garments and laying them out for you, they have to believe that you will do no harm to the object you’re studying.
Picture
This is the wonderful Jessa Krick, former Collections Manager at the Costume Institute, showing me some 18th century stays.

The time you get to spend “backstage” at a museum is limited, so I learned to prepare carefully.
Picture
I always take along:
  • my favorite camera
  • my magnifying viewer
  • a unlined notebook  
  • several tape measures
  • an extra camera battery
  • extra media 
  • sharpened pencils
  • sharpened color pencils
  • a pencil sharpener
  • a good eraser
  • and sometimes I take a macro lens and a thread counter.

Picture
If I know a garment I’ve asked to see has been photographed dressed on a form, I take along the picture. Needless to say, I read all the available information about the specific garment and the period before I go backstage at a museum.

Picture
The next time I visit Andrea’s blog, I’ll share some things I’ve learned through Extreme Research at museums.

11 Comments

Masquerade Costumes from the 20's

8/9/2013

5 Comments

 
Picture
Check out the mice on the Pied Piper's belt.
All sorts of partying when on in the 1920's.  The economy was good and alcohol was illegal. We all have images of speakeasies and everyone doing the Charleston.  So, it is not surprising to find old photos of masquerade parties and lots of old patterns and pattern catalogs. There are so many costume patterns from that time, it makes me think all costumes were home made. Or, if you could afford it, custom made.

It wasn't call the "Roaring Twenties" for nothing, I guess.

I have a few things from this period that always bring a smile to my face when I pull them out of my storage boxes.  I think they will make you smile, too.
Picture
This is the cover of a costume pattern catalog from the 1920s. The artwork is really good.
Picture
I dont' think Mrs. Washington wore her dresses that short.
Picture
Don't you love what these Earl Flynn kind of guys are up to?
Picture
This is a pattern I own from the 20s also. These two patterns look very similar. I am so curious what this would look like made up. Is the bodice really that straight? This is something I should try ...
Picture
Oh, and here are the entire instructions for this pattern except for the piece layout on the other side. People complain about the instructions in patterns now a days!! This only shows you a few parts of the garment contraction, probably the parts Butterick thought weren't obvious.
So, my son asked me ... were ladies really that flat chested?  Did people really look like these illustrations?  Here are some photo of actual 1920s people dressed for masquerade parties. 
Picture
I hope I made these photos large enough to read the captions.
Picture
Below are a few more patterns envelopes and catalog pages.
Picture
Simplicity was founded in 1927, so these 2 patterns must have been published right around that time.
Picture
This is called a Spanish Masquerade Costume.
Picture
McCalls was way ahead of the game with printed patterns in the 20s and even colored illustrations on the envelope front. Maybe the dutch girl in the photo above used this pattern.
Picture
Picture
1920s versions of historic costumes!
Picture
But, judging by the photos I've seen and material I've read so far. The exotic east was the favorite theme for dress up.
I hope you are smiling by now, I am.
5 Comments
<<Previous
Forward>>

    From Andrea 

    I am a commercial pattern maker who is now "sewing over 50"!
    I love to sew and hope to encourage others to come back to sewing.
    The water is fine!!

    Archives

    August 2019
    July 2019
    June 2019
    May 2019
    April 2019
    March 2019
    August 2017
    July 2017
    June 2017
    May 2017
    April 2017
    March 2017
    February 2017
    July 2016
    June 2016
    May 2016
    April 2016
    March 2016
    February 2016
    January 2016
    December 2015
    November 2015
    October 2015
    September 2015
    August 2015
    July 2015
    June 2015
    May 2015
    April 2015
    March 2015
    February 2015
    January 2015
    December 2014
    November 2014
    October 2014
    September 2014
    August 2014
    July 2014
    June 2014
    May 2014
    April 2014
    March 2014
    February 2014
    January 2014
    December 2013
    November 2013
    October 2013
    September 2013
    August 2013
    July 2013
    June 2013
    May 2013

    Archives by Subject

    To search for blog posts in specific categories, use the drop down menu above by hovering over the word "Blog"

    Enter your email address:

    Delivered by FeedBurner

    RSS Feed

    Andrea Schewe participates in Amazon's associates program.