
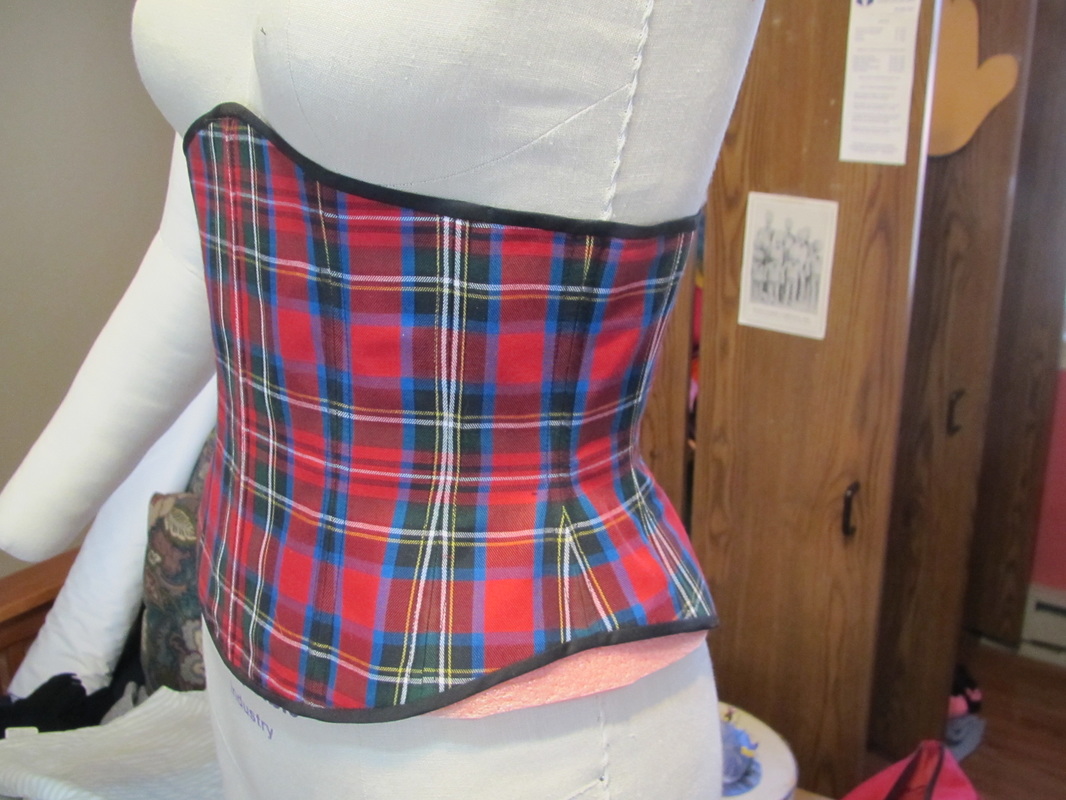
Here is the plaid view for my new corset pattern. If you read my previous blog about this pattern you will know that I originally planned for the front to have angled seams, but then changed the design so all the seams are straight and the curves balanced. This makes matching the plaid easier and fitting easier.
So, today I am going to show you how I put together a corset. This is just the sewing bits, not fitting. But, fitting an under bust corset usually isn't too tricky. Especially if you get a friend to help.
Even though when the corset is finished all the seams will end up being 1/4", the pattern has 5/8" to start off. This is for fitting. Think about it. This corset has 11 seams. If each 5/8" seam is let out so it is only 1/4" (the desired finished seam allowance) that gives you about 8 extra inches to work with ... not bad.
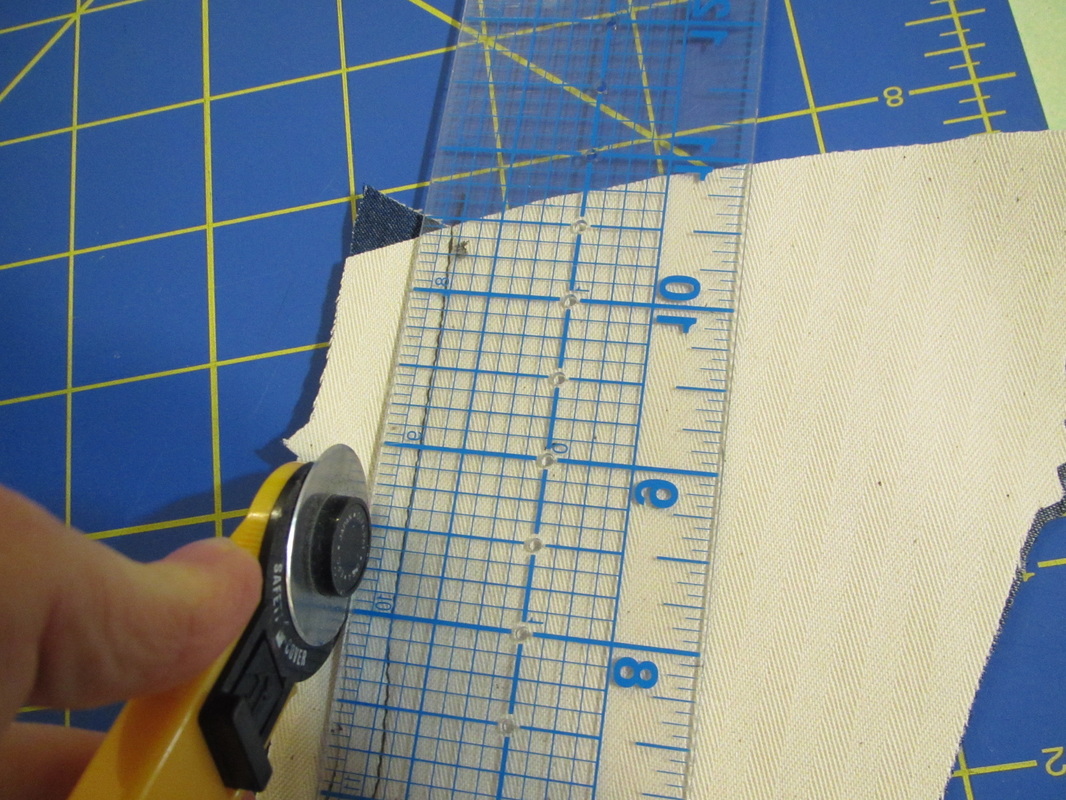
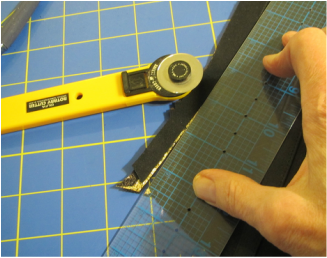
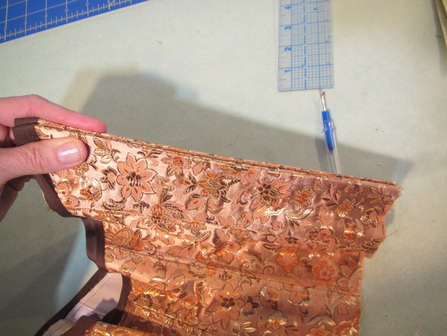
After you have sewn the seams for the last time (assuming you changed them once or twice), they should be trimmed down to 1/4". I think a rotary cutter and ruler is the easiest and most accurate way to do this.
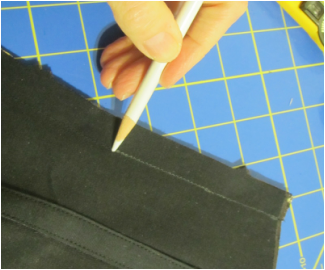 |  |
It was hard to see the stitching line through the ruler with this black fabric and black stitching, so I drew over the stitches with a white pencil to make the stitching visible.
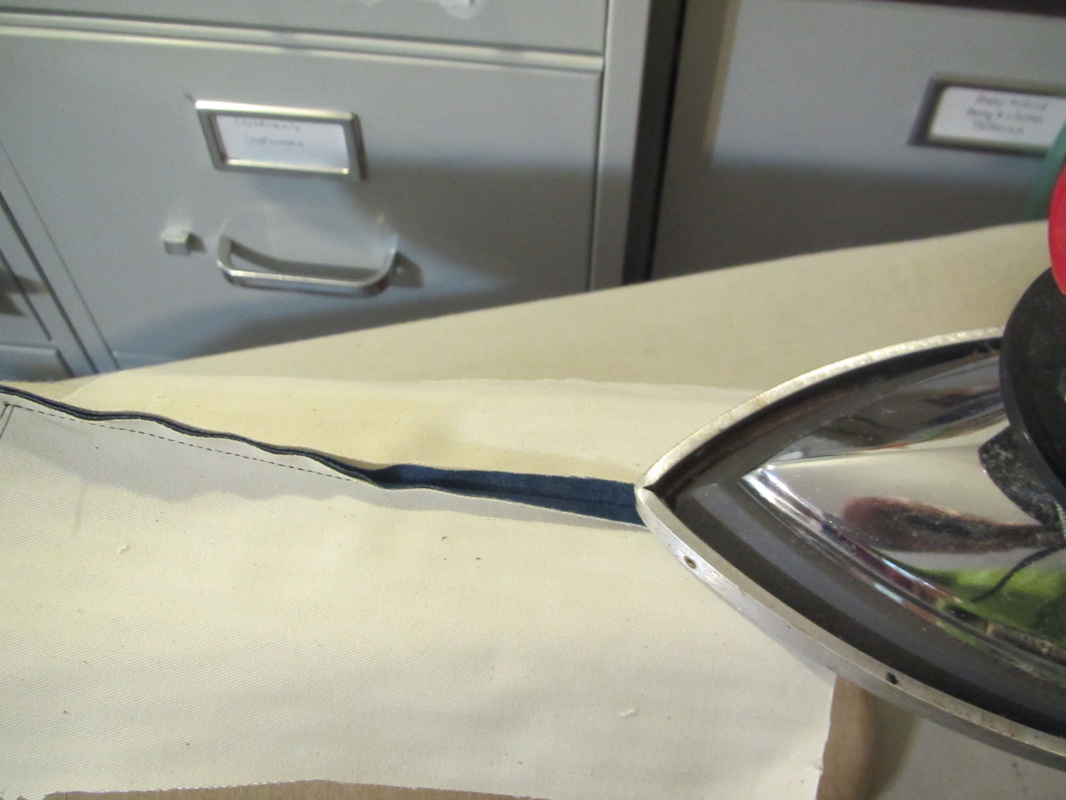
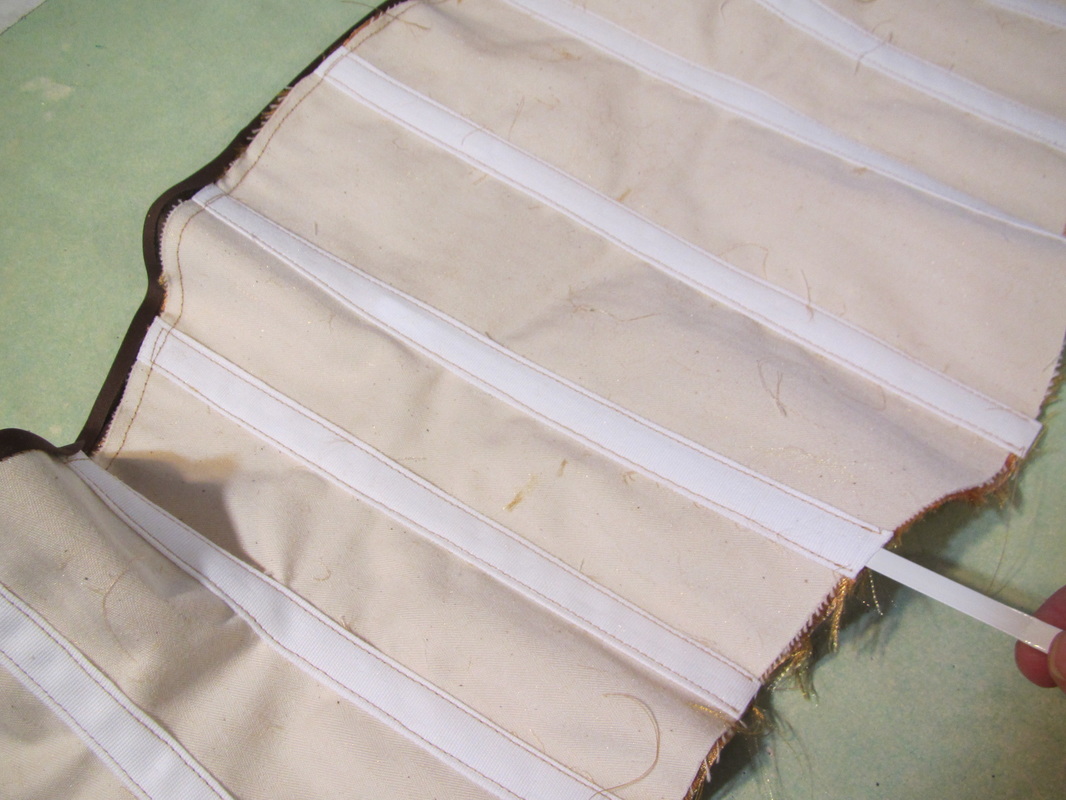
Next, press the seams open.
And then the bone tape is to be sewn over the seam allowance. Proper bone tape, that can be obtained from any on line corset supplier, is exactly the correct width to just cover an 1/4" seam and a tiny bit more.
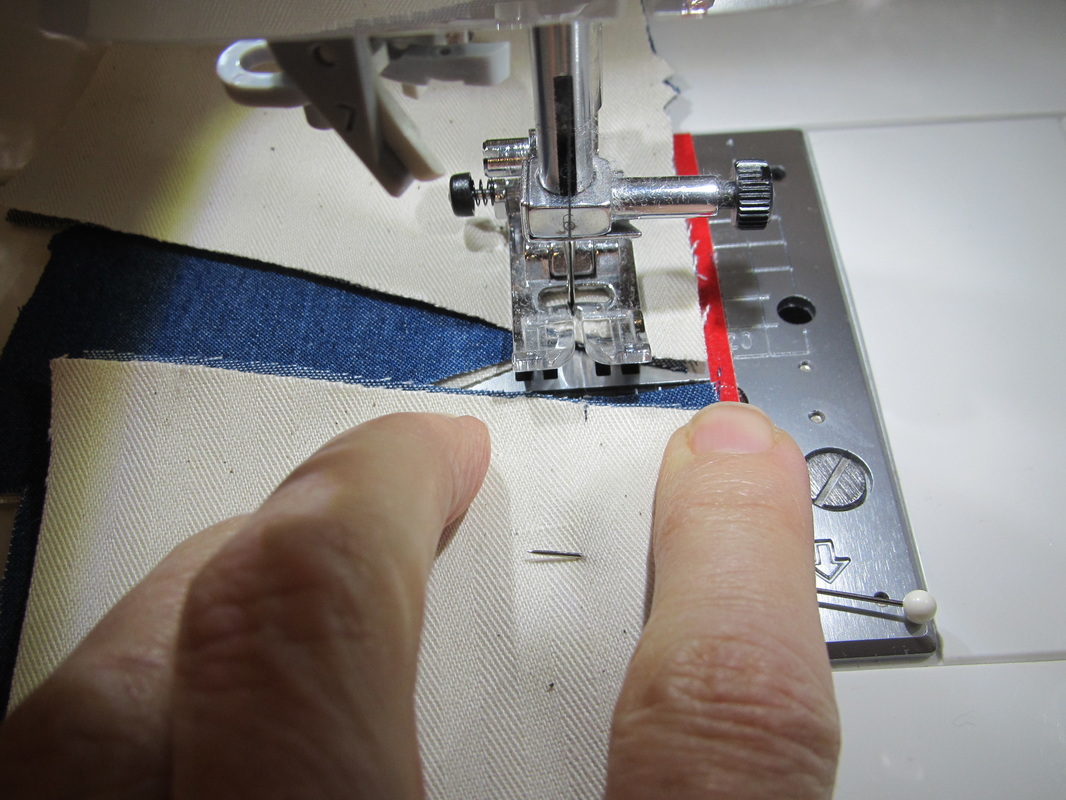
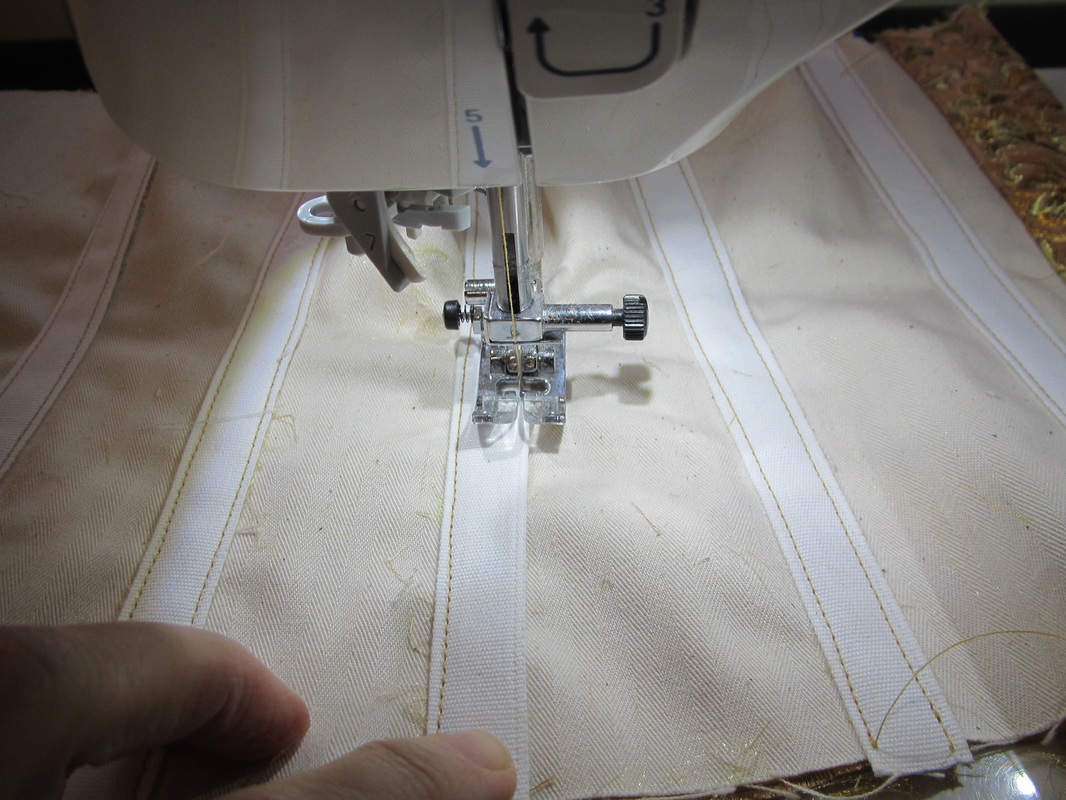
For this denim corset, the topstitching is very important and visible, so I want to do all the stitching on the denim (outside) of the corset. It HAS to be perfectly centered.
For this denim corset, the topstitching is very important and visible, so I want to do all the stitching on the denim (outside) of the corset. It HAS to be perfectly centered.
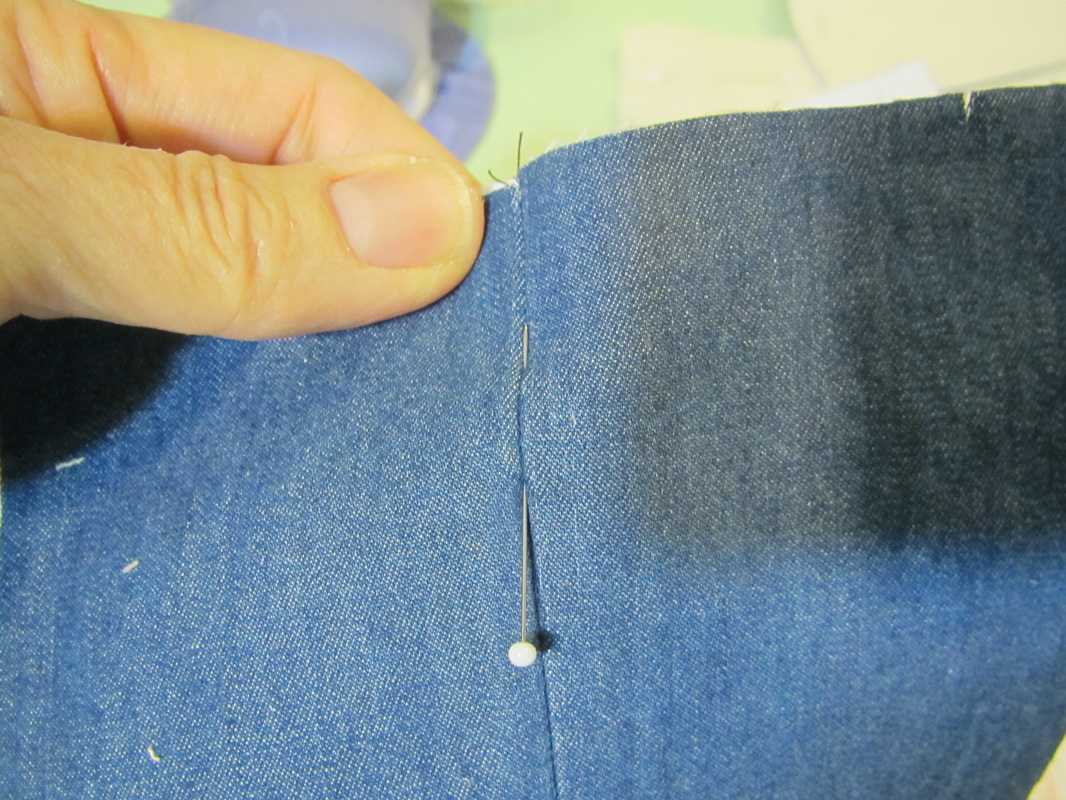
So I use pins exactly through the seam line ...
through to the center of the bone tape.
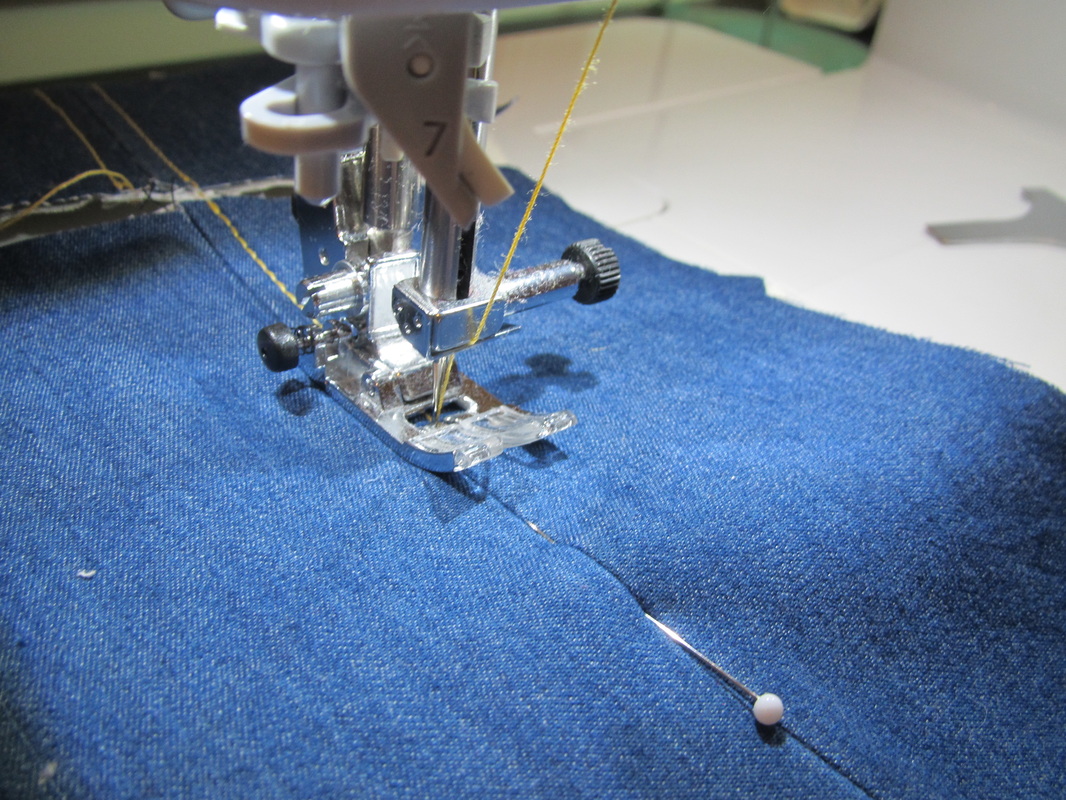
Then I can stitch from the outside and be sure to catch both sides of the bone tape inside.
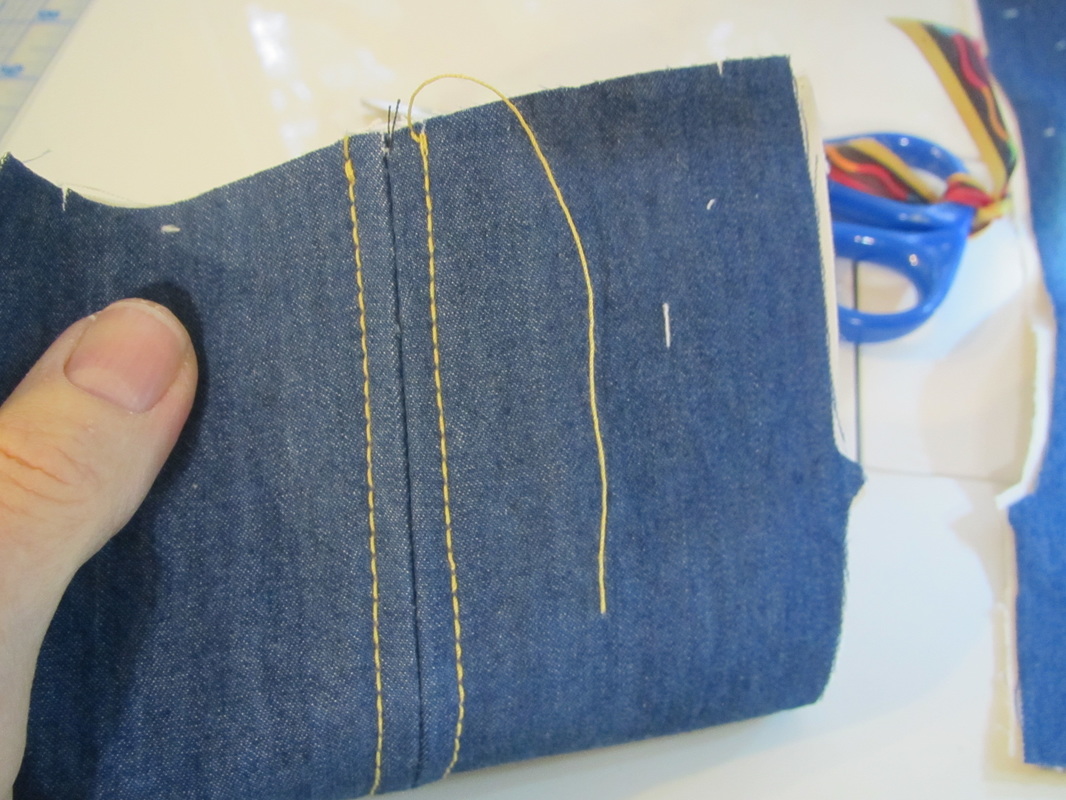
To really look like jeans, I used gold colored thick topstitching thread.
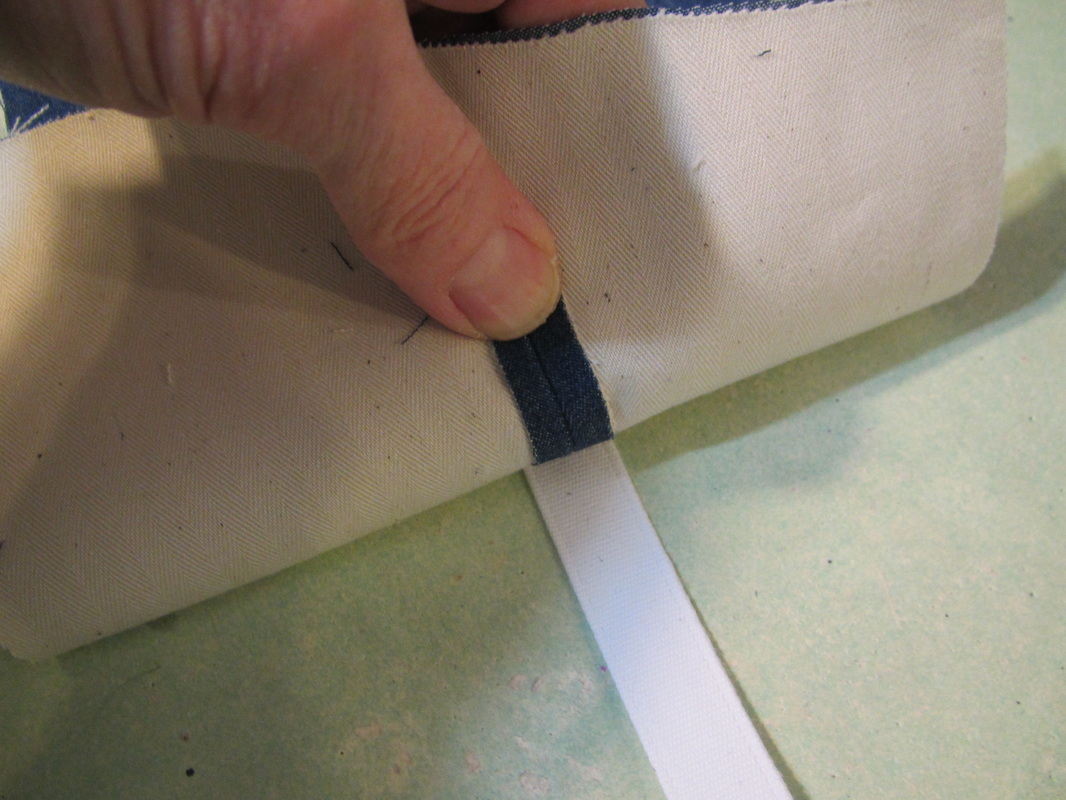
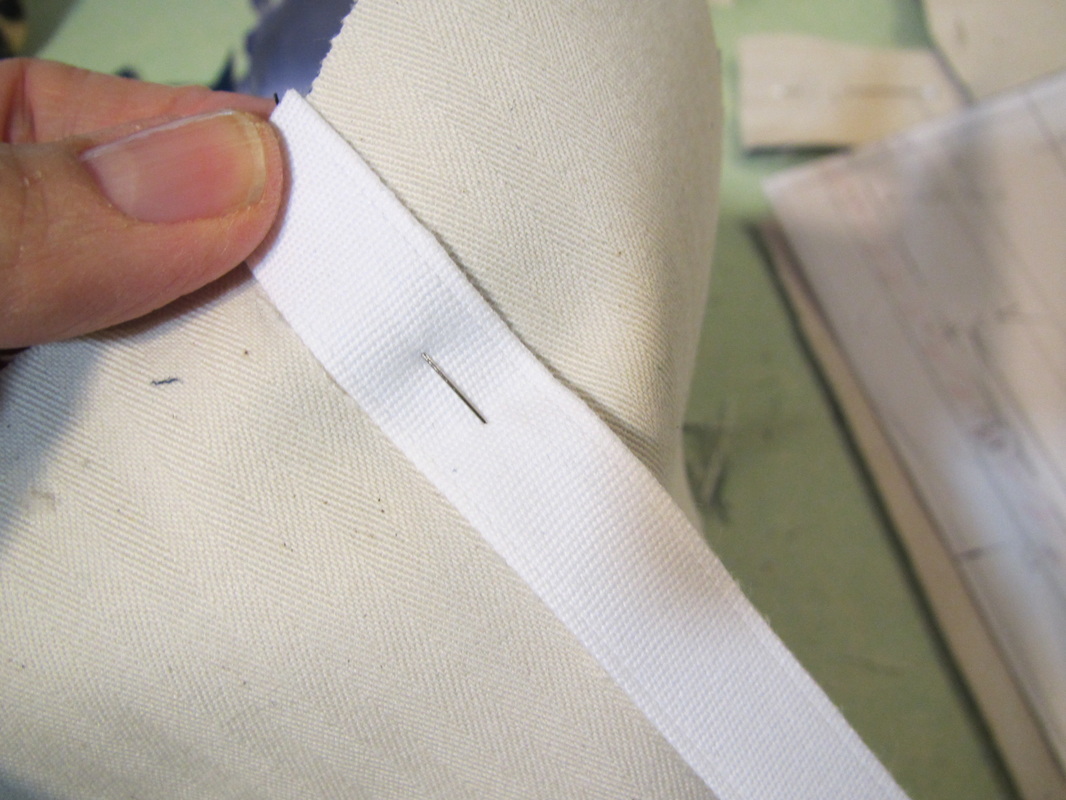
But for the other corsets I stitched the bone tape on from the inside. I carefully pinned it in place so it will be well centered, too. But, if it is a tiny bit off, it won't be noticeable with the printed fabric used on the other corsets.
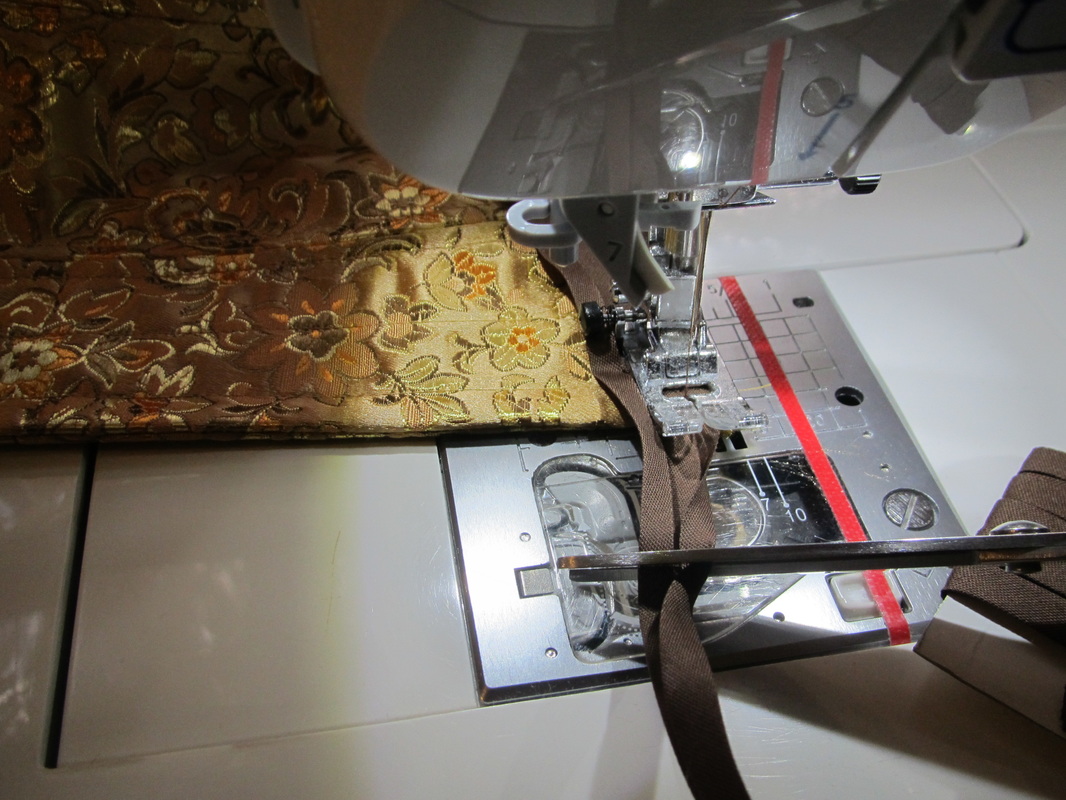
The open edges of the corset (the back for all but the leopard print on) need to be finished according to the pattern. Then the binding can be applied.
This pattern calls for packaged binding, but it would be super nice to cut your own ... maybe from the same fabric as the corset is made of.
This pattern calls for packaged binding, but it would be super nice to cut your own ... maybe from the same fabric as the corset is made of.
Anyway, I apply the bias tape, opened up with a 1/4" seam allowance to one side first. I will hand finish it later.
This way I can wait as long as possible before sliding the boning into the bone casings. It's just easier to work on a corset the longer you wait for the bones.
This way I can wait as long as possible before sliding the boning into the bone casings. It's just easier to work on a corset the longer you wait for the bones.
And, very important ...
Before applying the bias to the other edge, make very sure the two open ends, the ones that will get grommets and be laced up, are exactly the same length. I always put the two sides next to each other and if one is longer, trim it to be the same.
Before applying the bias to the other edge, make very sure the two open ends, the ones that will get grommets and be laced up, are exactly the same length. I always put the two sides next to each other and if one is longer, trim it to be the same.
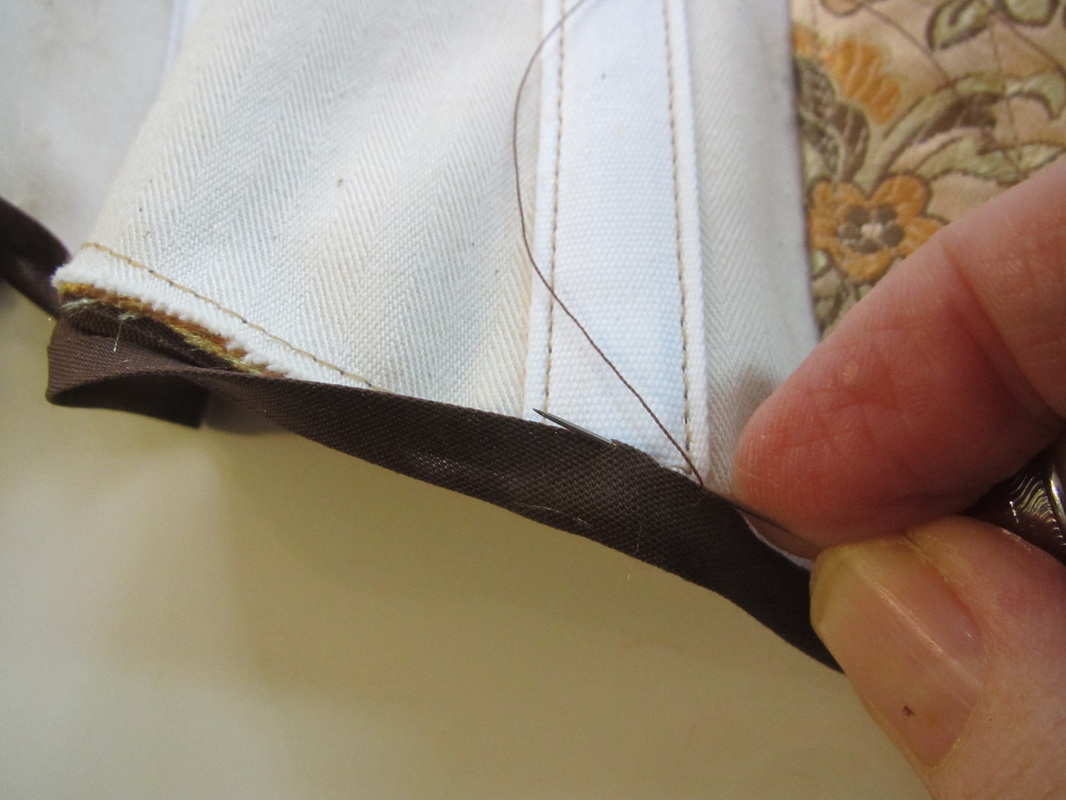
Finished the back sides of the binding with a hand slipstitch.
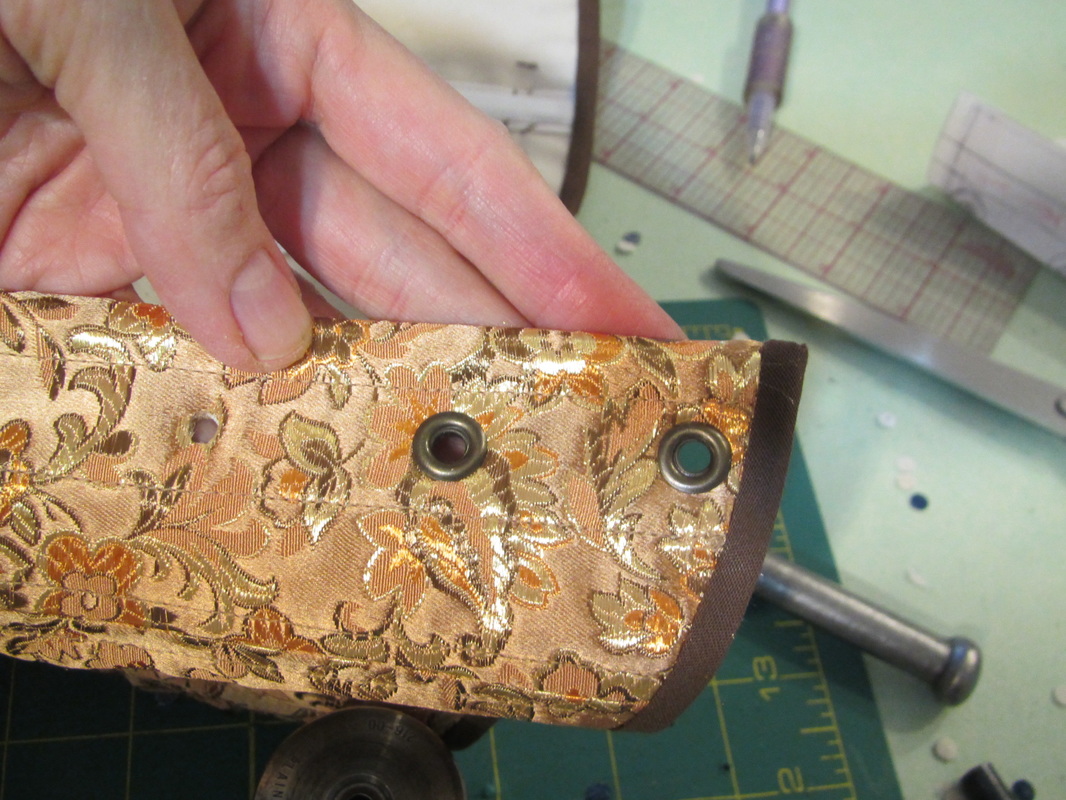
And now it's time for the grommets!!!

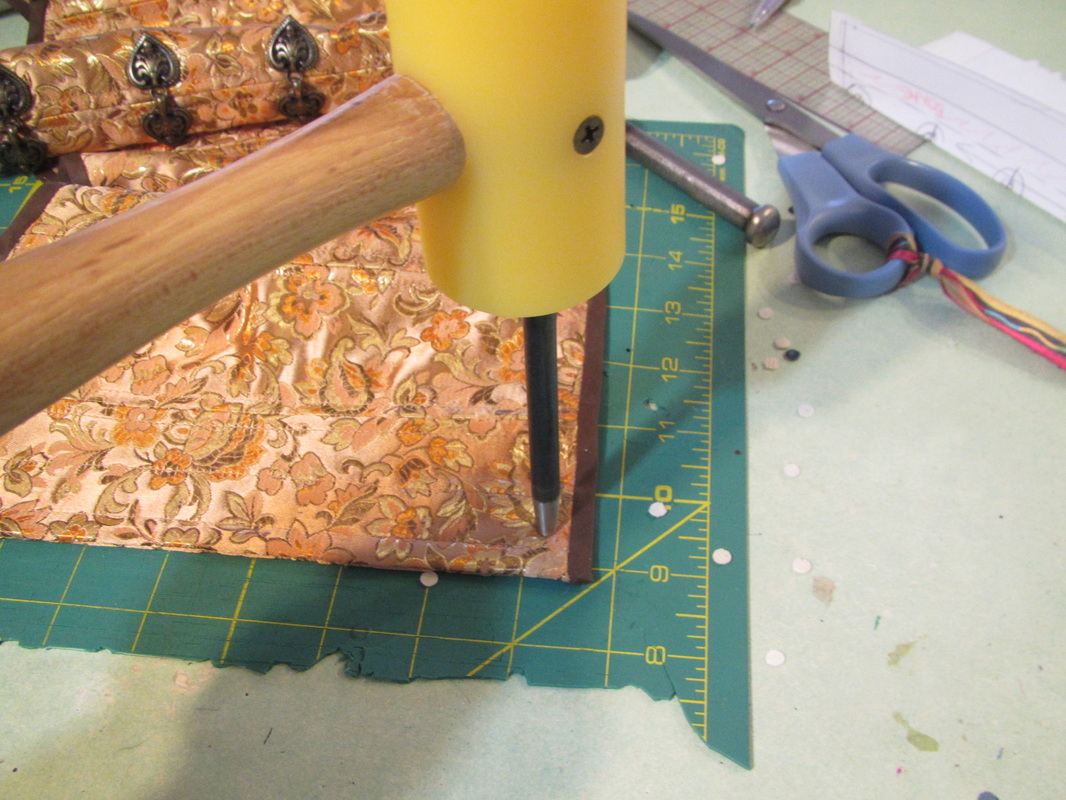
If you can get your hands on a really good grommet setter ... DO. Go in with some friends to buy and share one ... totally worth it.
It will give you so much better results, not to mention you can use "00" sized grommets which are a tad smaller than the ones available in most fabric store ... a nicer size.
AND, the setter has a nifty and very good hole punch. You can see I save my old beat up rotary mats for a cutting surface.
It will give you so much better results, not to mention you can use "00" sized grommets which are a tad smaller than the ones available in most fabric store ... a nicer size.
AND, the setter has a nifty and very good hole punch. You can see I save my old beat up rotary mats for a cutting surface.
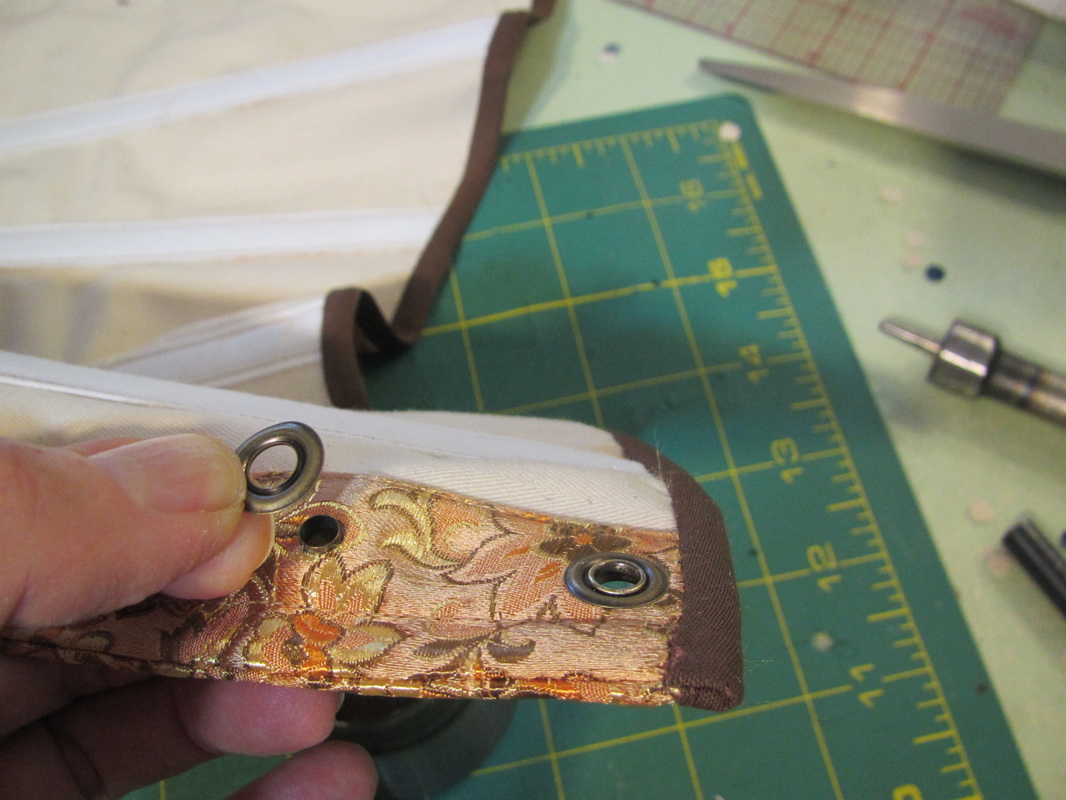
The grommets are two sided. Make sure you get the right side on the right side, if you get my drift.
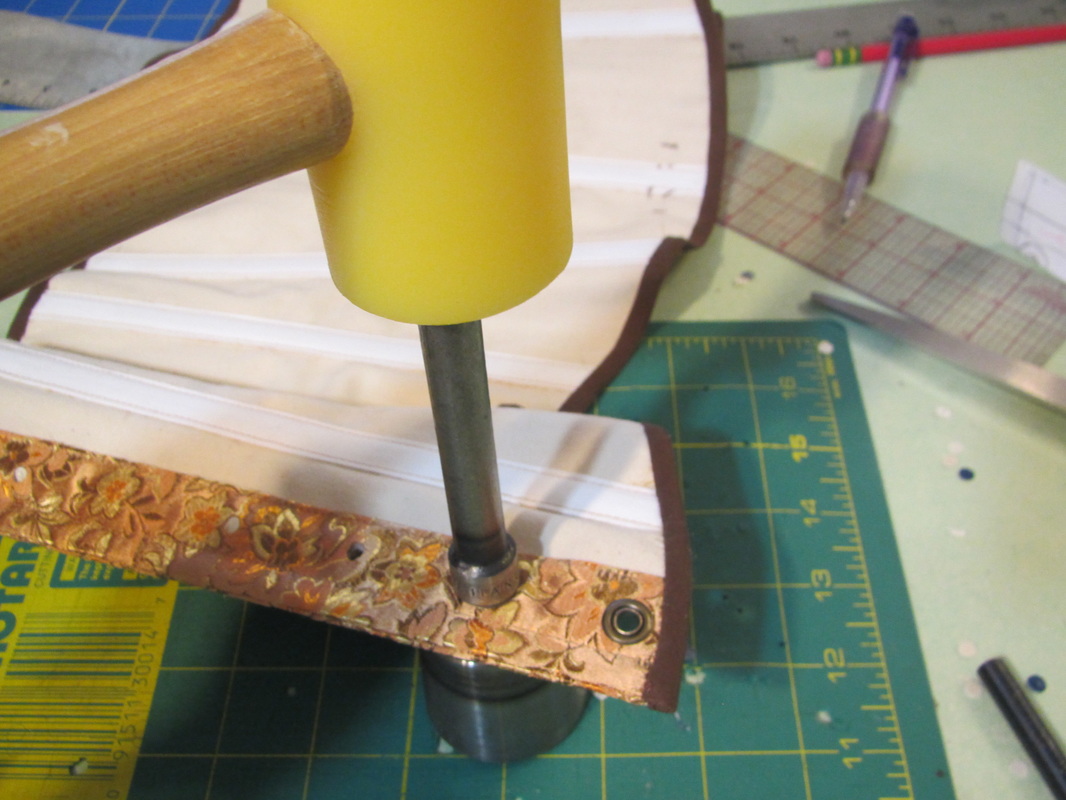
Then hammer away. A plastic or rubber mallet is recommended, but I used a regular hammer for quite a while ... don't tell.
Nice grommets!
Please let me know if you make this and it IS your first corset. That would be lovely to know. And PLEASE write in with any questions.
Please let me know if you make this and it IS your first corset. That would be lovely to know. And PLEASE write in with any questions.
 RSS Feed