Fabrics ... Other stuff ... bone tape
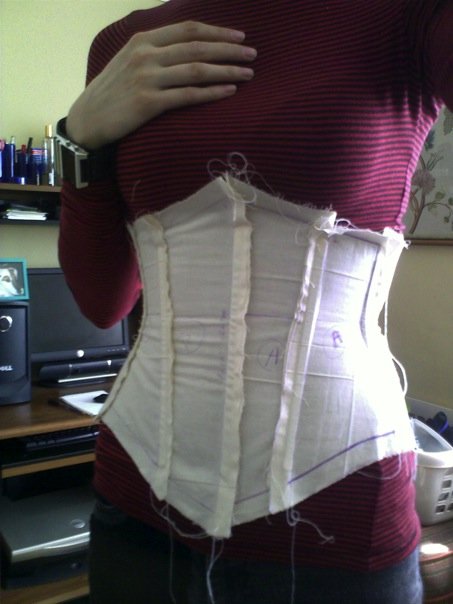
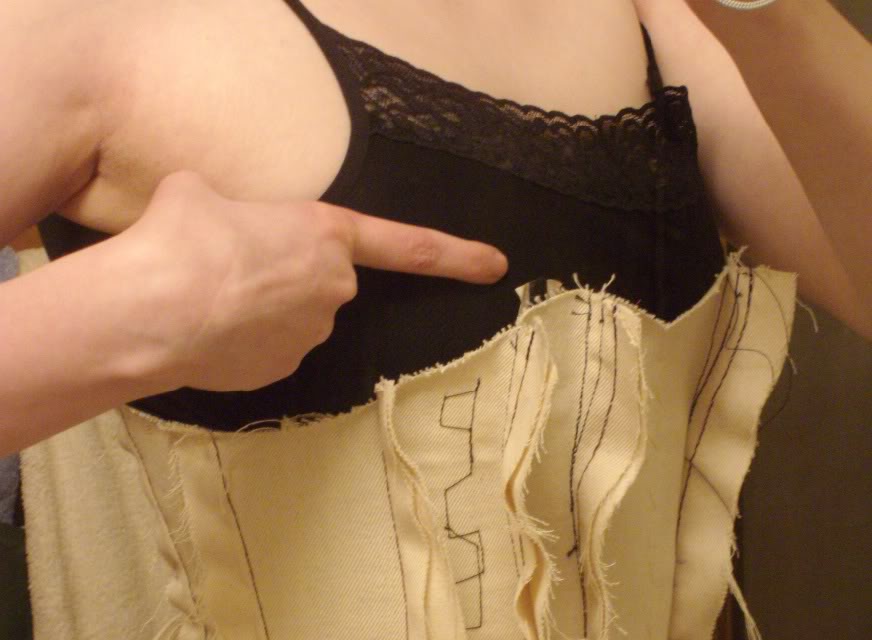
The best chance for success is to make a mock of in a sturdy fabric that has no stretch to it at all. This photo, above, from the Corset Training blog shows such a mock-up.
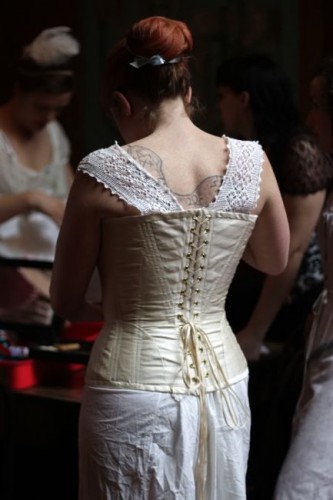
The photo of this red corset is from a blog Find Your Sexy on Hub Pages, that has a good article about choosing corset styles that work best for different body shapes.
FIRST, remember a corset should have no wearing ease. This seems like an obvious statement, but ... it needs saying.
And, to help with choosing your size, read this blog from Dreamstress. She recommends choosing a pattern that is the same measurement as your actual bust and hip but 5" smaller at the waist. That might be extreme for some people. You might want to start out with your mock up larger than that and then take it in, if you like.
SO, if you plan to have, say, a 2" gap, then 2" needs to be subtracted from the finished measurement of the corset.
Again ... obvious, but needs saying.
Well, the preparation of the mock up is key.
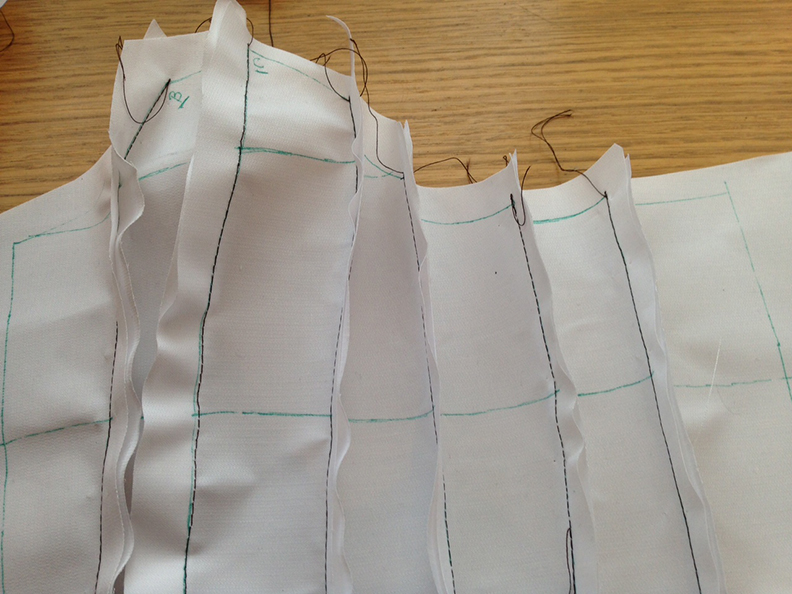
First, put LOTS of reference markings on each piece, lines for the bust a waist and whatever else would be useful. Mark all the stitching lines, too. This will be so helpful when the stitching lines get changed.
Second, boning is needed. The mock up will not behave like a corset without it. You can sew Ridgeline (the plastic boning that can be stitched through) down the center of each panel. Or use some kind of inexpensive ribbon or tape to make a channel for steel boning, which can be pulled out and used on the final corset. You don't want the bones on the seams ... because,
Third, it's easiest to fit with the seams going outwards. If the body the corset is being made for is at all asymmetrical, carefully fit each side of the body and then don't get the left and right sides of the corset mixed up!!
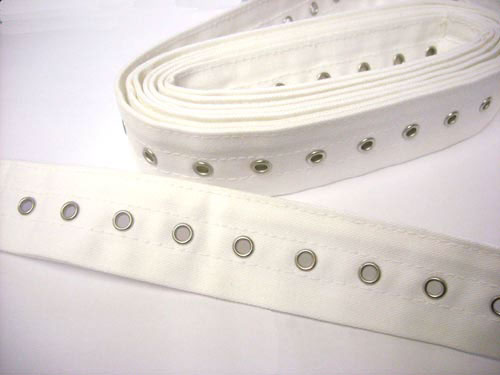
One way to put this on is to have a strip of fabric the size of the gap desired when wearing the finished corset and pin that to either side of the back, while putting the corset on, where the grommets for lacing with be OR use lacing tape so you can actually lace up the corset ... probably the most realistic way.
Here is an excerpt from Linda Spark's book on corset making, The Basics of Corset Building: A Handbook for Beginners that talks about lacing tape. She is the owner of Farthingales and that is a really, really good book.
You can also read her article at Farthingales, where lacing tape can be purchased. But, for a mock up, just stitch it along the edge that will have the lacing grommets when the final corset is made. Actually, stitch the lacing tape in far enough from the edge to take the place of the grommets that will be set in the final corset. The edge of the lacing tape should match up with the edge of the finished corset.
Well, pin in places that are too big and for places that are pulling, that means they are probably too small. So, take off the corset and if the seam allowances are big enough, let theme out where needed or add on fabric, if necessary. Also, if you know you want the waist smaller than it is possible to pin it ... take the mock up off, sew in the waist as much as desired and put the mock up back on. This is where the lacing tape would work much better that the 2" strip pinned where the lacing gap will be.
Read these two blogs about fitting for more specific information.
Corset Makers
Corset Training ... you will have to scroll down a bit to get the the fitting section. It is dated January 5, 2014.
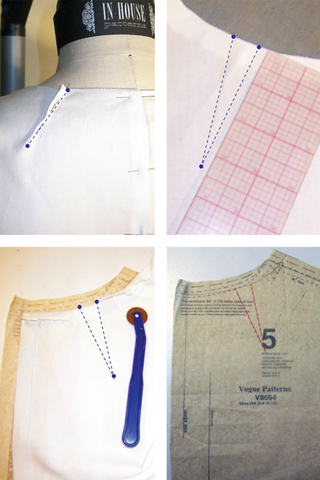
Read the article at In House Patterns, where these photos are from for some general fitting tips.
Now you can cut the real corset fabric. But, I advise cutting with large seam allowances, just in case. Sometimes the final fabric will behave differently than the mock up fabric. This final corset will need fitting, too.


 RSS Feed