
Yesterday, I planned out and purchased the fabric to cover my old couch for my son. Today, I got the main covering finished. I plan to cover the seat cushions separately.
I, also, cut the 9 yards of fabric into manageable lengths according to what I estimated the necessary large pieces would be, serged the ends to prevent fraying and washed and dried them to preshrink the fabric. I would like my son to be able to wash this ... well, I hope he does wash it occasionally.
But the dryer really crumpled the fabric up and I needed to press it out, mostly around the edges.
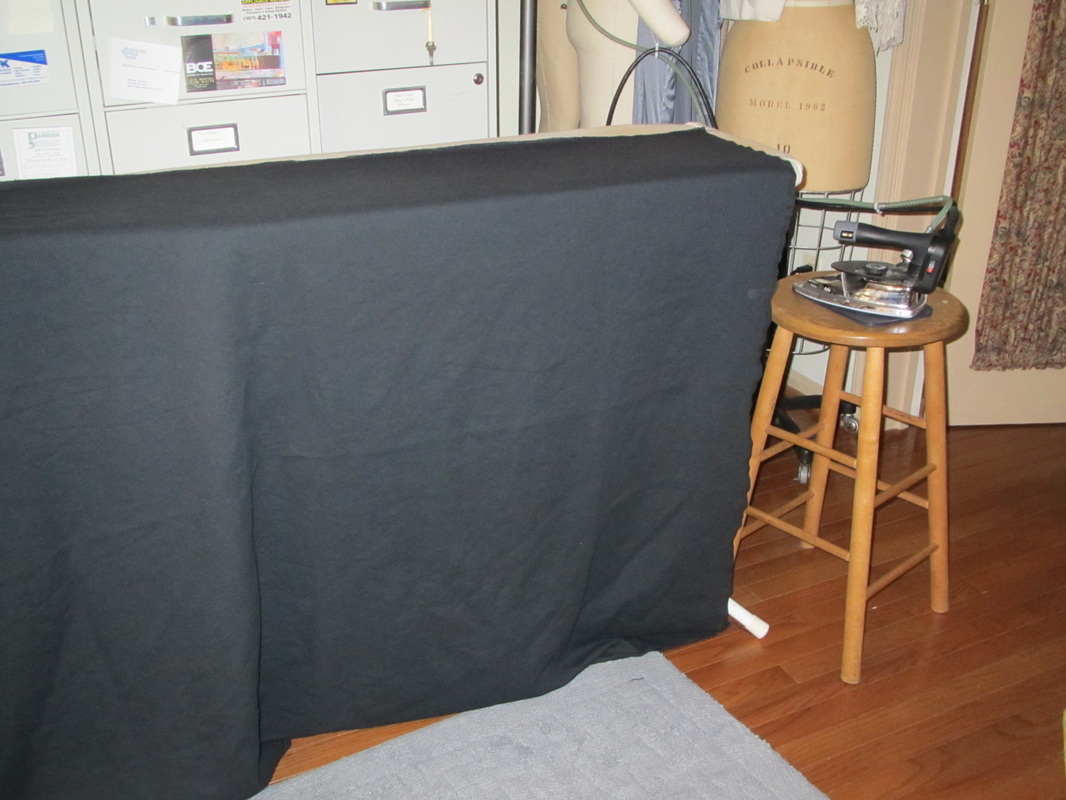
I set my iron on a stool, so I could use the full size of my ironing board.
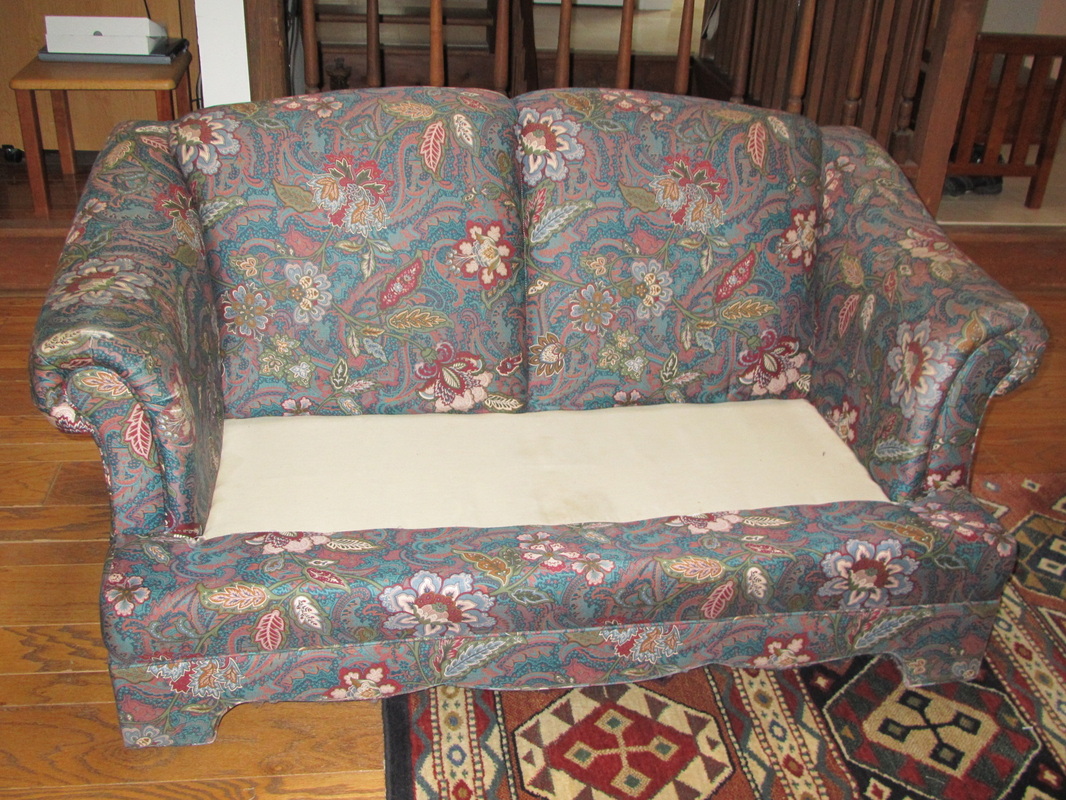
This couch hardly has a straight line on it. Maybe that's why I liked it 20 years ago. But now it is going to be a lot harder to make a slip cover for than a more conventional boxy couch.
So, I will make a pattern as I go by laying fabric over one half of the couch, smoothing it out, and draw lines with a washable white pencil. Then I will cut the fabric, folded in half if it is a piece that covers both sides or double if it is a separate piece that has a mirror image piece on the other side of the couch. Since I don't have to make any pattern (YAY!) and because it doesn't have to be perfect fit down to the 1/4" I plan to eye ball my 1/2" seam allowance as I cut.
So, I will make a pattern as I go by laying fabric over one half of the couch, smoothing it out, and draw lines with a washable white pencil. Then I will cut the fabric, folded in half if it is a piece that covers both sides or double if it is a separate piece that has a mirror image piece on the other side of the couch. Since I don't have to make any pattern (YAY!) and because it doesn't have to be perfect fit down to the 1/4" I plan to eye ball my 1/2" seam allowance as I cut.
I start by taking the back piece, folding it in half, and lay it over the back of the couch starting at the corner where the back meets the seat, making sure to line up the fold with the center line.
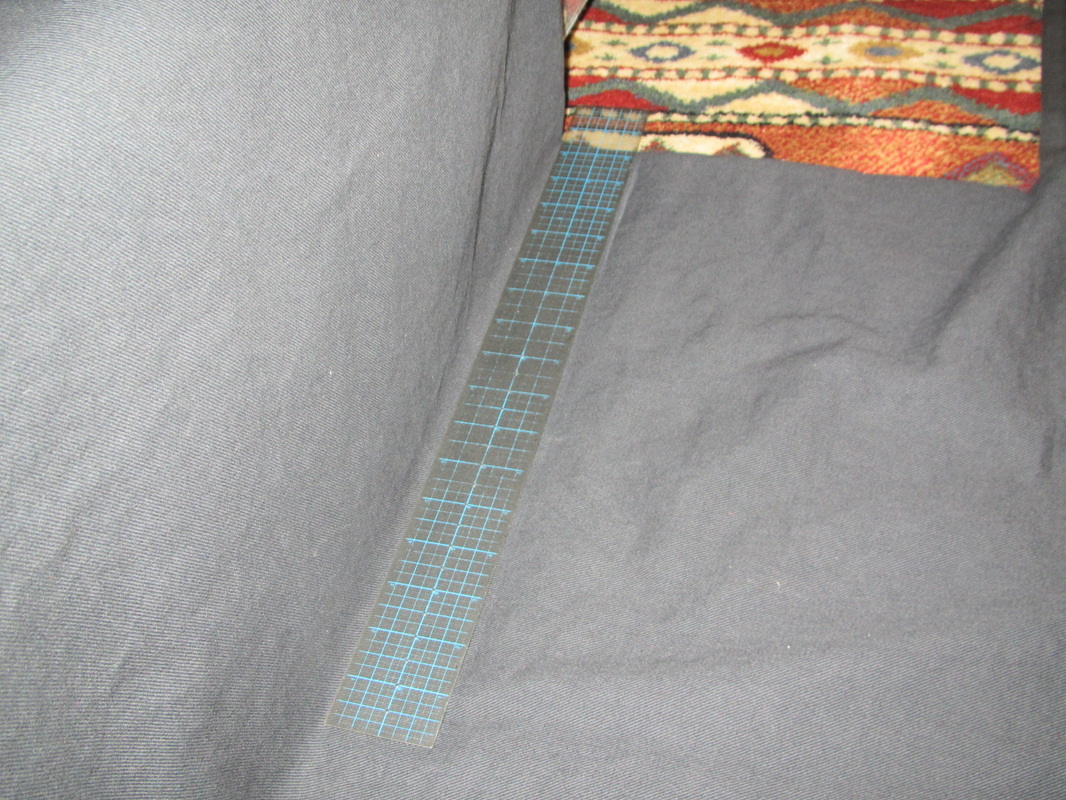
Where it meets the floor in the back I use a 2" ruler to leave 2" for a hem.
| 
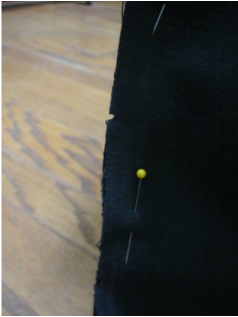
I draw a line with my white pencil along the inner corner along the side back. When I take the piece off, I cut along that line leaving the fabric folded so I can cut both sides at once, eye balling a 1/2" seam allowance.
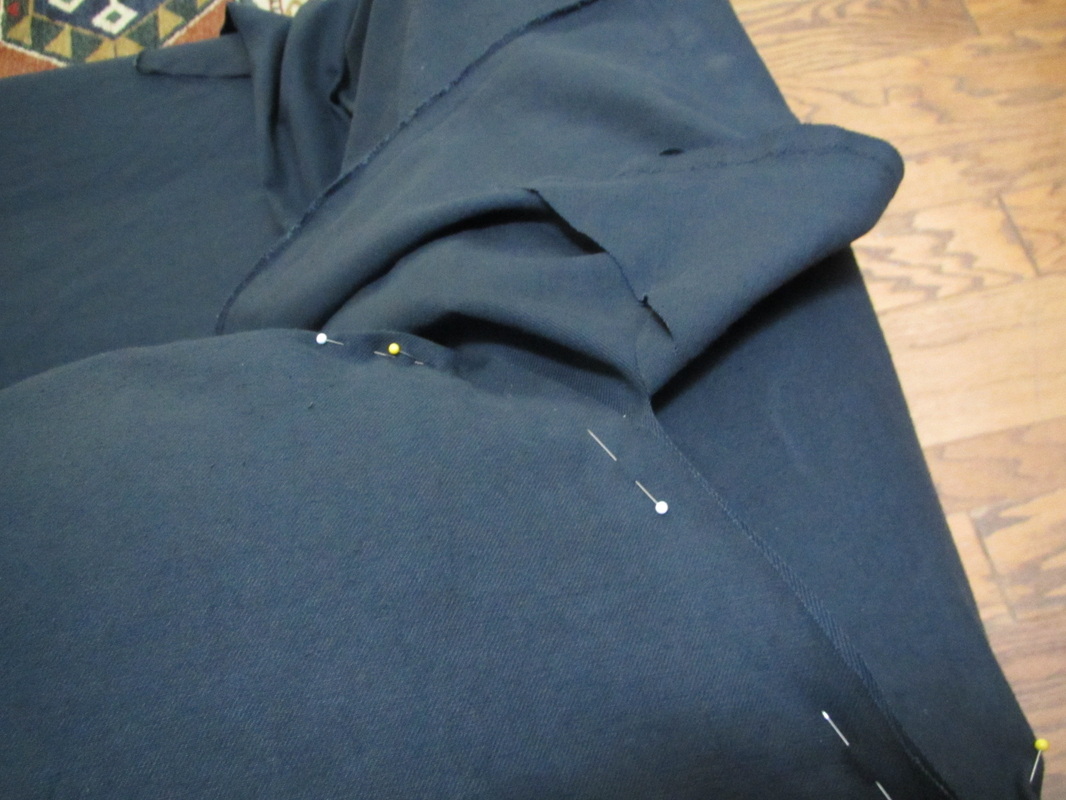
The back is curved, so the easiest way to deal with that is by pinning a dart.
|
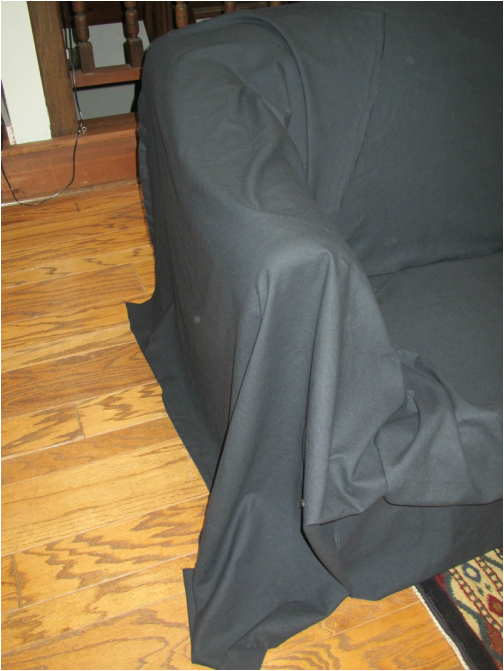
But the tricky piece is going to be the flared curved arm.
If I were making a really fitted slip cover I would make a separate piece for that rounded front shape, but this is a semi fitted cover and I plan to use strategically planned darts to fit this oddly shaped part. I start by smoothing the fabric over the arm and pinning it to my first piece that I've put back onto the couch.
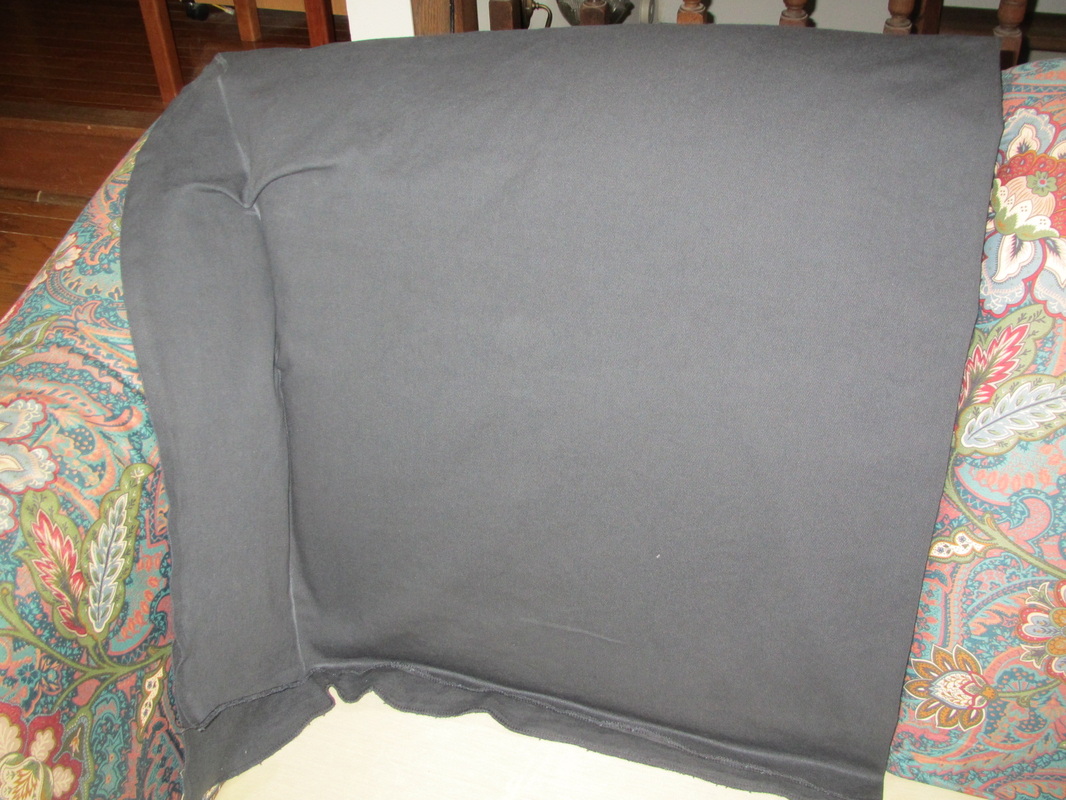
Oh ... and I forgot to take photos of this, but I've also made a piece for the front which starts at the back of the seat and goes over and down the front. This piece is now sewn to the back piece along that back seat corner. It is made in the same way as the "over the back" piece ... not too hard.
Oh ... and I forgot to take photos of this, but I've also made a piece for the front which starts at the back of the seat and goes over and down the front. This piece is now sewn to the back piece along that back seat corner. It is made in the same way as the "over the back" piece ... not too hard.
| 
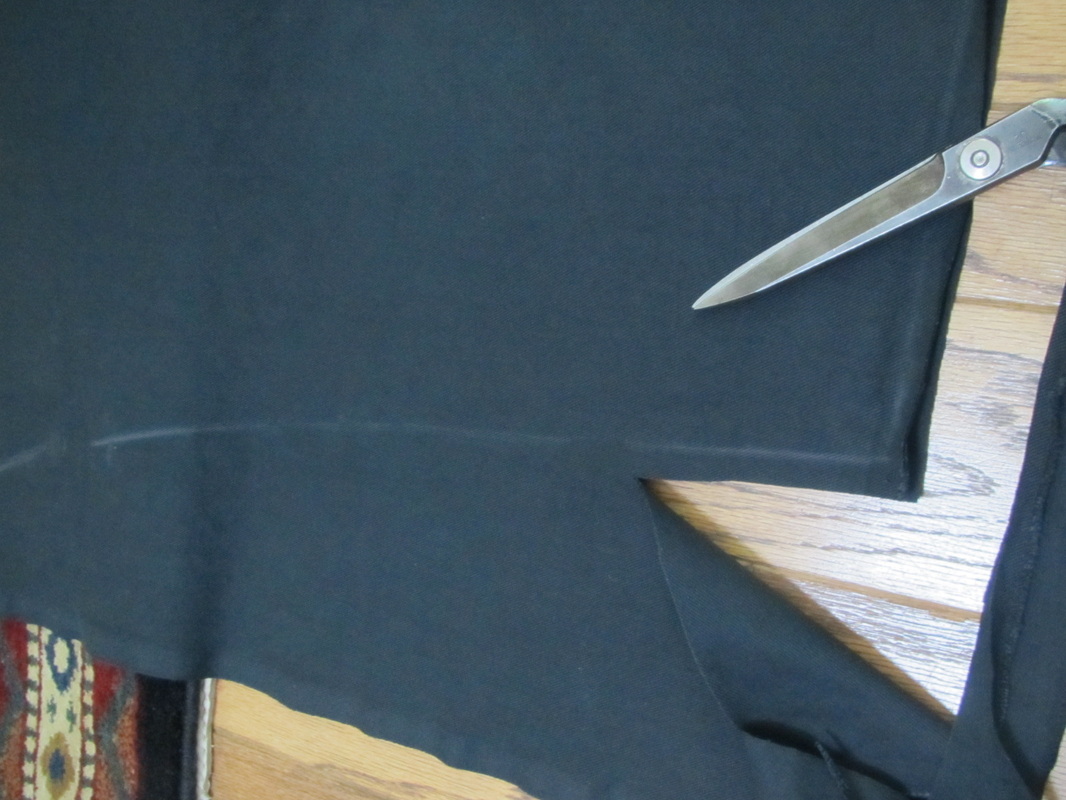
It is necessary to cut away fabric as you are pinning the new piece to the established piece because the excess fabric gets in the way and prevents the fabric following the shape of the couch. |

See how I am cutting as I pin.
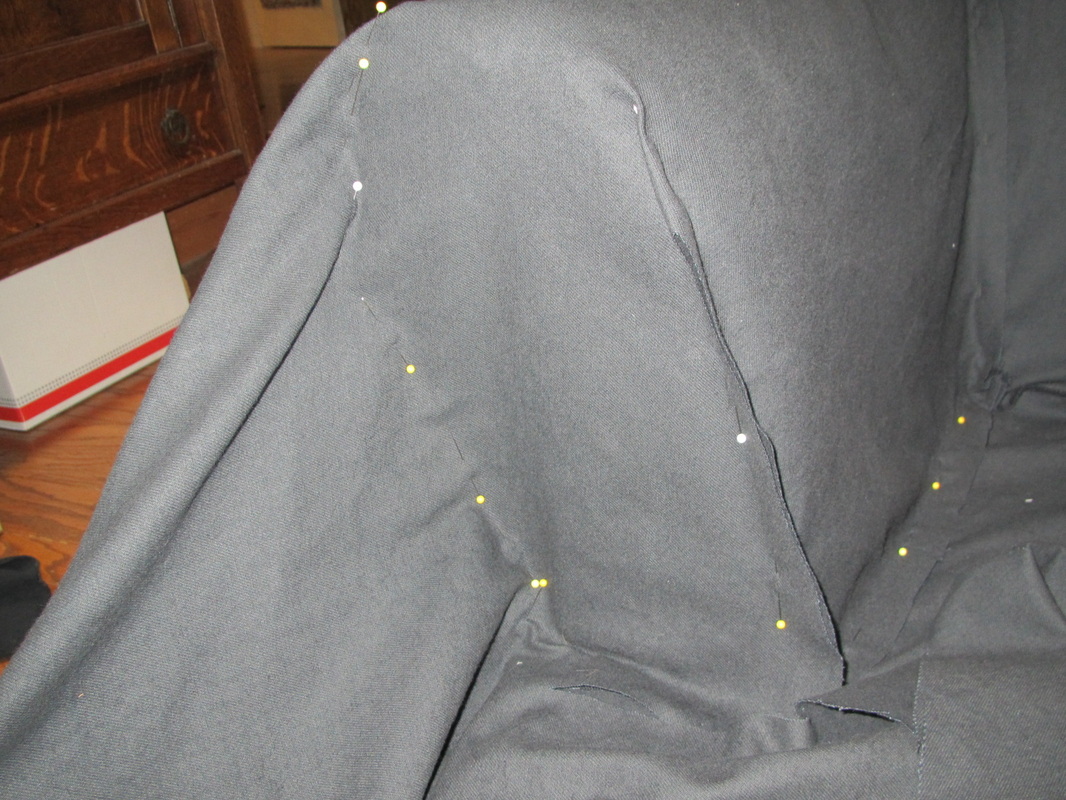
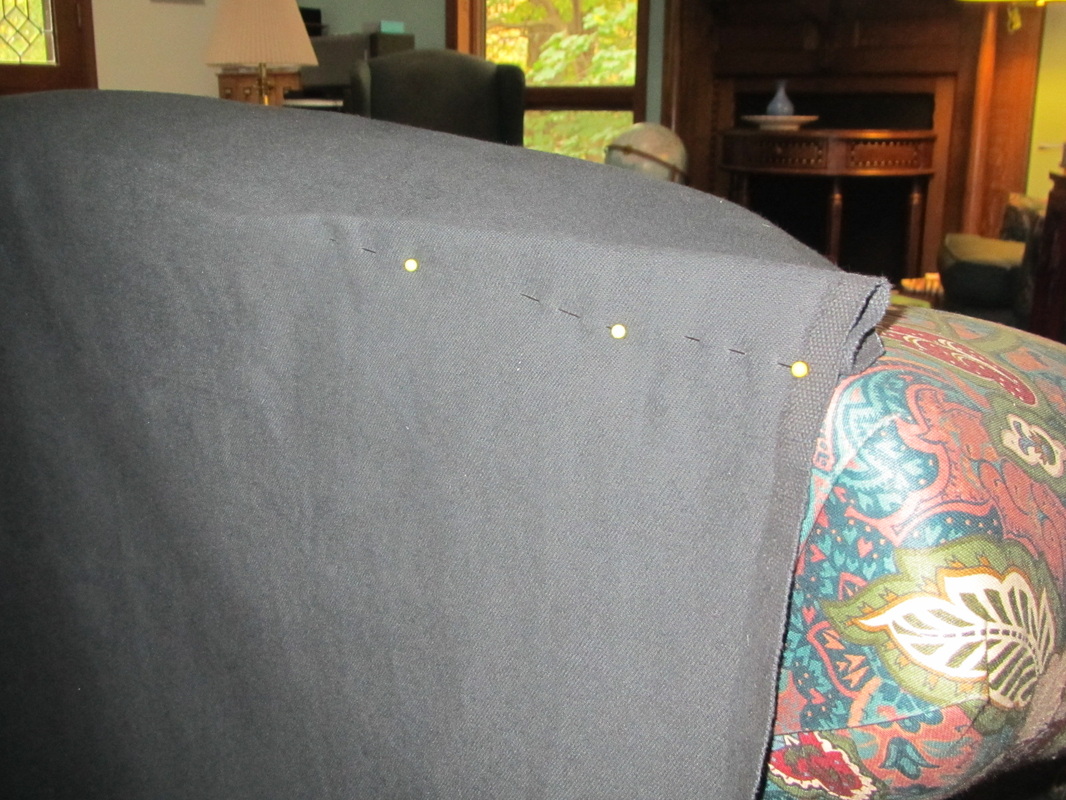
I have pinned two very large darts on either side of the armrest. The dart on the right has had the excess fabric trimmed away into a 1/2" seam allowance. I will do the same with the left dart.
Before unpinning everything I even up the seam allowances and make lots of pointed notches AND inward notches. This will make it easier to match things up when sewing it up for real. 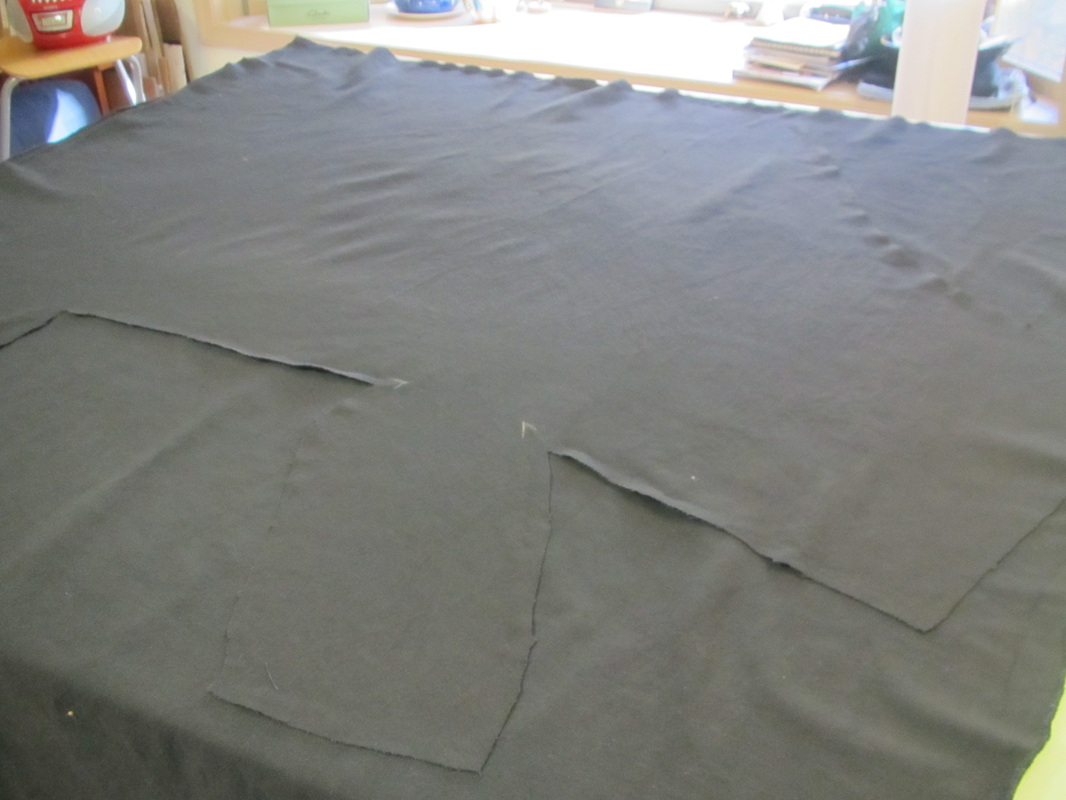
| 
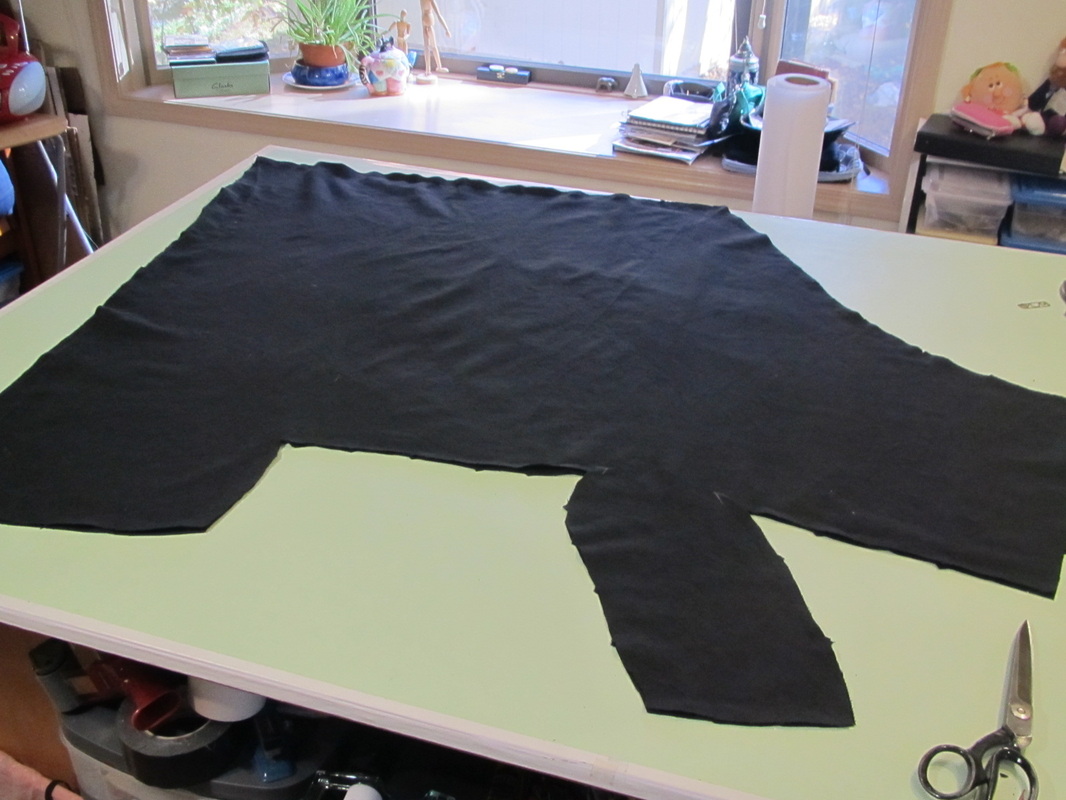
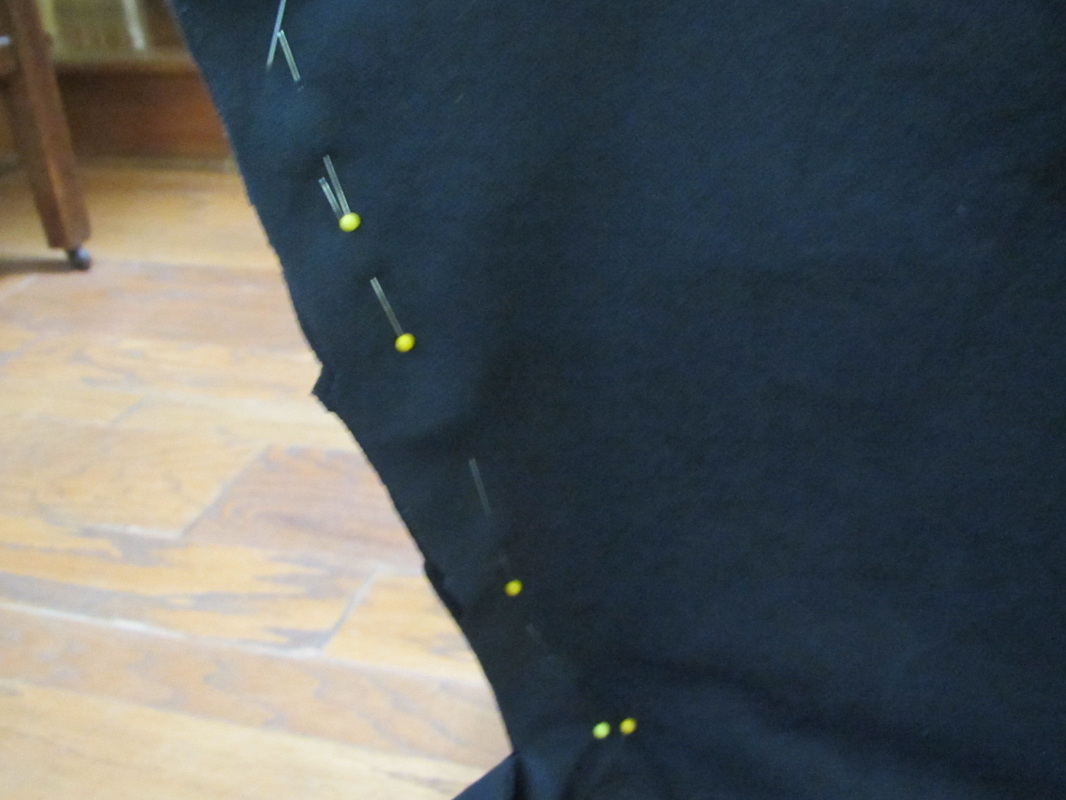
Lay the piece made for the one armrest over the second piece of fabric to cut the second armrest. See what a strangely shaped piece it is. |
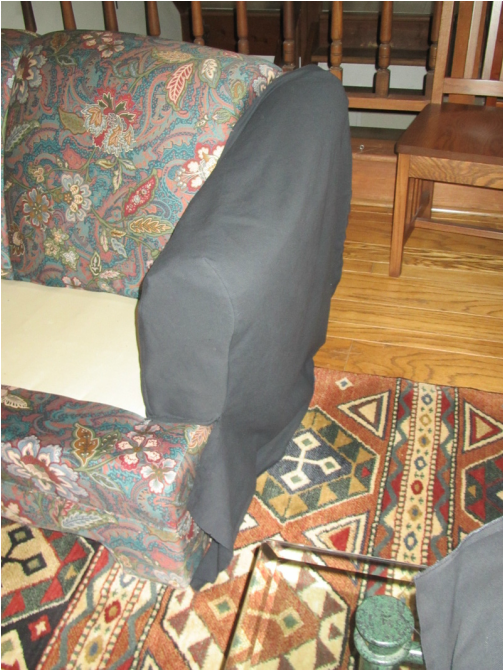
After sewing the darts on one armrest piece, I check that is it fitting alright before sewing it to the main center piece ... so far ... so good.
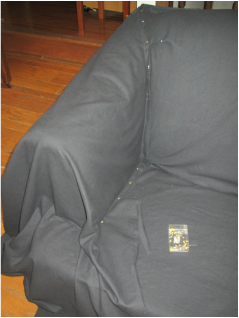
All sewn together, but it needs a hem. I will mark the where the fabric meets the floor, like I do for a floor length gown, even up the hem allowance, serge the edge and then topstitch a hem.
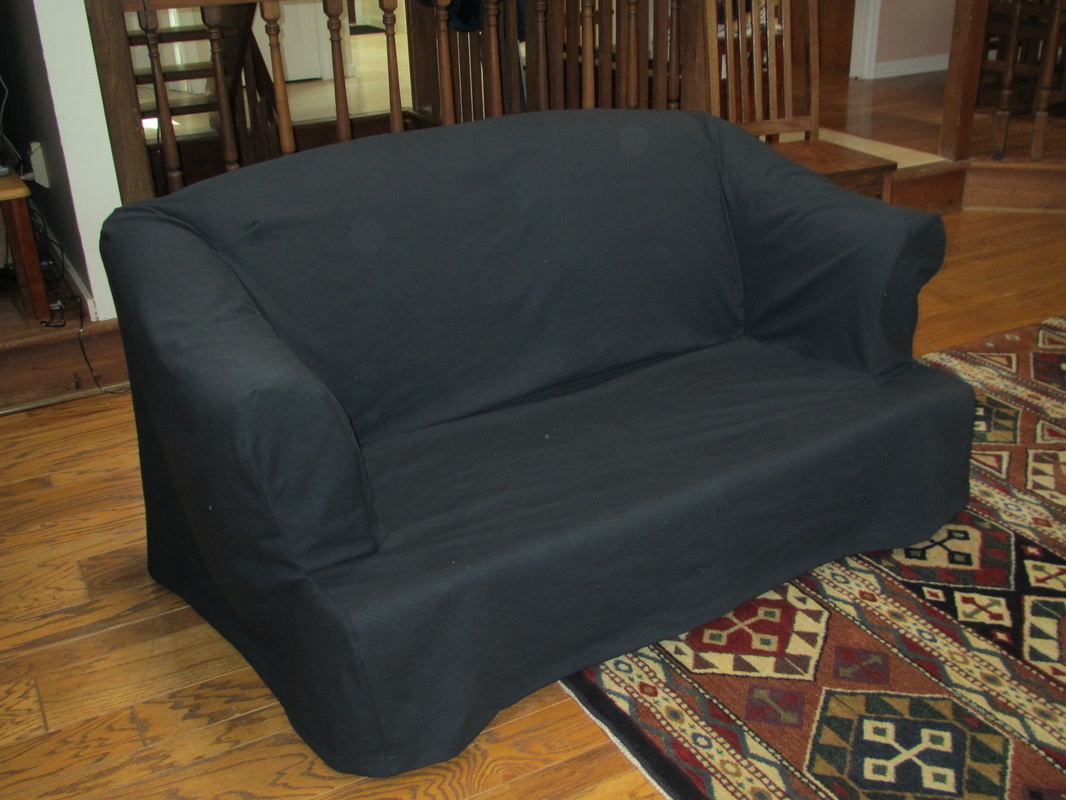
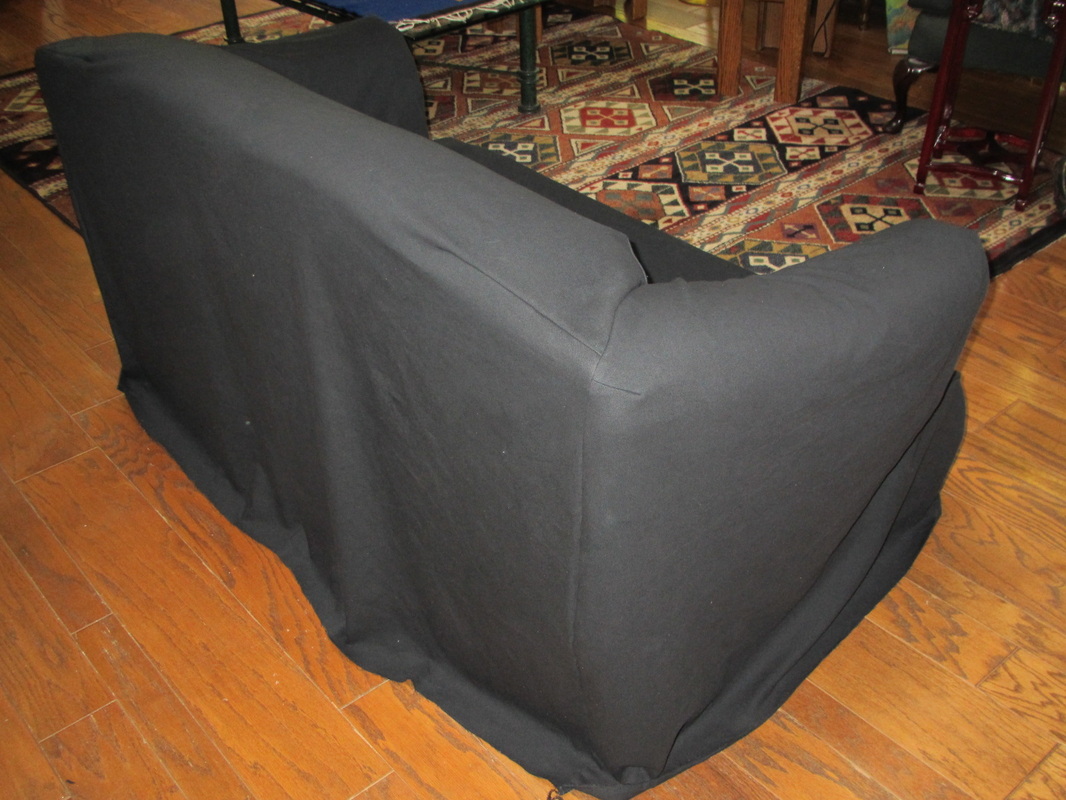
OK ... all it needs now are the seat cushions.
That's for tomorrow. I am very motivated to get this finished. I want this couch out of here when my new one arrives!
That's for tomorrow. I am very motivated to get this finished. I want this couch out of here when my new one arrives!
 RSS Feed