
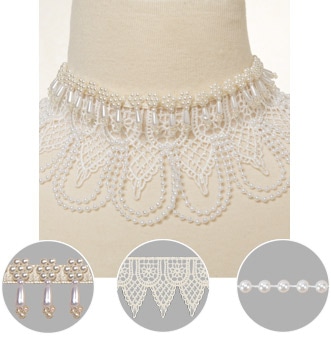
I received a comment on an old blog post this week. It was about this choker above with a link that is supposed to take you to the Simplicity website where the full tutorial used to be. When they switched over to their new website LOADS of content was lost ... sigh. BUT, I found all my notes and photos Simplicity used to for this tutorial, and have reconstructed the whole thing here.
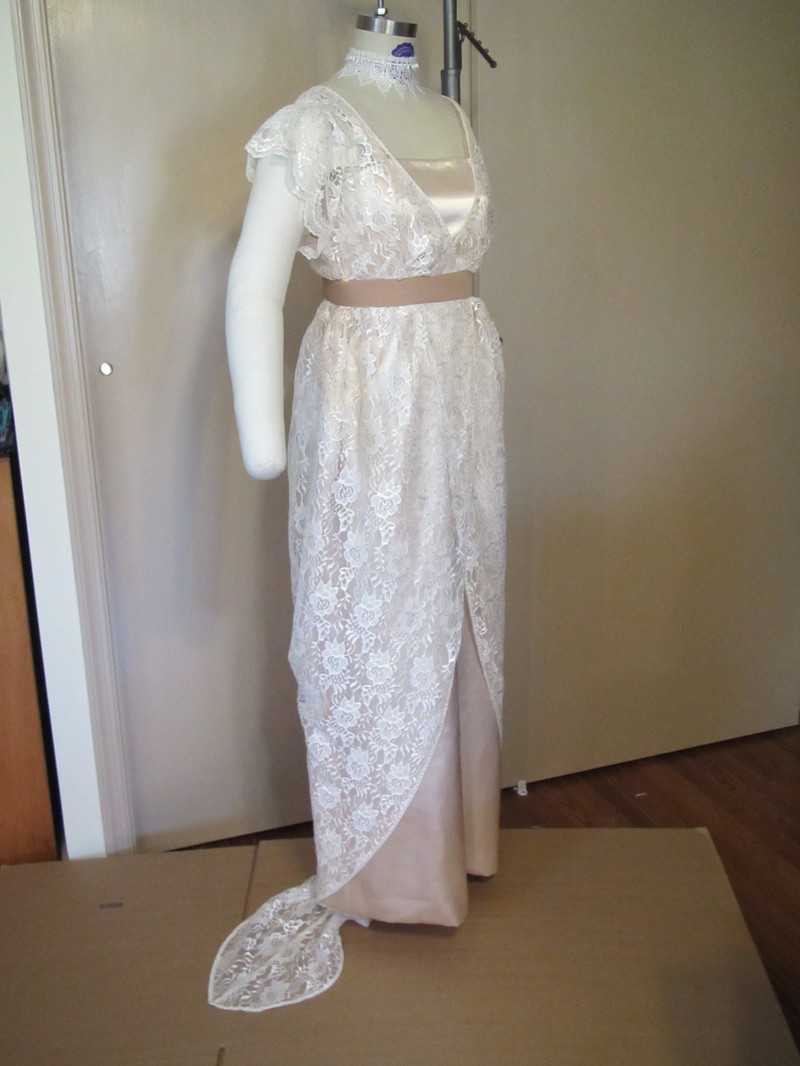
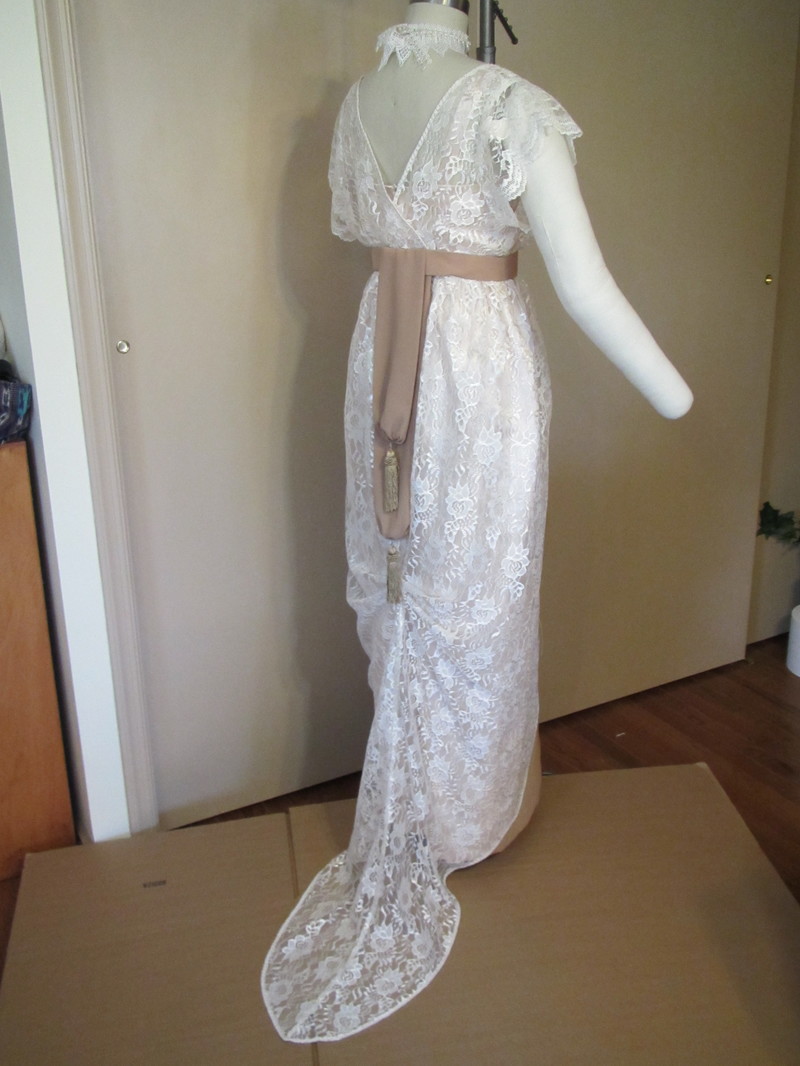
It was created to go along with my Edwardian dresses ... anyone missing Downton Abbey?
Well, now you, too, can have this choker and imagine you are dining with the Crowley family.
Enjoy!
It was created to go along with my Edwardian dresses ... anyone missing Downton Abbey?
Well, now you, too, can have this choker and imagine you are dining with the Crowley family.
Enjoy!
These amounts are for a 12" choker. The finished choker should be about 2" smaller than your neck measurement.
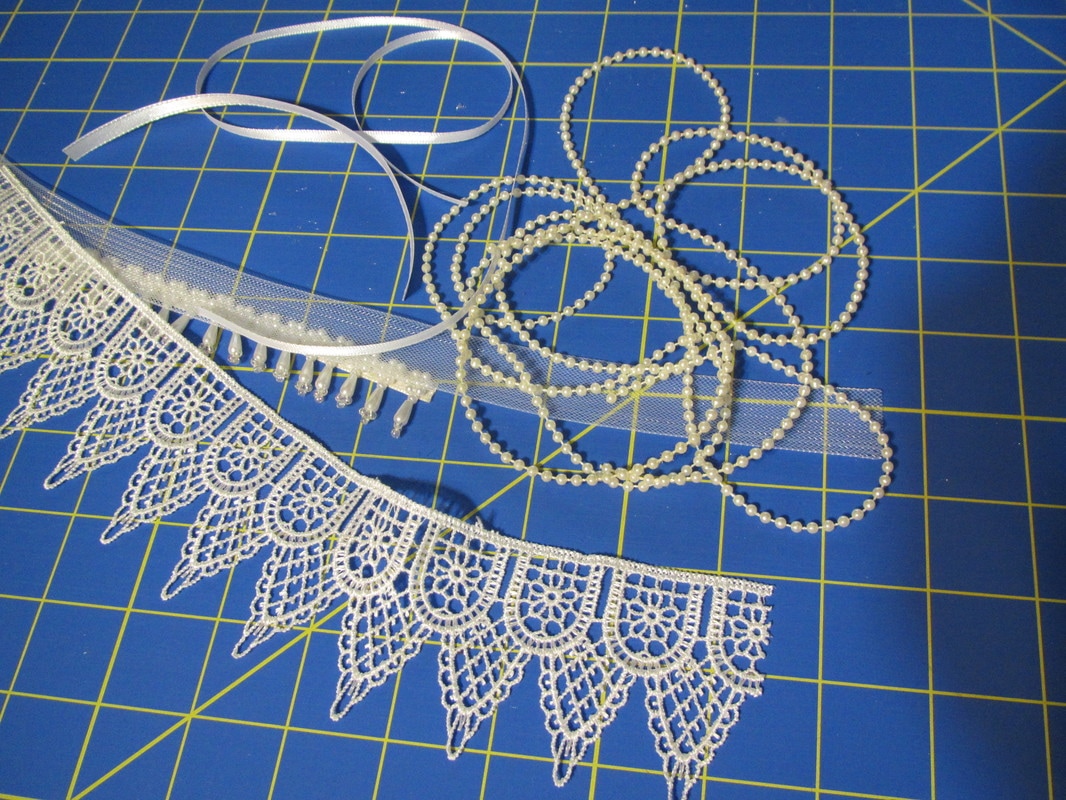
- Materials required: 12” of 2 1/4” pointy Venice lace
- 12” of 7/8” beaded pearl trim with drop pearls
- 12” of 3/4” wide horsehair
- 3 yards 1/8” pearls on string (this allows 6” extra)
- 6” of 1/4” ribbon
- 24” of 1/8” ribbon

|
Here is a close up of the beaded trim.
I made this almost 4 years ago, so you may not be able to find the same trims I used. |
|
|
|
Here are 3 trims I think would look nice. The last one is a rhinestone trim that would make your choker look really fancy. If you click on that link, there are several other similar trims.
|
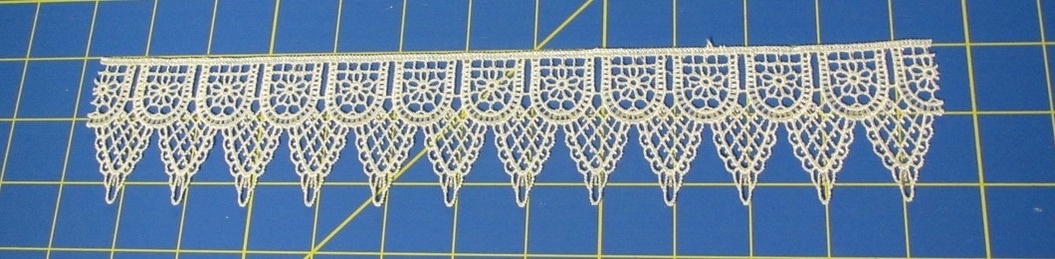
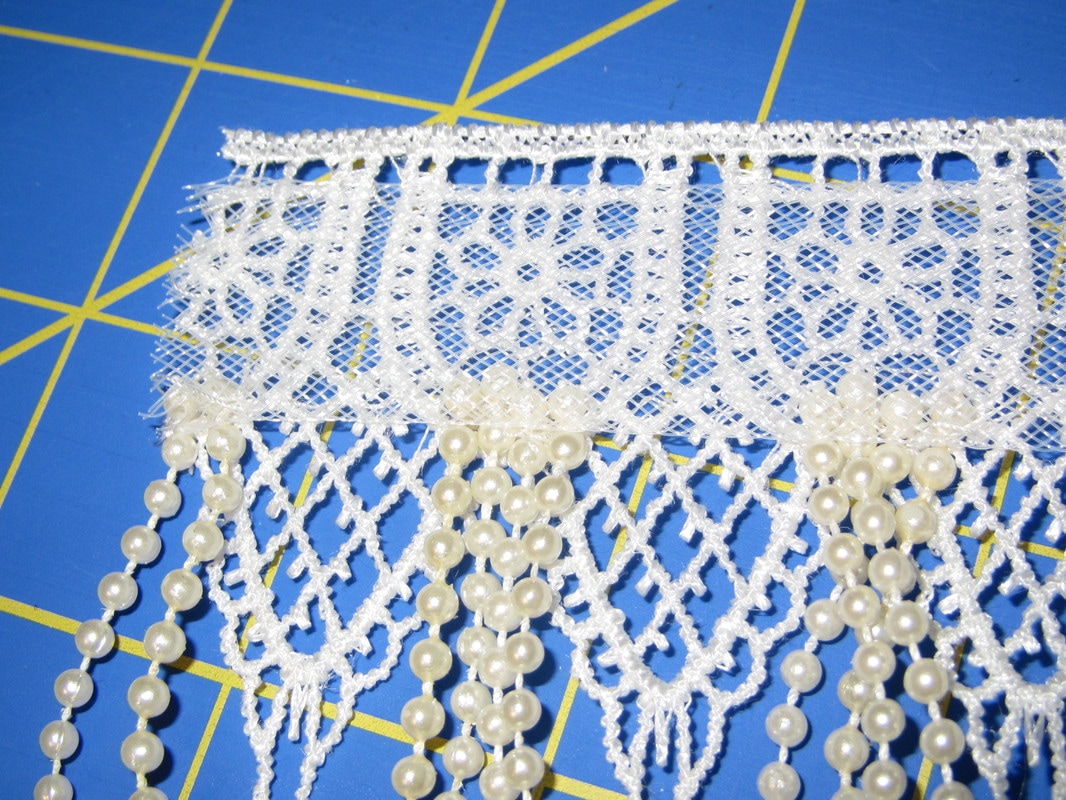
Cut the Venice lace to be 12 “ or as close as possible still keeping complete points.
It is important that the lace have tabs or points so it can open up as it encircles the neck. |
|
|
|
Here are 3 I think would work, available as of March 2017.
The horsehair is used to stiffen the lace after the pearls are sewn on so ... a wider horsehair might work better with a wider lace. Read the entire tutorial to understand the necessary choices.
The horsehair is used to stiffen the lace after the pearls are sewn on so ... a wider horsehair might work better with a wider lace. Read the entire tutorial to understand the necessary choices.
The lace I used had 12 places to sew the 4 pieces of 1/8” pearls on a string so I cut - 12 pcs. 4 5/8” and 12 pcs. 3 7/8”
|
|
These are the kind of pearls I used.
If you are using a different lace, you need to determine how many motifs there are and cut 2 short and 2 longer pieces of pearls for each place. If the motifs are larger the pearls may need to be cut in longer lengths. To be safe, you just might want to start by cutting one set on the long side and see what works, then you can cut the rest.
If you are using a different lace, you need to determine how many motifs there are and cut 2 short and 2 longer pieces of pearls for each place. If the motifs are larger the pearls may need to be cut in longer lengths. To be safe, you just might want to start by cutting one set on the long side and see what works, then you can cut the rest.
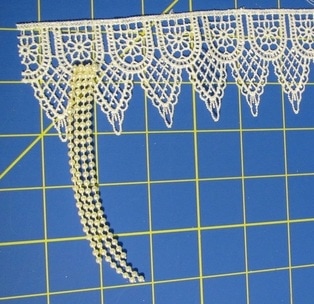
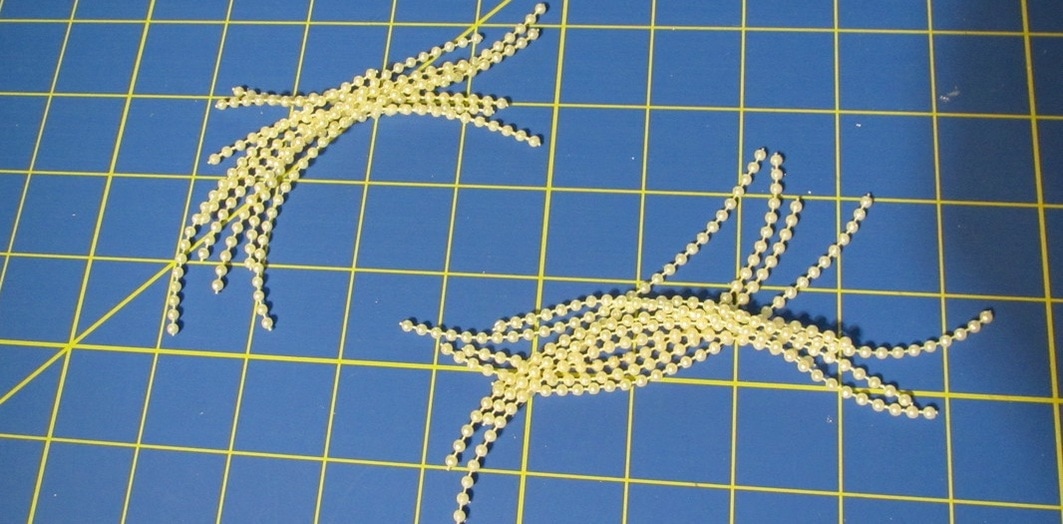
Take 2 long pieces and 2 short pieces of cut pearls. Arrange them so the 2 long ones are in the center and the 2 short ones are on either side. Line the tops up and sew in place on the WRONG side of the lace in the “V” between lace points. Or where ever looks best on your lace.
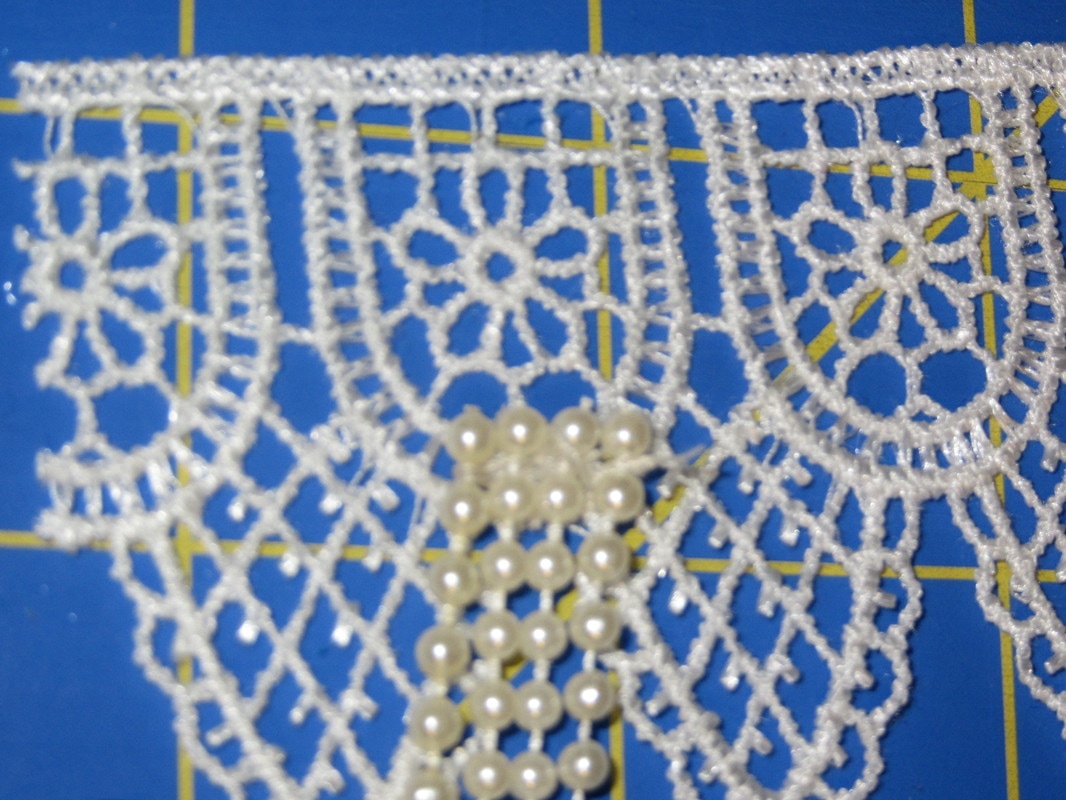
Here is a close up that shows how I sewed around the space between the first and second pearl on each strand.
For the next “V” between lace points, take the 2 pearl pieces on the side of the new attachment points, add 1 more long and 1 more short pieces, bring these 4 ends to the next “V” and sew in place in the same manner.
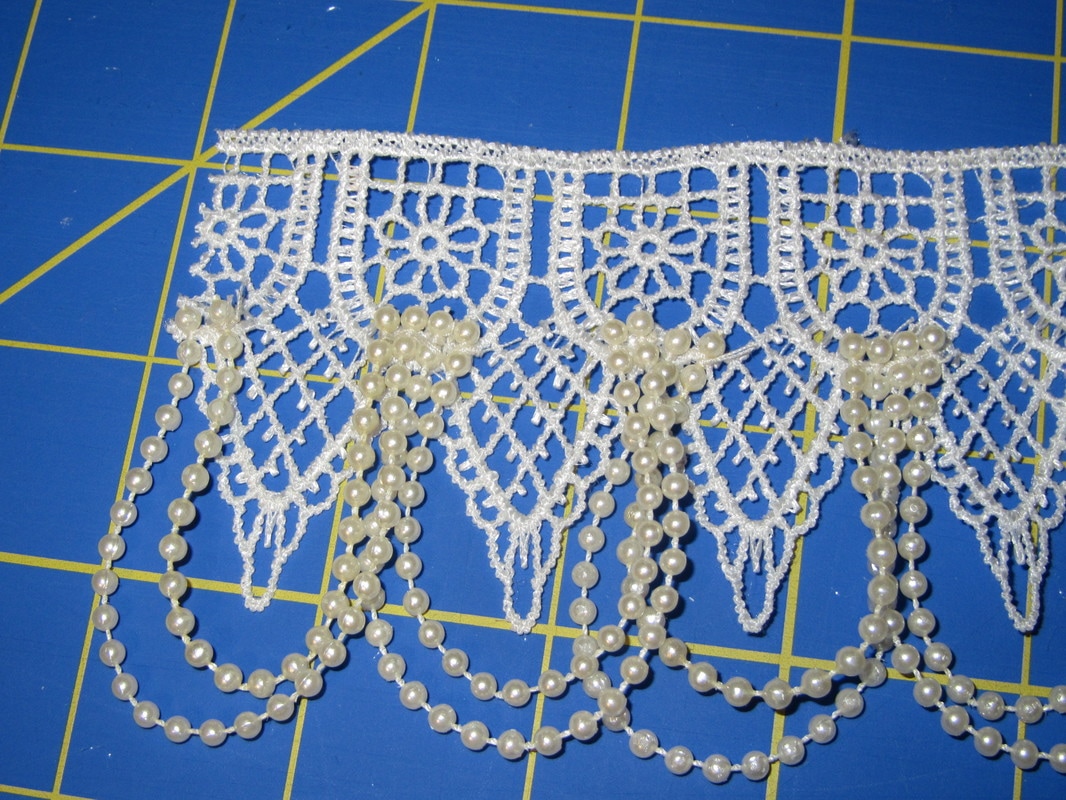
Continue doing this until all the lace points have pearls looping around them.
Sew the horsehair on the WRONG side of the lace to cover the ends of the pearls and to support the lace and give it substance.
You may need a wider horsehair if your lace is wider, or 2 lengths could be used right next to each other.
You may need a wider horsehair if your lace is wider, or 2 lengths could be used right next to each other.
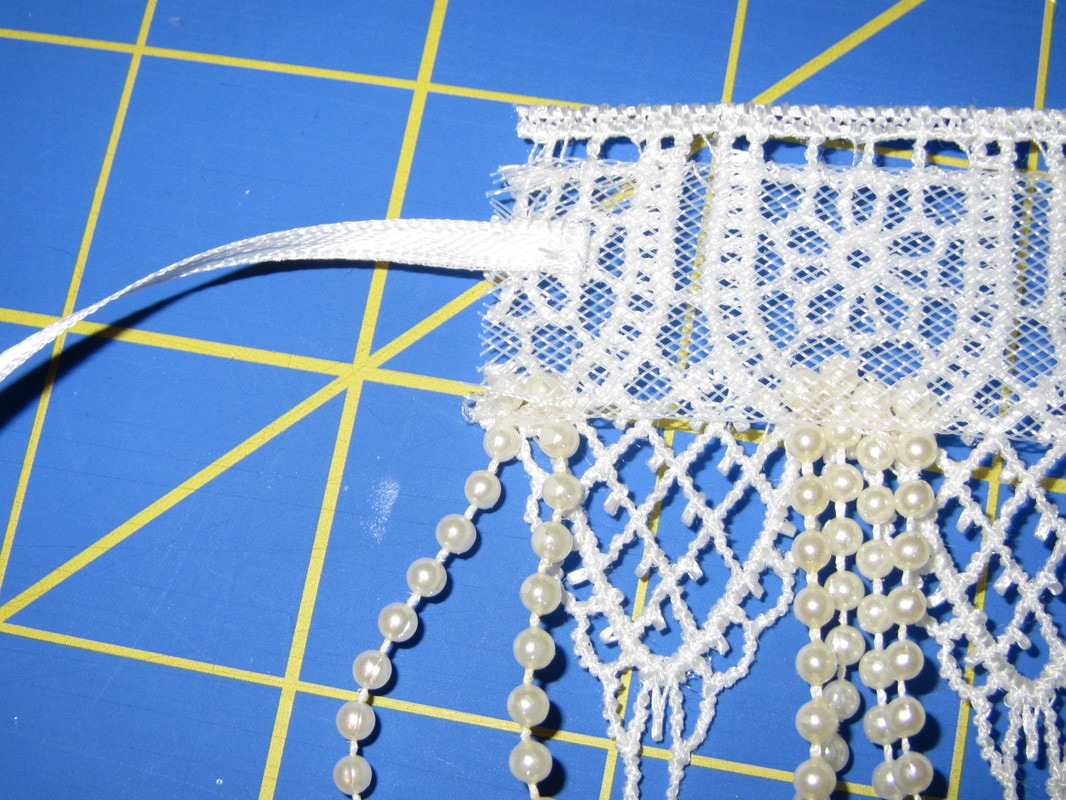
On both ends of the choker take a 12” piece of 1/8” ribbon, make a tiny fold on one end and sew securely in the center of the end.
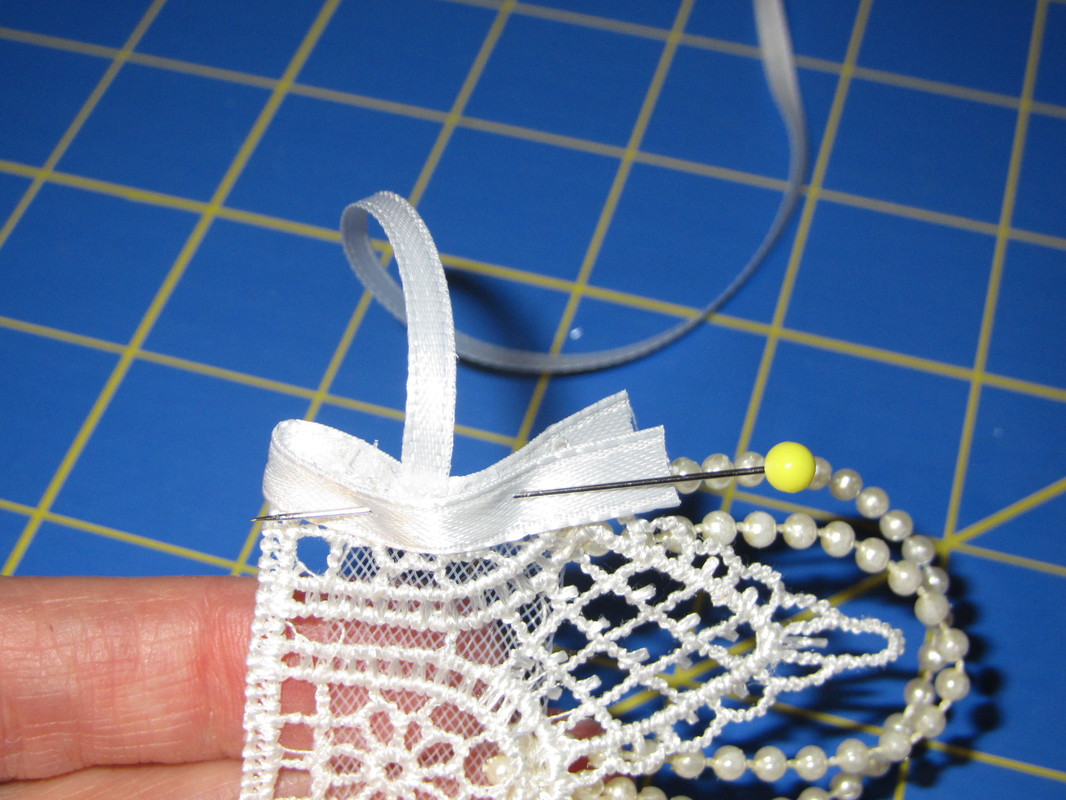
Take a 3” piece of 1/4” ribbon, fold over the top of the choker end so it covers front and back of the end. Sew in place, folding the ends of the ribbon to finish.
Length needed may be different, depending on width of the lace you are using.
Length needed may be different, depending on width of the lace you are using.
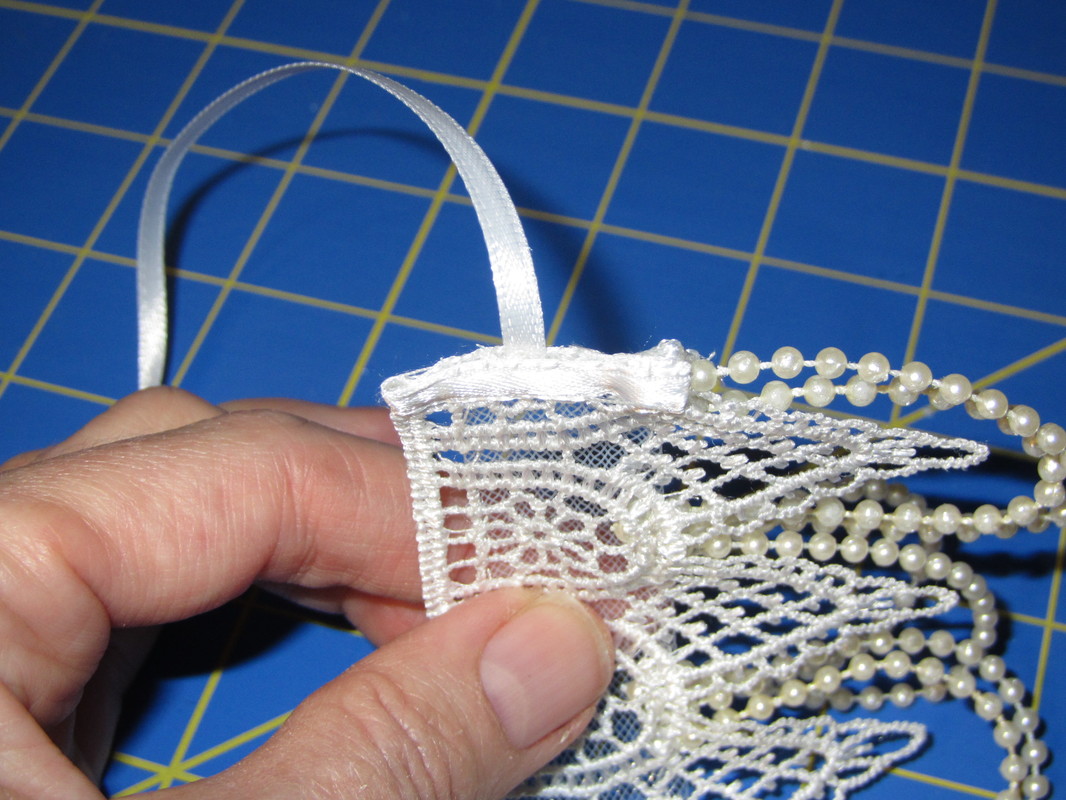
Sew in place, folding the ends of the ribbon to finish.
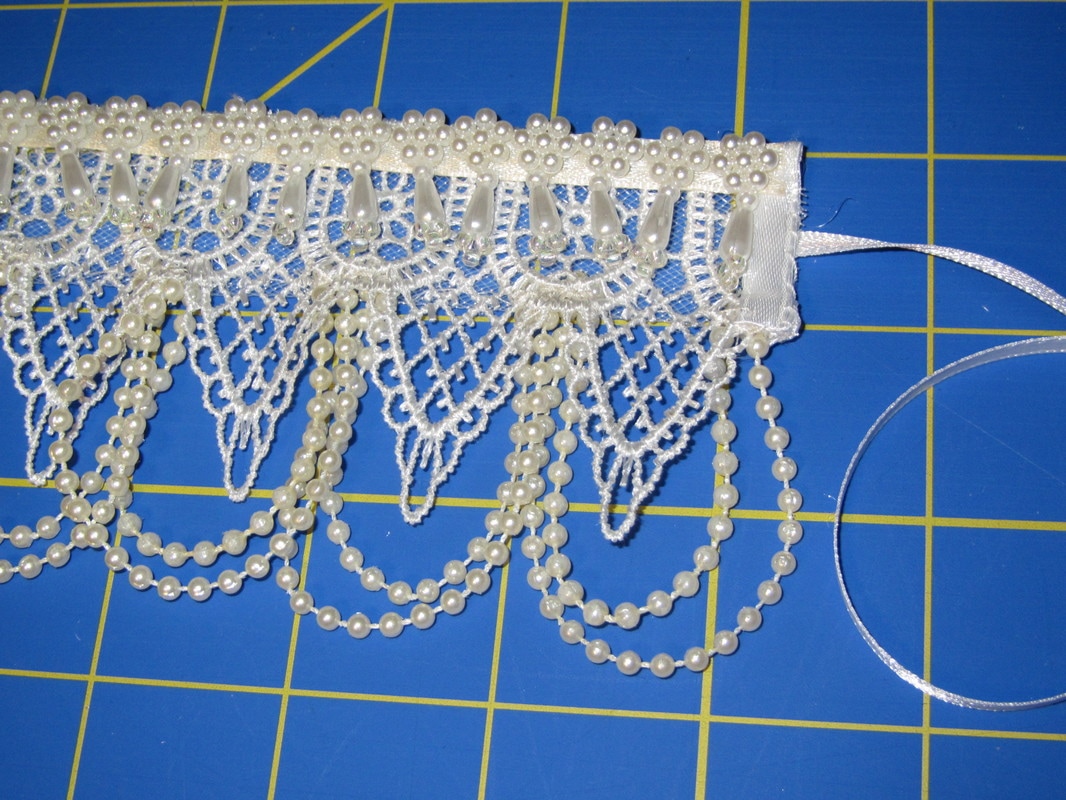
Last thing ... sew the beaded pearl trim along top.
|
|
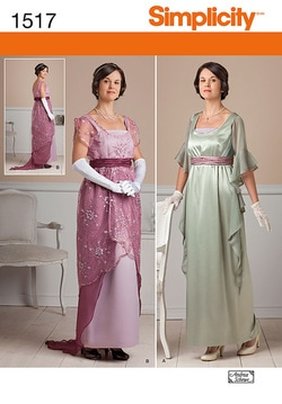
I made the choker to go with this dress, which unfortunately got cut from the pattern, BUT I did a blog about how you can create it from the pieces that come in the pattern for the other dresses.
Click HERE!
Click HERE!
 RSS Feed