
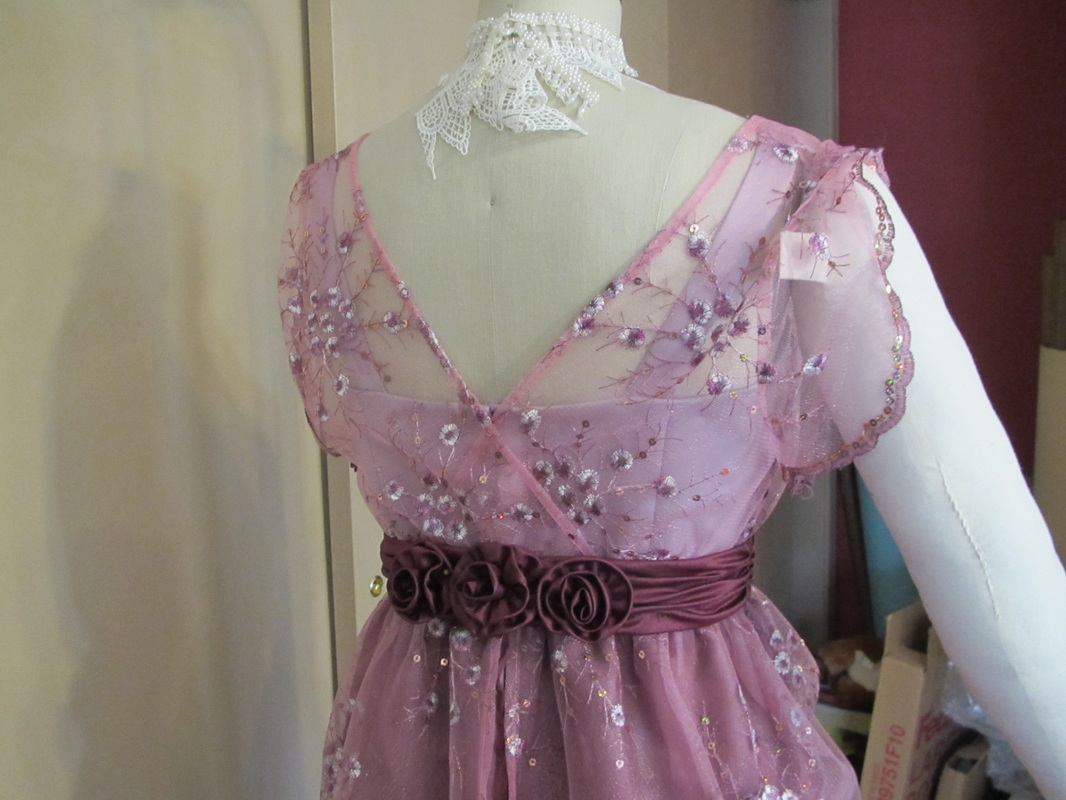
Three fabric roses give a beautiful finish to the back of this dress.
Today I'm going to show you some of the finishing work on the Edwardian dinner dresses.
Above is the back of the pink dress. Both the pink and green dress have pulled crinkly cumberbunds around the high waist line. And just the pink one has this bias cut roses.
If you read my blog about the dramatic Fantasy Dresses you will see I use same method for the collar for those dresses as I use for this cumberbund.
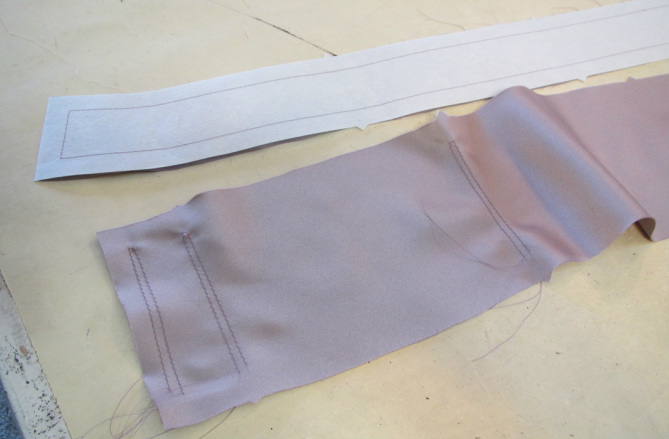
First put in gathering stitching on the front piece, where marked on the pattern. And machine baste stiff interfacing onto the back piece.

Only pull up the gathers on each end to sew the front and back together. Trim away the interfacing a close as possible without cutting into stitching ... which I've been know to do! If that happens, just stitch that section again.
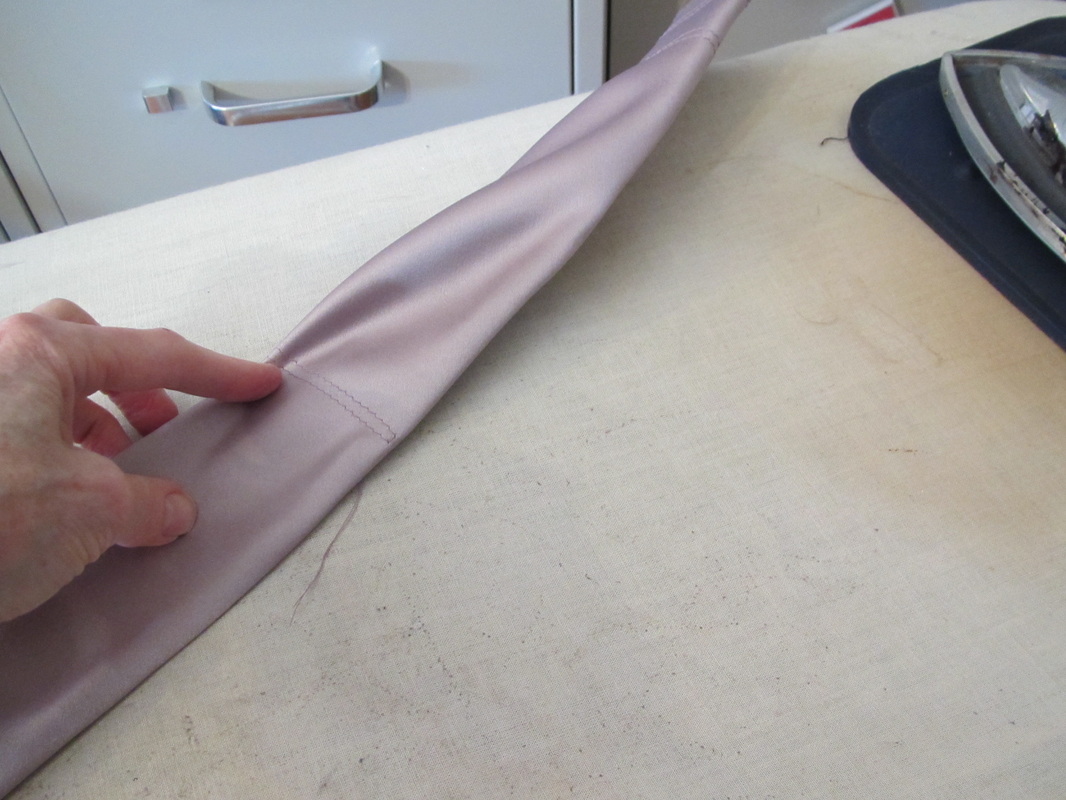
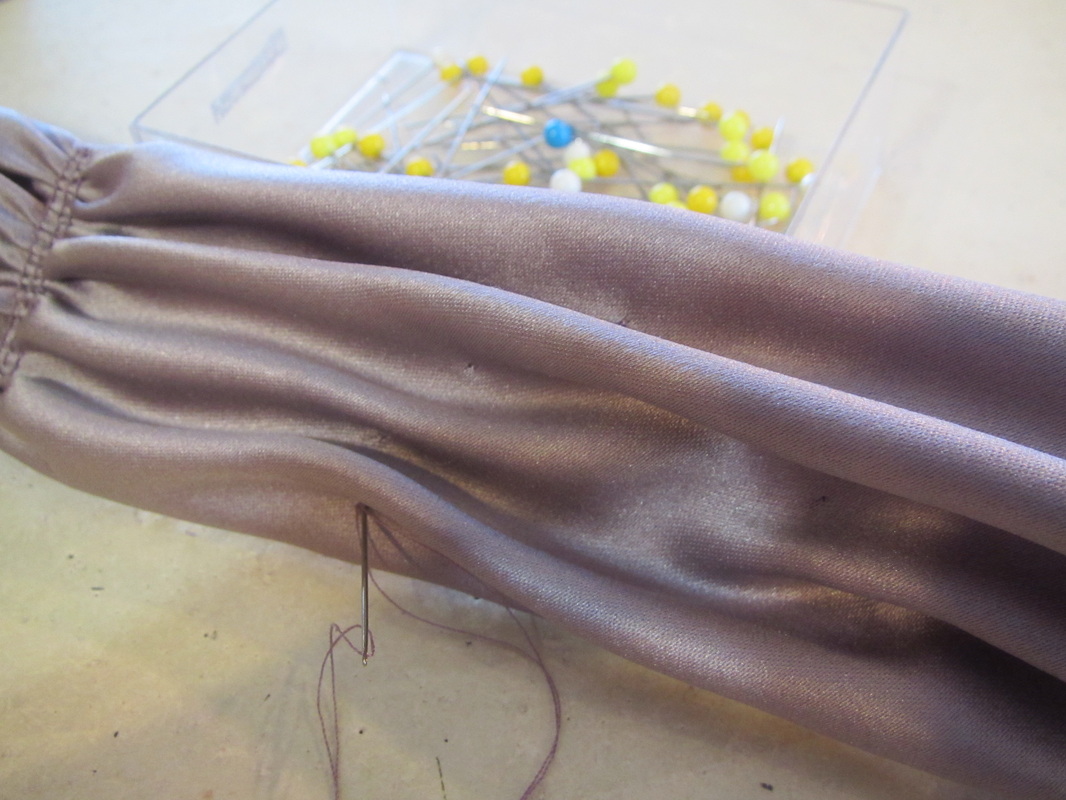
After turning to the right side, press a crisp edge along the top and bottom of the cumberbund.
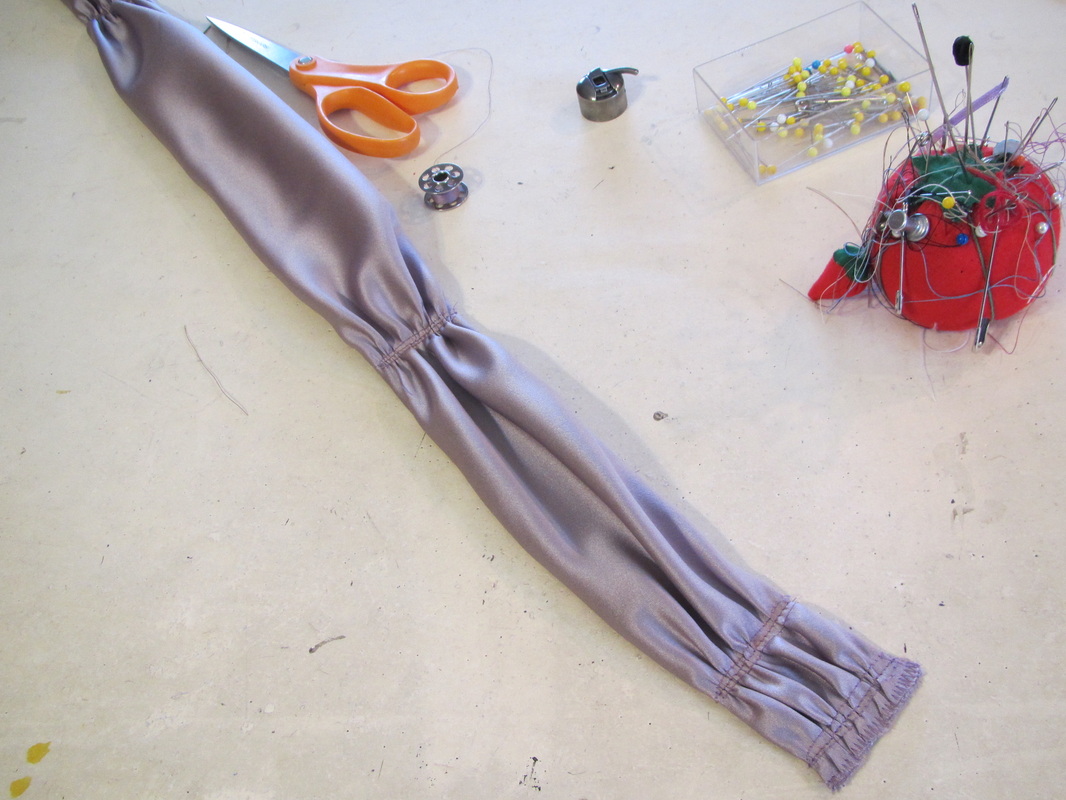
NOW pull up the remaining gathering stitches and machine stitch them in place through all the layers of the belt.
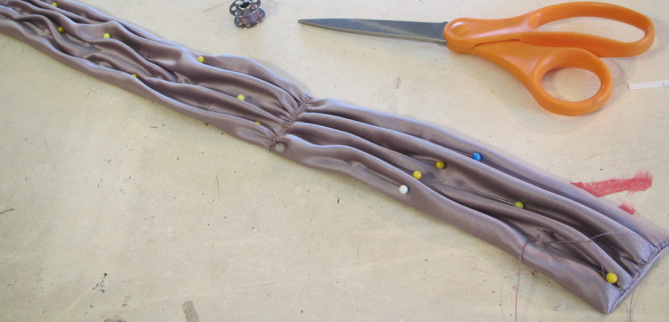
Arrange the excess fabric into pretty folds and pin in place.
 | 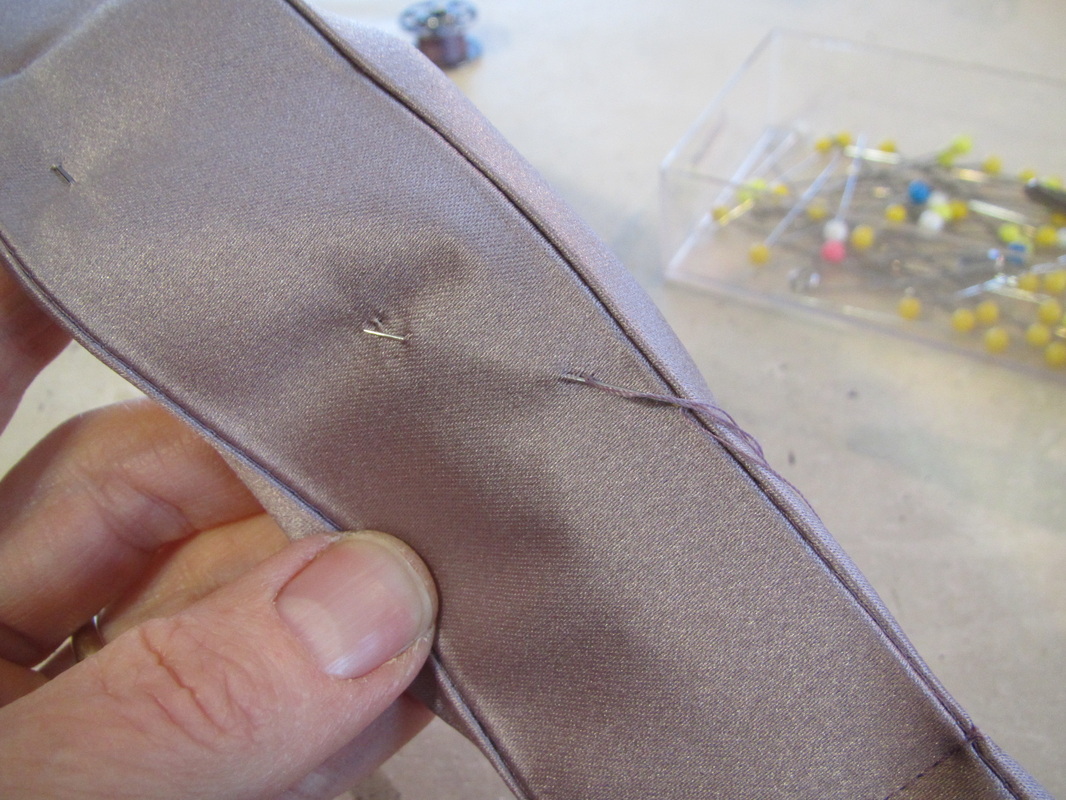 |
Hand sew in place with tiny pick stitches through all layers.
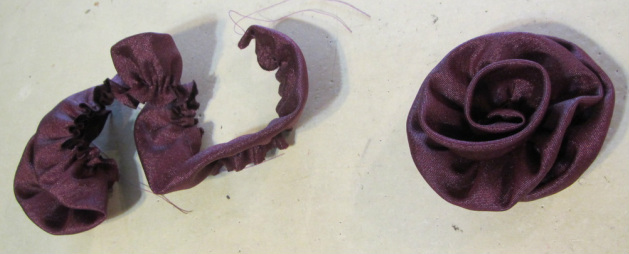
The cumberbunds for both dresses are made the same way. The pink dress gets three roses in the back. A pattern for the roses is included with the dresses. They are your standard gathered, coiled, bias cut fabric rose.
The other thing I want to show, is how I hemmed the silk chiffon skirt with the train.
The other thing I want to show, is how I hemmed the silk chiffon skirt with the train.
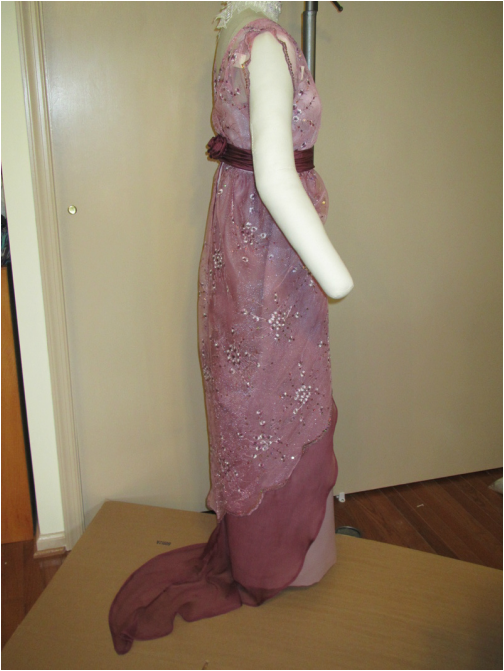
But before I do that ... I want to say how I really wanted to go "whole hog" on the fabric (meaning all silk) for these dresses, but had so much trouble finding the subdued colors that I wanted. So I ended up with more polyester than I would have liked. The pink embellished net is brighter than I wanted but fortunately gets toned down over the other fabrics.
AND, please note that you can see from this side view that the waistline placement of the skirt IS higher than the front. This is correct (read comments on yesterday's blog) ... If I were making this dress for myself, I might even exaggerate that feature more. If you do this, remember to add some height to the top part of the back skirt pieces so the skirt isn't too short in the back.
Now, back to hemming the silk chiffon. That middle skirt layer, the one with the train, is real, honest to goodness 100% silk and it is a PAIN to hem. I really didn't want machine stitching on it. And the sample I tried with machine stitching twisted all up anyway. Actually I did several samples before finding the method with worked best for me with this fabric. It's a good method and should work with many difficult fabrics.
First, machine stitch on the fold line of the hem.
Second, press the hem right along the stitching line.
Third hand fold the secondary fold to make a rolled hem and hand baste.
(this may seem like an unnecessary step, but it is easier to get an untwisted rolled hem in place when you are just sewing a large basting stitch than it is when you are doing a close together invisible slip stitch. Plus this basting goes quickly.
Then it is much easier to do the slip stitch hem if the fabric is taut. So I anchor one end of the hem after I've put in a few stitches under the presser foot of my sewing machine.
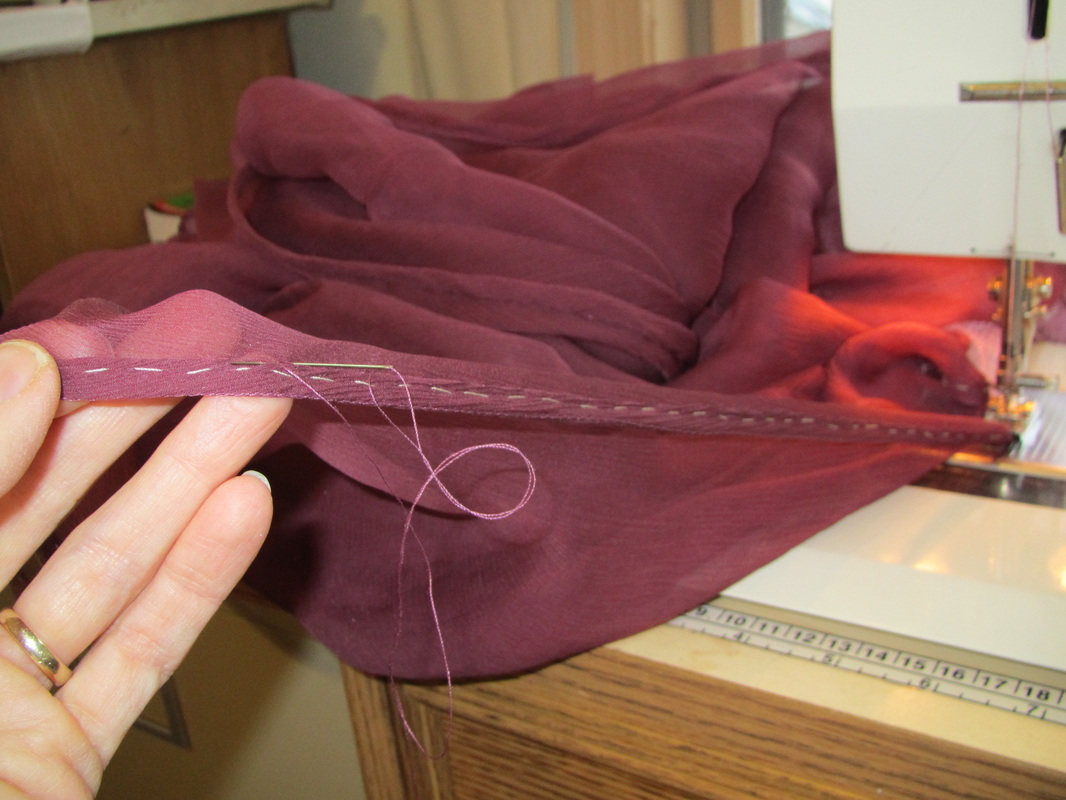
You can see my basting stitches and how I am pulling it tight. I just move it up and reset the presser foot from time to time as I sew the hem.
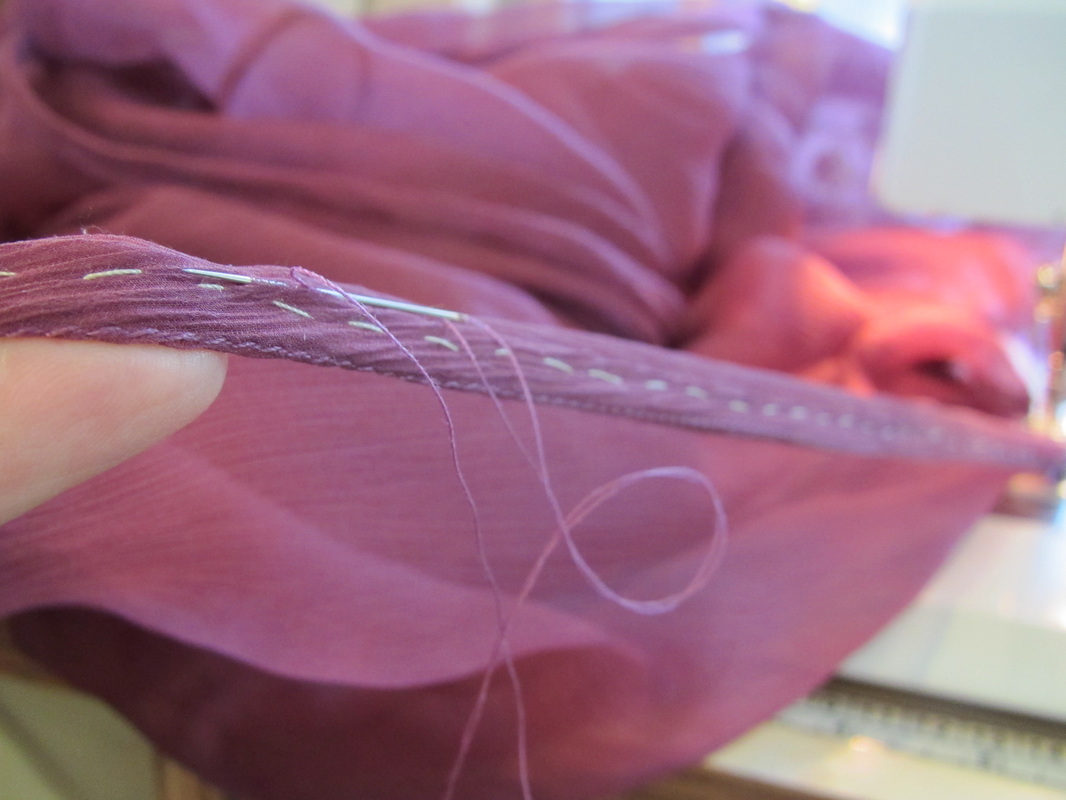
And this close up shows my first machine stay stitch and the size of the slip stitch.
When the hem is finished and gently pressed, both the basting and stay stitching should be removed. Then press again to remove any shadow of the bastings.
Next time I will show you how to make the beige dress.
When the hem is finished and gently pressed, both the basting and stay stitching should be removed. Then press again to remove any shadow of the bastings.
Next time I will show you how to make the beige dress.
 RSS Feed