

Here is my version of Elsa's Coronation Dress. I made it using the Child size of this basic costume dress pattern that comes in Child up through Plus sizes. This will be a week long tutorial, the first three days for the dress and the last two for the cape and crown.
| 
| 
|
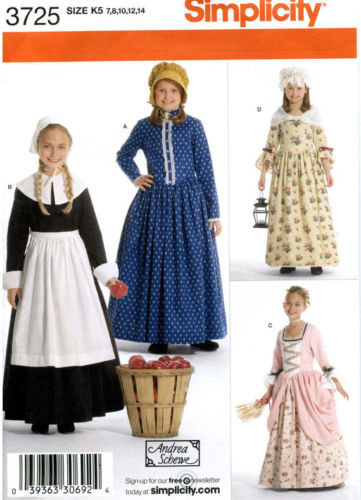
The pattern for Child 3 - Girl 14 is #3725.
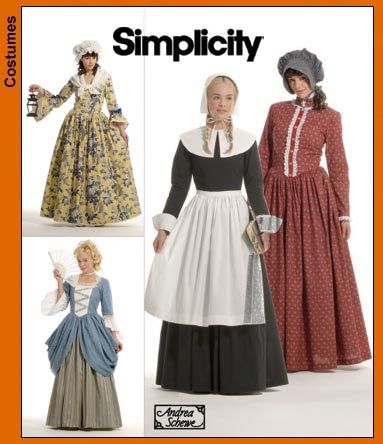
The pattern for Misses 6 - 22 is #3723.
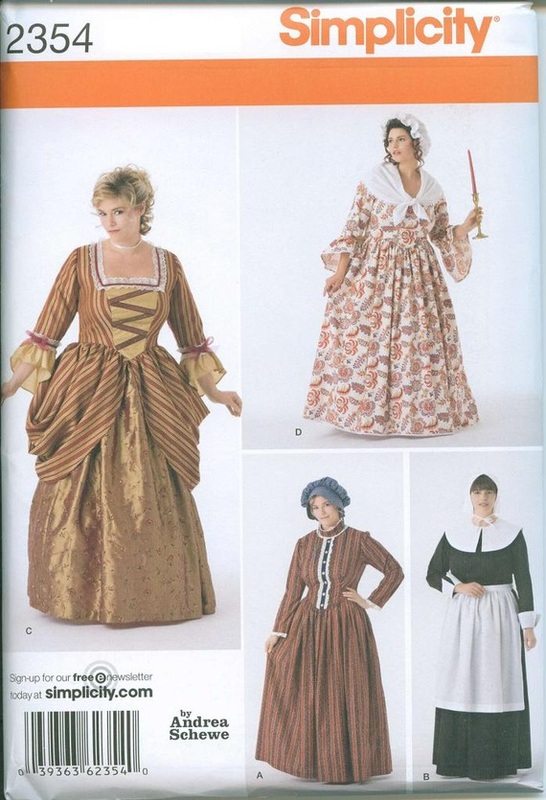
And the Plus size is #2354 and it comes in 18W - 32W.
Each line is a separate link that will take you to Simplicity's site.
Even though it's a child size dress, everything I'm doing will work for any of the sizes.
To make this dress you will need:
* Black fabric for the upper bodice and sleeves
* Teal fabric for the lower bodice and skirt
* Fusible interfacing for the lower bodice pieces and the collar
* Flexible braid for upper and lower edge of the lower bodice (about 1/2" wide)
* 3 or 4 different colors of broadcloth for skirt motifs
* Paper backed fusible webbing (Wonder Under or Heat'n'Bond)
* OH ... and a zipper!
Now as far a quantities of each, you can either over estimate using the back of the pattern envelope as a guide, which is what I did and now I have a bunch of extra fabric or, if you have time, the smart thing to do is make all the pattern changes and then do a trial layout before going shopping to figure out how much fabric and trims you actually need.
The pattern for Misses 6 - 22 is #3723.
And the Plus size is #2354 and it comes in 18W - 32W.
Each line is a separate link that will take you to Simplicity's site.
Even though it's a child size dress, everything I'm doing will work for any of the sizes.
To make this dress you will need:
* Black fabric for the upper bodice and sleeves
* Teal fabric for the lower bodice and skirt
* Fusible interfacing for the lower bodice pieces and the collar
* Flexible braid for upper and lower edge of the lower bodice (about 1/2" wide)
* 3 or 4 different colors of broadcloth for skirt motifs
* Paper backed fusible webbing (Wonder Under or Heat'n'Bond)
* OH ... and a zipper!
Now as far a quantities of each, you can either over estimate using the back of the pattern envelope as a guide, which is what I did and now I have a bunch of extra fabric or, if you have time, the smart thing to do is make all the pattern changes and then do a trial layout before going shopping to figure out how much fabric and trims you actually need.
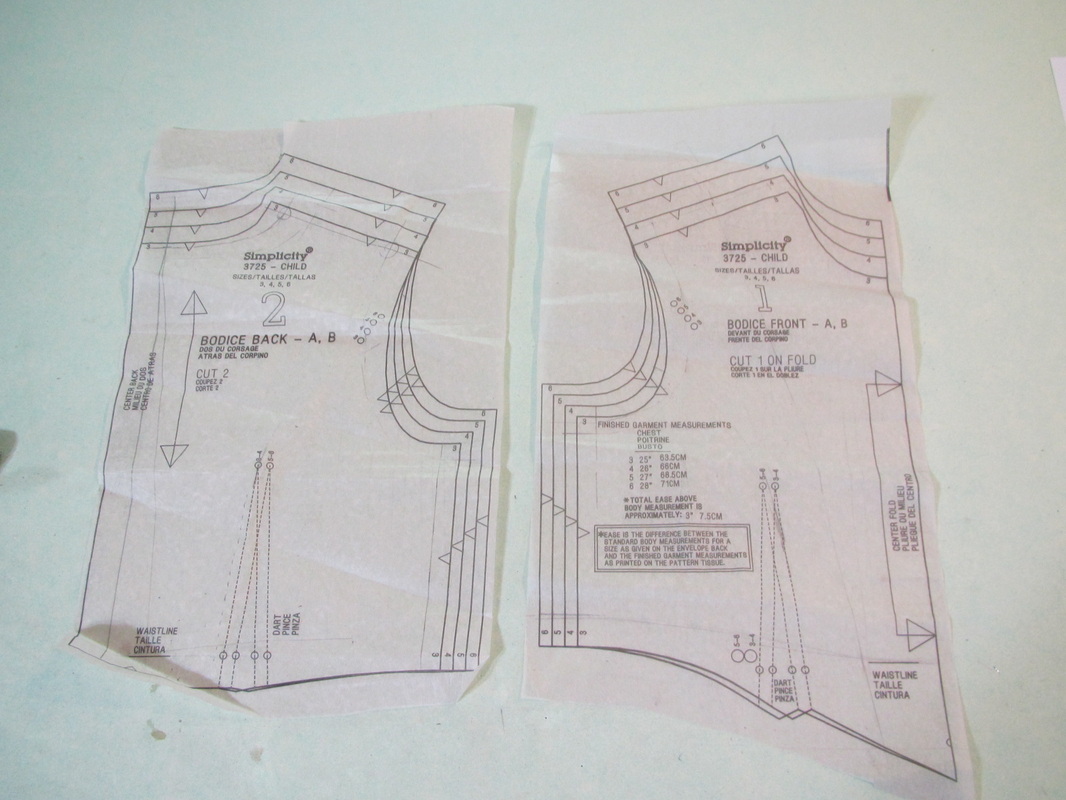
The bodice gets the main change. Both front and back need to be divided into upper and lower parts. I am going to use the lap method. It is much easier when you have a curved shape and the join is going to be covered with trim anyway.
So, first, take the front and back bodice pieces.
So, first, take the front and back bodice pieces.

Trace out the size you need. If you think there are going to be any fitting issues, fix them now. Make a muslin of the bodice, if necessary and make whatever changes you made on your paper pattern.
I usually use poster paper when I make a pattern, but I bought some gift wrapping type white tissue at Target and it is pretty sturdy AND it is really easy to see through, so that is what I am using this time.
I usually use poster paper when I make a pattern, but I bought some gift wrapping type white tissue at Target and it is pretty sturdy AND it is really easy to see through, so that is what I am using this time.
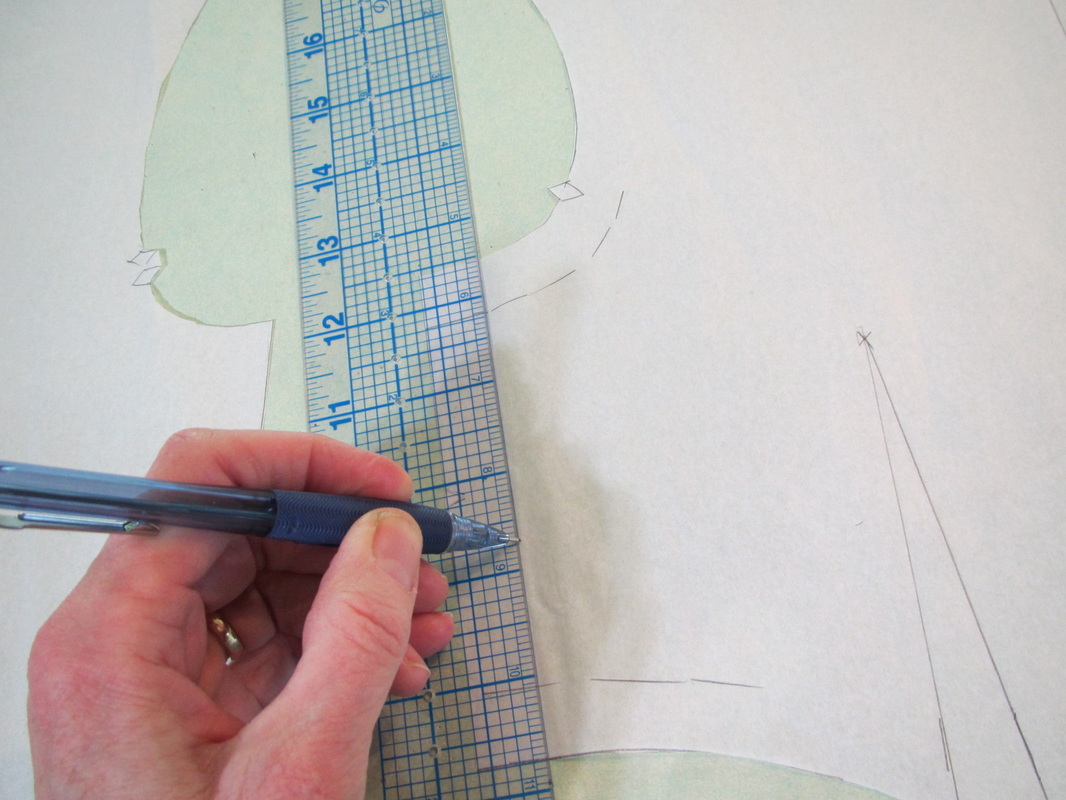
Cut the pieces out and use a ruler to mark in the stitching lines ... 5/8" from the cut edge. Knowing where the seam lines are makes changing a pattern much, much easier.
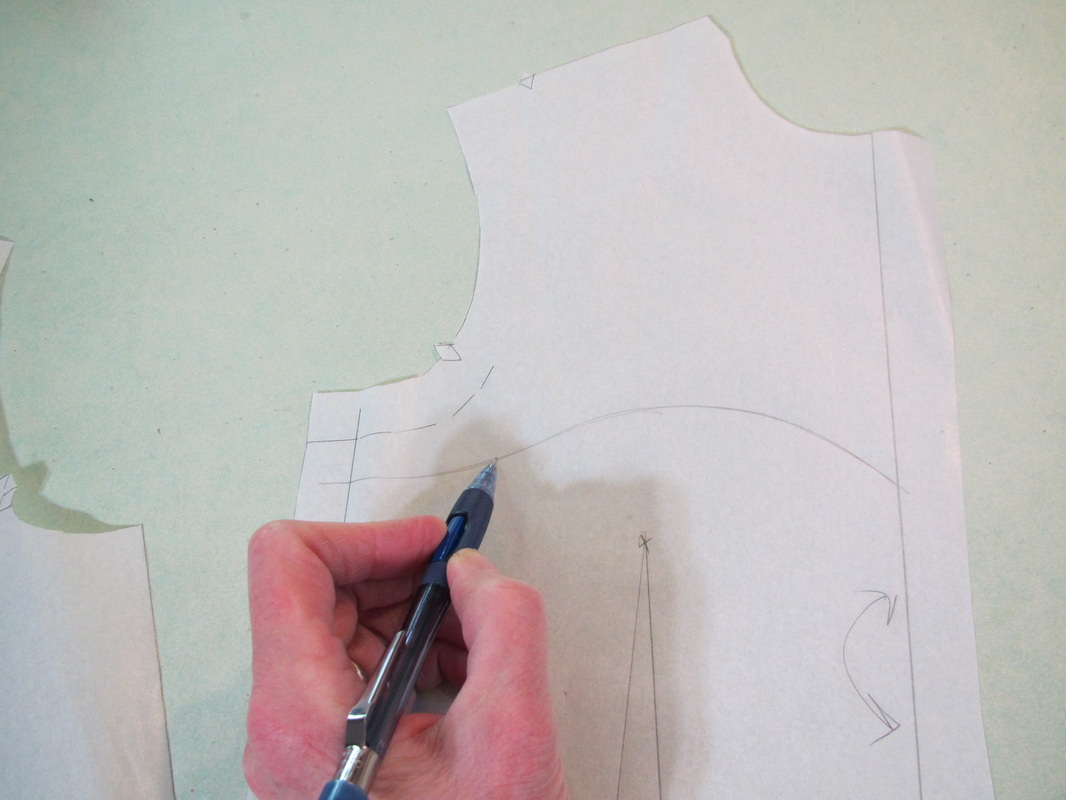
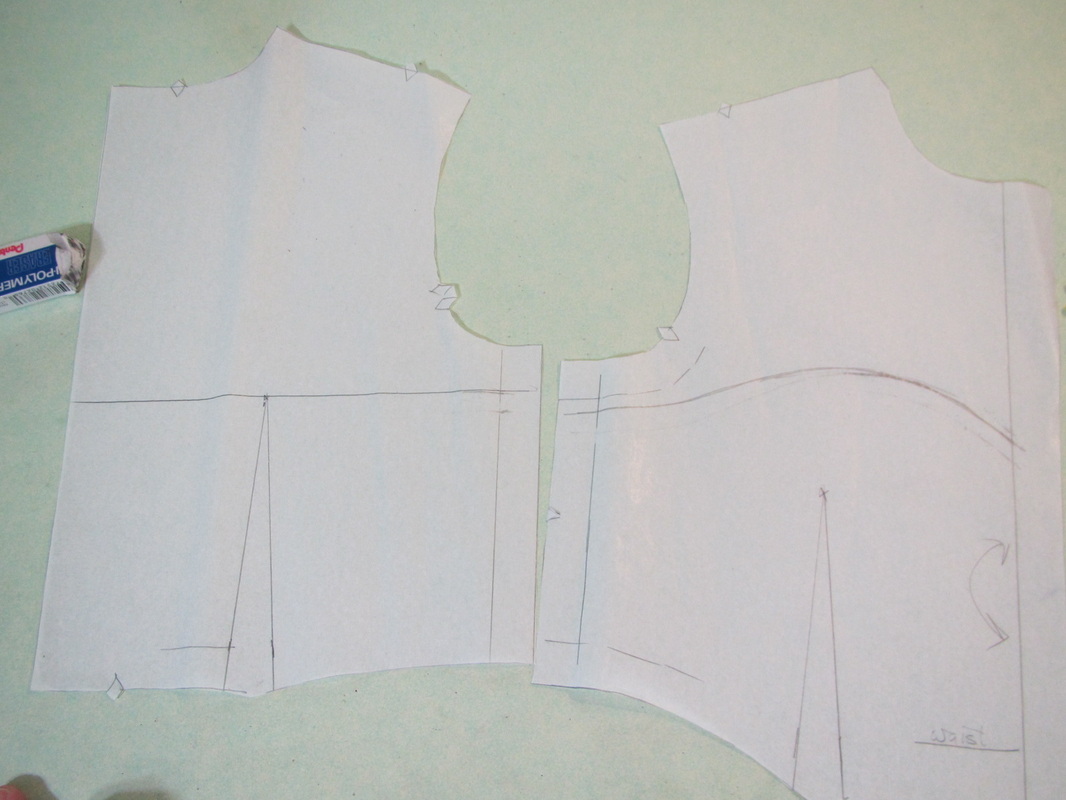
Now, draw a preliminary line for what will be the upper edge of the lower bodice. It should start close to the bottom of the armhole curve up and over the breast area and end in a "Vee" in the center front.
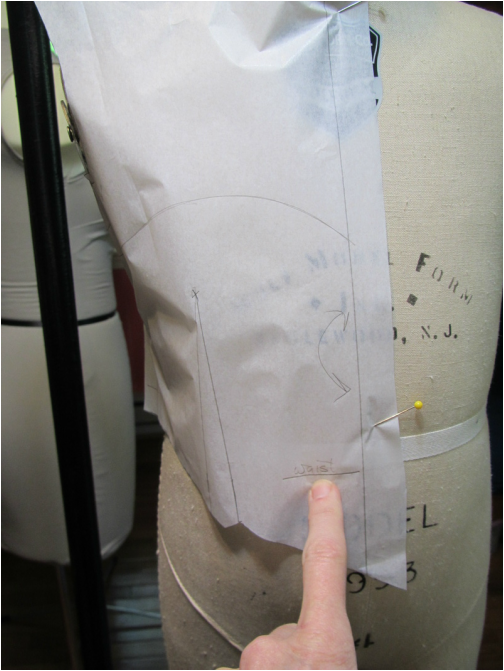
Try it on the person the dress is being made for. It will be easier to properly line up, if you have copied the waist mark from the pattern. I'm lucky, my model stands very still.
If this is being made for a grown woman, you should probably pin the bust dart when trying on this paper pattern.
If this is being made for a grown woman, you should probably pin the bust dart when trying on this paper pattern.
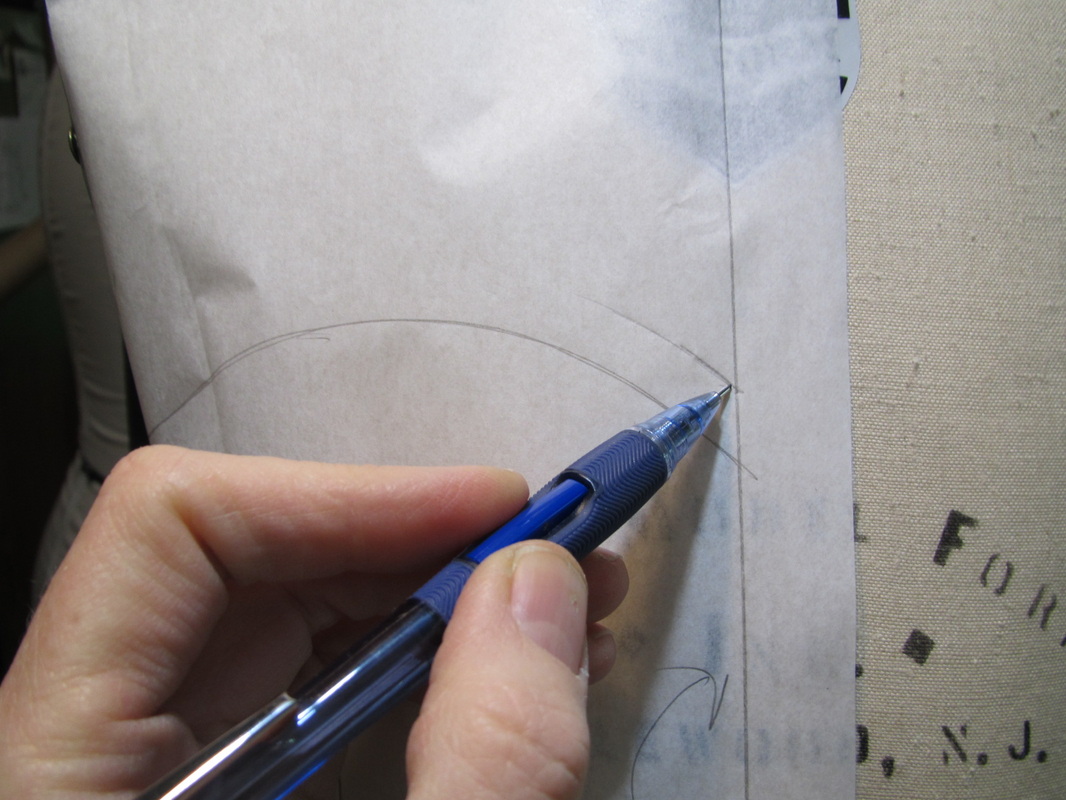
If you don't like the line you've drawn, change it! I moved my line up about 1/2". Again, this is very easy on a dress form ... but you really need to see the shape on the figure to know if it looks right, even if you can only get a sketchy mark when it is up against a human body.
Finalize your lines ...
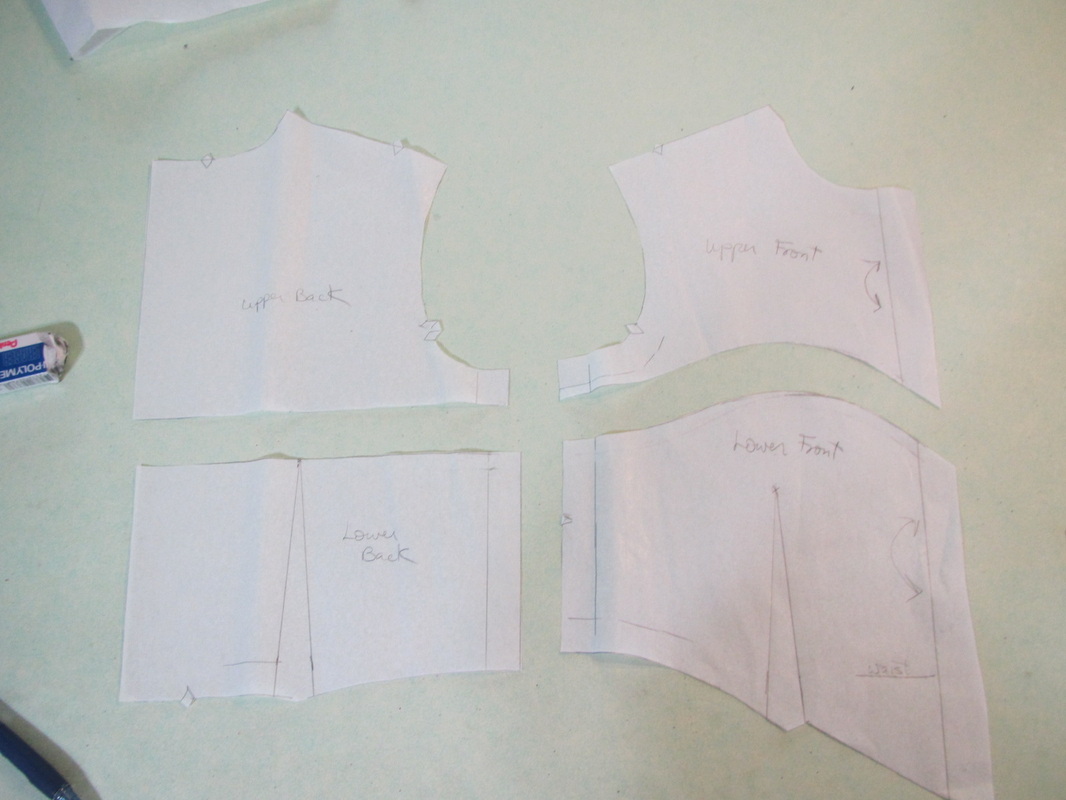
and cut the pattern pieces into upper and lower sections along these lines. And, I suggest, give each piece a name, so you don't mix them up or think they are a scrap of paper and throw one out ... And you can only guess why I give you this warning. Any mistake that can have been made, I've made at least once in my life!
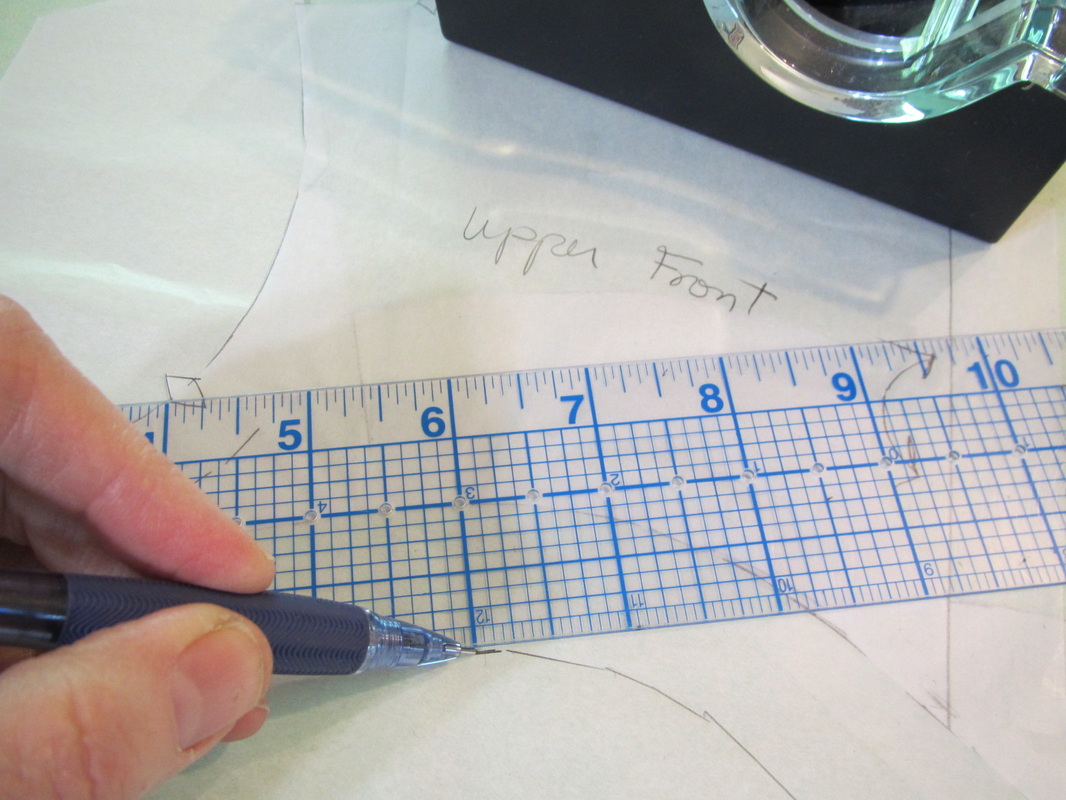
Now you need to add a 1" extension to the bottom of the front and back "upper bodice" pieces. Tape on a strip of paper and then use a ruler to mark and then cut an extra 1" which will become your underlap when the upper and lower parts of the bodice are joined.
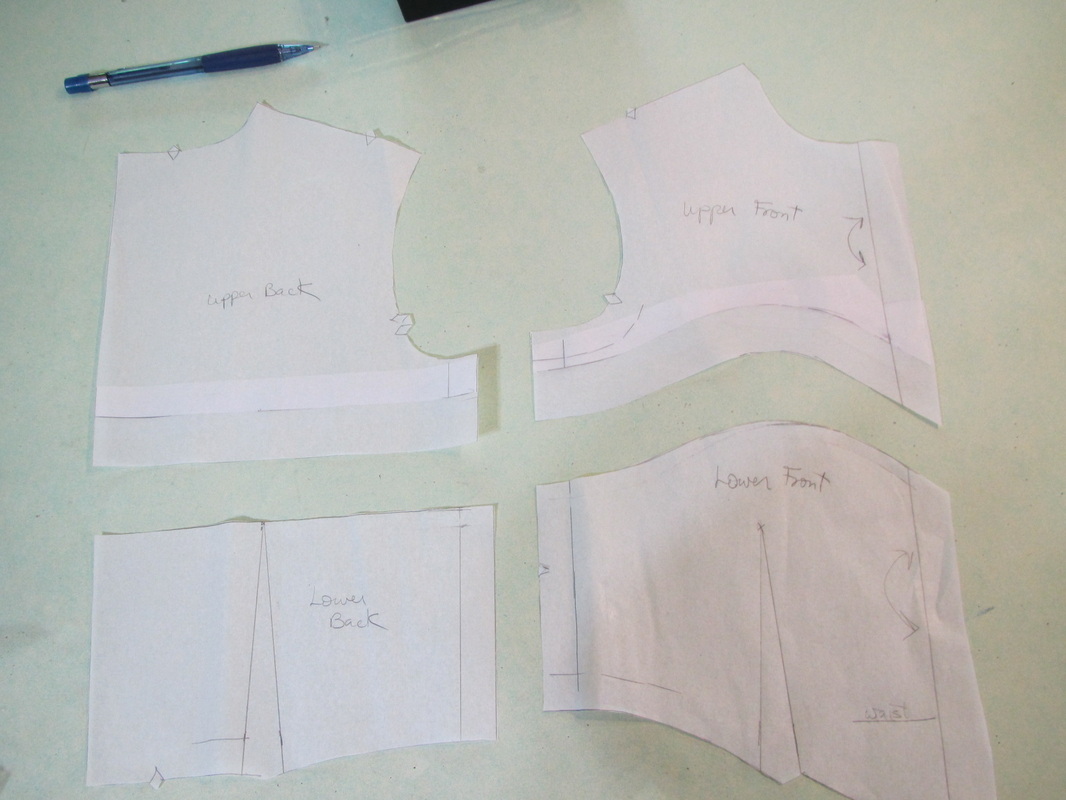
Here they are finished.
The pattern pieces are now ready for cutting the fabric.
The pattern pieces are now ready for cutting the fabric.
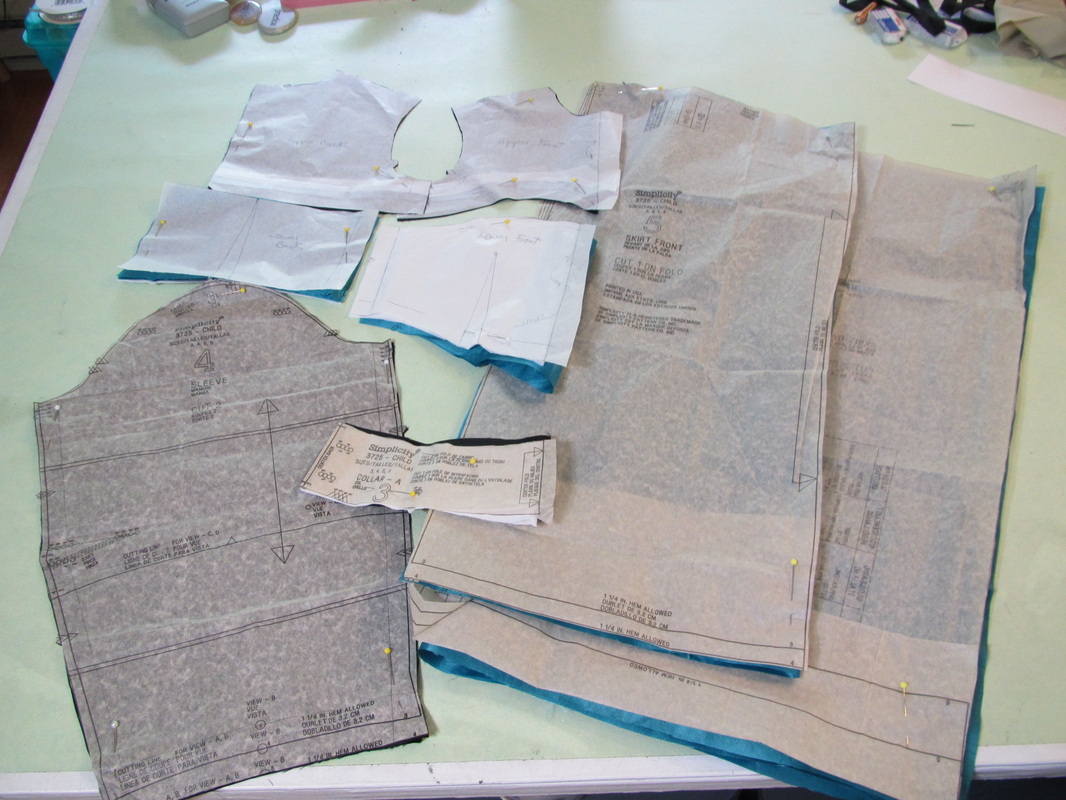
This is what needs to be cut.
From the black fabric: collar, front upper bodice, back upper bodice and sleeves.
From the teal fabric: lower front bodice, lower back bodice and all the skirt pieces.
From the fusible interfacing: the collar, lower front bodice and lower back bodice.
Tomorrow I will put ALL the motifs on the front bodice and skirt.
Wednesday I will sew and finish the dress.
Thursday I will show you how to cut the cape and ...
Friday I will sew the cape and make the crown.
 RSS Feed