

Today I'm sewing Elsa's cape. I know there are motifs decorations on this, too. But, since I am making this at the level of a loving Grandmother, not a Cosplayer, I am going to skip them. But, that doesn't mean you have to ... there are plenty of good images readily available online.
And actually, this is a good time to share a really great version of this dress by a blogger named Britta. She stenciled all the motifs on and made SHOES! Click here is see what she did.
And actually, this is a good time to share a really great version of this dress by a blogger named Britta. She stenciled all the motifs on and made SHOES! Click here is see what she did.
But, back to this cape ...
See yesterday's blog about the patterns and cutting.
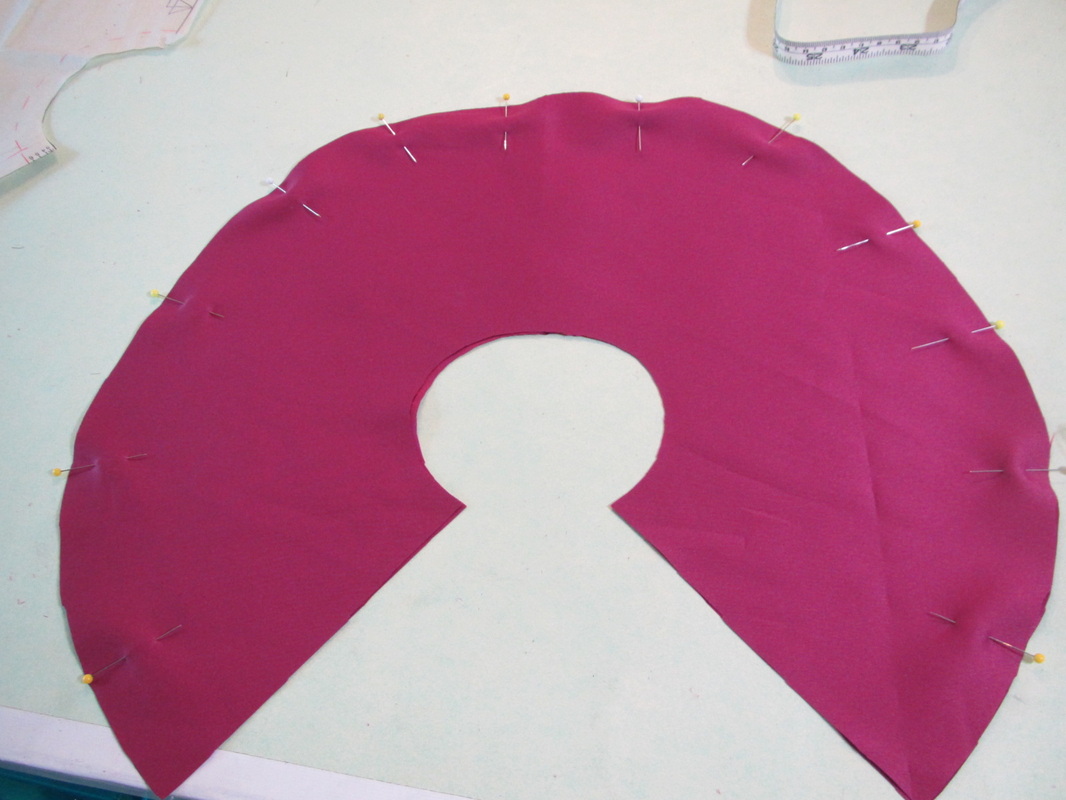
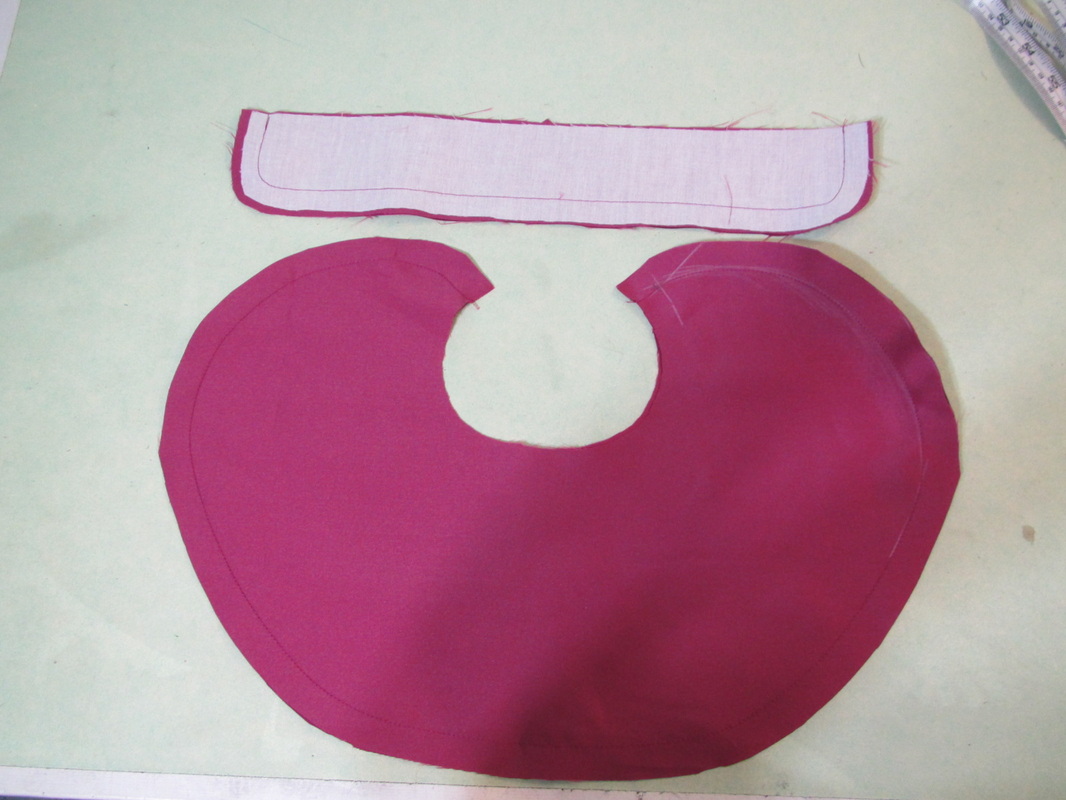
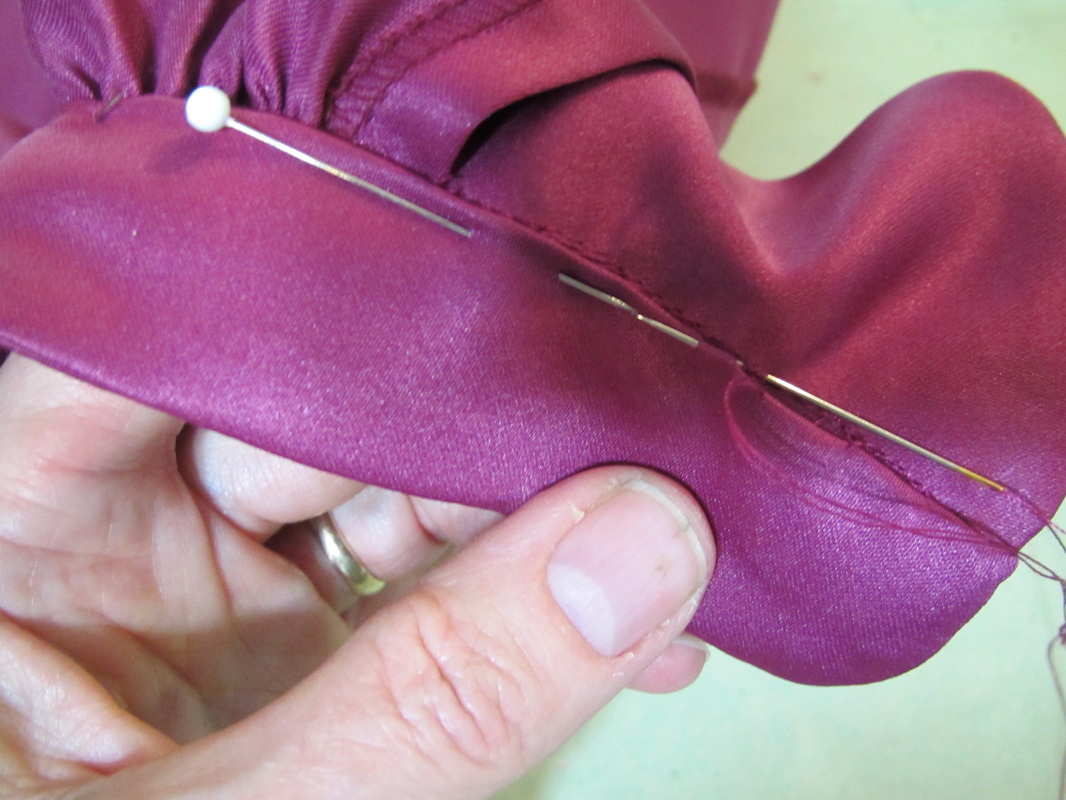
Before the sewing can really start, the upper cape cut from the pilgrim collar piece must be reshaped. Pin the two pieces together as if to sew them ... wrong side facing outward.
See yesterday's blog about the patterns and cutting.
Before the sewing can really start, the upper cape cut from the pilgrim collar piece must be reshaped. Pin the two pieces together as if to sew them ... wrong side facing outward.
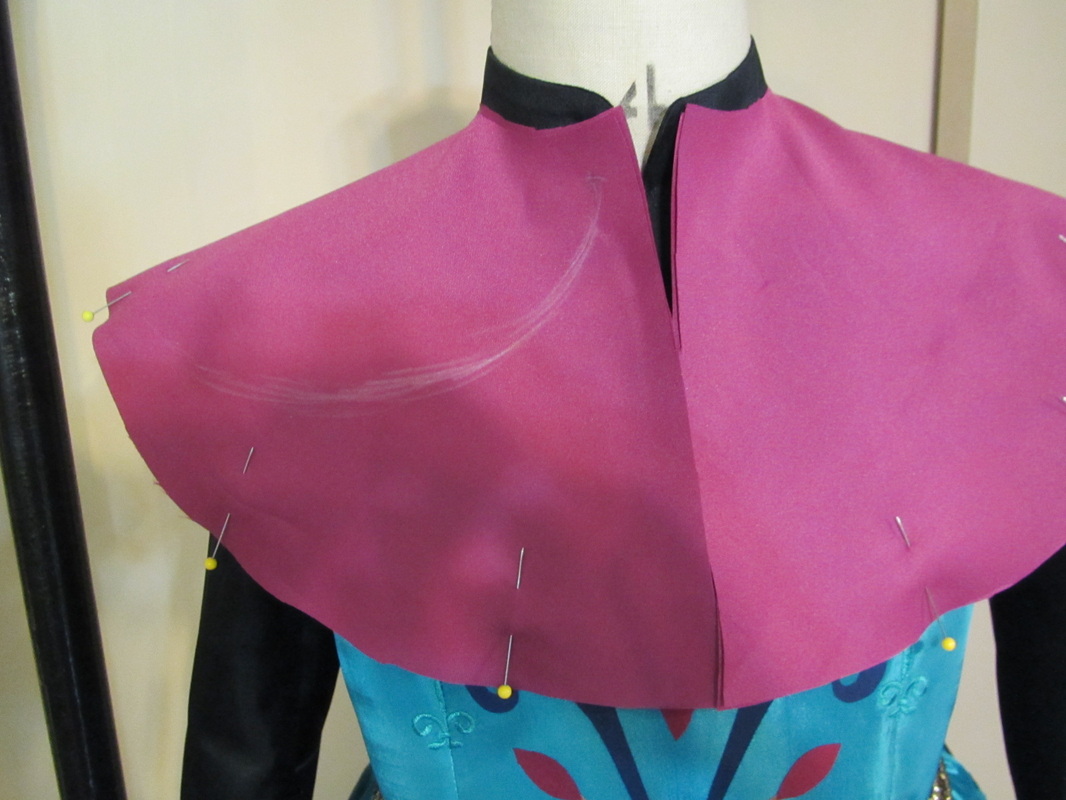
Try this on your Elsa and draw a curved line like this.
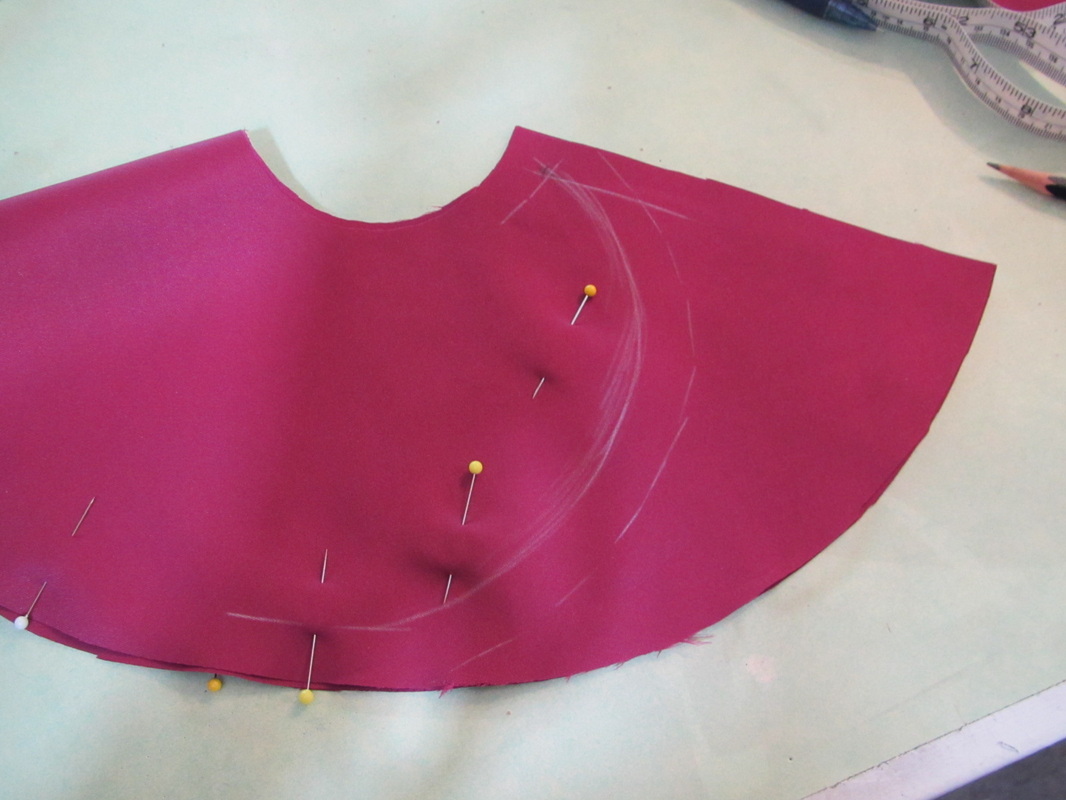
Lay it back on a table to smooth out the line. Add a 5/8" seam allowance. Mark in the original stitching lines at the center front and neck edge, to make sure it still fits the band collar.
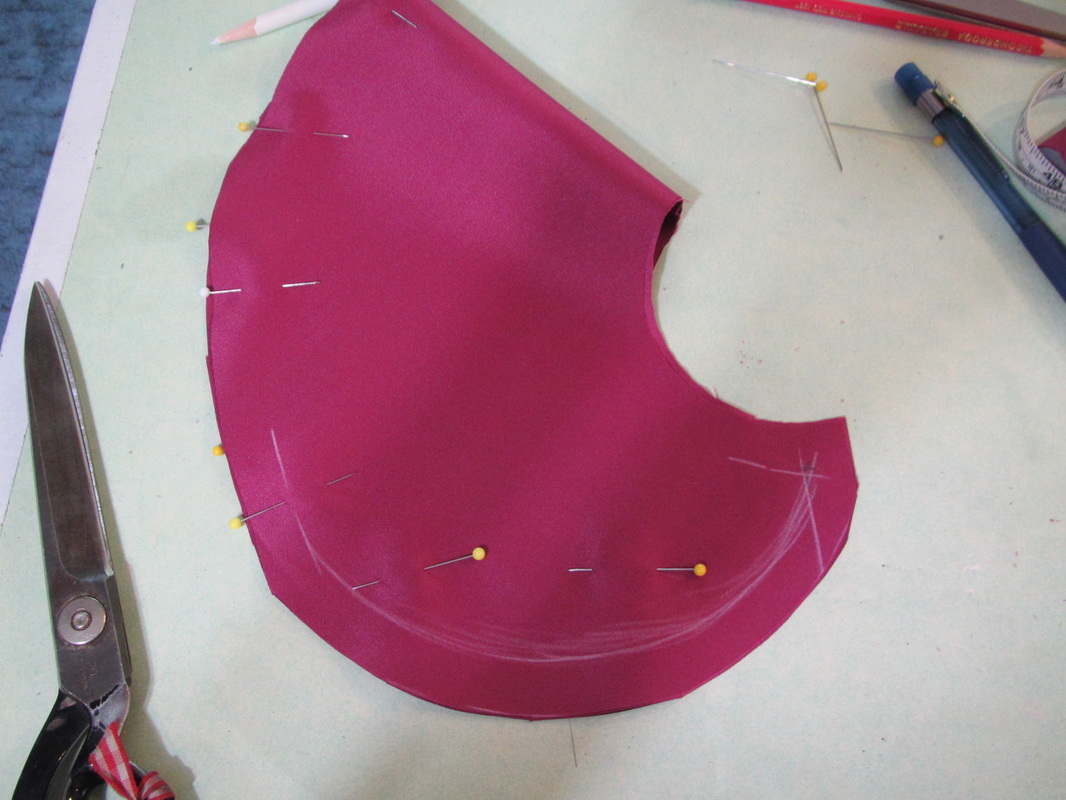
With the collar folded in half, cut along your drawn seam allowance line.
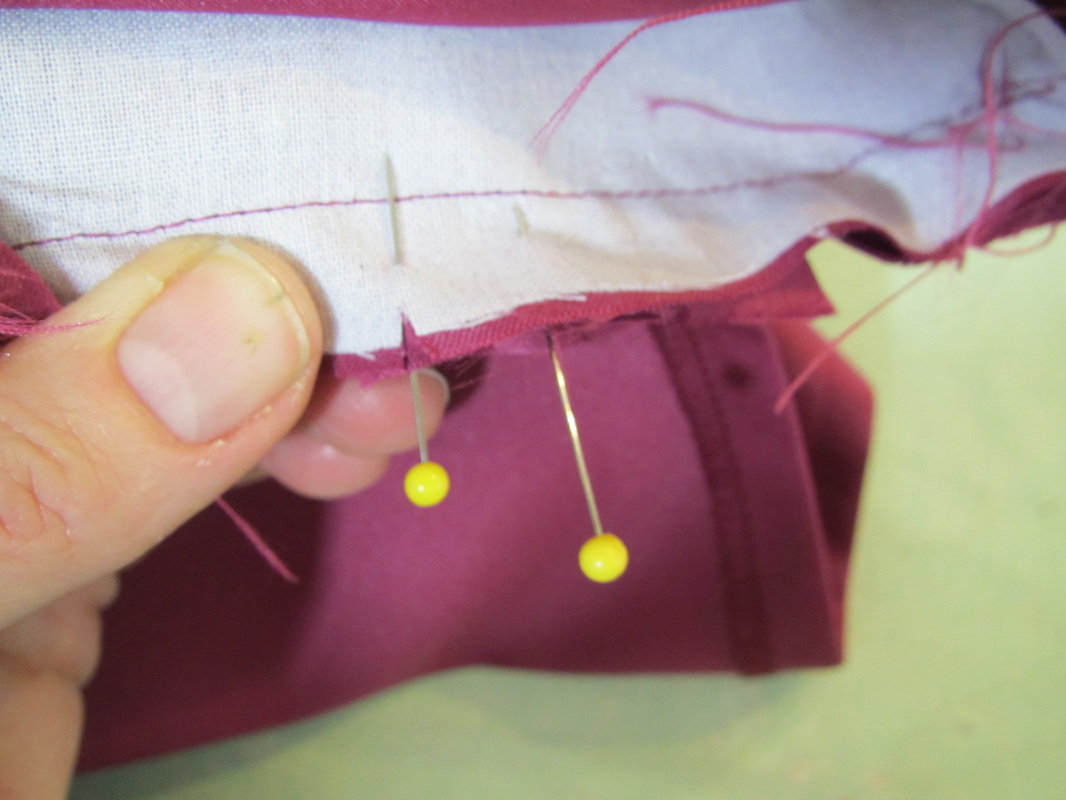
Fuse the interfacing on one of the band collar piece, then sew the two collar pieces together and the two upper cape pieces together.
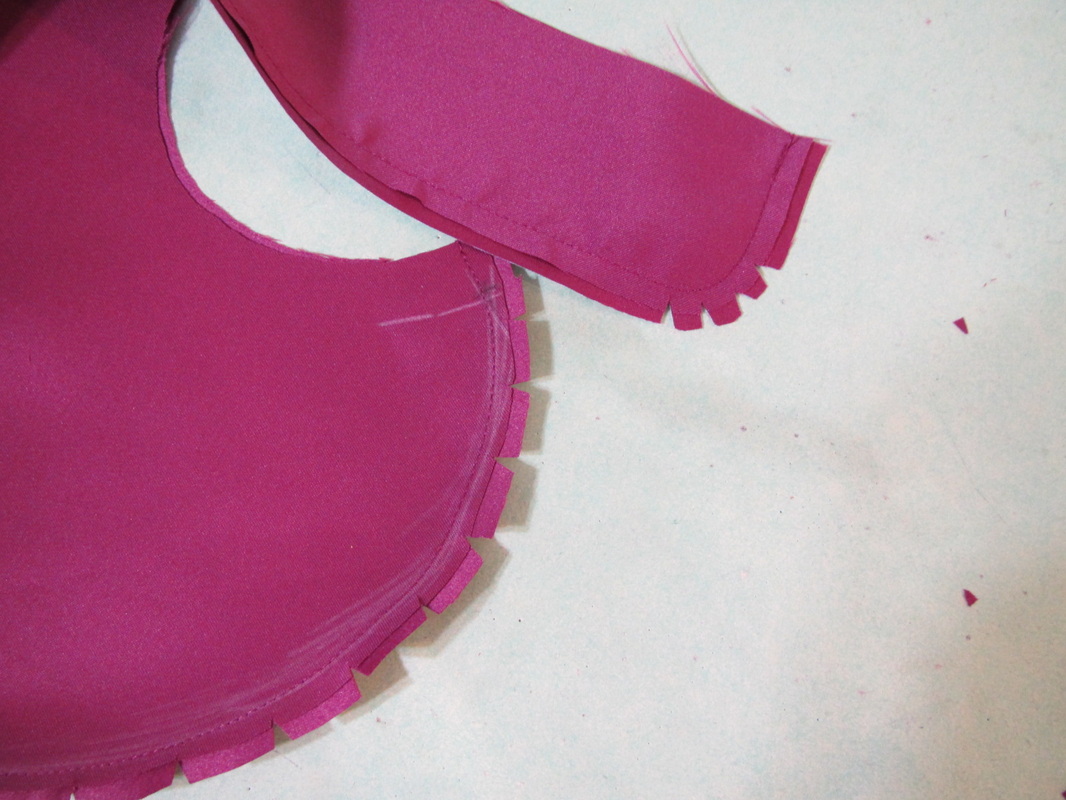
Grade and clip the seam allowances.
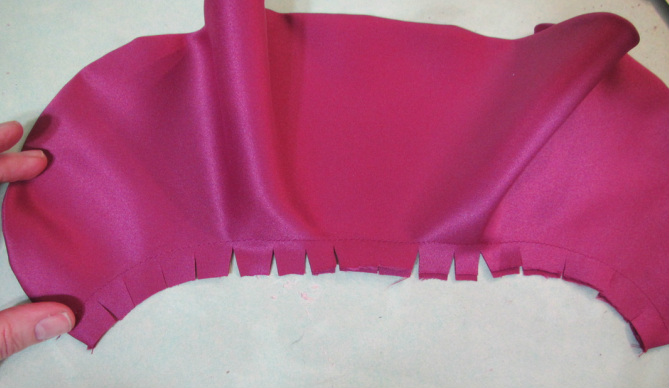
After turning and pressing, stay stitch the neck of the upper cape together at the 5/8" stitching line and clip.
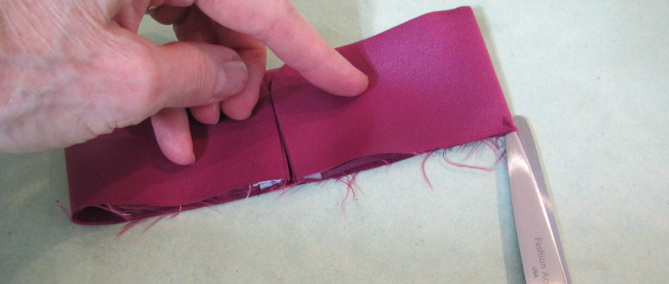
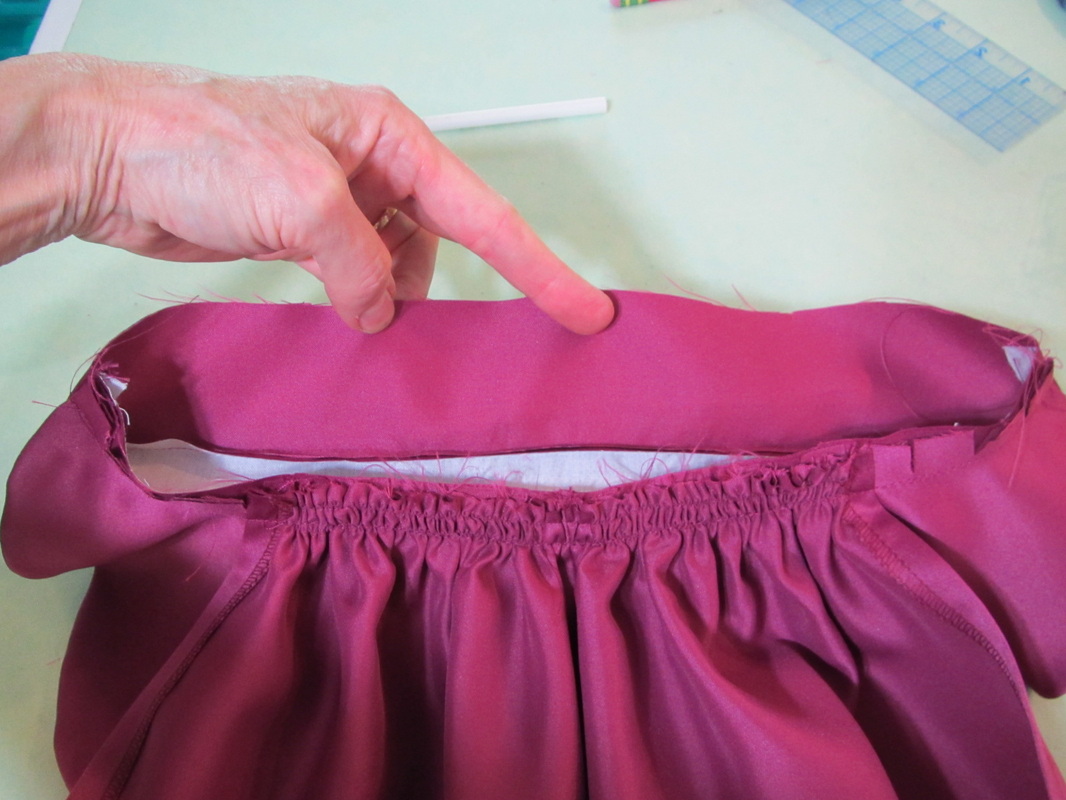
And fold the collar into 4ths. Clip the bottom edge at the folds and center.
Pin and sew the upper cape to one side of the collar, the side with the interfacing fused to it.
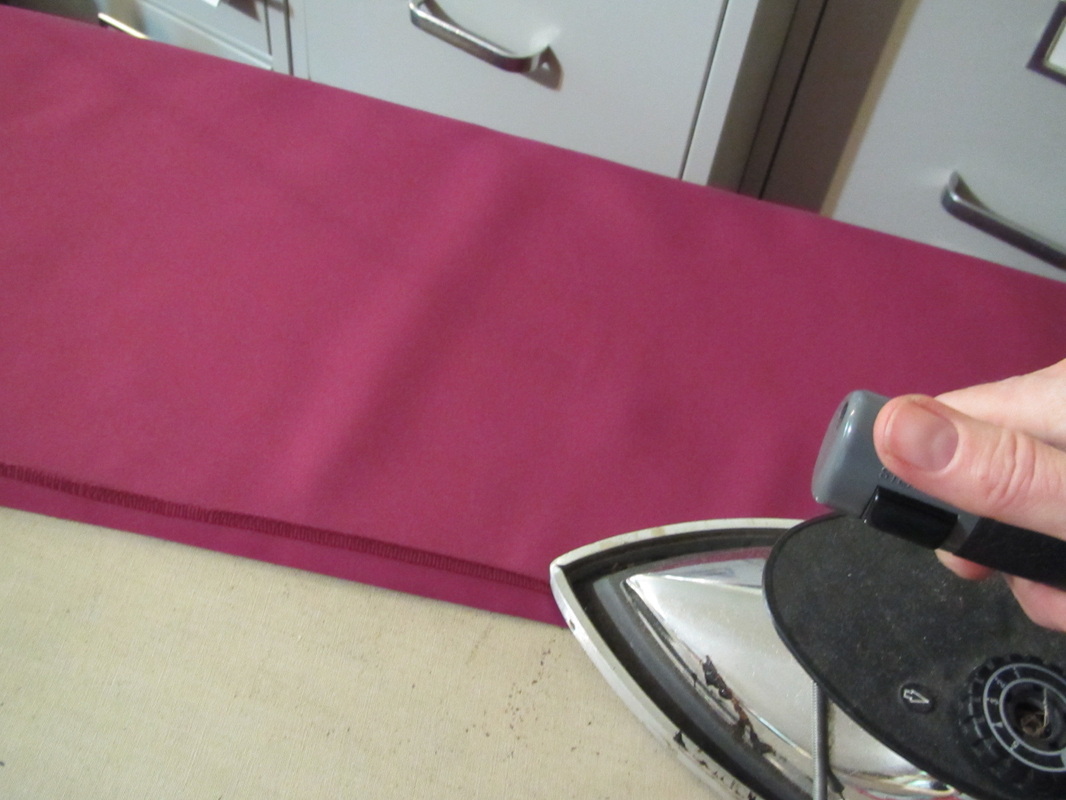
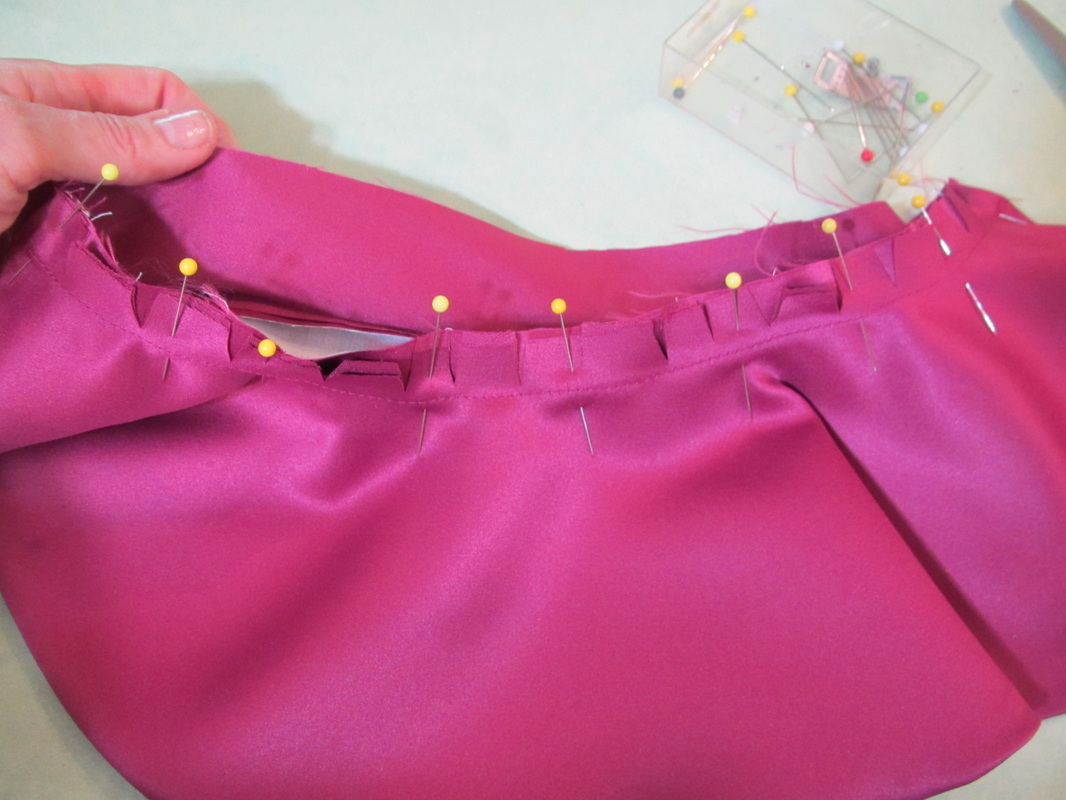
Prepare the main cape by hemming the two front edges, sewing the two pieces together at the back seam and running two rows of gathering stitches at the neck.
The main cape piece should not reach the front. It needs to stop mid way. That is why the collar was folded in 4ths and clipped.
Find the clips at the 1/4th mark and the 3/4th mark. Measure 1/2" from those clips going towards the front of the collar and put a pins in both places. These will be the stopping points for the front edges of the main long cape piece.
Find the clips at the 1/4th mark and the 3/4th mark. Measure 1/2" from those clips going towards the front of the collar and put a pins in both places. These will be the stopping points for the front edges of the main long cape piece.
Pull up the gathering stitches at the top of the cape and pin it over the upper cape, stopping each front edges at those pins and stitch in place.
Trim down the seams in layers to reduce bulk (grading), tuck them inside the collar and hand sew the inside edge.
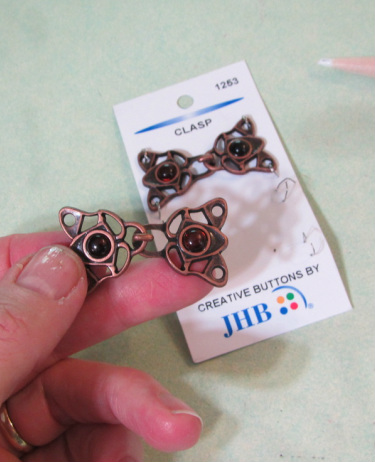
All the cape needs now is a hook at the neck. I just so happen to have this card with hooks leftover from an old project. (My belly dancing Ghawazee Coats) It will be perfect! | 
|
Here's the hook in action.
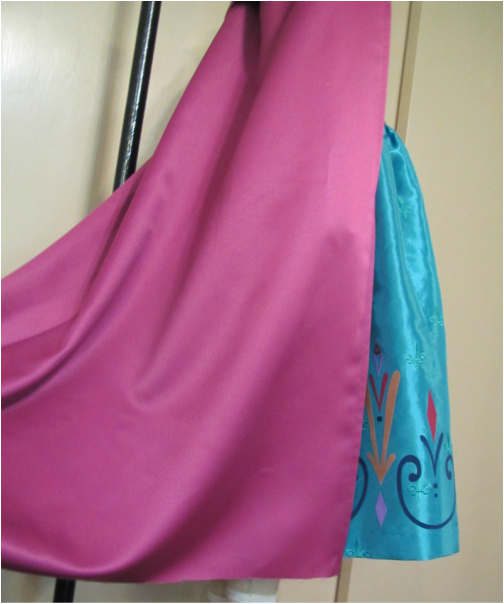
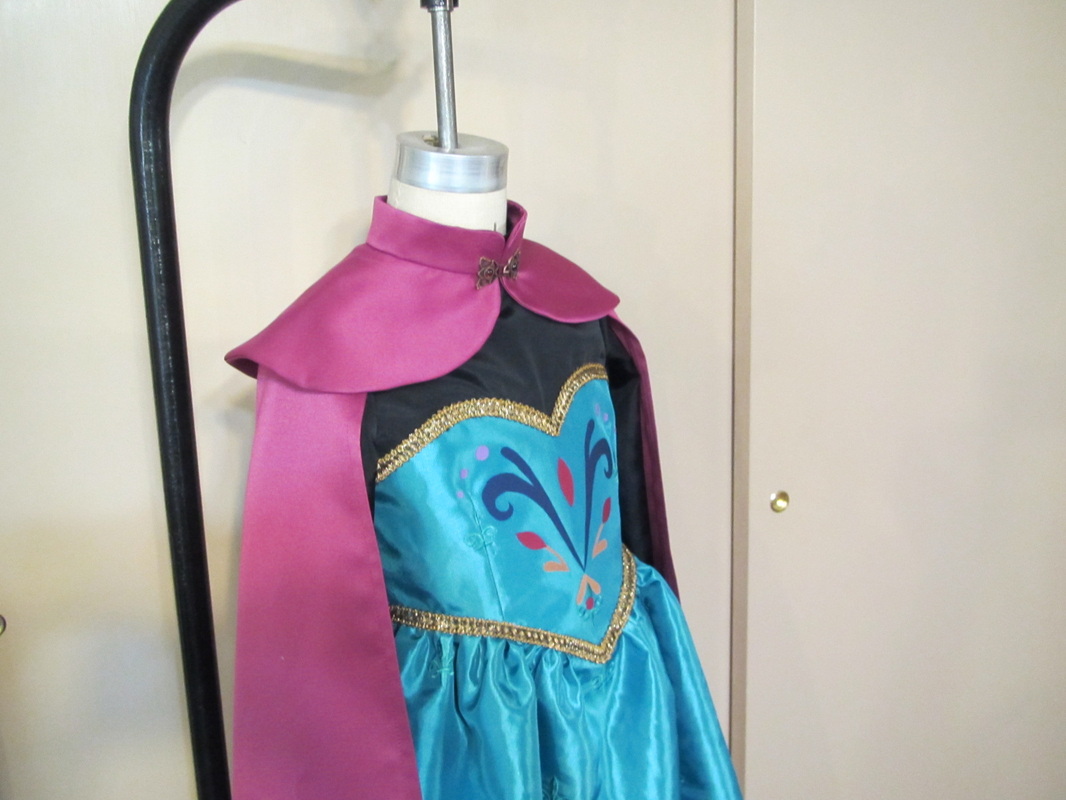
Now the cape can be hemmed. Try it on. The front edge should touch the ground and then leave the train as long as you like.
DONE!
Crowns on Monday and the Snow Queen dress the rest of the week.
DONE!
Crowns on Monday and the Snow Queen dress the rest of the week.
 RSS Feed