
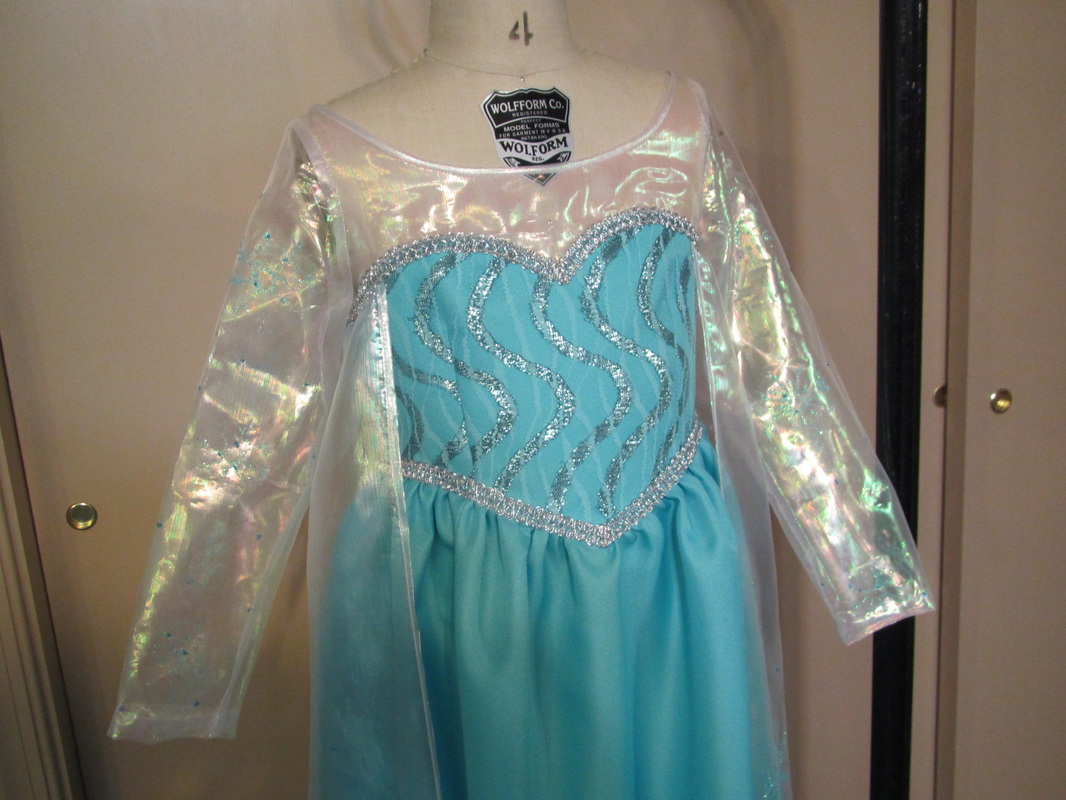
Moving on to Elsa's Snow Queen dress. This probably the dress most everyone wants to wear.
Again, the basic costume dress pattern is the perfect starting point. The bodice pattern changes are the same as for her Coronation Dress, so some of the following might look very familiar.
And, if you want to make both of Elsa's dresses you can use the same pattern pieces for the bodice!
Again, the basic costume dress pattern is the perfect starting point. The bodice pattern changes are the same as for her Coronation Dress, so some of the following might look very familiar.
And, if you want to make both of Elsa's dresses you can use the same pattern pieces for the bodice!
| 
| 
|
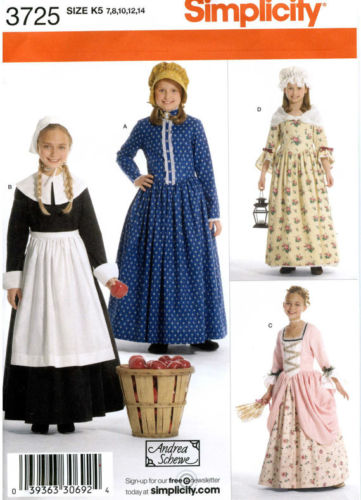
The pattern for Child 3 - Girl 14 is #3725.
The pattern for Misses 6 - 22 is #3723.
And the Plus size is #2354 and it comes in 18W - 32W.
Each line is a separate link that will take you to Simplicity's site.
Even though it's a child size dress, everything I'm doing will work for any of the sizes.
To make this dress you will need:
* Sheer fabric for the upper bodice, sleeves and attached cape
* Aqua fabric for the lower bodice and skirt
* a glitzy net or lace fabric to go over the lower bodice.
* Fusible interfacing for the lower bodice pieces and the collar
* Flexible braid for upper and lower edge of the lower bodice (about 1/2" wide)
* a zipper
* Glitter glue in one or two colors for the snow flakes
or snowflake shaped sequins and glue
Again, you can either over estimate fabric amounts using the back of the pattern envelope as a guide, which is what I did and now I have a bunch of extra fabric or, if you have time, the smart thing to do is make all the pattern changes and then do a trial layout before going shopping to figure out how much fabric and trims are actually needed.
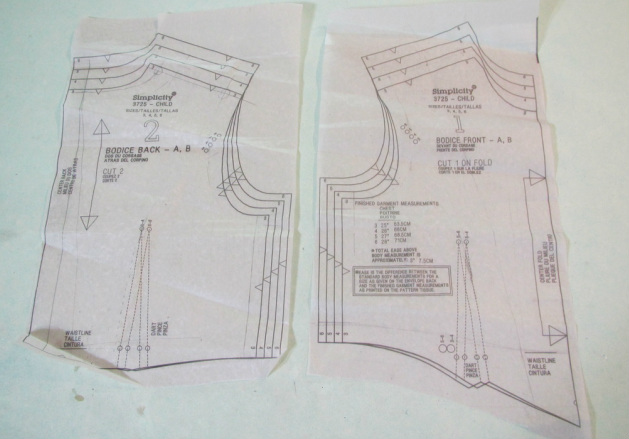
The bodice gets the main change. Both front and back need to be divided into upper and lower parts. I am going to use the lap method. It is much easier when you have a curved shape and the join is going to be covered with trim anyway.
So, first, take the front and back bodice pieces.
So, first, take the front and back bodice pieces.
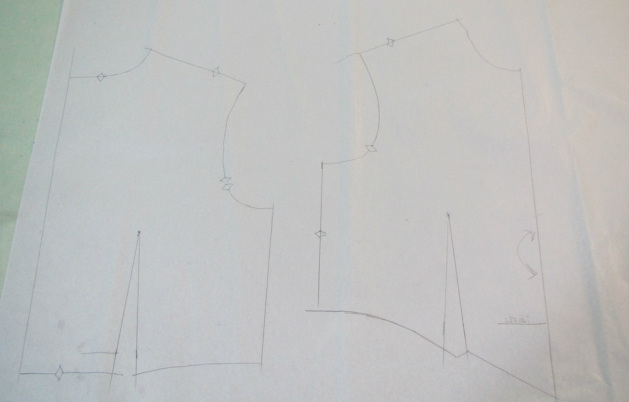
Trace out the size you need. If you think there are going to be any fitting issues, fix them now. Make a muslin of the bodice, if necessary and make whatever changes you made on your paper pattern.
I usually use poster paper when I make a pattern, but I bought some gift wrapping type white tissue at Target and it is pretty sturdy AND it is really easy to see through, so that is what I am using this time.
I usually use poster paper when I make a pattern, but I bought some gift wrapping type white tissue at Target and it is pretty sturdy AND it is really easy to see through, so that is what I am using this time.
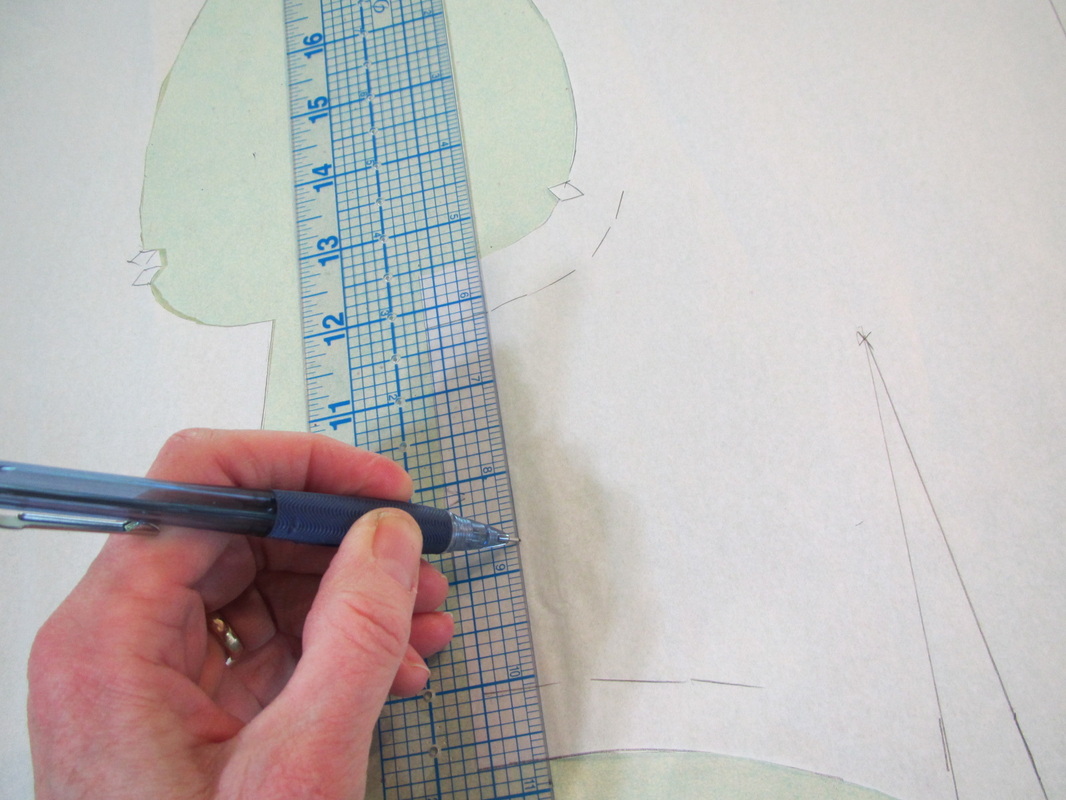
Cut the pieces out and use a ruler to mark in the stitching lines ... 5/8" from the cut edge. Knowing where the seam lines are makes changing a pattern much, much easier.
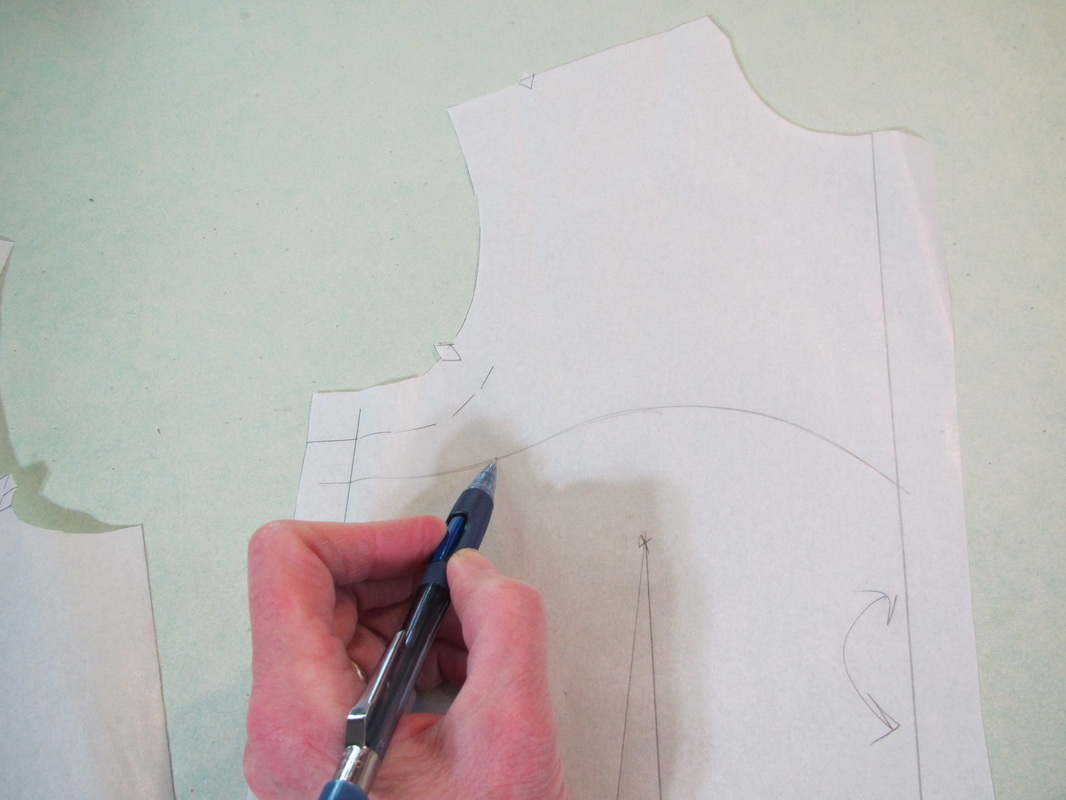
Now, draw a preliminary line for what will be the upper edge of the lower bodice. It should start close to the bottom of the armhole curve up and over the breast area and end in a "Vee" in the center front.
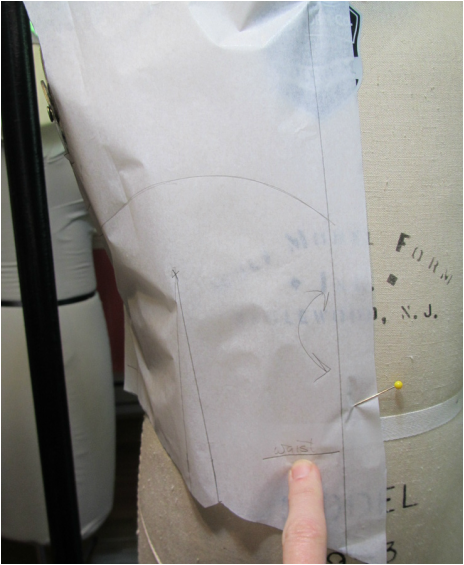
Try it on the person the dress is being made for. It will be easier to properly line up, if you have copied the waist mark from the pattern. I'm lucky, my model stands very still.
If this is being made for a grown woman, you should probably pin the bust dart when trying on this paper pattern.
If this is being made for a grown woman, you should probably pin the bust dart when trying on this paper pattern.
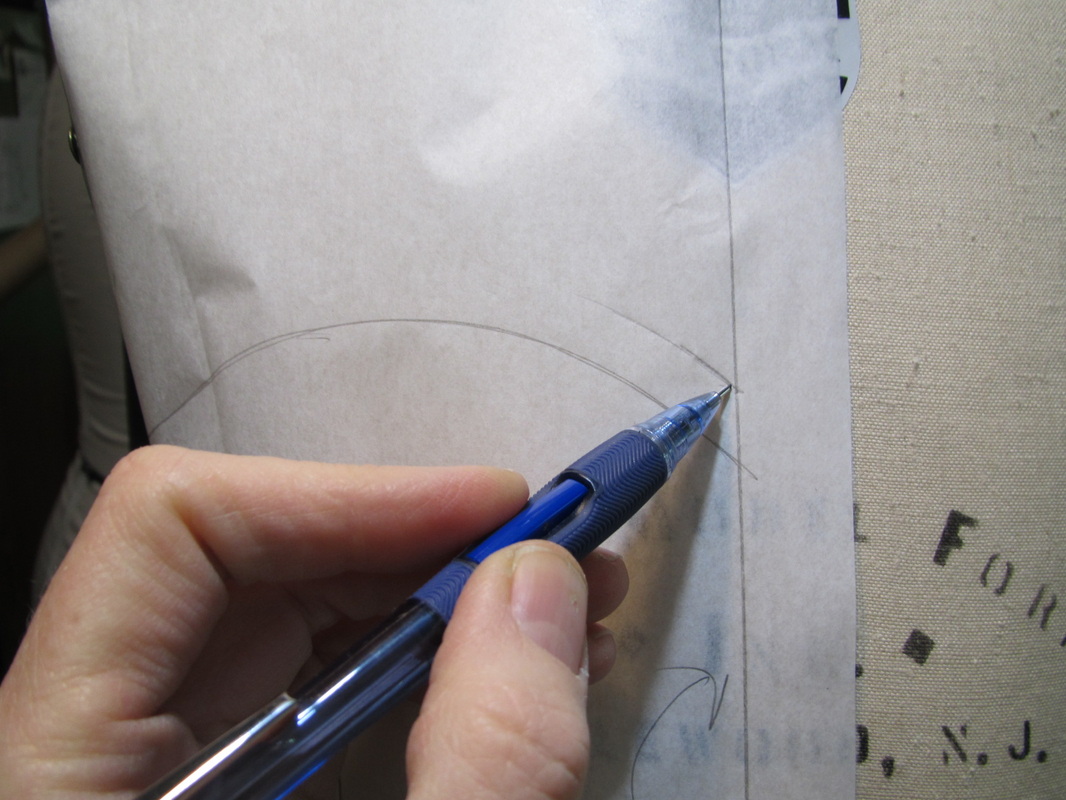
If you don't like the line you've drawn, change it! I moved my line up about 1/2". Again, this is very easy on a dress form ... but you really need to see the shape on the figure to know if it looks right, even if you can only get a sketchy mark when it is up against a human body.
Finalize your lines ...
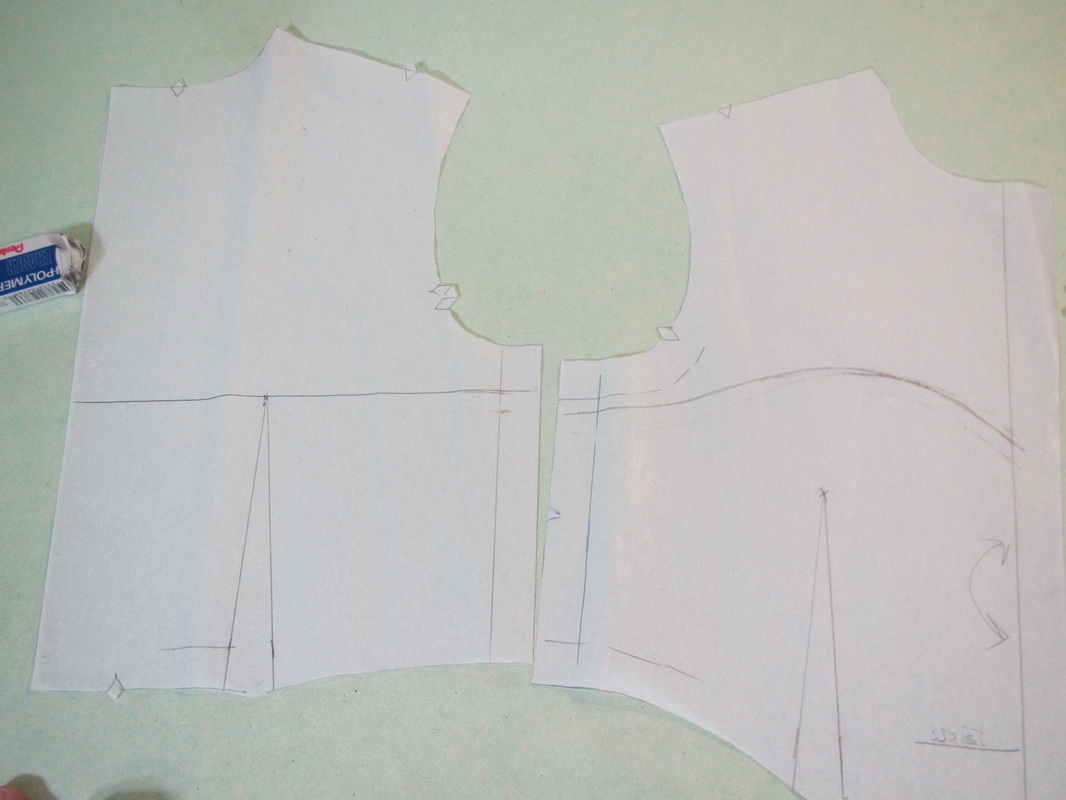
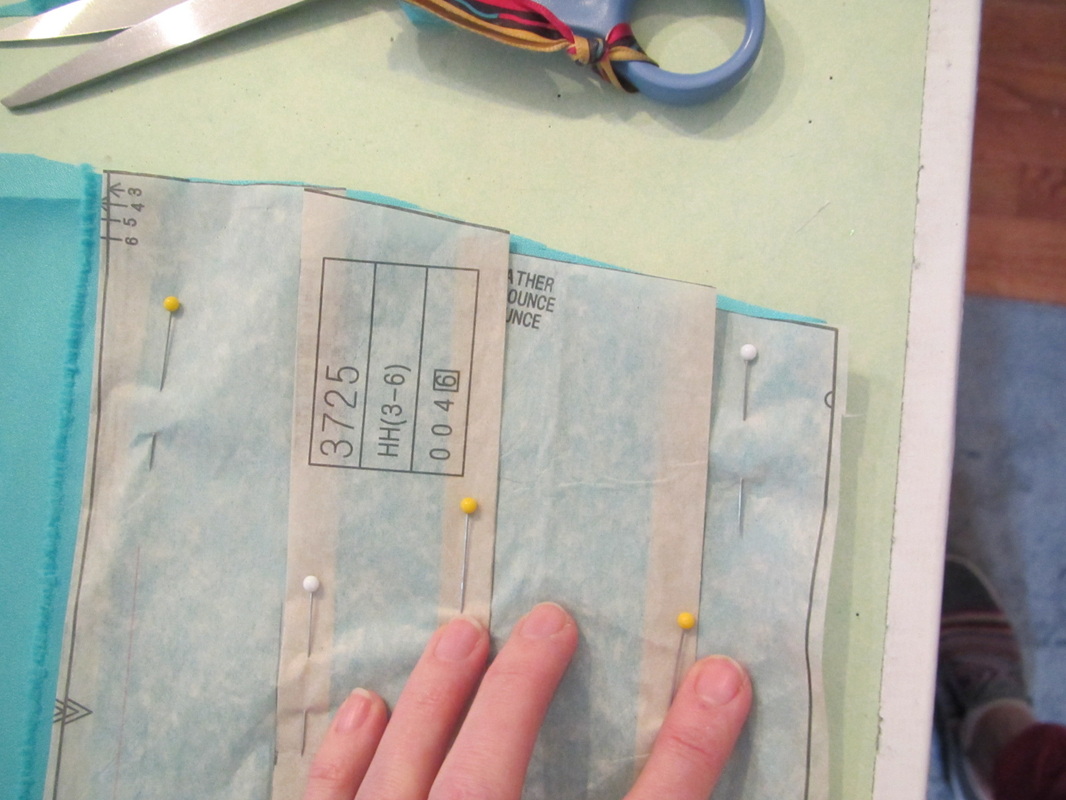
and cut the pattern pieces into upper and lower sections along these lines. And, I suggest, give each piece a name, so you don't mix them up or think they are a scrap of paper and throw one out ... And you can only guess why I give you this warning. Any mistake that can have been made, I've made at least once in my life!

Now you need to add a 1" extension to the bottom of the front and back "upper bodice" pieces. Tape on a strip of paper and then use a ruler to mark and then cut an extra 1" which will become your underlap when the upper and lower parts of the bodice are joined.

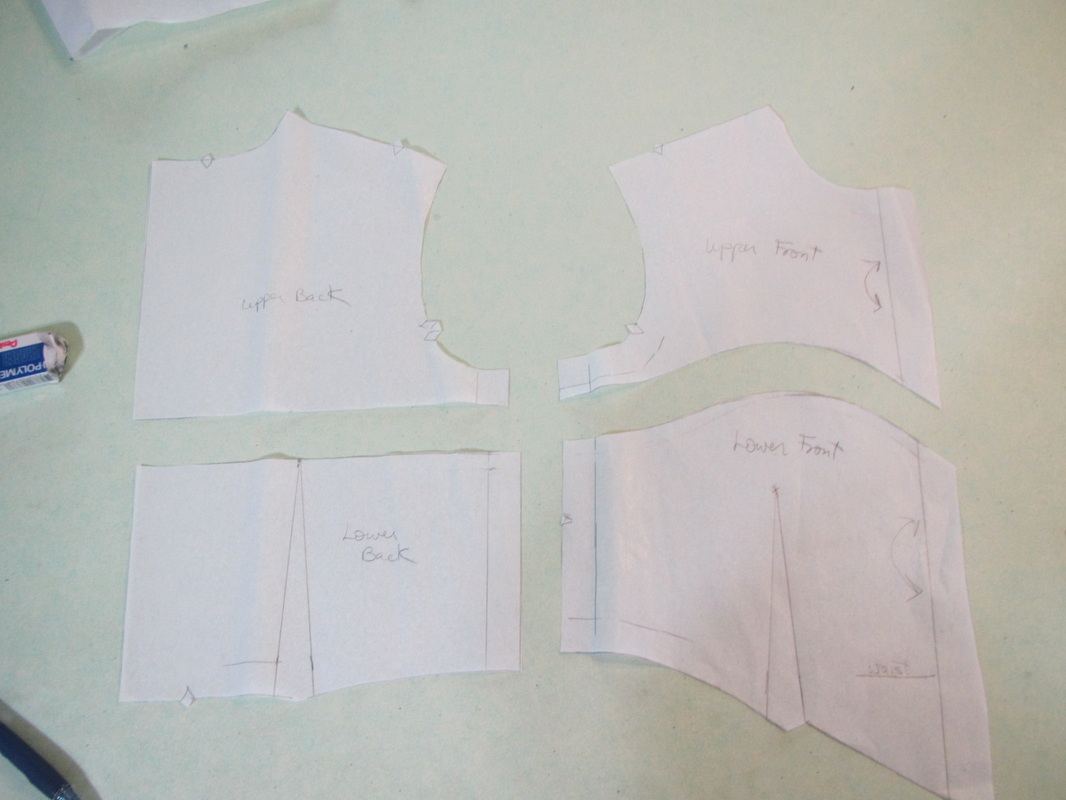
Here they are finished.
For the attached cape, I've made a diagram. It is for a modest cape, but it can be cut larger and longer. But, the larger and longer it is, the more snowflakes will need to be applied ... just say'n ... (tomorrow's blog).
The all important measurements are the the distance from the armpit to the floor and the chest measurement.

| elsas_snowflake_cape.pages.zip |
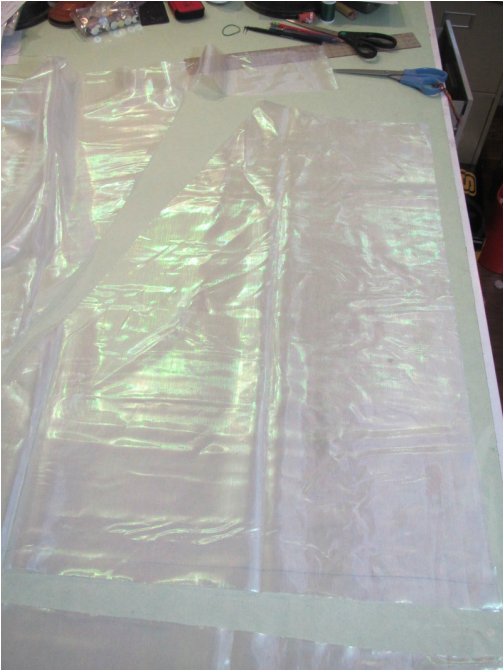
Here is my cape all cut out. I added a couple inches on the bottom. I'd rather have too much than not enough.
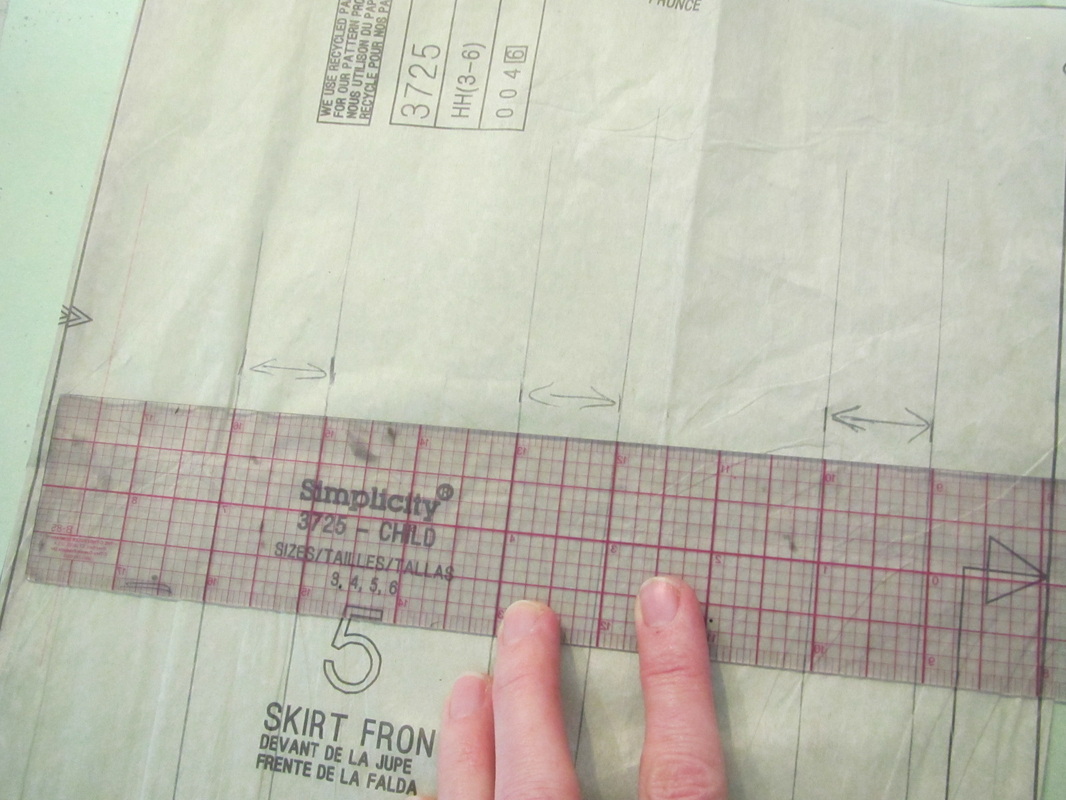
The skirt for this costume shouldn't be as full as the skirt from the pattern I'm using. I suggest it be reduced in size by about a third. But, because the front of the skirt dips down in the center to go with the pointed waist line of the bodice, the fullness needs to be taken out in a few places evenly across the whole pattern. Here I have drawn 1" parallel lines that will become parallel folds with 2" between.
This is what it will look like. Just smooth out the top edge when cutting the skirt out.
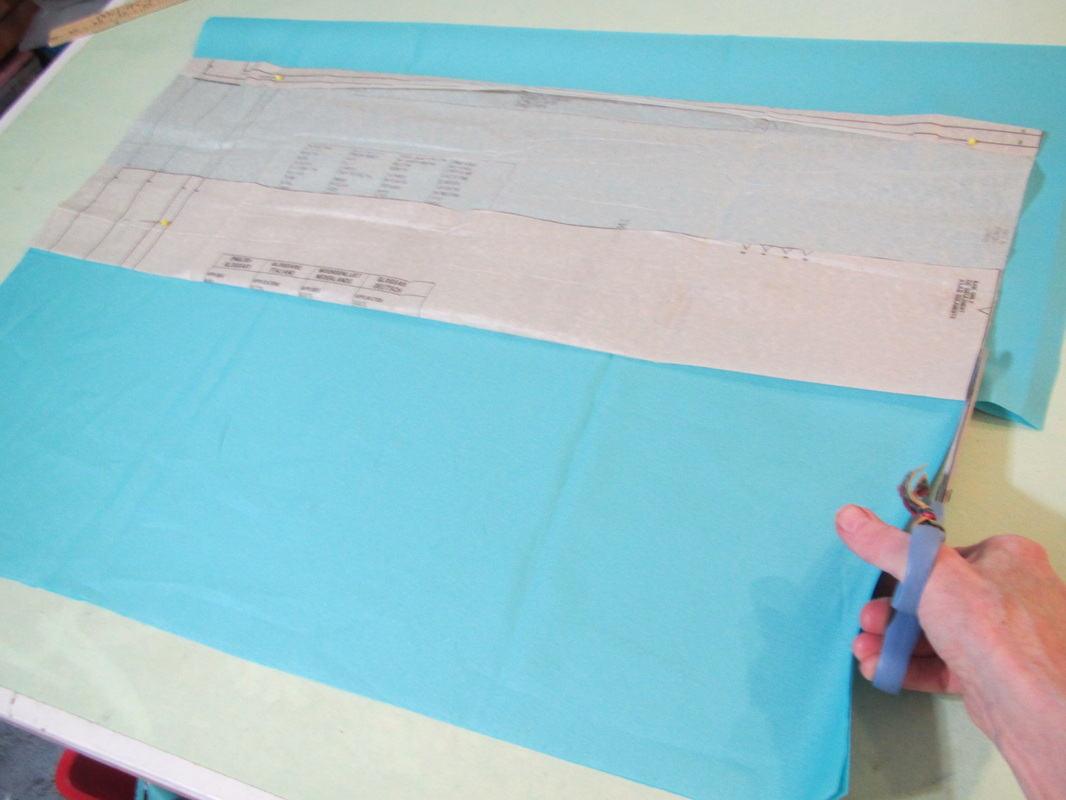
Since the side/back skirt is just a rectangle it is easy to fold out one third of the width on one side, but remember this pattern piece still needs to be cut on the fold.
So, this is what you should have when finished cutting.
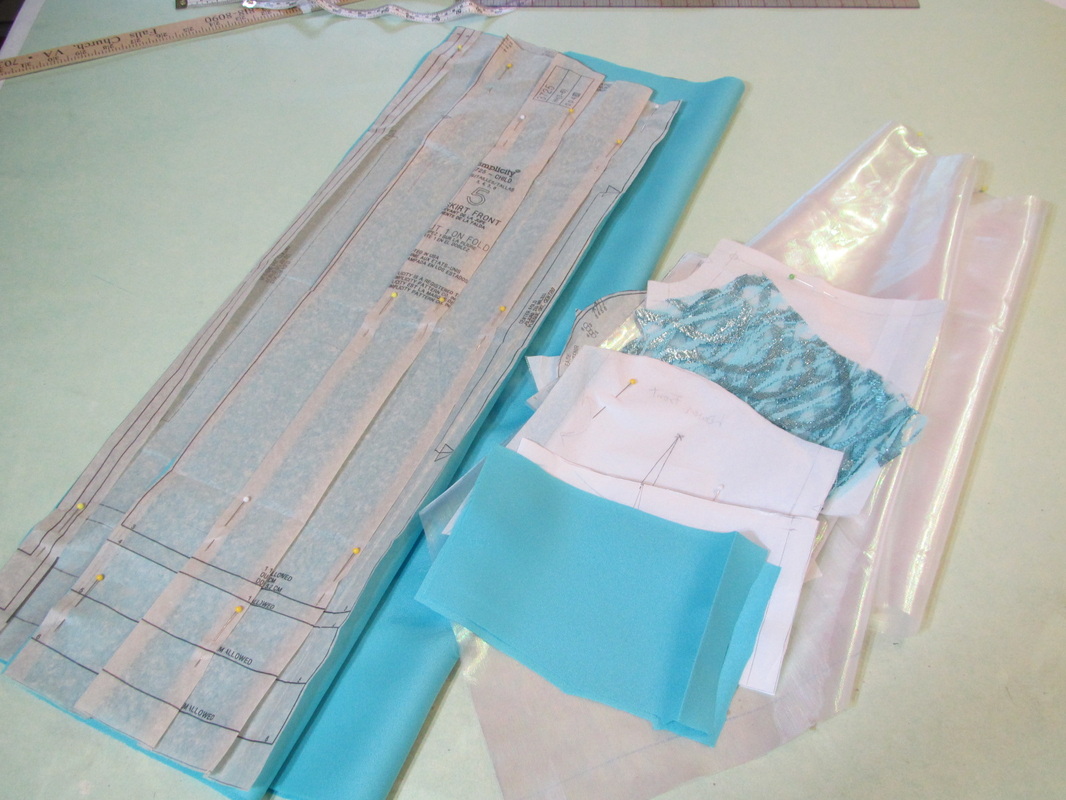
from the sheer fabric: upper front bodice, upper back bodice, sleeves and cape
from the aqua: lower front bodice, lower back bodice, front skirt and 2 side/back skirts
from the glitzy net overlay fabric: lower front bodice and lower back bodice
And lower front bodice and lower back bodice out of fusible interfacing
tomorrow ... snowflakes
 RSS Feed