
Elsa's Snow Queen dress should have sparkly snow flakes all over it. Now, if you are lucky you can find some fabric that is sparkly enough and you can skip this part. But, if you can't find sparkly fabric you like or you want control the look of snow flakes, then I hope this blog will help.
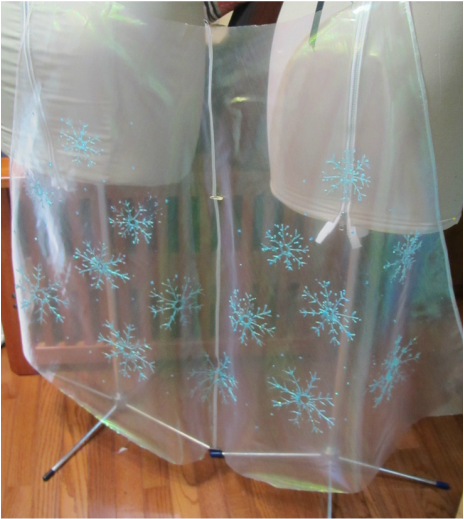
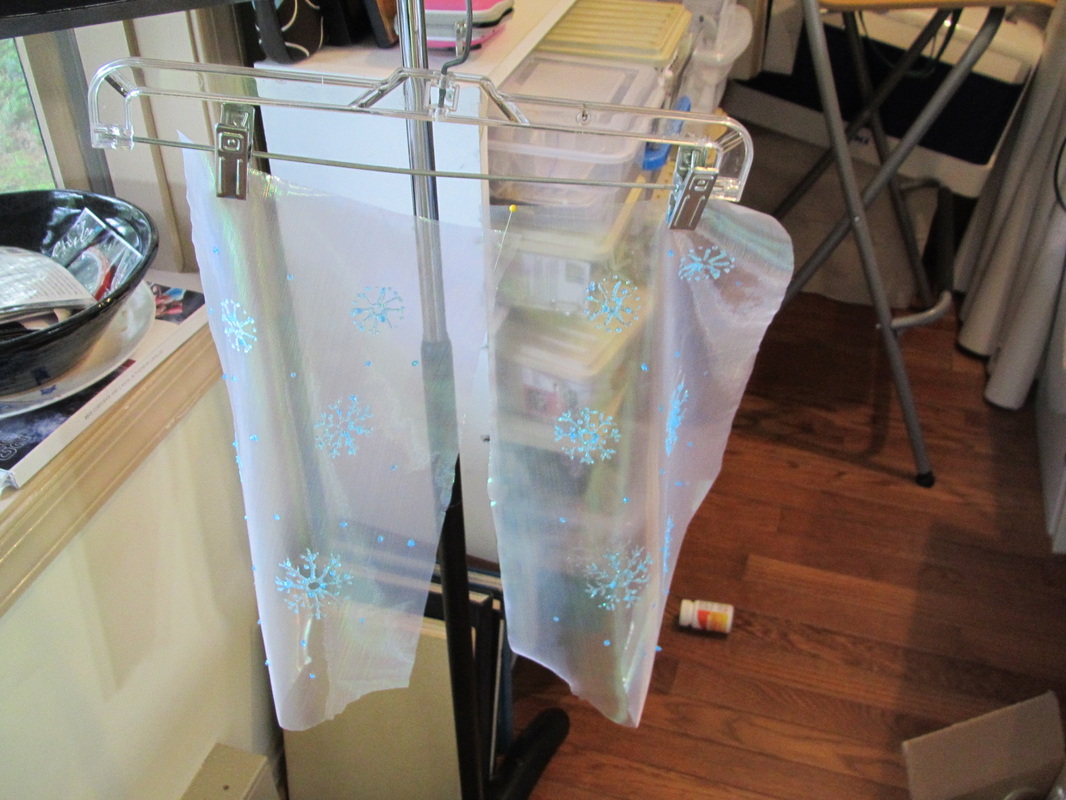
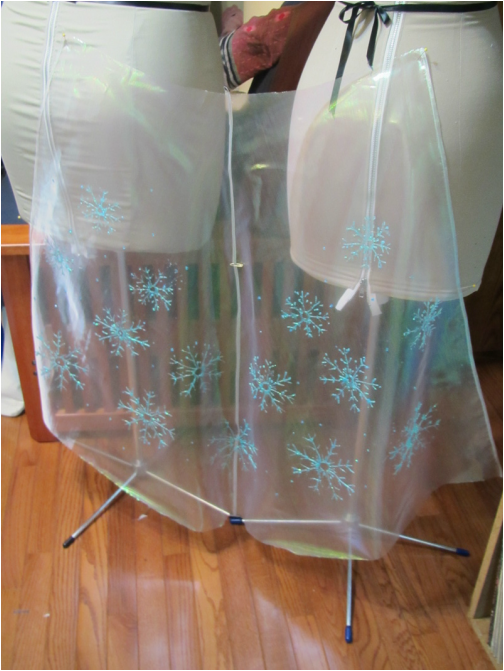
Here is the cape for my little Elsa Snow Queen with the snow flakes drying.
If you missed the first blog on this dress about cutting, this will take you there.
I did some tests before deciding how I would make all these snowflakes.
Here is the cape for my little Elsa Snow Queen with the snow flakes drying.
If you missed the first blog on this dress about cutting, this will take you there.
I did some tests before deciding how I would make all these snowflakes.
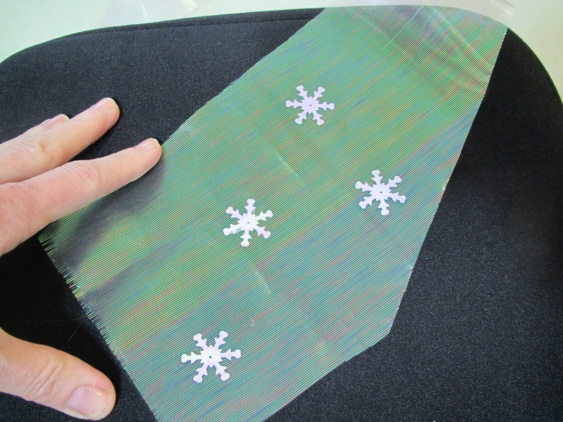
The quickest way would be to buy snowflake shaped sequins and glue them on. But, they are small ... I saw an Elsa costume that had snow flakes cut out of glitzy fabric and glued on, so that's another option.
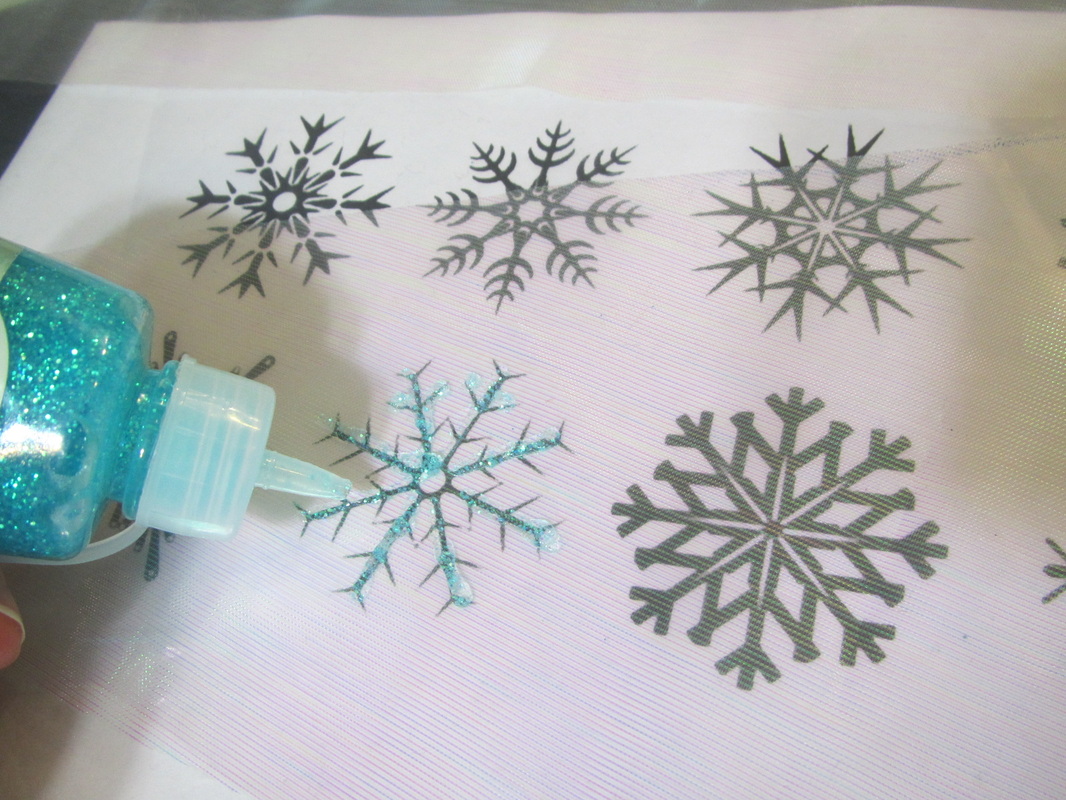 |  |
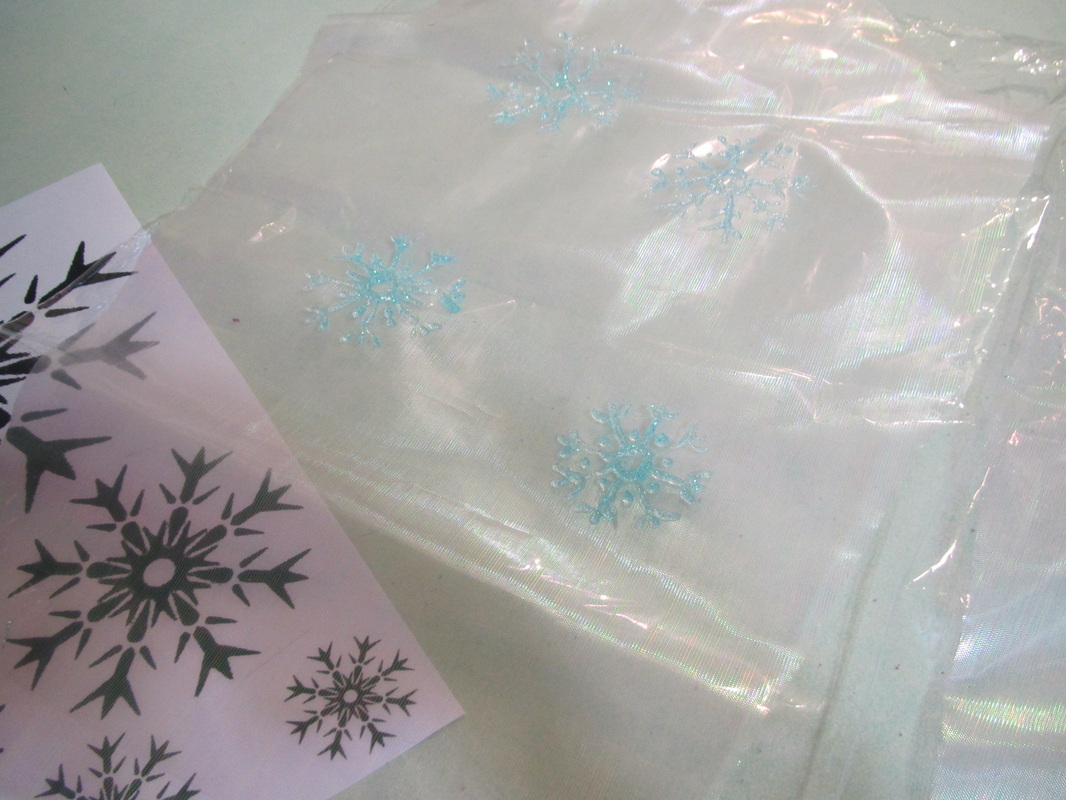
But, I wanted to give glitter glue a try. So I printed out some snowflake graphics from the internet to use as a guide and I think this is the method for me.
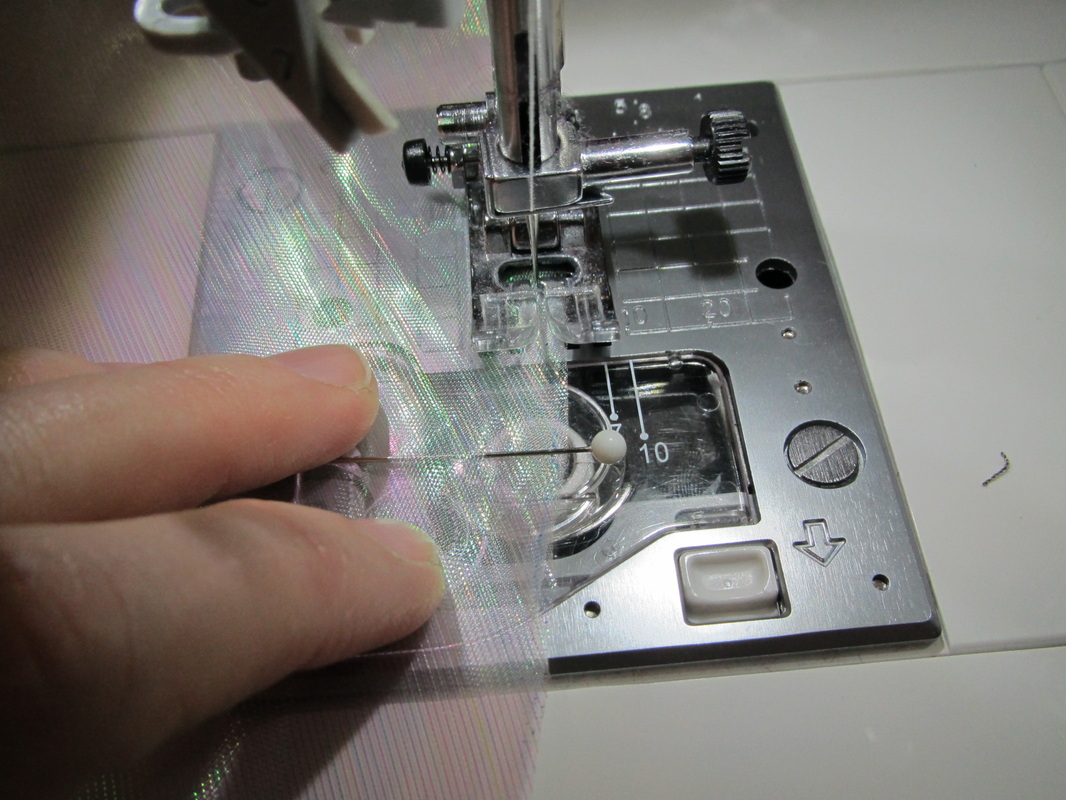 | 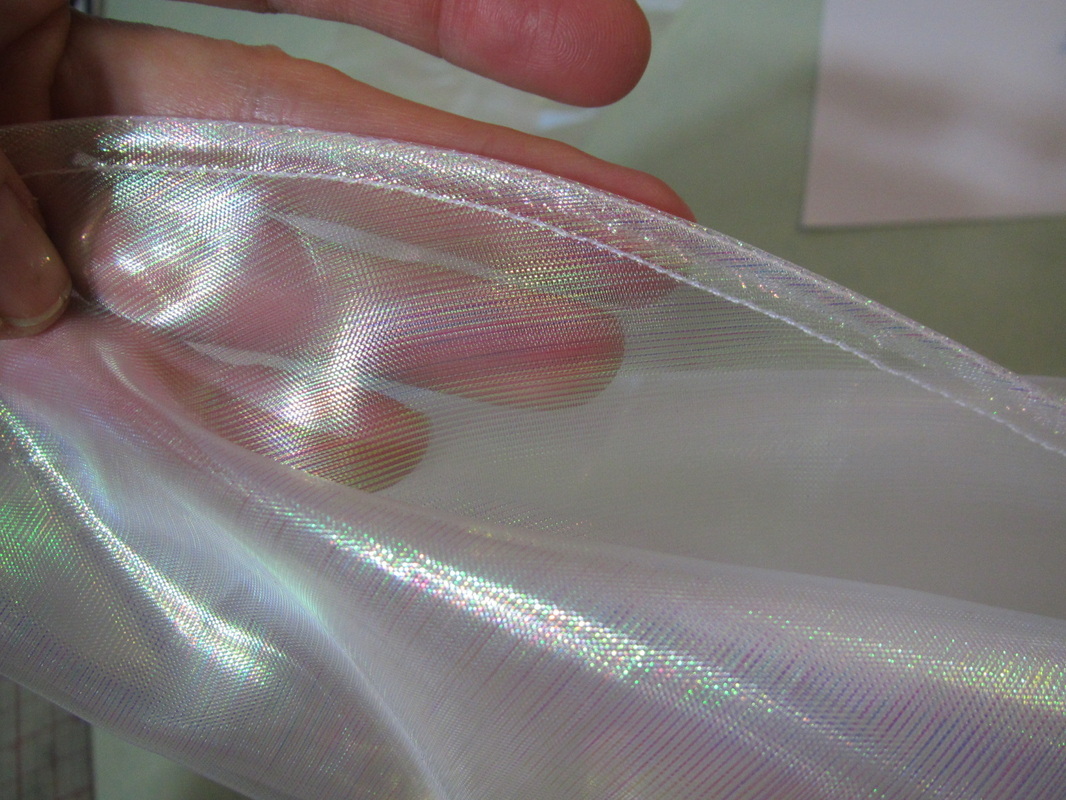 |
The sleeves and the cape need snowflakes, but the two pieces of the cape need to be assembled first. And, because it is sheer fabric, a french seam should be used. This is kind of a double seam. The fabric is first put together with the wrong sides together and a very narrow seam is stitched (less than 1/4"). Press it flat. This makes is easier to then bring the right sides together and sew the second seam, slightly larger to totally encase the seam allowance of the first seam.
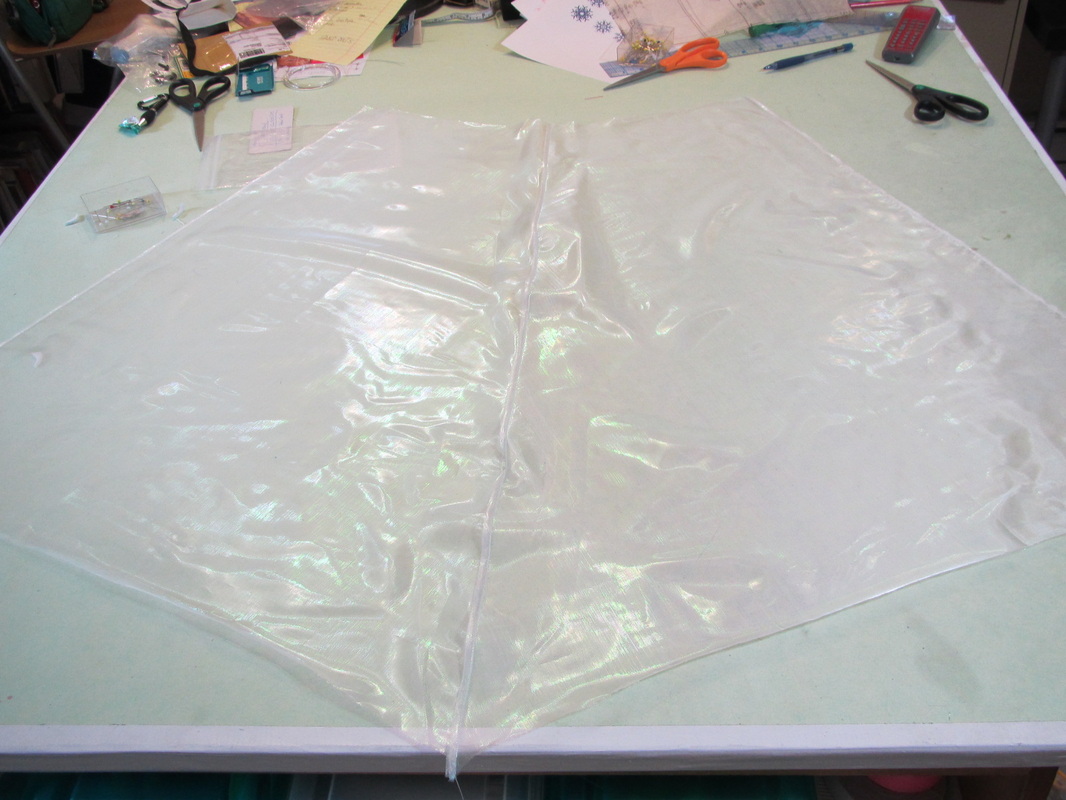
Here is my assembled cape ... BUT ... grrrr! I forgot to leave the seam open at the top to allow for it to part when the back zipper is opened. I will fix that later, but you should figure out how long of an opening is needed. This cape will be attached at the top of the aqua lower bodice in the back. So this seam needs to be left open the length of the lower back bodice back seam, plus how ever far down the skirt seam the zipper goes, usually about 7 -9 inches for an adult, maybe 6 for a small child.
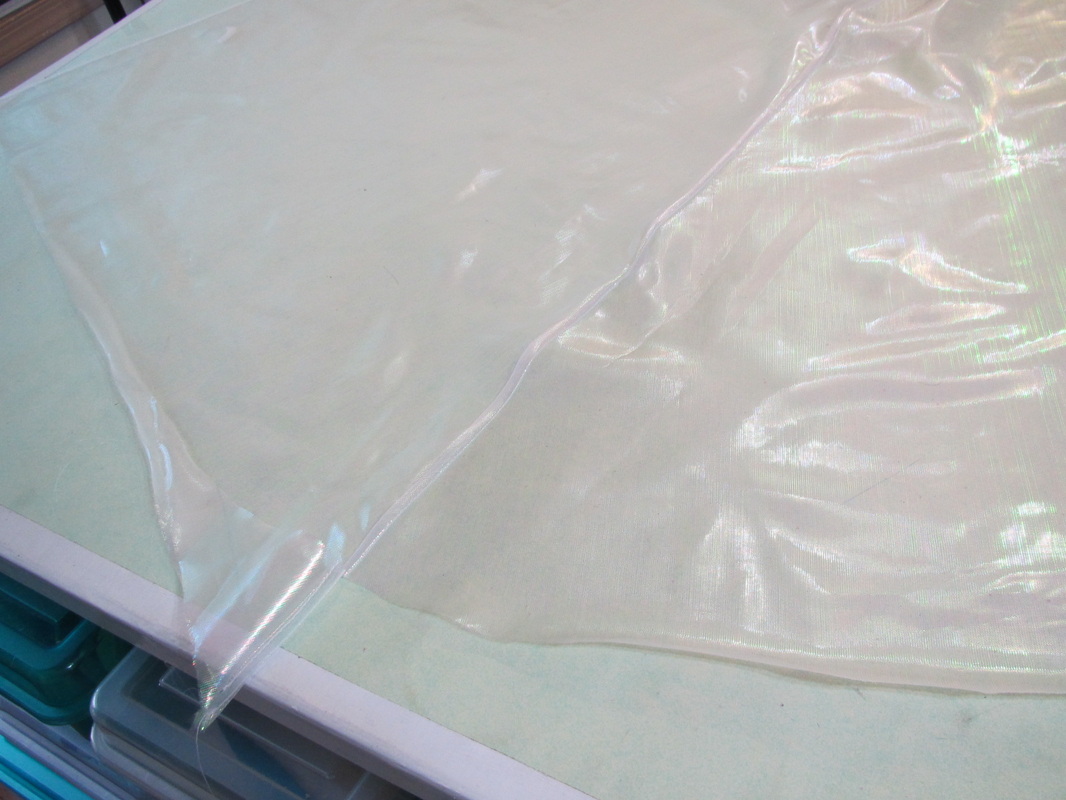
Before starting on the snowflakes I round off that point on the bottom.
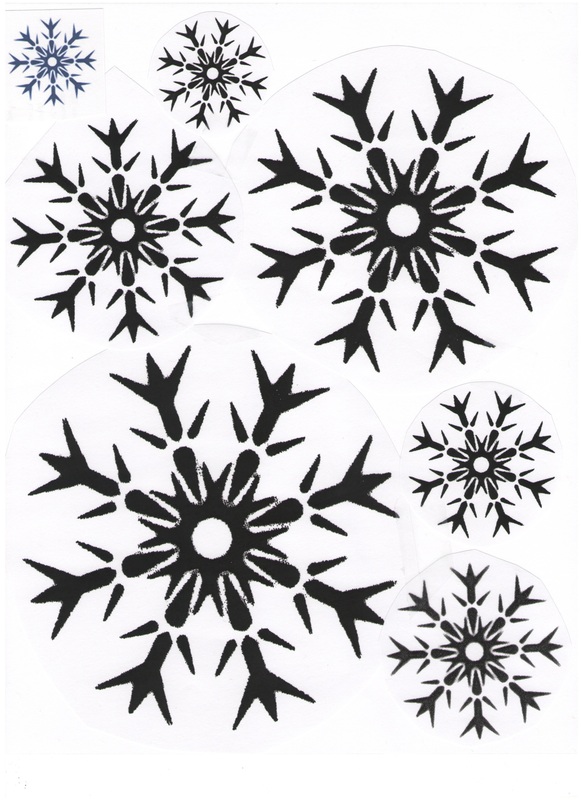
I made up a sheet with a basic snowflake in a bunch of sizes. Save it and print it out. It should print to fill an 8 1/2" by 11" sheet of paper.
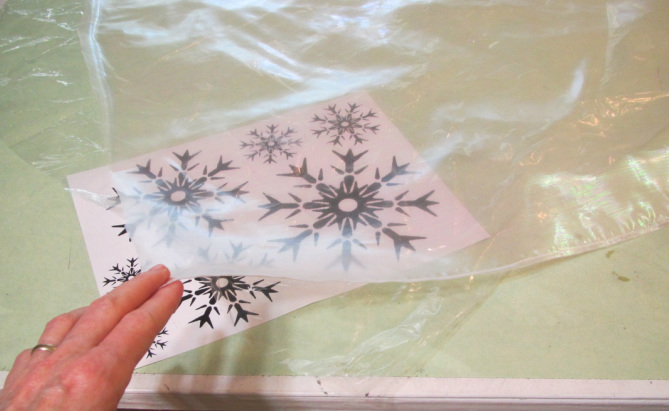
Lay the pieces that need snowflakes over a sheet of clear plastic, a dry cleaner bag would work, and slip the paper with snowflakes under the plastic. I started with the sleeves using some of the smaller snowflakes.
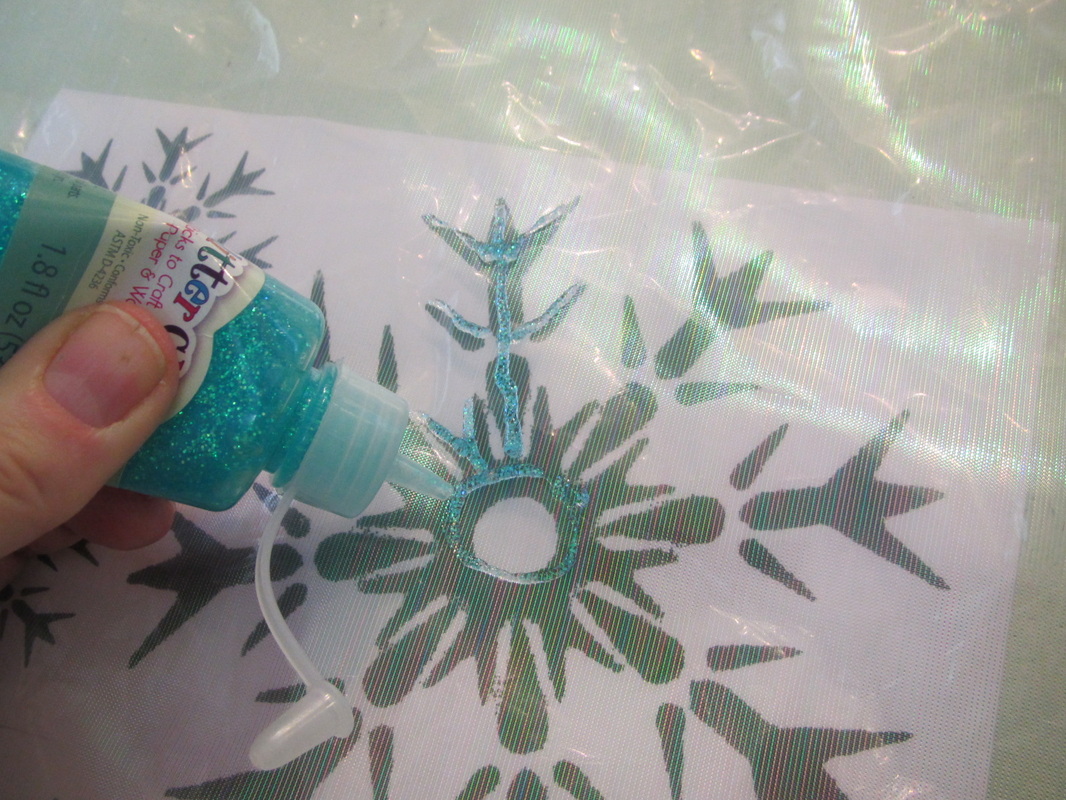
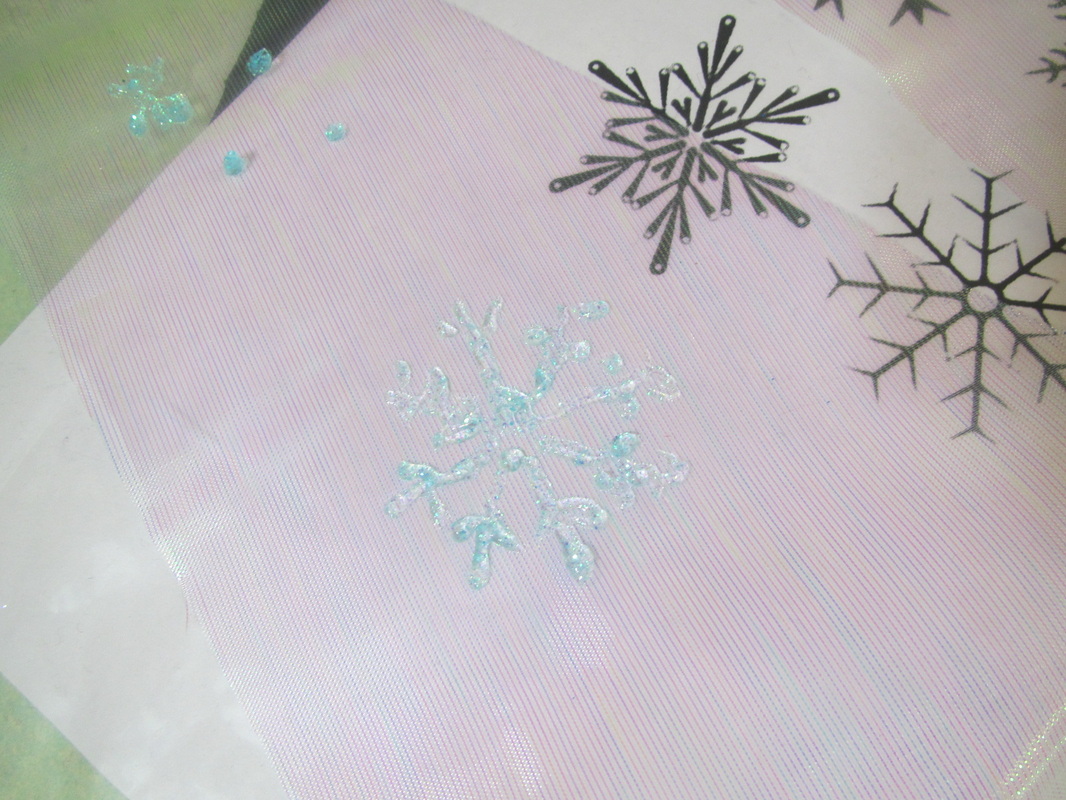
The lines will be a bit wiggly but remember, every snowflake is different! And these hand drawn snowflakes will all be very different.
This glitter glue is REALLY thick, so I have two bottles going, so the goop can slide towards the tip on one while I'm using the other.
I put the snowflakes randomly on the sleeves, but tried to plan them out a bit more for the cape ...
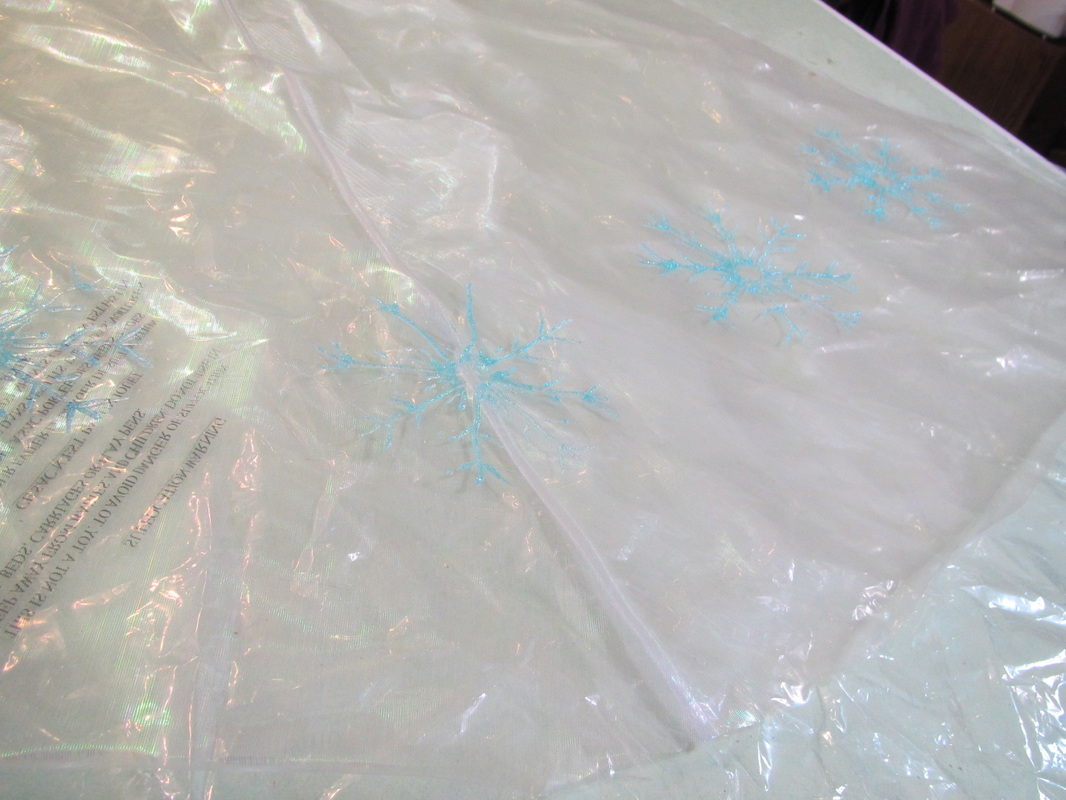
using the largest ones at the bottom, checking distances with a ruler to make sure they are evenly spaced. Then progressing to smaller snowflakes moving up.
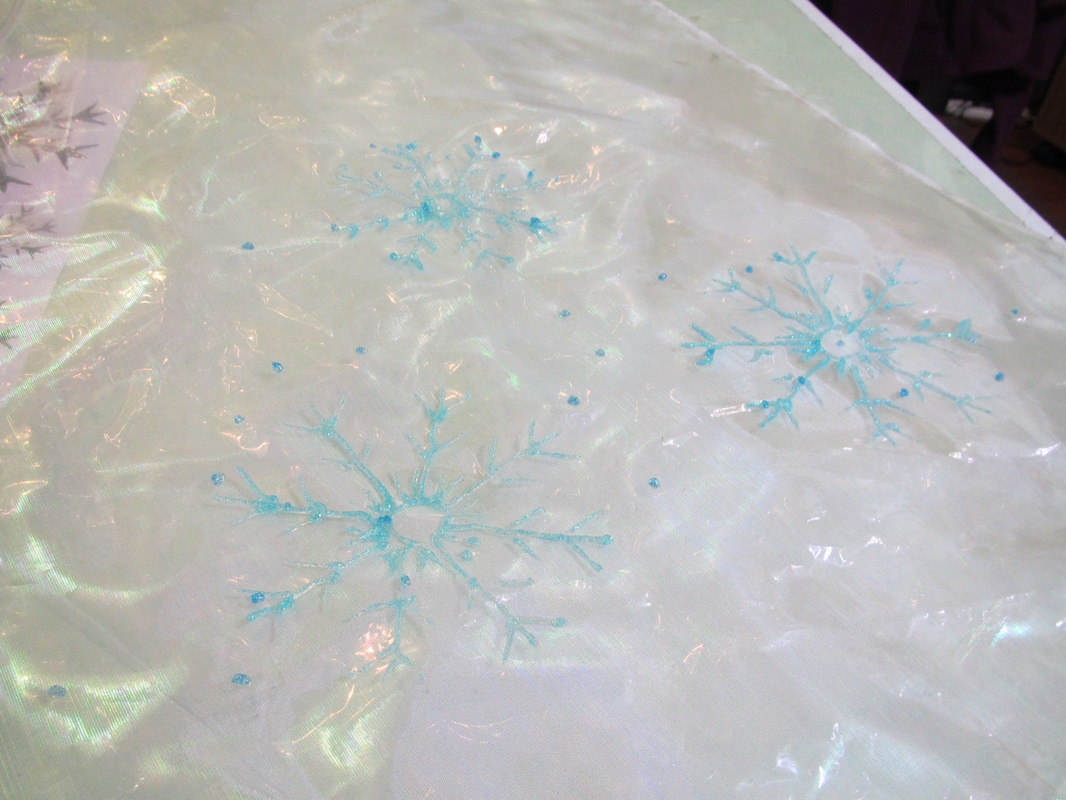
I had a small bottle of a slightly darker shade of blue glitter and decided to just put dots of that all over. This seems to give it a little more depth and interest, just something that felt right.
I'm stopping now. More can be applied later if I want. Anyway, my hand is tired from squeezing those little bottles.
One more thing ... this stuff takes FOREVER to dry, at least a day. It will dry faster if it can get air circulation from both sides. So, if possible, find a way to carefully lift the pieces and hang them somehow where they won't be touching anything.
Again ... be careful ... you don't want to ruin all your beautiful work.
This dress has many pieces made with sheer fabric, so tomorrow I'm going to share some sheer fabric sewing tips.
 RSS Feed