
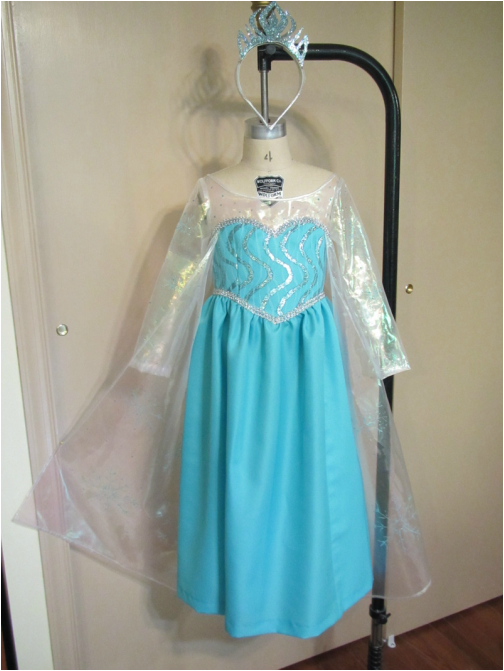
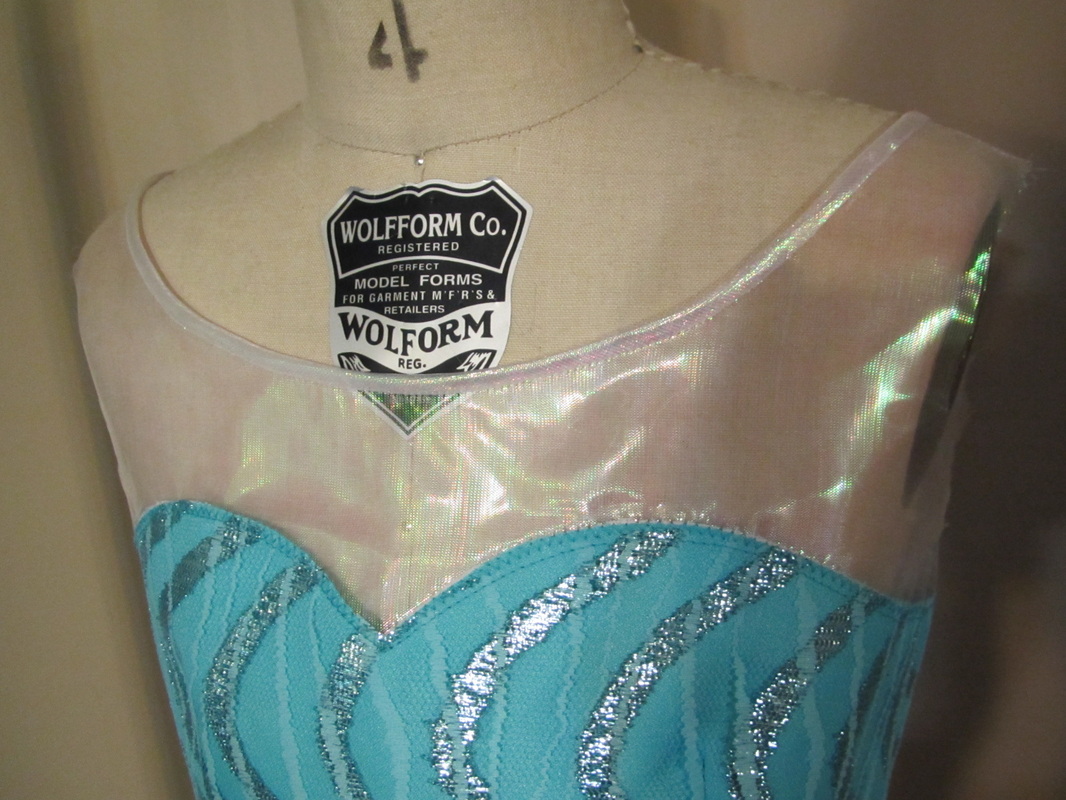
Elsa the Snow Queen finished with crown!
Please read the two previous blogs if you missed them. #1 cutting and #2 snowflakes
I am going to show you step by step how I made this dress using my favorite sheer fabric techniques.
Please read the two previous blogs if you missed them. #1 cutting and #2 snowflakes
I am going to show you step by step how I made this dress using my favorite sheer fabric techniques.

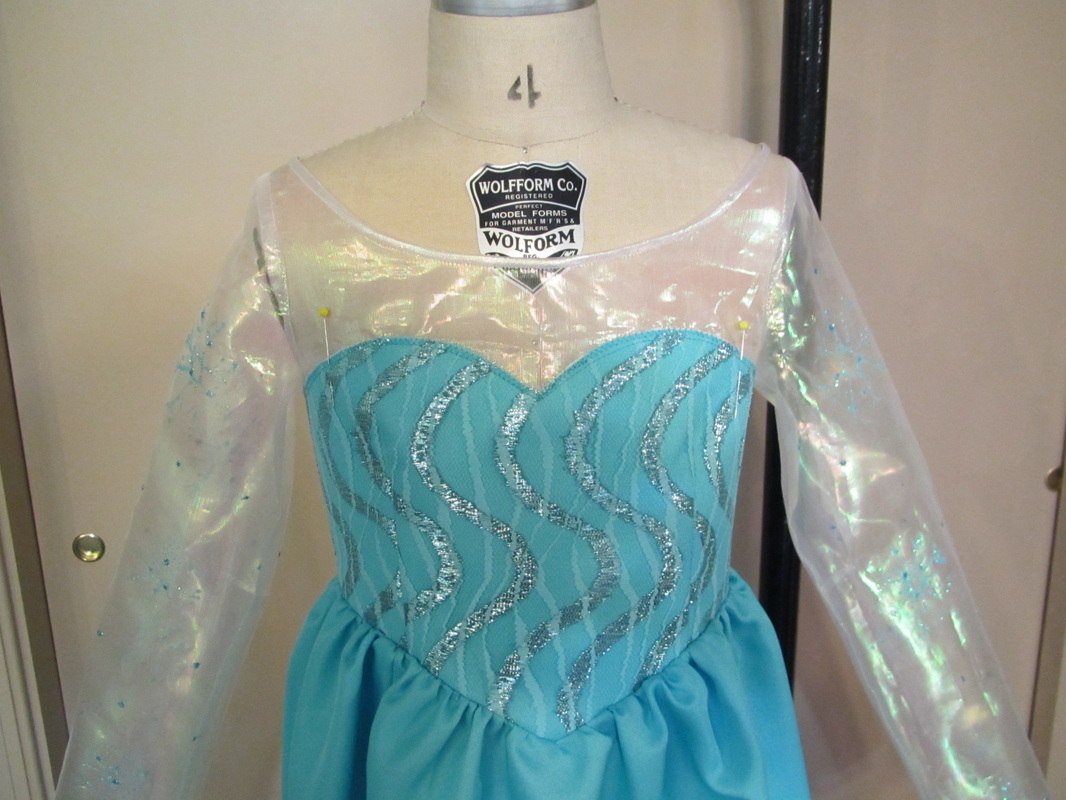
But, first iron on the fusible interfacing to the lower bodice pieces and and then pin the net overlay fabric around each piece and machine baste in place.
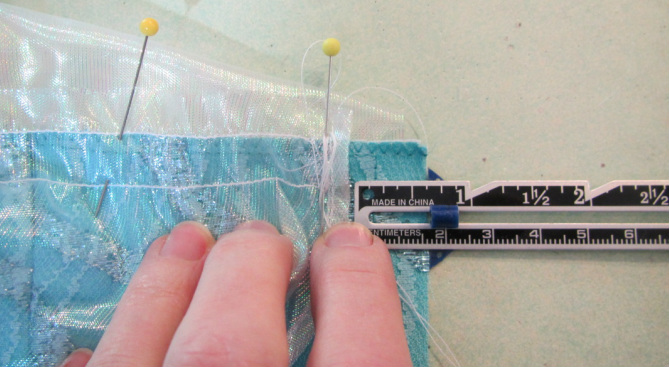
The next step is to lap the lower bodice pieces over the upper bodice pieces, so mark the lap line, which is 1" up from the bottom edge as indicated on the pattern you created.
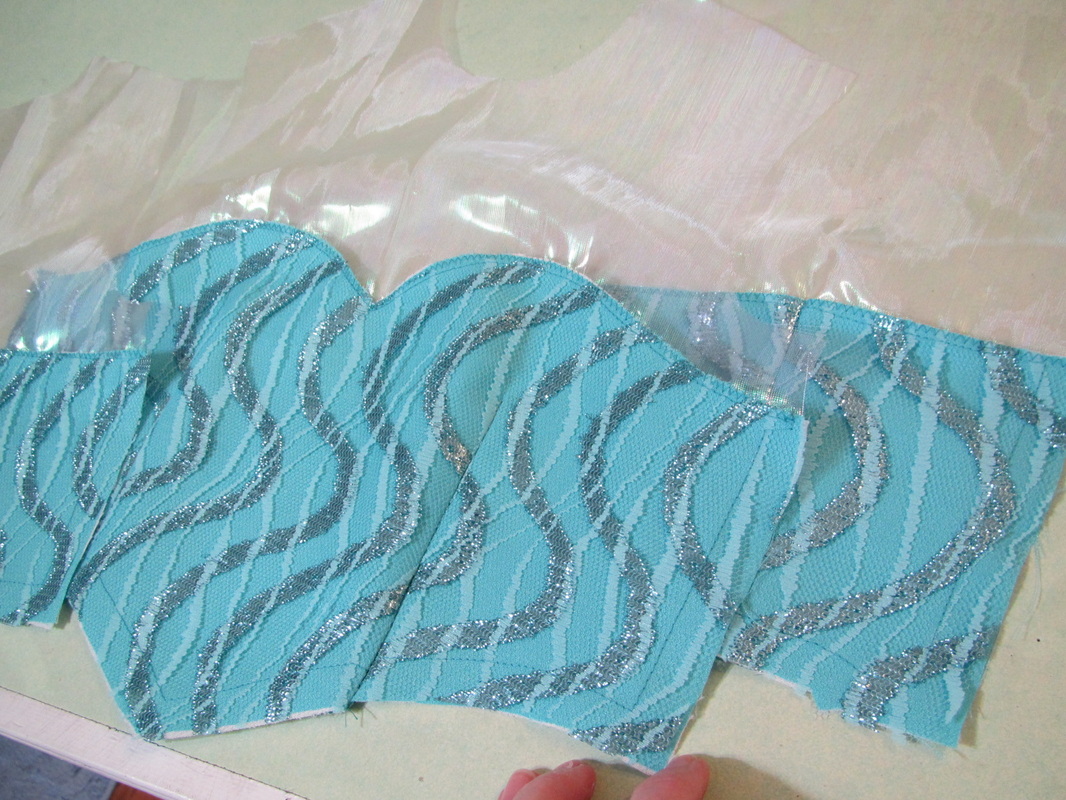
Pin the lower bodice pieces over the upper bodice pieces as marked and zig zag over the cut edge of each lower bodice piece.
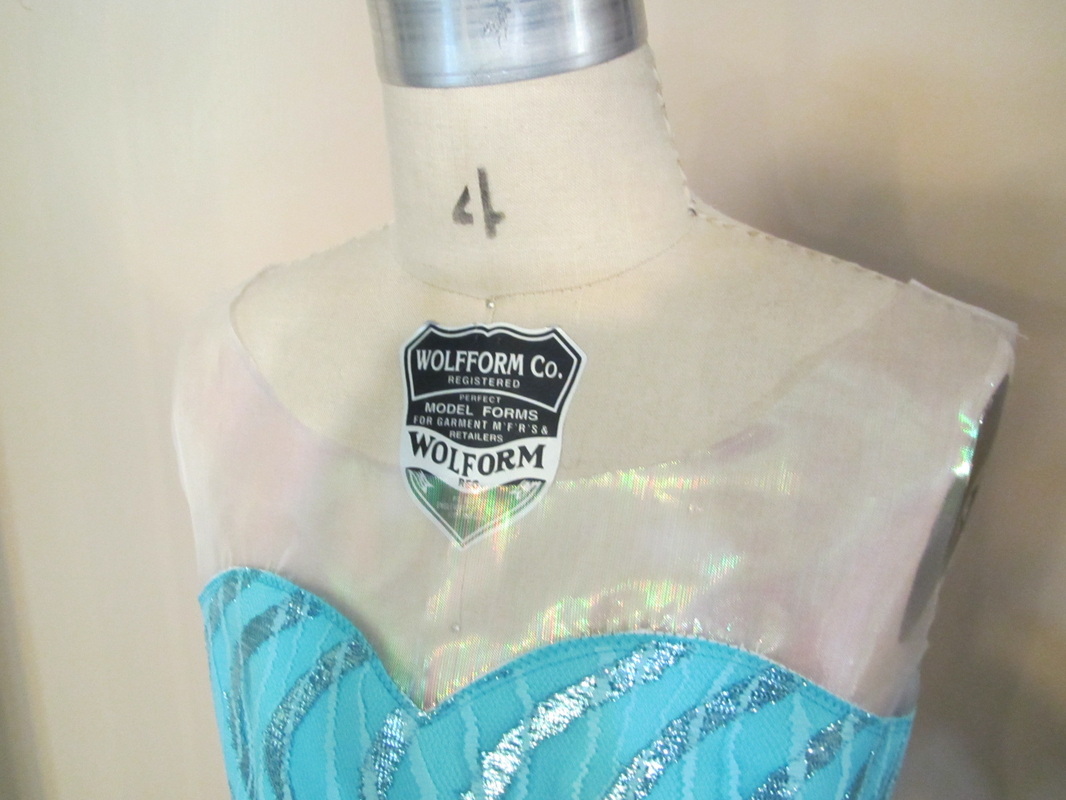
Sew the darts, shoulder and side seams. Make a french seam at the shoulder. Read yesterday's blog if you don't know how.
Sew the darts, shoulder and side seams. Make a french seam at the shoulder. Read yesterday's blog if you don't know how.
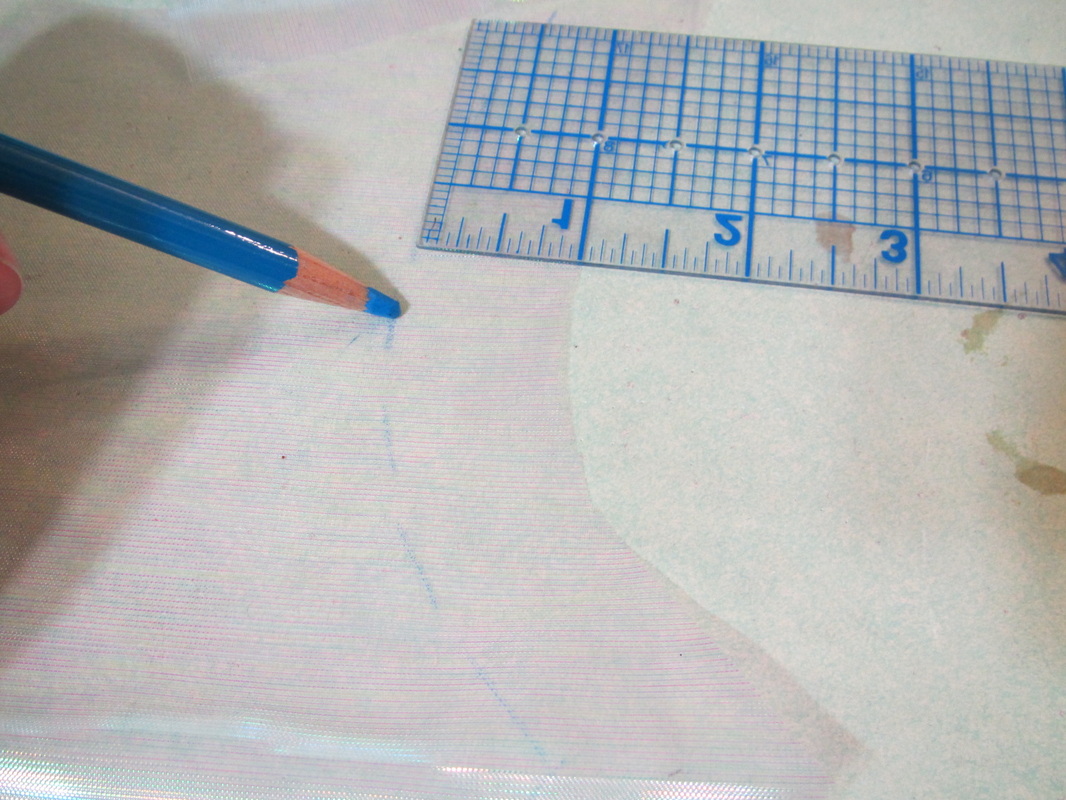
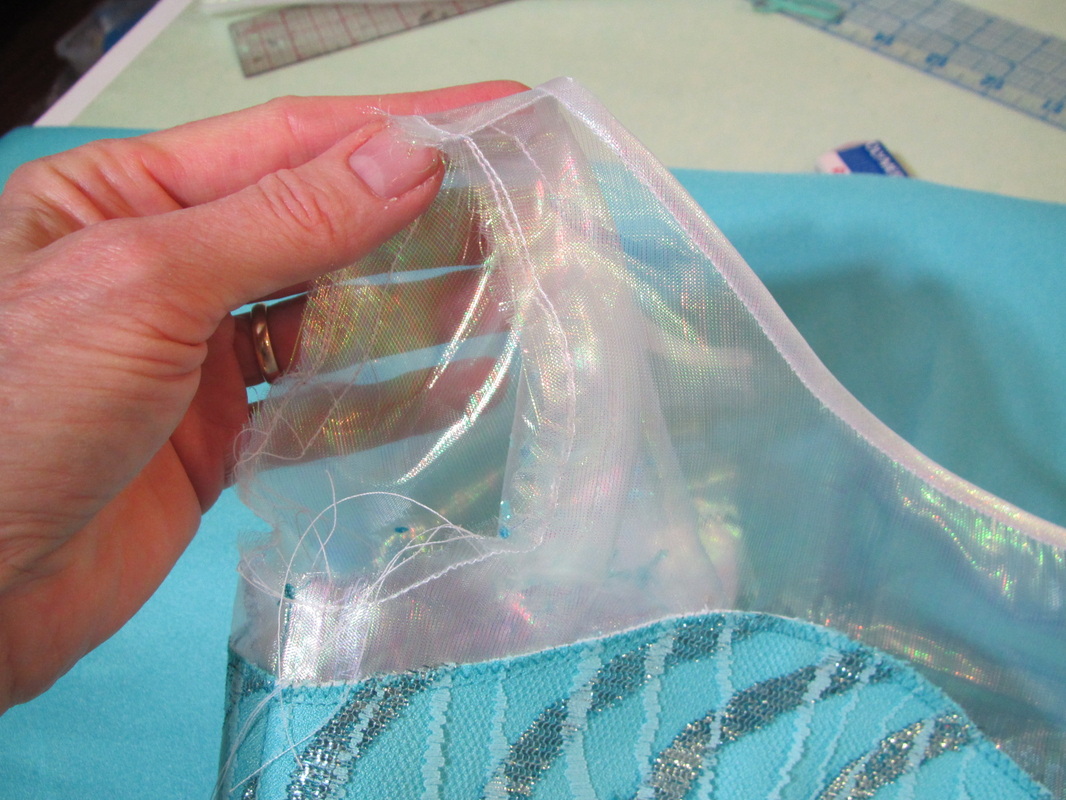
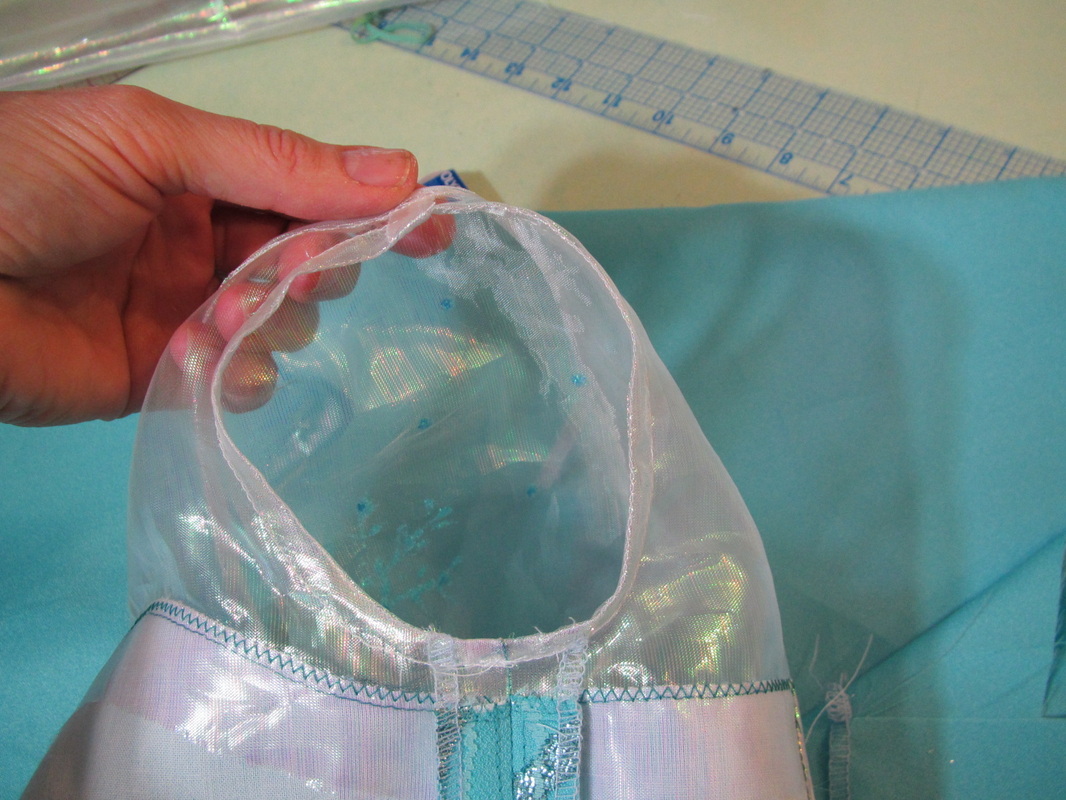
The neckline needs to be cut a bit lower than it is now. To do this ...
| 
|
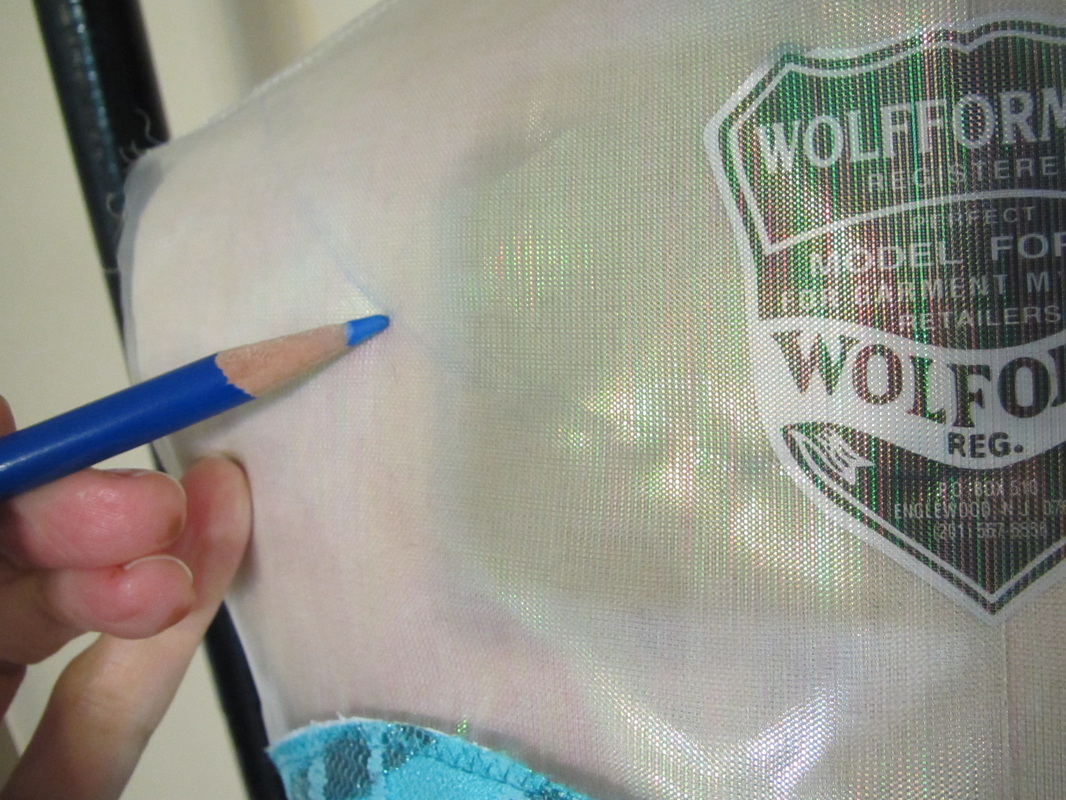
Try the bodice on and mark the new neck line. Then fold and pin the bodice in half so it won't slip around and cut both sides can at the same time.

| 

|
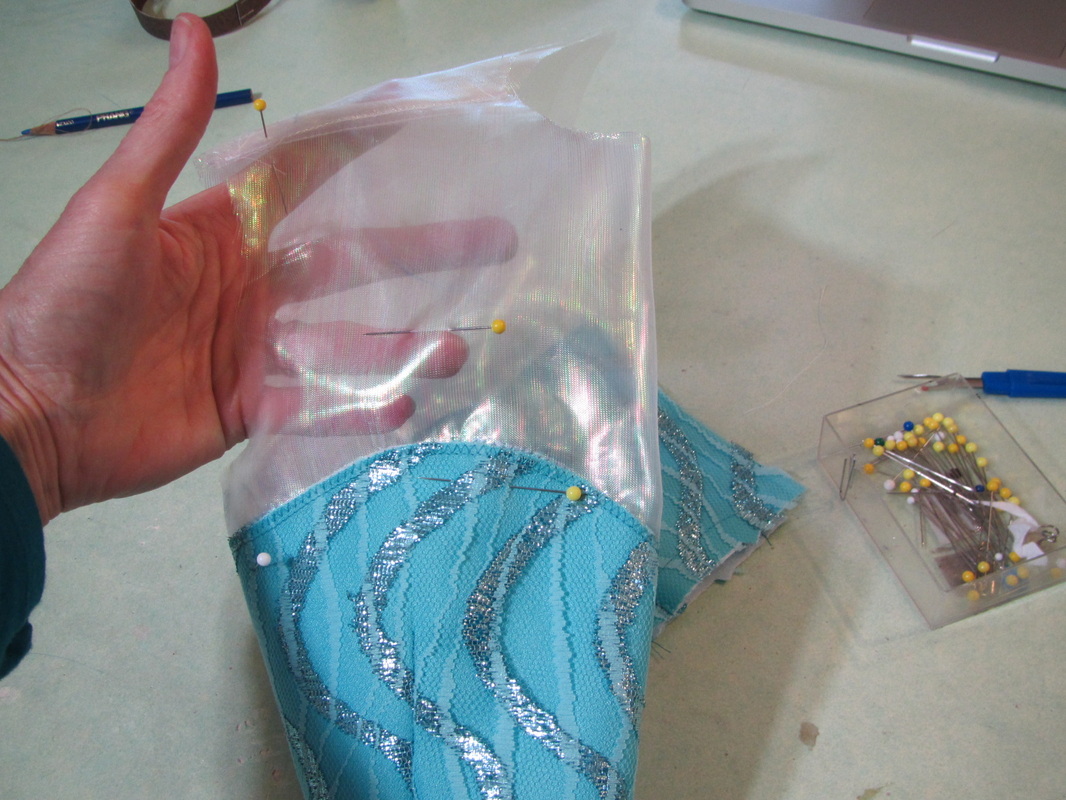
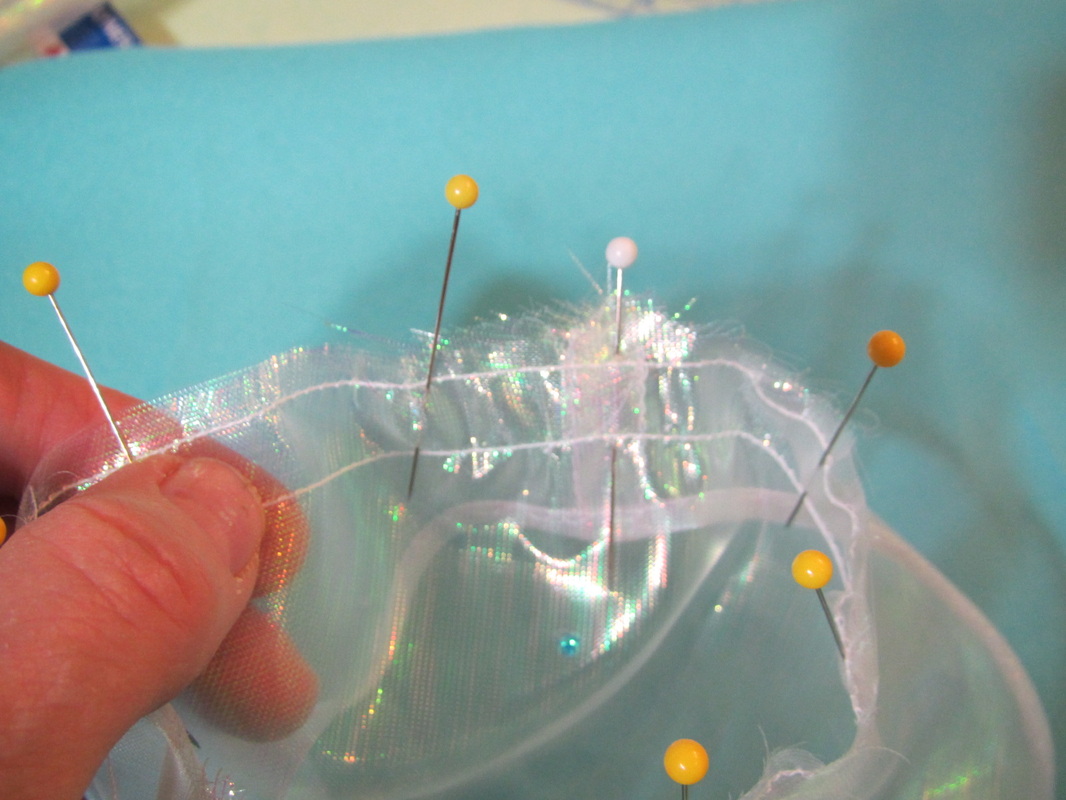
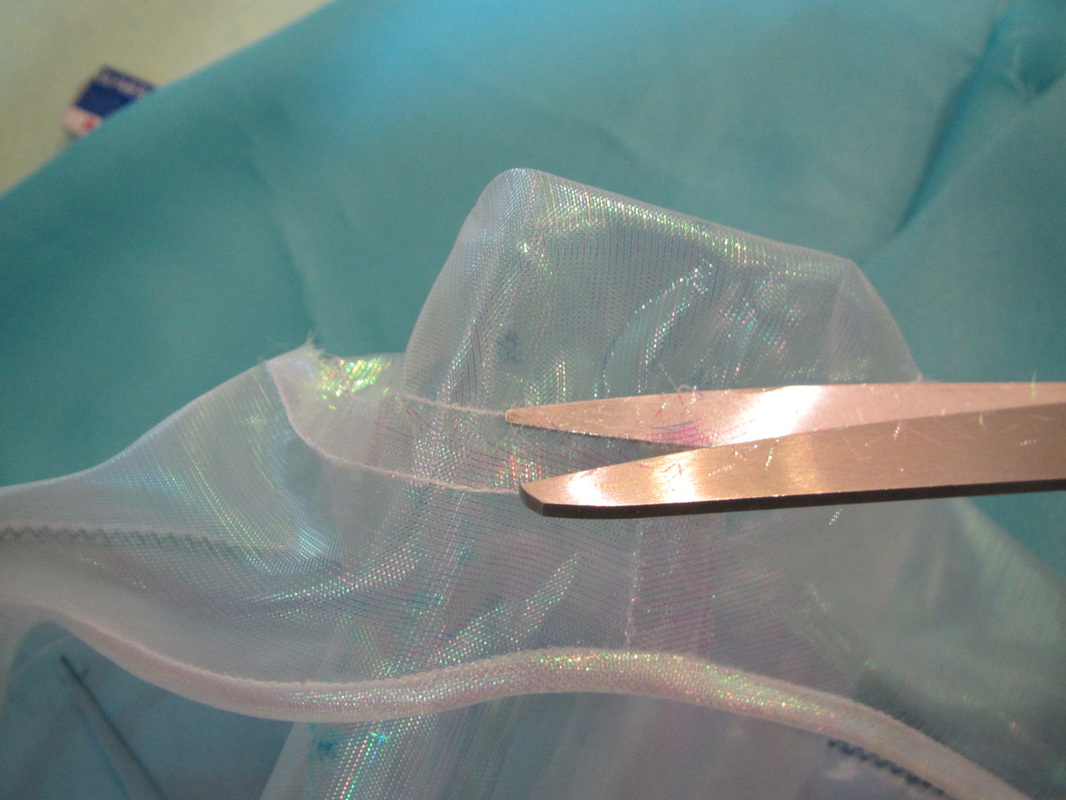
One of my favorite edge finishes for sheer fabric is bias binding cut from the same fabric.
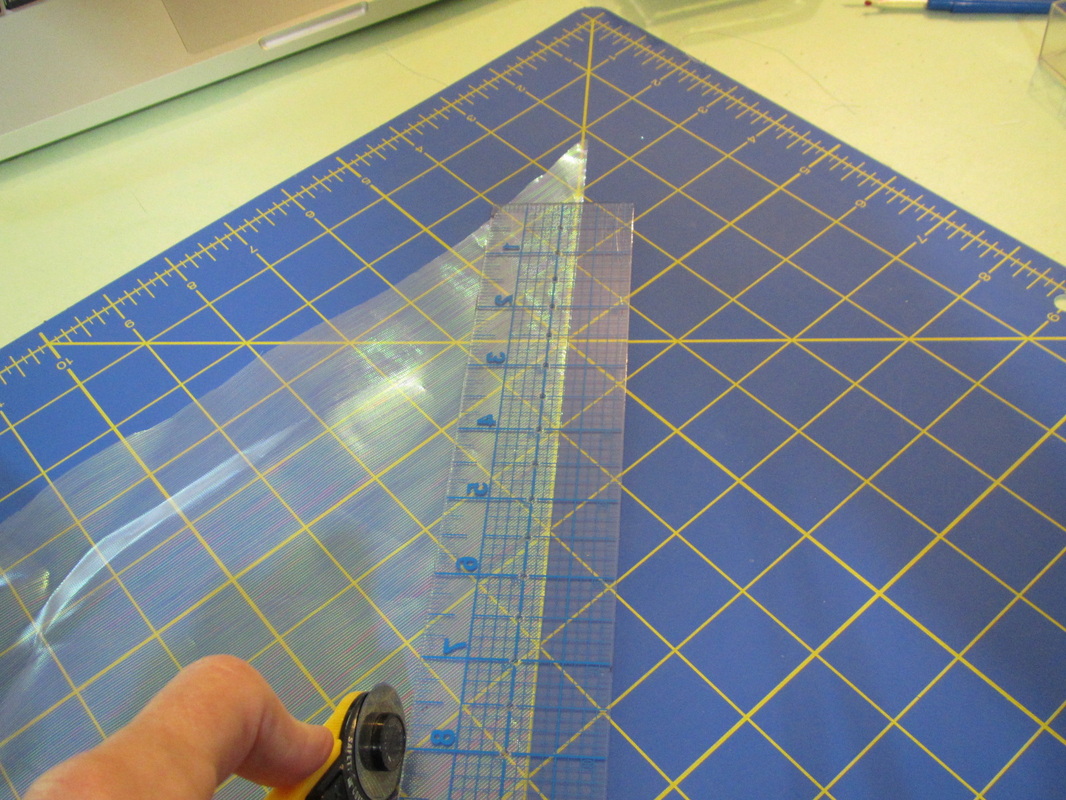
Here is the basic method. For finished 1/4" binding, cut bias 1 5/8" wide. In theory it only needs to be 1 1/2" (6 times the finished width), but I like that extra 1/8" for a little wiggle room.
Press the bias in half. It should now be just a teeny, tiny bit wider than three times the width of the finished bias, so a generous 3/4". Sew the bias to the cut edge using a 1/4" seam allowance, then fold it around to the back and slip stitch the pressed fold of the bias tape in place.
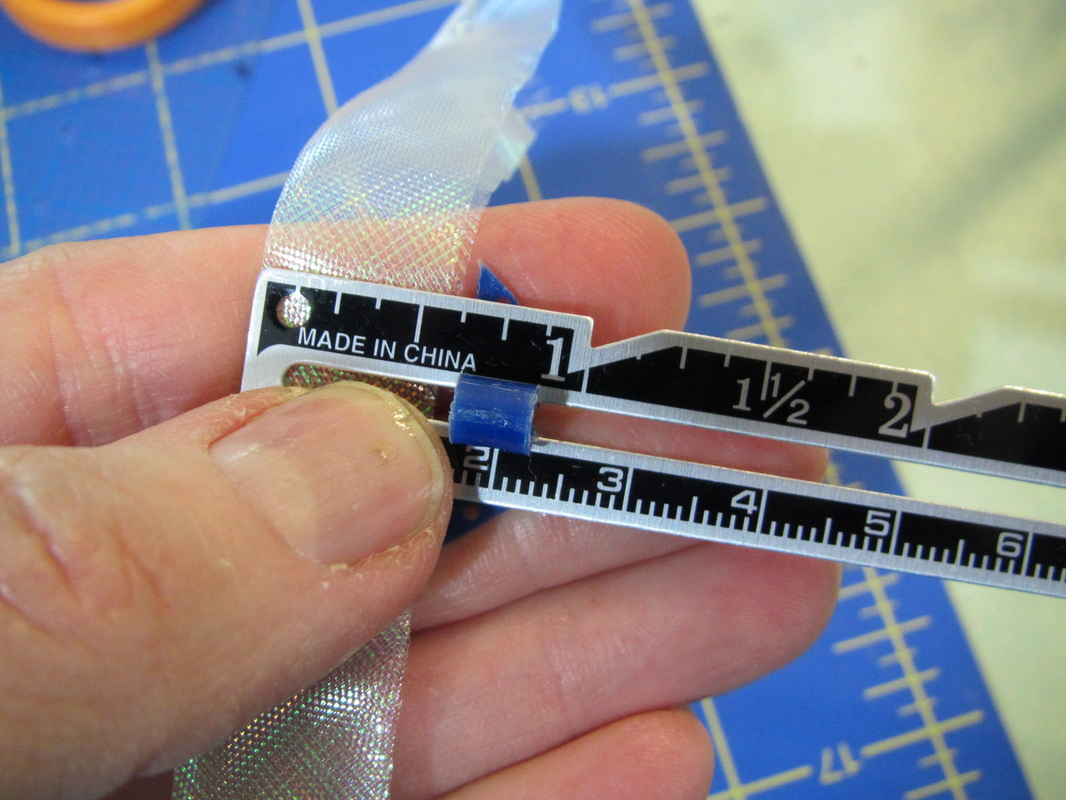
But I am making a smaller bias edge, about 3/16", so I cut my bias 1 1/4", which becomes 5/8" when pressed in half. Then I used a generous 1/8" seam allowance when sewing it on, making a delicate neck edge for a tiny Elsa.
Here is the basic method. For finished 1/4" binding, cut bias 1 5/8" wide. In theory it only needs to be 1 1/2" (6 times the finished width), but I like that extra 1/8" for a little wiggle room.
Press the bias in half. It should now be just a teeny, tiny bit wider than three times the width of the finished bias, so a generous 3/4". Sew the bias to the cut edge using a 1/4" seam allowance, then fold it around to the back and slip stitch the pressed fold of the bias tape in place.
But I am making a smaller bias edge, about 3/16", so I cut my bias 1 1/4", which becomes 5/8" when pressed in half. Then I used a generous 1/8" seam allowance when sewing it on, making a delicate neck edge for a tiny Elsa.
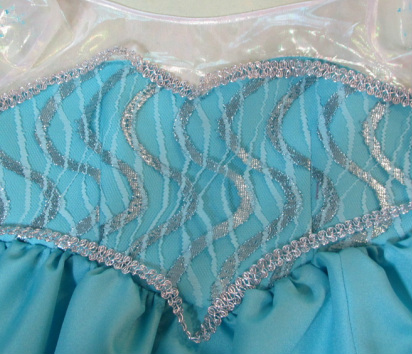
Very pretty.
Since the sheer sleeves are going to be sewn to a sheer armhole, I will set the sleeves in with french seams. It will look better and since this fabric is a little scratchy it reminds me of my first ballet recital in Kindergarten, when I wore this white peasant blouse may mother made me with the scratchiest armholes of my life. All the mothers were given the fabric, so I can't blame her, but my strongest memory of the day was of itchy shoulders and armpits.
So that is another reason why I want to use a french seam. All the pointy stiff fibers will be bent inward, not at the skin of the wearer.
First sew the sleeves together with french seams and do two rows of easing stitches along the sleeve cap, one 1/4" from the edge and the other 5/8".
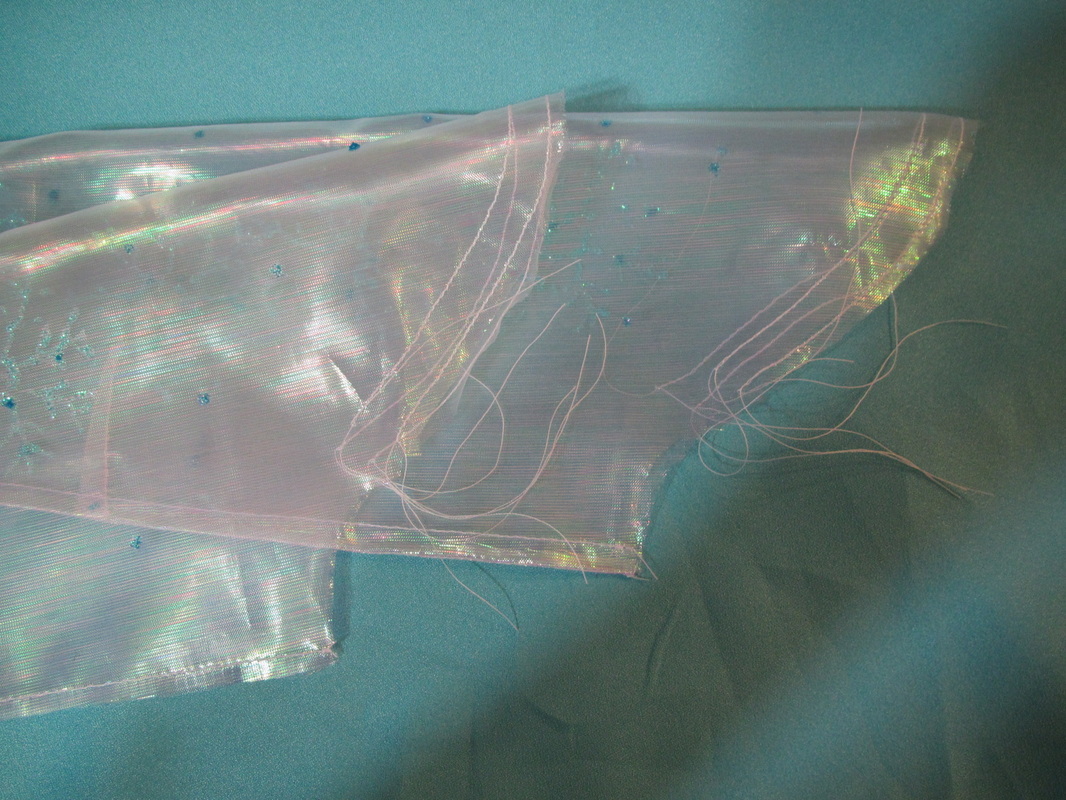
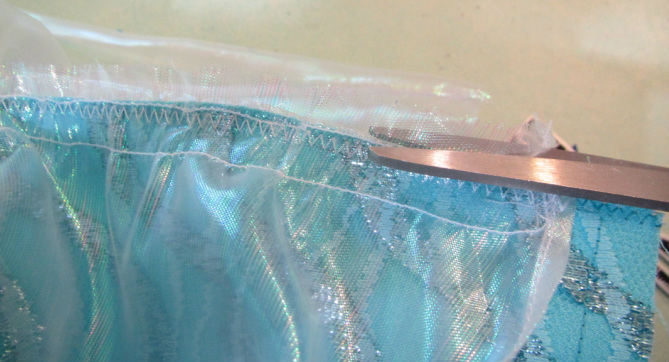
The edge will be frayed and stringy.
| 
For the first stitching, pin the sleeve to the armhole WRONG SIDES TOGETHER, pull up easing threads and stitch 1/4" away from the edge.
Trim it neatly to a little less than 1/4".
|
Now turn it so the right sides are now facing one another and stitch the seam a second time with a 3/8" seam allowance. Sewing with 1/4" for the first part of the seam and then 3/8" for the second will give you the standard 5/8" seam most patterns use.
This will make the sleeve look good on the inside and out.
This will make the sleeve look good on the inside and out.
| 
|
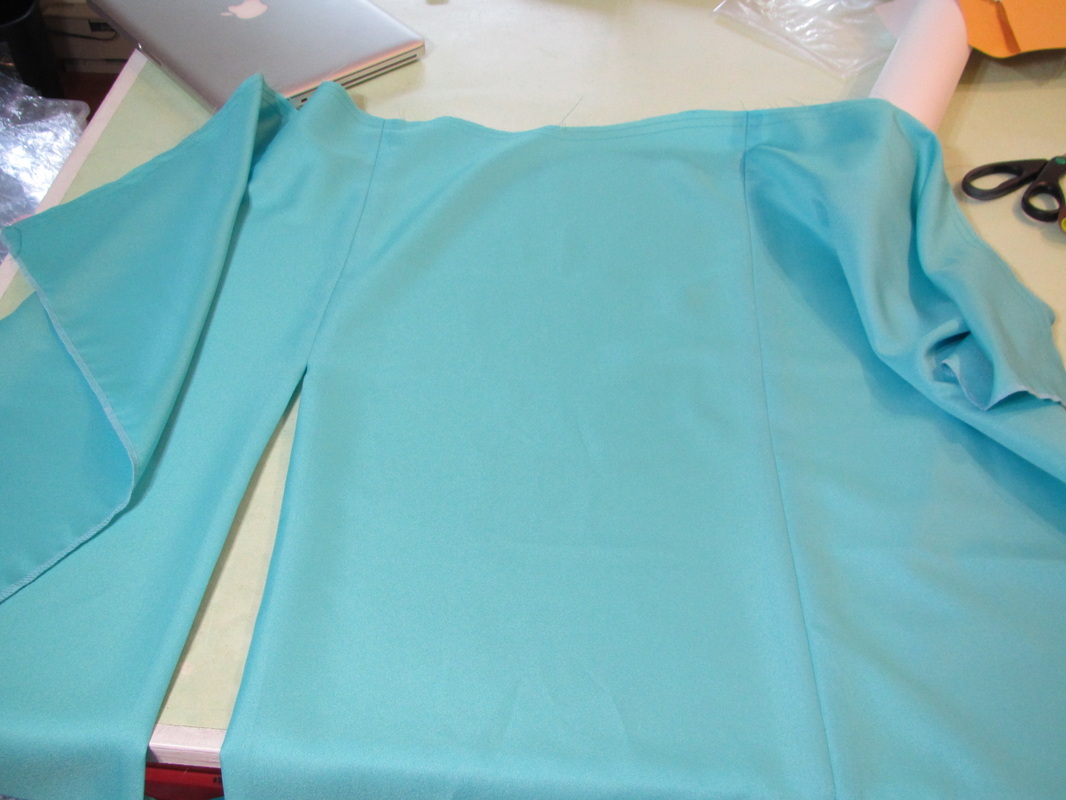
Assemble the skirt leaving the back seam open for now. You can leave the right front seam open to just above the knee for a walking slit, if you want. Gather and sew the skirt to the bodice.

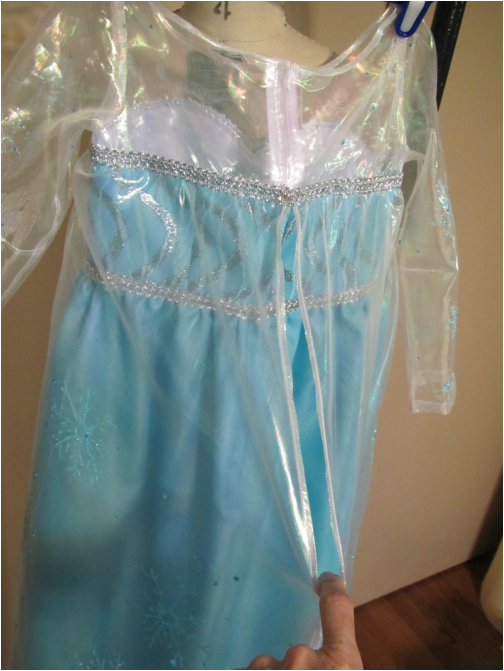
Before the trim can be applied, the cape has to be sewn on. Gather and pin the cape over the upper edge of the lower bodice starting at the pin going around to the back. Repeat for the other side.
OH YEAH ... this is where I had to fix the mistake from yesterday. When assembling the cape, I sewed the back seam all the way up to the top. Now I have to carefully pick it open down to the point where the zipper will stop. The cape is not going to be sewn with the zipper, but it has to be able to open at its back seam so the dress can be taken on and off.
The front edge and the open part of the back seam of the cape need narrow double fold hems. I just stitched these by machine.
This is a photo of the back of the finished dress. See how the cape's back opening is hemmed and is separate from the zipper.
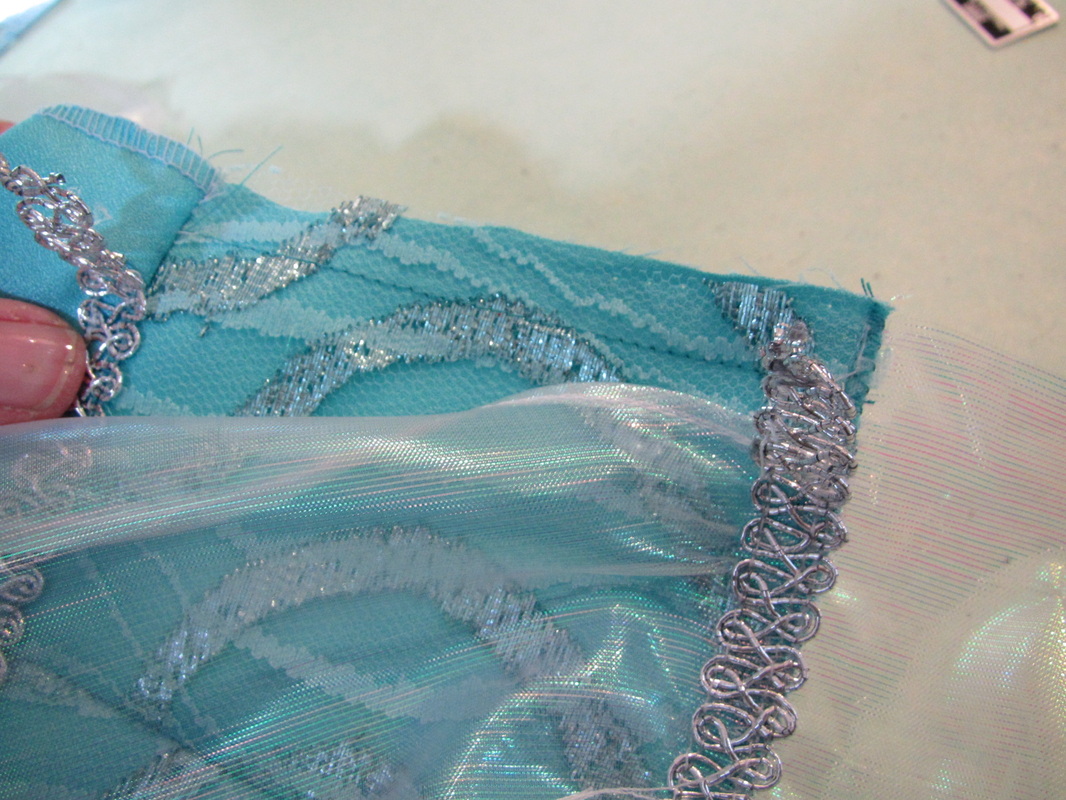
When pinning the upper edge of the cape to the dress, be sure to have at the back edge of the cape 5/8" away from the center back seam to allow for the zipper.
Zig zag the cape right over the cut edge of the lower bodice and trim any excess that is sticking above and pull out any gathering stitches. They aren't needed any more.
Now the braid trim can be sewn along the upper and lower edges of the lower bodice which will cover all the stitching lines for the cape. Please note ... this photo shows the braid just lying on top, not actually sewn. I'm not THAT sloppy!
| 
|
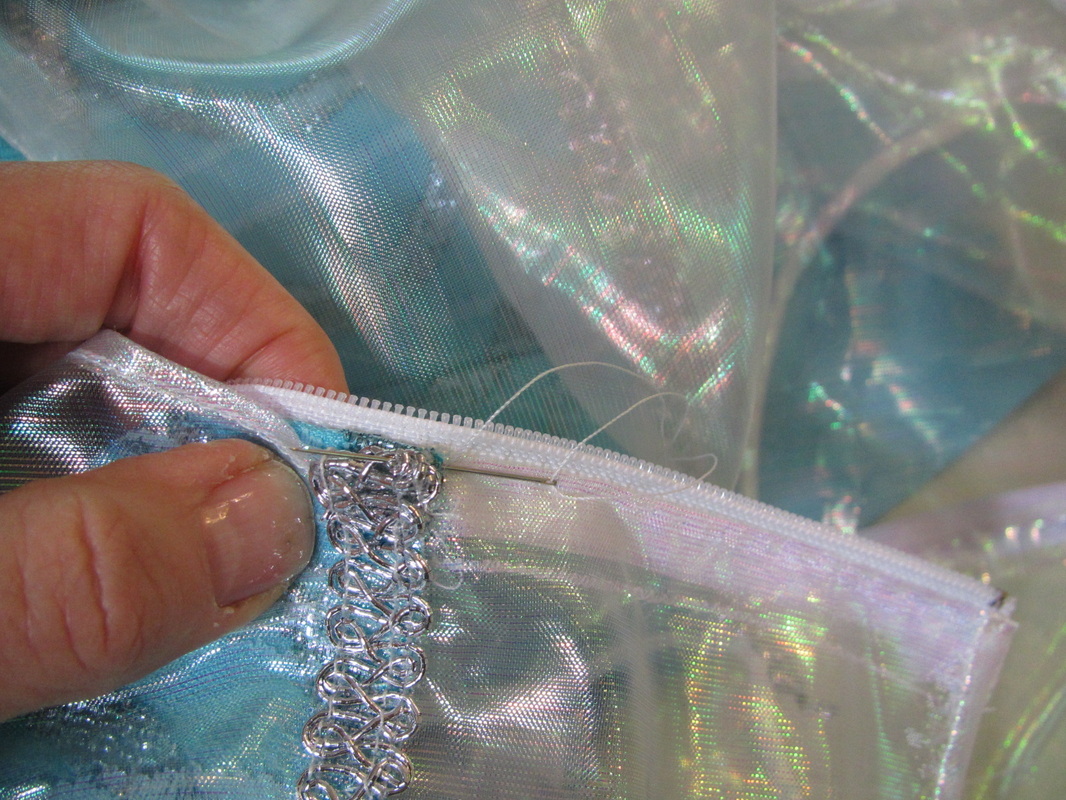
Leave the braid loose near the back seam for the zipper. After it is set in, the braid should be folded band and hand sewn neatly.
Try the dress on and mark the skirt and sleeve hems. Slip stitch around the walking slit in the skirt, if you left the front seam open for that.
Try the dress on and mark the skirt and sleeve hems. Slip stitch around the walking slit in the skirt, if you left the front seam open for that.
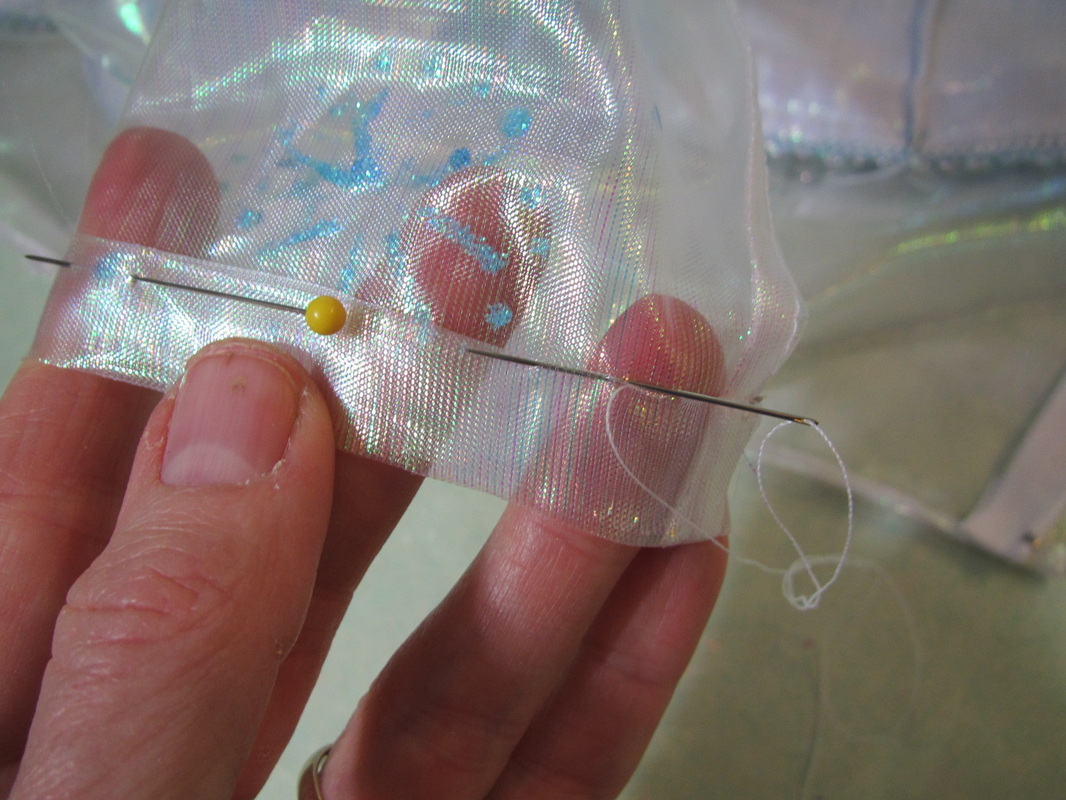
Double fold and slip stitch the sleeve hem.
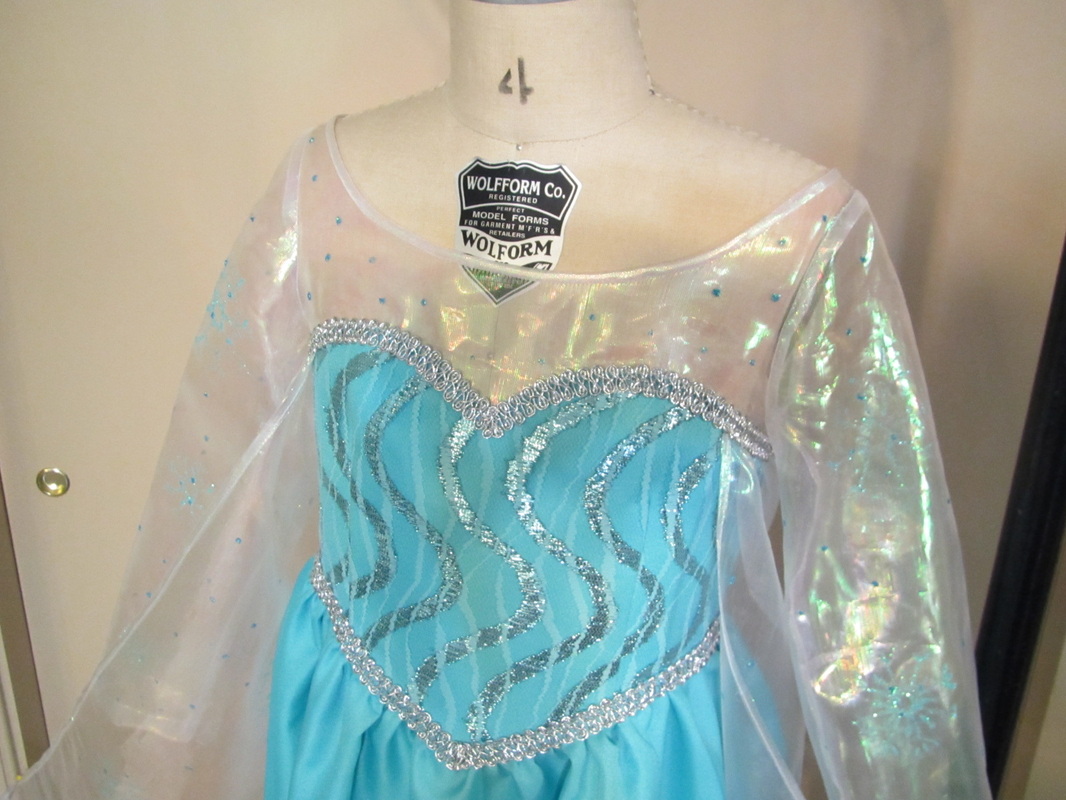
And now I've decided to add some more glitter dots using the darker of my blue glitter glue. I put some on all the pieces made of sheer fabric.
DONE.
Tomorrow something for ME. I need a break from Frozen. But all next week I will be making Anna's winter dress and cape.
DONE.
Tomorrow something for ME. I need a break from Frozen. But all next week I will be making Anna's winter dress and cape.
 RSS Feed