
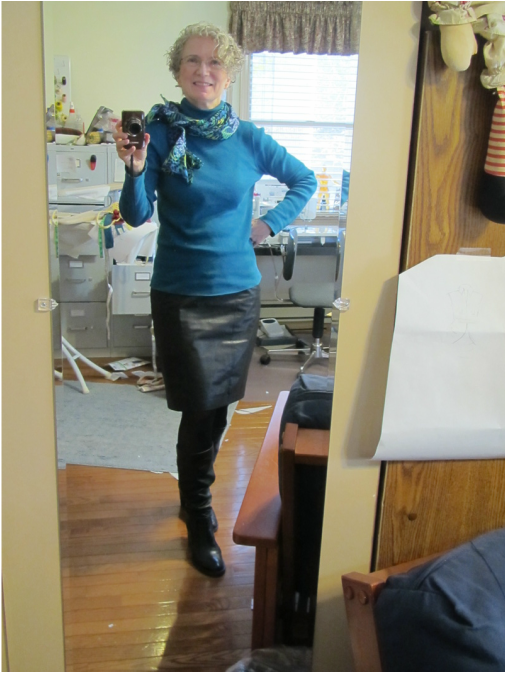
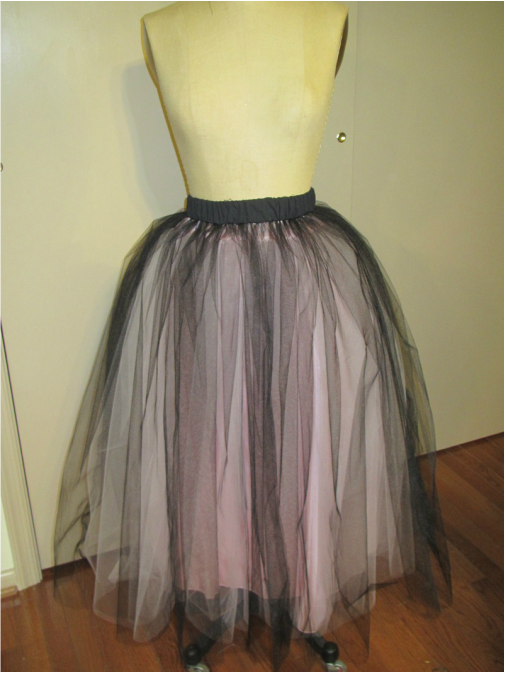
Last time, I showed you how I cut and fit this skirt. Today I'm finishing it! And, see how good the fake leather looks with my REAL leather boots!
I've already sewn up all the seams and put in the zipper, but I want to now put in a lining.
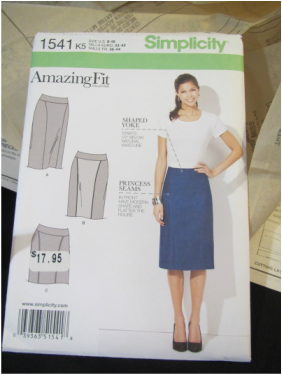
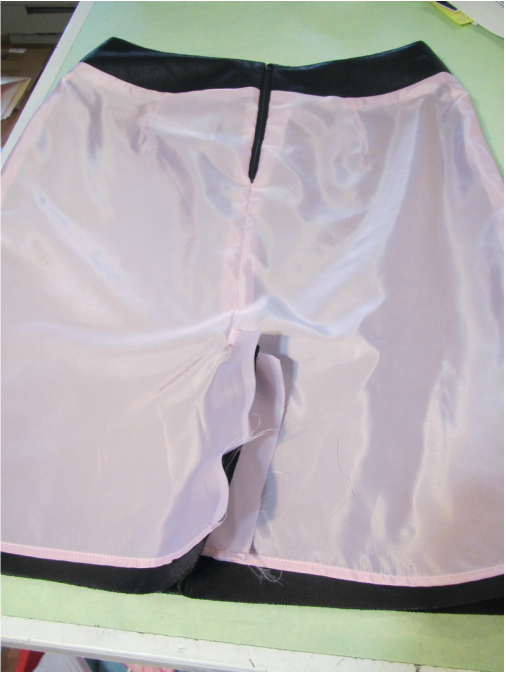
The pattern doesn't call for a lining. But, I found this pleather rather sticky to wear and thought it needed one. This skirt is so easy to add a lining to, because it has a yoke and the lower section. The yoke is already cut twice, because it is used as a the facing for the waist, so all I had to do is cut the lower section out of lining fabric!
I've already sewn up all the seams and put in the zipper, but I want to now put in a lining.
The pattern doesn't call for a lining. But, I found this pleather rather sticky to wear and thought it needed one. This skirt is so easy to add a lining to, because it has a yoke and the lower section. The yoke is already cut twice, because it is used as a the facing for the waist, so all I had to do is cut the lower section out of lining fabric!
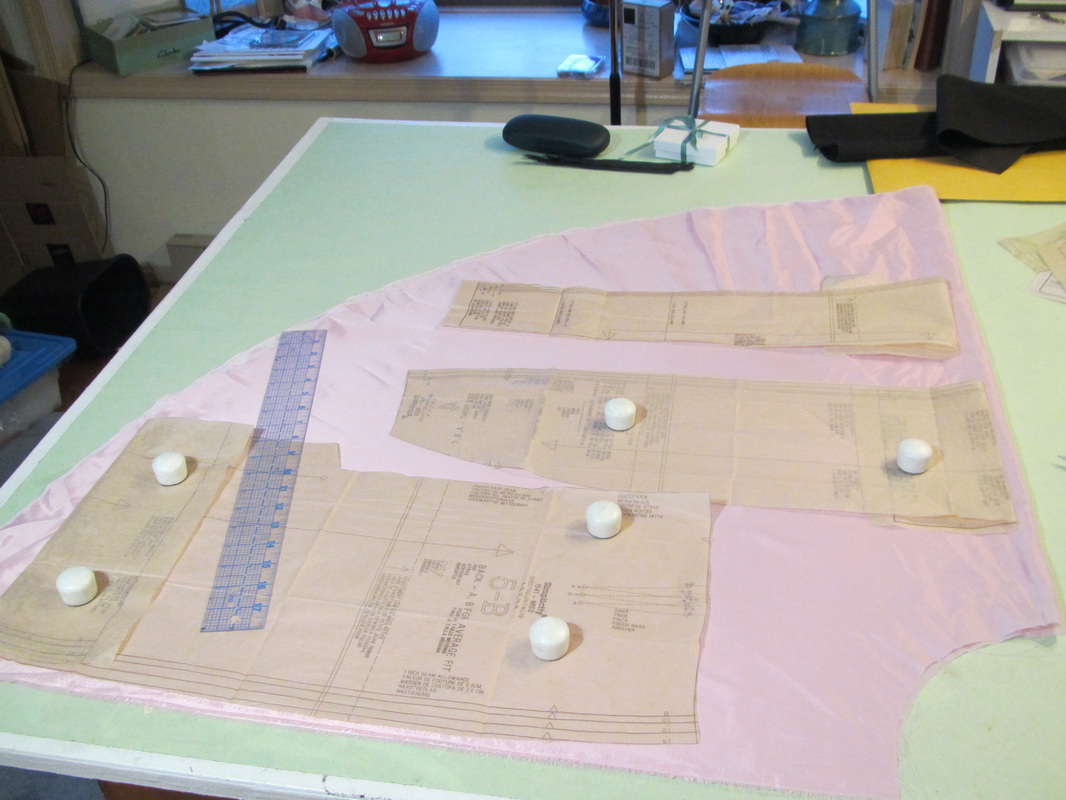
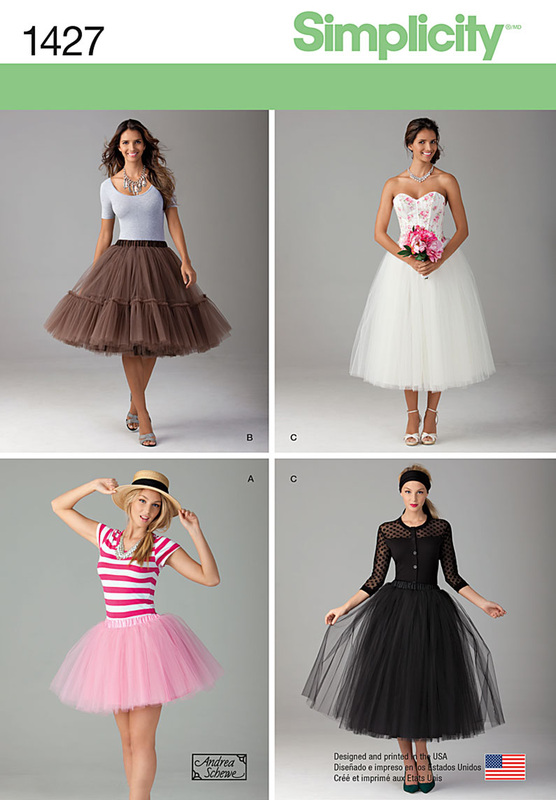
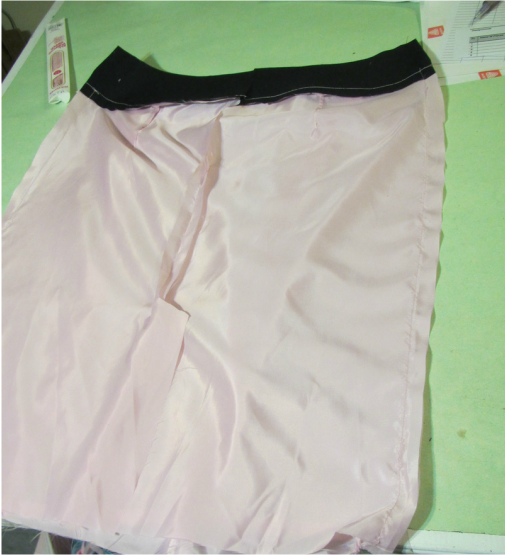
Because I am REALLY trying to use up stuff I have in my studio and I don't want to go out in this cold weather, I rummaged around in some bags of fabrics I was getting ready to give away and found this discarded lining from my test samples for my tulle skirt pattern.
| 
|
See the test sample that was pink underneath?
Then I sewed up the lining pieces with the second yoke that is meant to be the waist facing following the fit from the outside fabric.
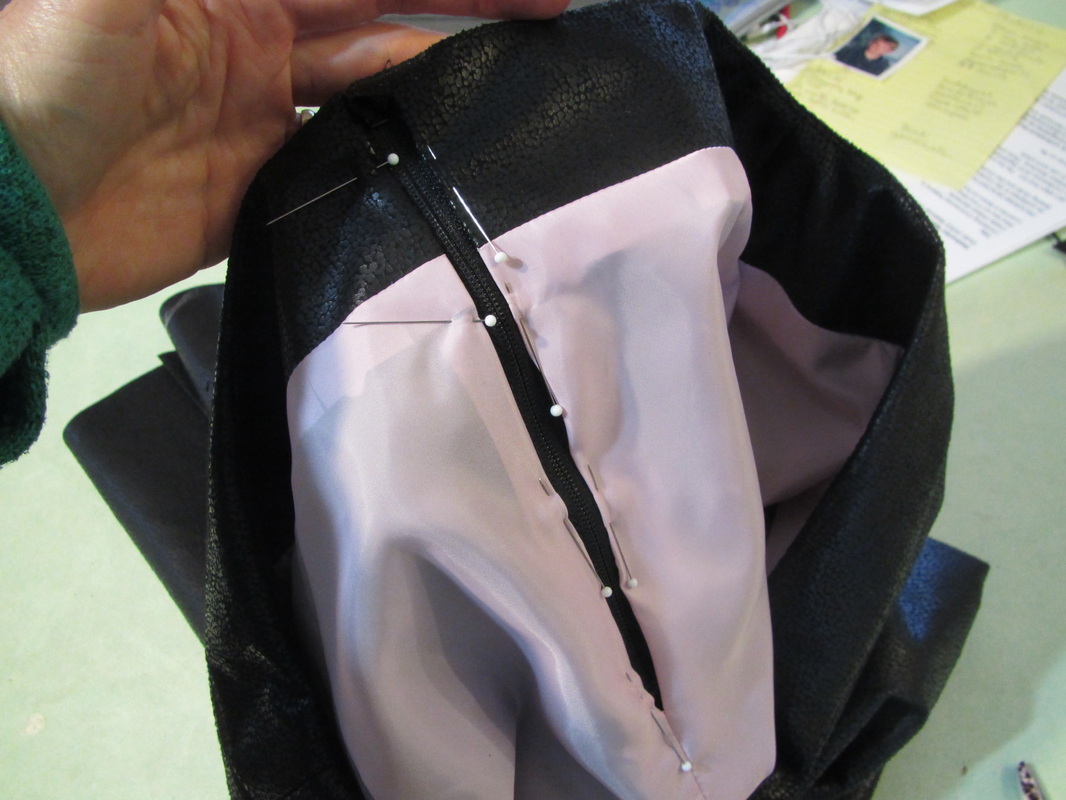
Sewed the lining to the outside along the waist seam then graded, clipped and under stitched that seam. Pinned back and slip stitched the lining around the zipper.
| 
|
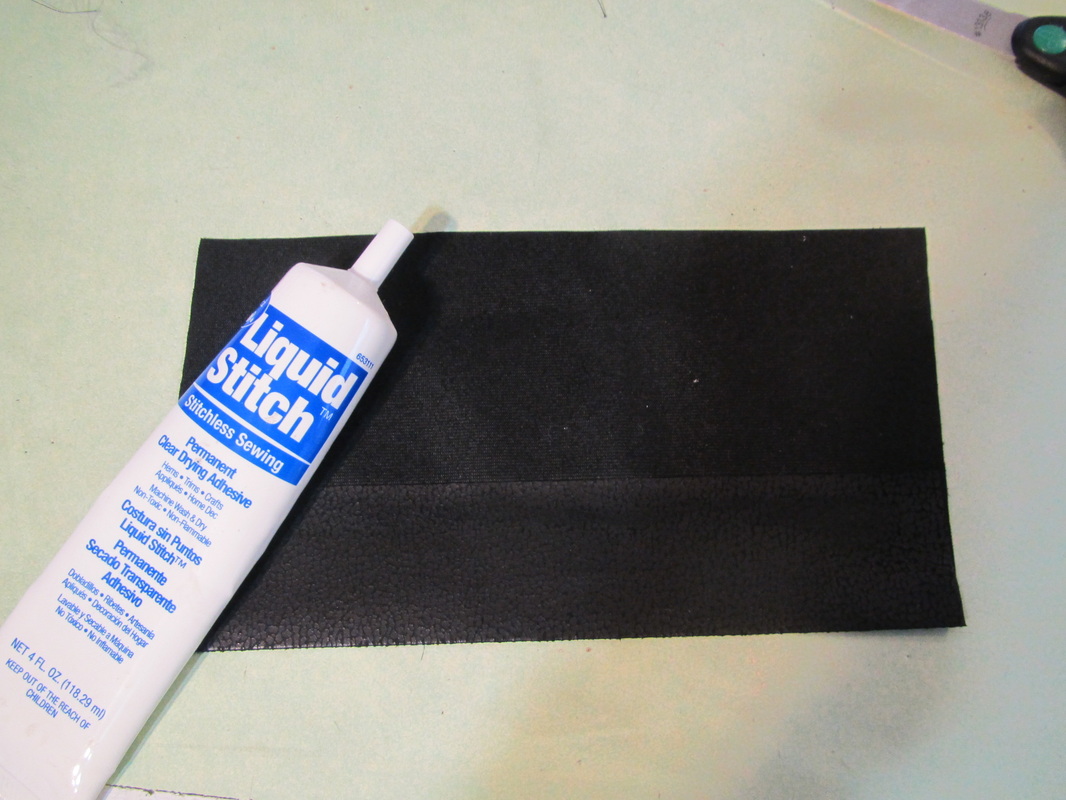
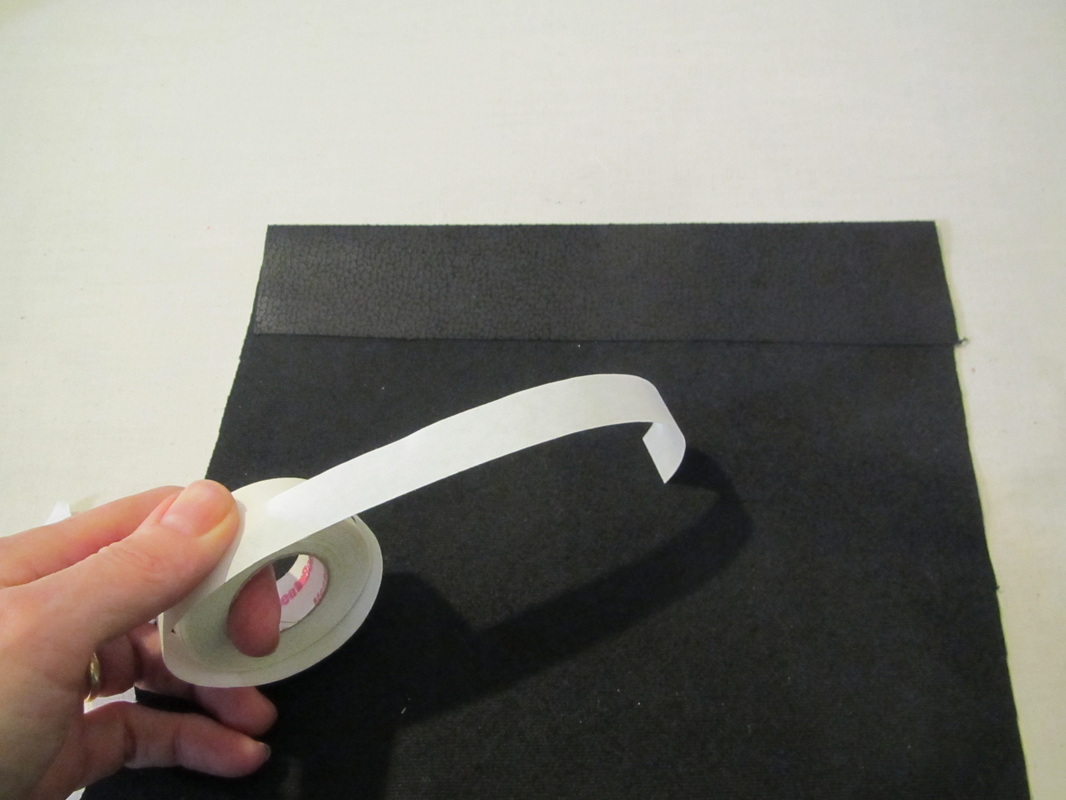
Hmmmm, hemming pleather? How should I do it? I don't want to machine stitch it and hand sewing would look bad, too, I think. So, I did a test with glue and a test with a roll of Heat'n'Bond I happened to have around. Again, I'm using what I have on hand. I don't even know if Heat'n'Bond comes in rolls any more.
This was left over from the very first pattern I designed for Simplicity 25 years ago. But, it still worked great. As a matter of fact so great I decided to hem the whole skirt with it. The glue worked well, too. But it required 24 hours of drying time.
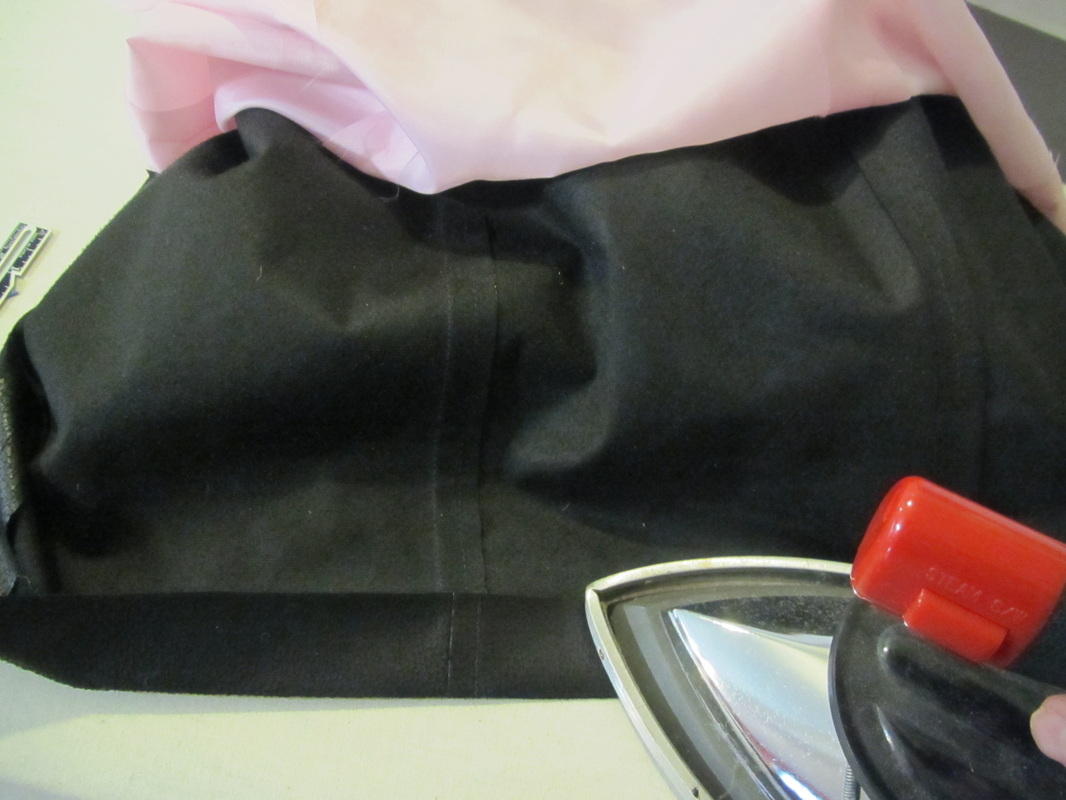
I first pressed the hem I wanted.
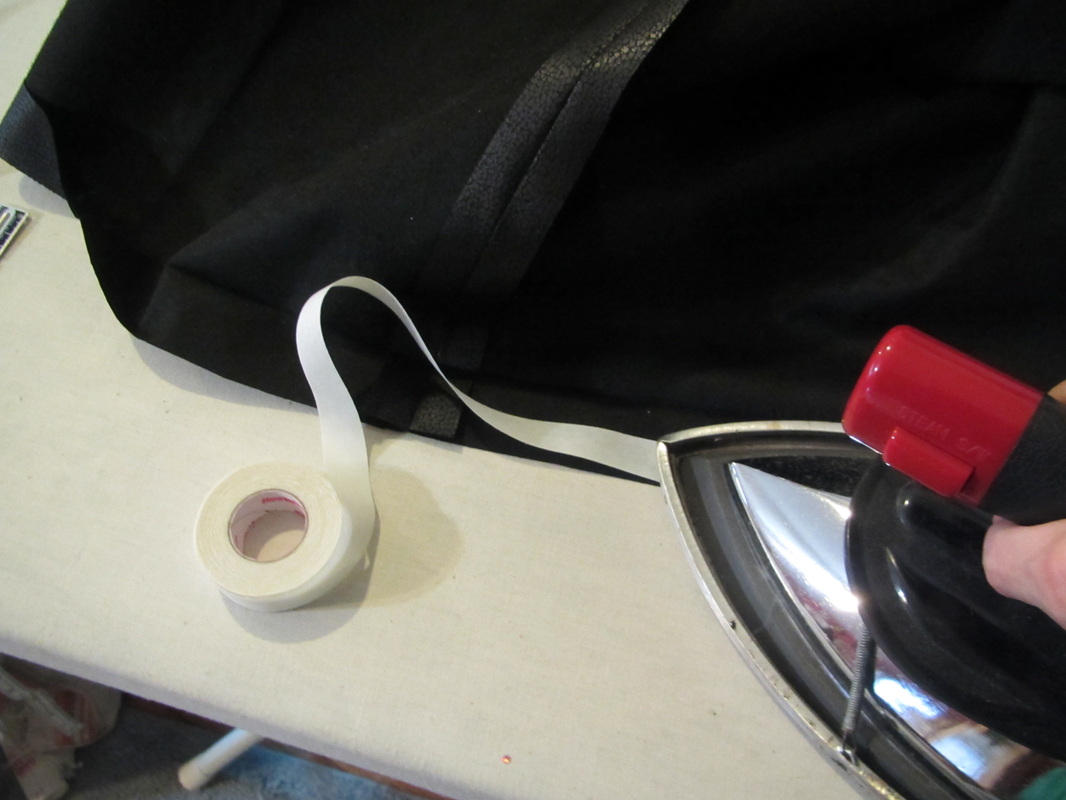
Pressed on the Heat'n'Bond ... let it cool.
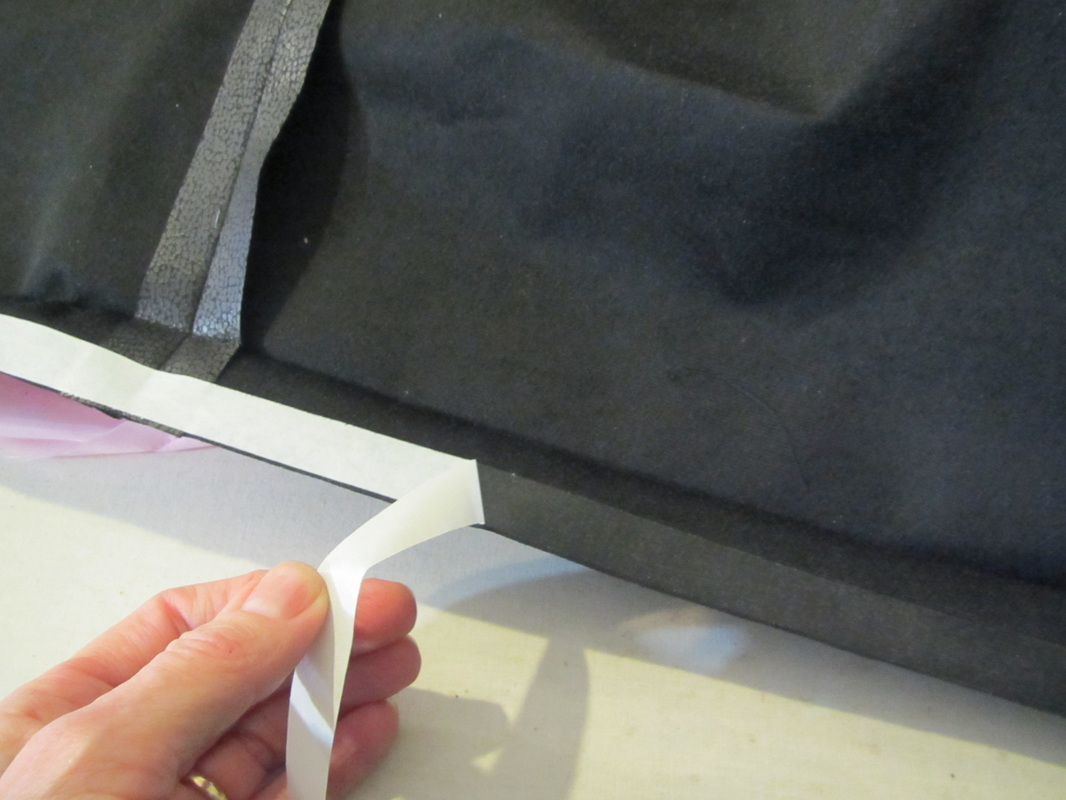
Peeled away the paper backing.
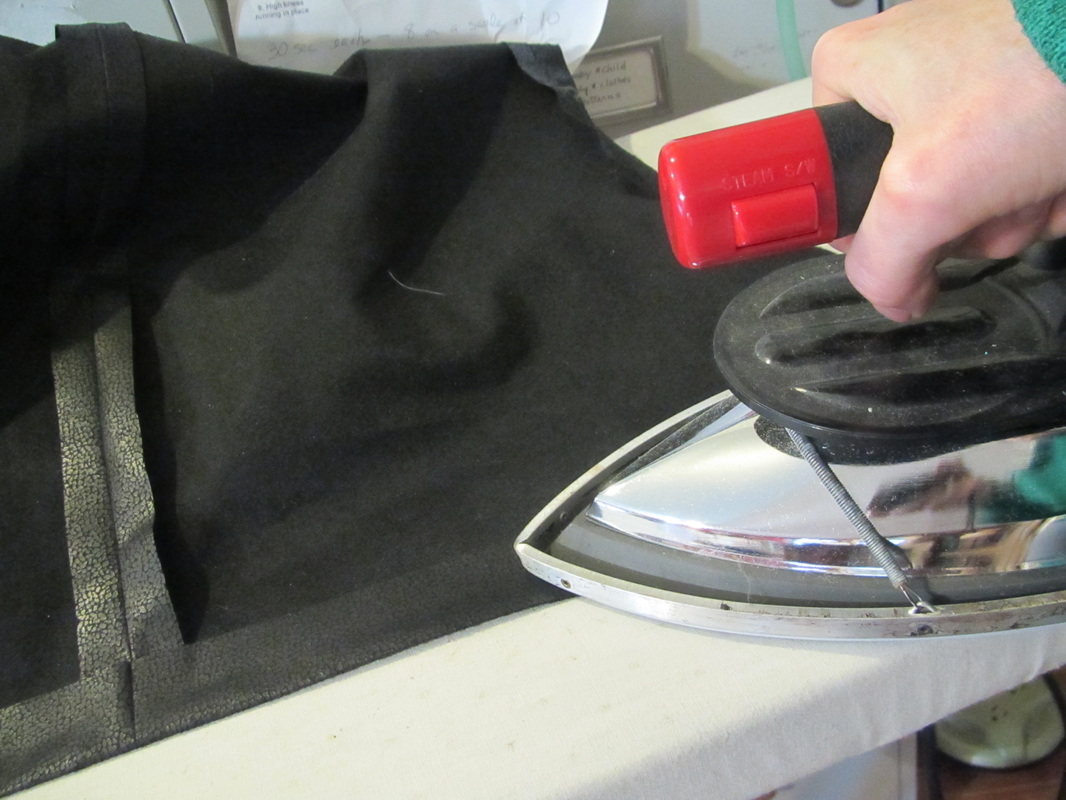
Then pressed the hem in place. This needed to be done in sections, because it needs to cool before moving it to make sure the bond is secure.
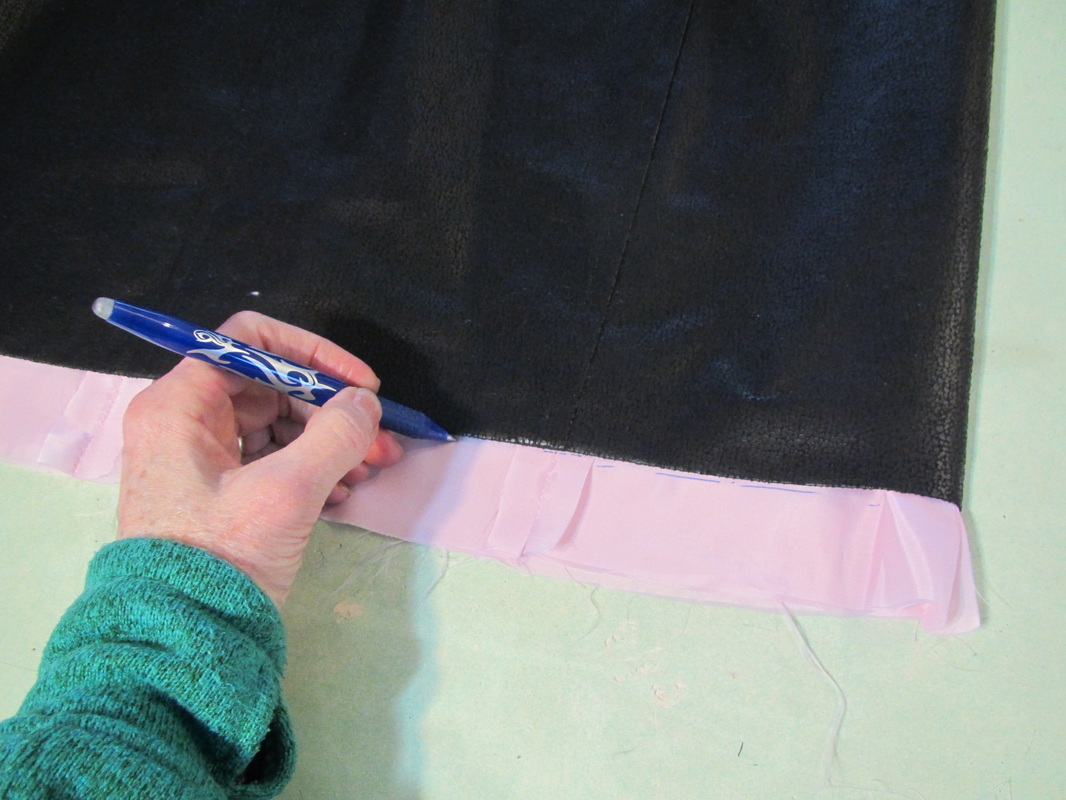
The lining needs to be a tad shorter than the skirt itself, so I marked where the lining hung below the skirt and cut it off at that point.
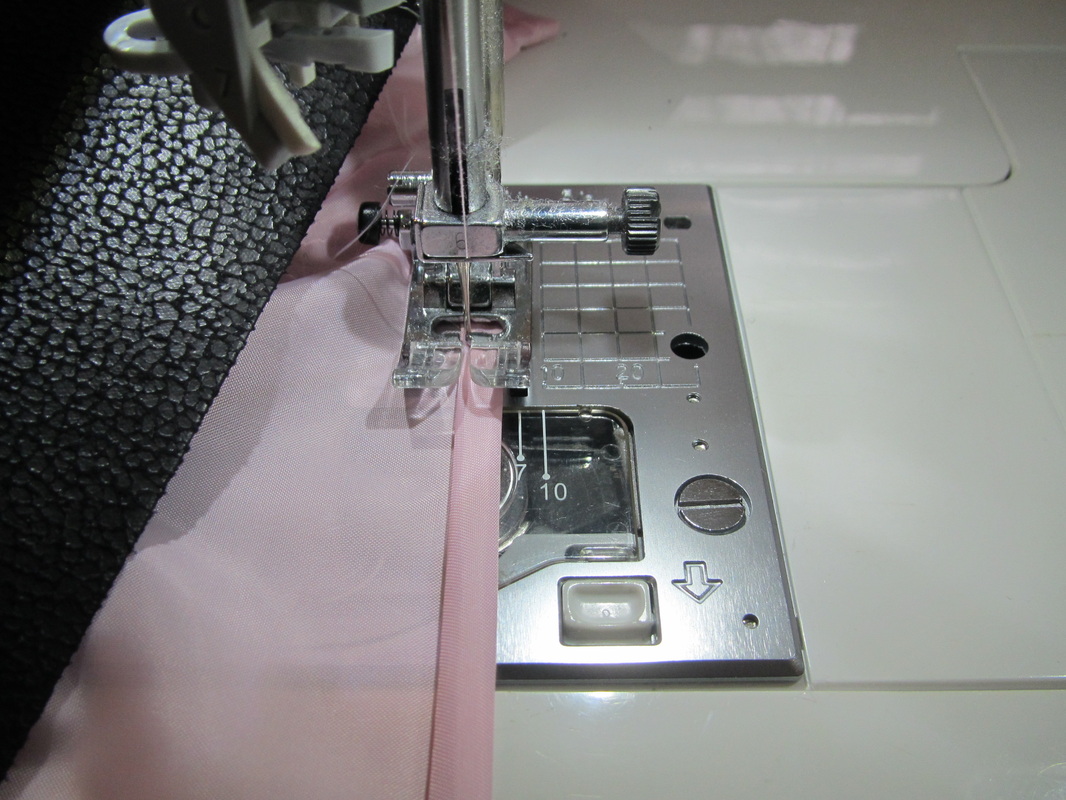
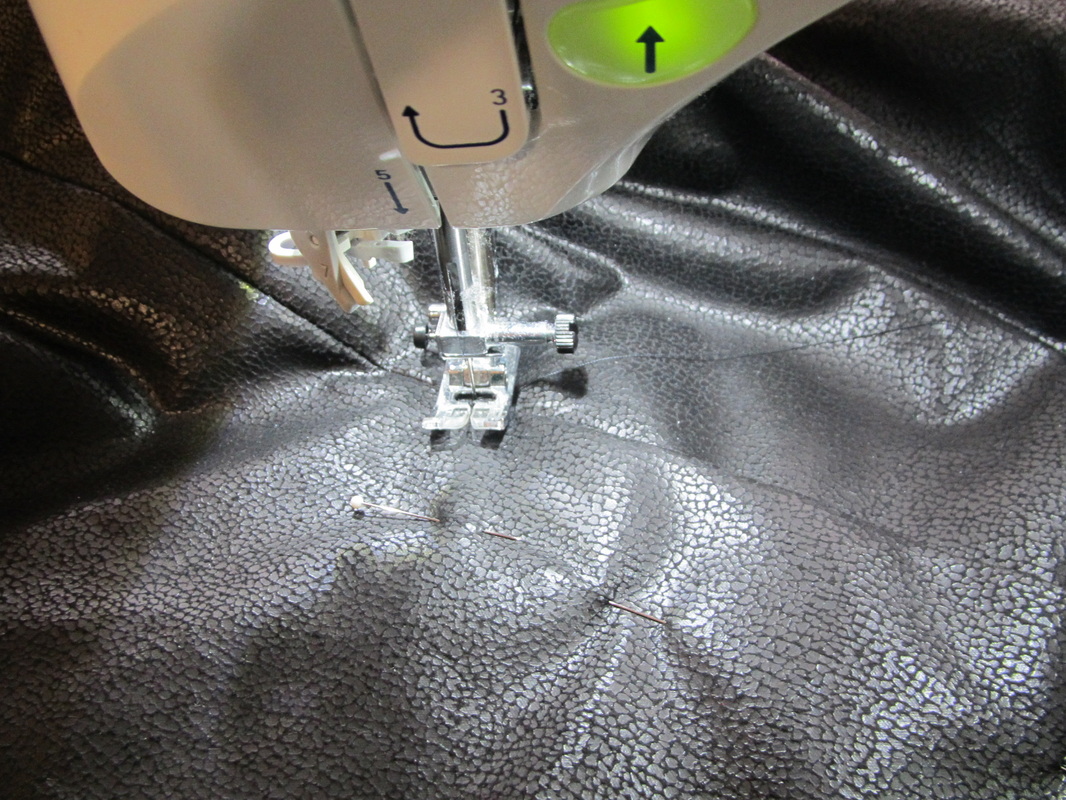
Then just machine stitched a double fold hem, which will make the lining about 3/4" shorter than the skirt ... just right.
Now I have to deal with the %#*)$^@! kick pleat.
The inside half of the pleat is easy. Just seam the edges with a 1/4" seam press, under stitch and press.

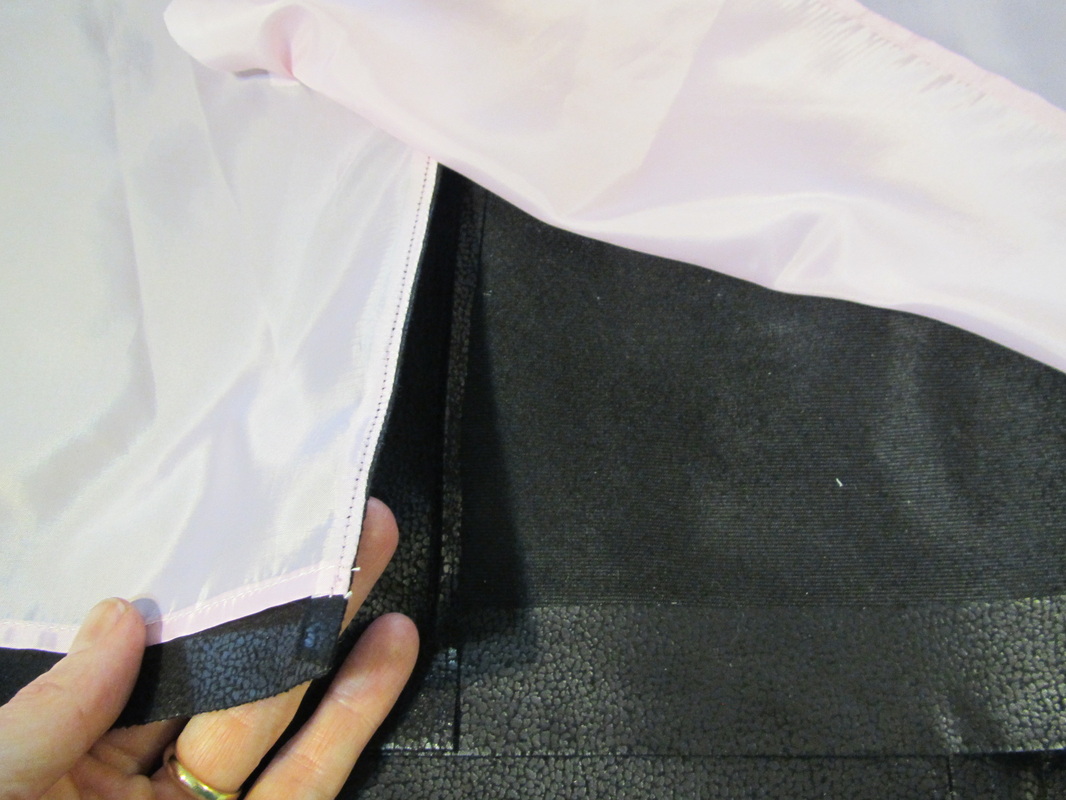
To finish the lining of the outside half of the pleat requires a big chunk of lining to be cut away so it looks like this. I can't think of how to explain it in a few words. I hope a picture is worth 1000 words.
Then I topstitch through all layers at the top of the kick pleat to hold everything in place, just like the guide sheet shows.
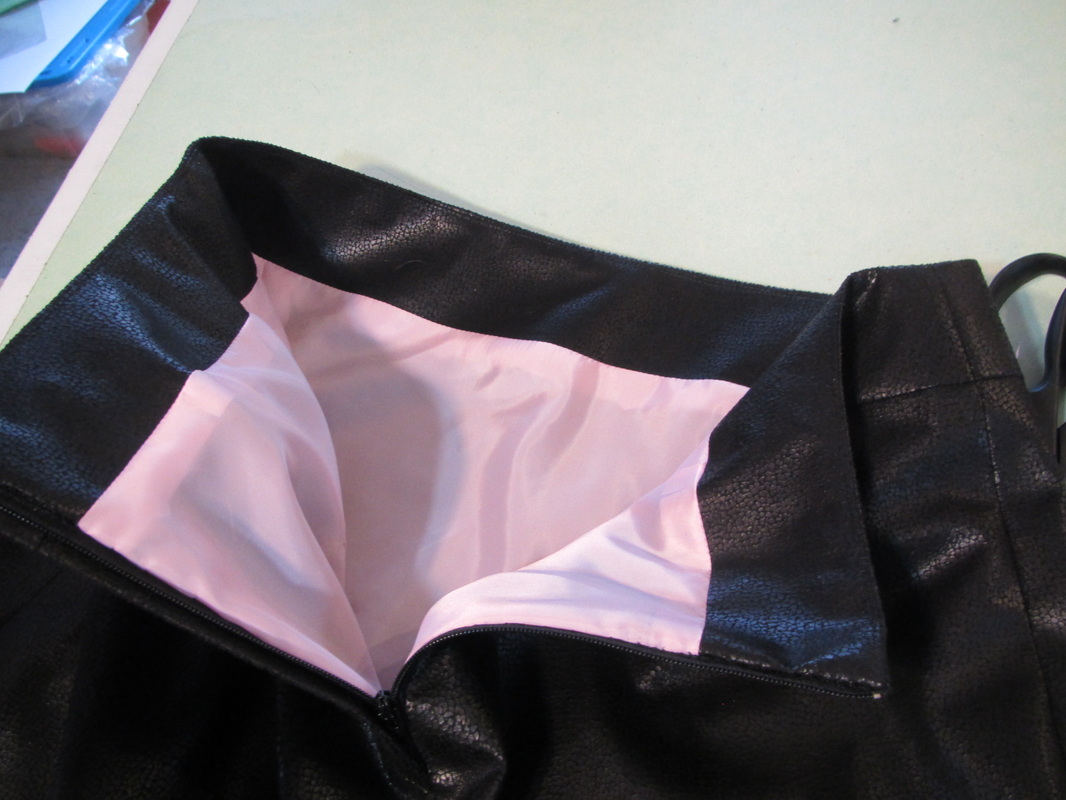
I LIKE this pink lining. And had I gone out to buy something, I probably would have use black. How boring is that?
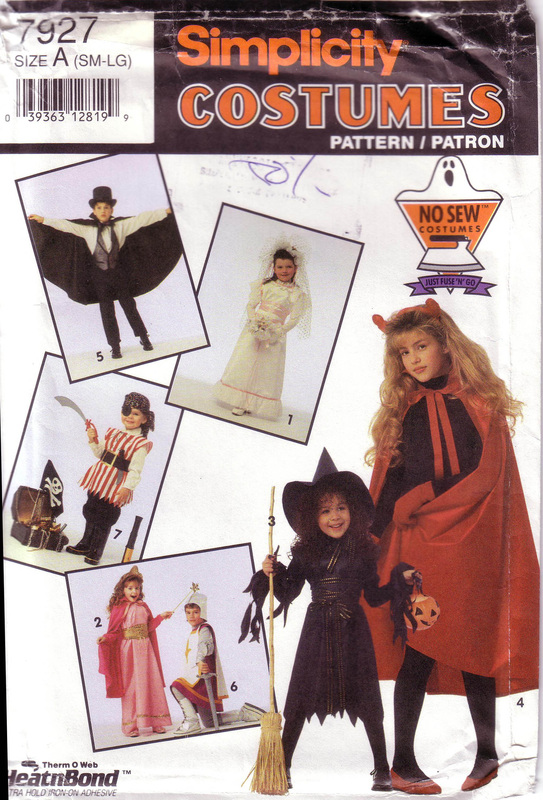
So, I actually didn't buy a thing for this skirt except the pattern. The pleather was left over from the boot toppers from my most resent Amy Brown Fairy pattern, the lining from a tulle skirt mock up, the hemming tape from an ancient No-Sew pattern and I had a black zipper on hand ... YAY!
SEE ... sewing CAN be economical.
 RSS Feed