
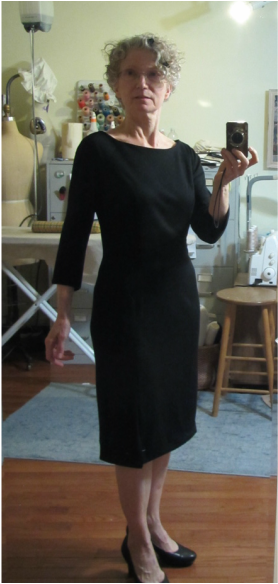
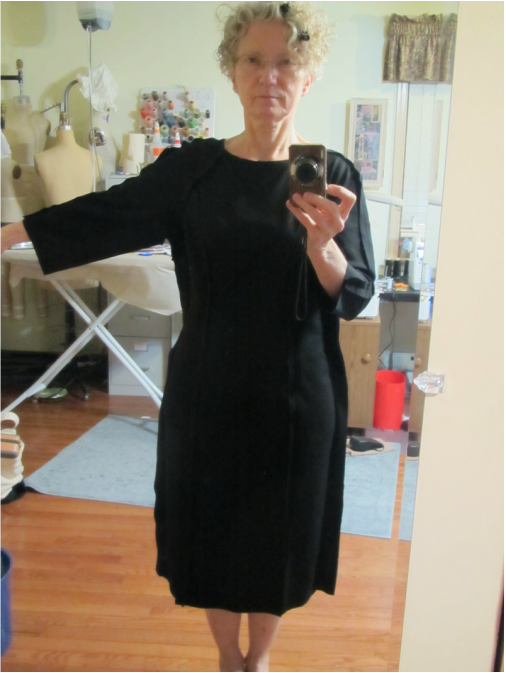
This is my "fitting" selfie with my serious "does this fit OK" expression on my face. Today I want to show you how I got to this point.
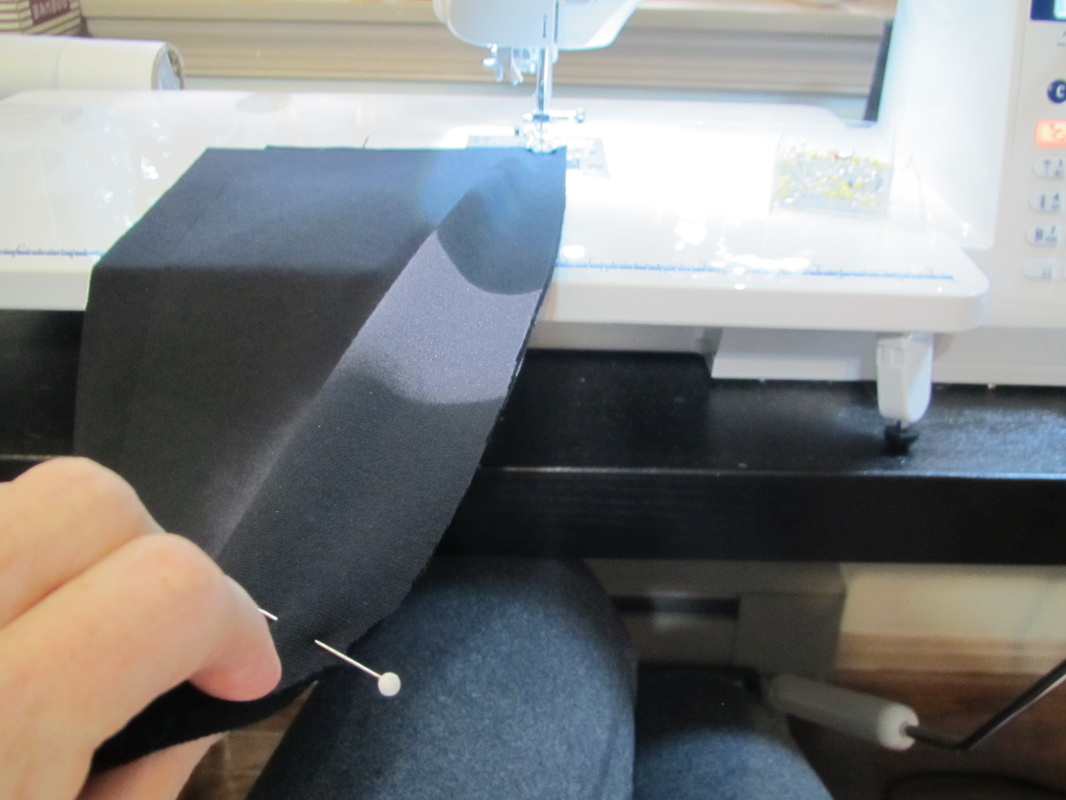 | 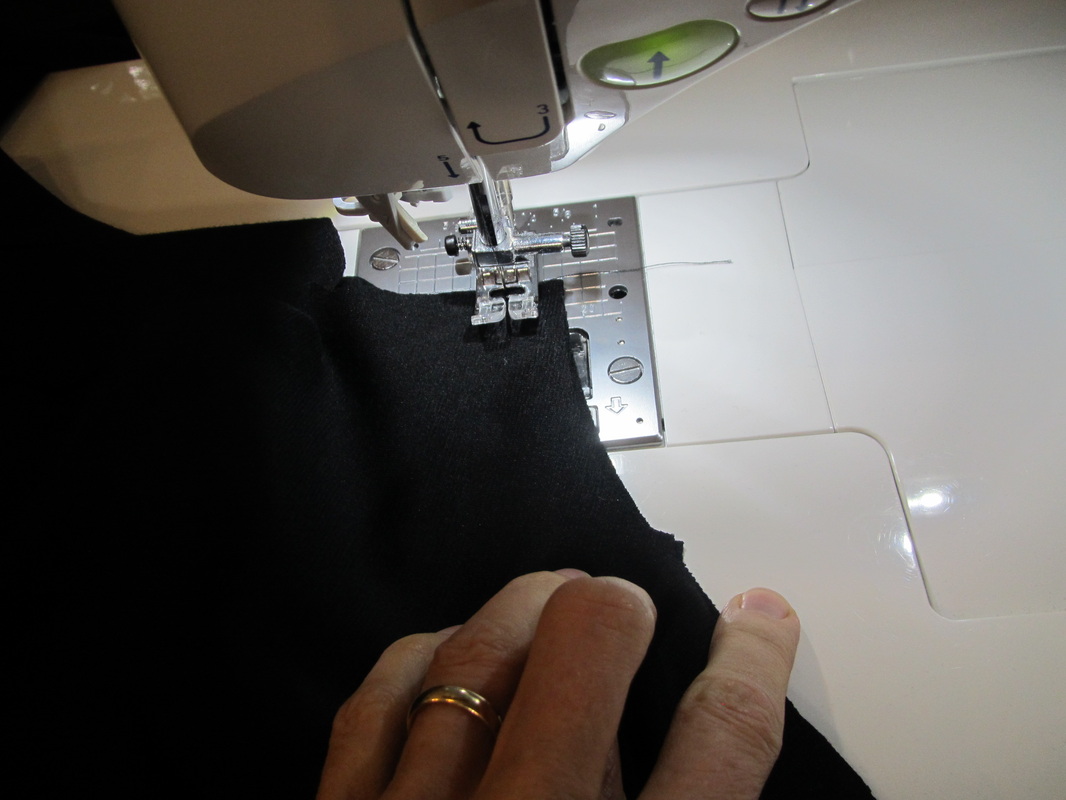 |
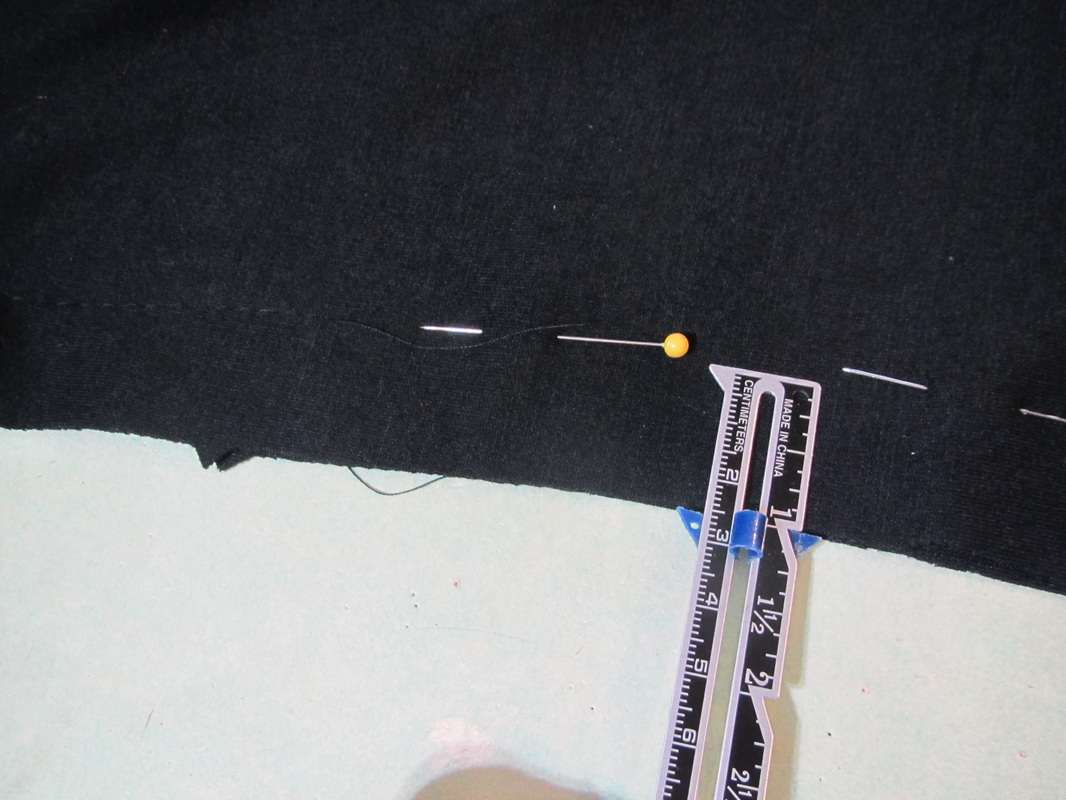
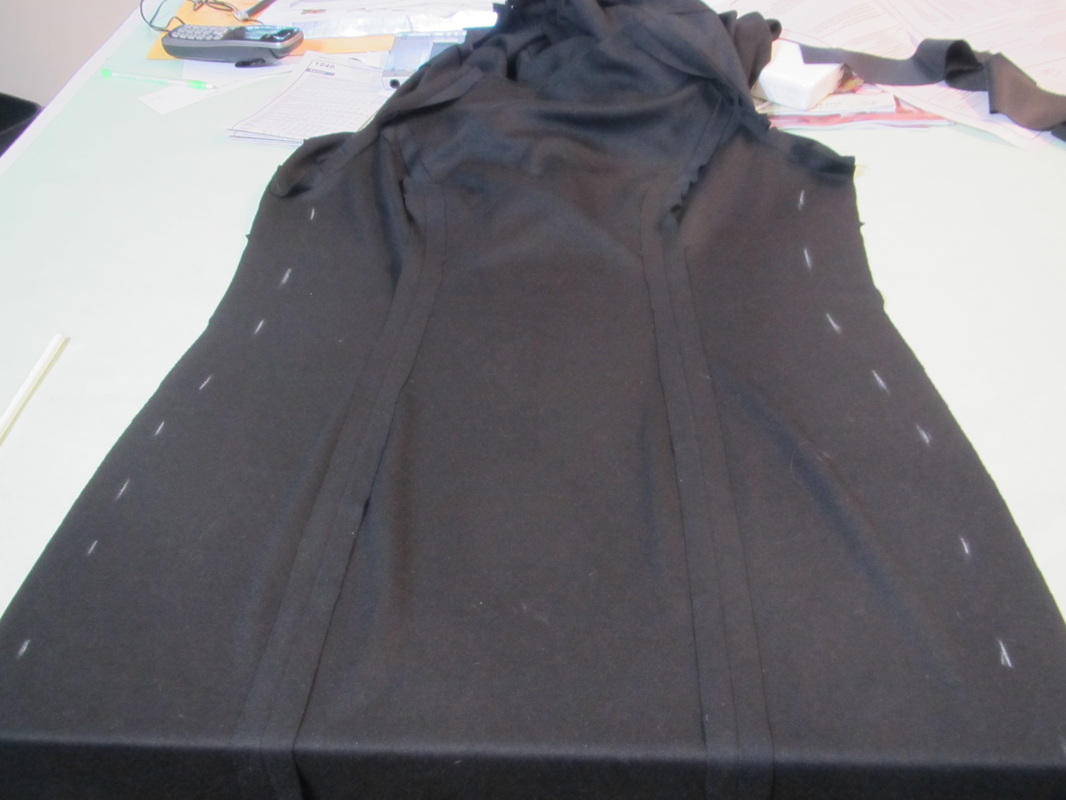
The dress needs to be assembled up to a certain point. I thought I would just share with everyone, that I don't use a lot of pins in most cases. I match up notches and hold the fabric straight and smooth as I guide it under the presser foot. Which is even easier on a short seam.
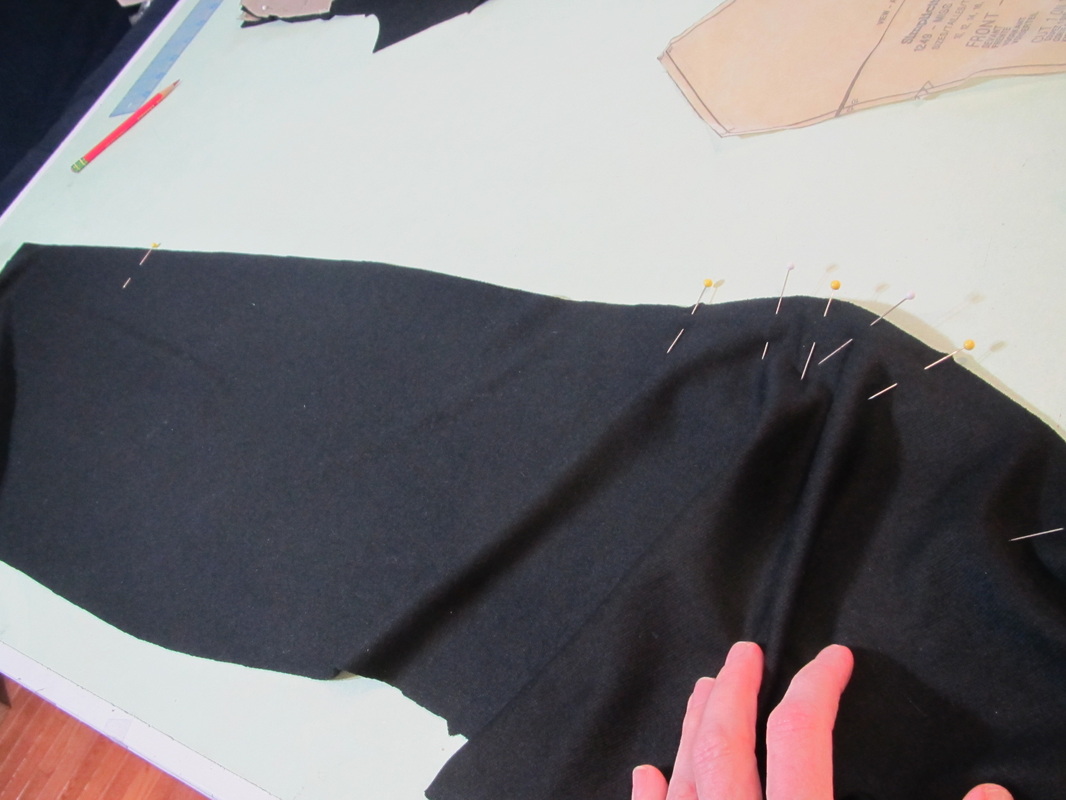
This area with the concentration of pins is the curved part of the front princess seam that goes over the bust. I wanted to be sure the bit that needs to be eased in is done evenly so I arrange that before taking it to the machine.
| |
| Sophia Double Knit |
| Sophia Double Knit, 67% Polyester 30% Rayon 3%Spandex, Hand wash Line dry, 60" wide. |
If I were using a woven fabric with no give at all, I probably would have had to stay stitch close to the seam line and clip the seam allowance in this area to help ease that curve in. BUT, I working with this great double knit, which was able to ease without clipping. The above photo is a link to where you can buy this stuff.
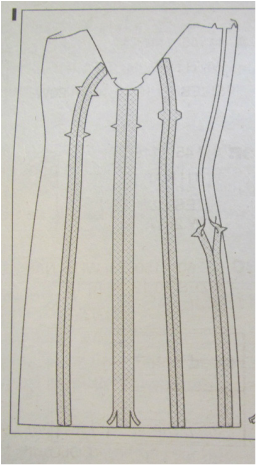 | 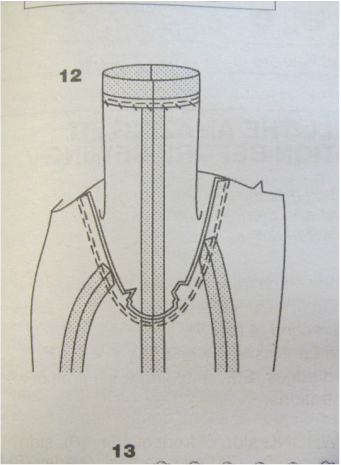 |
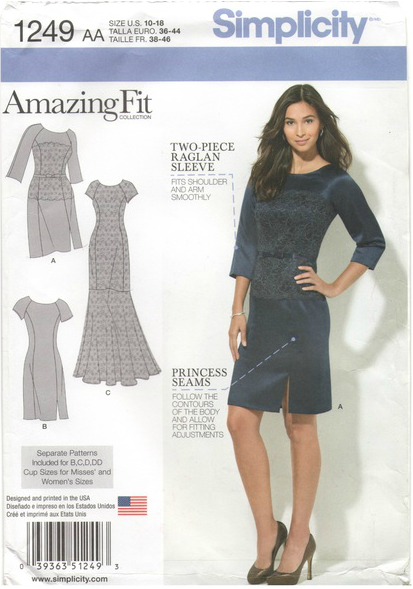
I have a confession to make ... I didn't follow the instructions on the guide sheet as far as the sleeve to dress assembly is concerned! This is how Simplicity suggests doing it. Sew the side seams of the dress and sleeve separately THEN sew the sleeve to the dress.
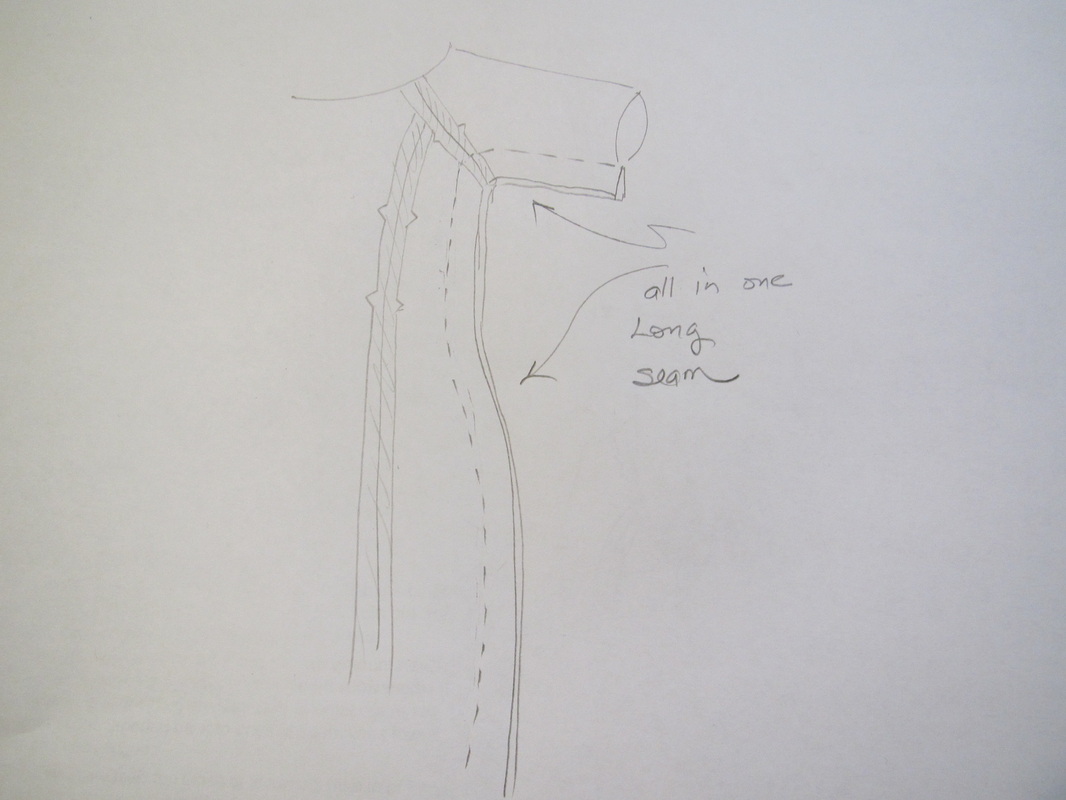
But, for a raglan sleeve, I prefer to sew the sleeves to the front and back of the dress first THEN sew the side seams of the sleeve and dress all at once. Just my preference.
Amazing Fit patterns have 1 inch seam allowances at the side seams for fitting purposes. They suggest sewing the side seams facing outward when fitting. I machine stitched the sleeve seam and the dress side seam a couple inches down from the armpit. The rest I pinned.
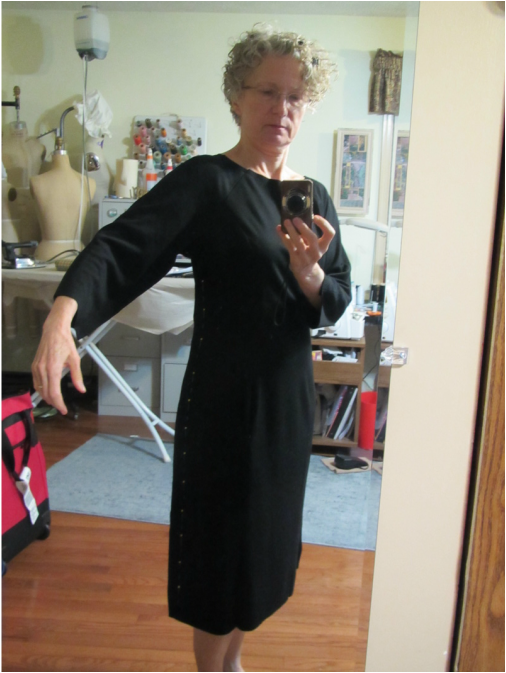
This is my first try on. It is quite large. Hmmm and I even cut one size small. Must be because I'm using a knit.
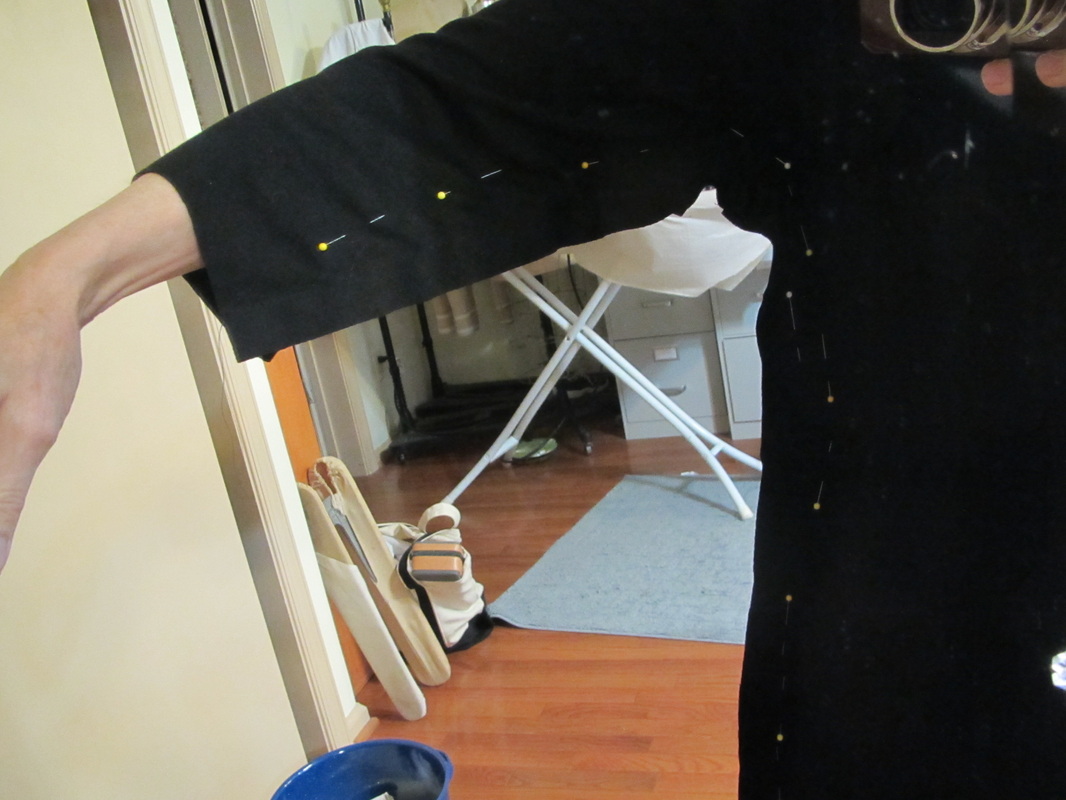
Better too big than too small. The sleeves had to come in a lot and I curved in at the waist more than the pattern.
I do want to say though, in favor of the Amazing Fit pattern, because of the ability to choose different bust cup sizes the front of the dress hangs really well and it is just the side seam I am having to tinker with.
Click here to read my previous blog about cutting this dress out.
I do want to say though, in favor of the Amazing Fit pattern, because of the ability to choose different bust cup sizes the front of the dress hangs really well and it is just the side seam I am having to tinker with.
Click here to read my previous blog about cutting this dress out.
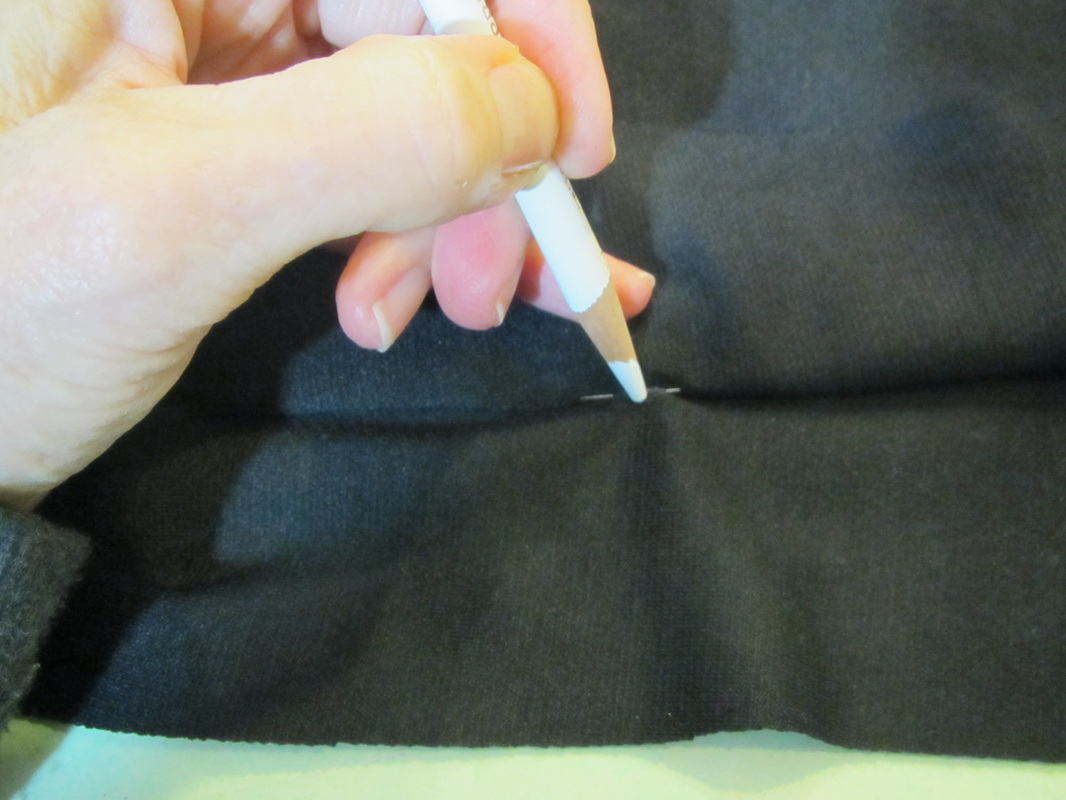
Off with the dress and time to mark where the pins are so I can take them out. I also marked the sleeve seam that was machine sewn in the same manner.
This is what my dress looked like at this point.

I compared the markings on the two sides and evened them out and this time I pinned for sewing because this is now a very irregular seam allowance. It is wider in some places and narrower in others. I need to follow the marked stitching line.
For my own piece of mind, I tried the dress on one more time. This time inside out. The excess seam allowanced needs to be trimmed away, but I didn't want to do that until I checked the fit one more time. AND if I tried it on with all those bulky seam allowances inside I wouldn't be able to tell if it was fitting correctly.
Again I have that serious "is this fitting" look in my eye. This is HARD work!
But, I'm happy with the fit. Now all I have to do is finish this baby. Which I will show you on Wednesday.
Again I have that serious "is this fitting" look in my eye. This is HARD work!
But, I'm happy with the fit. Now all I have to do is finish this baby. Which I will show you on Wednesday.
 RSS Feed