
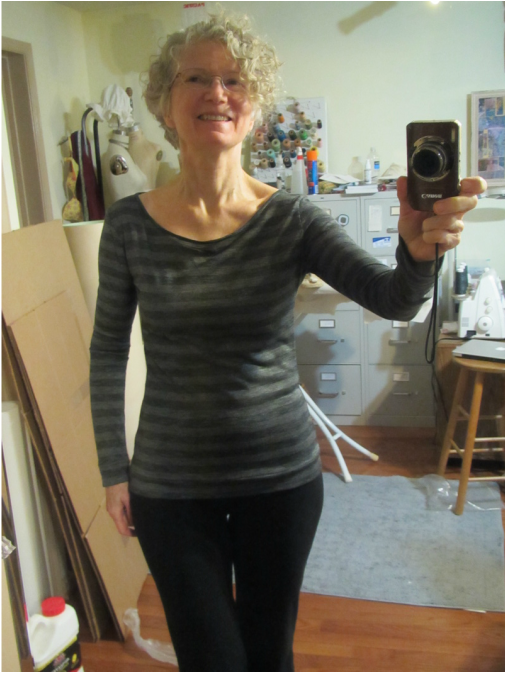
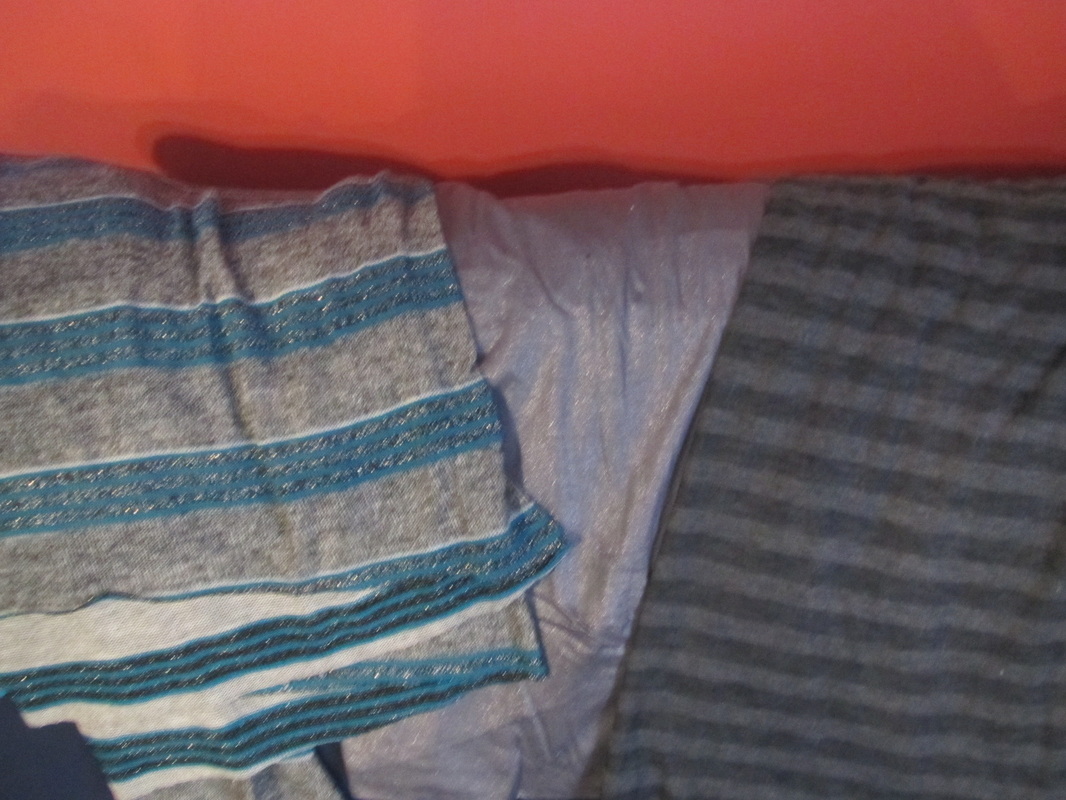
This is my January project! I made it this weekend using the fabric on the right from my "serviceable knit" group of the stash I kept ... remember?
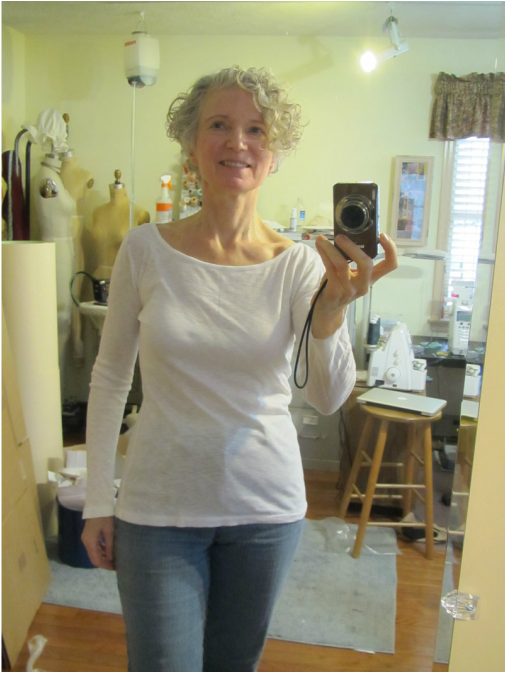
I have this long sleeve Tee that I love ... it's a #5 on my 1 - 5 "love" scale. I like the way it fits, the sleeves are just the right length and the neck is perfect. My aunt Erna would call this an "openish" neck, I think.
I have looked and looked for one like it, but have never quite found what I want. I tried making myself one using a Kwik Sew Pattern, but it had way too much ease, like most patterns. I do believe this is because pattern companies would rather we were mad because things are too big rather that too small. Too big is fixable, usually.
BUT, why not, I thought, just copy this shirt?? It is such an easy pattern!
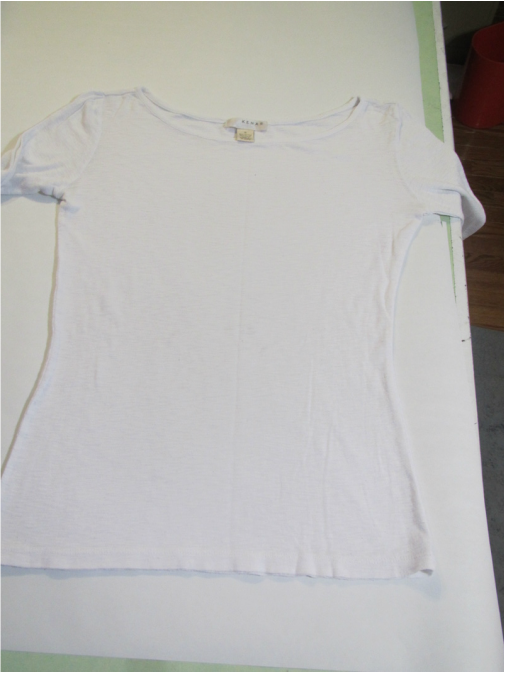
When you lay it flat on a table the front and back are exactly the same, except the neck is lower in the front. So, I traced around the shape of the body of the shirt.
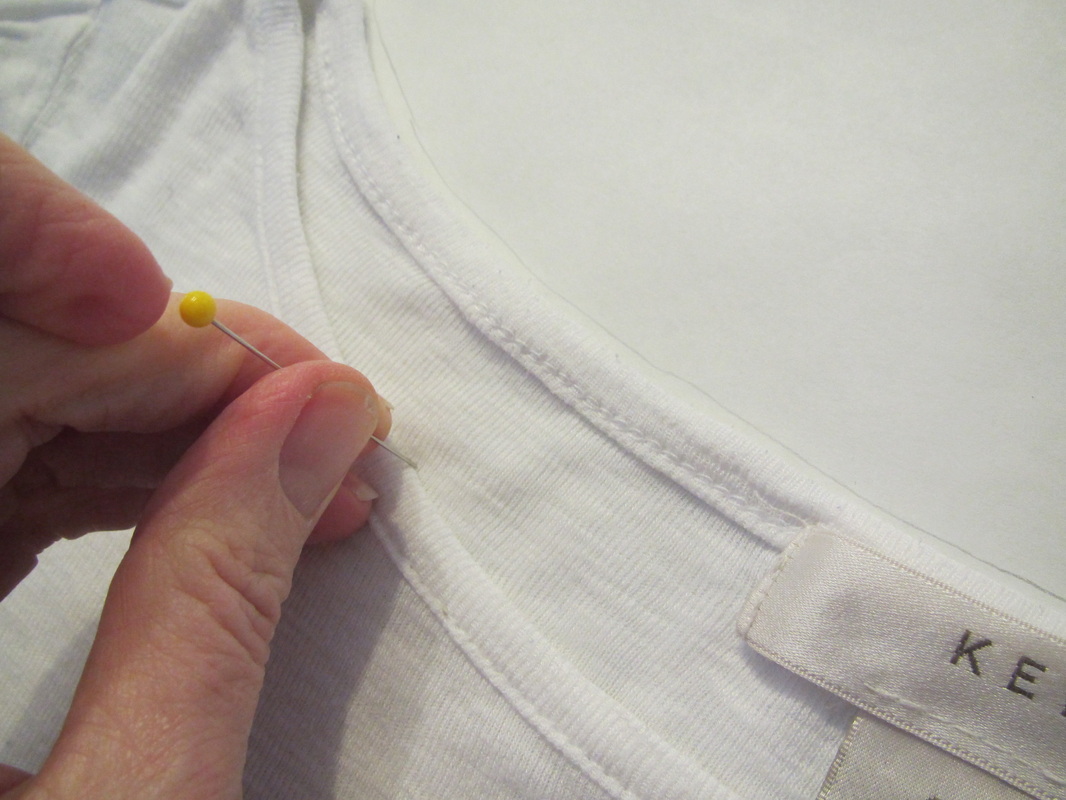
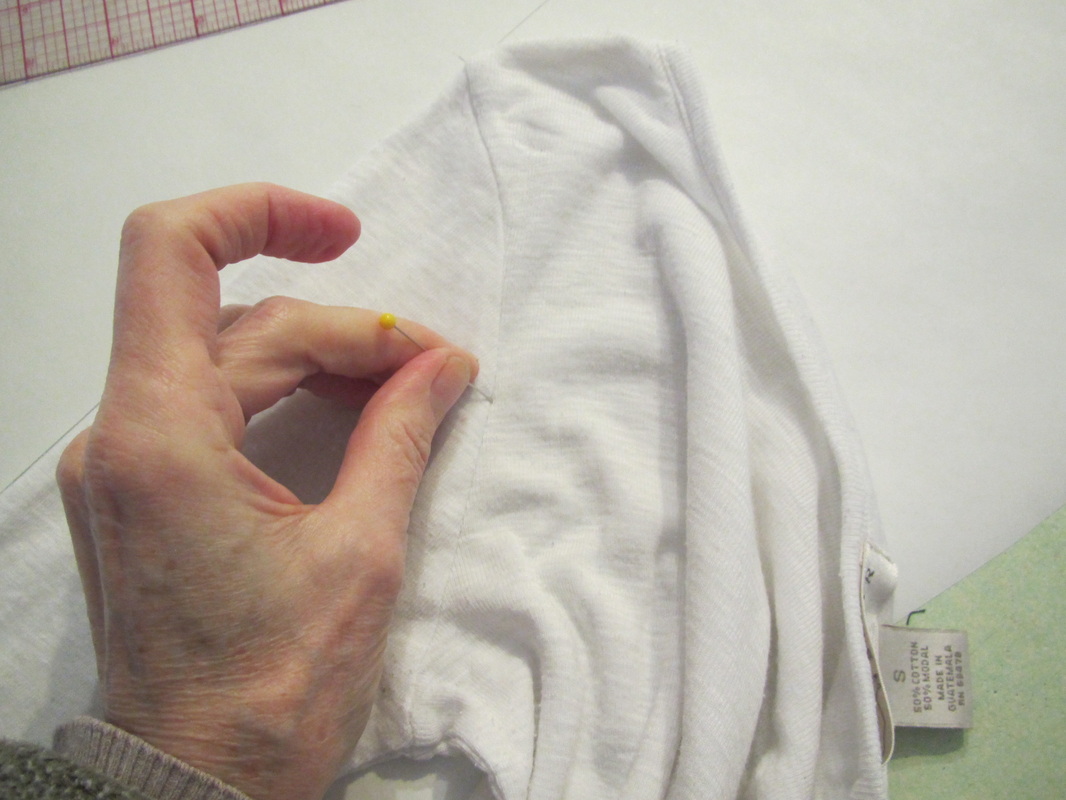
To get the lower shape of the front neck I made a bunch of pin holes through the shirt into the paper. Now ... when I'm making patterns with muslin, I do this same thing using a sharp tracing wheel to transfer lines from fabric to paper, but I thought that might damage this knit, so I poked holes one by one with a thin pin.
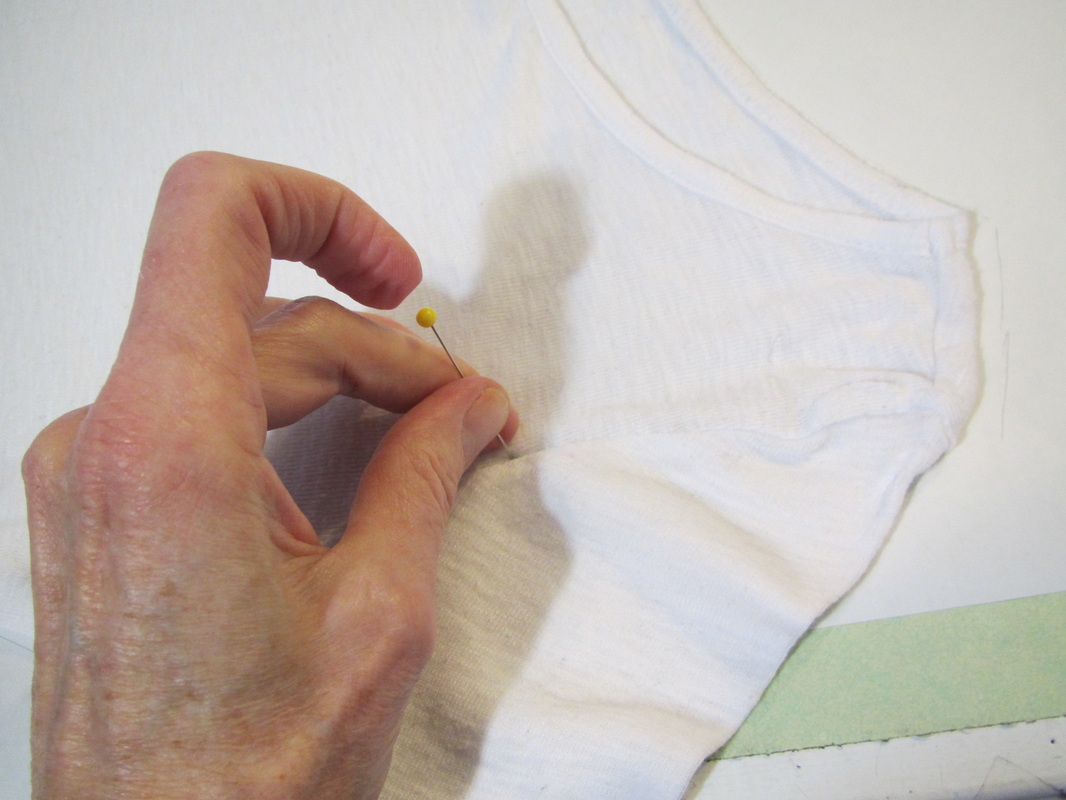
I did the same with the shape of the armhole.

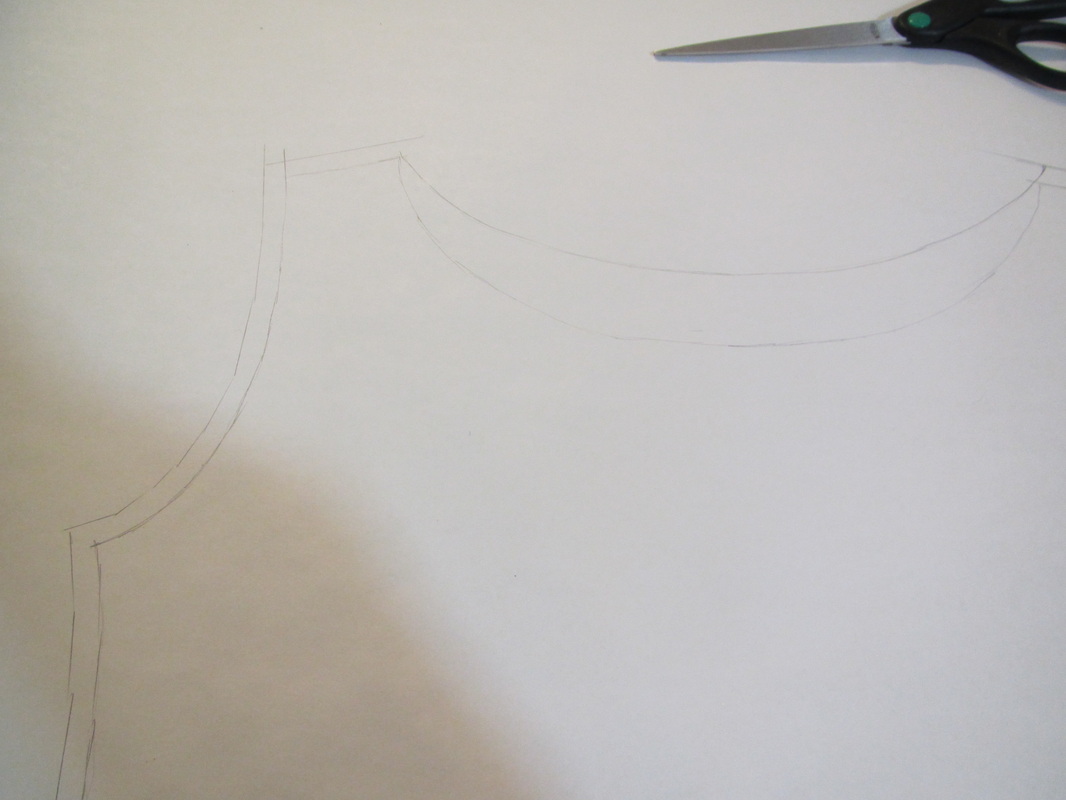
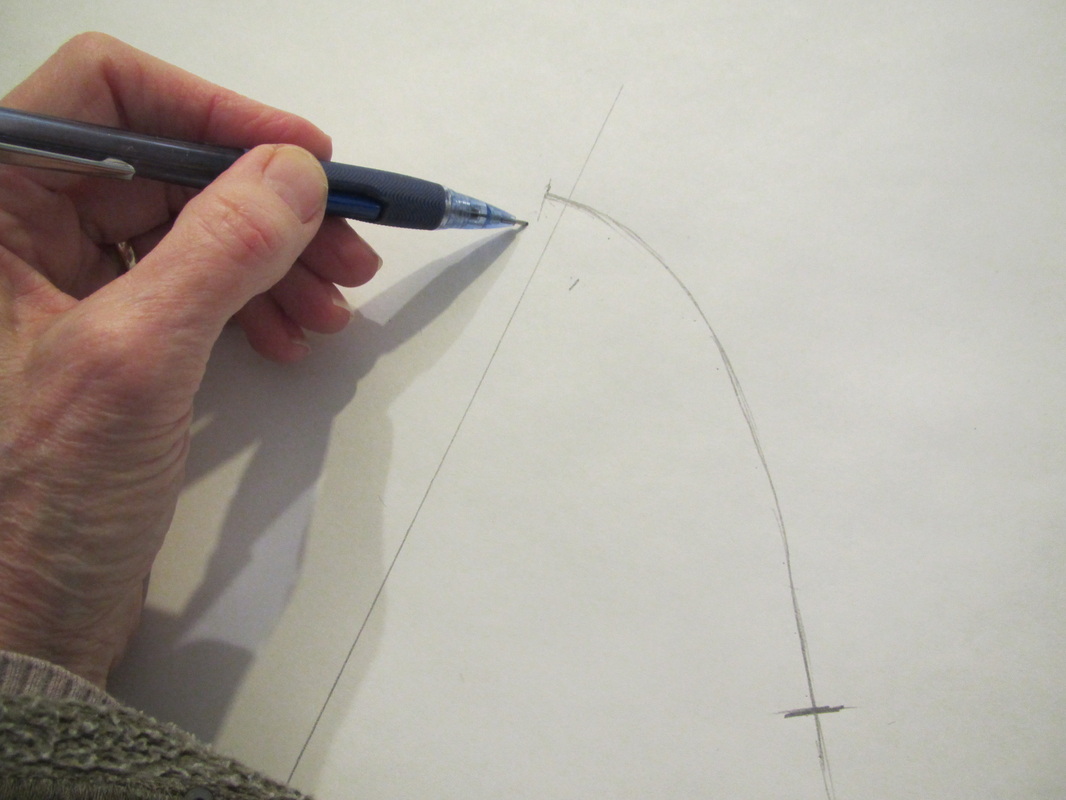
Then I could connect the pin holes with a pencil line.

And this is what I got. Both front and back neckline are there, just the upper line for the back is a little faint.
Next I drew on 3/8" seam allowances, which I shouldn't have yet ... grrr.
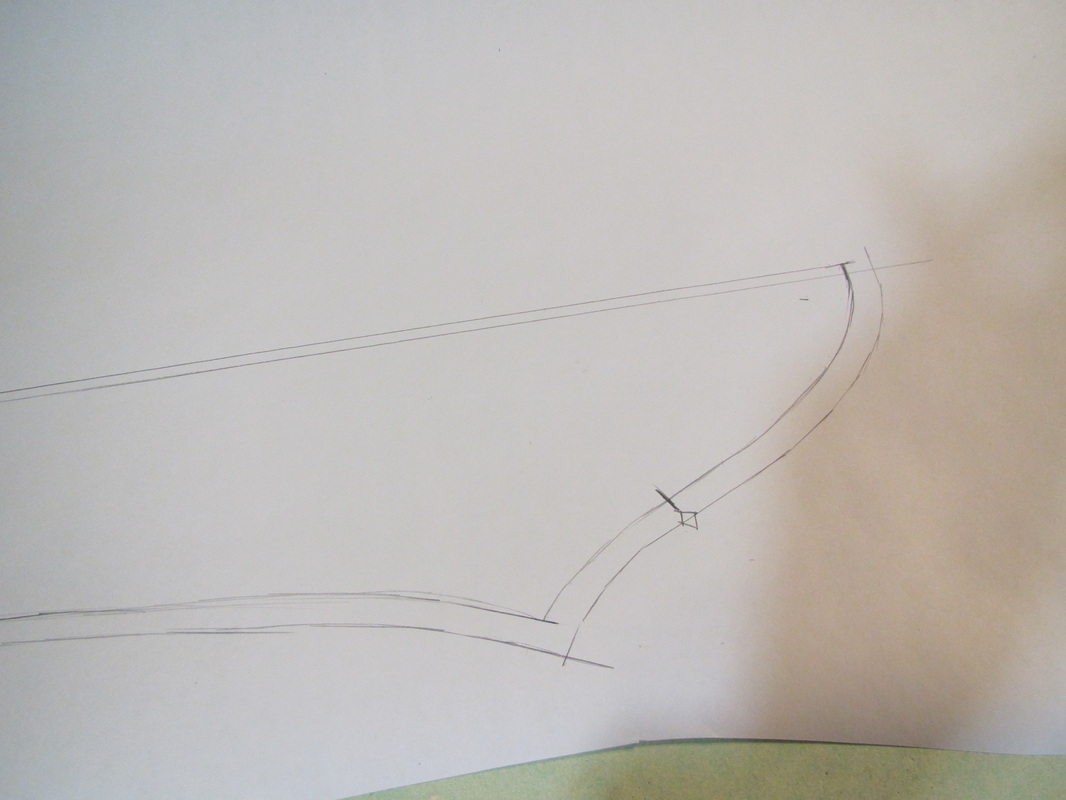
It occurred to me that I should check if both sides are the same, so I folded the pattern in half, best I could because both sides were NOT the same. And, ran a pointy tracing wheel over the stitching lines for one side through to the other.
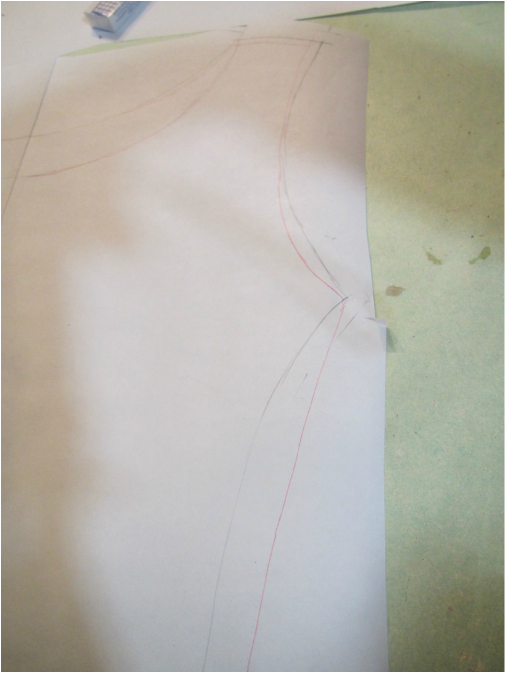
I erased the seam allowance lines and then used a red pencil to draw a line on the marks left from the tracing wheel for the the seam line from the opposing side of the pattern.
You can see how different the two sides are!
I compromised and just drew a line in the middle of those two. Added the seam allowance again, cut the folded paper and now had my front/back pattern.
You can see how different the two sides are!
I compromised and just drew a line in the middle of those two. Added the seam allowance again, cut the folded paper and now had my front/back pattern.
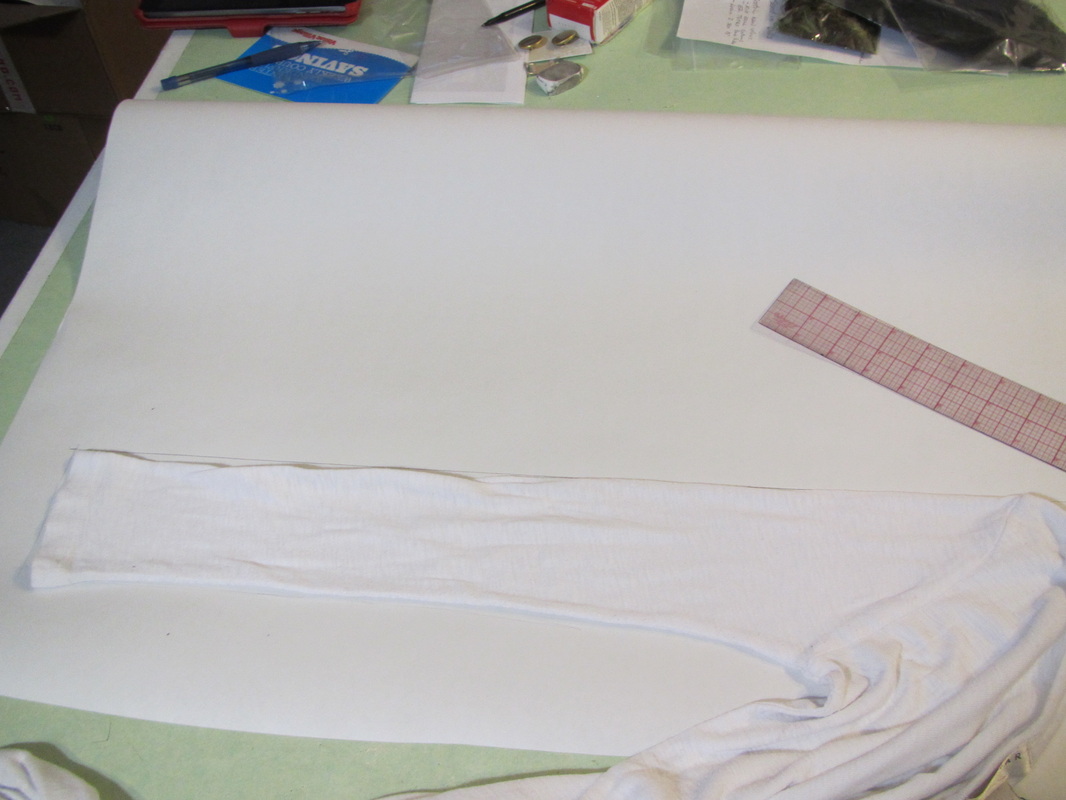
I handled the sleeve pattern basically the same way,
poking holes with a pin to get the shape of the top of the sleeve.
But now I need to check that the armhole seam is the same length as the seam line for the top of the sleeve.
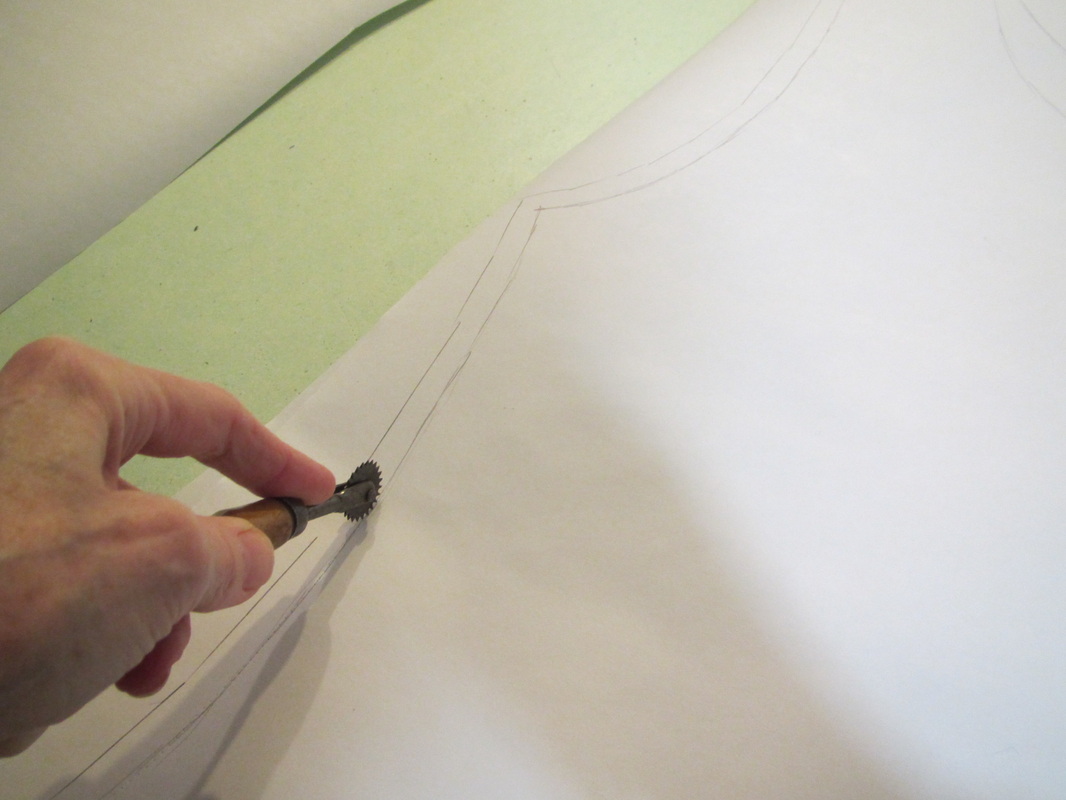
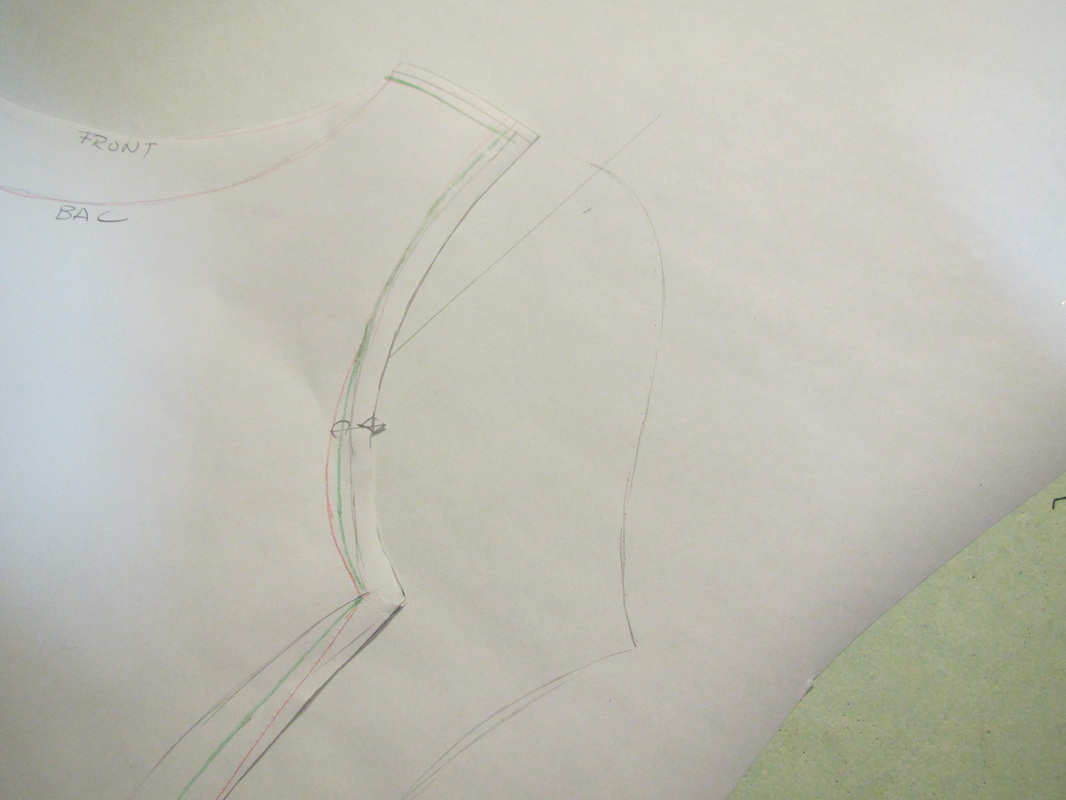
Take a look at the pattern for the body of the shirt, you can see I used a green pencil to mark that compromise line between the regular and red pencil lines and then added my seam allowance. I also gave myself an armhole notch to make sewing easier.
Take a look at the pattern for the body of the shirt, you can see I used a green pencil to mark that compromise line between the regular and red pencil lines and then added my seam allowance. I also gave myself an armhole notch to make sewing easier.
So, back to the sleeve seam, I laid the pattern for the body over the unfinished sleeve pattern, lined up the underarm point of the beginning of the armhole seam for both and "walked" the two stitching lines, using the point of my pencil to hold the two papers together as I pivoted the upper pattern to keep the seam together ... AND ... I found out the seam on the sleeve pattern was a little short. So, I added the necessary amount.
The sleeve was looking a little skinny anyway. I was happy to add that same amount as a new fold line all the way to the hem.
I added seam allowance with a corresponding notch. Then folded the paper and cut out a symmetrical sleeve. Sleeve pattern aren't usually the same in the front and back, because the front and back armhole shape of most tops and bodices are not the same. But, this one is so I can have a symmetrical sleeve.
Sorry, I forgot to take a photo of the folding and cutting. BUT, you will see this pattern on Wednesday when I show the cutting and sewing of the actual shirt.
Bye for now.
 RSS Feed