
In my last installment, I showed you how I made the pattern for the shape of the back and seat of my outdoor chair and how I cut the NU-Foam. See here.
If you remember, I didn't want to cut the foam for all 6 chairs until I made a muslin test of the cover. So, today I am going to show you how I made that pattern and I will try it out in muslin.
If you remember, I didn't want to cut the foam for all 6 chairs until I made a muslin test of the cover. So, today I am going to show you how I made that pattern and I will try it out in muslin.
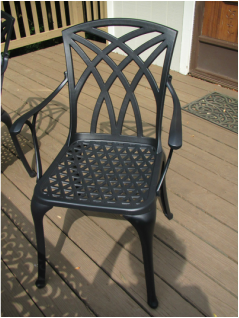
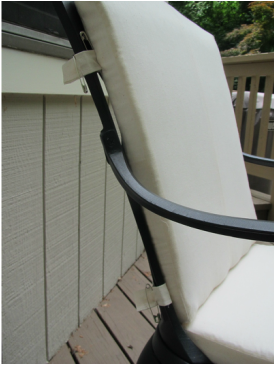
Here is the chair.
| 
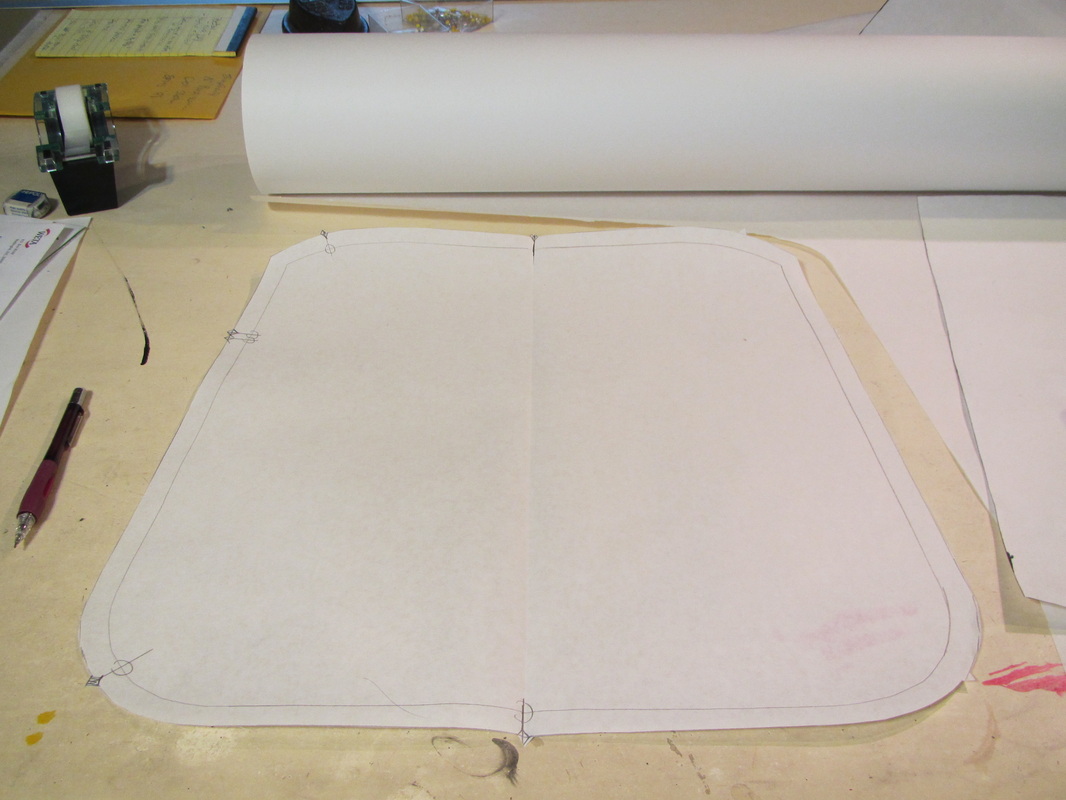
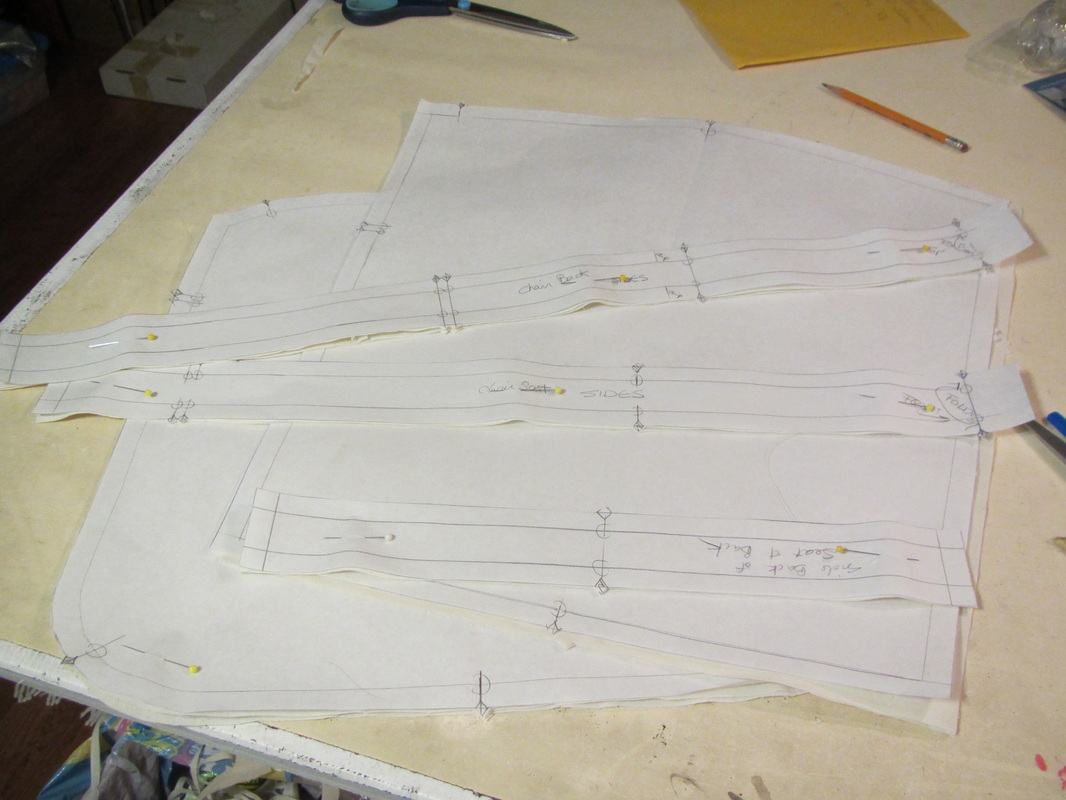
And the corrected paper pattern.
|
To make the pattern for the fabric cover I will start with the patterns I made for the foam, which is the shape I want minus the seams.

First I hold the foam pattern down with weights and trace around it in pencil.
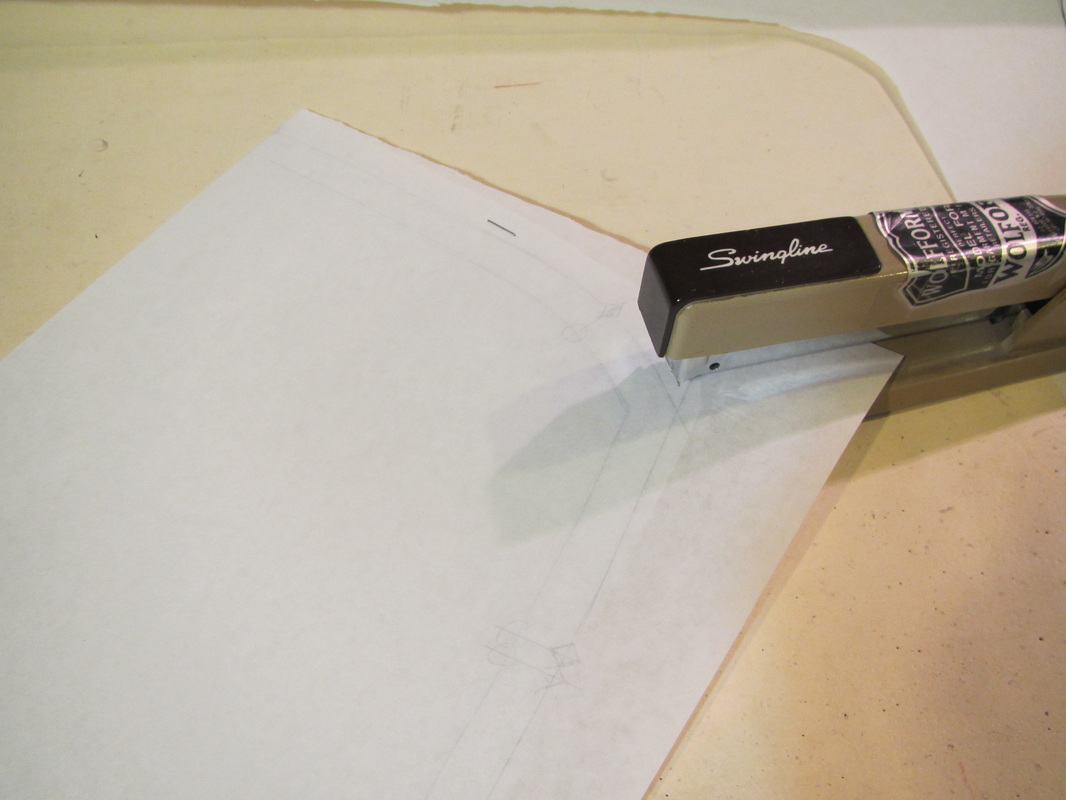
I use paper that is somewhat see through so I can line things up when I fold the paper in half down the center. I want the 2 halves to be the same and I only put my notches on one half. I staple just outside the cut line to keep it from slipping while I cut.
| 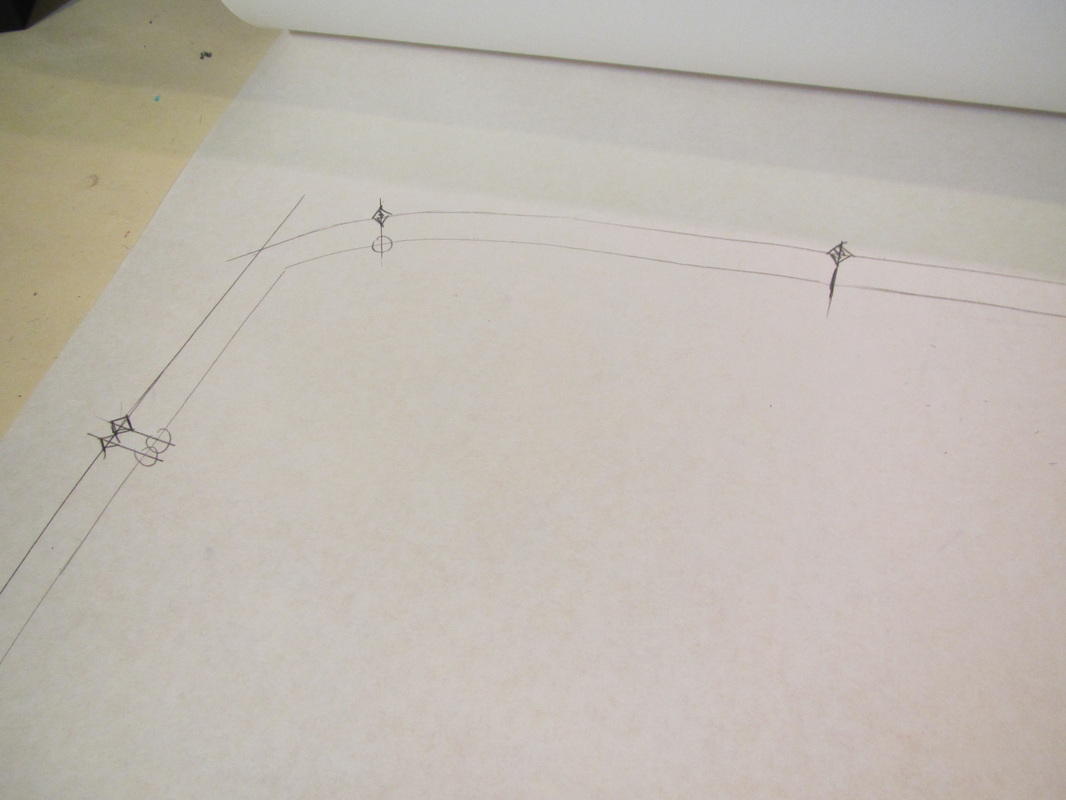
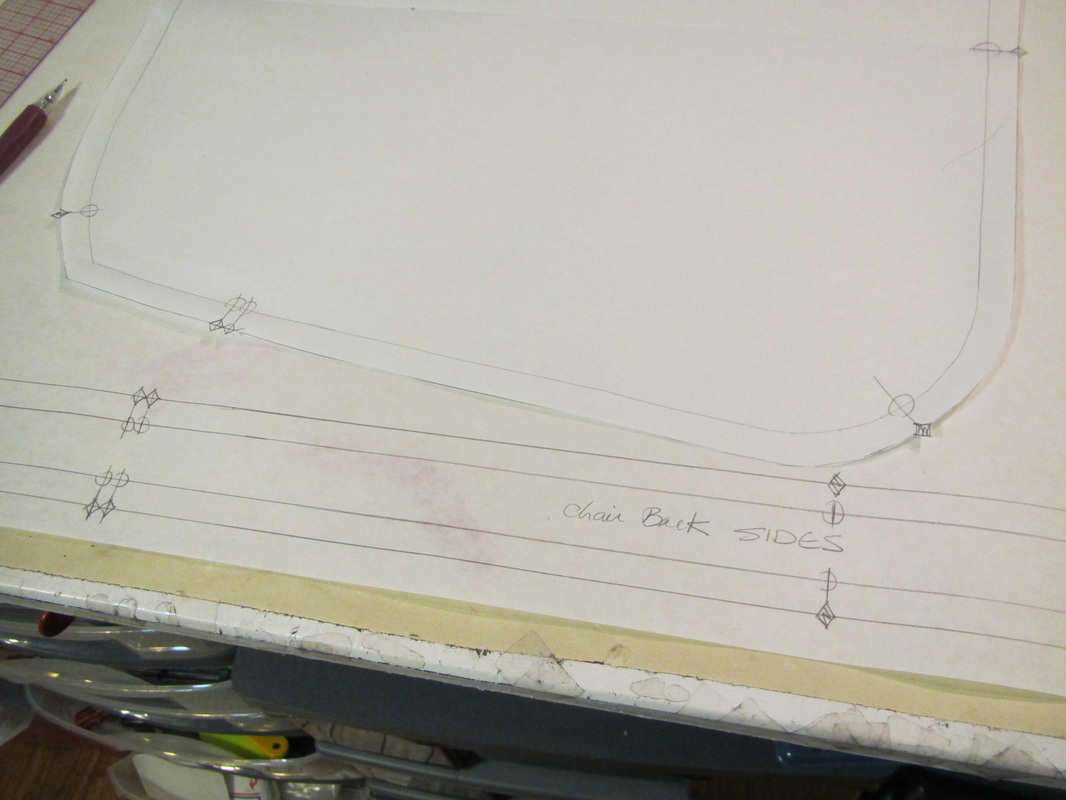
Then I add a 1/2" seam allowance with a few notches to help line things up while sewing. I like old fashioned pointy notches.
Here is the finished pattern. There are symmetrical notches on both halves now, although you can't see the ones on the right half because they are only cut shapes, not marked.
|
Because the foam is 2" thick and the shape is not a simple rectangle, I am going to make the kind of pillow that has dimensional sides as apposed to just a two piece pillow with the top and bottom sewn directly together, so I have to made a pattern for the side pieces. And even though the foam is 2" I am making the side piece so it will finish just 1" because I want the stuffing to fit snuggly and the foam will compress over time. I read a review of NU-Foam on line that said it compresses fairly quickly. I guess I can always open up the cushions and put in an additional 1" NU-Foam piece when that day comes.
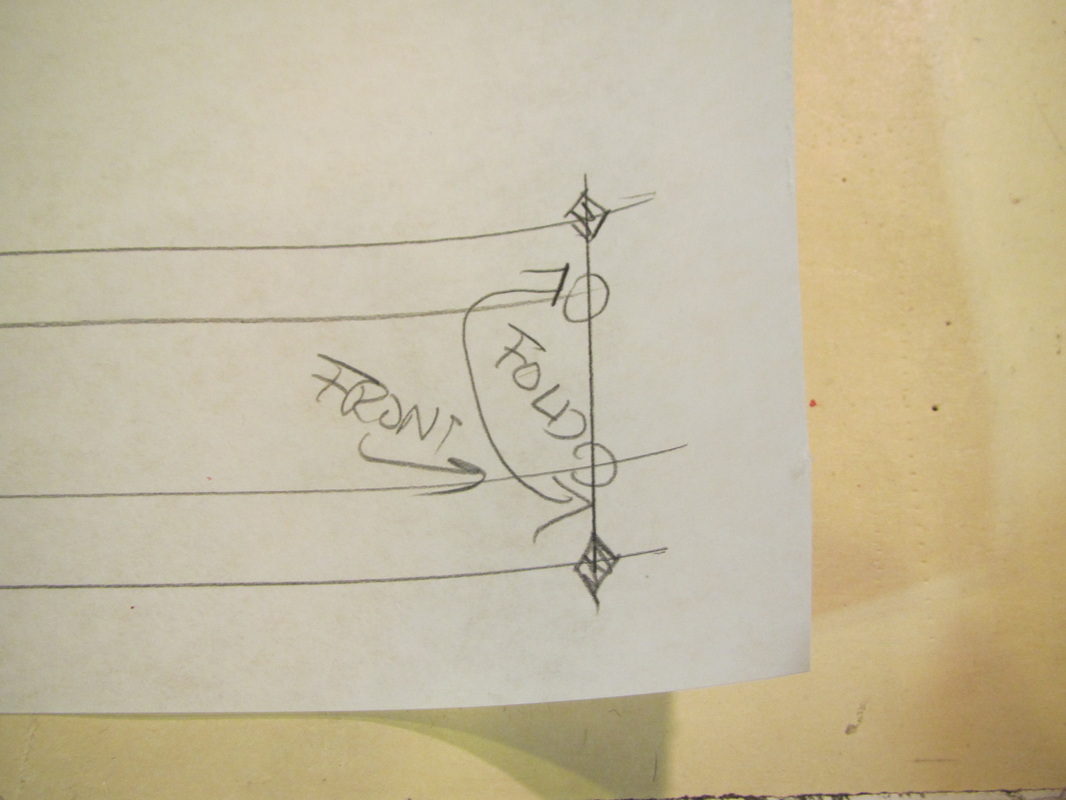
To make the side piece, I draw parallel lines I" apart with 1/2" seams above and below. I'm going to make this pattern with a fold (saves time and paper), so I line up the stitching line for the center front of the seat pattern and slowly walk the seam lines of both pieces making corresponding notches as I go.
| 
This photo shows a part of the seat pattern with a section of the edge piece with their coordinating notches.
|
I will make the edge piece for the back pattern the same way. At this point I only have a fuzzy idea how I am going to handle joining the seat to the back or where the ties will go. After I cut, sew and assemble the 2 muslins sections the solutions to these problems should be easier to figure out.
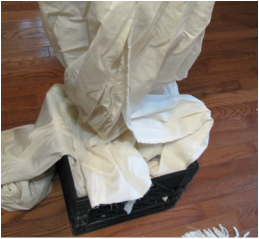
Here is my little black crate of muslins of old projects. I try to reuse my muslin as many times as possible. I even stitch pieces together sometime to get them large enough.
Now the pieces are all cut and ready to be made into the test sample in muslin.
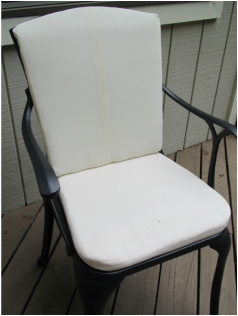
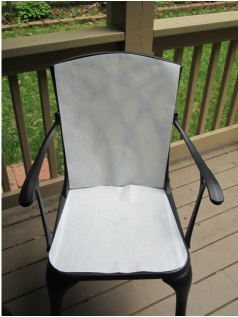
AND .... I am pretty happy with this sample. It's comfortable, too!
| 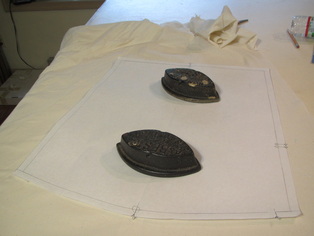
After pressing out the worst of the wrinkles, I line up my pattern with the straight grain of the fabric and hold the pattern down with my grandmother's old flat irons. My mother told me she remember's my grandmother pressing clothes with these. cool!
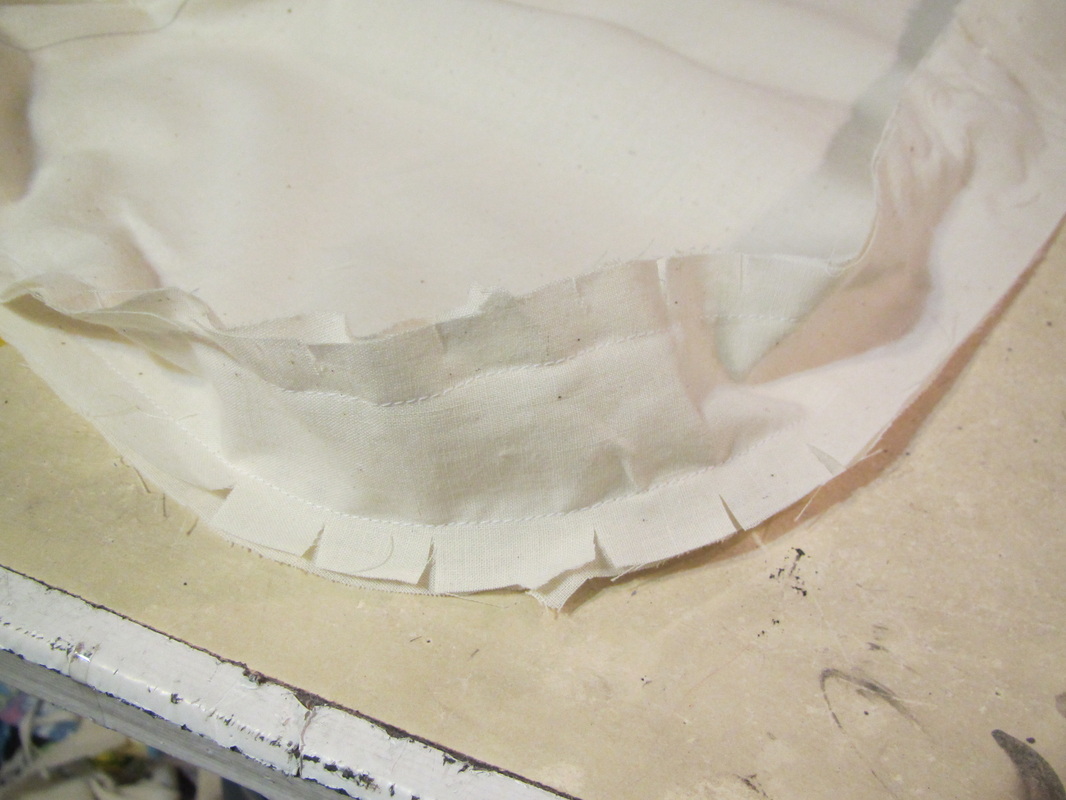
The corners of the seat cushion need a bit of clipping. I will try to work these into my pattern so the clipping will be done before I sew.
I have pinned in place 1" fabric tabs where I want the ties to be, that will hold the cushion to the chair.
|
But, they are not going to be ties. They will be tabs with Velcro. I know the people I live with. If the cushion has to be tied on and off, these cushions will never come inside. Even though the materials can stay outside all the time, I'd rather they didn't. I'm spending a lot of time on these and I hope they last a while.
Now the final problem ... how to attach the back to the seat cushion. I was thinking of making some kind of hinge, but every way I thought to do it was going to be awkward the then it dawned on me that I can hold them together with Velcro tabs!!!! That will make them easier to store when not in use. I will show you how I do this in the next installment which, I hope, will be the finishing of all these cushions.
Simplicity just gave me a rush job, and I think this project is going to sit for a a few days.
 RSS Feed