
My first blog about all these new patterns is going to be working with the EVA foam, which is a material that was new to me. BUT, having made many prototypes for the toy industry new materials don't scare me. My challenge was to figure out how to do it and do it in a way that would be easy for anyone to reproduce.
So, the kind of EVA foam I used is just craft foam, the kind you can get at Joann's or Michael's. You can get it much thicker, 1/2" or more (available at big hardware stores) and there are wonderful tutorials showing how to use it, but the thin kind was just what I needed for this project. And it's much easier to work with.
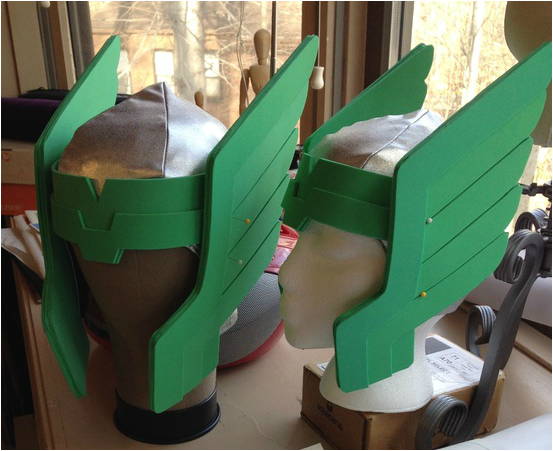
The photo above shows the wings for Thor's helmet before painting. Let me show you how I did this.
So, the kind of EVA foam I used is just craft foam, the kind you can get at Joann's or Michael's. You can get it much thicker, 1/2" or more (available at big hardware stores) and there are wonderful tutorials showing how to use it, but the thin kind was just what I needed for this project. And it's much easier to work with.
The photo above shows the wings for Thor's helmet before painting. Let me show you how I did this.
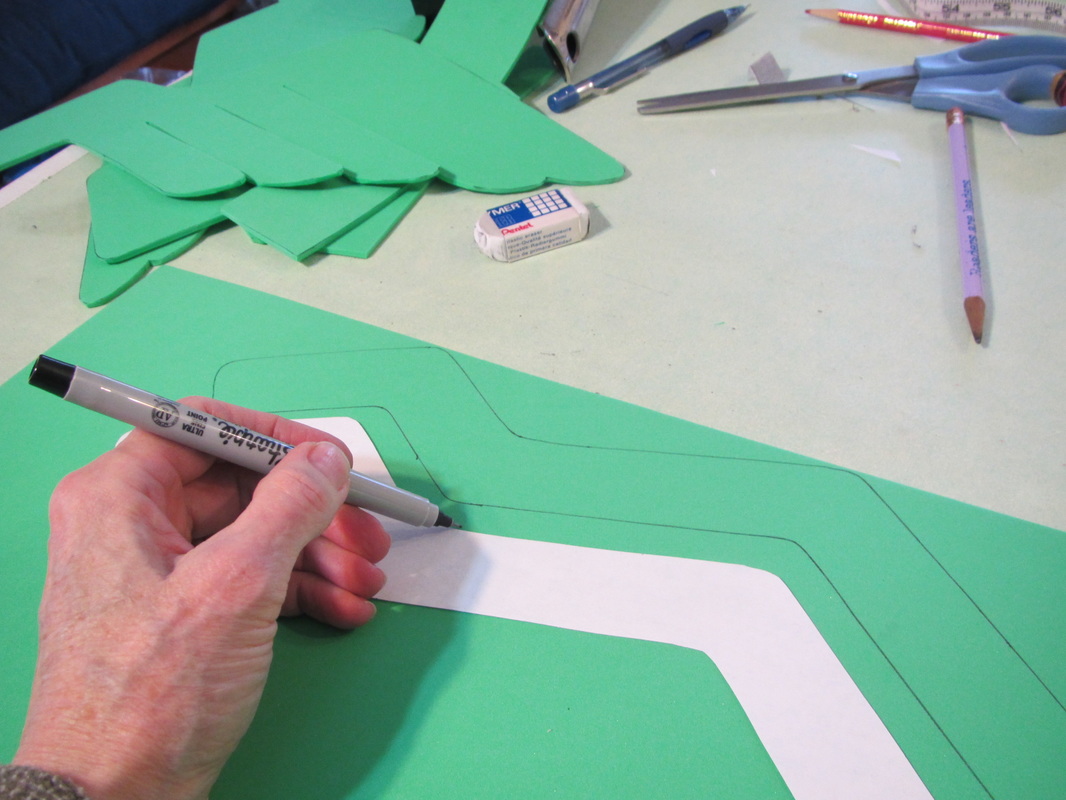
The pieces are constructed by gluing several layers on top of each other, curving them while glueing. So, there are quite a number of pieces to cut. I traced around all my piece with a fine point Sharpie then used regular scissors for cutting. But, not my fabric scissors.
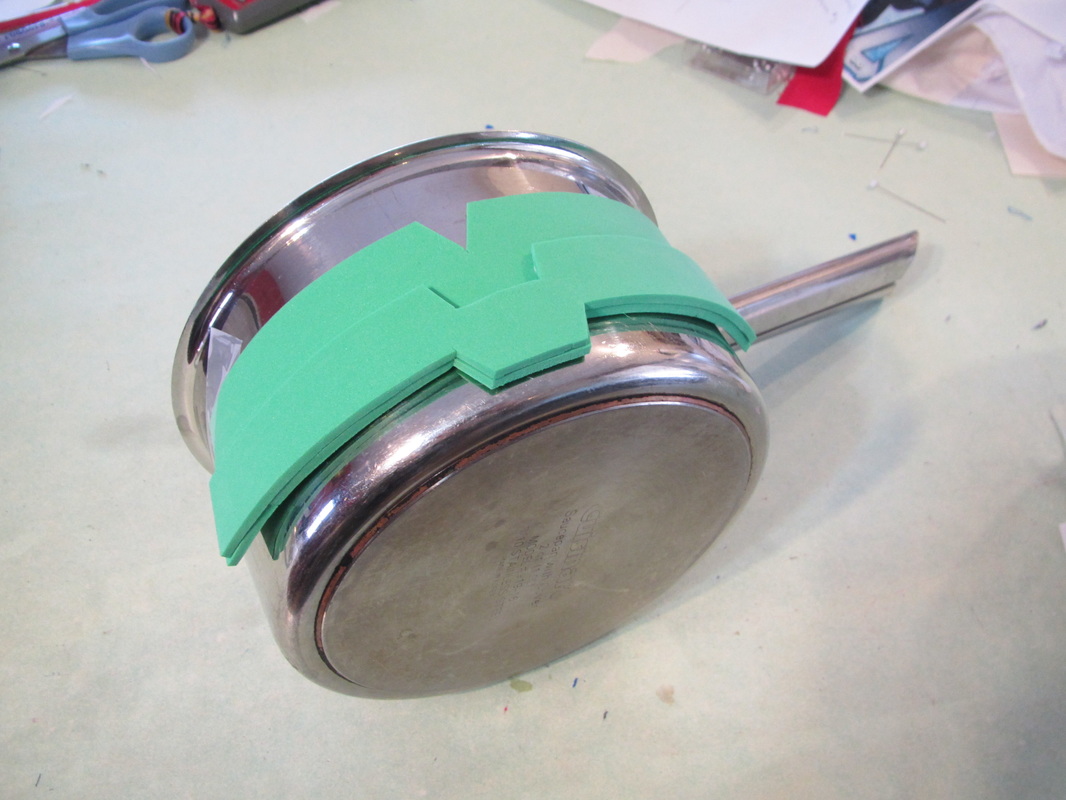
The layers MUST be glued over a curved surface to become head shaped. I was making a child and adult helmet, so I went to my kitchen and found two pots that were about the same measurement as a child's and adult's head.
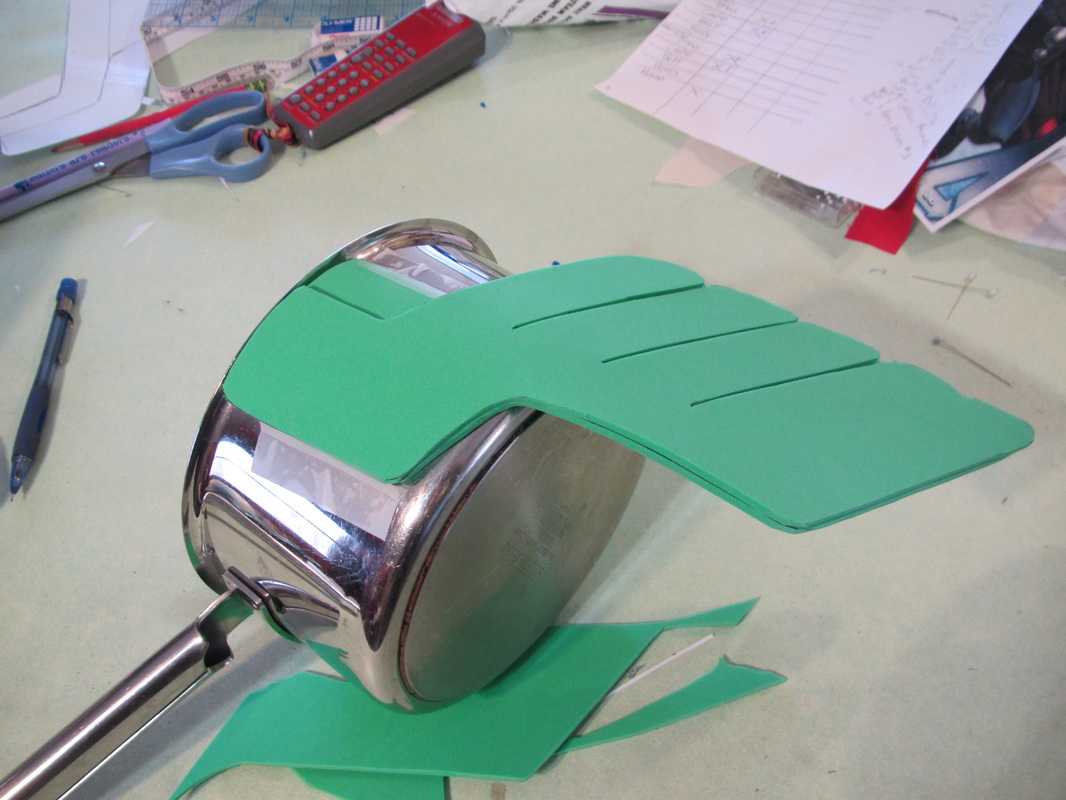
You can see I taped the edges of the bottom most layer to the pot, to hold the shape.
I used the craft foam glue that is sold by the same company that makes the foam, but any contact cement works.
I used the craft foam glue that is sold by the same company that makes the foam, but any contact cement works.
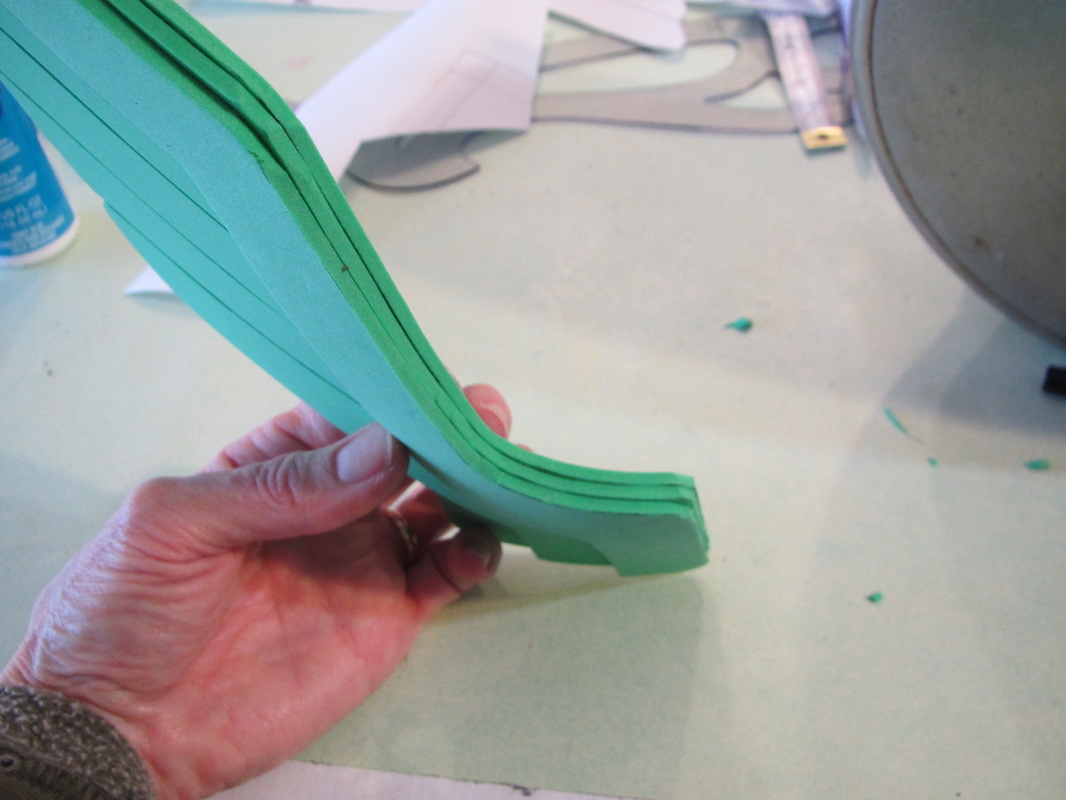
Don't move the pieces until they are dry. Because the layers were formed over a cylinder they will hold the curved shape.
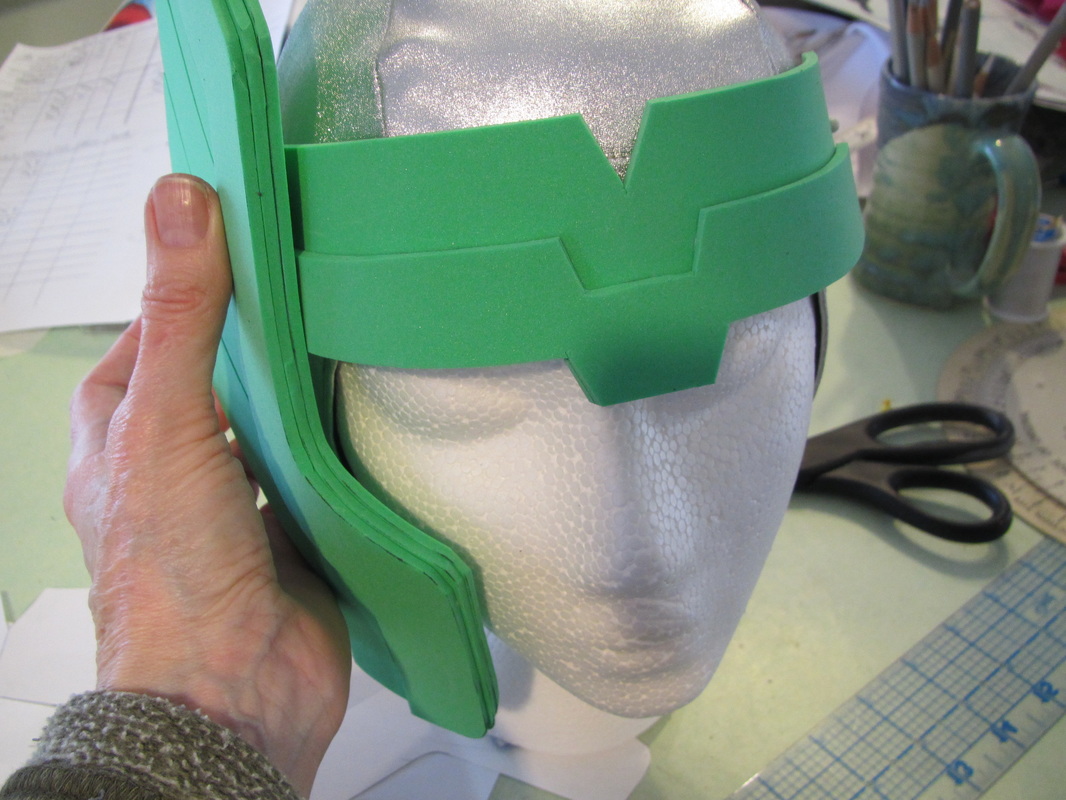
I'm testing the look and the fit before starting to paint.
EVA foam is very porous and needs to be sealed before the final paint can be applied.
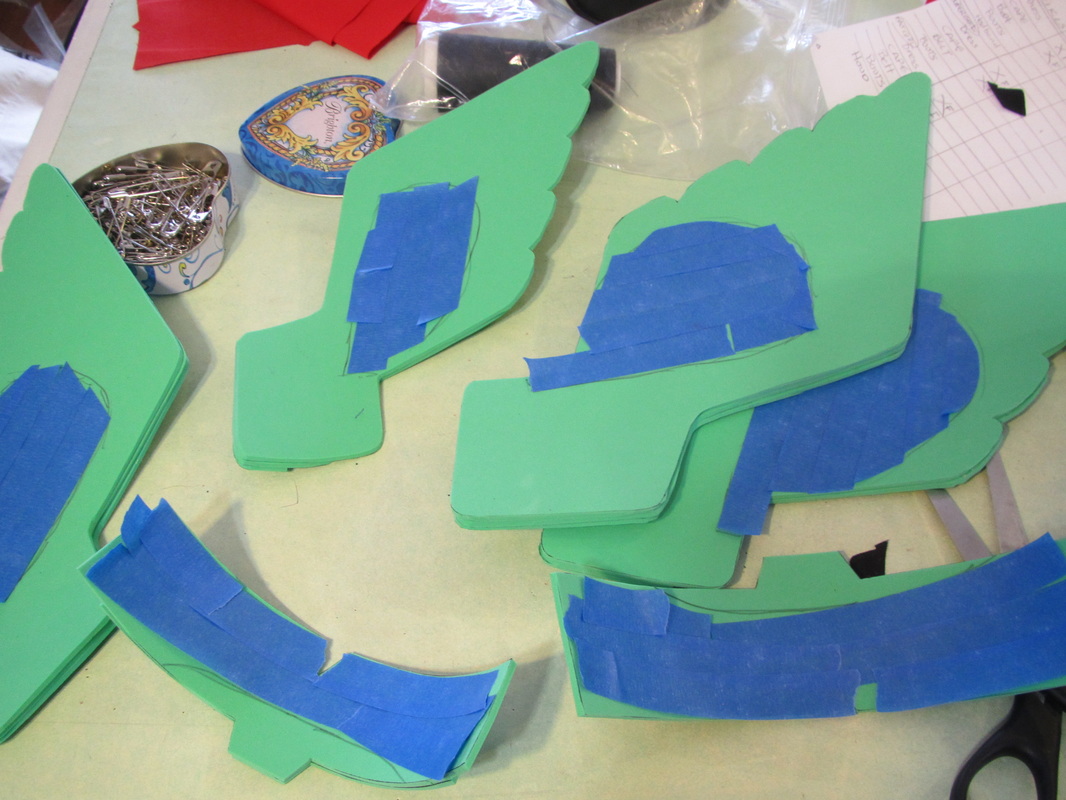
The areas that are going to be glued to the cloth part of the helmet need to be kept free of paint. Because my original plan was to use spray paint, I masked these areas off with painter's masking tape. If you are a careful hand painter this tape isn't needed.
BUT, I found out spray paint doesn't work AT ALL. It's super messy and just kept soaking in and in and in, never really sealing off the surface.
The thing to use is GESSO or MODGE PODGE.
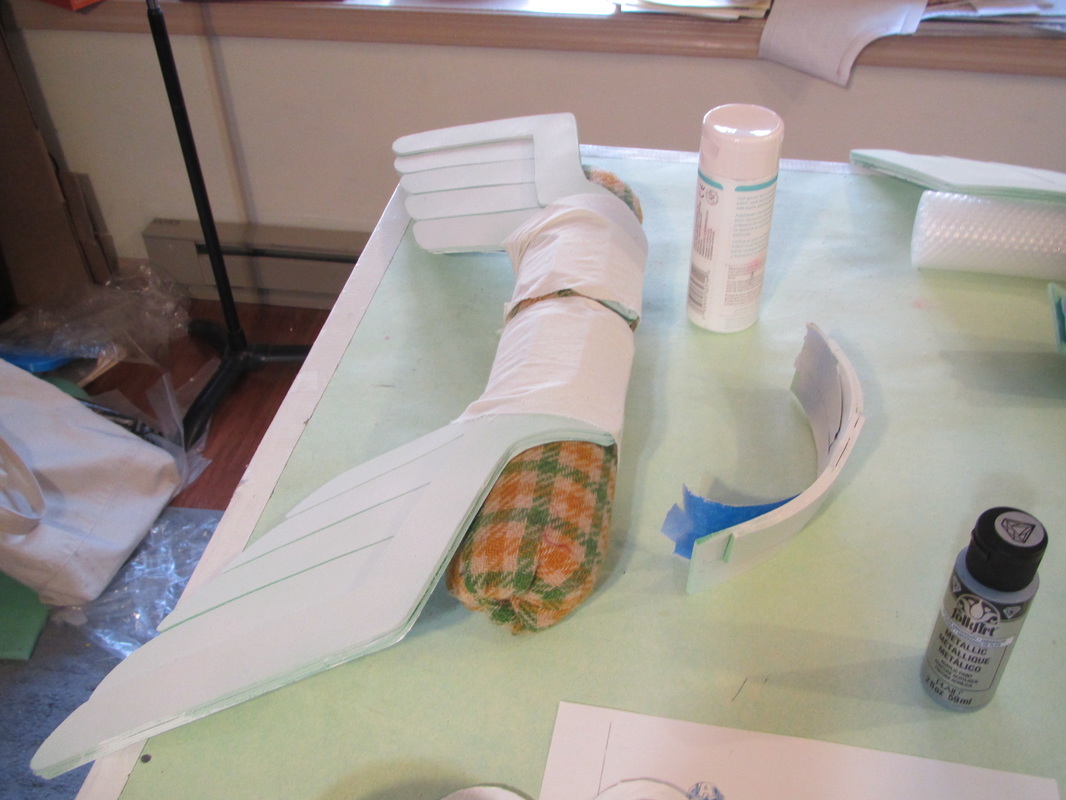
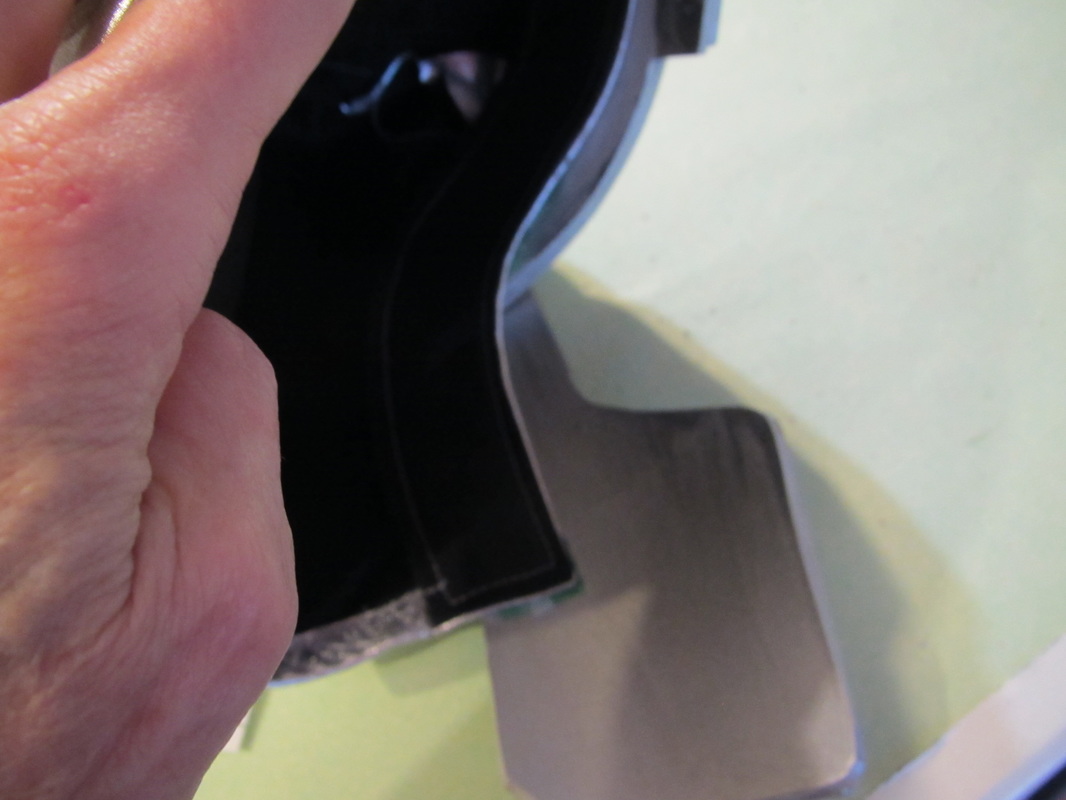
I wanted to make sure the part that curves around the cheeks was going to stay nicely shaped, so I wrapped it with muslin around my seam roll after the Gesso was dry enough to handle and let it sit overnight. I don't know if this step is necessary, but ...
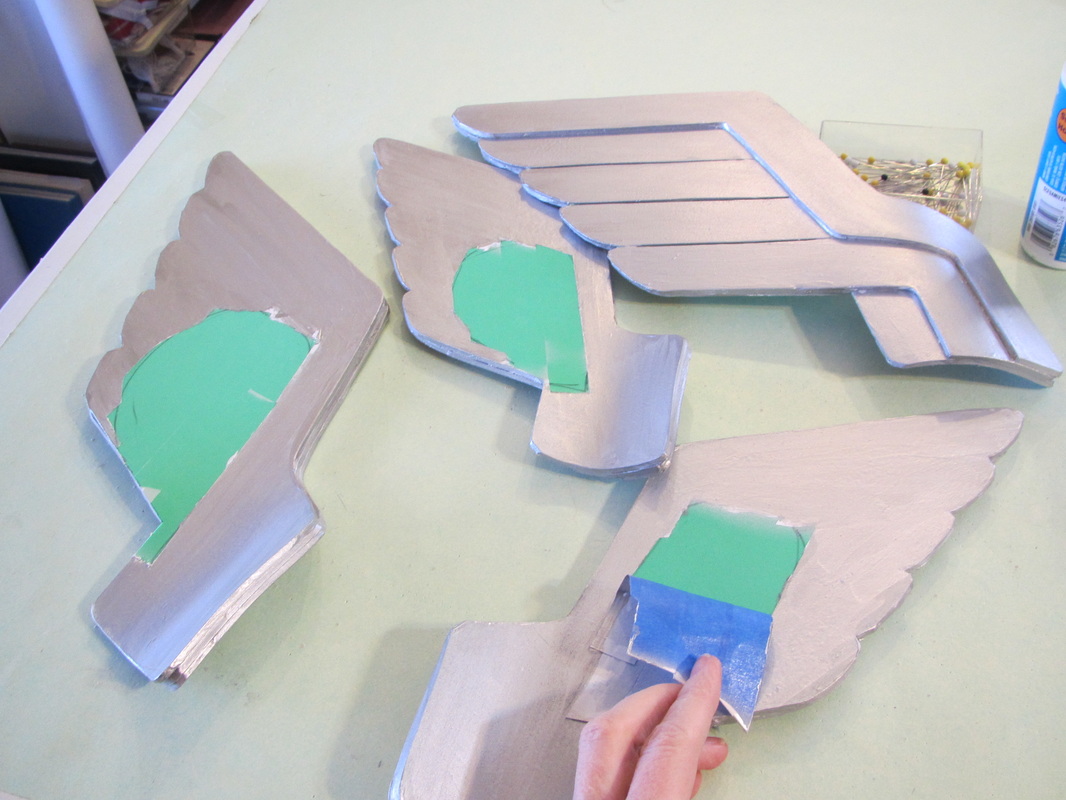
Then I hand painted on a couple layers of silver craft paint ...
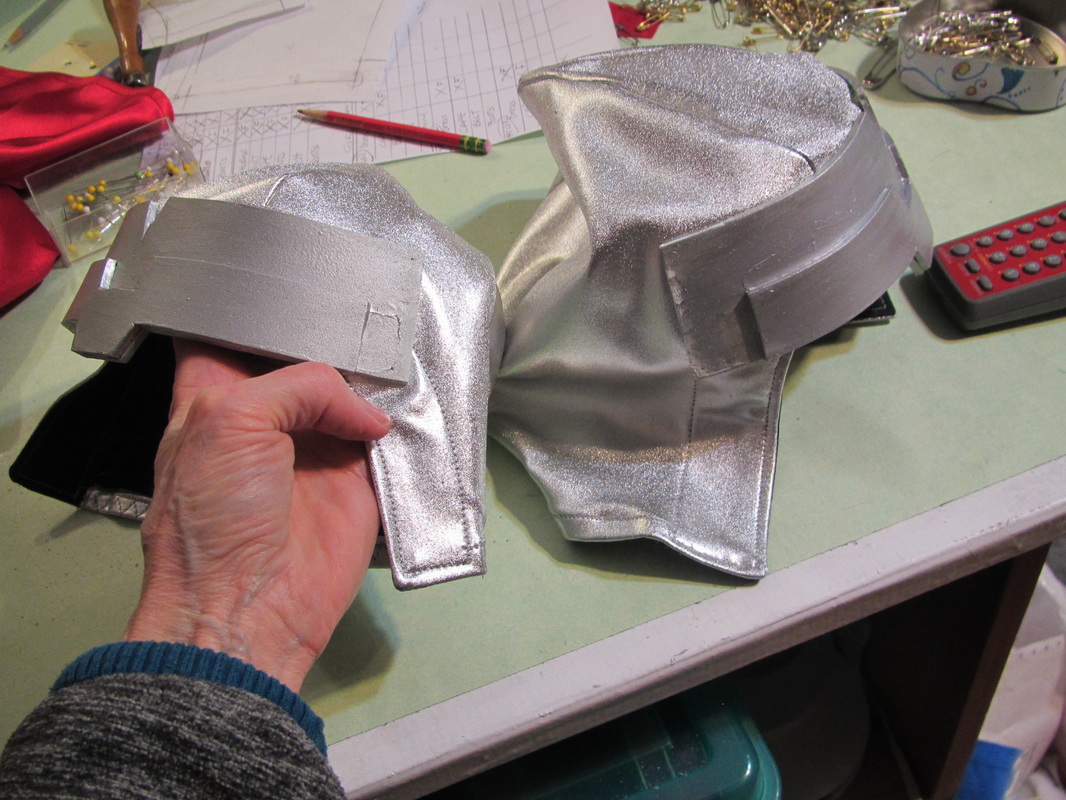
and glued the pieces to the cloth helmet.
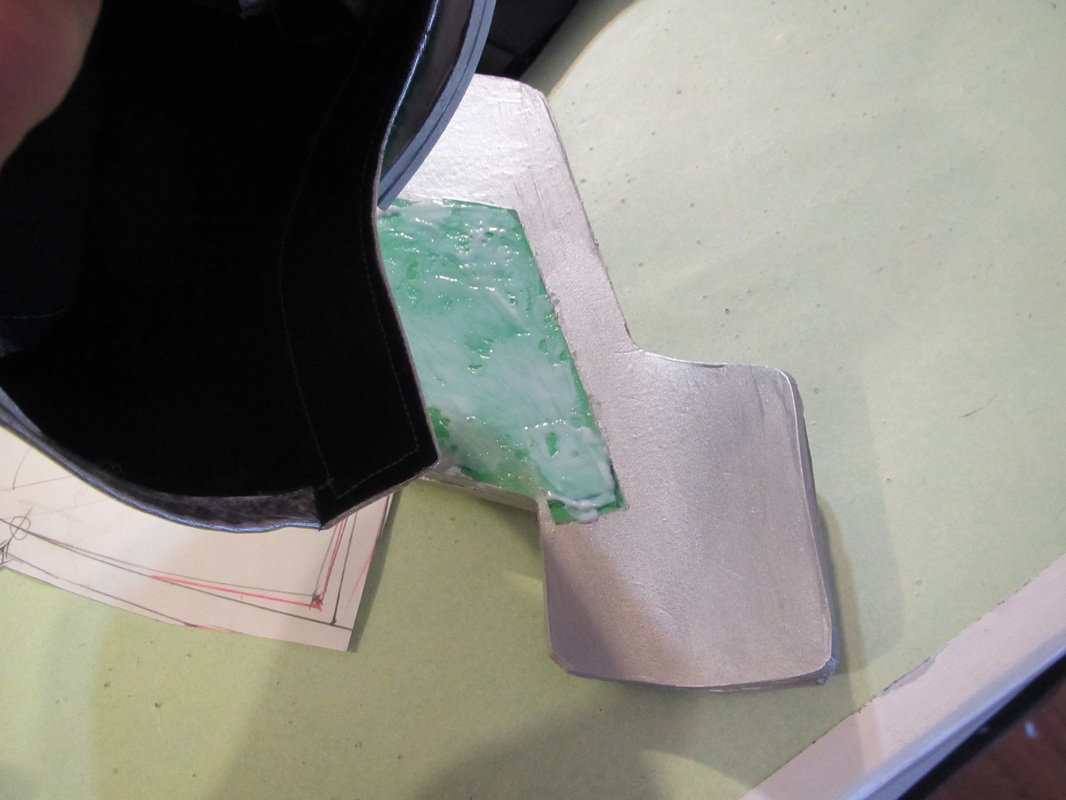
Here is some glue waiting to get tacky enough.
And then I can press the fabric on.

TAH! DAH!

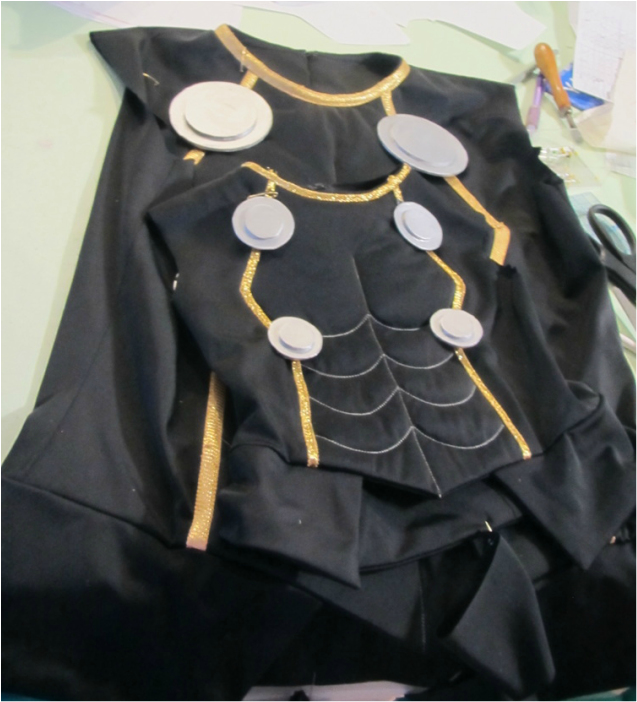
Meanwhile I was also making the silver discs that go on Thor's chest.
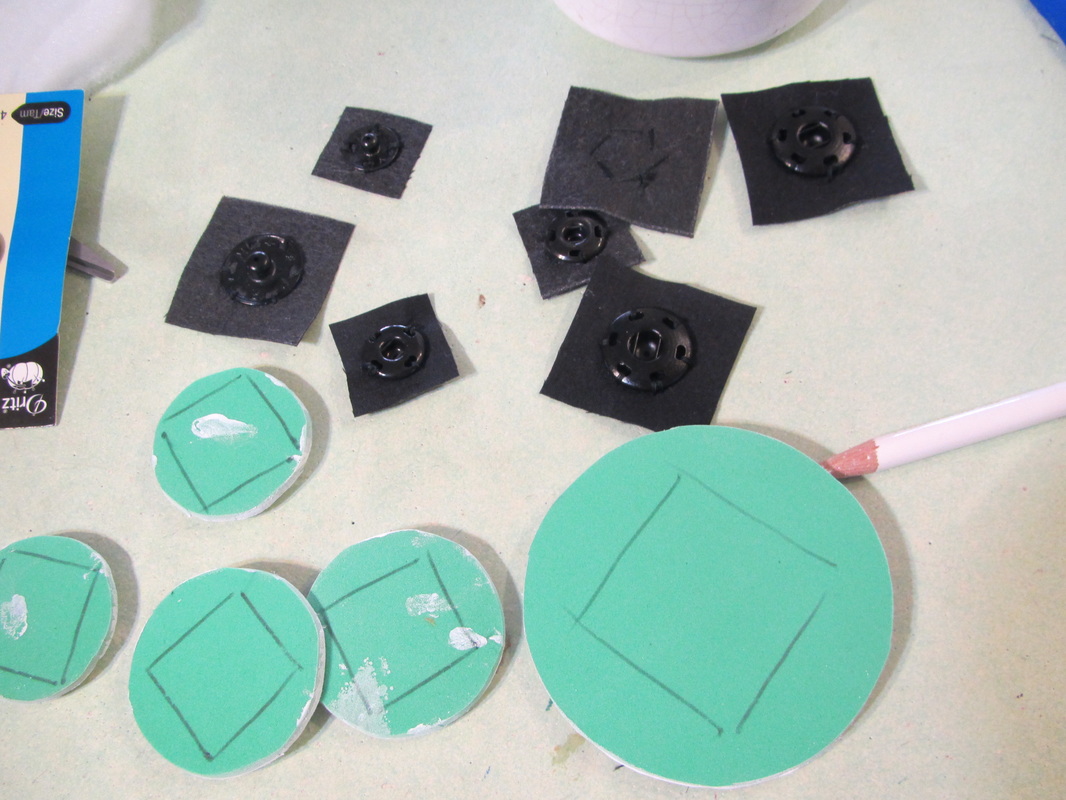
They are made the same way as the helmet pieces, but are much easier. Little squares of fabric with snaps sewn to them are glued to the backs so they can be removed for laundering. I imaging Thor gets rather sweaty going around being heroic and his outfit will need a washing now and then.
Thor and Thor Jr. ... awwww!
 RSS Feed