
Today, I'm going to show you the basics of sewing these tulle skirts. It really is very simple sewing, but requires a little organization.
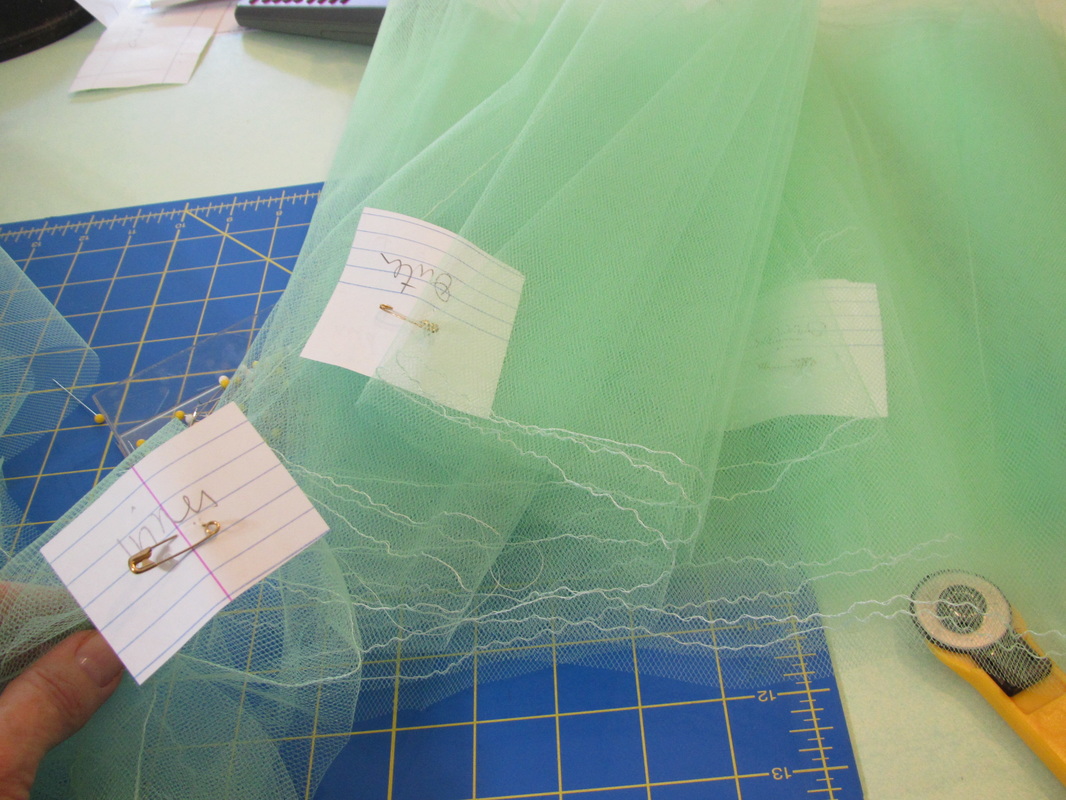
It is SO, SO helpful to make labels to pin to your fabric as you are cutting so you don't get all the very similar looking parts mixed up. And, as you can see, I don't take the labels off even after I start sewing the pieces together.
Read my blog about cutting from last week.
It is SO, SO helpful to make labels to pin to your fabric as you are cutting so you don't get all the very similar looking parts mixed up. And, as you can see, I don't take the labels off even after I start sewing the pieces together.
Read my blog about cutting from last week.

I took photos while sewing the pink and green skirts and will alternate between these two skirts while I show the sewing steps.
I try to take enough photos while I'm working, but often get very intent on finishing whatever I'm sewing on time, that I don't always take as many photos as I should. So, between the pink and green skirts I have enough to explain things.
I try to take enough photos while I'm working, but often get very intent on finishing whatever I'm sewing on time, that I don't always take as many photos as I should. So, between the pink and green skirts I have enough to explain things.
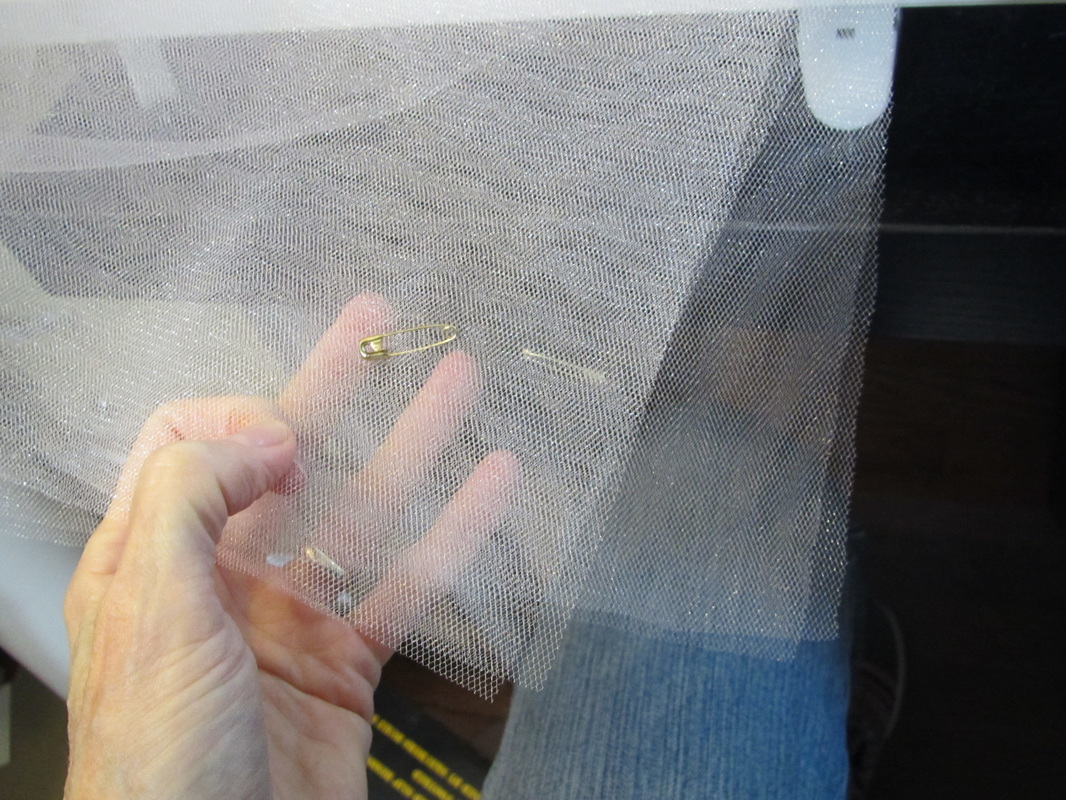
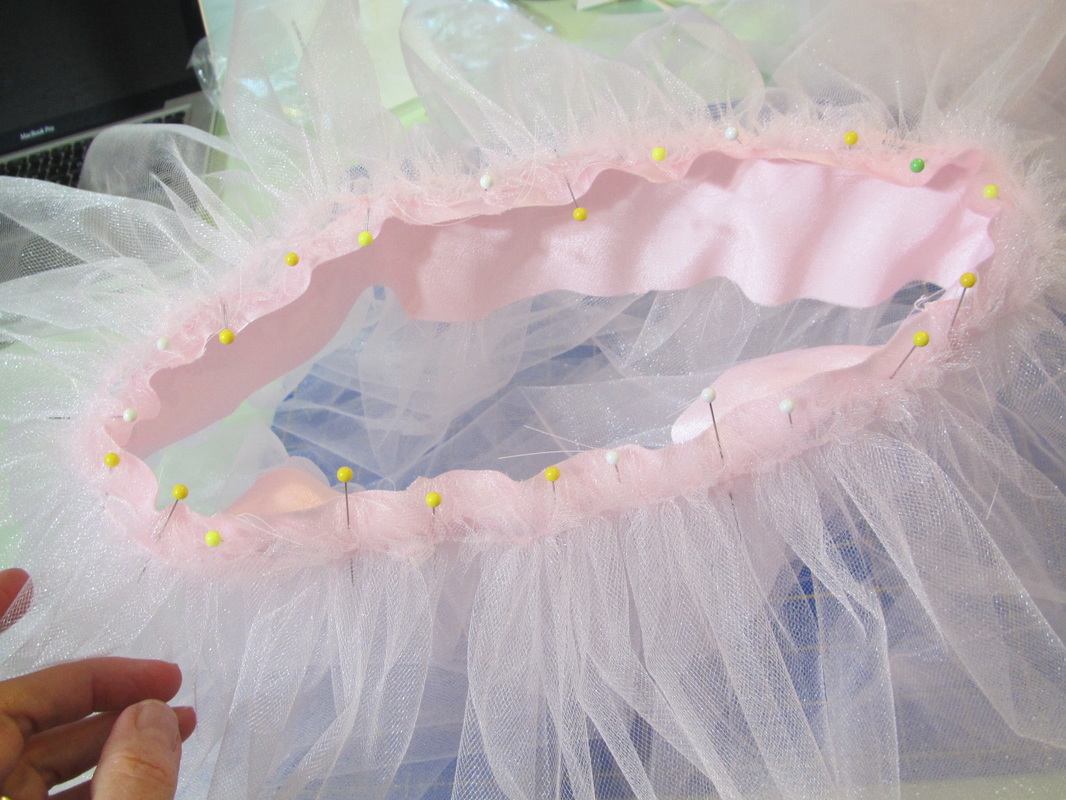
Tulle is so sheer and there is no right or wrong side. If I am not careful I often end up with seam allowances facing inward AND outward on a multi paneled skirt. So, to make sure that all the seam allowances are ALL facing inward, I pin little safety pins on every piece to designate what I have decided to be the right side of the fabric.
I can hardly see the fabric BUT I can see those safety pins!
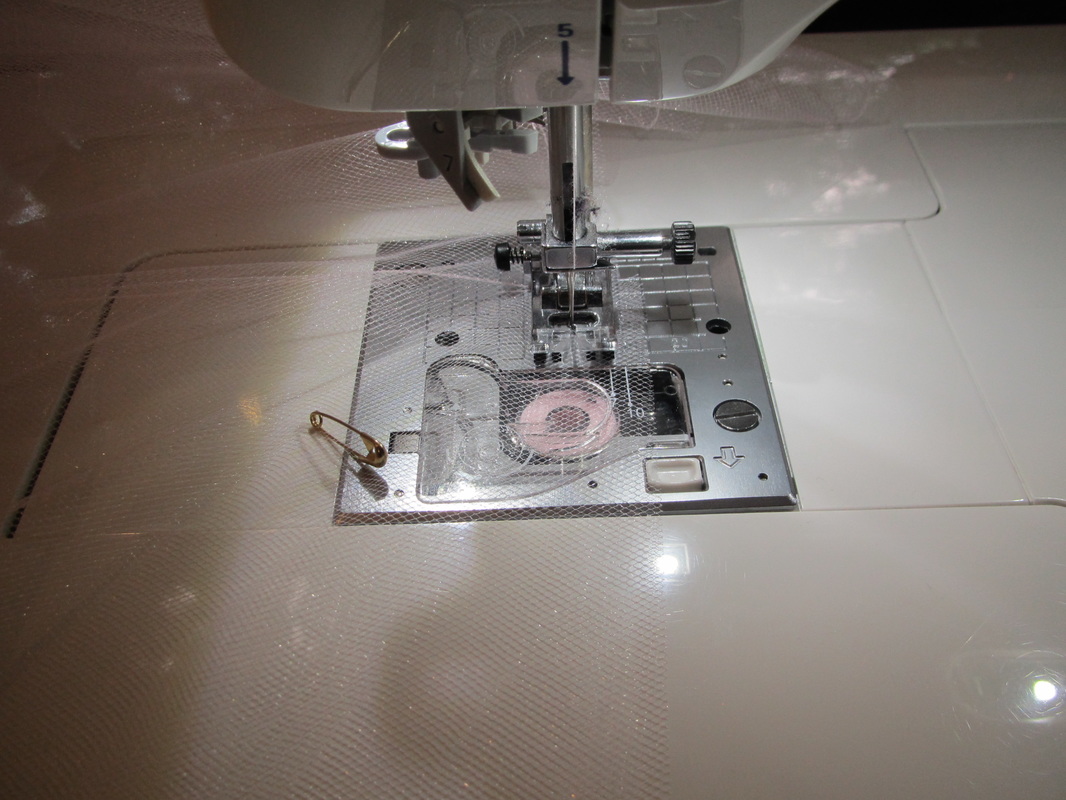
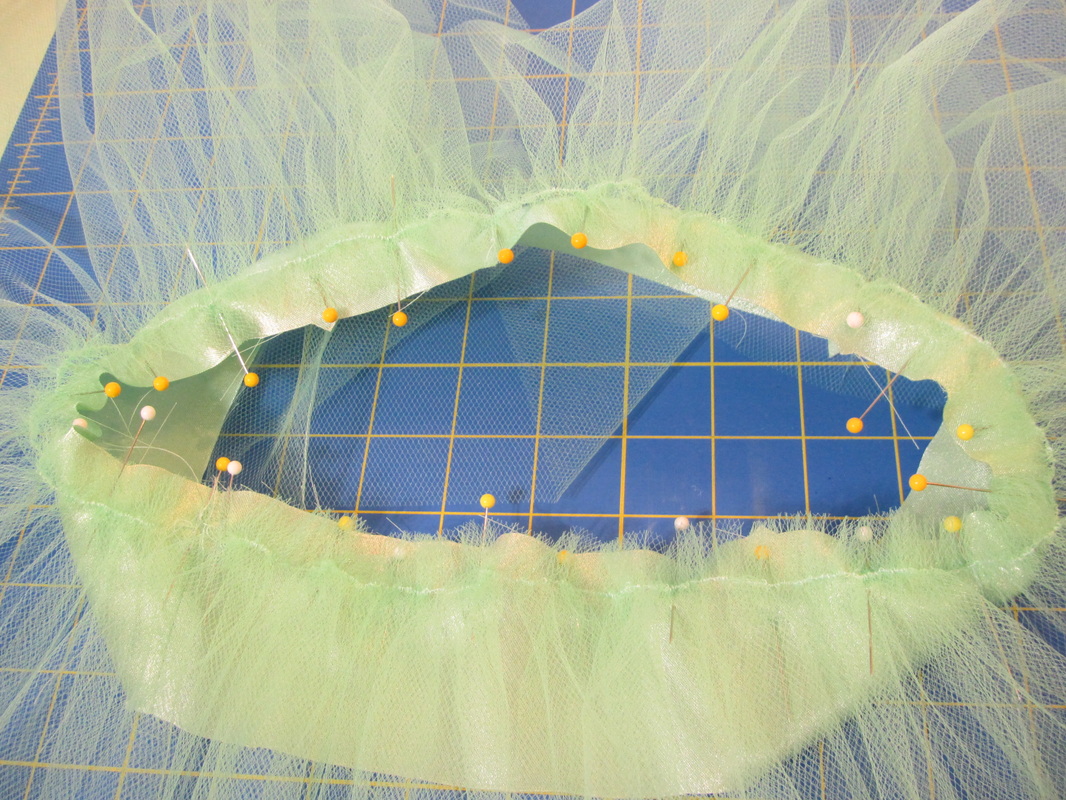
So here I have my first layer all assembled with one row of machine gathering ready to pull up. I only use one line of gathering stitches when sewing tulle for two reasons. #1 with a tulle skirt there always are SO many yards and yards to gather, I don't have the patience to run two rows of gathering and I don't want to waste so much thread. Reason #2 if you cut each length across the grain, the gathers on tulle don't get twisted with a single row of gathers like happens with other fabrics, so two rows aren't really necessary.
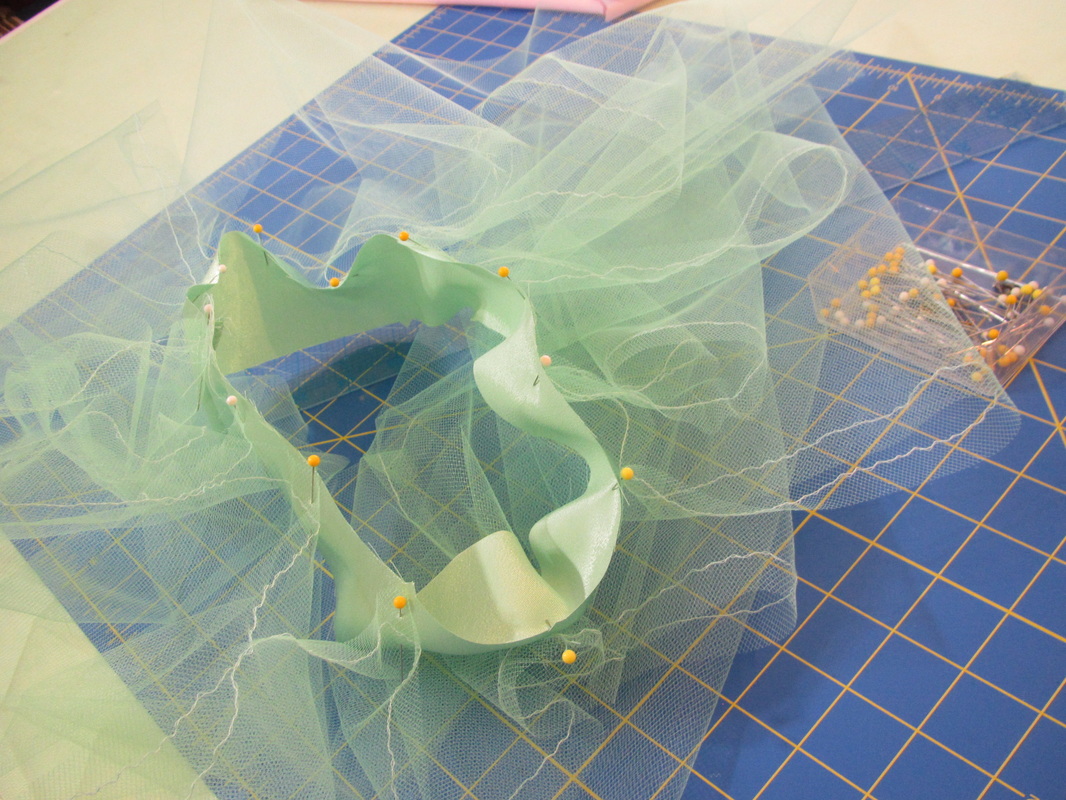
Anyway, this first layer will be sewn to the lower edge of the inner yoke. To equally distribute the fullness of the tulle, I divide both the tulle and inner yoke into 4th's and then 8th's, matching up these divisions and pinning them together ...
Pull the gathering stitches to fit ...
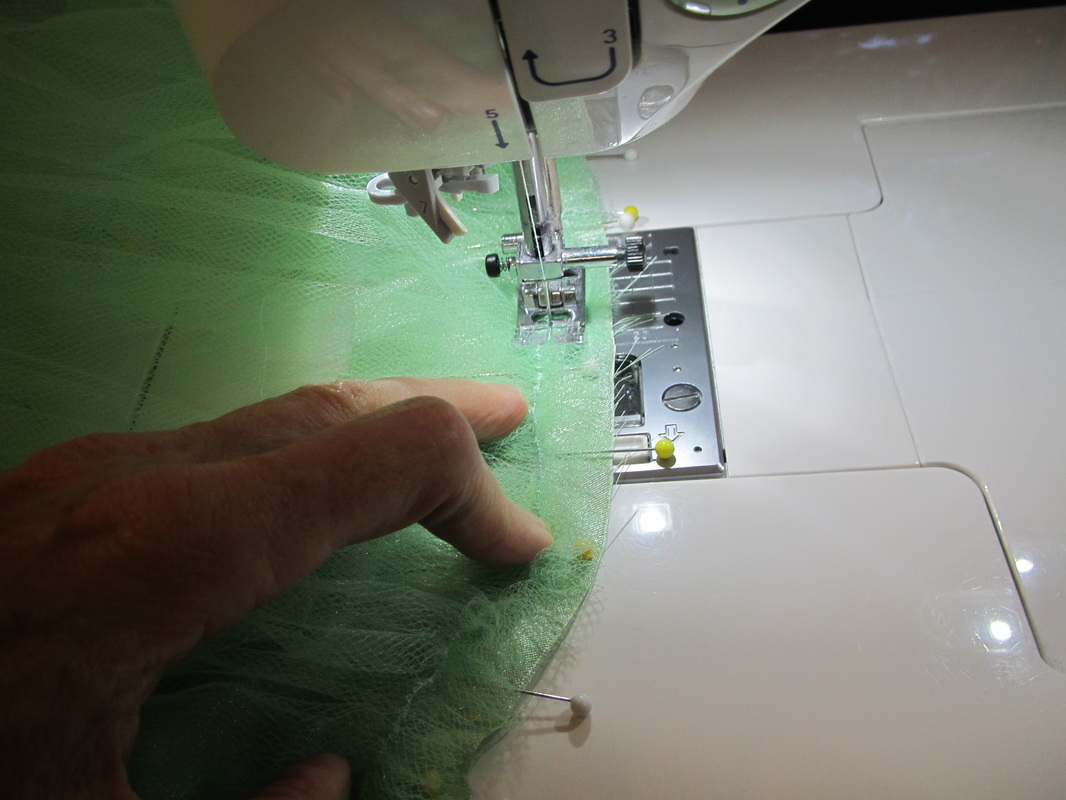
and stitch down by machine.
To get the full effect of the lightness and airiness of tulle, each layer MUST be gathered and applied one by one.
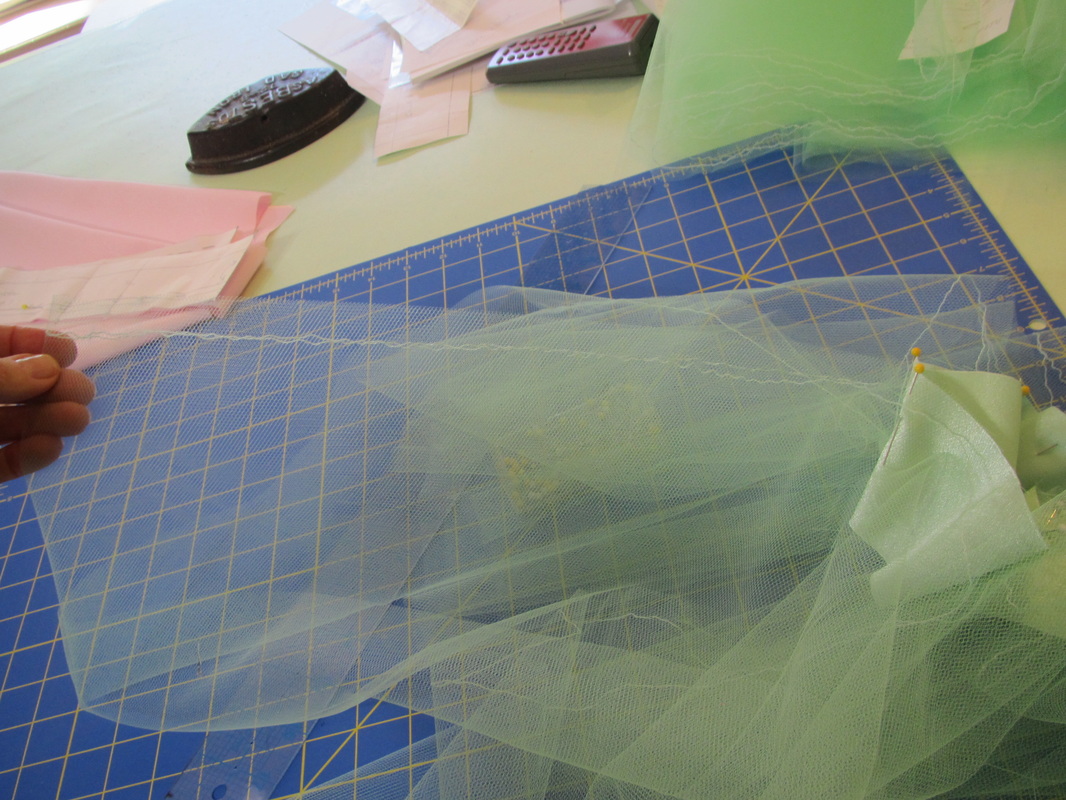
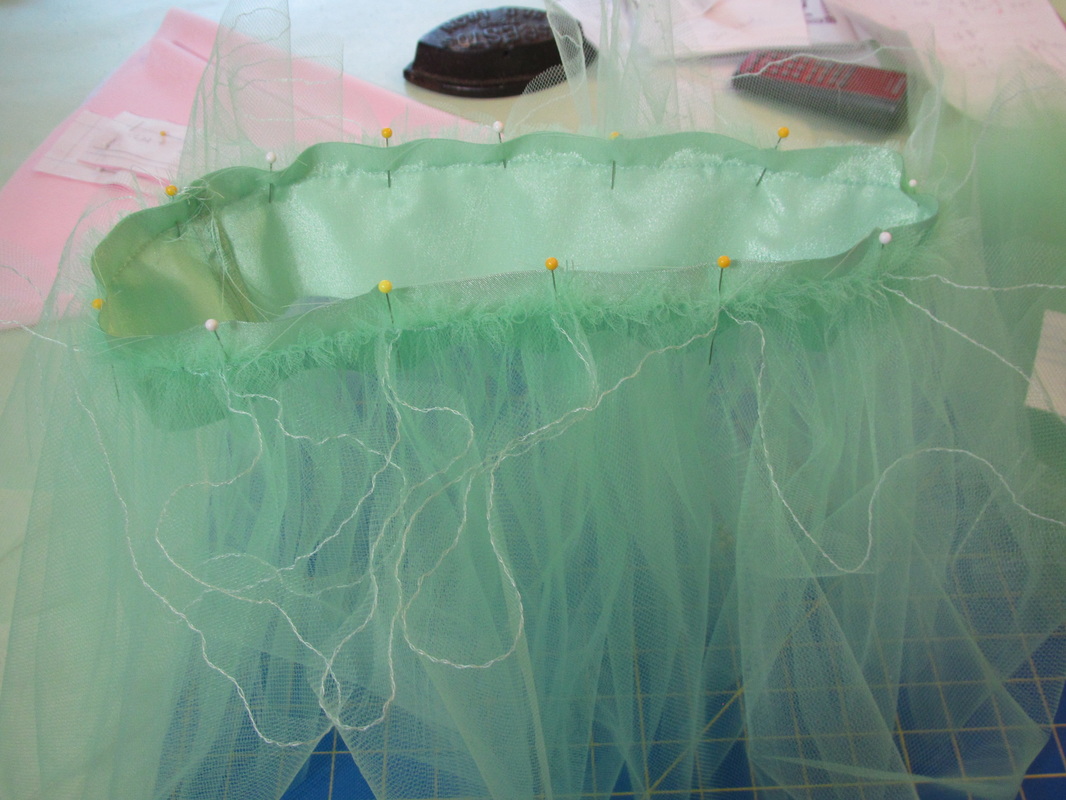
So, here is the second layer divided and pinned in place ready to have the gathering threads pulled up.
So, here is the second layer divided and pinned in place ready to have the gathering threads pulled up.
AND, switching to the pink skirt ...
The second layer is all gathered and ready to sew.
The second layer is all gathered and ready to sew.
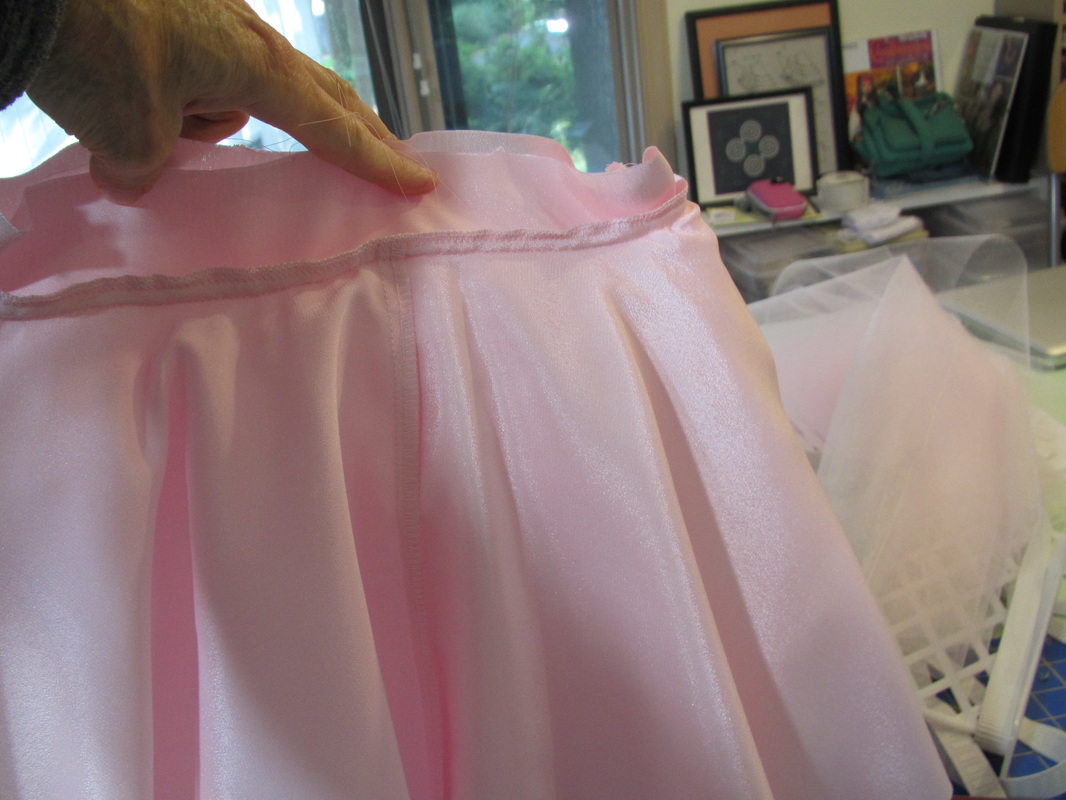
Now it's time to sew on the main part of the skirt lining, which is cut as a circle skirt. The gathered tulle gets sandwiched between the inner yoke and this circular skirt.
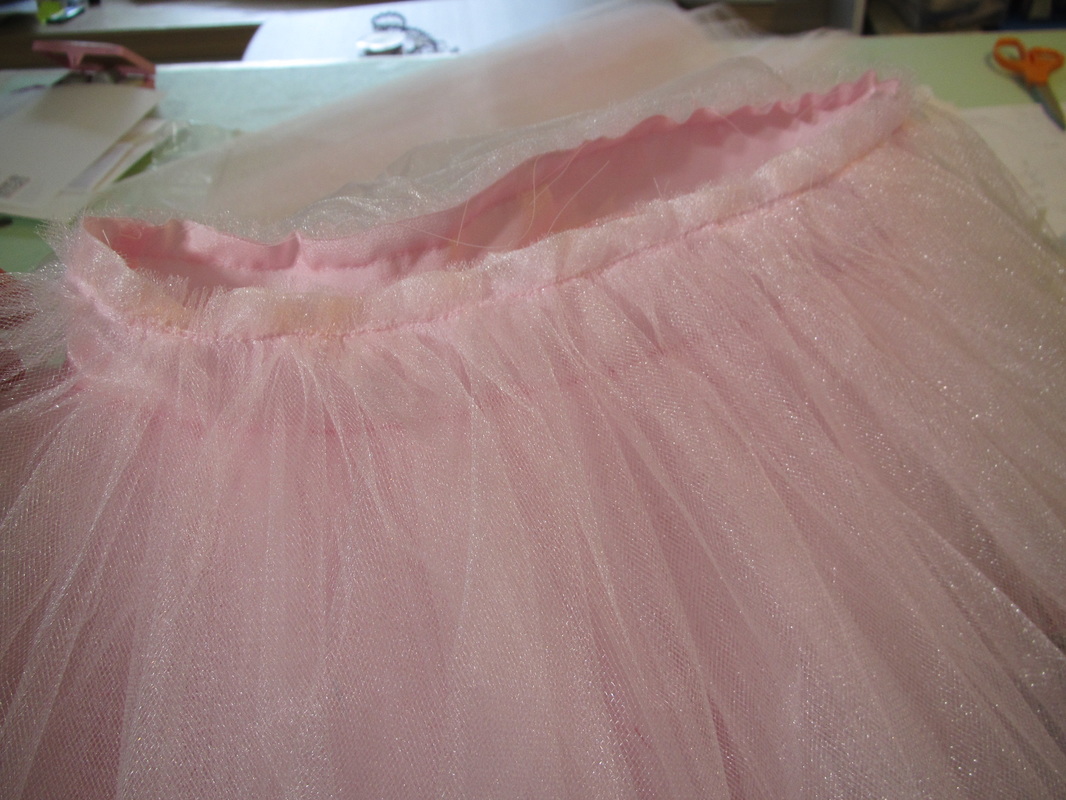
This is what it looks like from the inside when stitched with the seam finished.
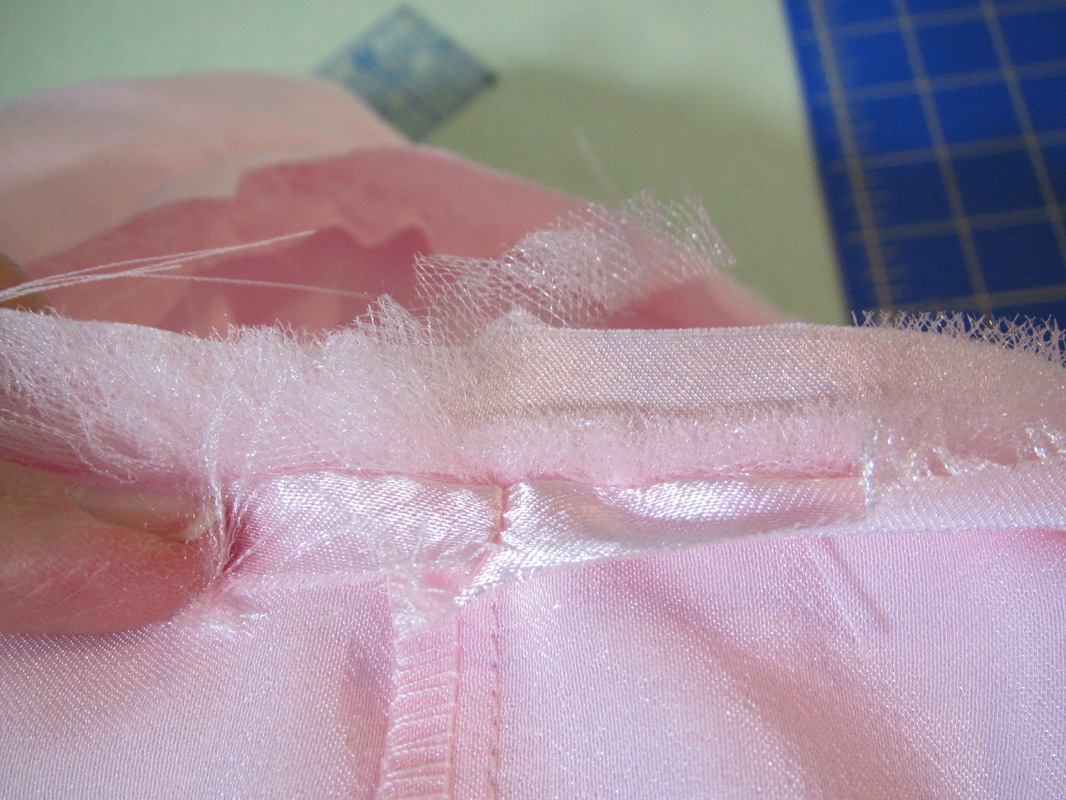
After stitching the seam but BEFORE I serged it, I opened up the seam and trimmed away some of the tulle that is all bunch up between the yoke and circle skirt to reduce bulk.
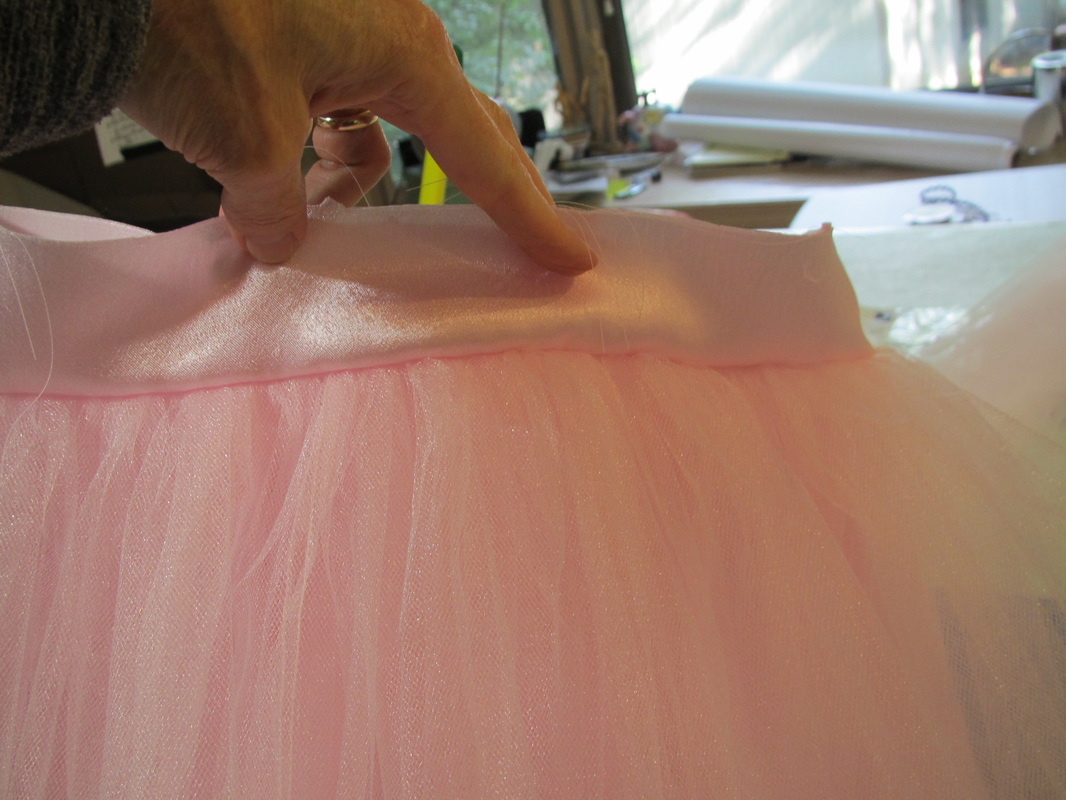
And this is what it looks like from the outside. That strip of pink fabric above the tulle is the inner yoke which now has the circular skirt lining sewn to it.
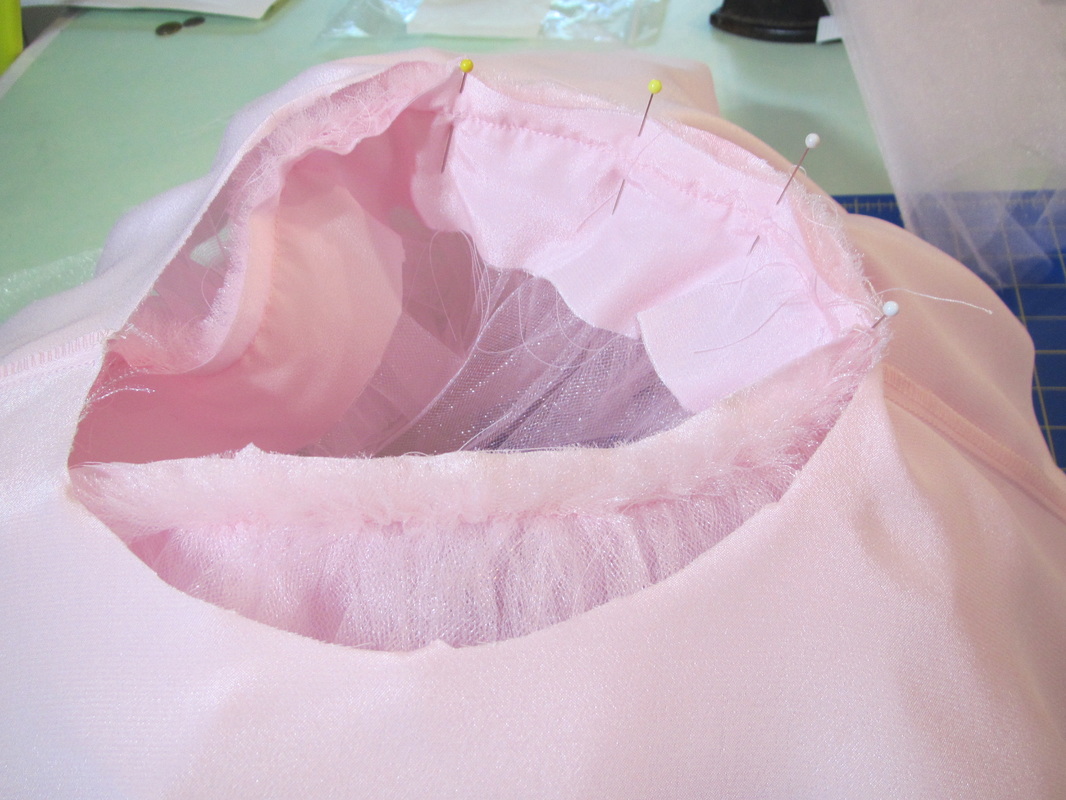
Now the two layers of tulle can be gathered and sewn to the upper edge of this inner yoke in the same manner the tulle was sewn to the lower edge.

The photo shows me gathering and pinning the second of the two layers of tulle to the upper edge of the inner yoke, in preparation for sewing.
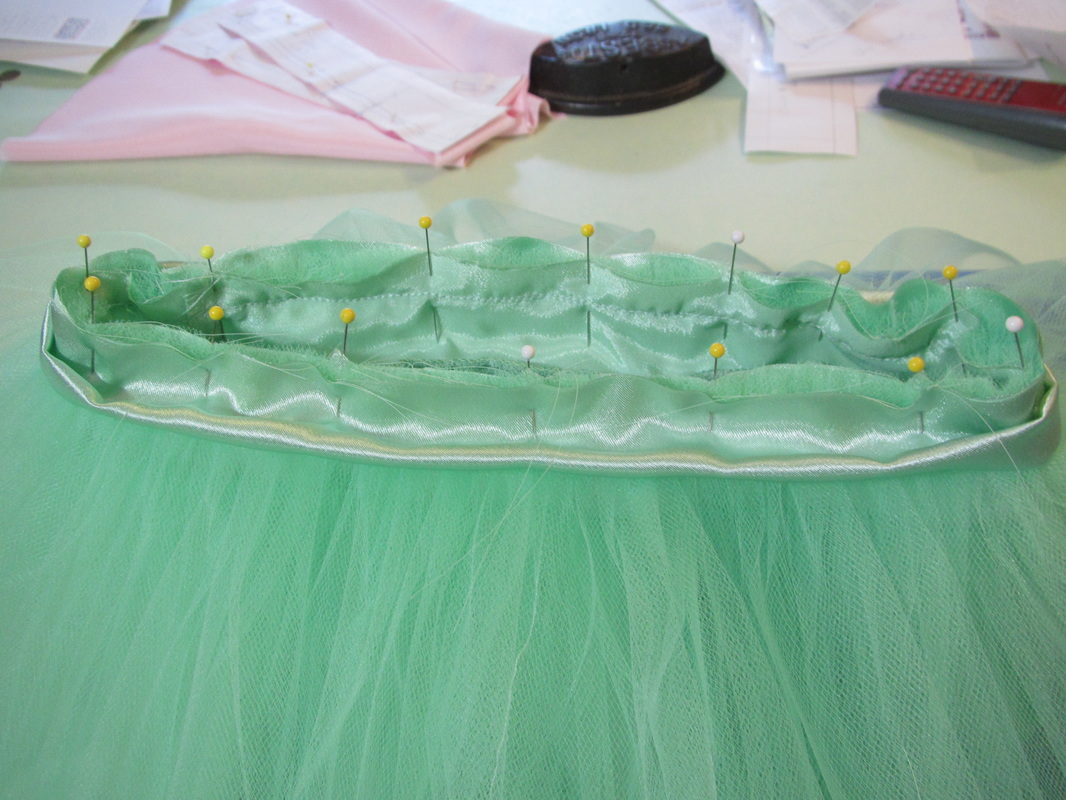
OK ... back to the green skirt and time for the waistband, which is a casing for elastic.
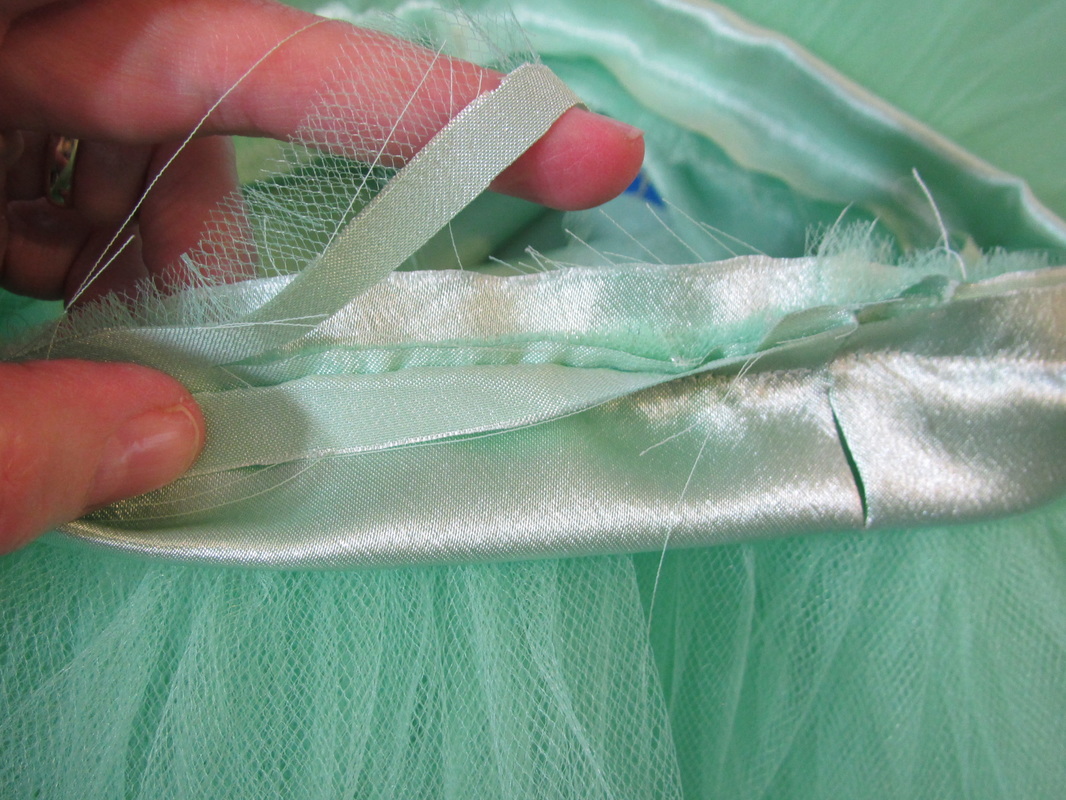
After this waistband is machine stitched, I again reduce bulk by trimming away fabrics that are between the inner and outer most layers of the seam before finishing with the serger.
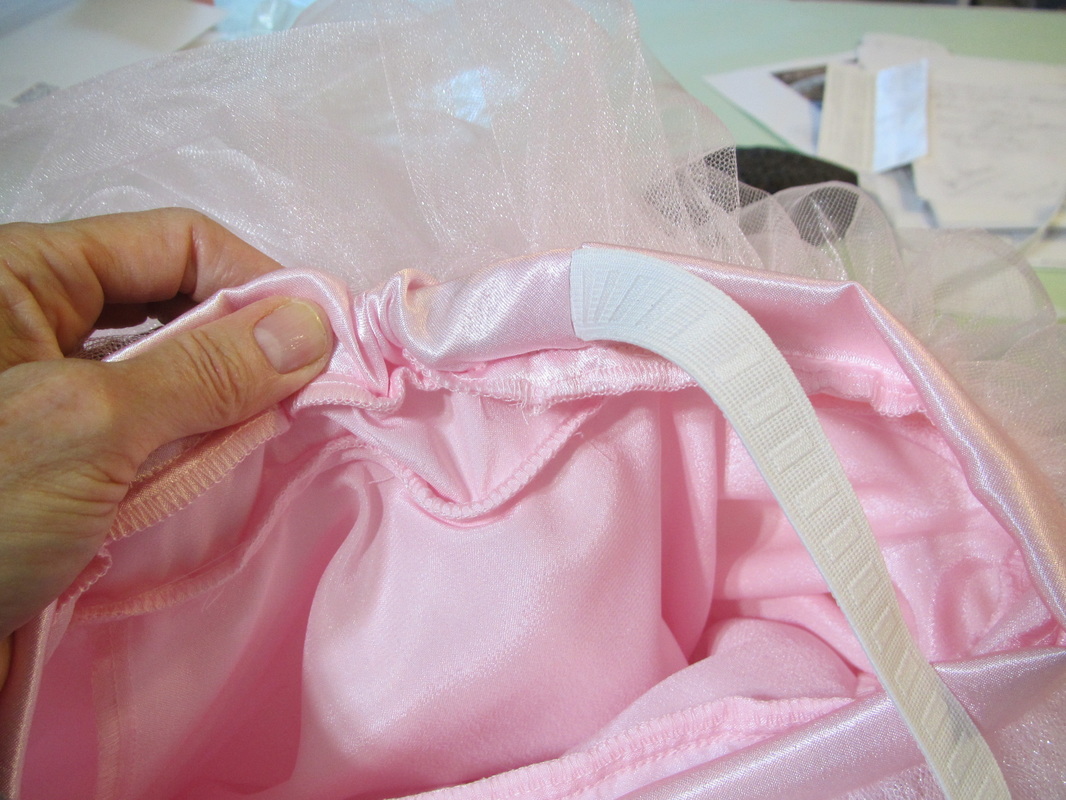
Then the elastic can be inserted into the waistband.
All that is left, is to hem the inner skirt lining and you are done!
All that is left, is to hem the inner skirt lining and you are done!
 RSS Feed