
Since I make sewing patterns, I often find ways to simulate things like leather and metal with fabric and thread. And that is what I did for a couple elements in this pattern. Of course, if you or someone you know can make real leather or real metal things, that would be the best.
Here is a link to this pattern I'm writing about.
But, I have to say they are making better and better looking faux leather these days.
Here is a link to this pattern I'm writing about.
But, I have to say they are making better and better looking faux leather these days.
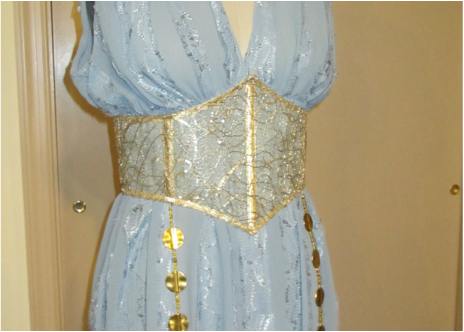
The belt is supposed to look like filigree metal work. I was lucky to find this embellished net. A metallic lace would work well, too.
After I worked out my pattern, I had to figure out how to keep it stiff but still delicate looking. Such a wide belt will just fold up on itself otherwise.
| 
|
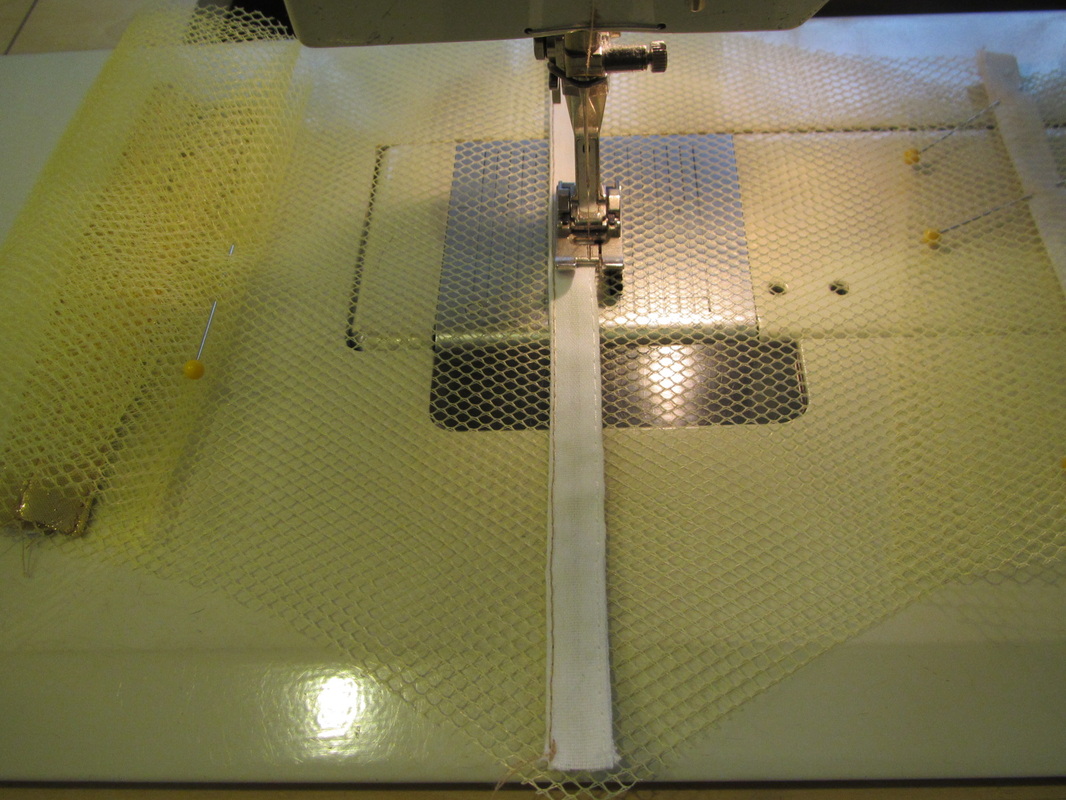
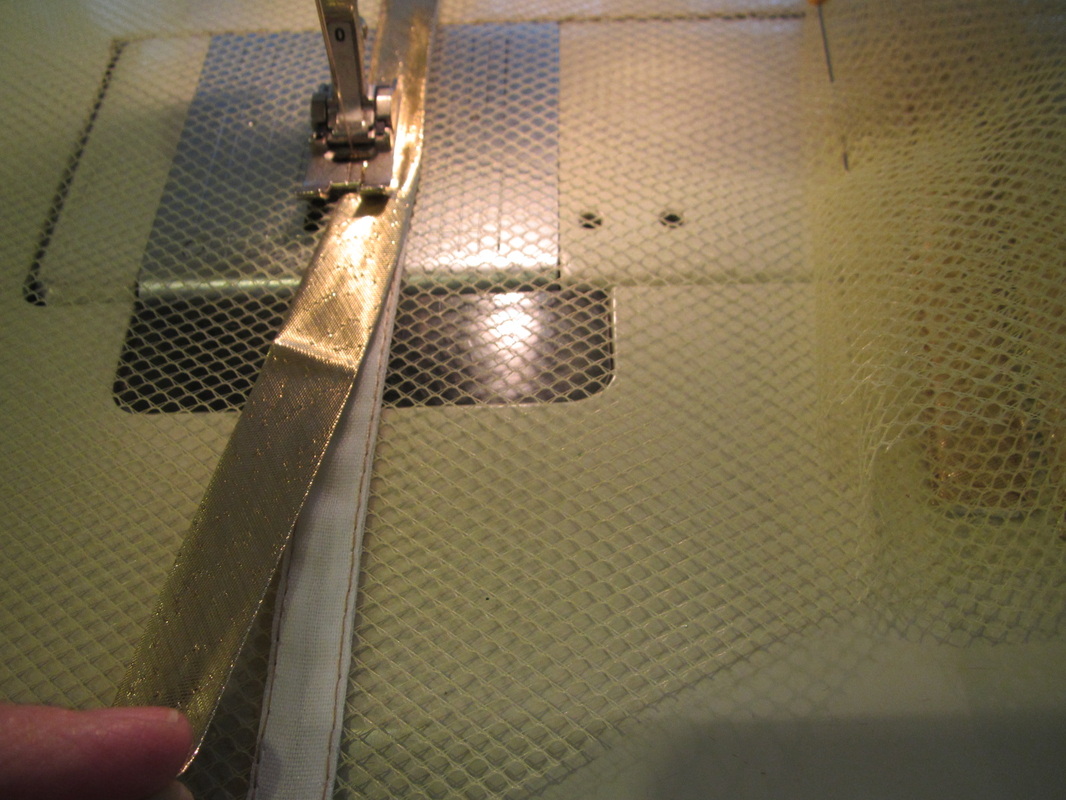
Boning is really the only answer, but how to do boning on something sheer?? Well, what I did was to cut an under layer of stiff net (aka crinoline or can-can net). Then I sewed the fabric covering from plastic feather boning at the points where I decided the boning was needed. BUT, that awful white tape was going to show, so I covered it with metallic gold bias tape.
| 
|
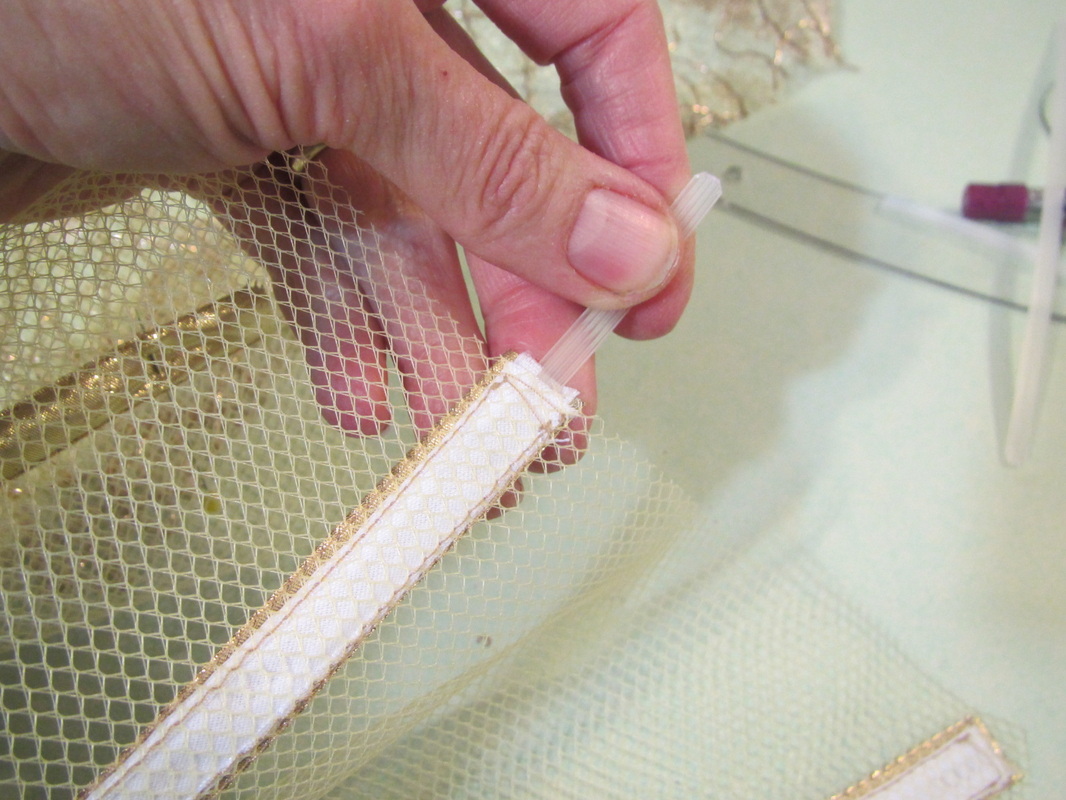
Then I slipped the boning back into the casing and layered on the outer fabric.
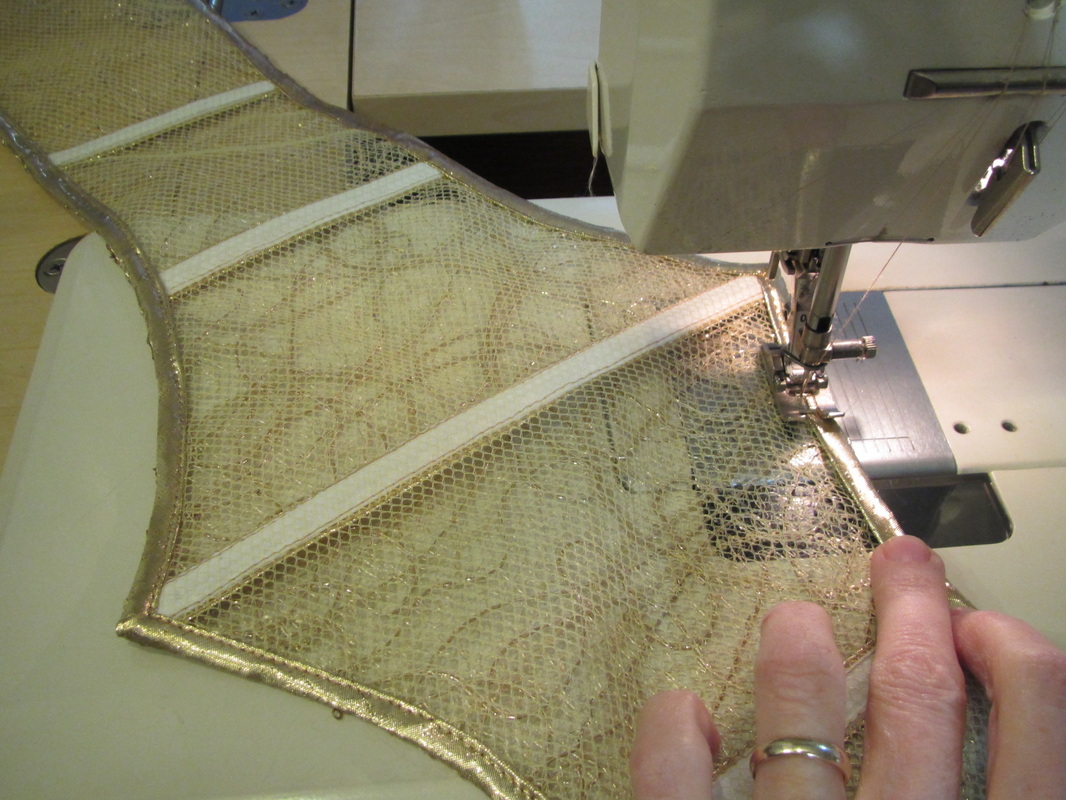
Then I finished the outer edges with more gold bias tape! DONE!
| 
|
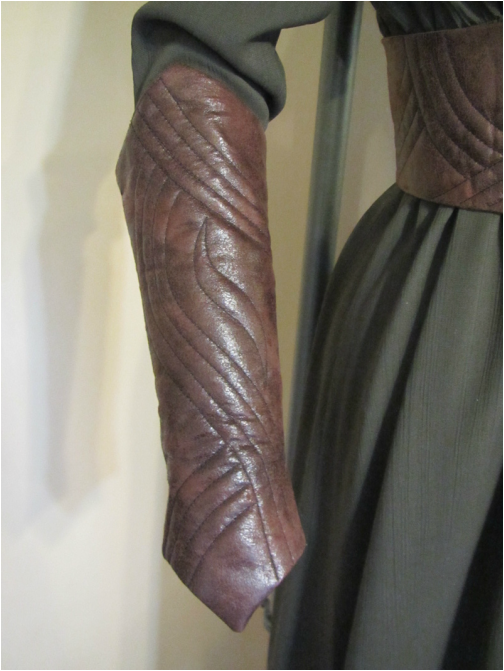
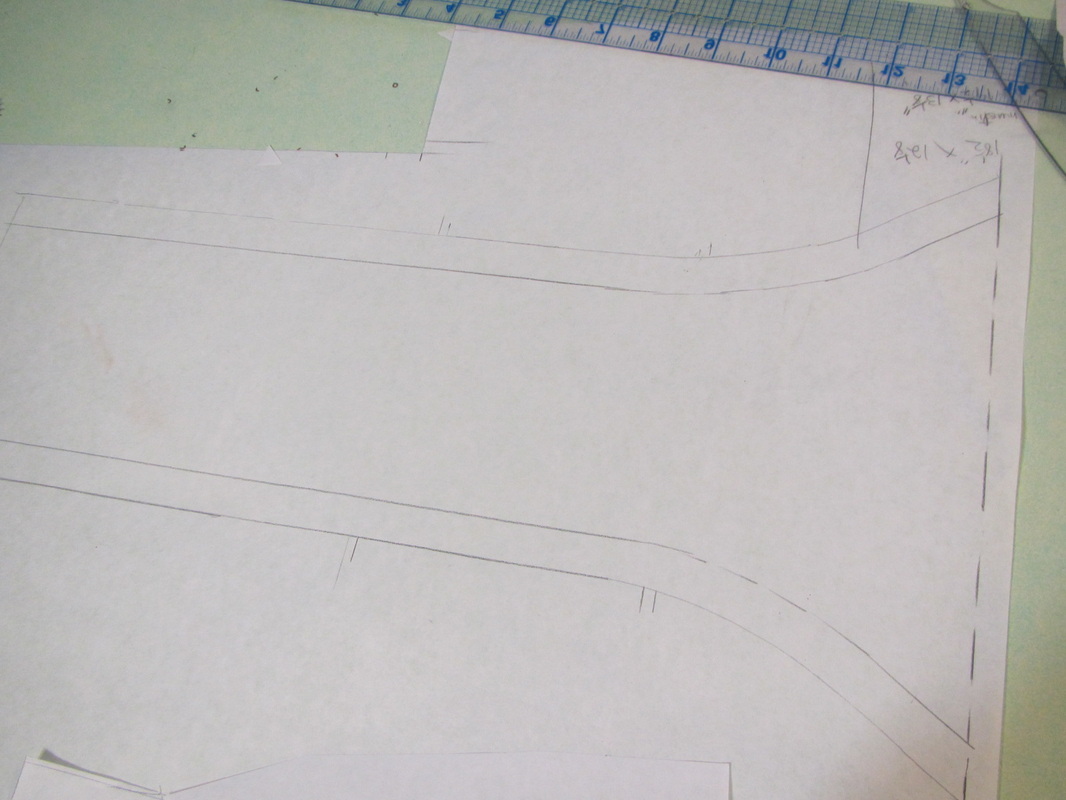
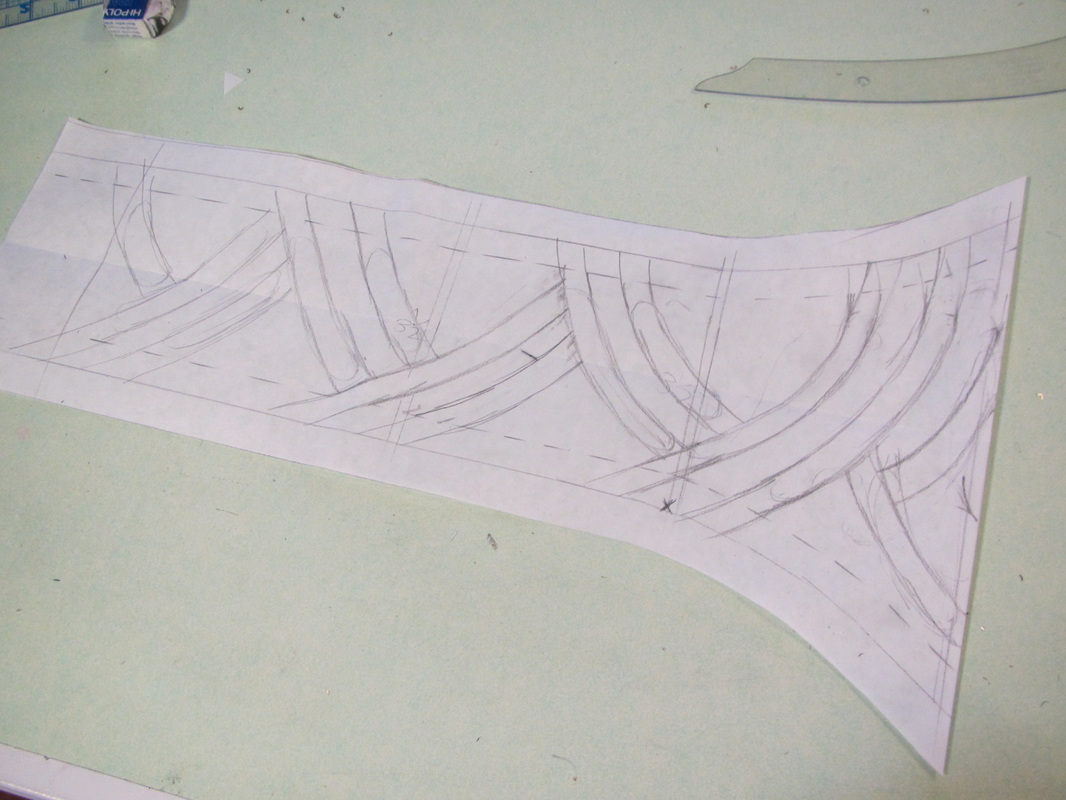
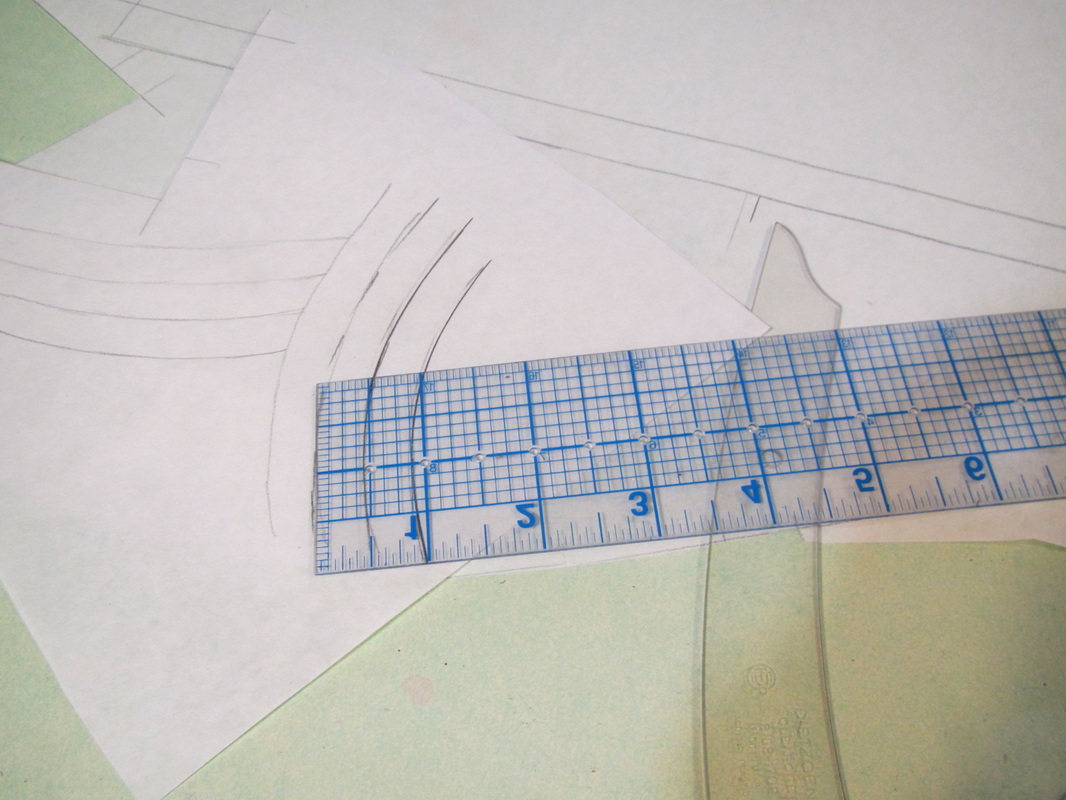
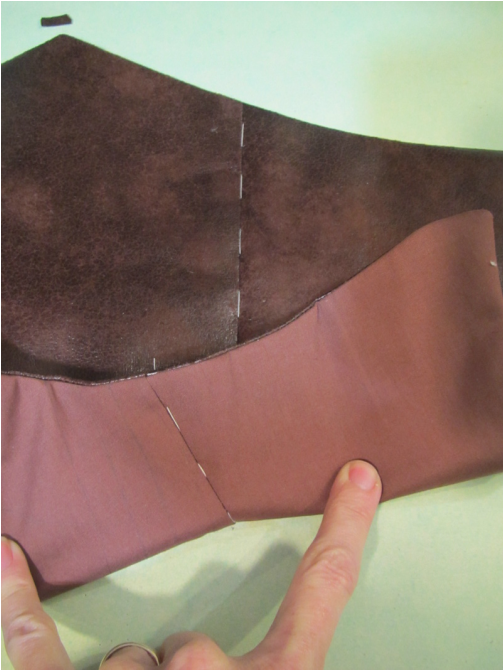
For the faux tooled leather belt and gauntlet, I used the same belt pattern and started off by freehand drawing the design I wanted. After I was satisfied with that, I went back over it with rulers and french curves to clean it up.
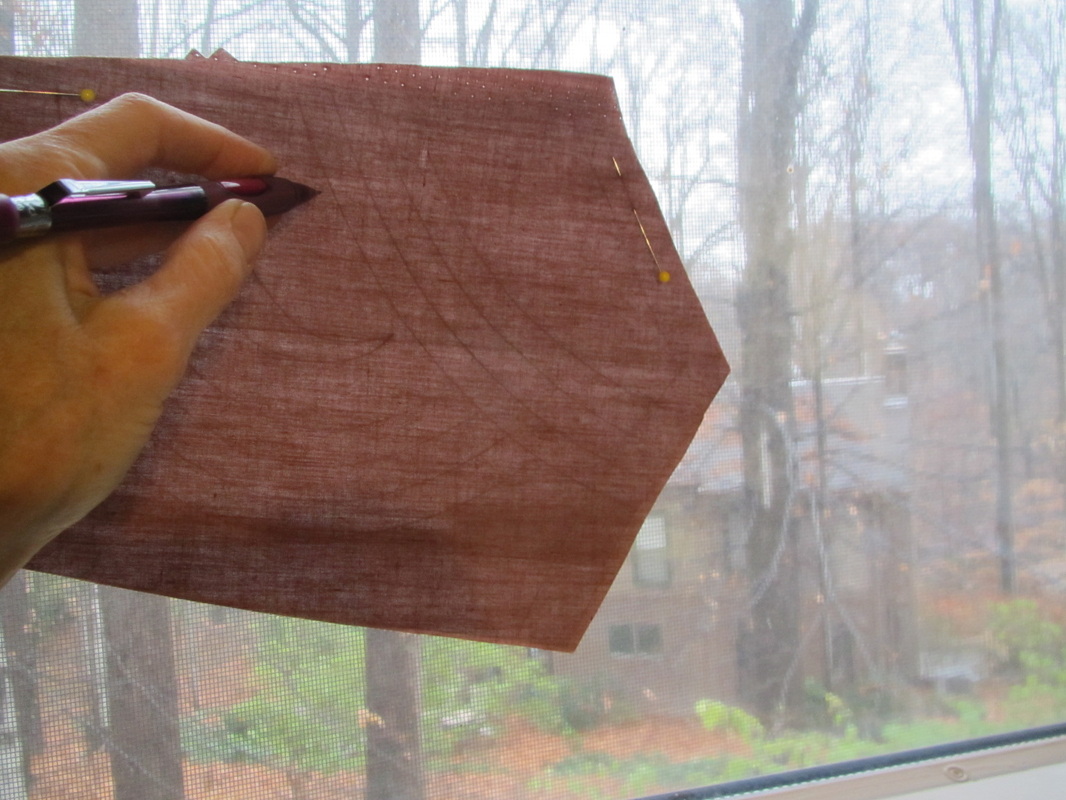
I plan to do all the quilted stitching from the lining side, so I marked my lining by pinning the fabric to the pattern piece, holding it up to a window and tracing. Now I DO have a real official light board, but it is a pain to take out for such a little piece. And, I wanted to show you all how to do this even if you don't have a light board.
| 
|
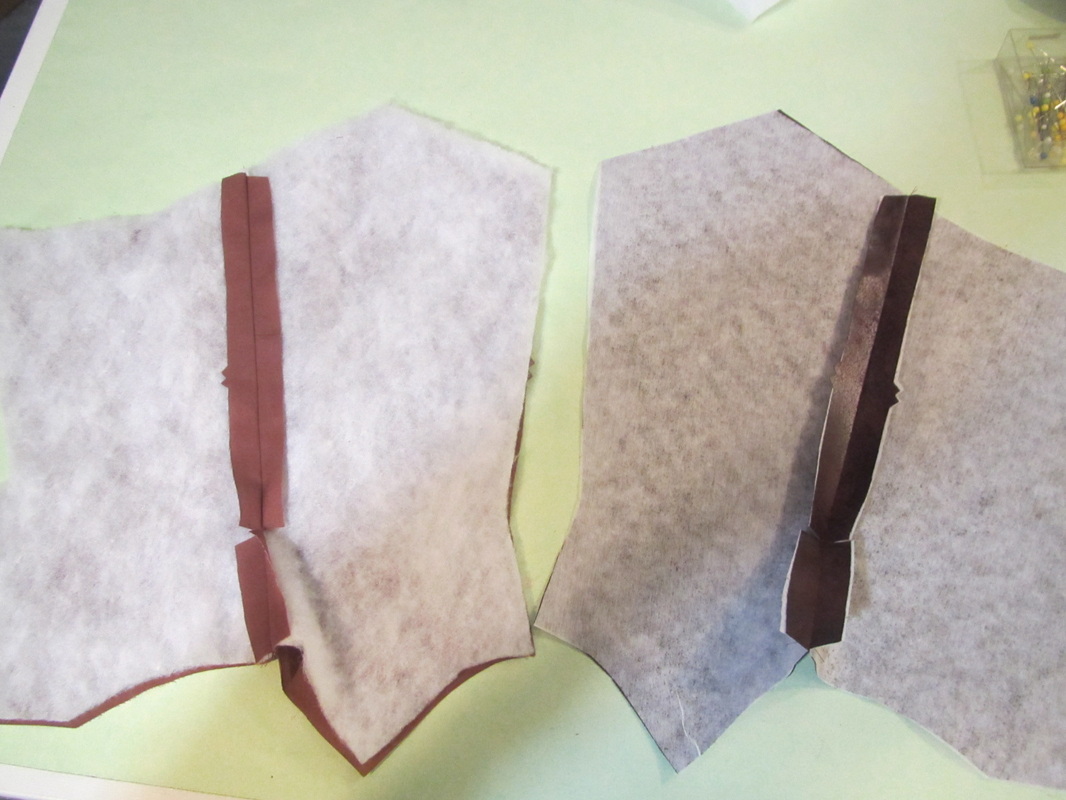
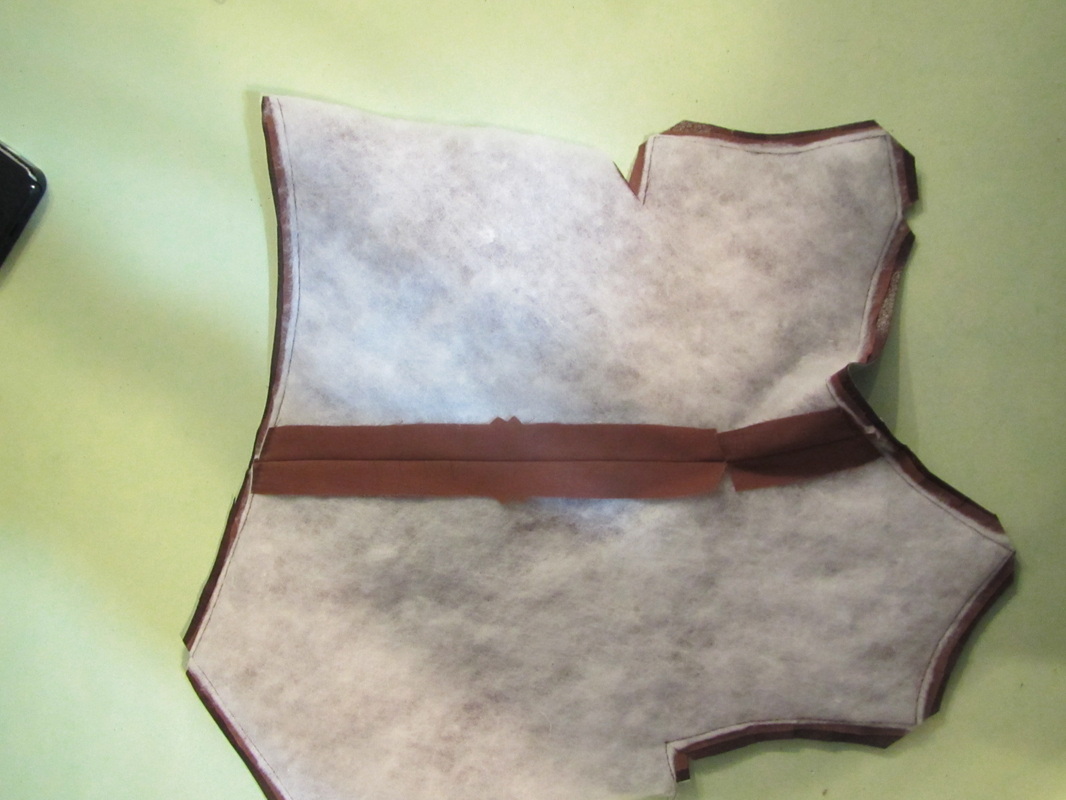
I backed the outer layer and the lining with thin batting called fleece, not to be confused with polar fleece. Then sewed the two layers together, trim and graded the seams.
After turning and pressing, I basted the inner and outer seam allowances together so they won't slip while machine stitching in the design.
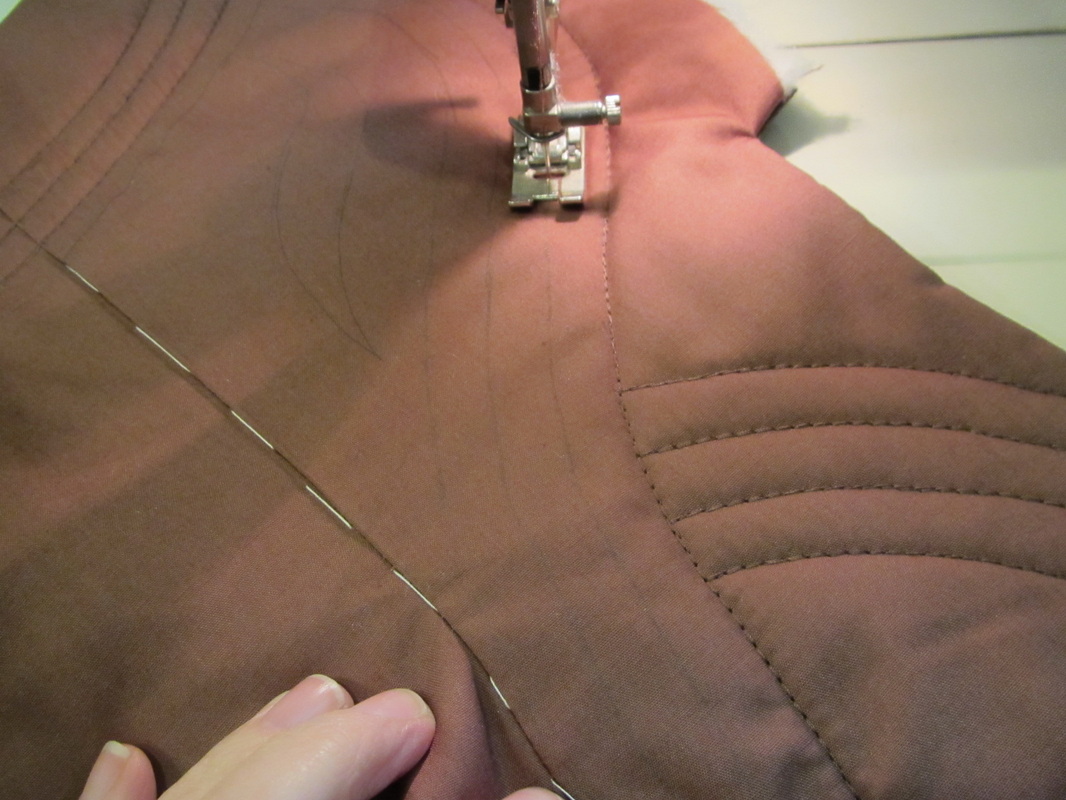
I think this part is so fun. Its like a game figuring out the best route to take so as to get all the lines more efficiently.
Hope these tips help.
I have one more blog about this pattern ... those jaggedy, raggedy hems.
Hope these tips help.
I have one more blog about this pattern ... those jaggedy, raggedy hems.
 RSS Feed