Joann's carries it. I love this fabric for all sorts of things, even doll clothes because it is so thin.
|
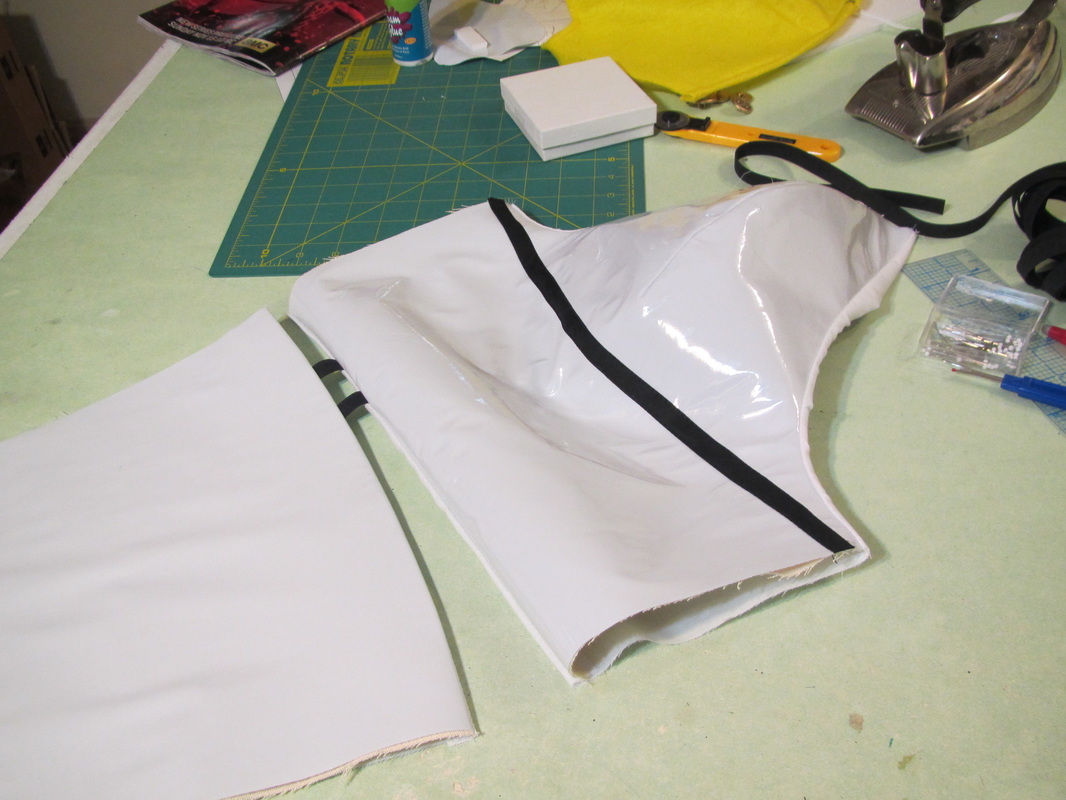
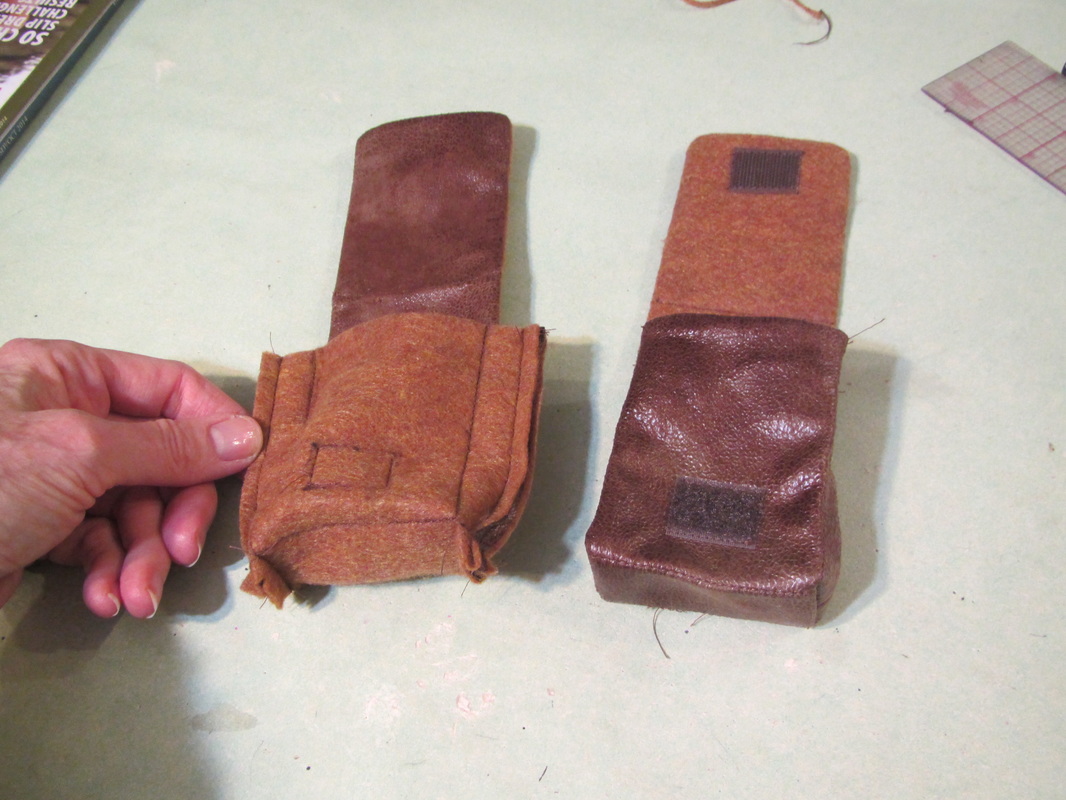
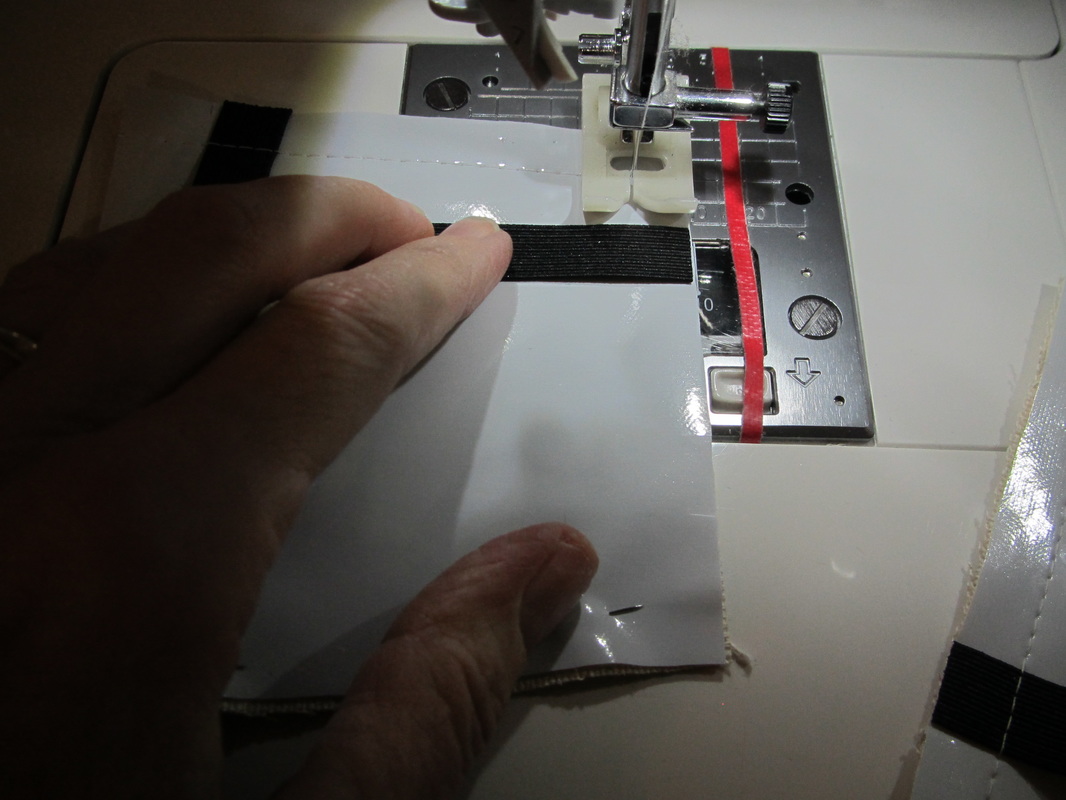
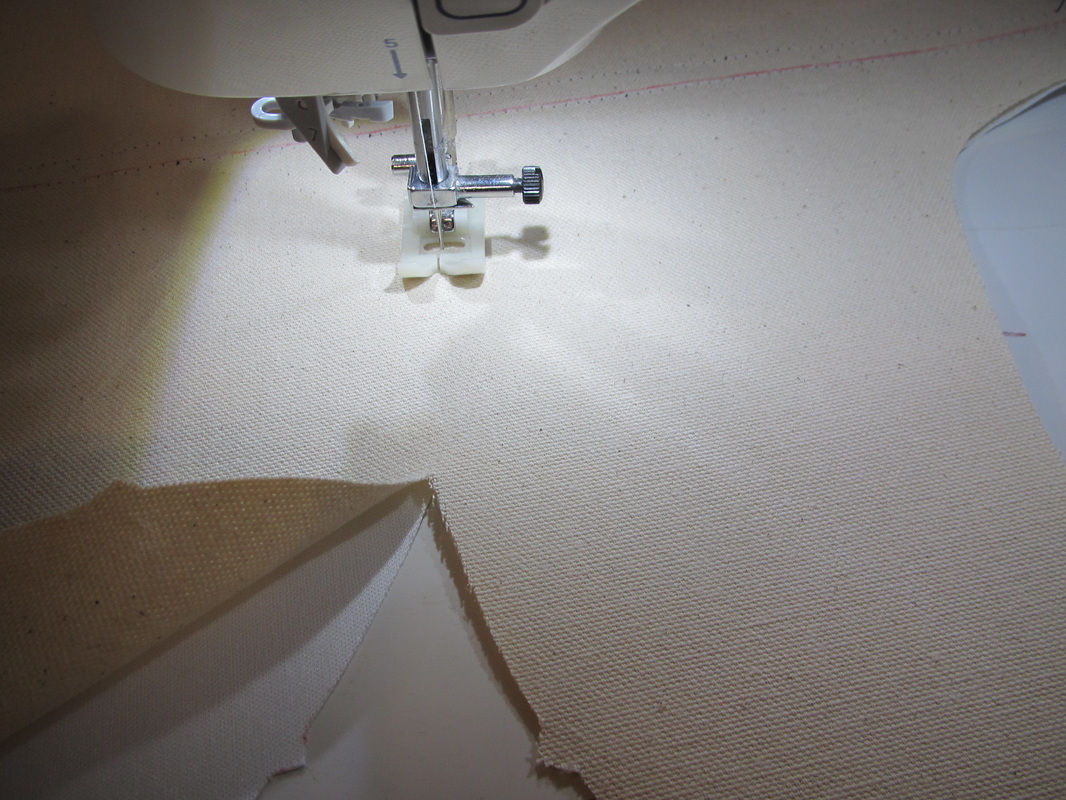
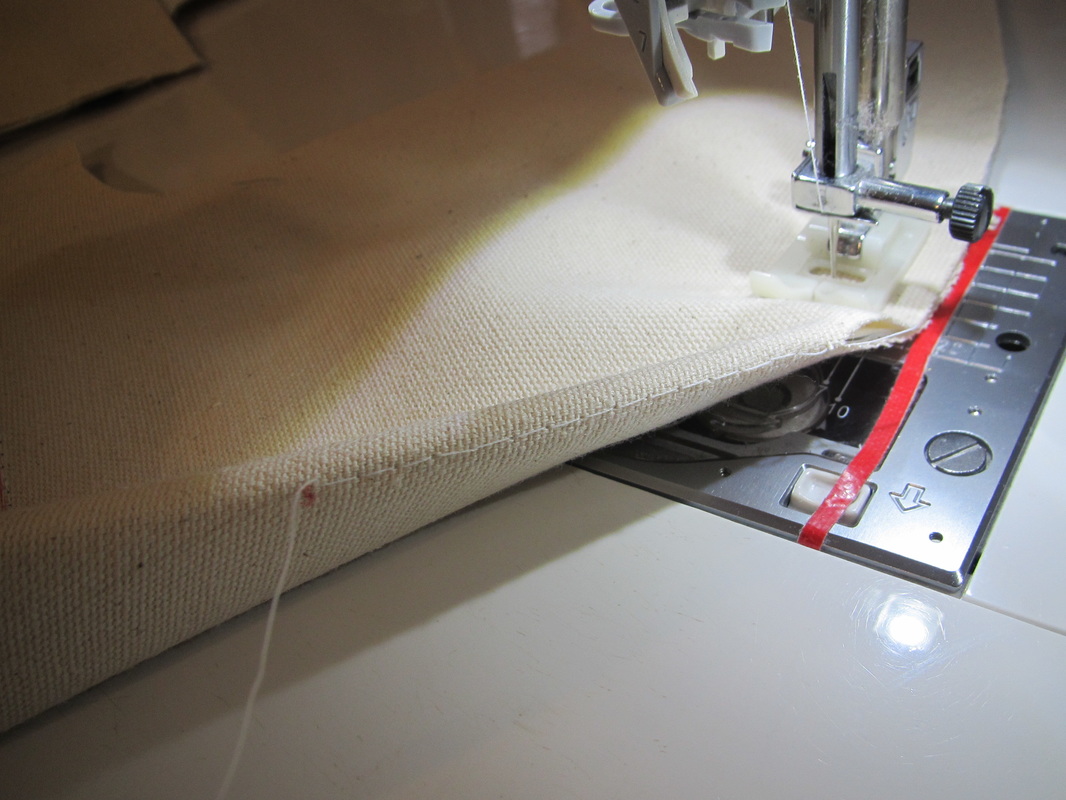
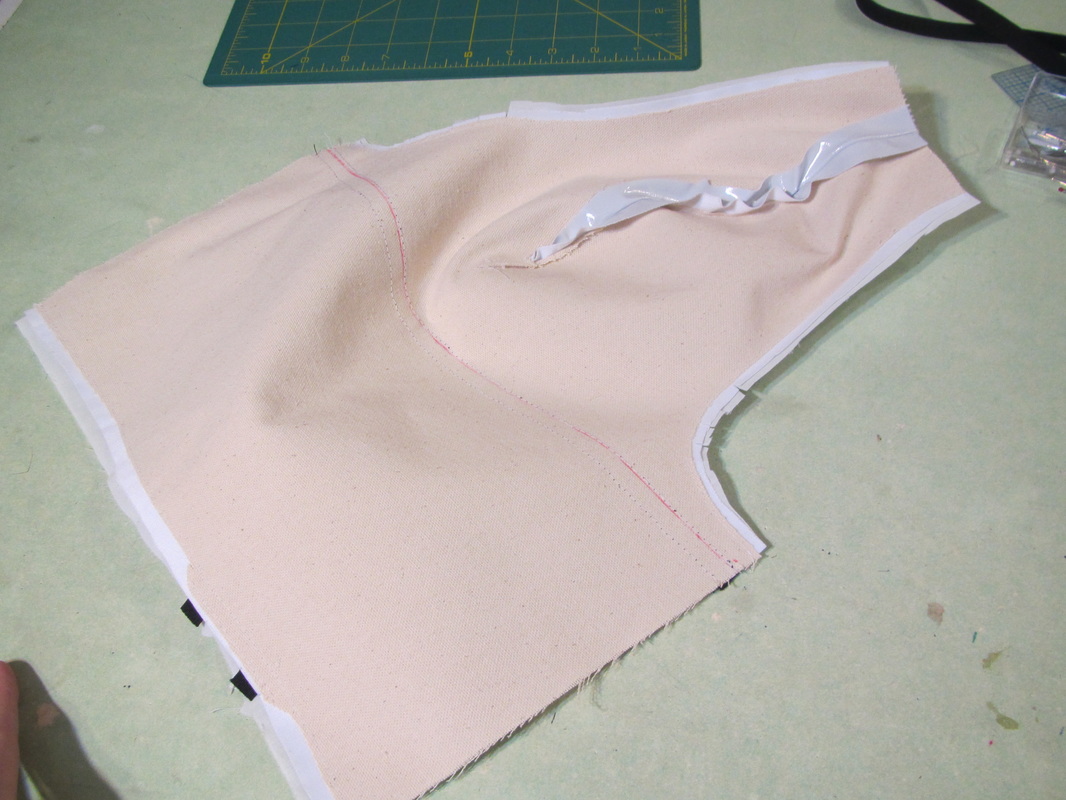
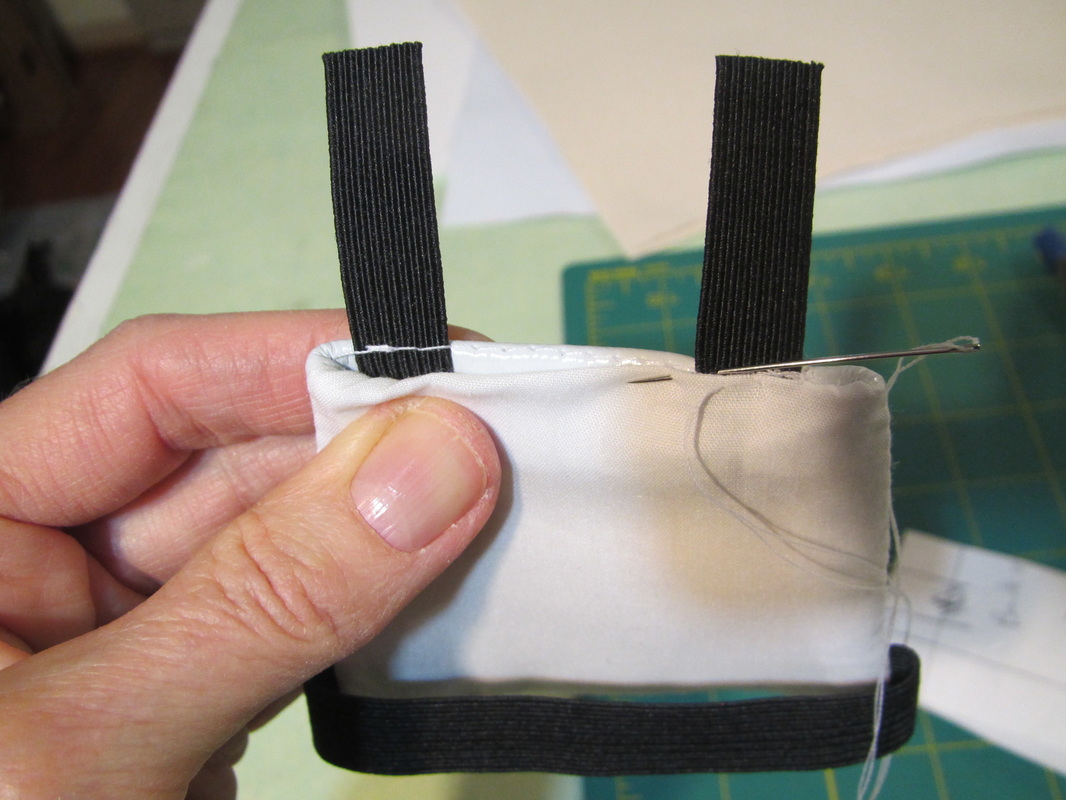
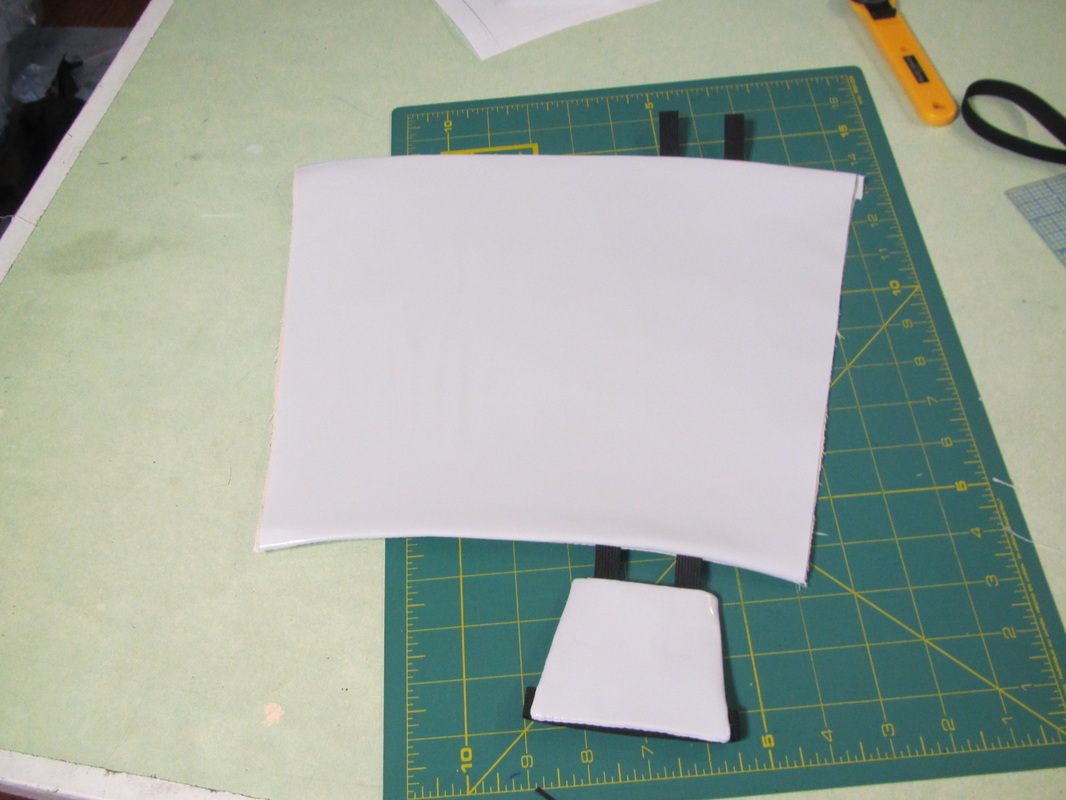
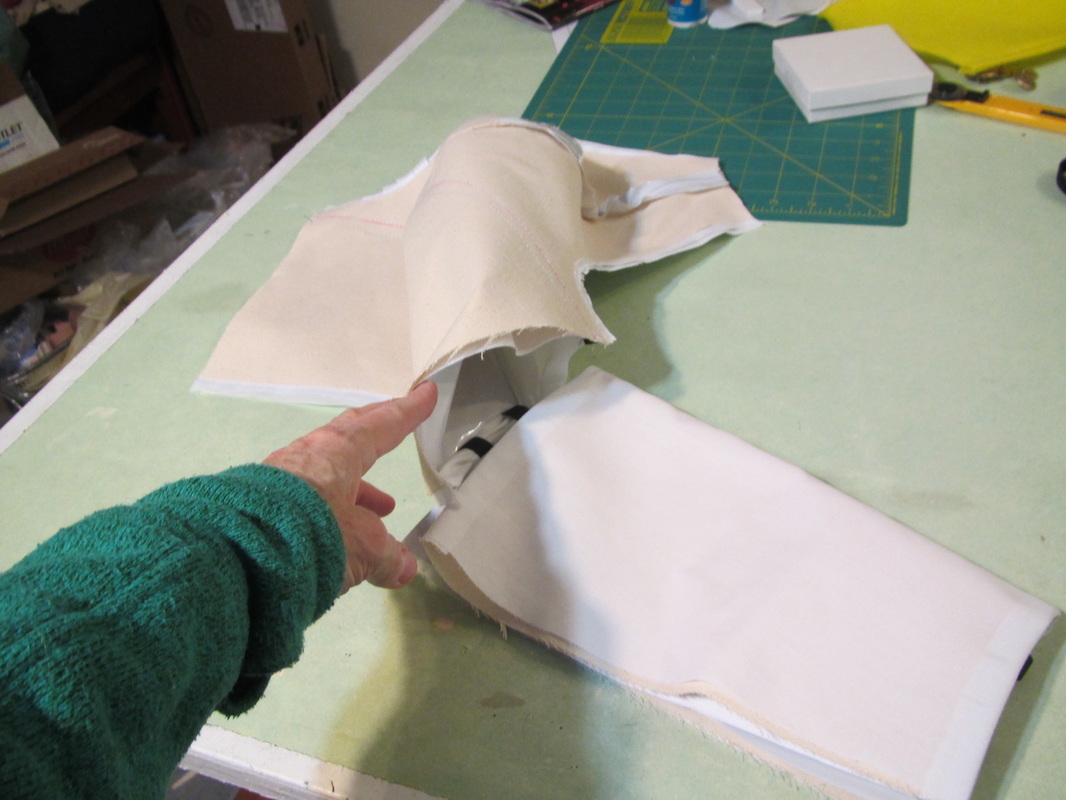
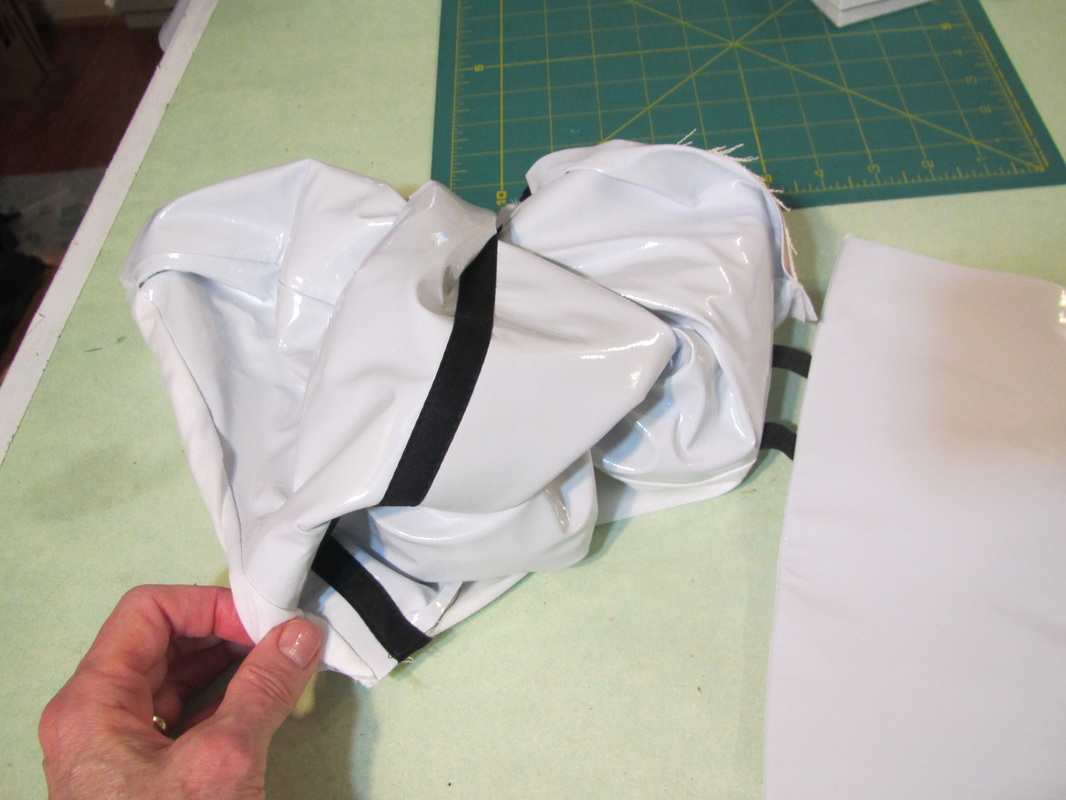
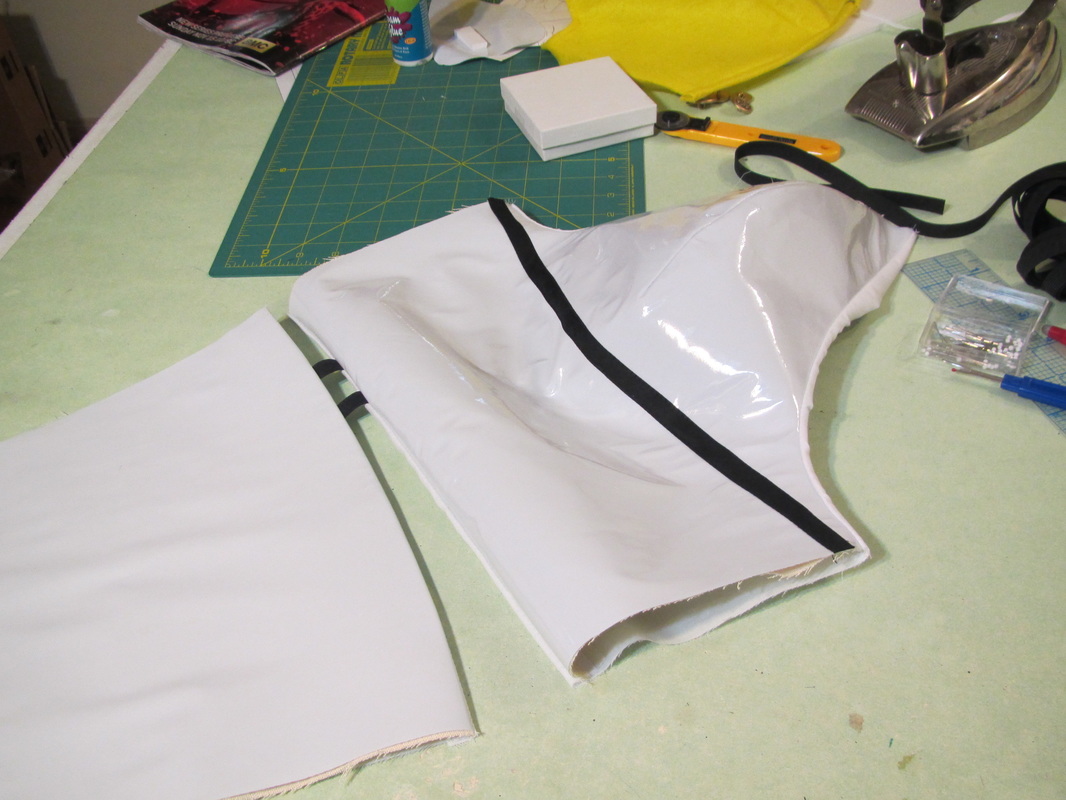
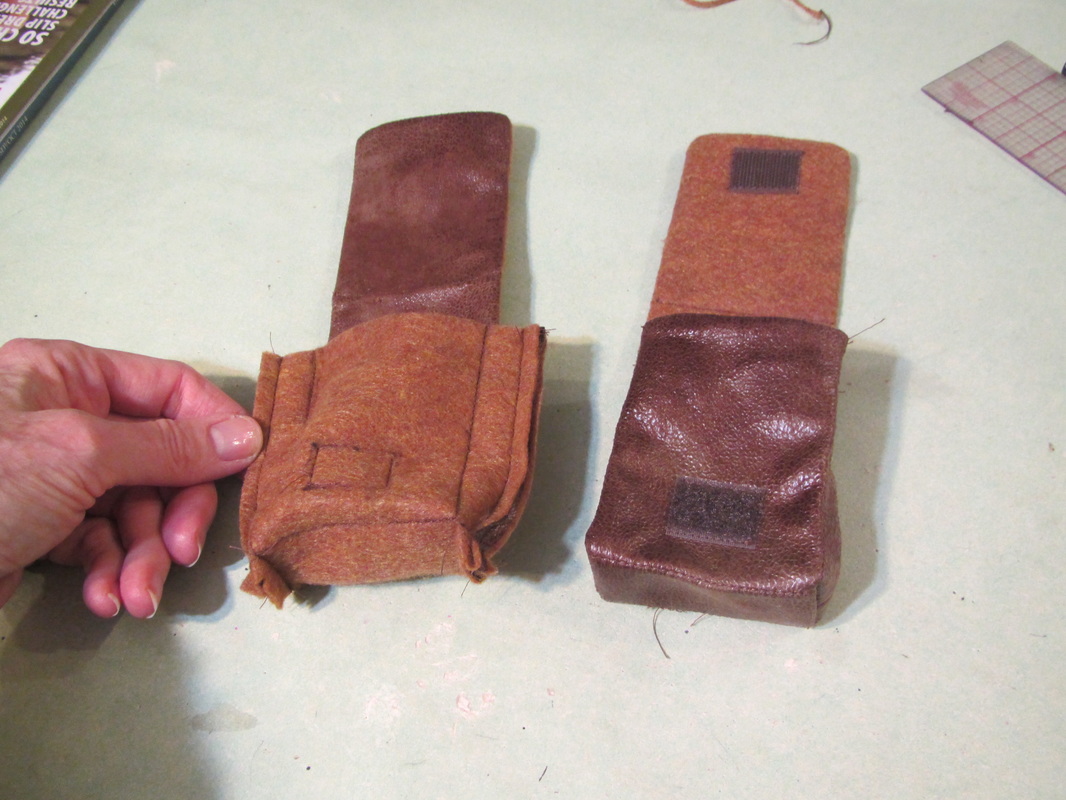
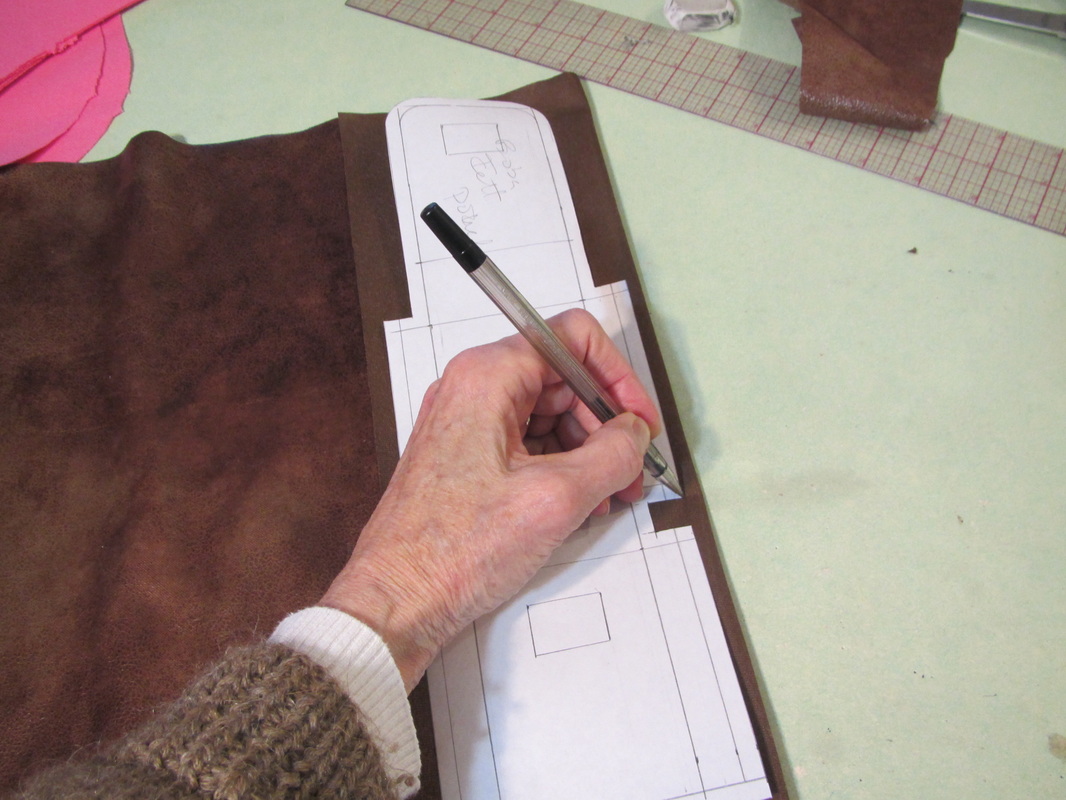
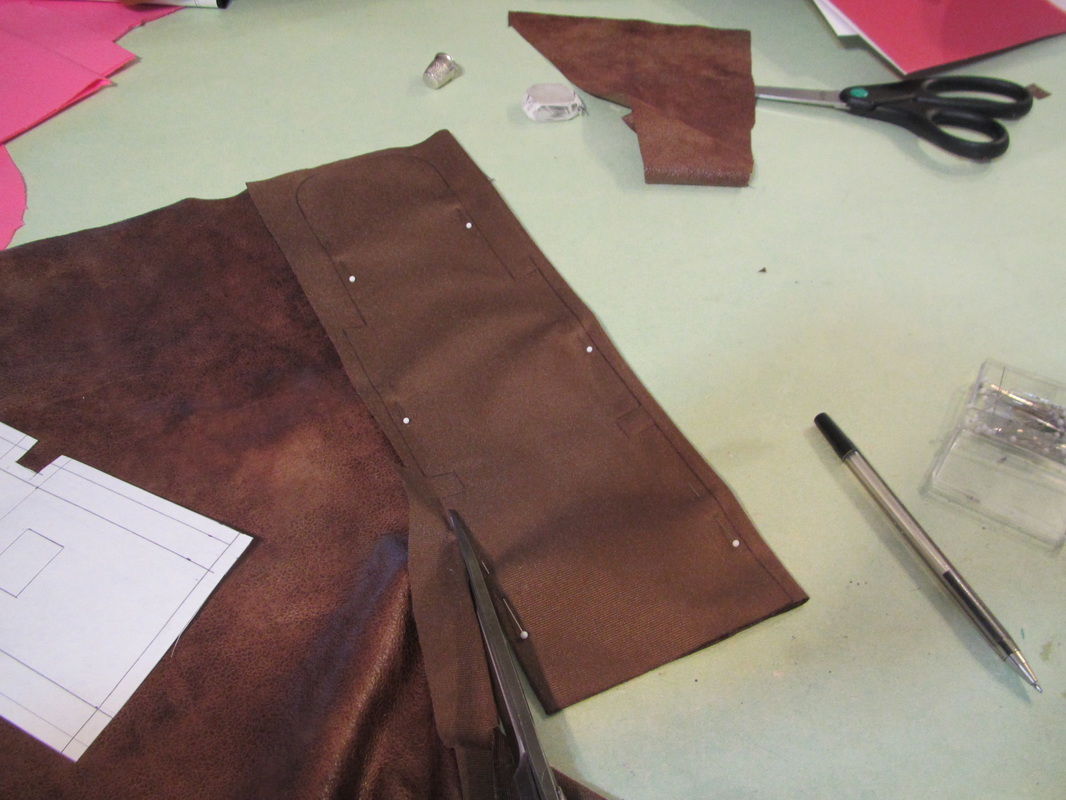
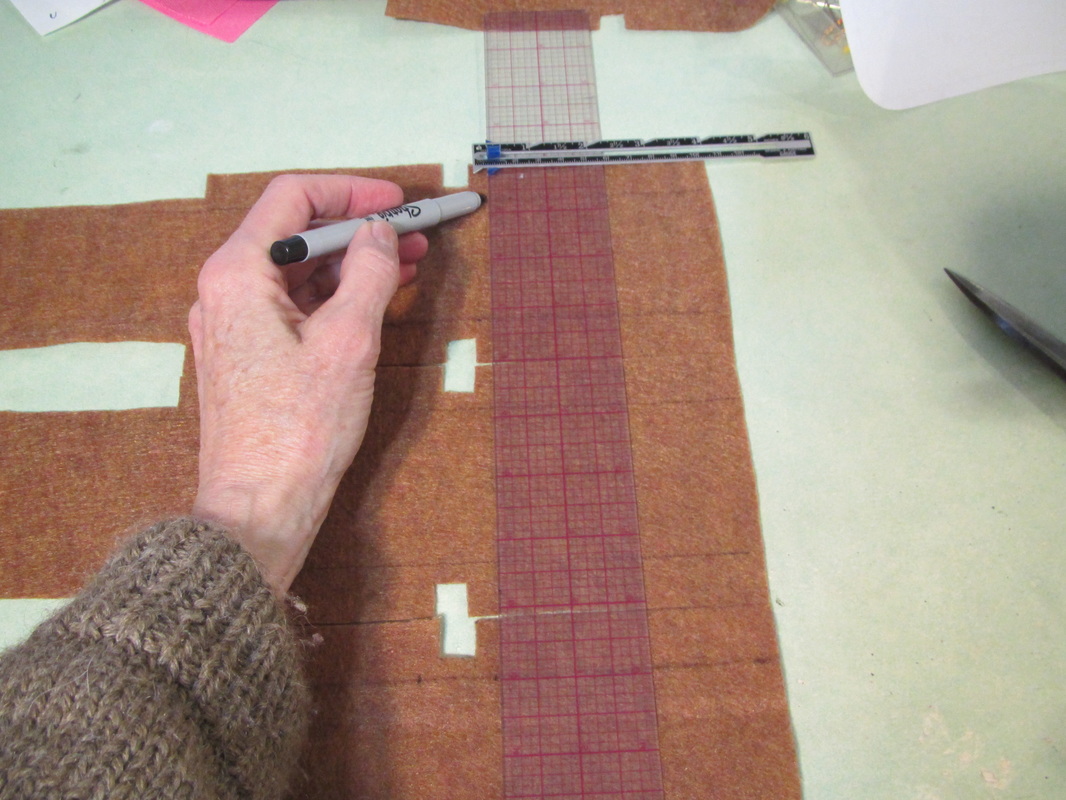
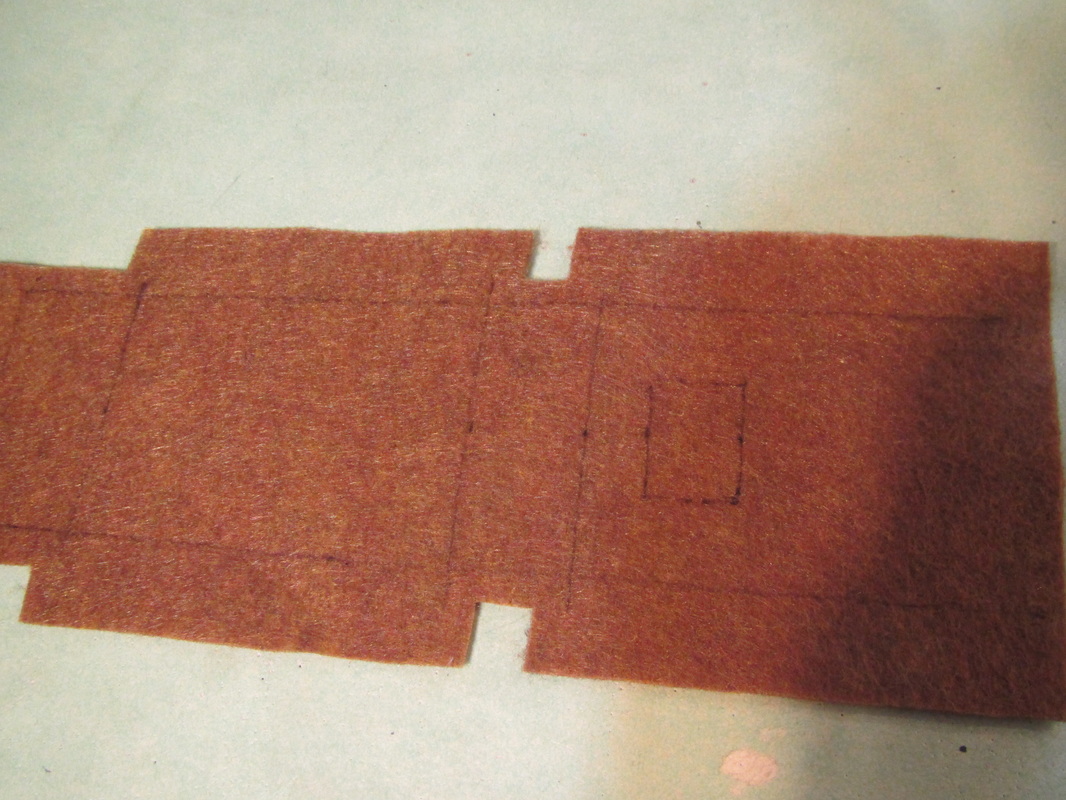
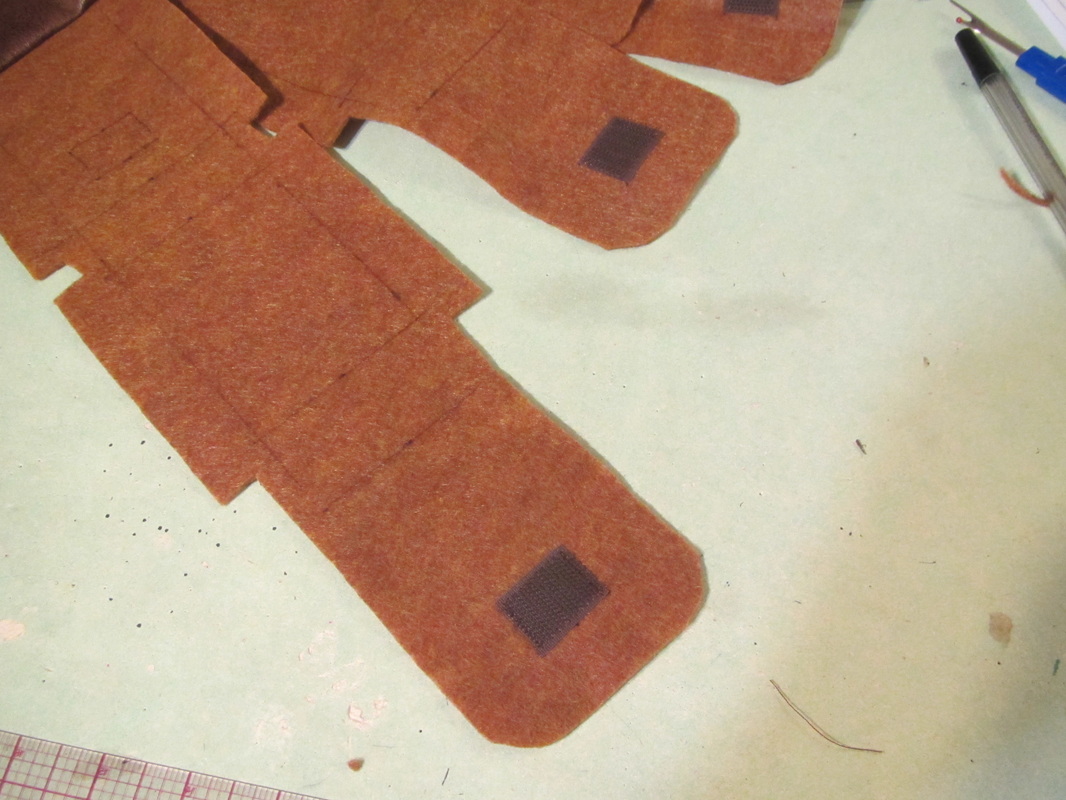
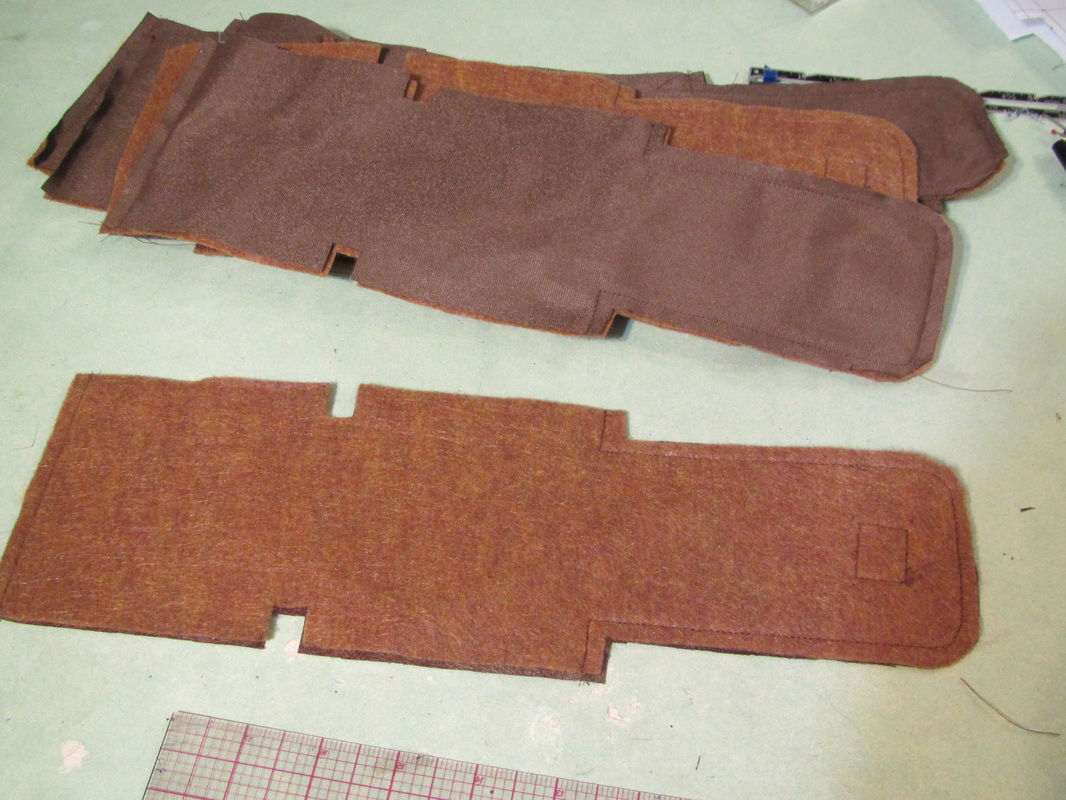
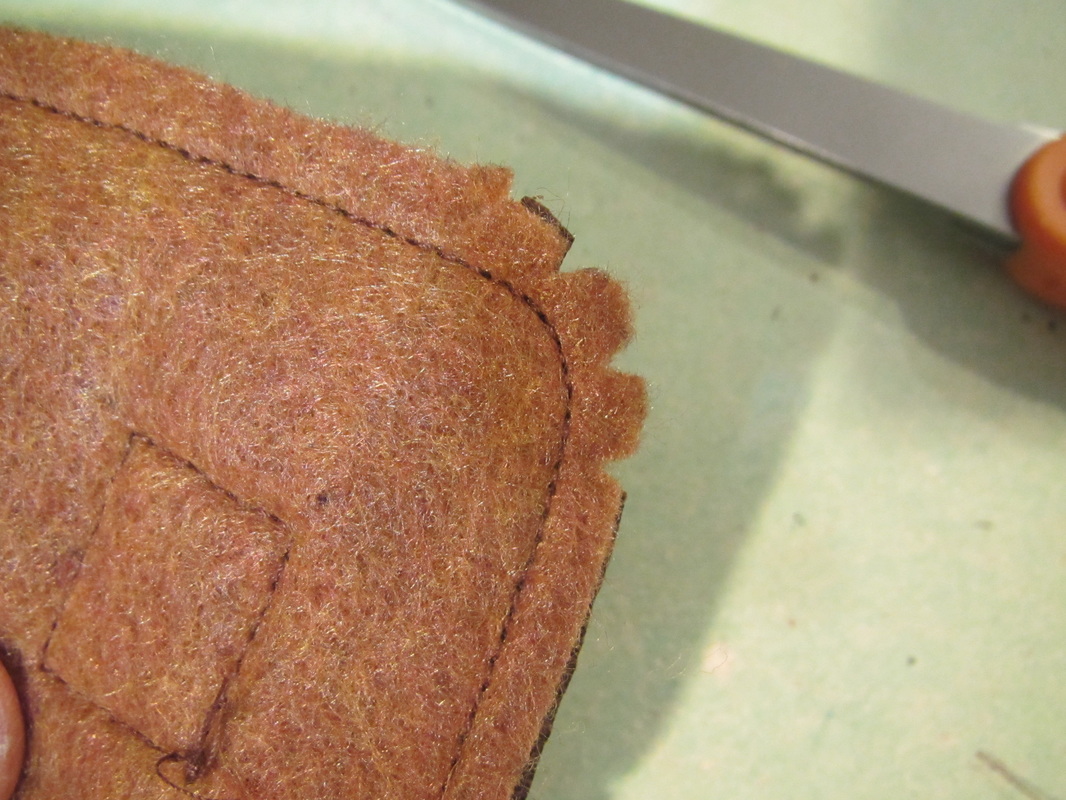
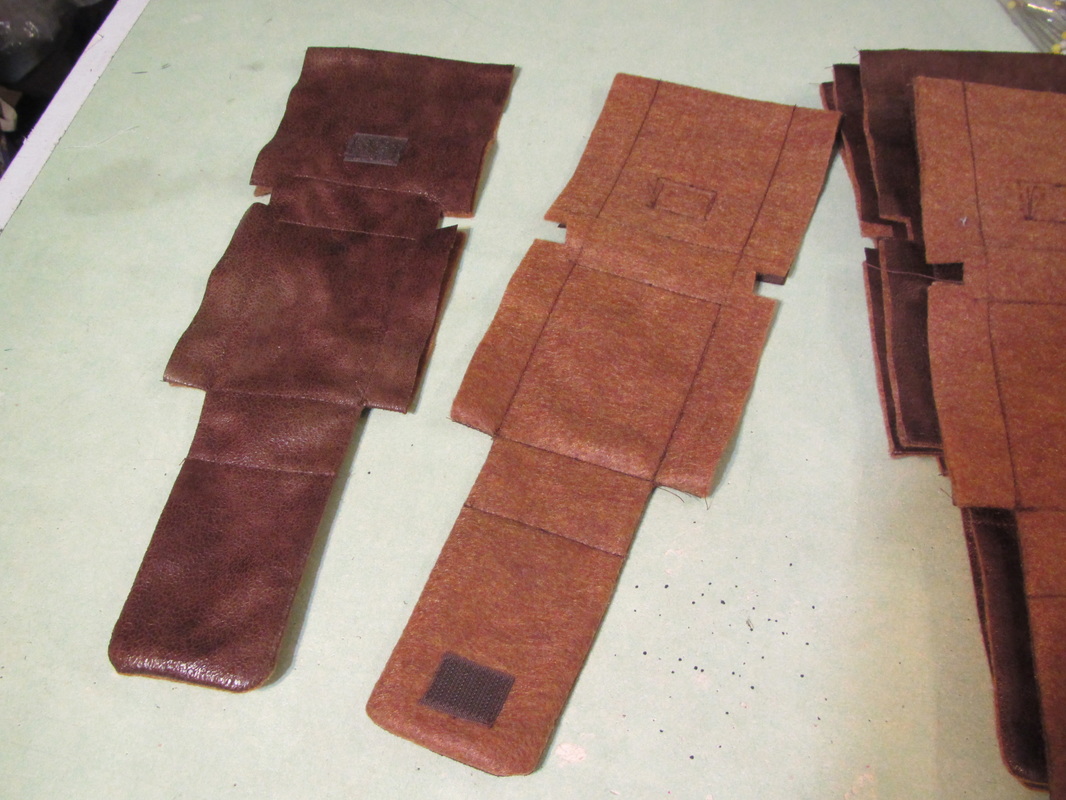
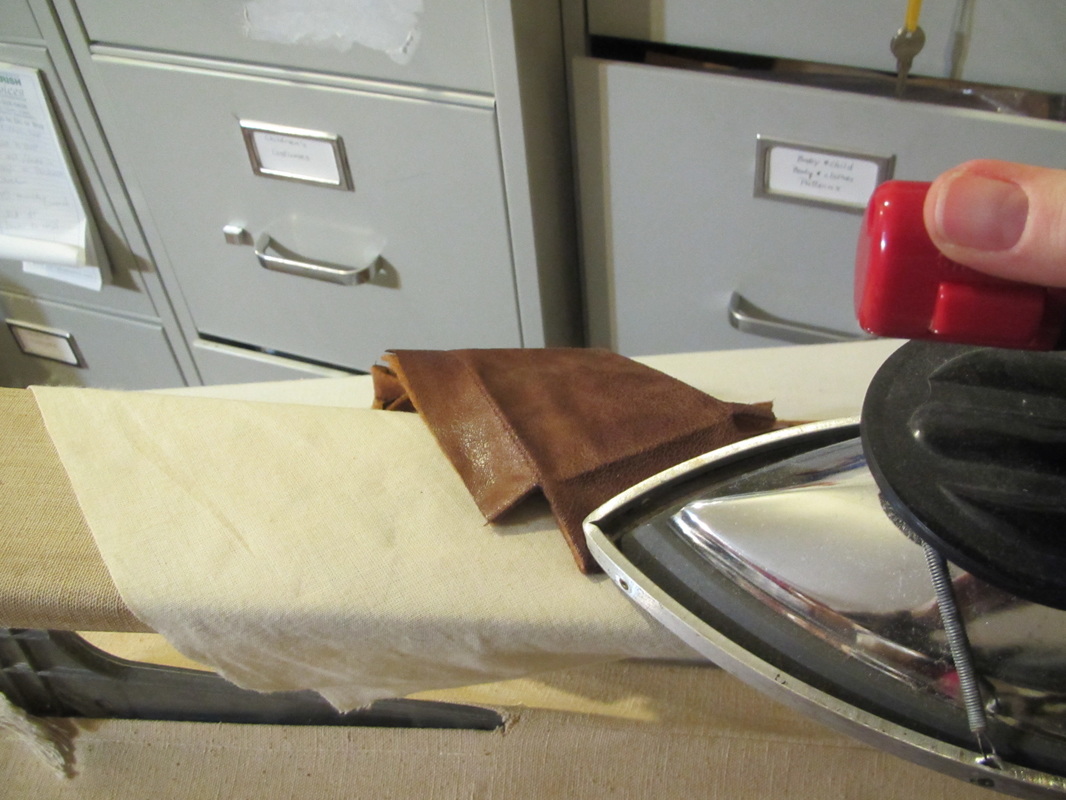
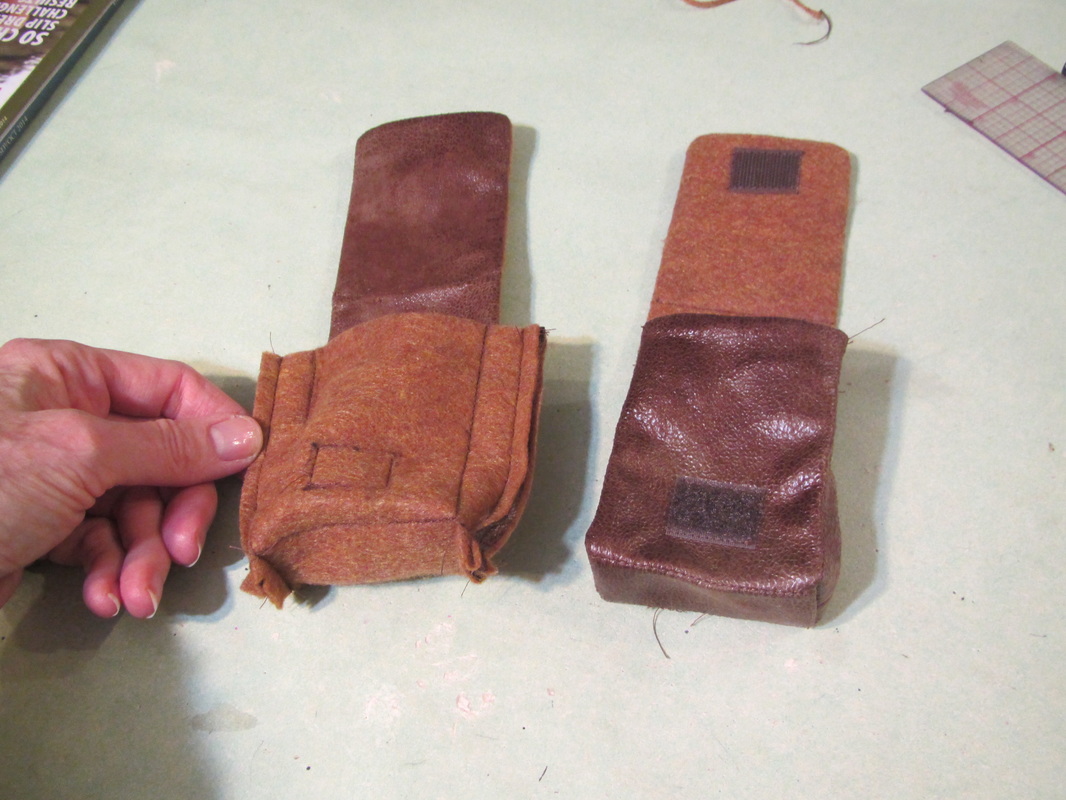
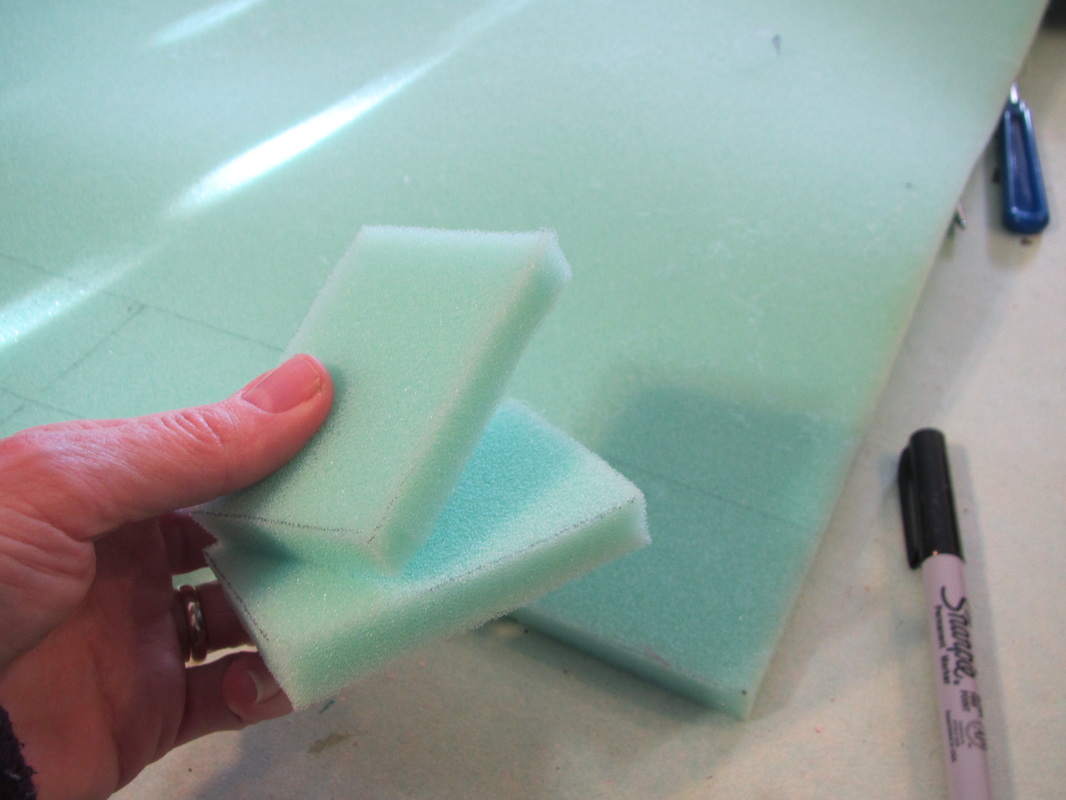
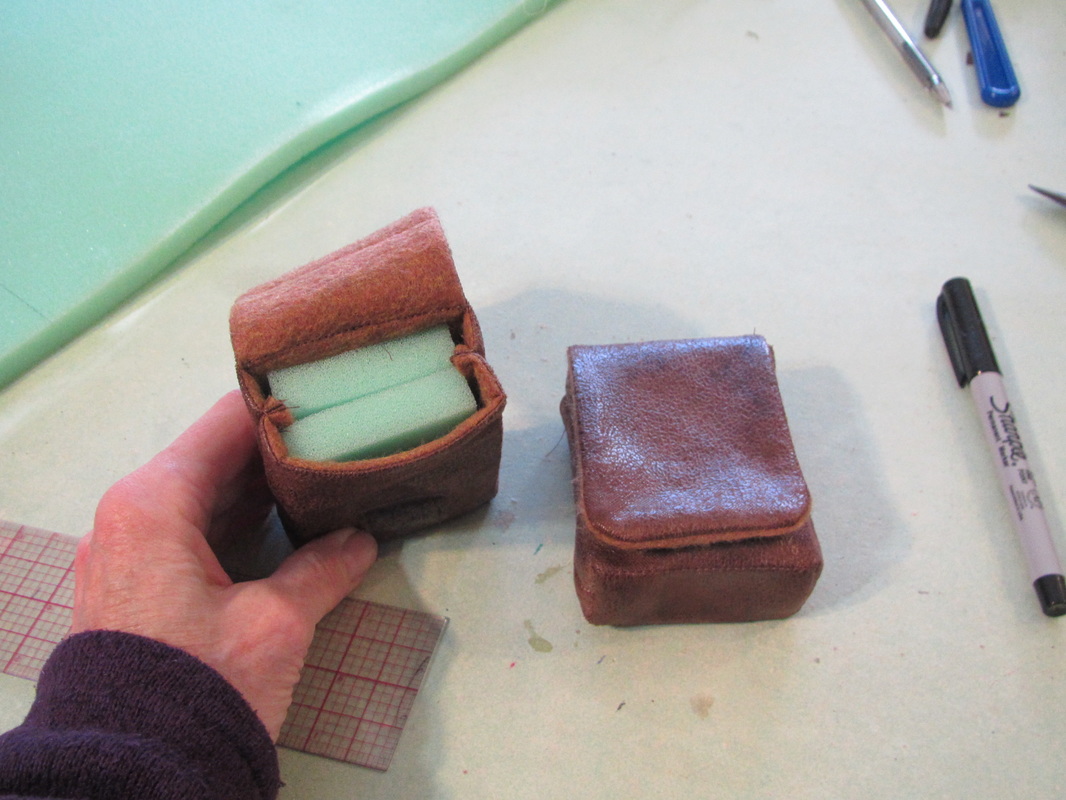
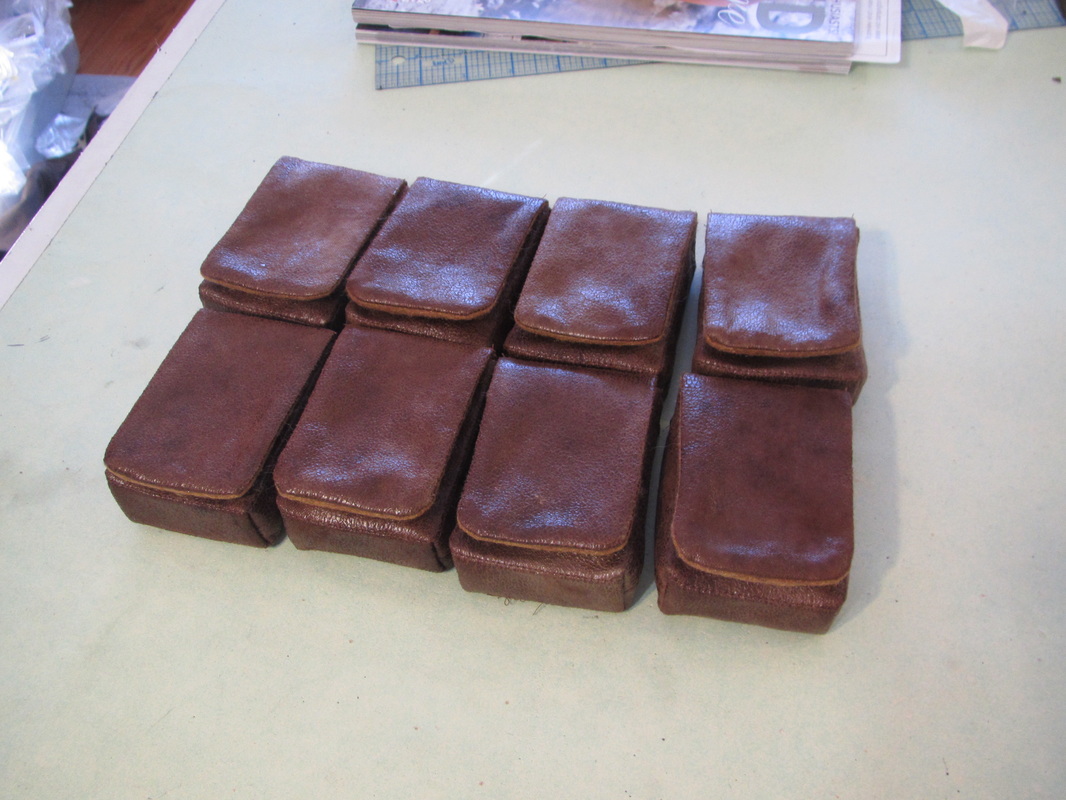
This fabric is very nasty to sew ... This one is not. AND they are both vinyl. When sewing with vinyl always use a long machine stitch. And if the vinyl is sticky use a Teflon foot or tissues paper over the sticky fabric. Tear it away when done. To keep the interfacing and the outer fabric together when sewing the long shoulder dart on the separate outer sleeve or any dart for that matter. Baste from the apex of the dart down the middle ... remember LONG STITCH. Then when the whole unit is folded for sewing, the fabrics stay together down to the apex of the dart ... that red dot. Comme ça! I have constructed things to avoid hand sewing as much as possible, but there are a few places where it is just needed. Hand sewing vinyl is tricky ... use LONG STITCHES. The final seam for each arm section is saved for last. This is the easiest construction. The raw seam is exposed inside the sleeve, but it is super easy to fit the sleeve tighter, if wanted. Although there is some icky sticky turning right side out to do. And remember to press ... carefully with a pressing cloth. See the difference between the pressed and unpressed section. But this really nice looking fabric is a dream to sew on. It is quite thin though, so I lined it all with felt for body. Joann's carries it. I love this fabric for all sorts of things, even doll clothes because it is so thin. To avoid too much pinning, this is vinyl after all, I hold down and trace the pattern pieces for cutting. I do use pins at the every edges to hold a few layers together to speed up cutting. The felt came out really uneven after cutting it stacked in several layers. So, I am lining up all the pouch pieces and drawing on stitching lines to make sure they all come exactly out the same. Like this. Velcro is applied first. And the first seam is joining the layers at the rounded flap. They require "V" clips so the edge turns smoothly. I want these pouches to have very crisp edges so I first stitch through both layers where all the folds will be. Then press those folds and ... and do the final, very easy, assembly. They need to be fill up, but instead of just stuffing them with fiberfill or paper I want the filling to have square edges. Half inch foam will work perfectly. I supposed a single 1" piece would work, too. But, 1/2" is cheaper and easier to cut. Done ... YAY!
0 Comments
Your comment will be posted after it is approved.
Leave a Reply. |
From AndreaI am a commercial pattern maker who is now "sewing over 50"! Archives
August 2019
Archives by Subject
To search for blog posts in specific categories, use the drop down menu above by hovering over the word "Blog" Andrea Schewe participates in Amazon's associates program.
|

 RSS Feed