Andrea Schewe Design
  • Home
  • Costumes
    • Reader's Gallery
    • Fantasy Costumes
    • Theatrical
    • Historic >
      • Easier to make
    • International
    • Costumes for Kid's and Babies
  • Crafts
    • Home Decor >
      • Pillows
    • Fashion Accessories
    • Doll Clothes
    • For Kids and Babies
  • Blog
    • Past Blogs by subject >
      • My patterns by number
      • Sewing basics
      • Personal sewing Projects
      • Fashion History
      • Fun and funny stuff
      • Guest Bloggers
      • Crafts and Home Dec
  • Links
  • Contact

Sew'n for my man

3/29/2017

4 Comments

 
Picture
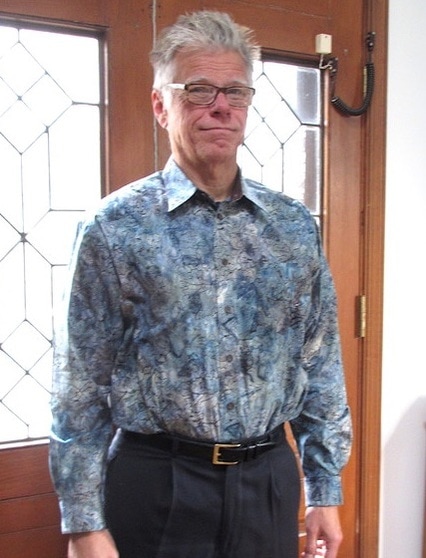
This is my darling husband wearing a custom made shirt! We have been married a very, very long time and when I don't know what to get him for his birthday or Christmas, I make him a shirt! I think of it as wrapping him in love.
Picture
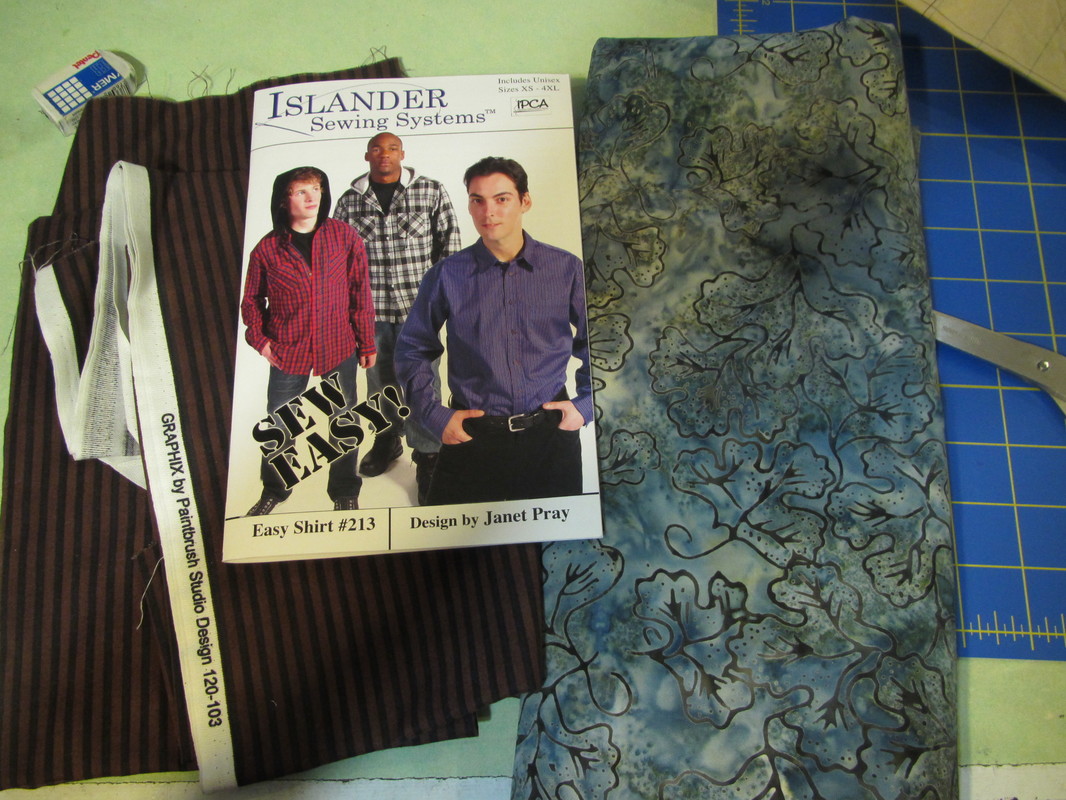
This time I used a pattern made by my friend Janet Pray. She owns and designs for the Islander Sewing System, which makes patterns and teaches sewing using industrial techniques, meaning small seam allowances and sewing without pins. I have to confess, I did a lot of the sewing my own way and didn't follow all the instructions to the "T". I need to pin for things like collars and cuffs. These details need to be super crisp for a man's shirt to look good.

​That said, this is a good pattern no matter how you do the sewing.
Picture
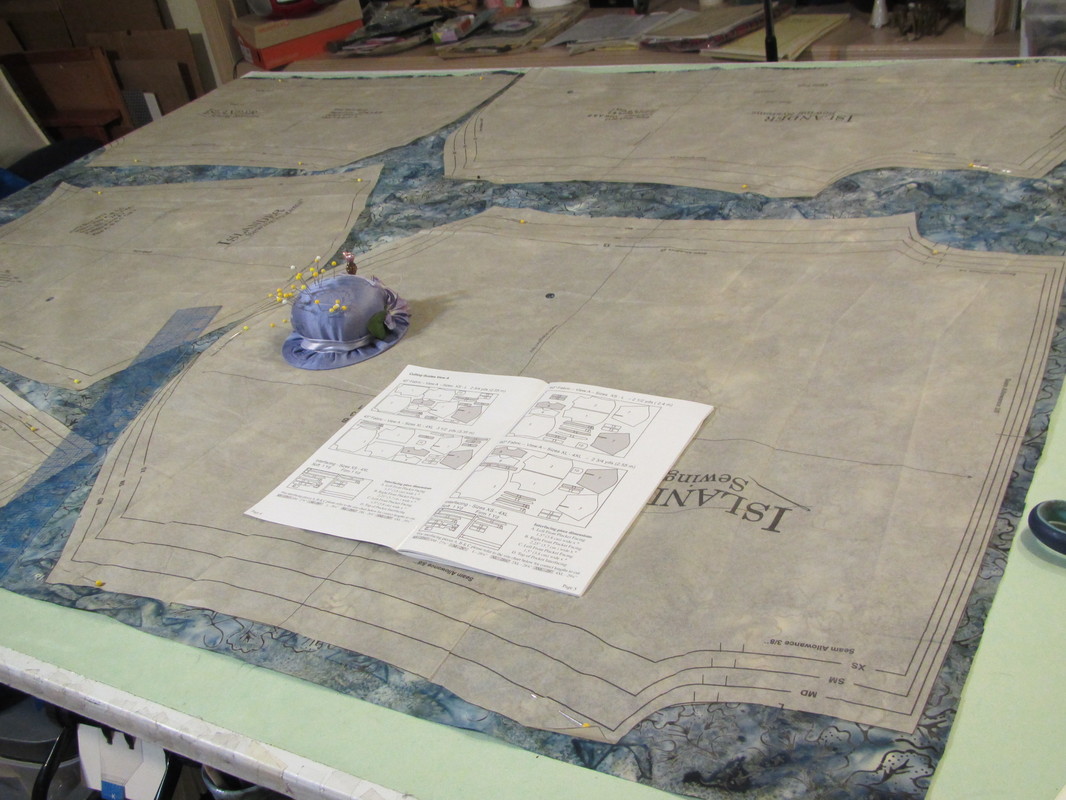
I did follow the pattern layout to the "T" though and it worked really well.
Picture
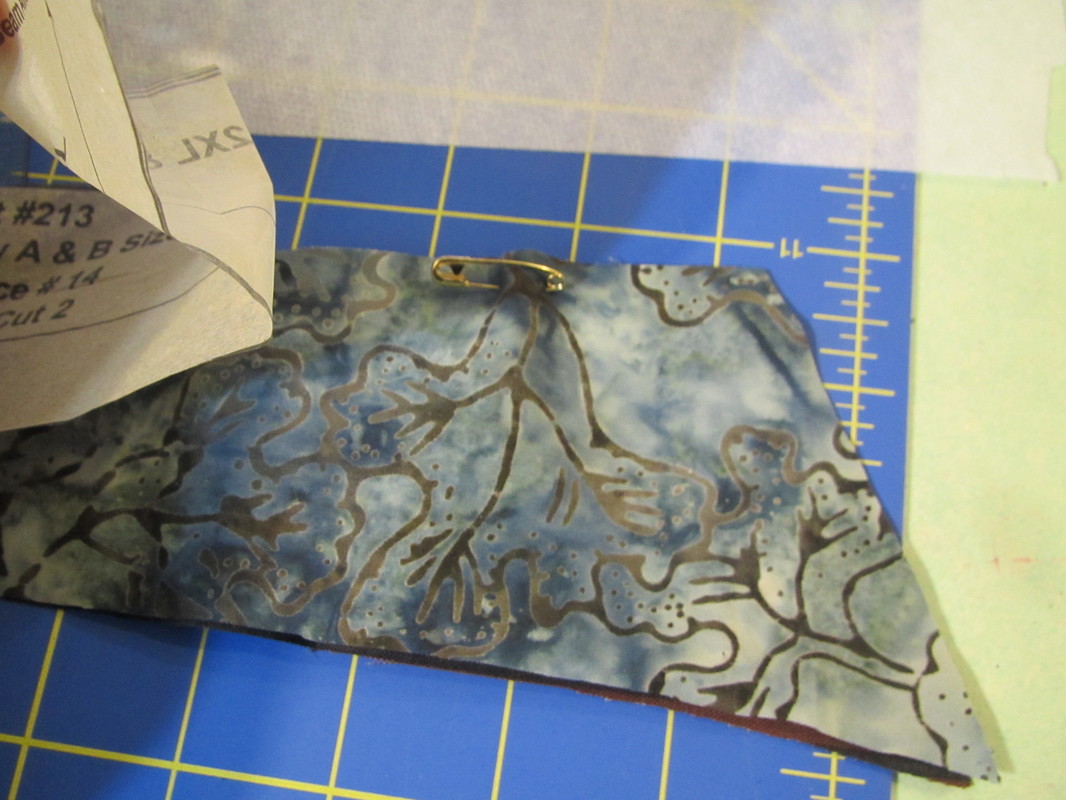
My husband like artsy stuff so I chose this batik print. But it was really hard to tell the right from the wrong side, so I put small safety pins on the right side of all my cut pieces, because the color was a bit different on each side and it would bother me to death if I had to look at him wearing a shirt with the right and wrong sides of the fabric all mixed up.
Picture
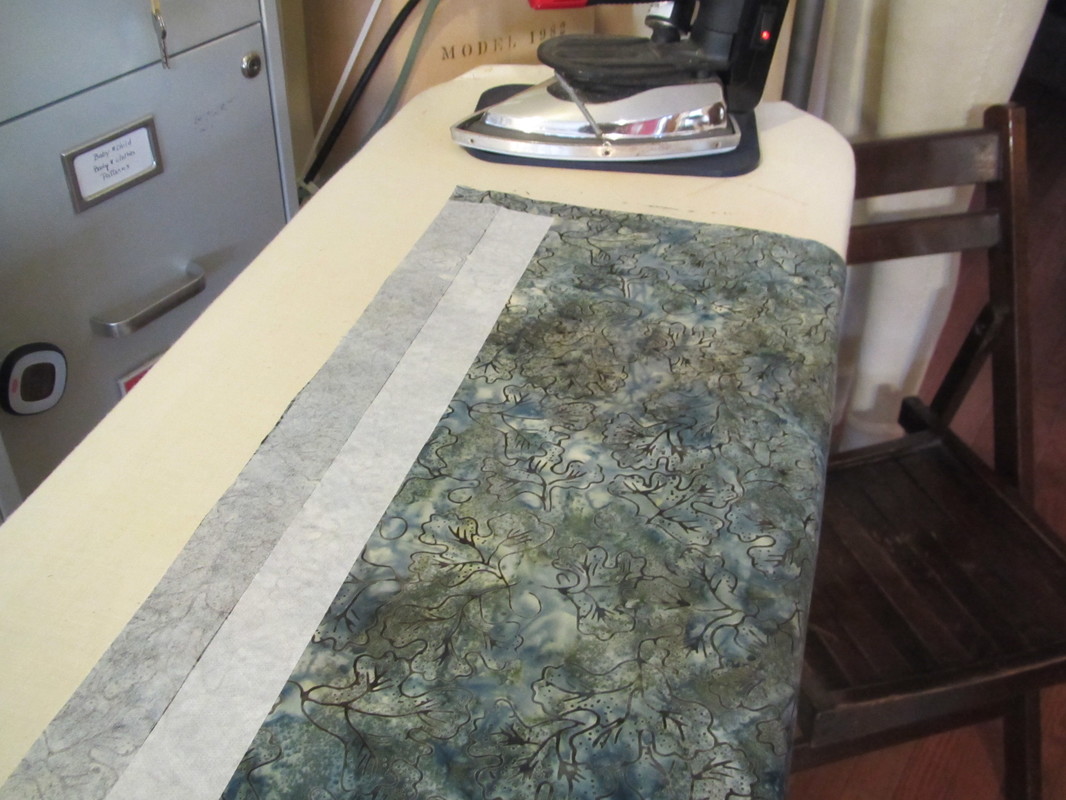
This pattern, interestingly, has you use two different weights of interfacing for different parts. (SEE ... even the front placket alone uses both kinds) I like the finished product because of this. It's really stiff where it should be and less so where it's shouldn't be. And, if you are going to go to the trouble to sew a shirt like this, buy good quality interfacing. I am so grateful I heeded my own advice every time I wash this shirt. The collar, cuffs and front placket lay flat and iron well with no bubbling.

And don't forget the all important cool down after fusing anything. Don't move whatever has been fused until it is cool. That assures fusing success!
Picture
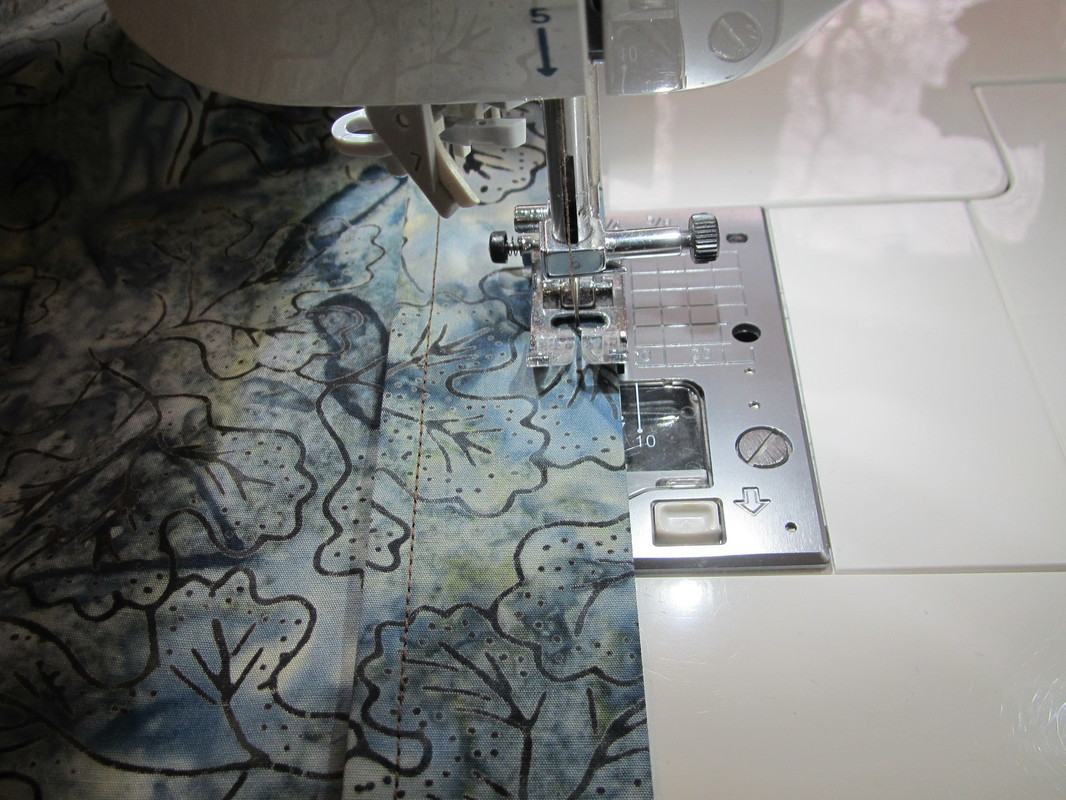
I think I did a pretty good job with all the top stitching, but if you use a busy print like this, small mistakes won't show ... ha ha.
Picture
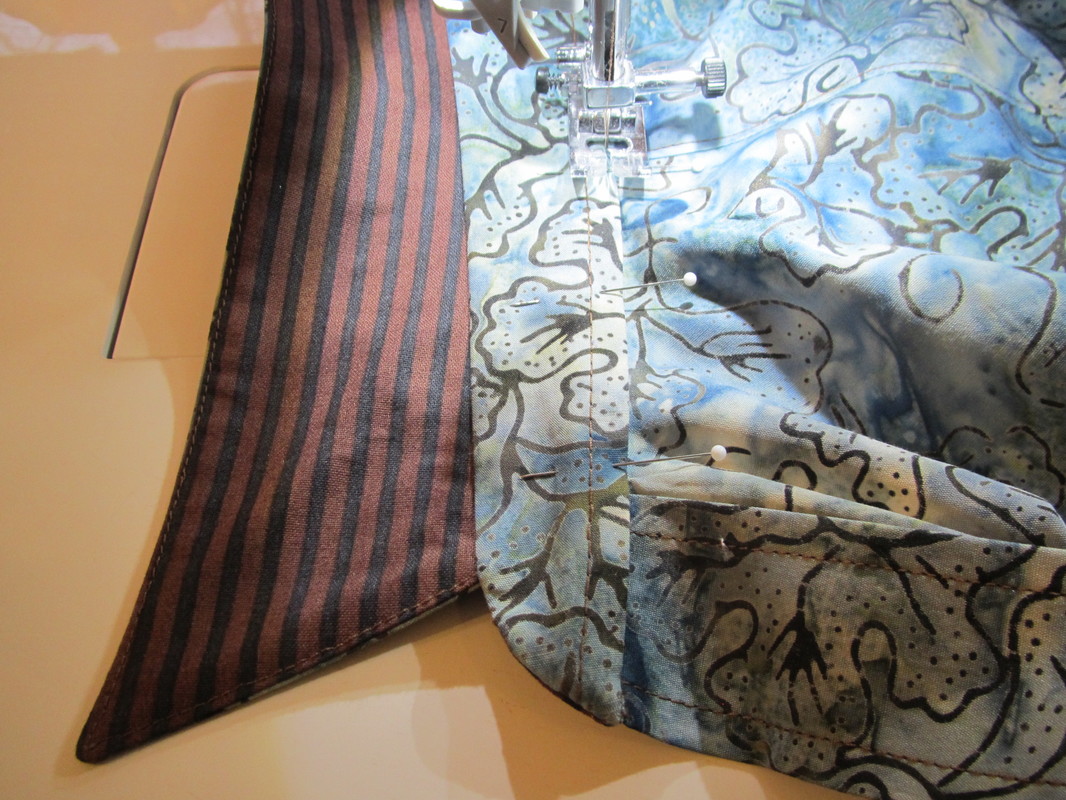
This pattern has you edge stitch the outer side of the collar-stand to the shirt after seaming the inner side of it to the neck of the shirt the regular way. First you press back the seam allowance and stitch 1/4" from the fold THEN edge stitch it down. As you can tell, this is one of those places I needed to pin.
Picture
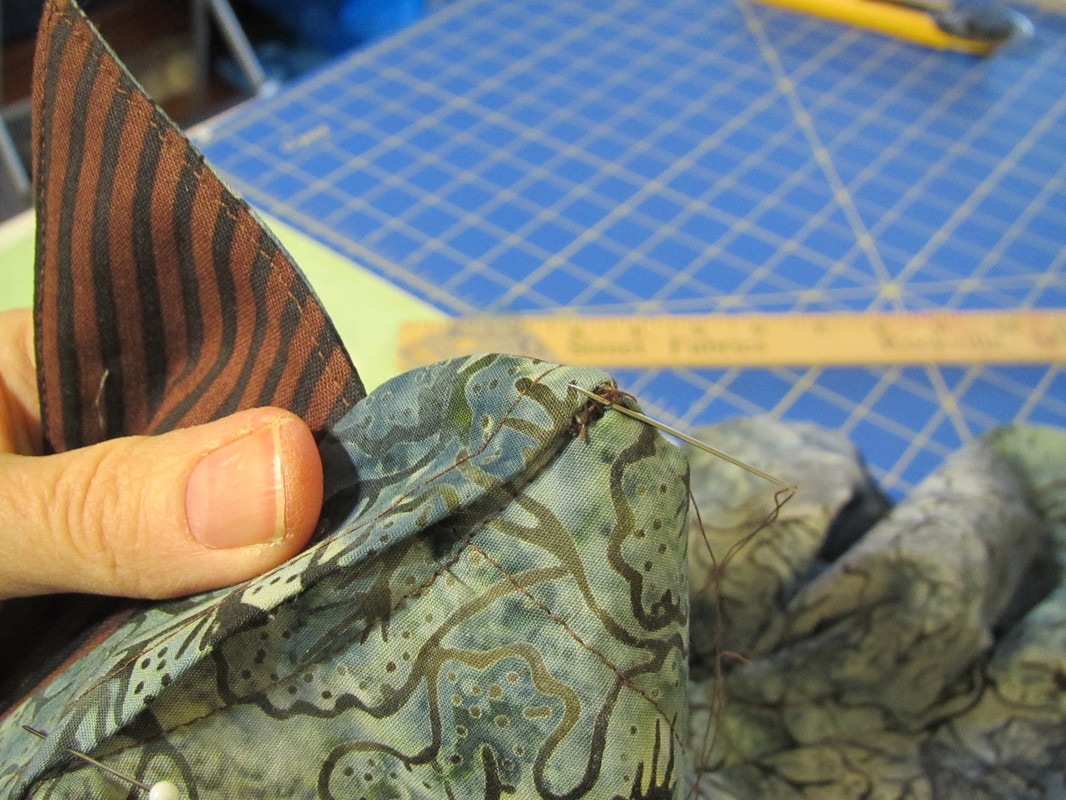
Another way I "cheated" is, I hand sewed each of the ends of the collar-stand in the front. I was just too afraid I would slip up with the sewing machine.

If you have any collar anxieties like I do ... this video should amuse.
We can learn factory sewing technics, but we NEED those machines!
Picture
Picture
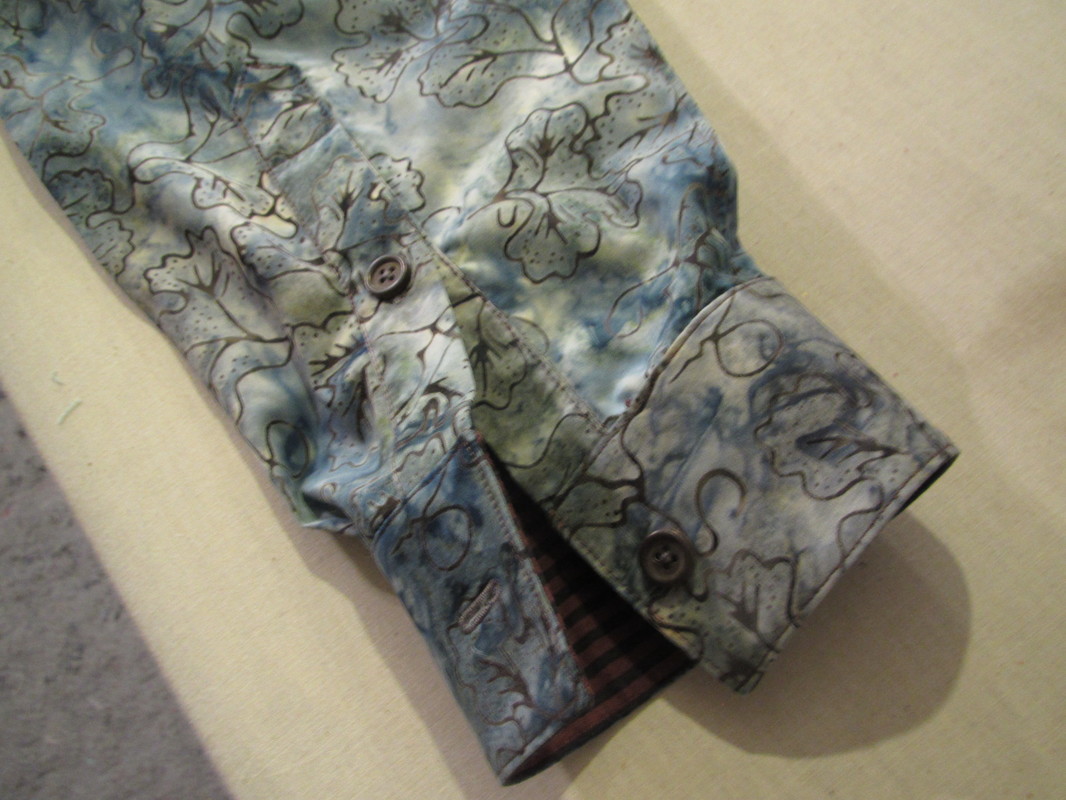
But, back to my shirt. Here is the cuff, which I am very proud of. The design and instructions for the cuff in the pattern work very well.

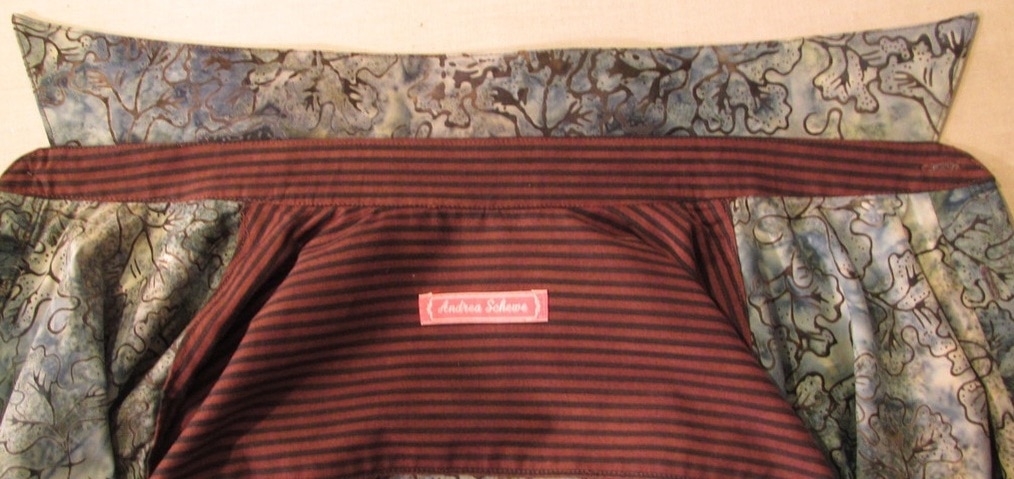
You may have noticed I used a brown and black stripe for the back of the  collar and cuffs. I try to put interesting inside features when I sew ... a great use for leftover fabric and makes for a unique garment!

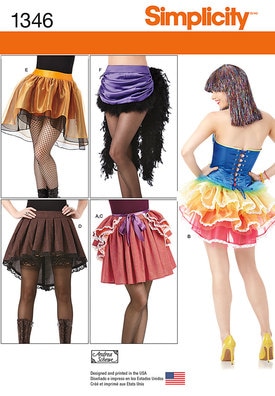
This stripe is what was left over from that skirt on the lower left of this pattern.

Here is another peek into a shirt factory. It is pretty long (12 minutes), but check out the machine that sews on the pockets at around minute 5!!!

Now ... if I could have twenty specialized sewing machines in my workroom ...
Picture
No one in the world will have a shirt like this one I made for my man! 

I also love to bake my own bread and make my own jams, very satisfying.
Picture
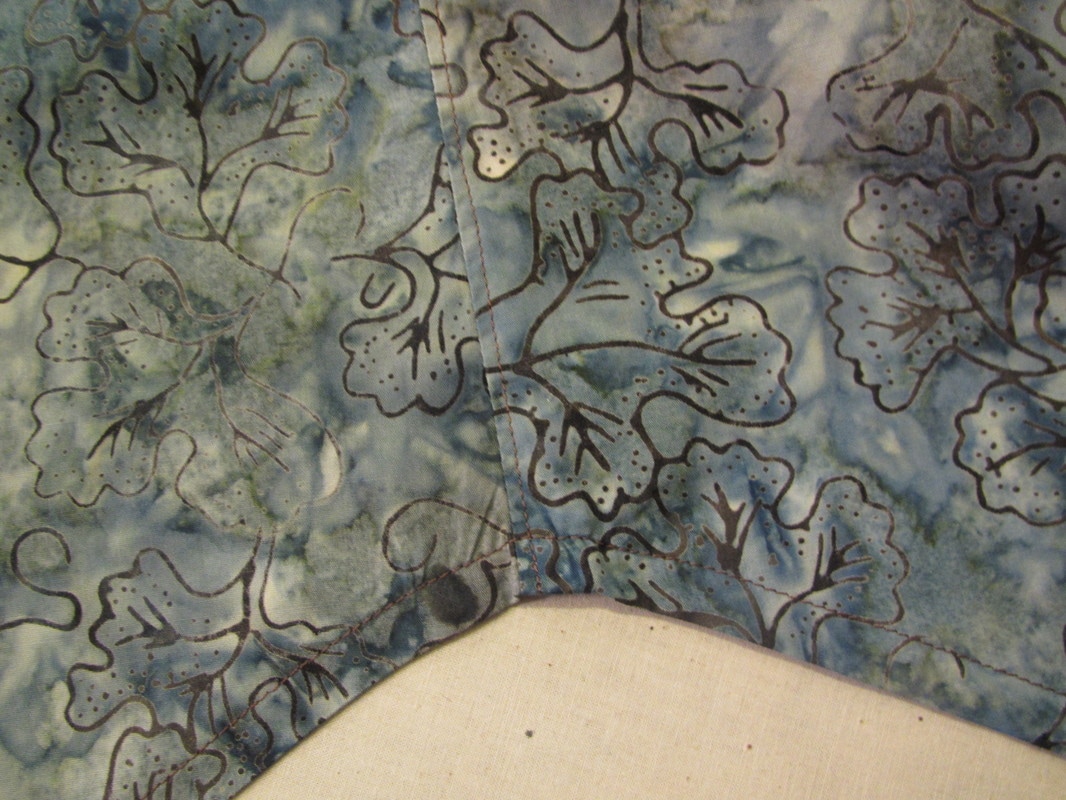
One more "cheat" I want to share, how I do the side seams and hem. I think they look pretty good from the outside. Again, the busy prints helps.
Picture
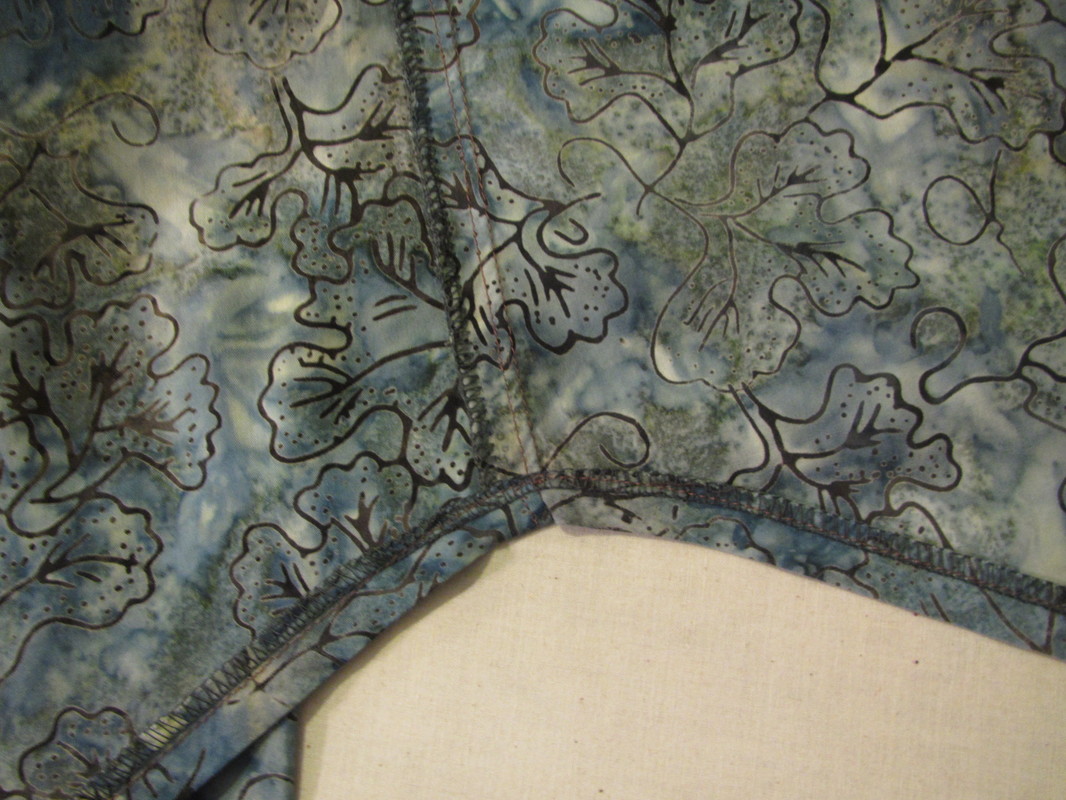
BUT you can see on the inside I just serged the seam together and topstitched it to one side on the outside. Also for the hem, I serged and made a single fold hem. Doing a decent flatfeld seam is tedious, actually nearly impossible, with a home machine. And a rolled hem that curves up and down, like a man's tailored shirt, tends to twist, so these are my easier methods. 
No one used to know I did these things, but now you all do. 

Don't tell!!

4 Comments
SIS
3/29/2017 06:35:49 am

Phil looks terrific. :)

Reply
Mainelydad link
3/30/2017 04:56:07 am

That shirt is beautiful, even if you did use a serger! 😉 Thanks for sharing the Pfaff video. OMG. I want one of those "edge sensing" machines. Amazing.

Reply
John Yingling
3/30/2017 05:07:05 am

My tip for doing a double fold, curvy shirt tail hem is to first do a three thread serge of the raw edge, then narrowly fold the hem once, then twice, using the serging to help stabilize the fold. Going around the curved parts is easy if you keep the fools very narrow. The hems at the plackets can get thick, but a little slow hand turning will produce good results. Try it next time, you might like it!

Reply
Martha Kelly
3/30/2017 10:28:46 am

I've had a shirt for my man cut out for about three years now. Maybe I could just send you the pieces? Shirts are HARD. One of my first jobs in New York was making shirts for Two Gentlemen of Verona at the Public Theater costume shop. We were expected to produce at least one shirt a day!

Reply

Your comment will be posted after it is approved.


Leave a Reply.

    From Andrea 

    I am a commercial pattern maker who is now "sewing over 50"!
    I love to sew and hope to encourage others to come back to sewing.
    The water is fine!!

    Archives

    May 2019
    April 2019
    March 2019
    August 2017
    July 2017
    June 2017
    May 2017
    April 2017
    March 2017
    February 2017
    July 2016
    June 2016
    May 2016
    April 2016
    March 2016
    February 2016
    January 2016
    December 2015
    November 2015
    October 2015
    September 2015
    August 2015
    July 2015
    June 2015
    May 2015
    April 2015
    March 2015
    February 2015
    January 2015
    December 2014
    November 2014
    October 2014
    September 2014
    August 2014
    July 2014
    June 2014
    May 2014
    April 2014
    March 2014
    February 2014
    January 2014
    December 2013
    November 2013
    October 2013
    September 2013
    August 2013
    July 2013
    June 2013
    May 2013

    Archives by Subject

    To search for blog posts in specific categories, use the drop down menu above by hovering over the word "Blog"

    Enter your email address:

    Delivered by FeedBurner

    RSS Feed

    Andrea Schewe participates in Amazon's associates program.