
So, why were these two dresses put in the same pattern package? First, if you discount the sheer yoke and sleeve on Elsa's snowflake dress, the two bodices are really the same shape. I decided to make a separate, boned, lined bustier that zips in the back with a separating zipper. Then the two very different skirts could just be separate skirts. And the sheer yoke and sleeves for Elsa's dress become a very close fitting sheer spandex top. That's how it's drawn in the movie anyway. And then the cape can be removable by having it attach with hooks along the upper back edge of the bustier.
Often I have to be very careful about pattern pieces getting too large, but these two skirts didn't cause a problem. Elsa's skirt is very slim and Anna's pleated skirt has three skinny pieces that are each cut ten times each. That allowed me to make a nice BIG cape.
Often I have to be very careful about pattern pieces getting too large, but these two skirts didn't cause a problem. Elsa's skirt is very slim and Anna's pleated skirt has three skinny pieces that are each cut ten times each. That allowed me to make a nice BIG cape.
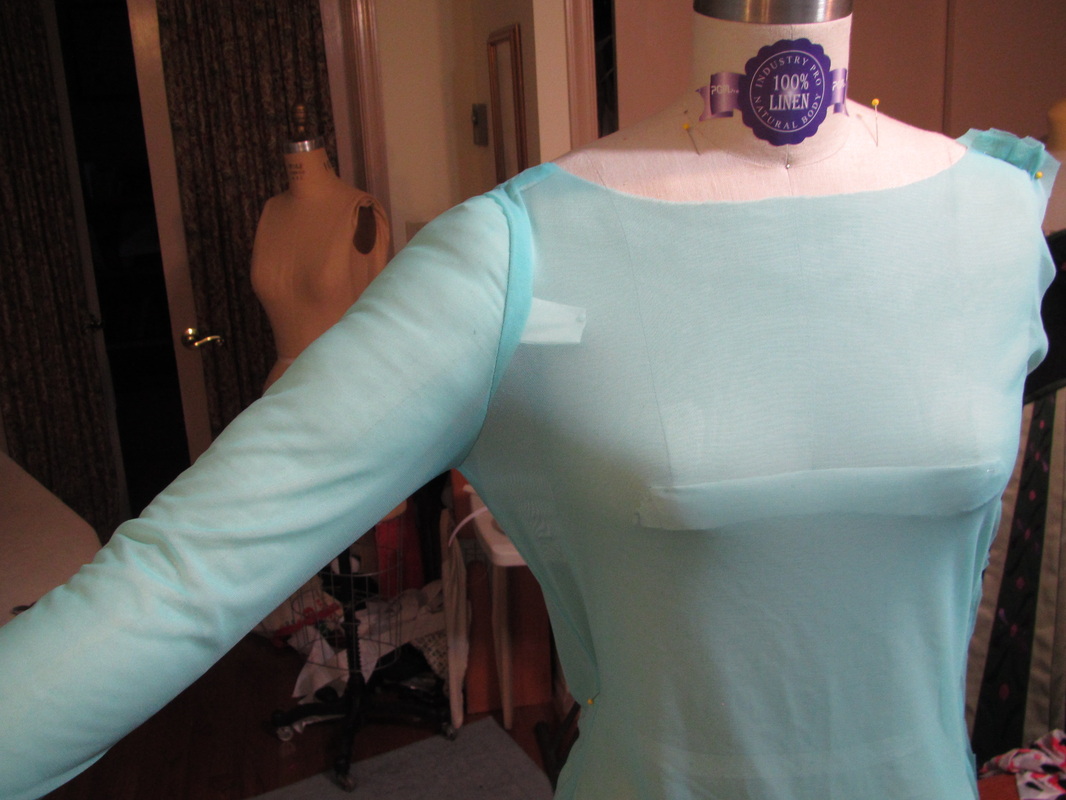
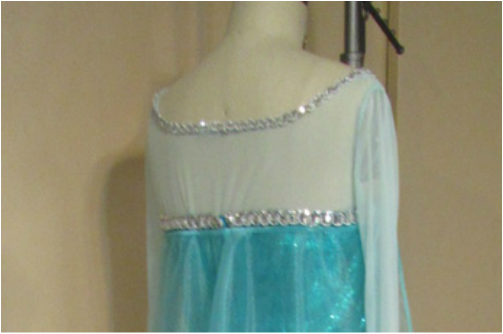
Here is Elsa's spandex top when I was trying to get the fit just right ... close fitting but not too, too tight.

When work is done for an official licensed character, the company that holds the license sends out an official character book with pages and pages of images and other information such as specific Pantone colors that should be used. This is easy for people making printed things like bed sheets and lunch boxes. They mix paint until they get the right color.
But, we just have to do our best to find fabrics that are as close as possible. The licensor, in this case Disney, has to approve everything. I've worked on projects where the actual costume was sent in and came back with all sorts of notes pinned all over for the corrections they wanted.
Now usually photos are sent of the finished costumes for approval and I'm lucky that there haven't been too many changes as of late.
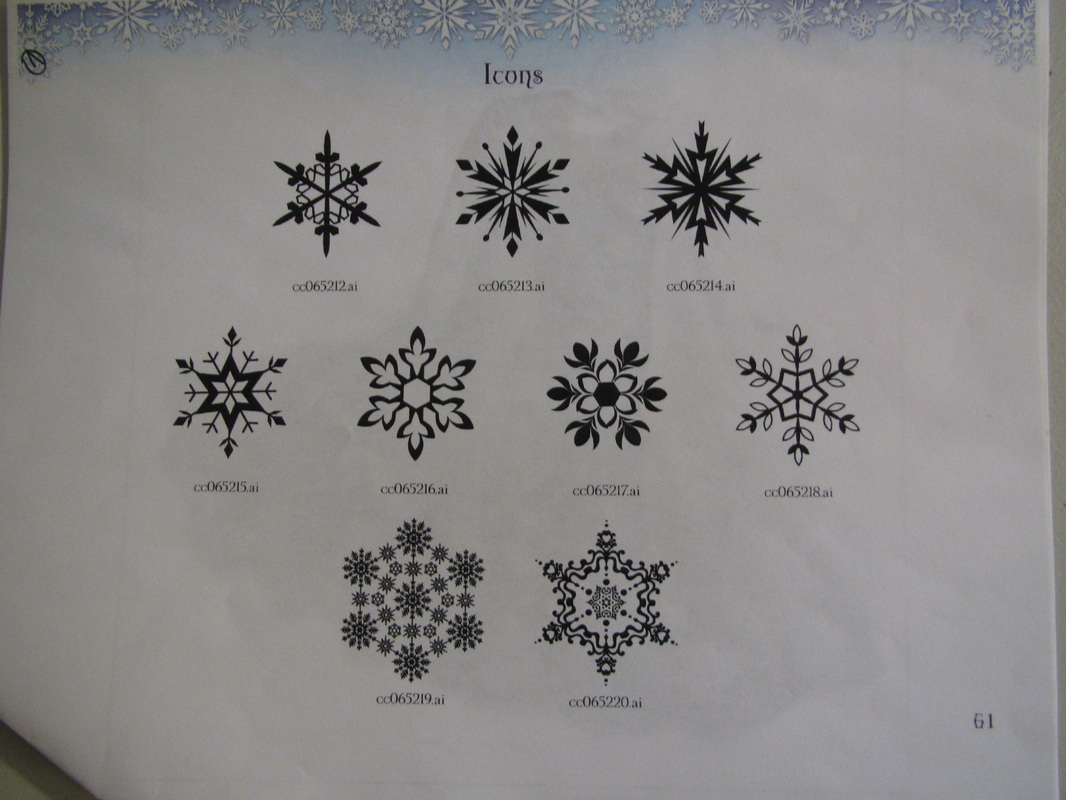
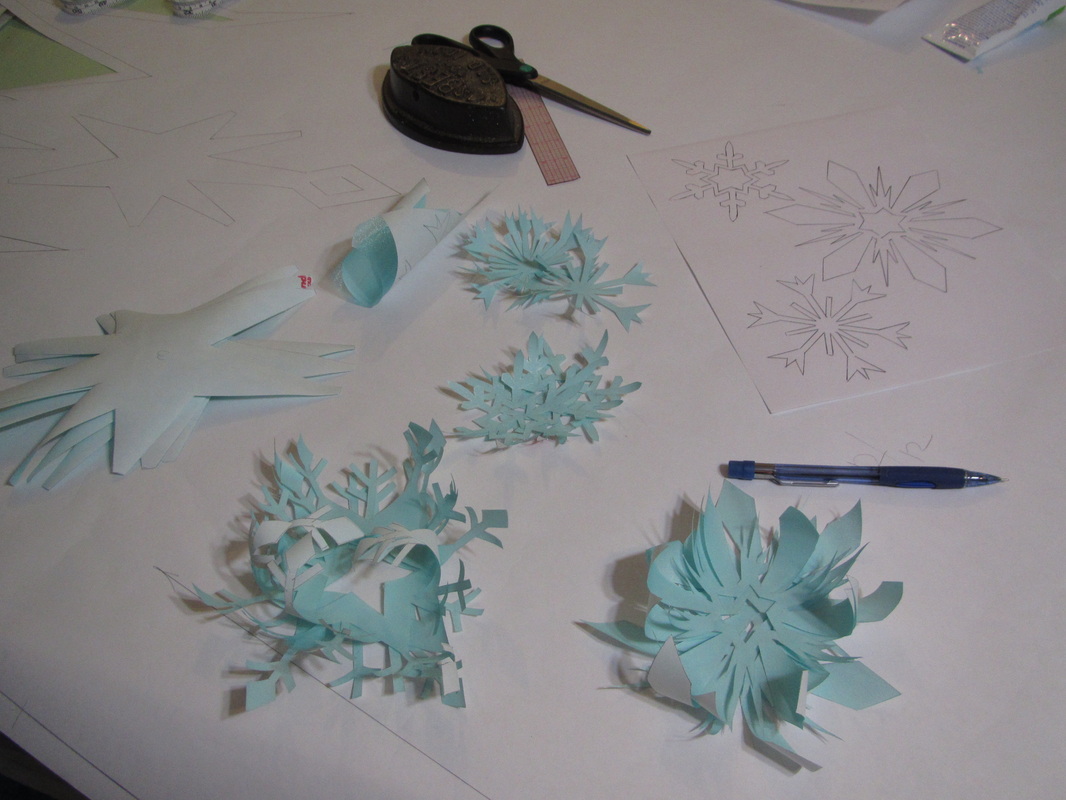
The Frozen character book has several pages of "official" snowflakes. I chose 5 different ones that I thought could be modified into a shape that wasn't too hard cut out multiple times without losing your mind.
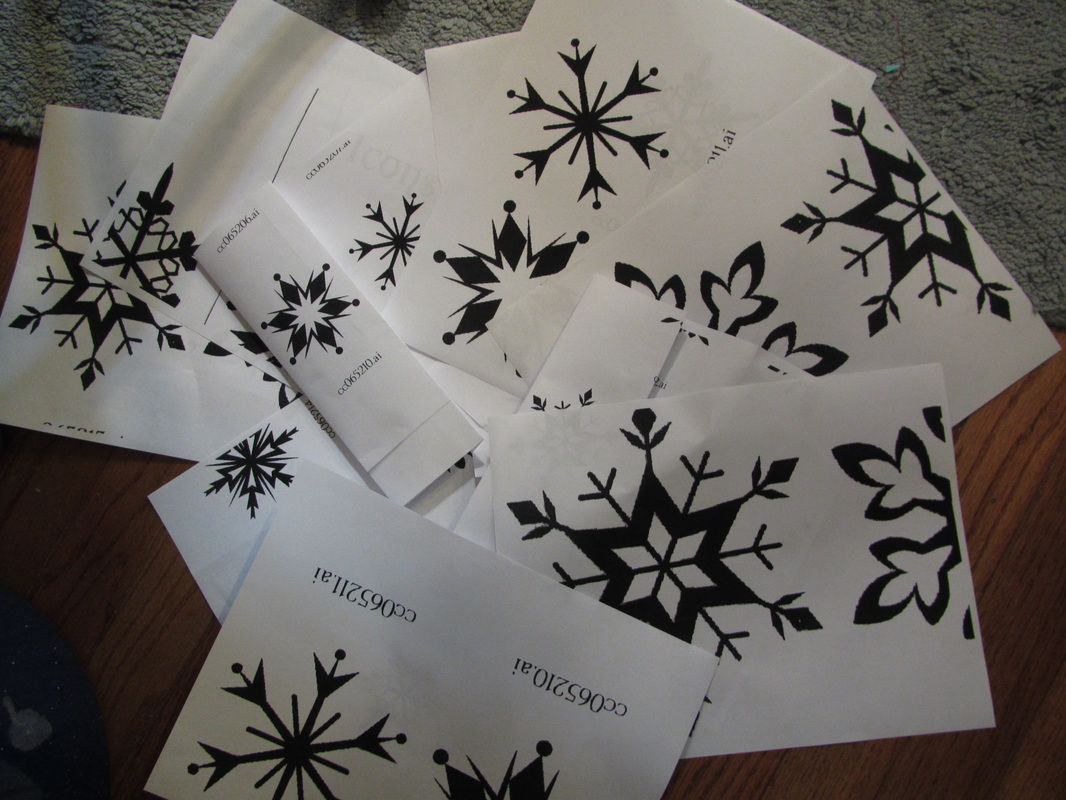
I then ran the ones I chose through my copy machine several times until they were the sizes I wanted.
Here they are all ready. Fabric is pressed to the fusible webbing ready to go on the cape. I will explain how I got to this point.
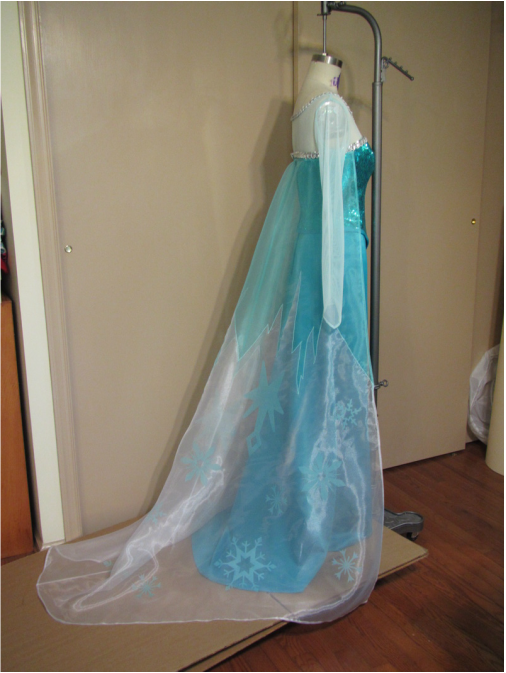
This photo shows the design of the cape pretty well.
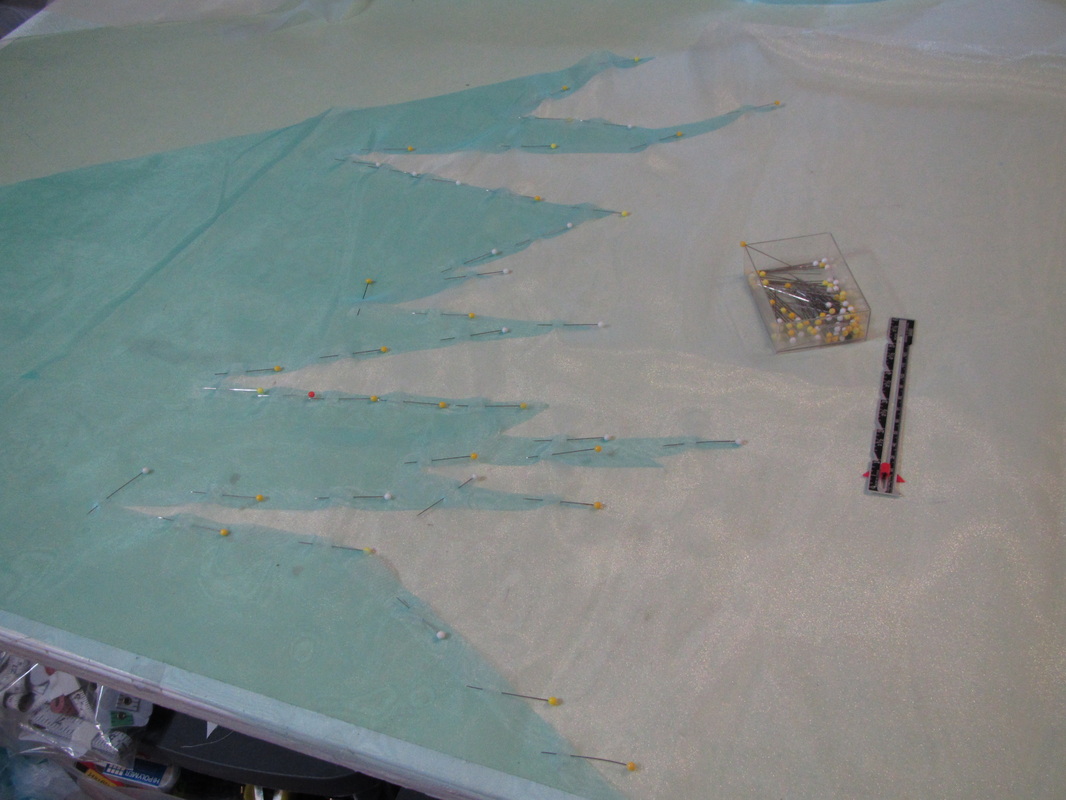
The upper section is aqua and the lower section is white. The divide between these two colors is a lot of jagged lines. After a lot of experimentation I determined the best way to do this would be to lap the aqua over the white, zig zag along the edge and then ...
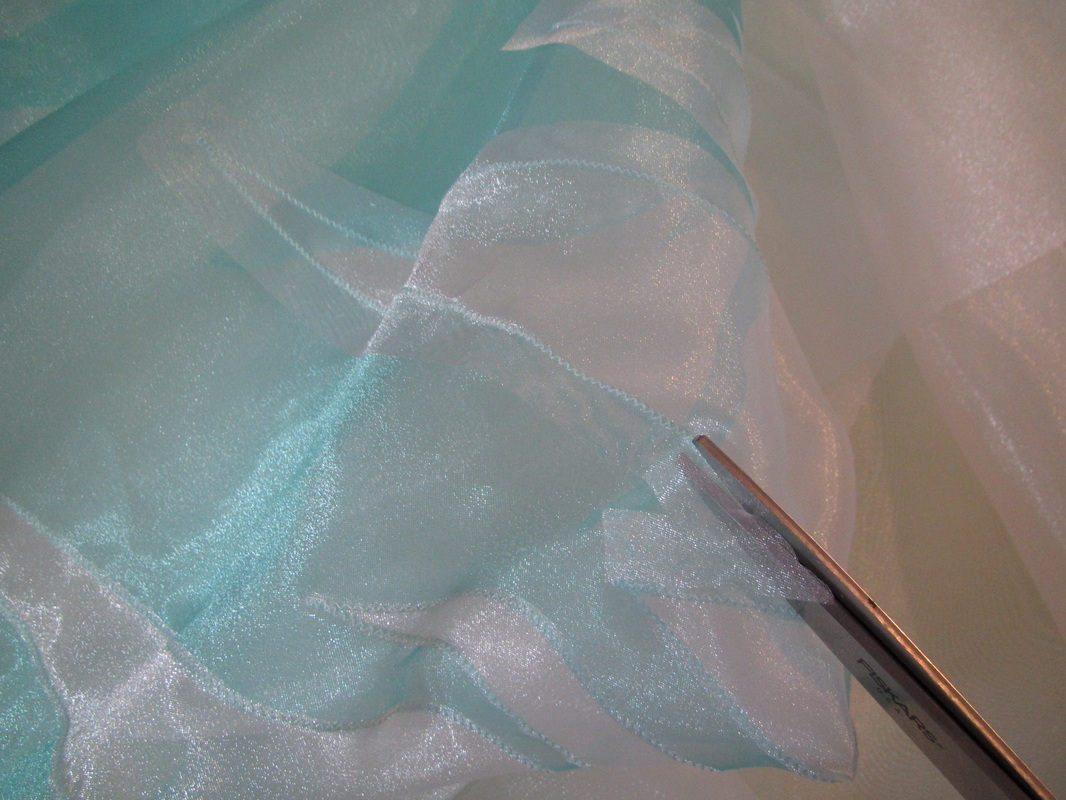
CAREFULLY cut away the excess in the back. I made the pattern with about a 1" overlap allowance to make is easy to line up, but this extra does need to be trimmed away.
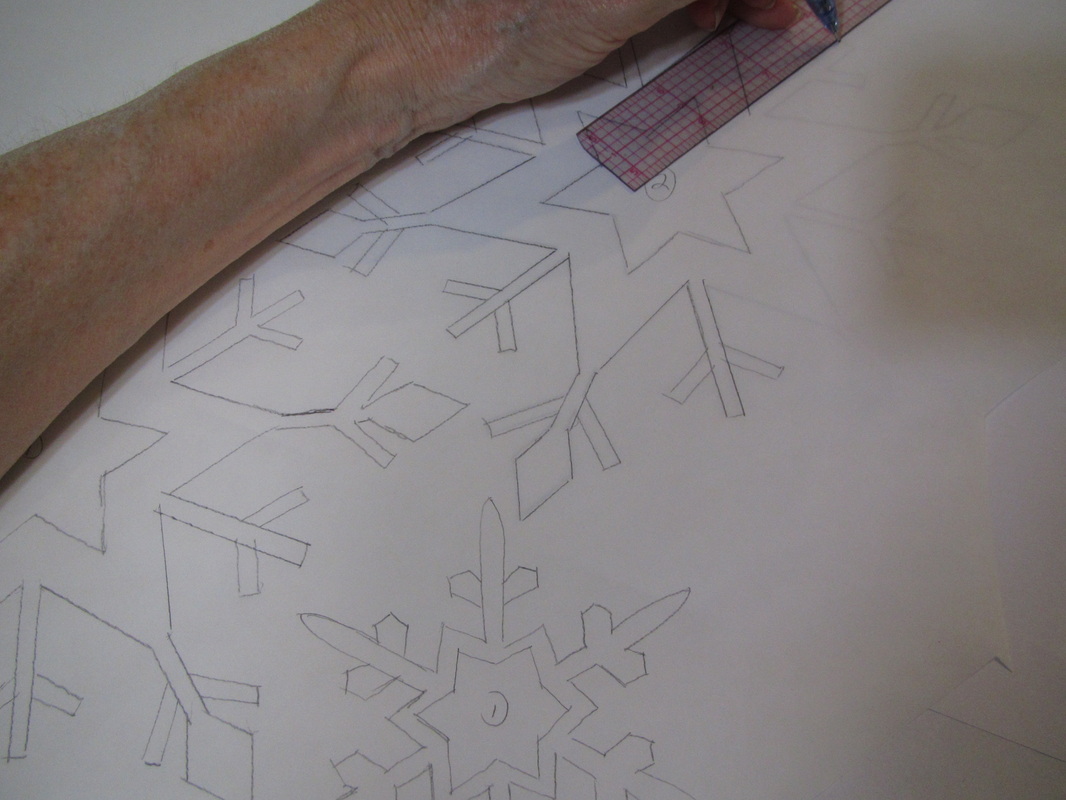
I'm tracing the snowflake designs onto the paper side of the fusible webbing here. A small ruler really helps to keep all those lines straight.
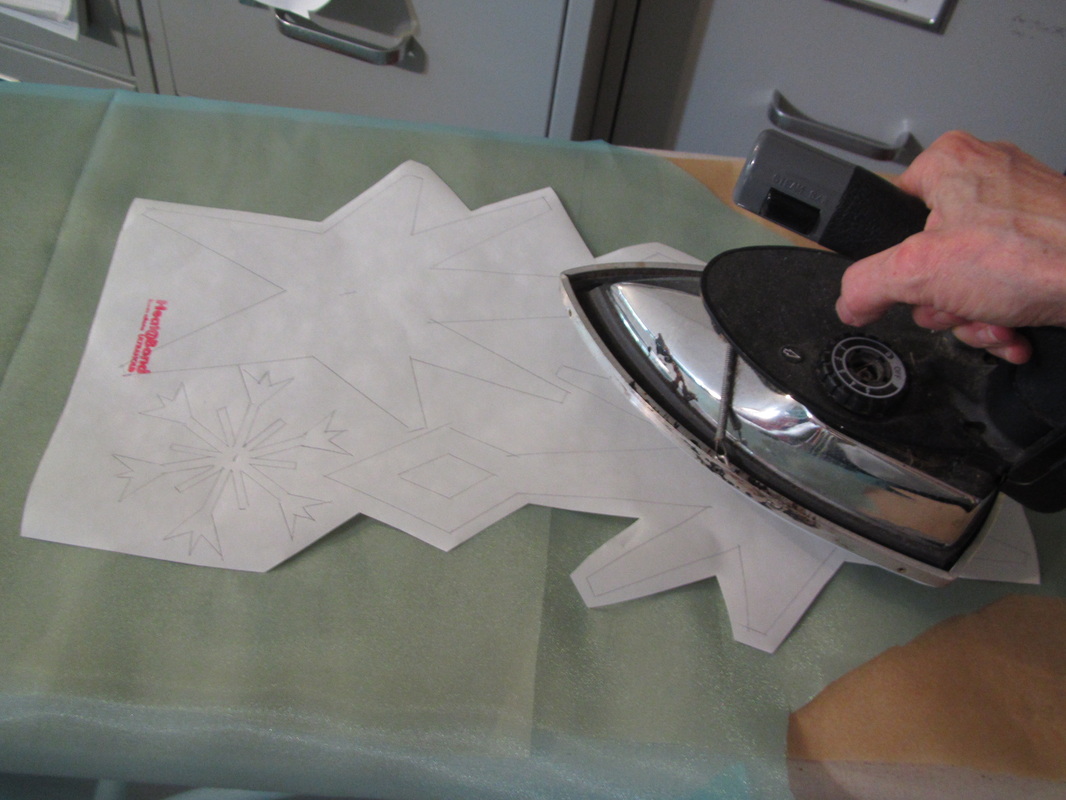
Using iron on fusible webbing with a sheer fabric works fine BUT you have to use baking parchment paper on both sides. Otherwise the gluey stuff gets on the iron, the ironing board and everywhere else you don't want it.
Now, in this photo I'm pressing the paper backed webbing to the fabric, so in this case I only needed the baking parchment on the back side of the fabric.
Now, in this photo I'm pressing the paper backed webbing to the fabric, so in this case I only needed the baking parchment on the back side of the fabric.
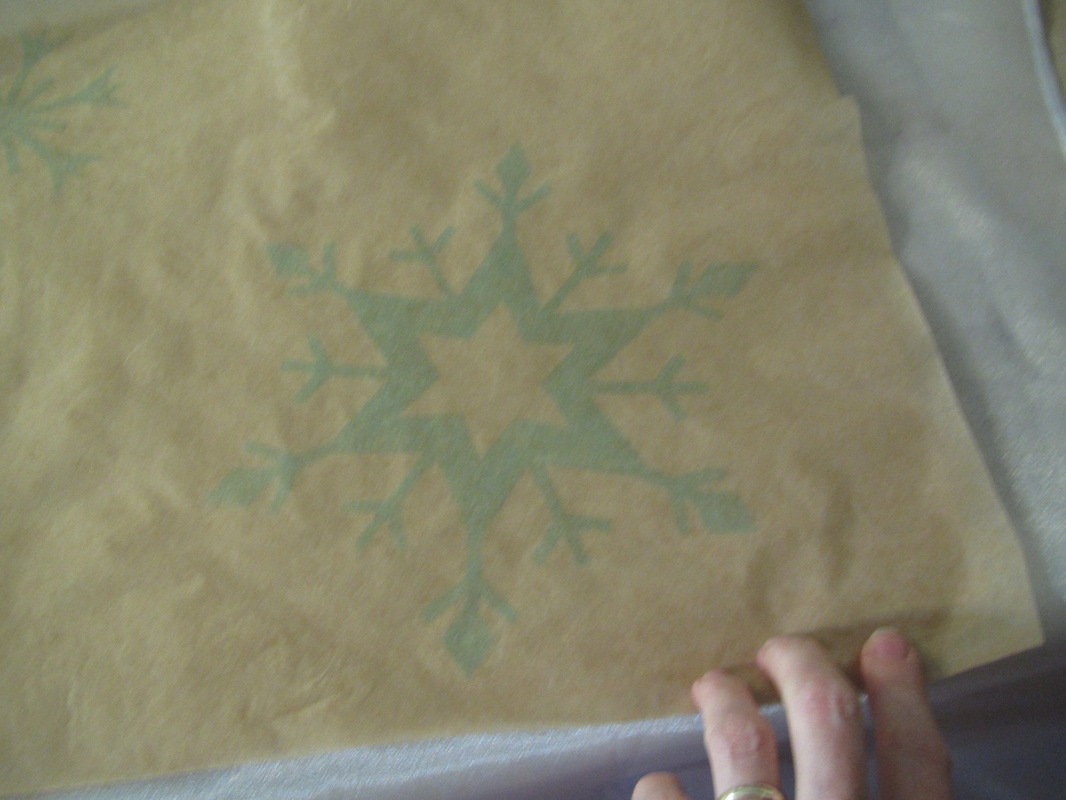
Once the shapes are cut out, the paper is peeled away and the snowflakes can be pressed onto the lower part of the cape. This is where it is crucial to have that parchment above and below the fabrics while pressing.

Allow the snowflake to cool down, but not completely. I found it was easier to peel the parchment away if everything was just a tad warm.
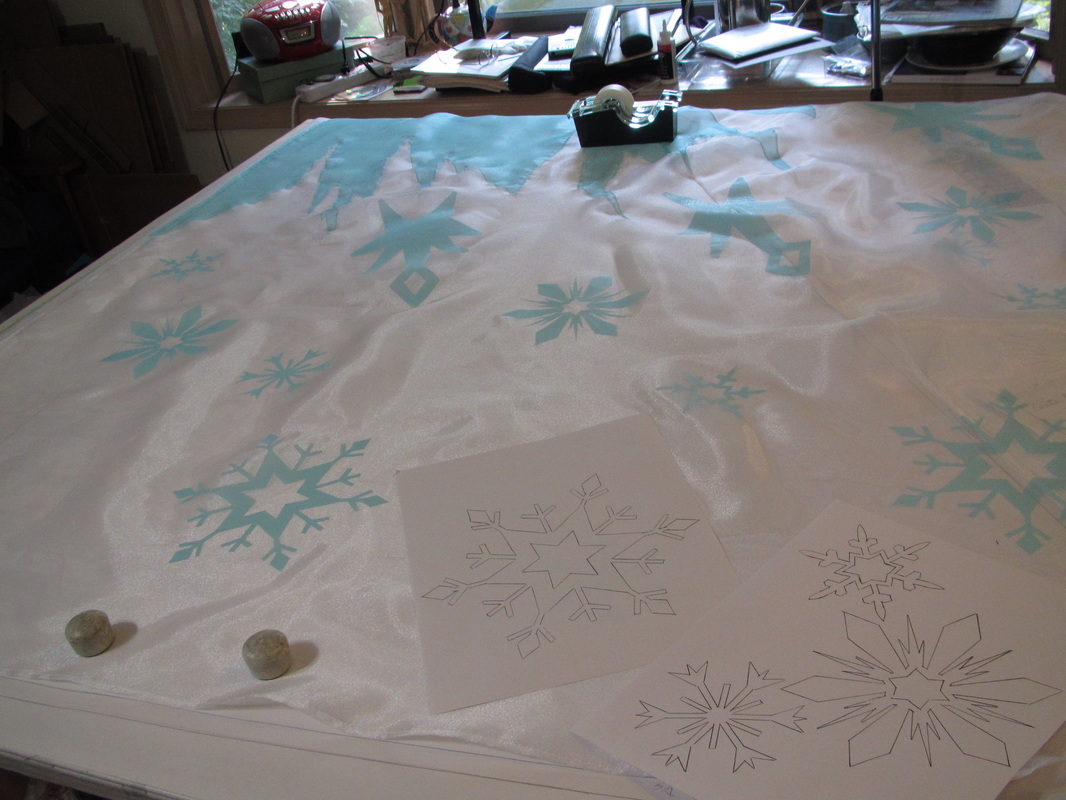
After each snow flake I put the cape back over my pattern piece to make sure all the snowflakes were going in the correct place and both sides were even.
The bottom and sides of the cape are hemmed by machine with a tiny rolled hem. The top edge is finished with a narrow binding. This is substantial enough to sew a bunch of small hooks and snaps to. I left the bottom edge of the trim loose, so the corresponding eyes and snaps could be sewn UNDER the trim. That makes the cape look as if it it is part of the dress. I like this method, too, because it gives a very smooth look in the back. There is no zipper going up the back of the sheer top and there is no break or opening in the cape.
Friday, Anna's pleated skirt.
Friday, Anna's pleated skirt.
 RSS Feed