
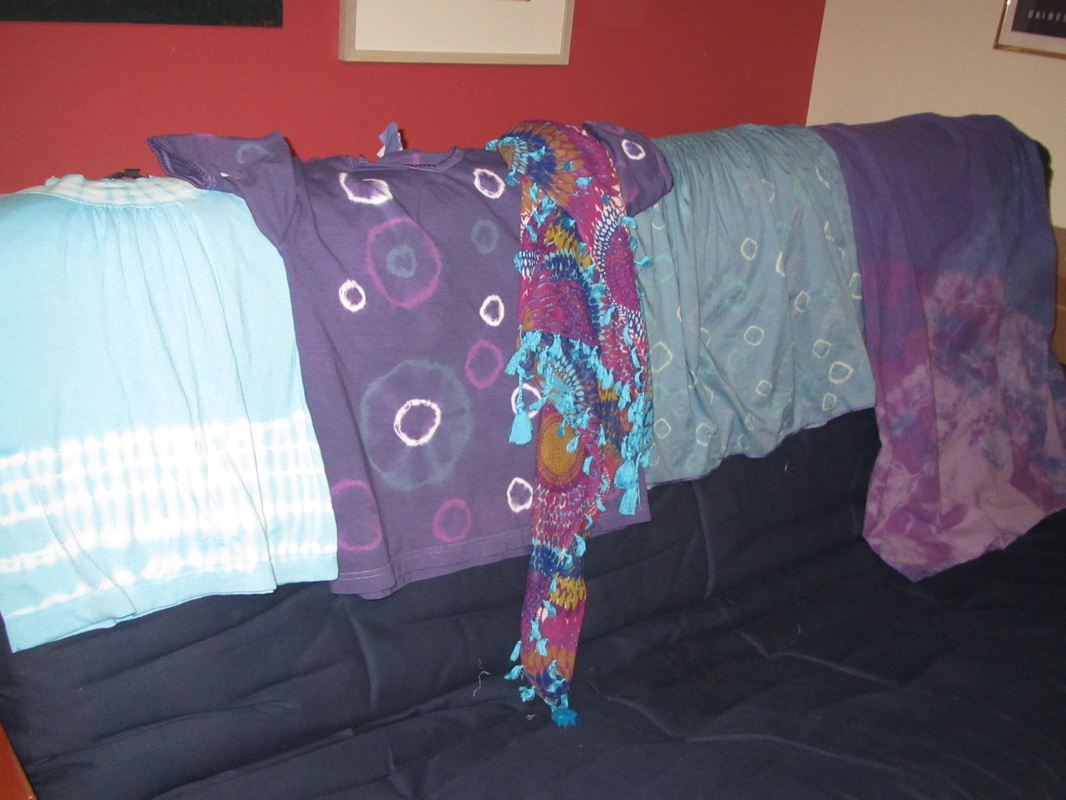
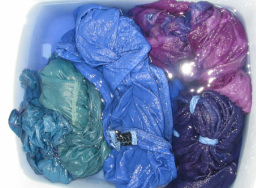
Here are 4 of the 5 garments I've dyed. I think they work with that scarf in the middle, which was one of my goals.
Yesterday I showed you how I tie dyed the dress and skirt on the far right in the above photo.
Today I will show you how I dyed 3 different tops.
Today I will show you how I dyed 3 different tops.
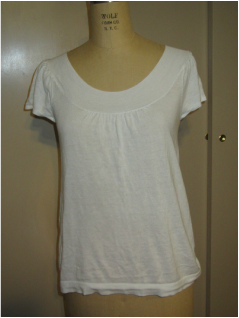
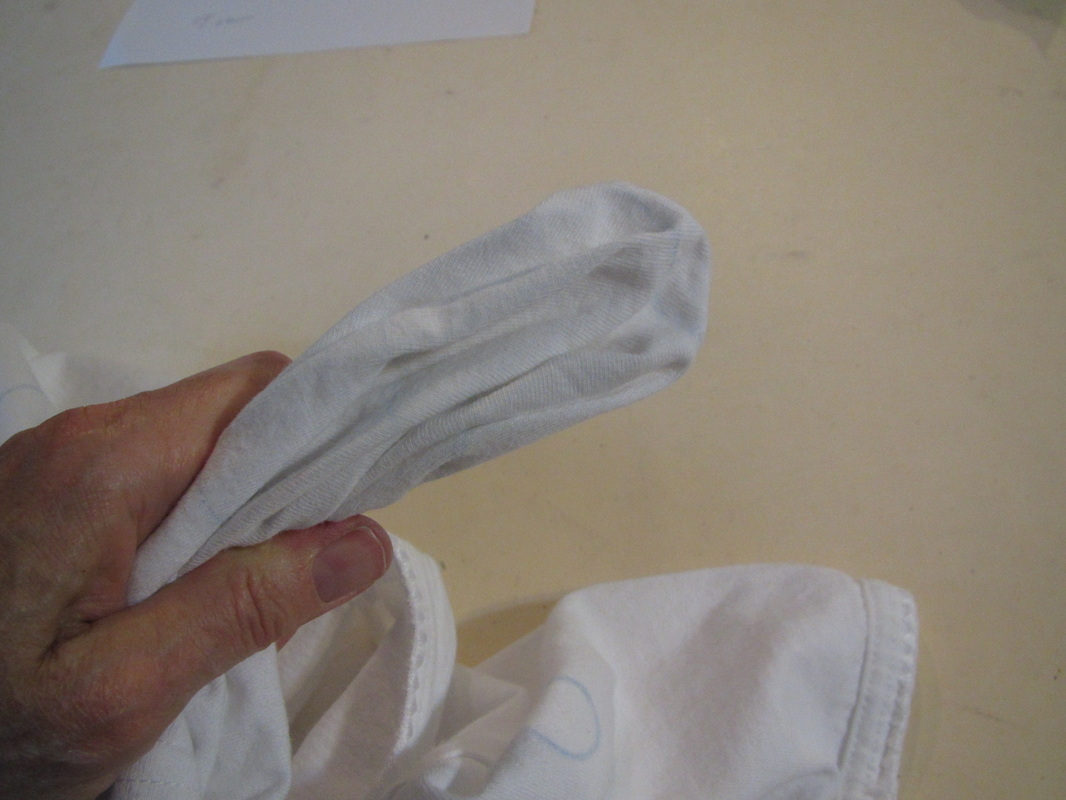
This is a cotton/rayon knit top.
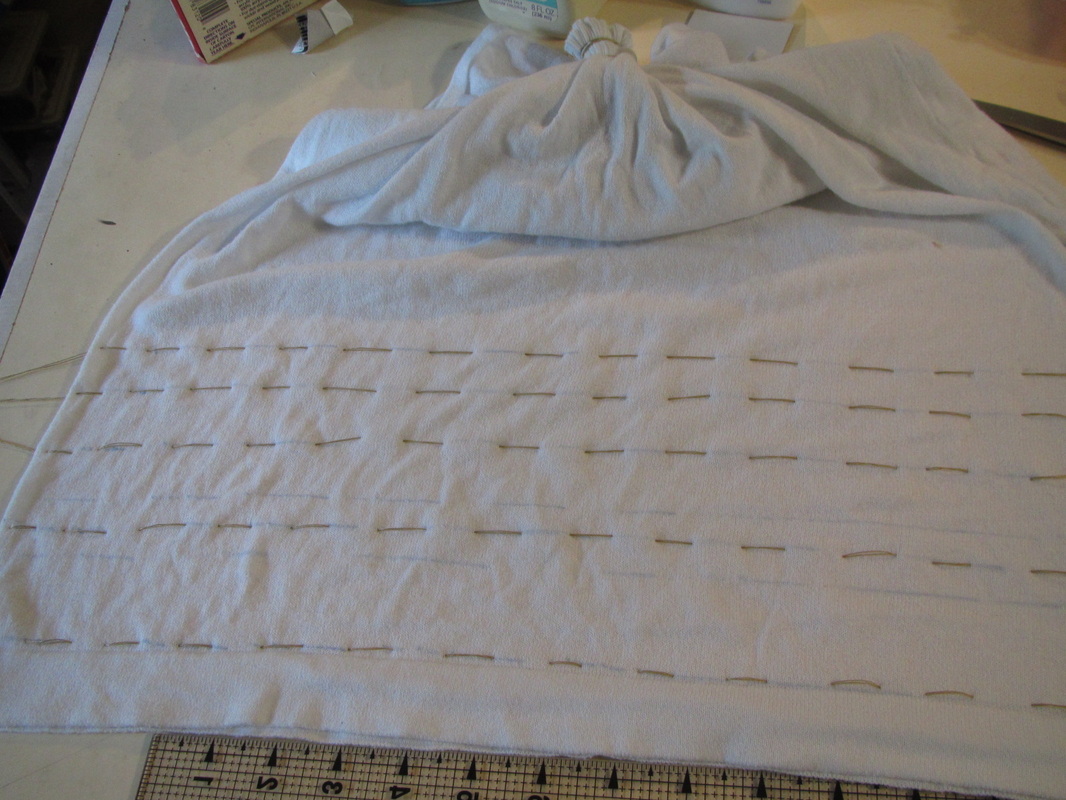
I drew lines to help me sew straight lines of a running stitch to pull up.
Ready to dye with all the pleated up places wrapped tightly with thread.
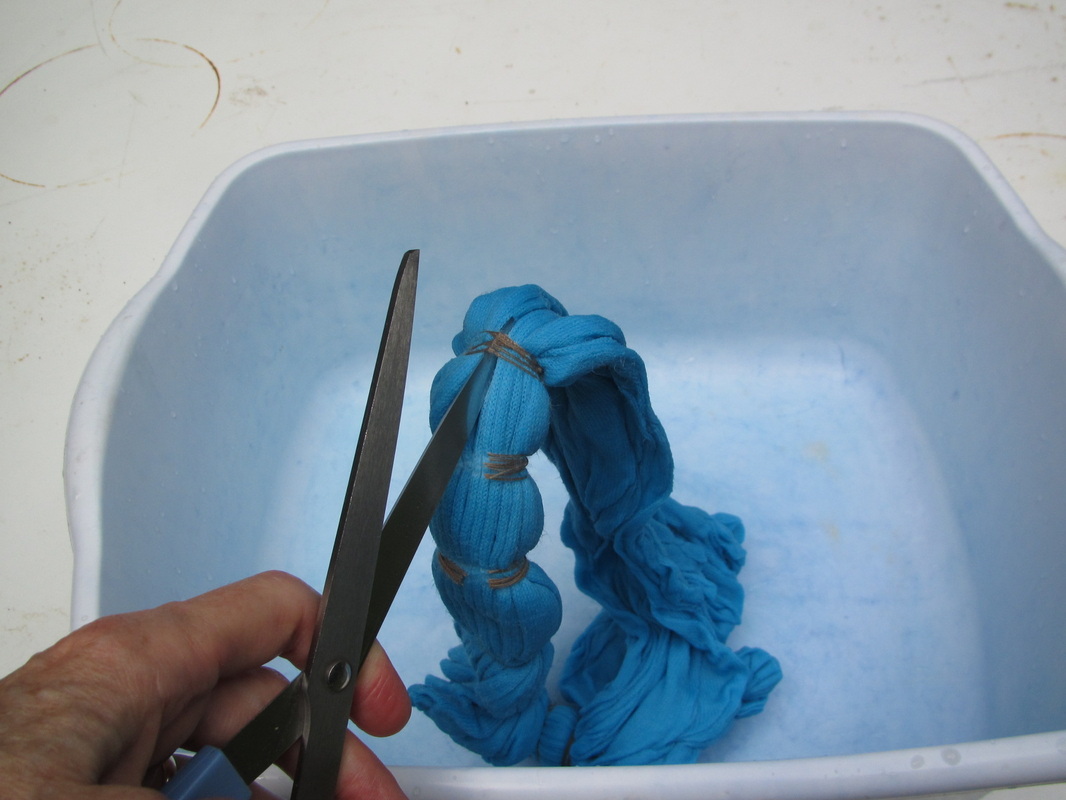
Out of the dye, thoroughly rinse I'm carefully clipping the thread ties.
| 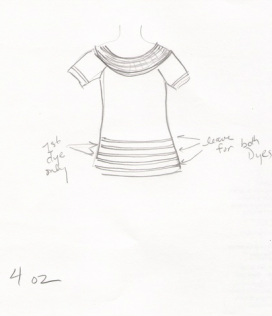
This is my plan, simple parallel stripes which will only get dyed once.
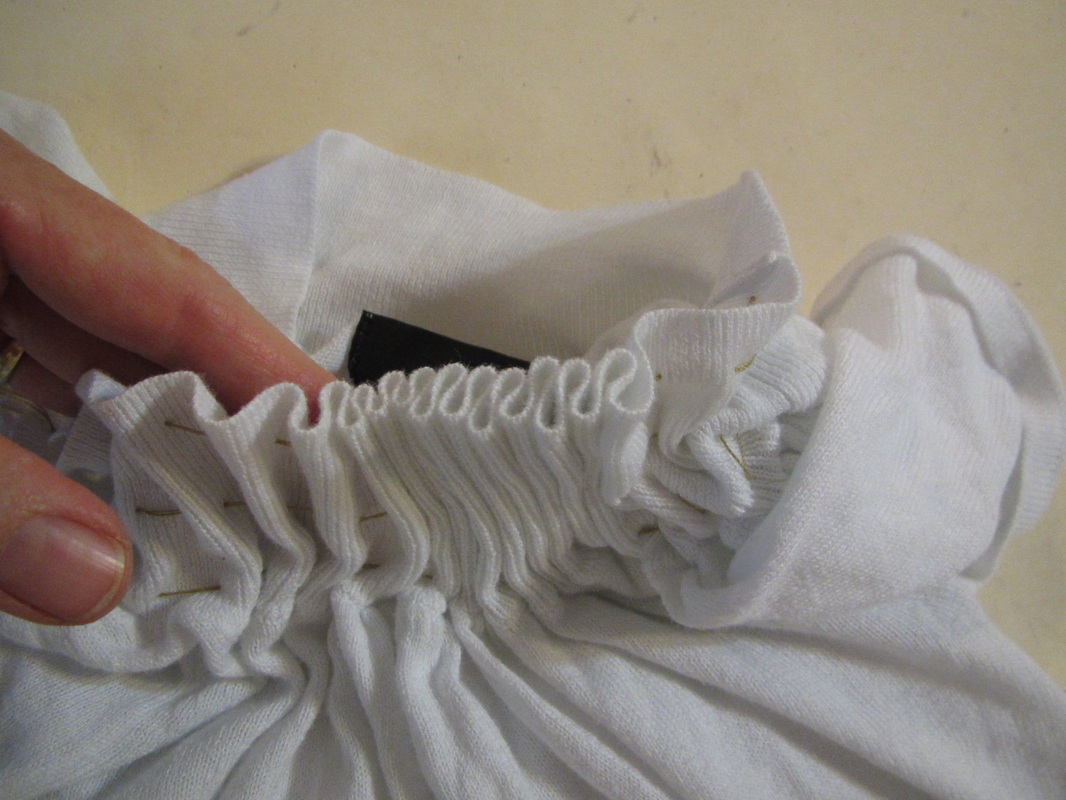
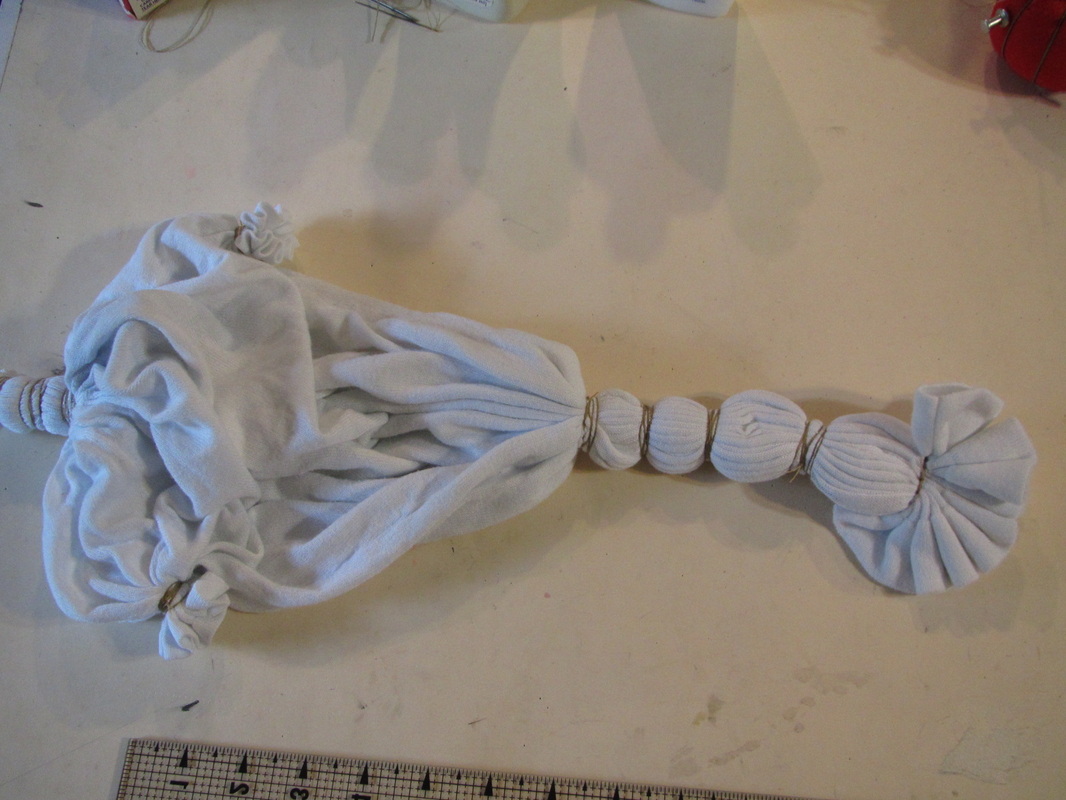
When they are pulled up the gathers will look like this.
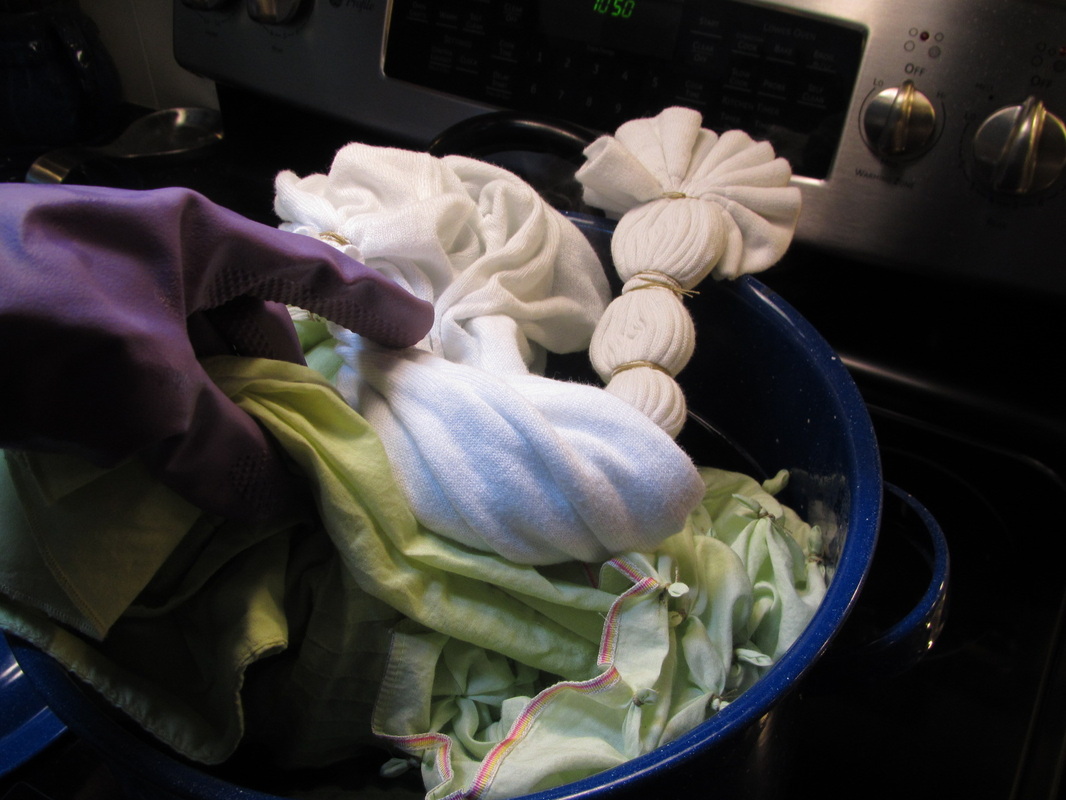
Into the aquamarine dye bath along with the skirt in yesterday's blog.
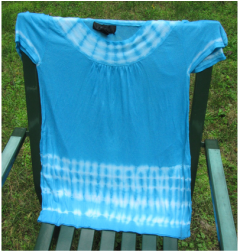
And outside to dry! This is all a want to do with this top.
|

This is a women's 100% cotton V-neck t-shirt.
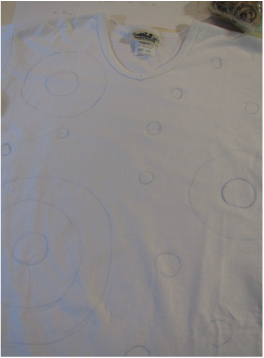
First I marked where I wanted the circles to be. It's good to plan so the large and small circles are artfully distributed.
This is what it looked like before dying.
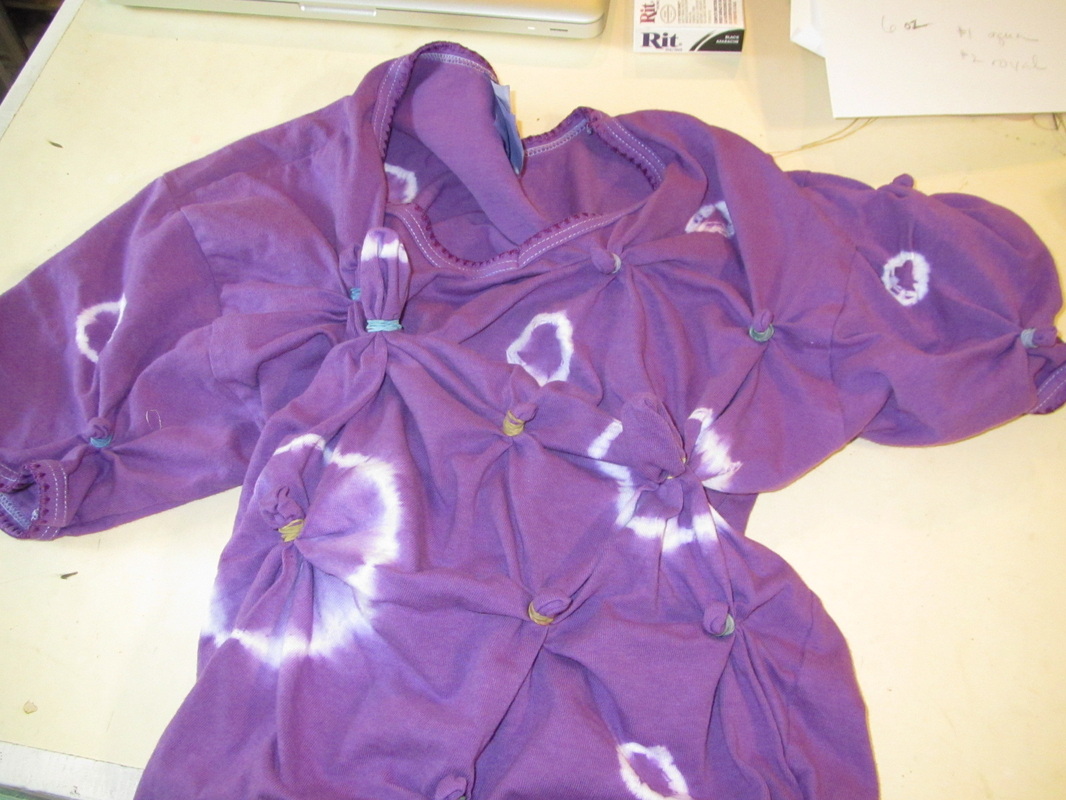
I then put in some new rubber banded circle areas to preserve this pretty purple color when it get dyed a second time.
| 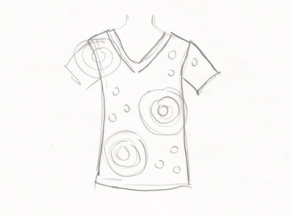
My plan for this top is lots of circles, similar to the green skirt from yesterday, except they will be larger, of differing sizes and I'm only going to use rubber bands. I learned my lesson after the hours and hours I spent with needle and thread tying off all those tiny circles on the skirt.
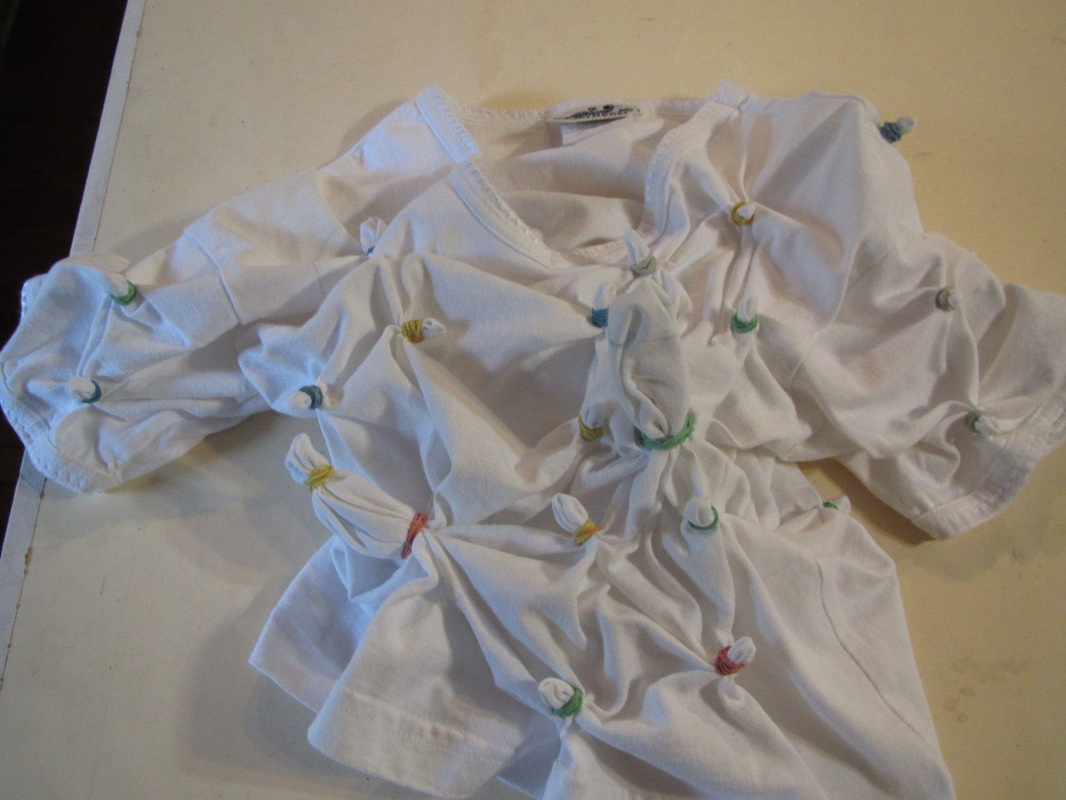
For each circle I pulled up a section of the shirt where marked, tried to make lots of small pleats instead of a couple big folds. Then I wrapped this with a big rubber band many times tightly.
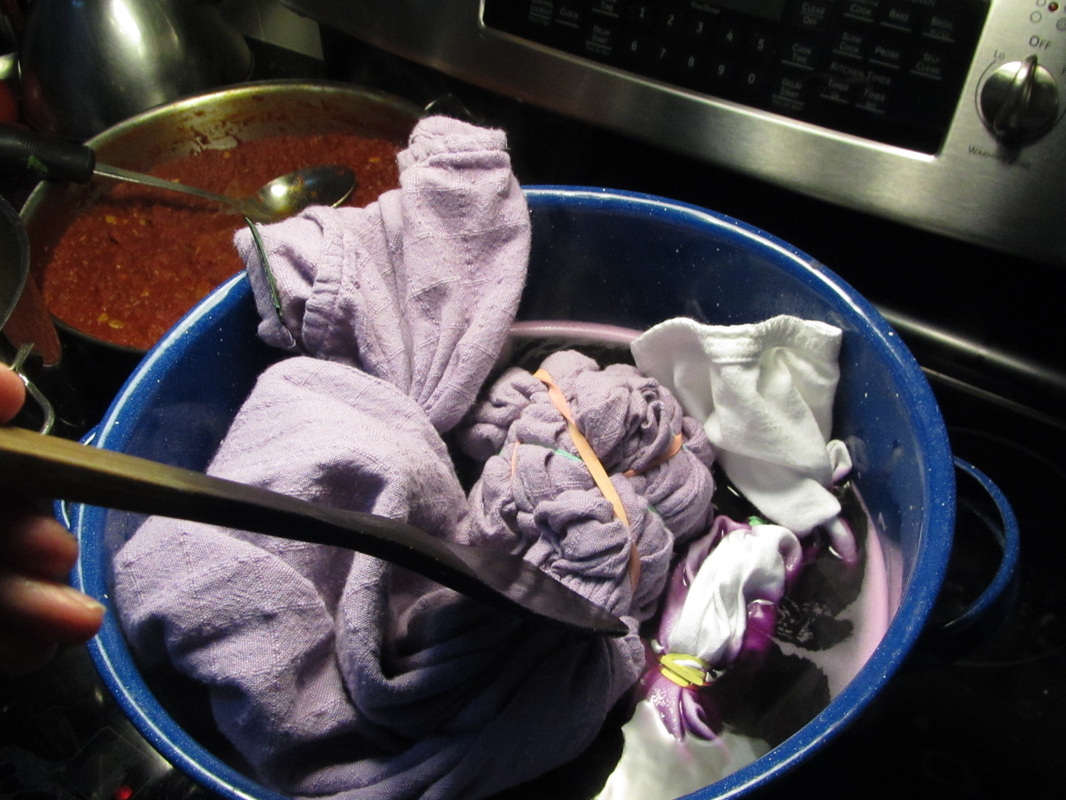
The first dying is the purple/fuchsia dye bath along with the first dying of the purple dress.
I rinsed and dried it outside (no dyer) before removing some of the rubber bands, to allow the second dye color to go straight into the white fabric. 
Into the slate grey dye along with the linen top that I will explain next.
|
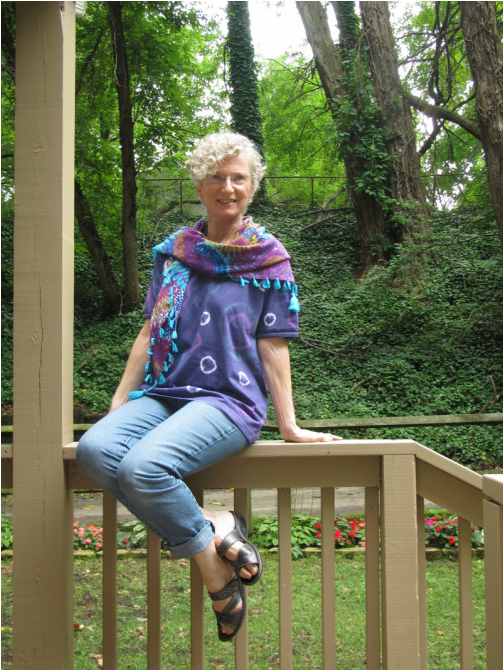
A good top for jeans and it goes with my scarf!
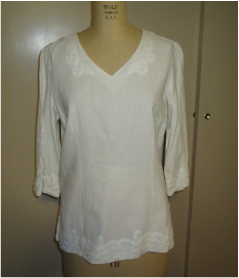
Last top, a heavy 100% linen with battenburg lace.
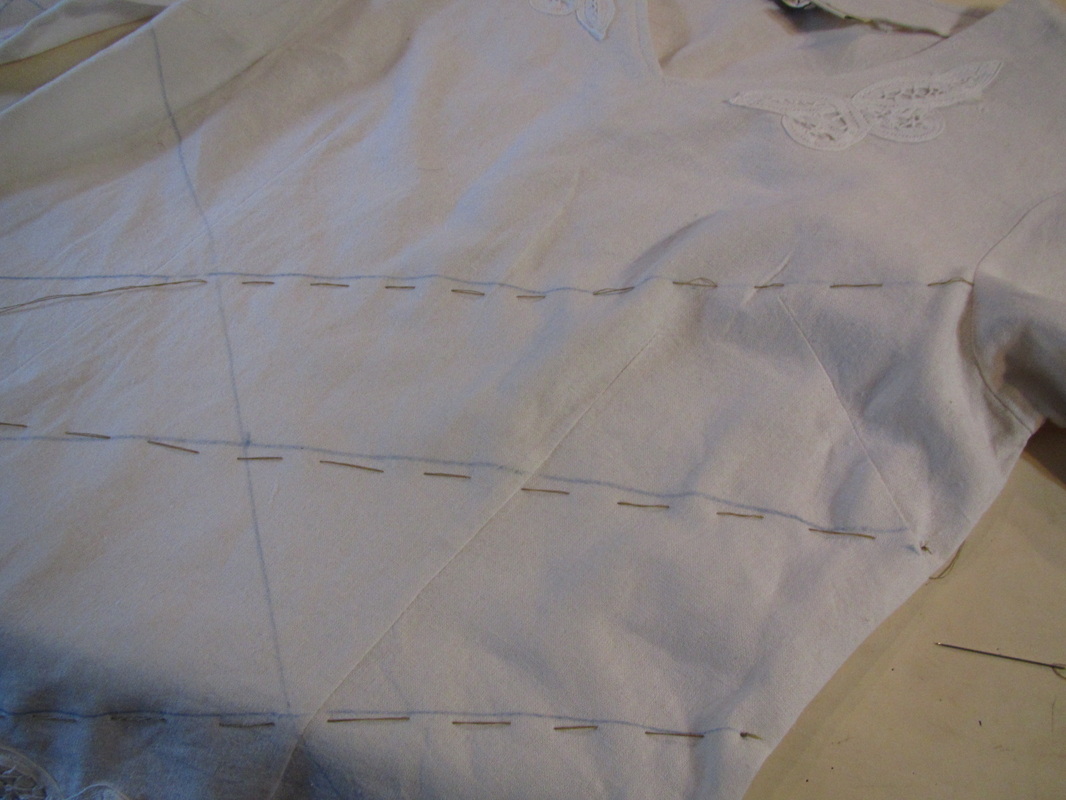
Again, I draw lines according to my plan before putting the running stitch.
Here are those three things just out of the royal blue dye. I love how they all came out different colors.
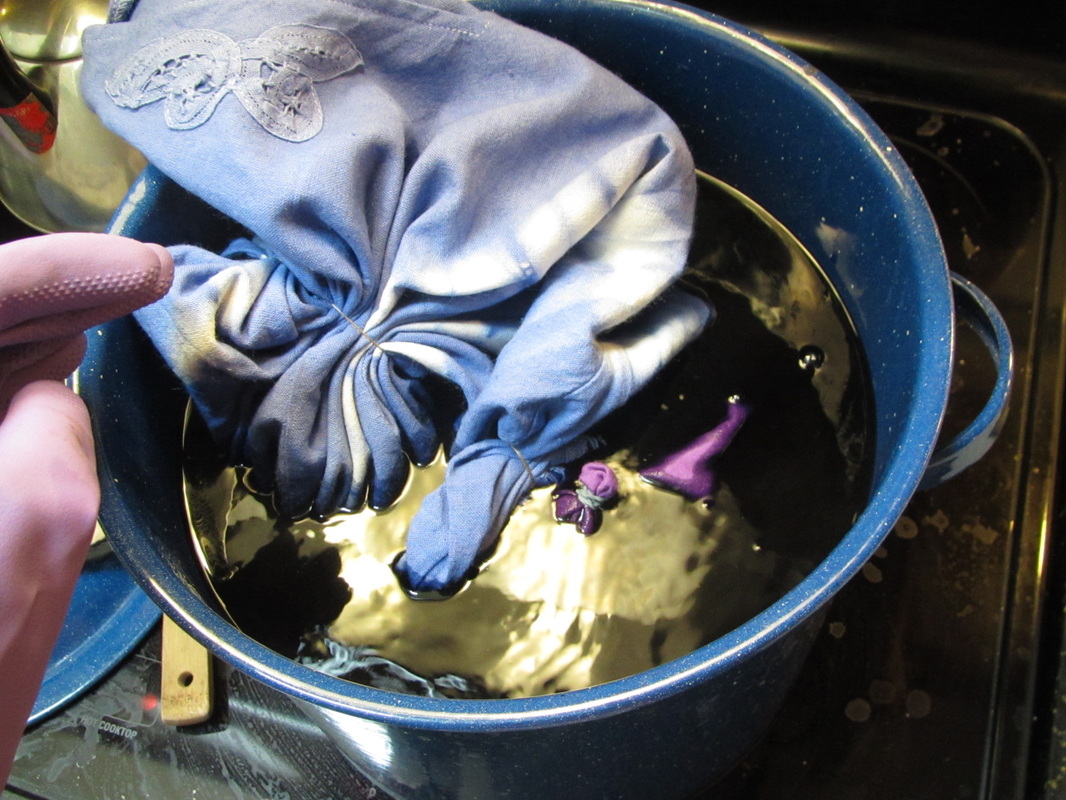
I tied it up a second time to go into the slate grey dye BUT!!!!! I forgot to put rubber bands around all the pulled up sections ... grrrrrr ... RATS!
And didn't realize it until I had already thrown it into the dye. So, instead of the usual 20 or so minutes in the dye, I pulled it out after about 3 minutes and rinsed it fast!! | 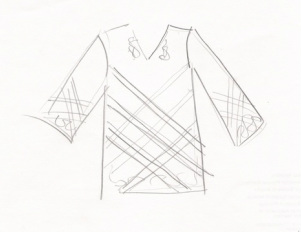
I thought it would be fun to try a kind of plaid effect.
For the first dying I pulled up each line tight with a single running stitch and then wrapped over that with a fat rubber band doubled several times. 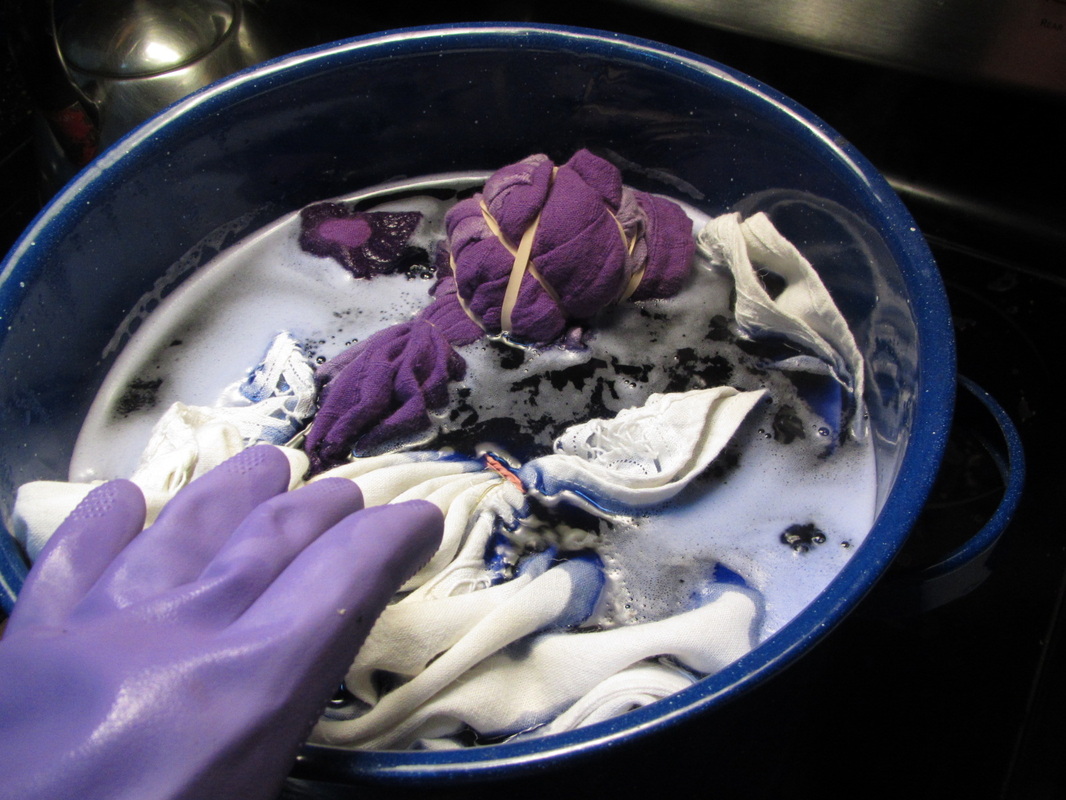
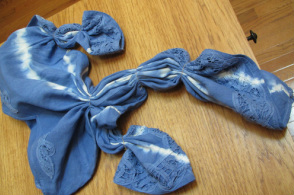
This goes into the royal blue dye along with the purple dress's and green skirt's second dying.
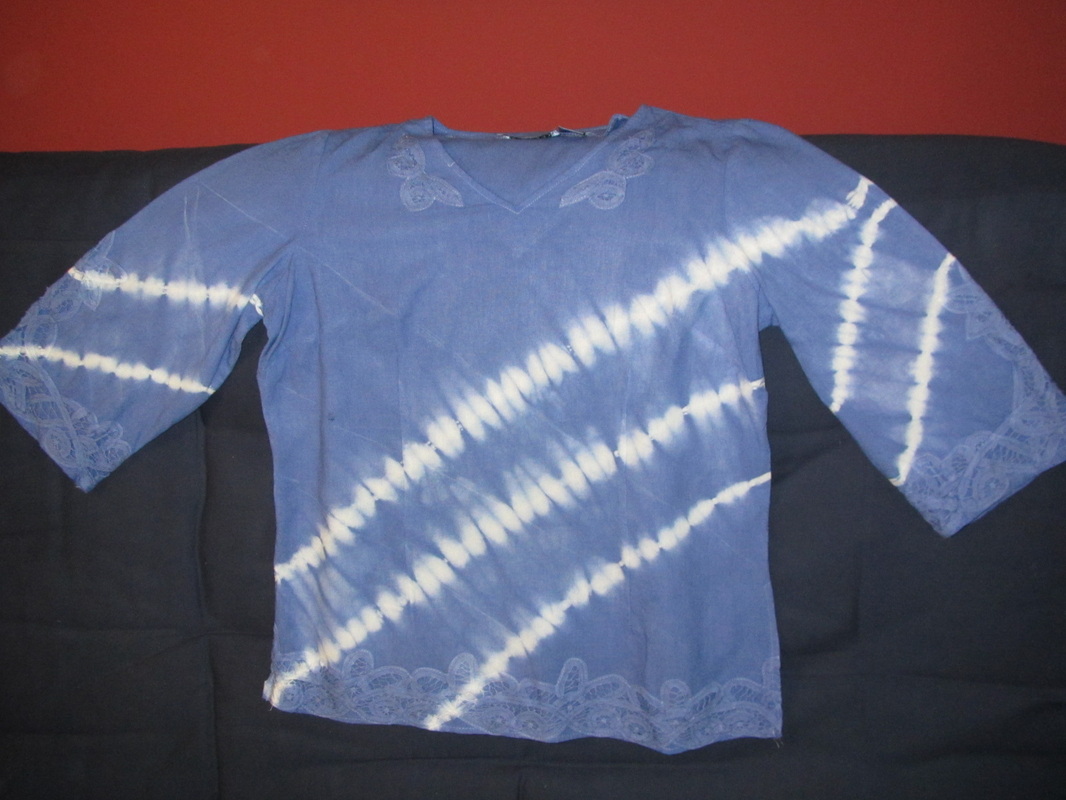
This is what it looks like after the first dying.
|

And ... could be worse. Actually not bad ... maybe it's better with the blurred, softer dye job.
You know ... I think this would look great on my older sister. I have to ask her if she wants it.
 RSS Feed