
 |  |
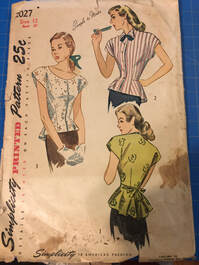
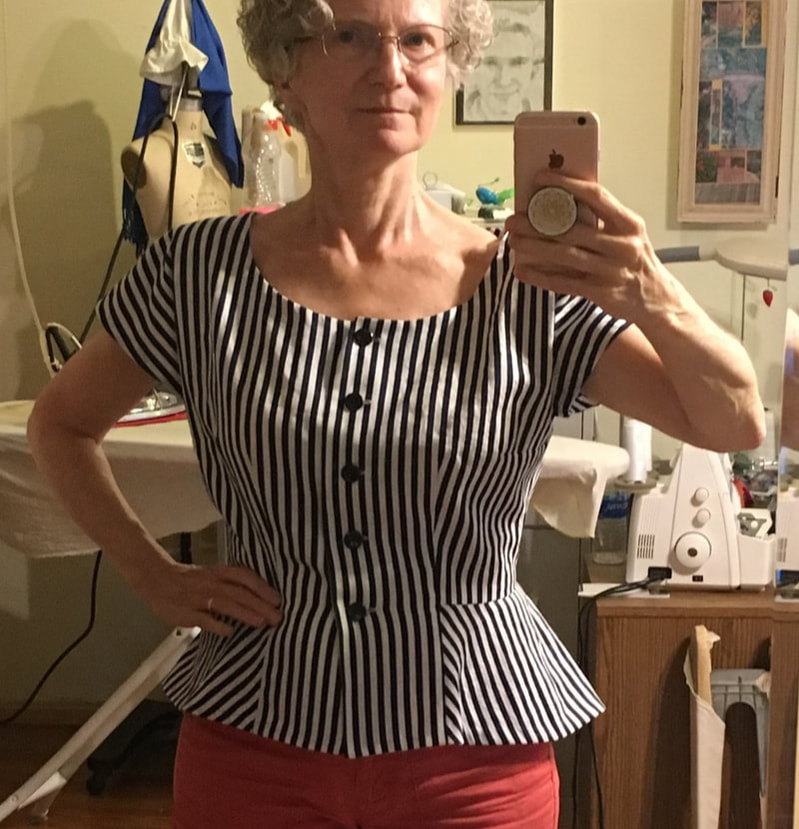
To complete my journey on this pattern, I decided to make one for myself! I was going to modify the modern reissue of this pattern because this vintage pattern is SO small, read last weeks blog about it. But I decided to enlarge the vintage one instead to better keep the original shapes.
I am going to do some simple, simple grading and a little custom adjustment.
I am going to do some simple, simple grading and a little custom adjustment.
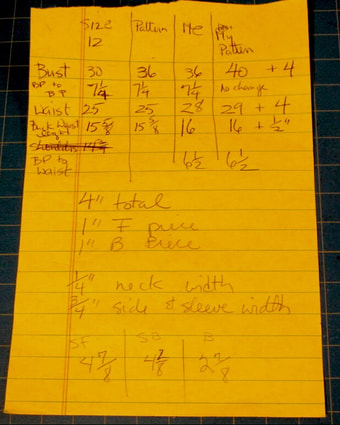
First, measure, measure, measure ...
Bust, waist, back waist length, bust point to point and bust point to waist.
I am an older lady and my bust is lower than it used to be.🙃
I decided to give myself 4" ease in the bust instead of 6" like the patterns calls for and 1" ease in the waist instead of the zero ease that pattern has.
So, I needed to add 4" to the bust, 4" to the waist and 1/2" length from shoulder to waist.
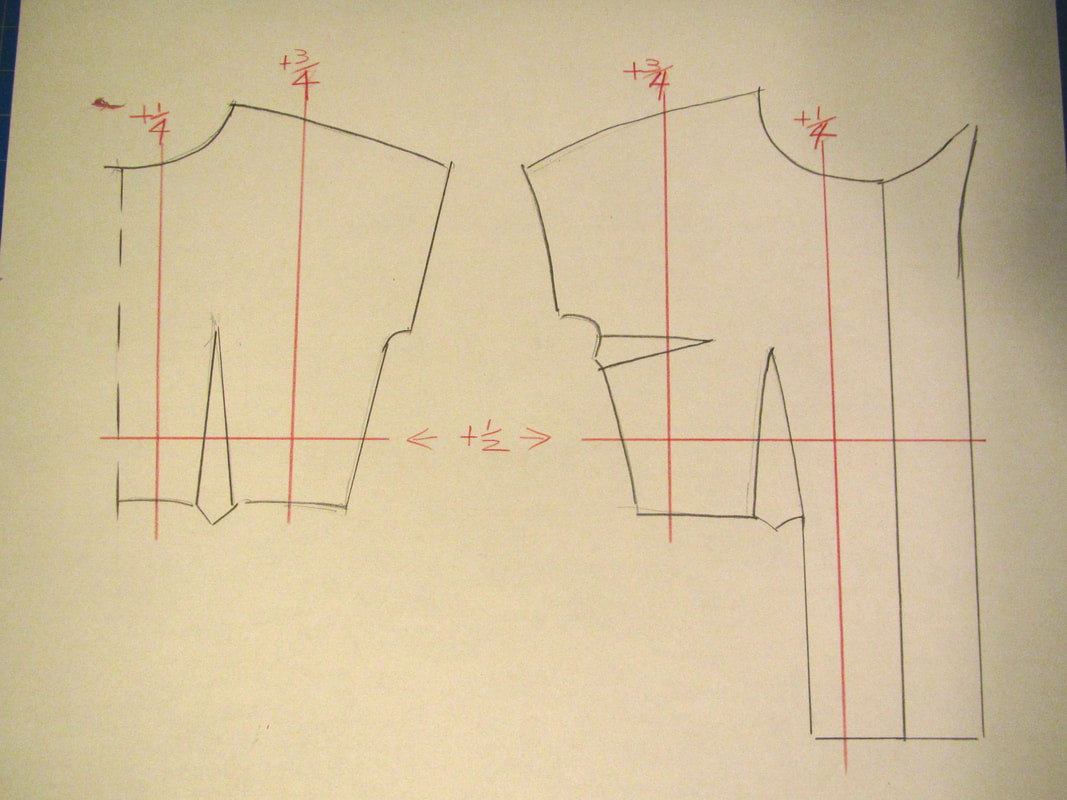
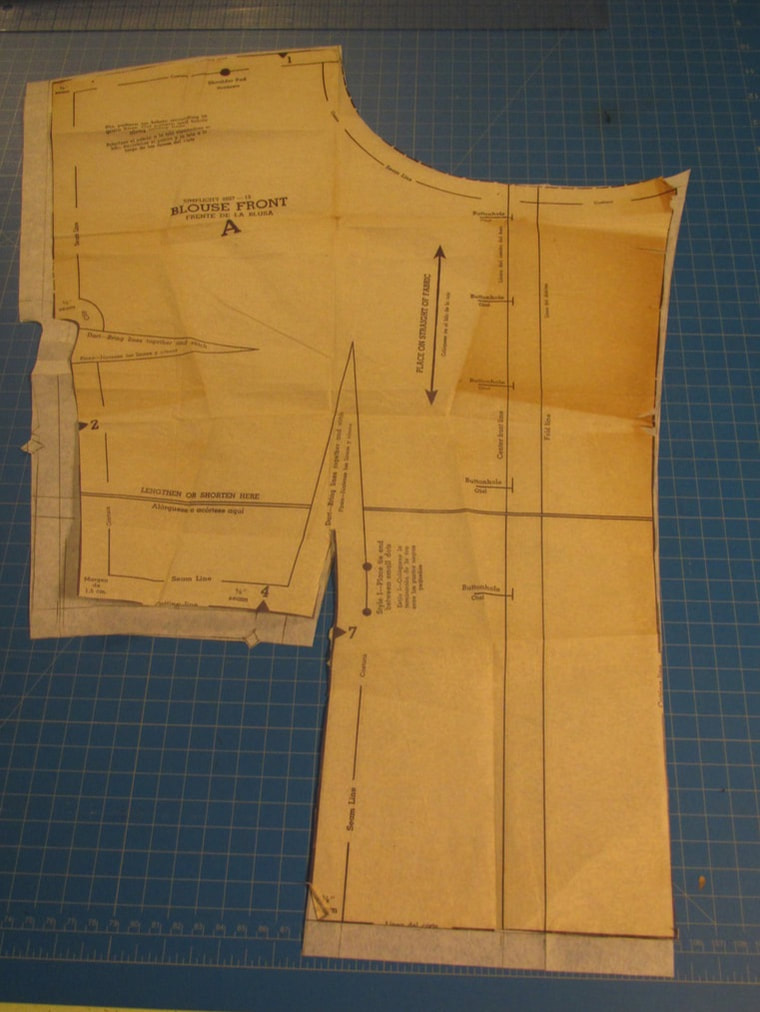
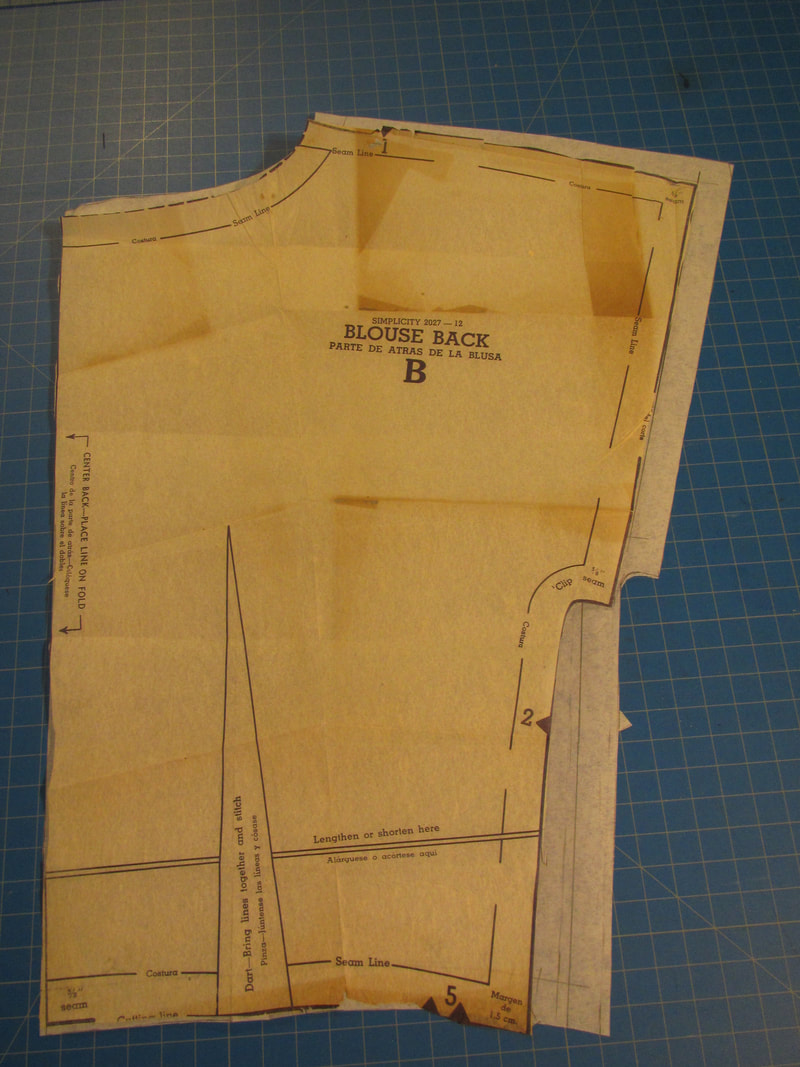
Which works out to adding 1" to the width of the front and the back pattern pieces. Since each piece is cut twice that equals 1" four times. I added a little to the neck and the most to the side front and side back. And I lengthened it using the line drawn on the original pattern,
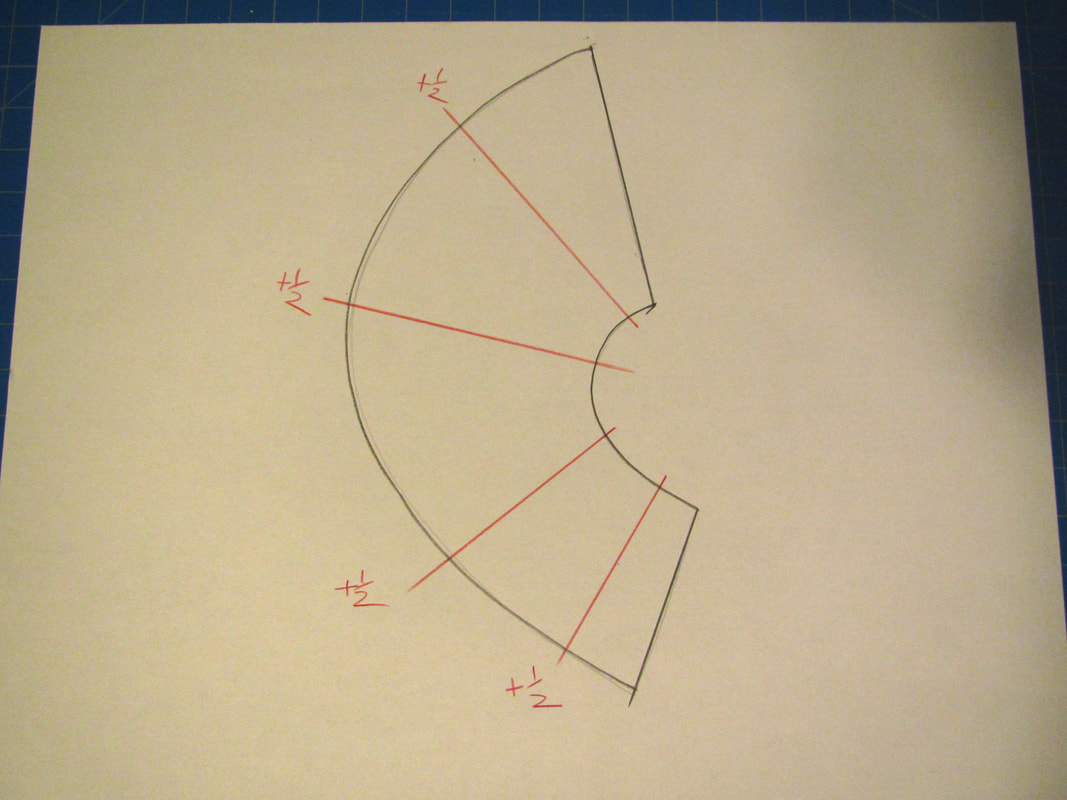
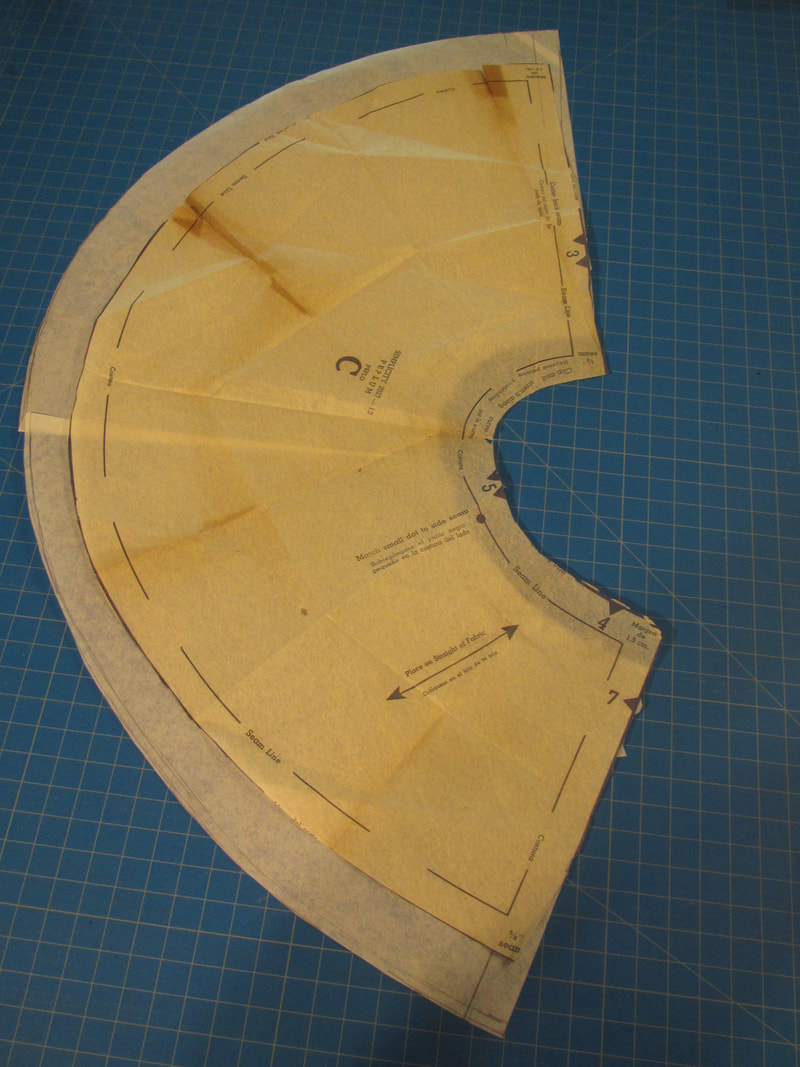
For the peplum I figured out how much larger my pattern was all along the waist and added it in several places.
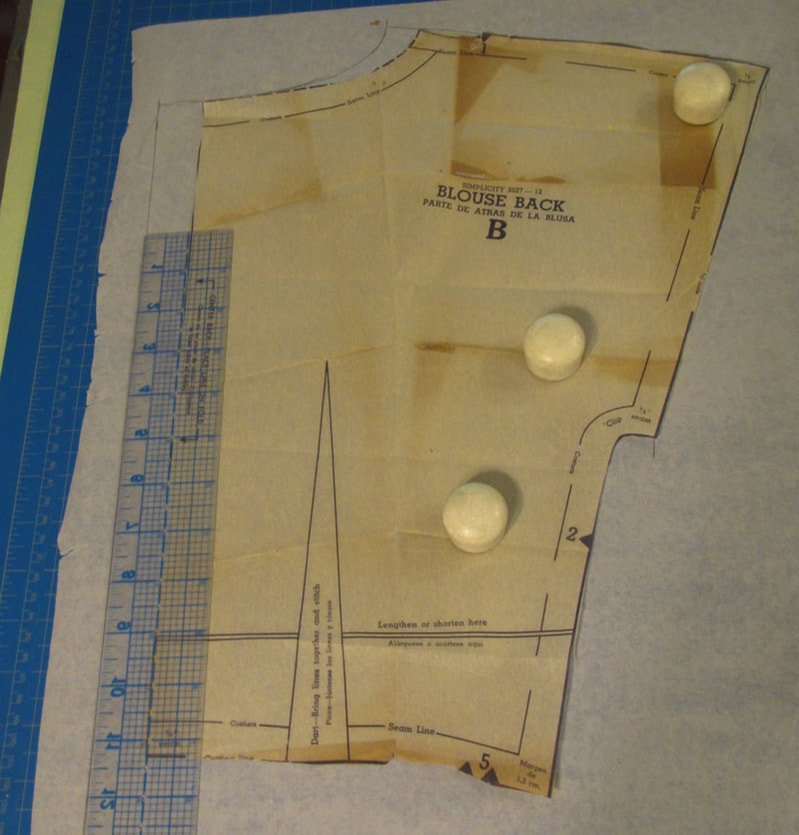
If this wasn't a precious vintage pattern I probably would have drawn lines all over it to or even cut it up to make these enlargements. OR I could have made a copy and then cut it up. But I did it the way grading was done before computers. I traced a little, then slid the pattern one way and then the other.
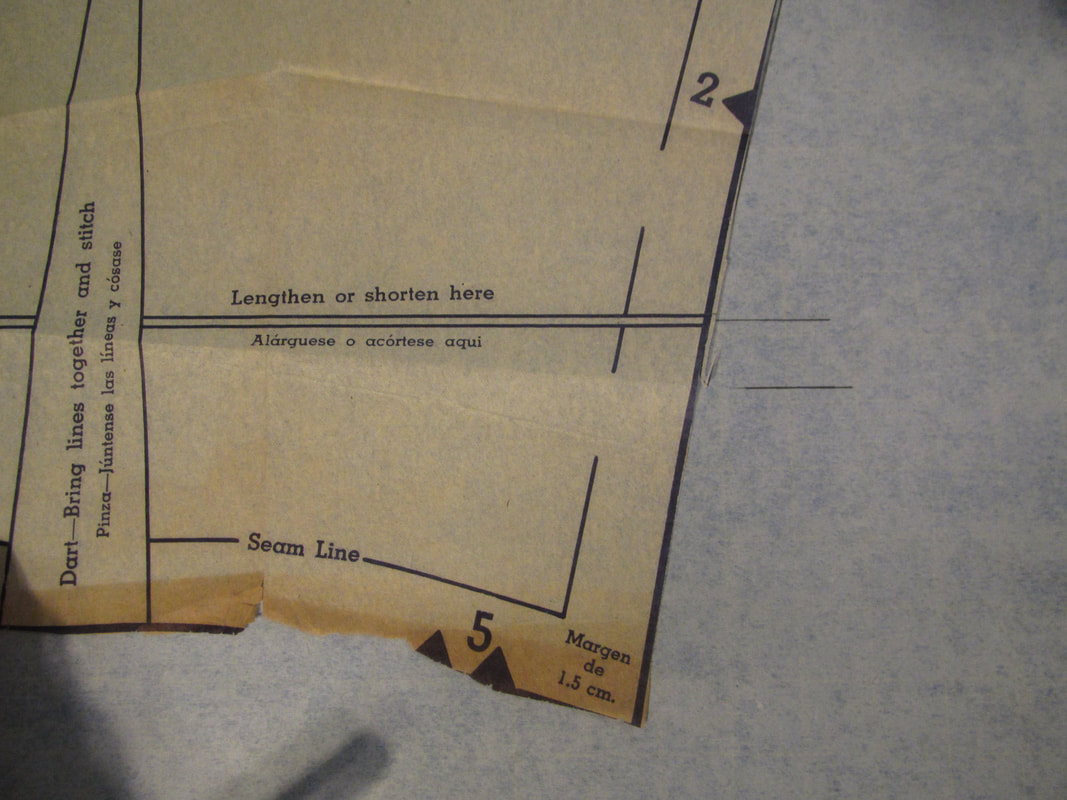
I did take advantage of the one adjustment line on the pattern to add the 1/2" to my waist length.

I adjusted the darts for my lower bust point.
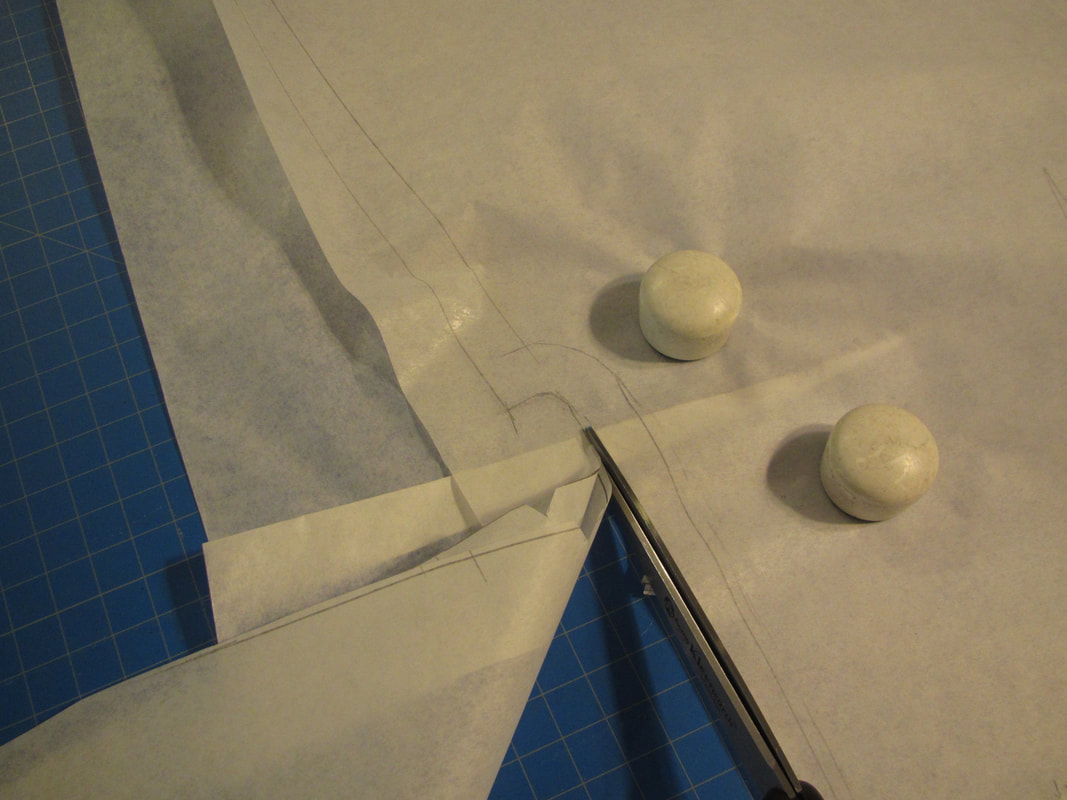
And, to make sure my darts are the correct shape along the cutting line, I fold the dart like I would sew it THEN cut out the pattern through the folded paper.

Rulers and curves smooth out all the lines.
 |  |
Here is the original pattern laid over my new pattern, a little longer and wider.
Adding to the peplum but still keeping the correct shape took a few tries. You can see the small tuck I ended up taking to make the final fix.
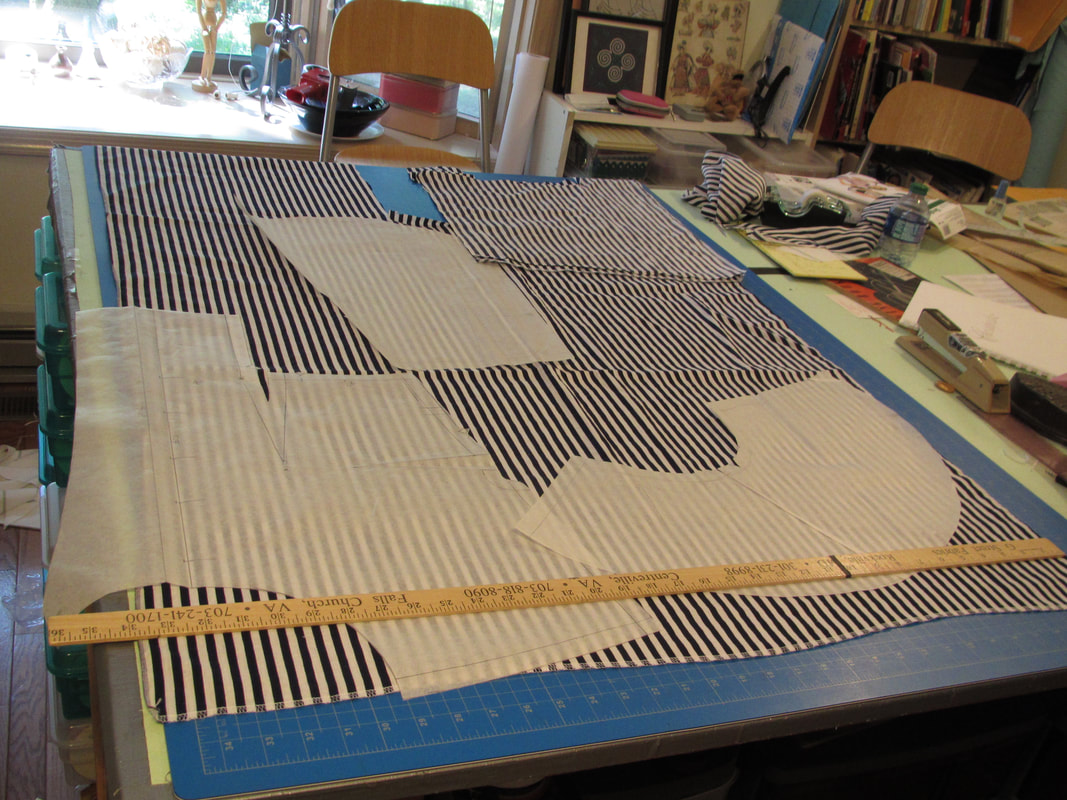
I just happened to have some vintage fabric I bought at the Thrift Store for 50 cents a yard! The frugal me is so happy! You can see it is only 34" wide.
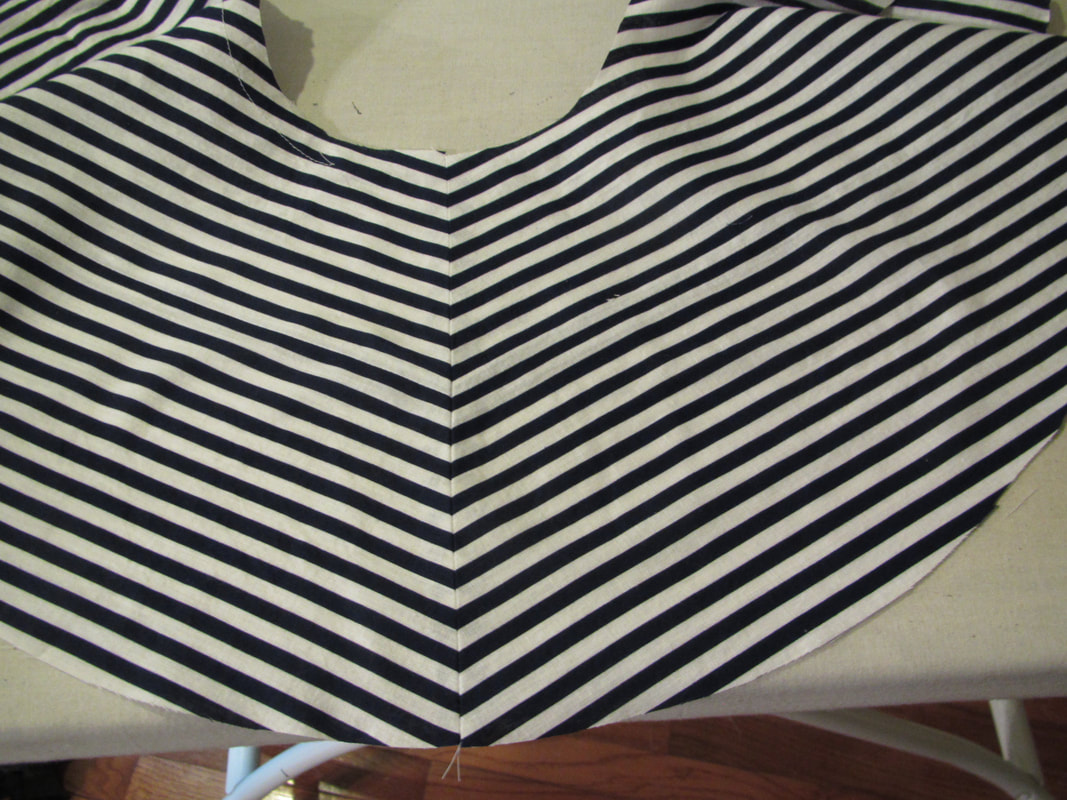
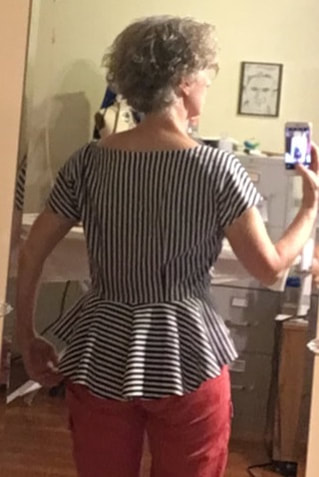
The fabric was not in one continuous piece so I had to do some clever cutting. This is the back of the peplum. I had to seam two pieces to make this, but I carefully matched up the stripes.
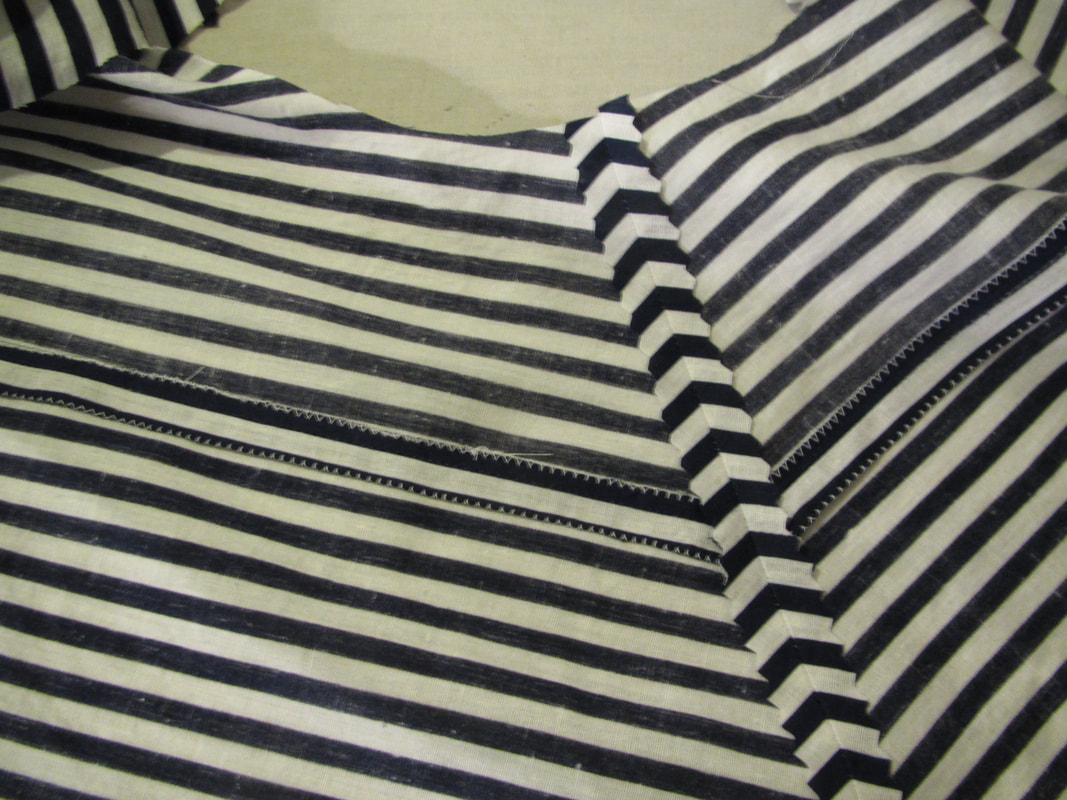
You can tell by looking at the inside.
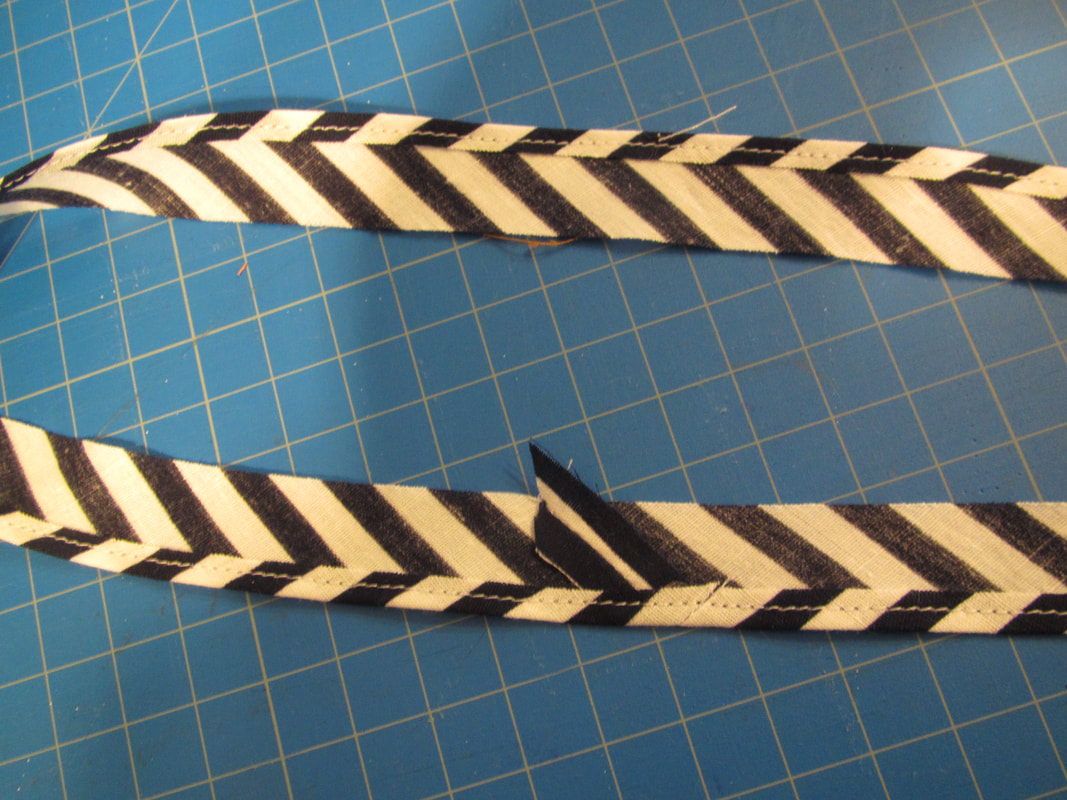
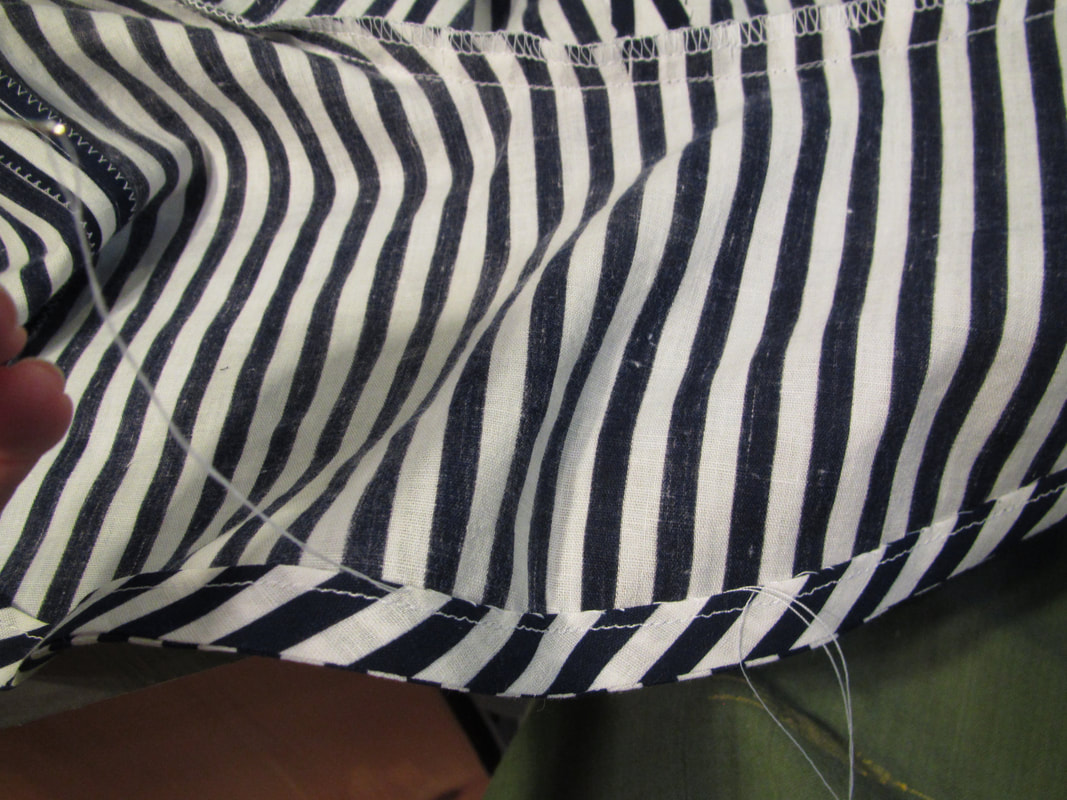
I finished the neck, sleeve edge and hem of the peplum with bias. The pattern says to stitch a 1/4" hem along one side to prepare it.
There was no suggested width in the pattern. I looked in several sewing books I have from the 30s and 40s, but no suggested measurement there either. Since purchased bias tape is cut 1" and finishes at 1/2" after the edges are pressed, I decided to cut this bias 1 1/8" wide just to give myself a little wiggle room. You really wouldn't want it any wider because a wider bias would not easily go around the curve of the neckline.
There was no suggested width in the pattern. I looked in several sewing books I have from the 30s and 40s, but no suggested measurement there either. Since purchased bias tape is cut 1" and finishes at 1/2" after the edges are pressed, I decided to cut this bias 1 1/8" wide just to give myself a little wiggle room. You really wouldn't want it any wider because a wider bias would not easily go around the curve of the neckline.
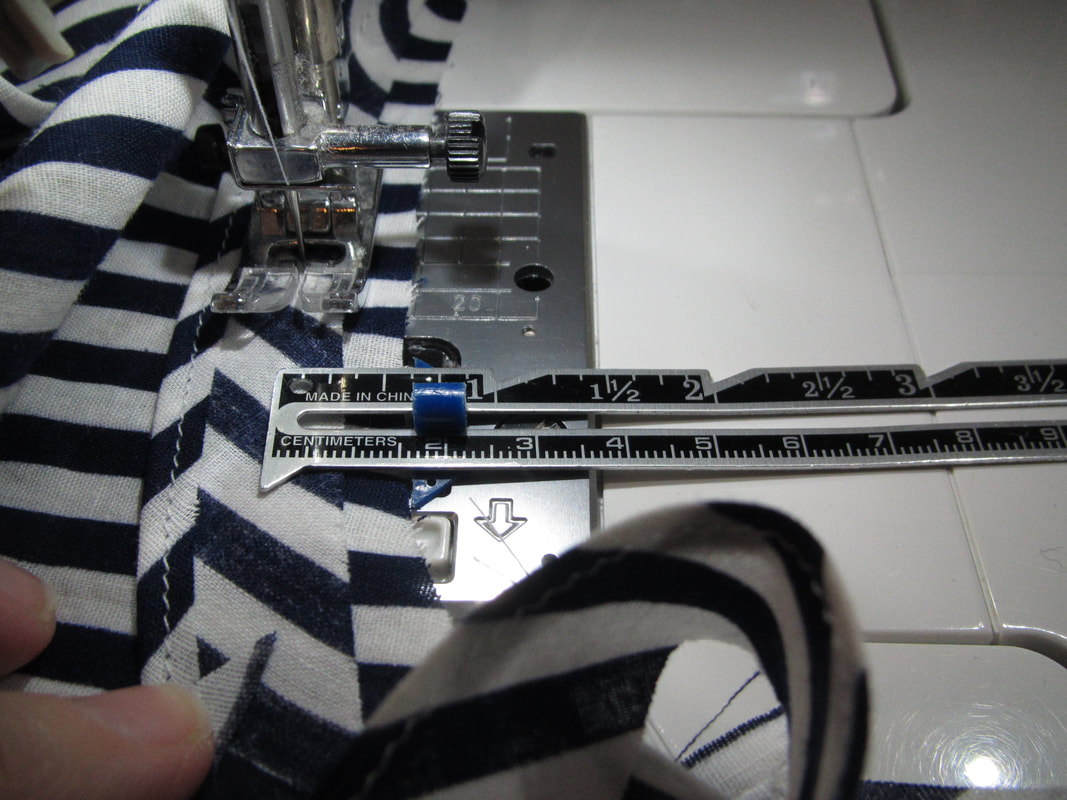
This makes the sewing interesting because the seam allowance on the garment is 5/8" wide but the seam allowance for the bias is 1/4". I had to sew carefully with my seam gauge.
I suppose if I was smarter I could have cut the bias a little wider (3/8" wider). Then I could have matched up the cut edges while sewing and just trim the excess away after. I had to do some trimming anyway.
My learning curve. I will do it better next time!
I suppose if I was smarter I could have cut the bias a little wider (3/8" wider). Then I could have matched up the cut edges while sewing and just trim the excess away after. I had to do some trimming anyway.
My learning curve. I will do it better next time!
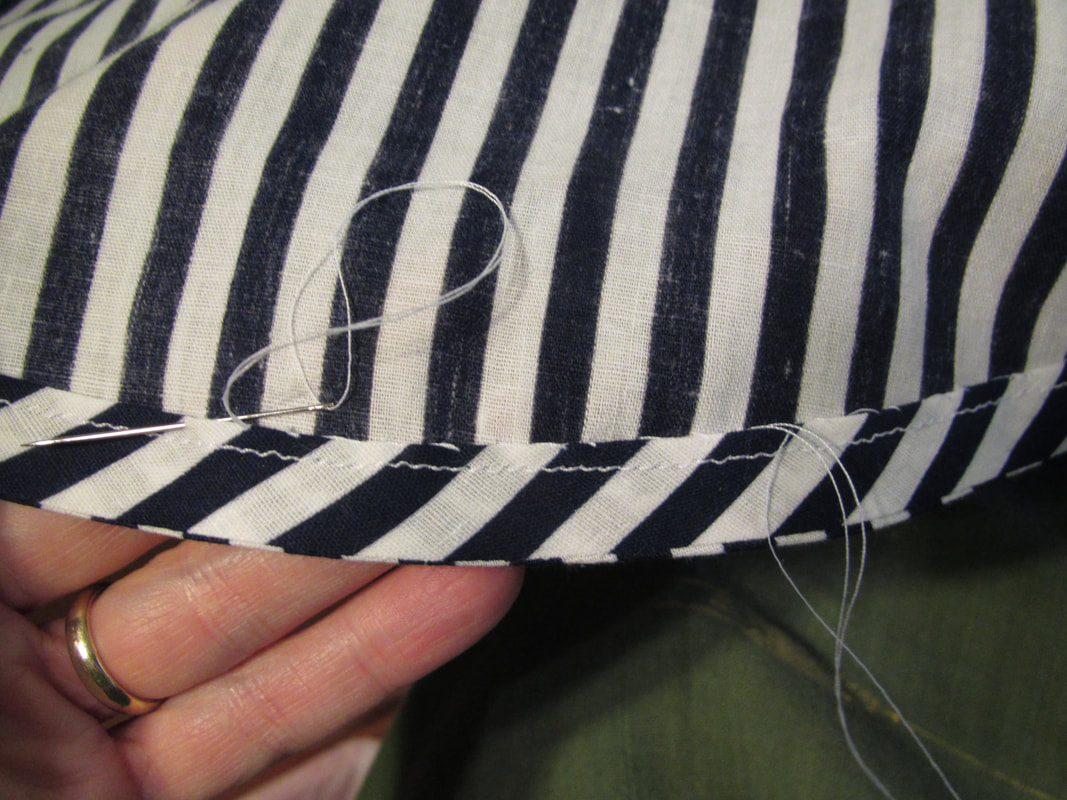
All of this bias has to be slip stitched in place. To hand sew faster, I take several stitches in a row without pulling the thread all the way through.
Then I will put the long thread for 7 or 8 stitches all at once. This does save time.
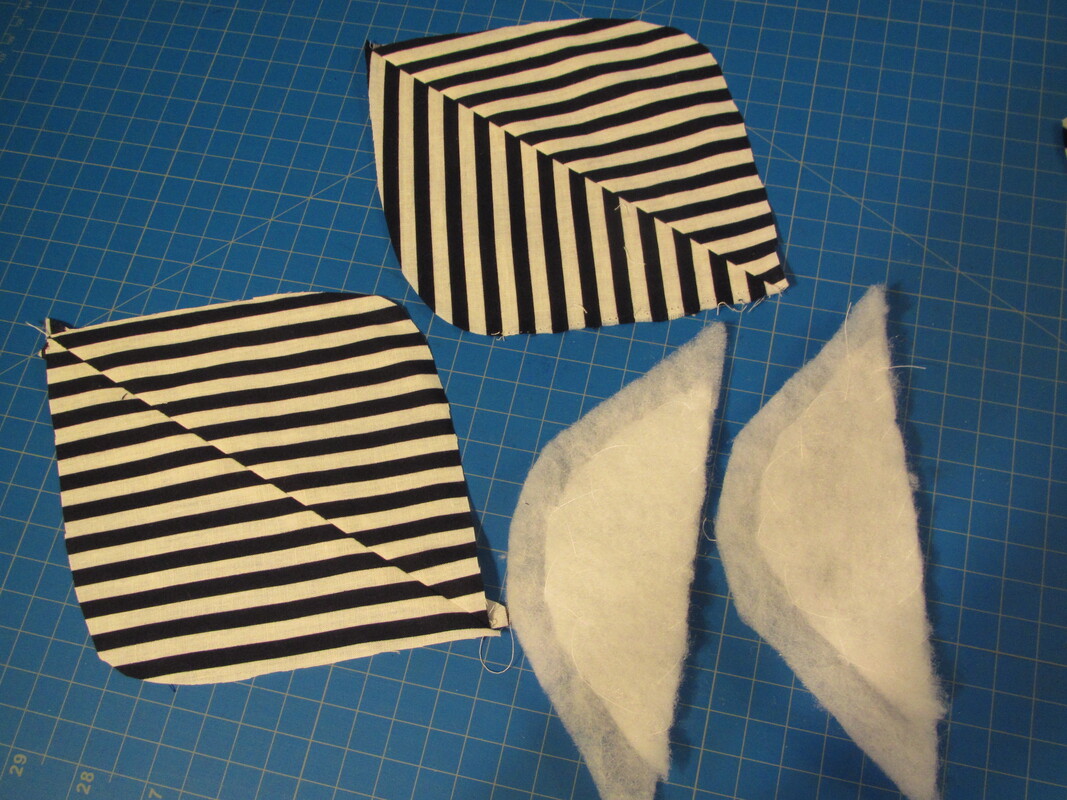
I made my own shoulder pads with the scraps let over. And let me tell you the scraps were pretty small.
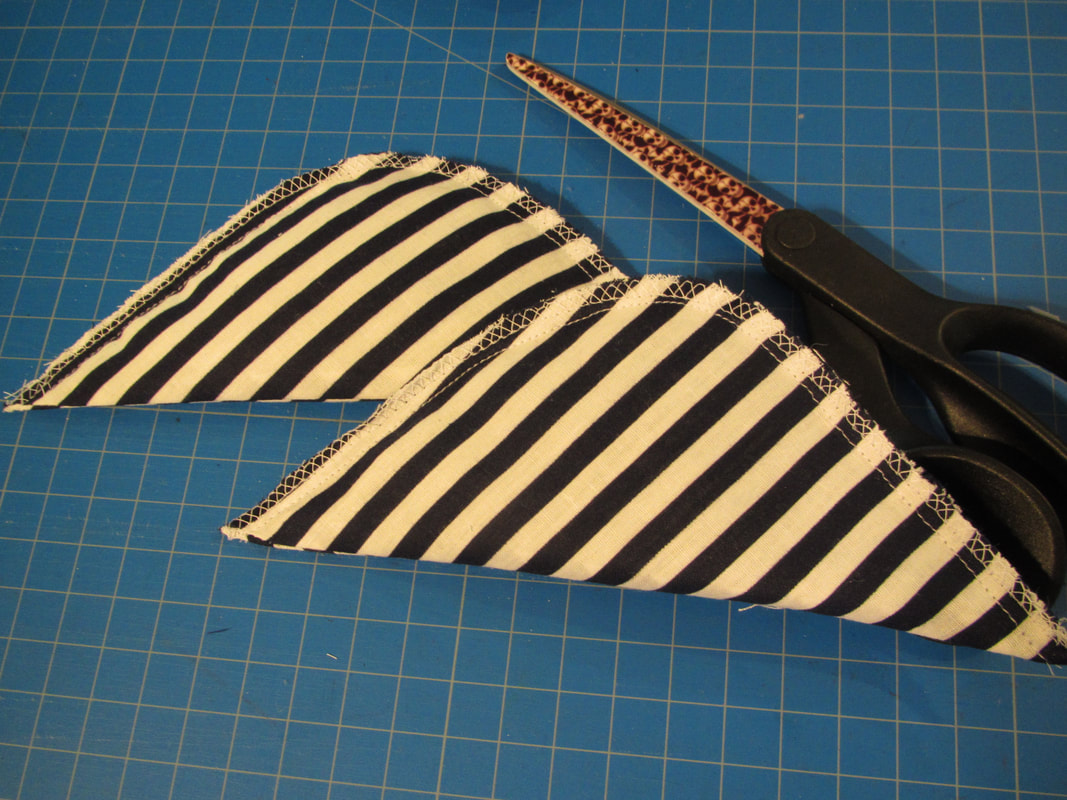
And I cheated and used a zig zagged the edges. Yeah, I know, I should have hand overcast it. But, I'm not a purest.
Now onto my pants fitting challenge!
Now onto my pants fitting challenge!
 RSS Feed